

20 Valentines Window Display Ideas for a Small Shop That Draws People Inside
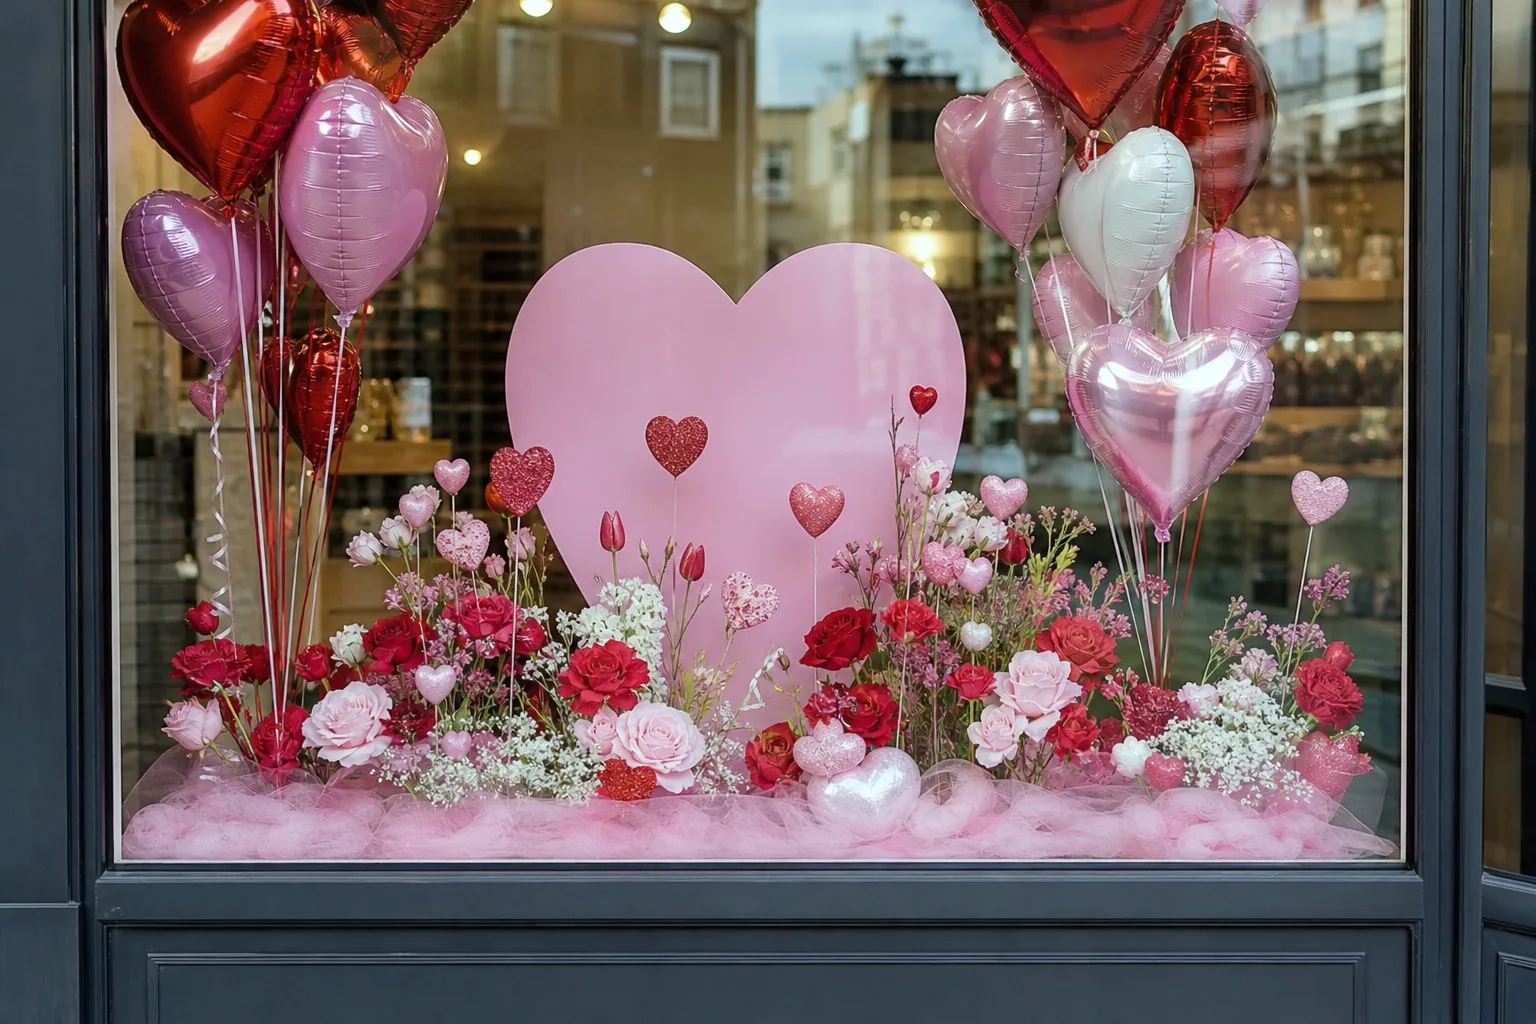
A good window does the selling before anyone touches the door handle. From across the street it only needs to say one thing clearly: come closer, this is worth a look.
That is the whole job of a valentines window display, and it is a job you can finish in an afternoon with a glue gun and a roll of ribbon.
Work it zone by zone instead of all at once. The frame around the glass, the one big moment in the middle, the products on their stands, and the glass itself: four jobs, not one overwhelming project. If the shop itself is still only an idea, these 20 Small Business Ideas for Fashion Lovers are worth a look first.
Everything below comes from a craft store or a quick online order, nothing custom-built, nothing that needs a carpenter. Pick one look per zone, keep the palette to cherry red, blush pink and crisp white, and let it feel generous rather than fussy.
This post contains affiliate links. If you buy through them, I may earn a small commission at no extra cost to you.
Table of Contents
Frame the Window First
The frame is what a passerby’s eye catches before the products even register. It runs along the top of the glass or around its edges, and it is the fastest way to make a plain window look dressed rather than decorated.
None of these need a drill. Tension rods, command hooks and a stepladder get every one of them up, which matters if the lease says no holes in the frame.
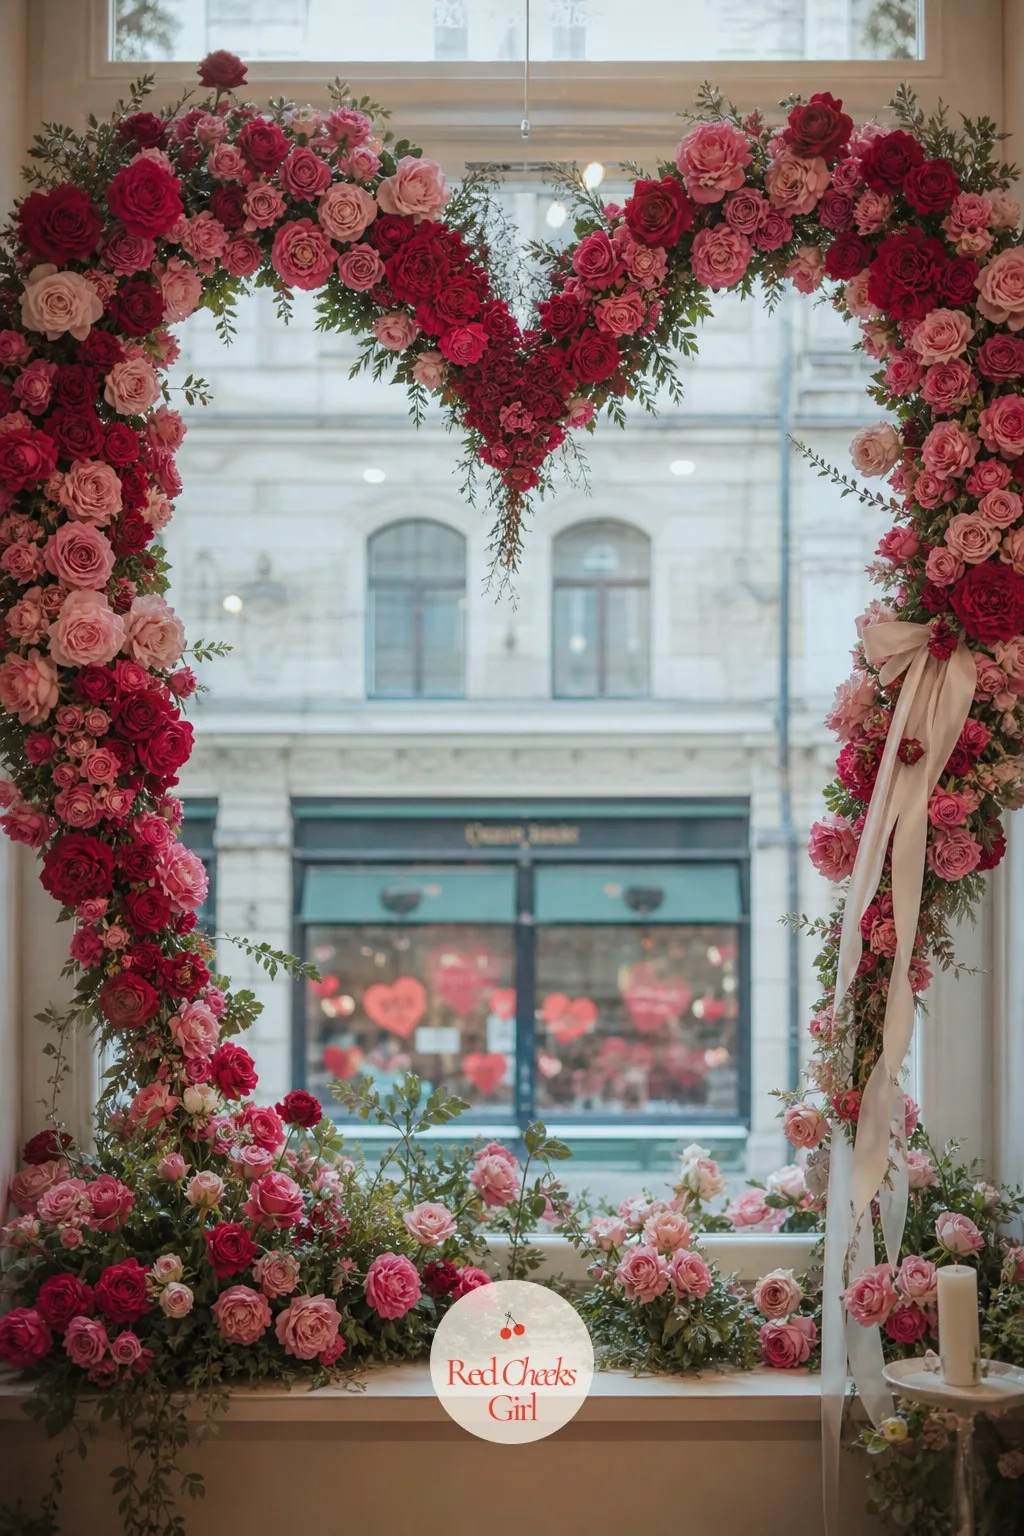
Hang a Heart Arch Over the Entry Display
From the sidewalk, a bare top rail does nothing for you. A heart-shaped arch built over the glass gives the window a ceiling, and everything underneath it suddenly looks curated rather than just placed there.
Build it from a wire or floral-foam heart form, mounted on a tension rod so it clears the glass by a few inches, then cover it fully in faux roses and ranunculus in cherry red, blush and white. Pack the stems tight: a sparse arch reads as cheap no matter how good the shape is.
It suits a florist, a boutique or a bakery window equally well, since the arch does the romantic work and the products underneath stay neutral. If drilling into the frame is not allowed, a freestanding metal hoop on a weighted base achieves the same arch without touching the glass or the wall.
🛍 Shopping guide
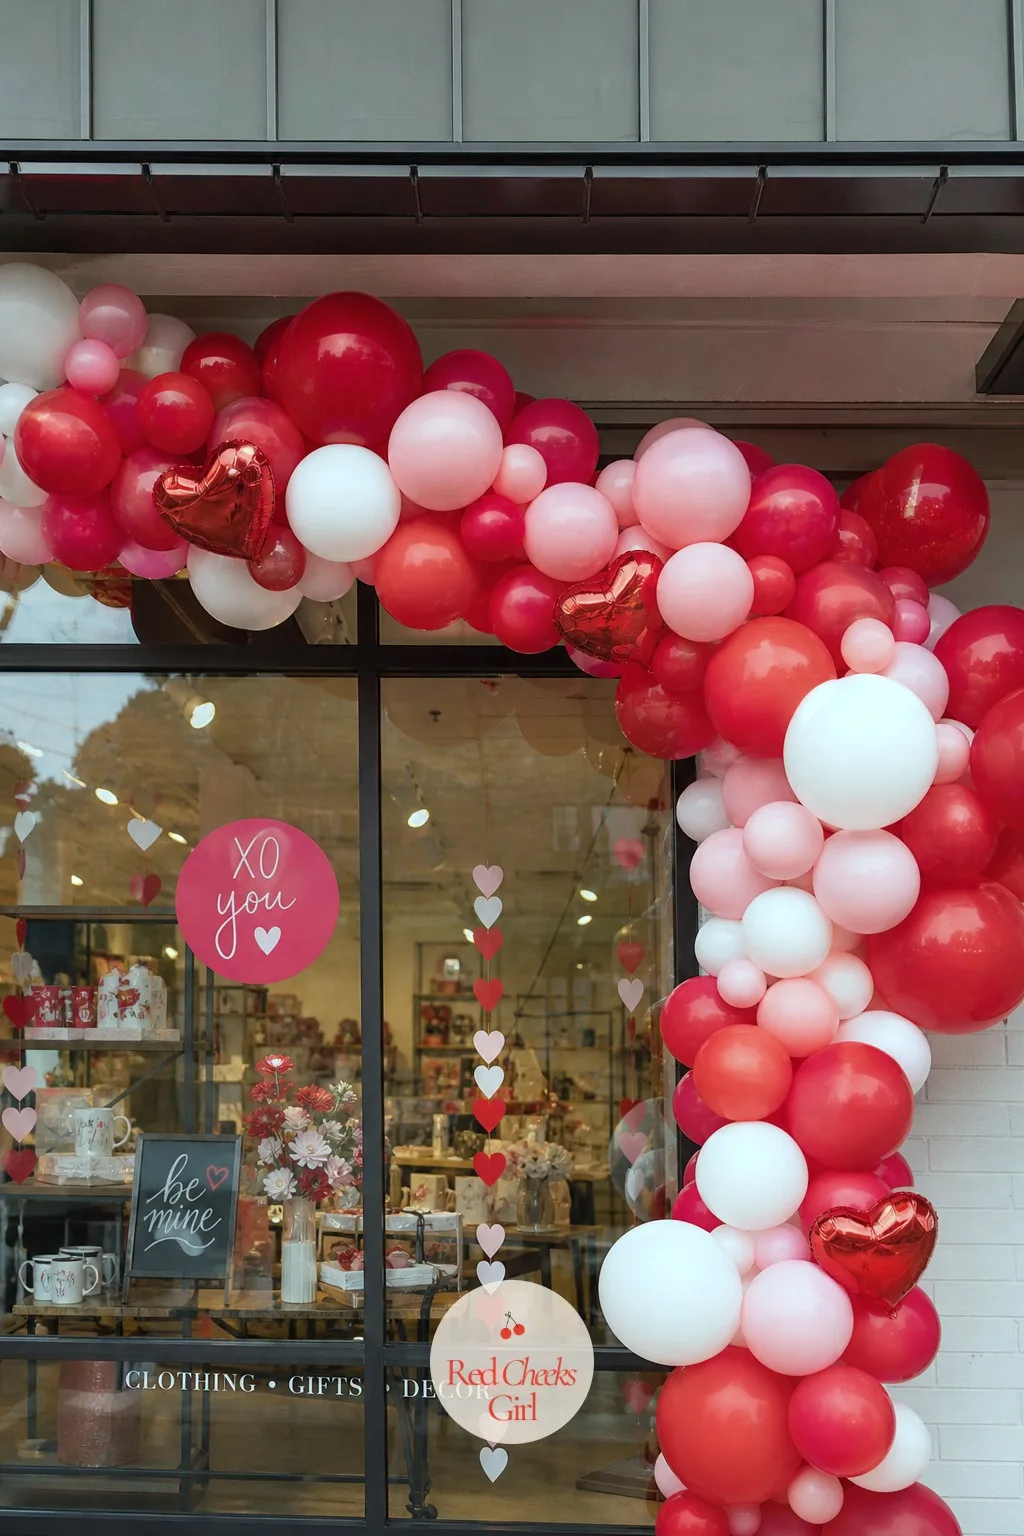
String a Balloon Garland Along the Header
Balloons still do the one thing nothing else quite manages: they fill a window edge to edge for almost no money. An organic garland strung along the top rail, in cherry red, blush and white with a few chrome accents mixed in, reads bold from across the street and costs a fraction of fresh florals.
Build it on a balloon strip or fishing line, tucked slightly higher than eye level so it stays a backdrop and never blocks the products underneath. It suits a cafe or bakery window that wants cheerful over romantic, and it goes up in under an hour.
If the window gets direct sun, swap the chrome balloons for mylar hearts, which hold their shine longer than foil balloons do against glass.
Let Paper Hearts Drift at Different Heights
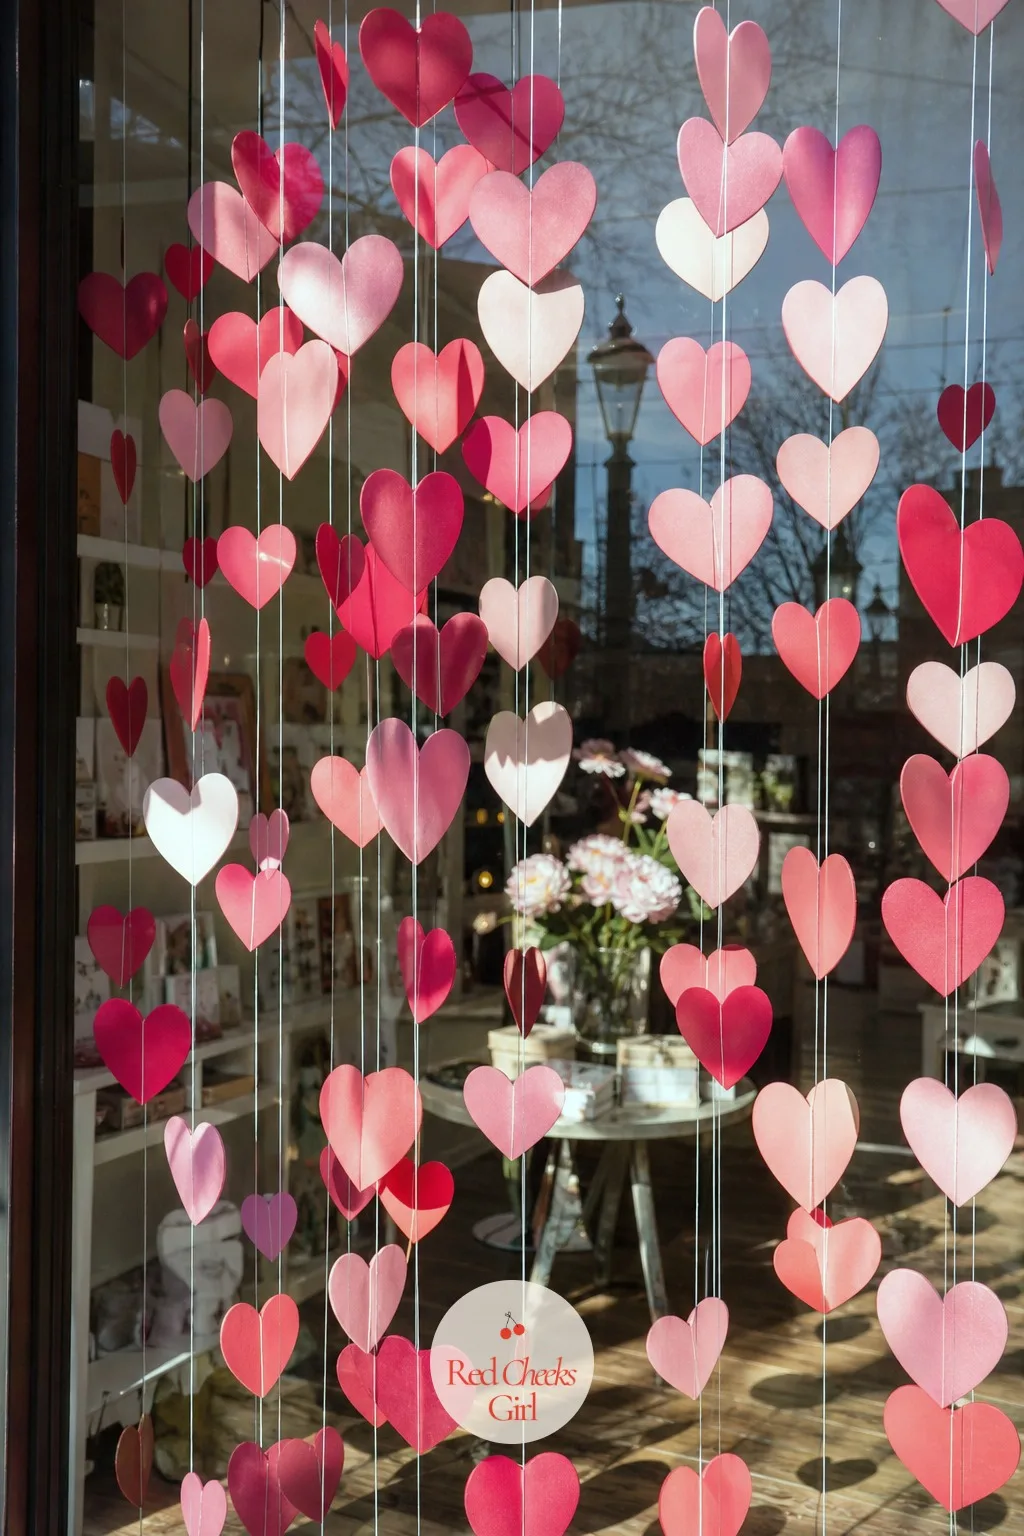
You do not need a single fresh flower for this one, which is exactly why it belongs on a tight week. Cut cardstock hearts in ombre shades from deep cherry down to the palest blush, then hang each on its own length of clear fishing line so they land at different heights, like confetti caught mid-fall.
It catches the light beautifully and moves a little every time the door opens, which gives the window life without a single moving part you have to plug in. Any shop can build this on a quiet afternoon, and it is nearly free if these frugal living tips sound like your kind of budget.
For a narrow window, cluster the hearts into one dense drift in a single corner rather than spreading them the full width, so the effect stays rich instead of sparse.
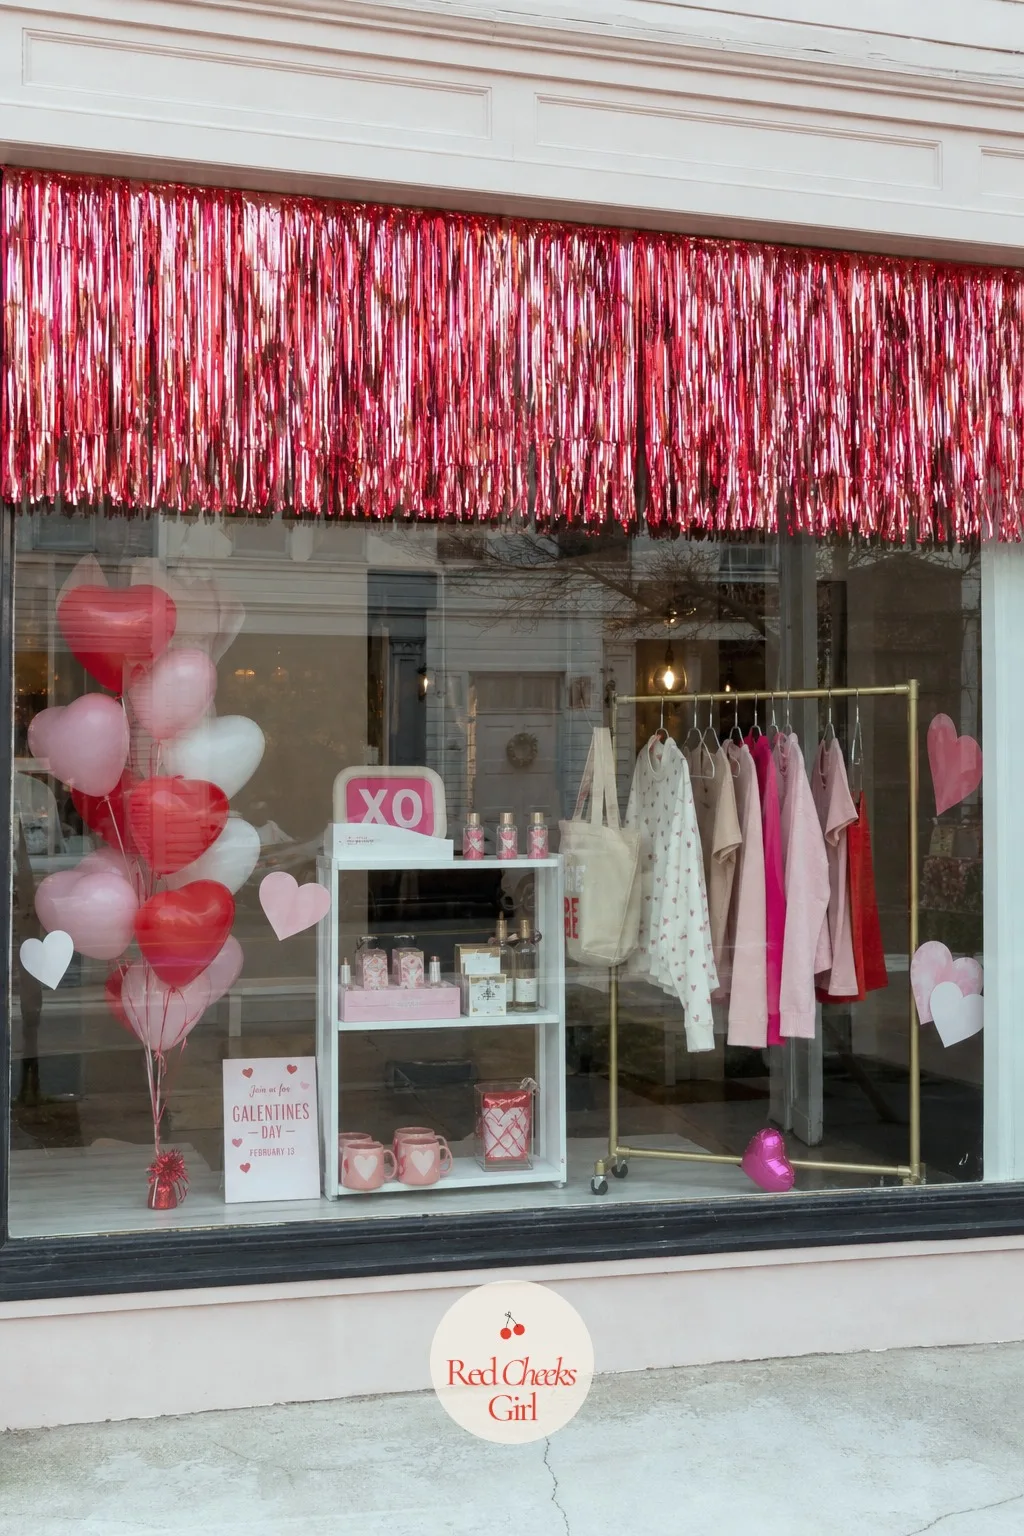
Drape a Fringe Curtain Across the Top
Something has to shimmer in this window, and fringe does it with none of the fuss of lights or florals. A foil fringe curtain in red and pink strands hung as a pelmet along the top rod moves with every draft from the door, which keeps the window visibly alive even when nobody is standing in front of it.
It works especially well for a bakery selling treat boxes, since the metallic flash reads as a little bit of celebration without crowding the counter below. Nothing here needs tools beyond a tension rod and tape.
Paper fringe is the cheaper swap if foil feels like too much shine for the rest of the shop’s look.
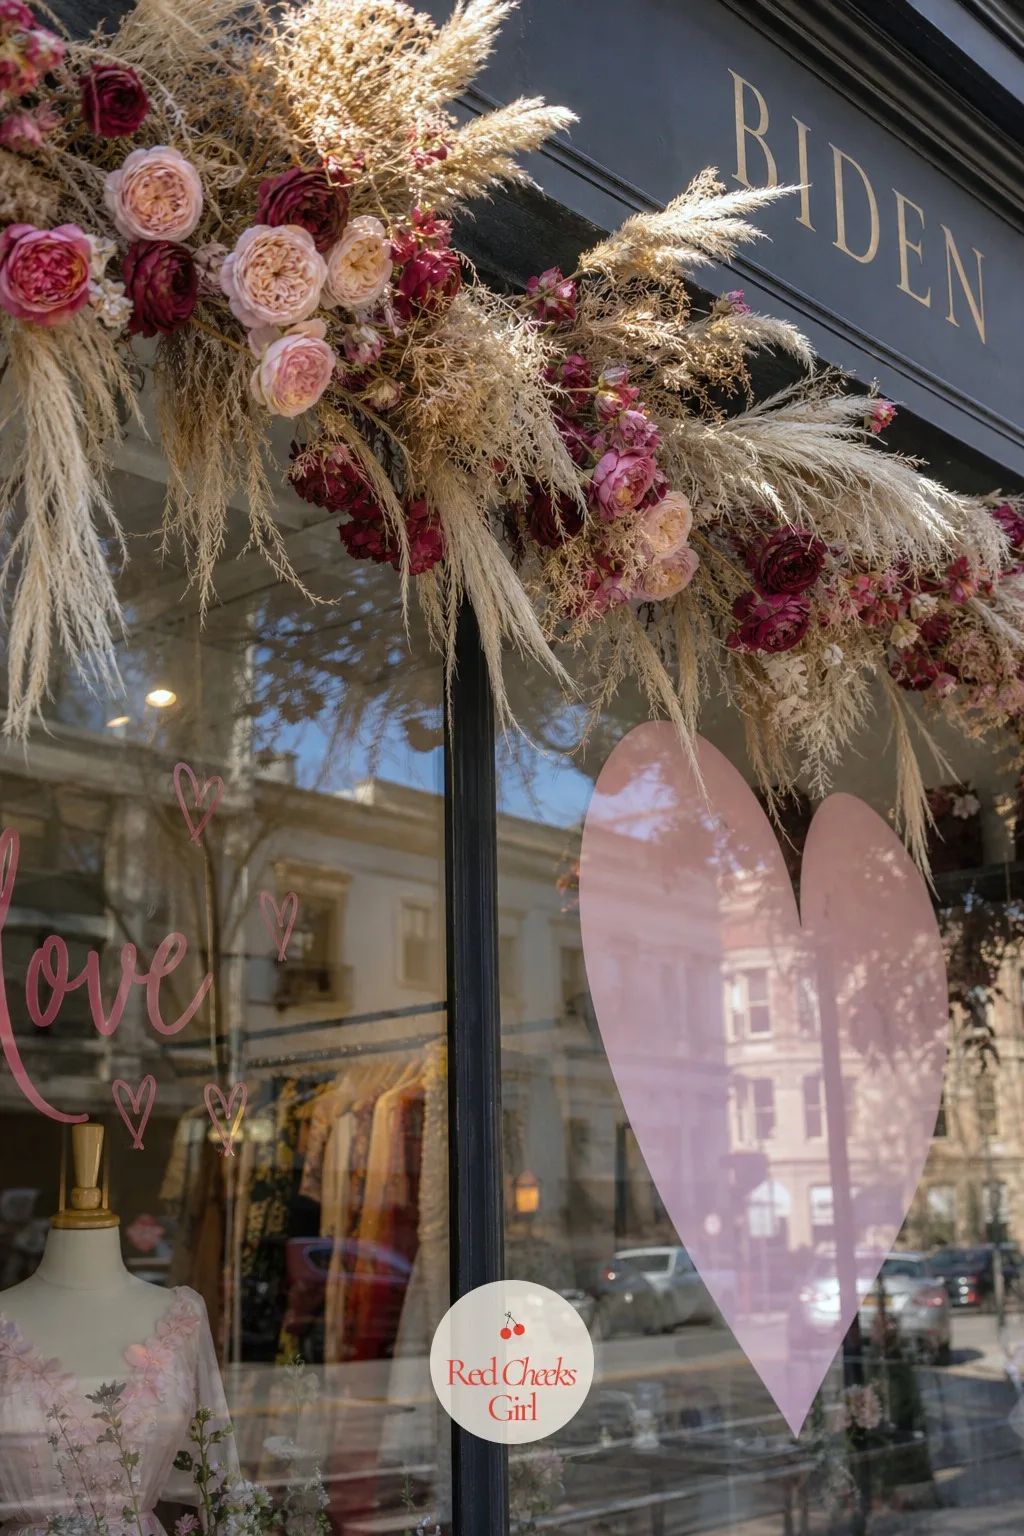
Swag a Dried Rose Garland Across the Glass
Fresh roses wilt by day three and nobody wants to re-stock a window mid-run. Dried roses in deep red and blush, swagged loosely across the header with a little dried pampas or bunny tail grass worked through, give the same painterly drama and last the whole season without a drop of water.
It suits a florist or a stationery shop that wants the window to feel elevated rather than cute, the kind of texture that photographs well from the street. Wire the stems to the rod in loose clusters rather than a tight straight line, so the swag has movement.
Preserved eucalyptus dyed red is the swap if dried roses run over budget this close to the holiday.
Build One Big Moment in the Middle
Every strong window has one thing the eye lands on first, the prop that would still work as a single photograph on its own. This is where the budget and the effort go, because one good centerpiece carries the whole display.
Build it to stand on its own feet or hang from its own hook, separate from the products, so it reads as the scene rather than as more stock.
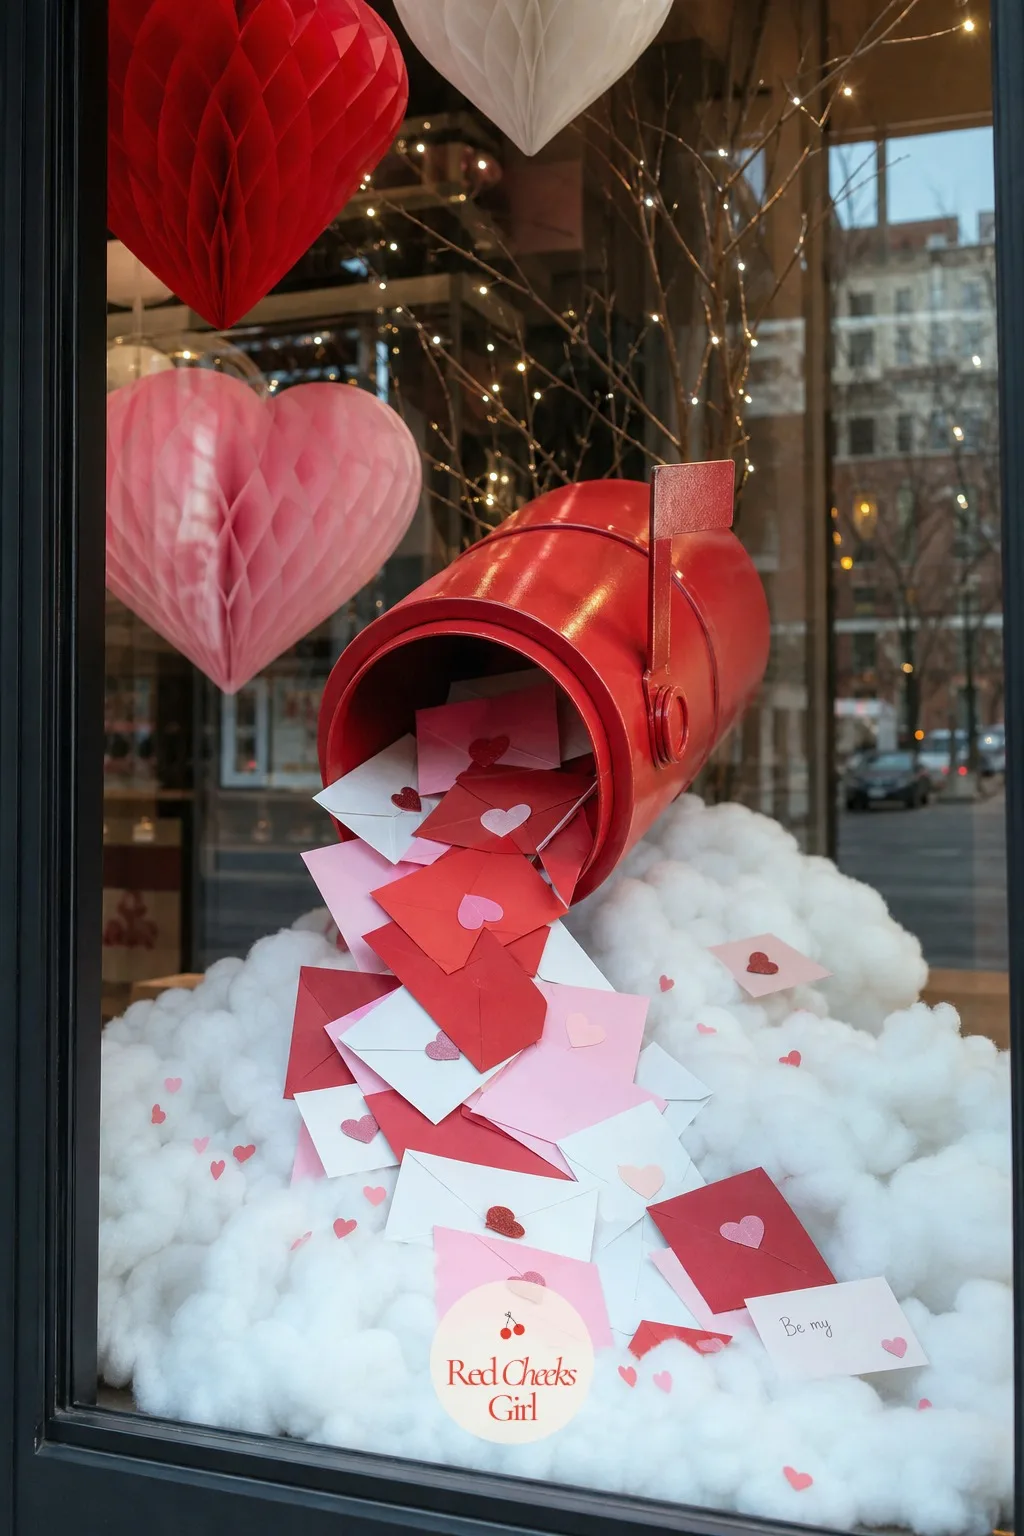
Set a Red Mailbox Spilling With Love Letters
Nothing says the whole holiday in one glance like a mailbox caught mid-overflow. A glossy red mailbox prop, mounted on a short post or stand at an angle, spills a cascade of pink, red and white envelopes down over a drift of white cotton batting standing in for snow on the sill.
Build the envelope pile dense at the mouth of the box and let it thin as it reaches the base, scattering a few loose envelopes and tiny paper hearts further out so the mess looks generous rather than staged. It suits a stationery shop, cafe or gift shop that wants one unmistakable centerpiece.
No mailbox to hand? A vintage suitcase propped half open does the same job, letters spilling from the lid instead of a slot.
🛍 Shopping guide
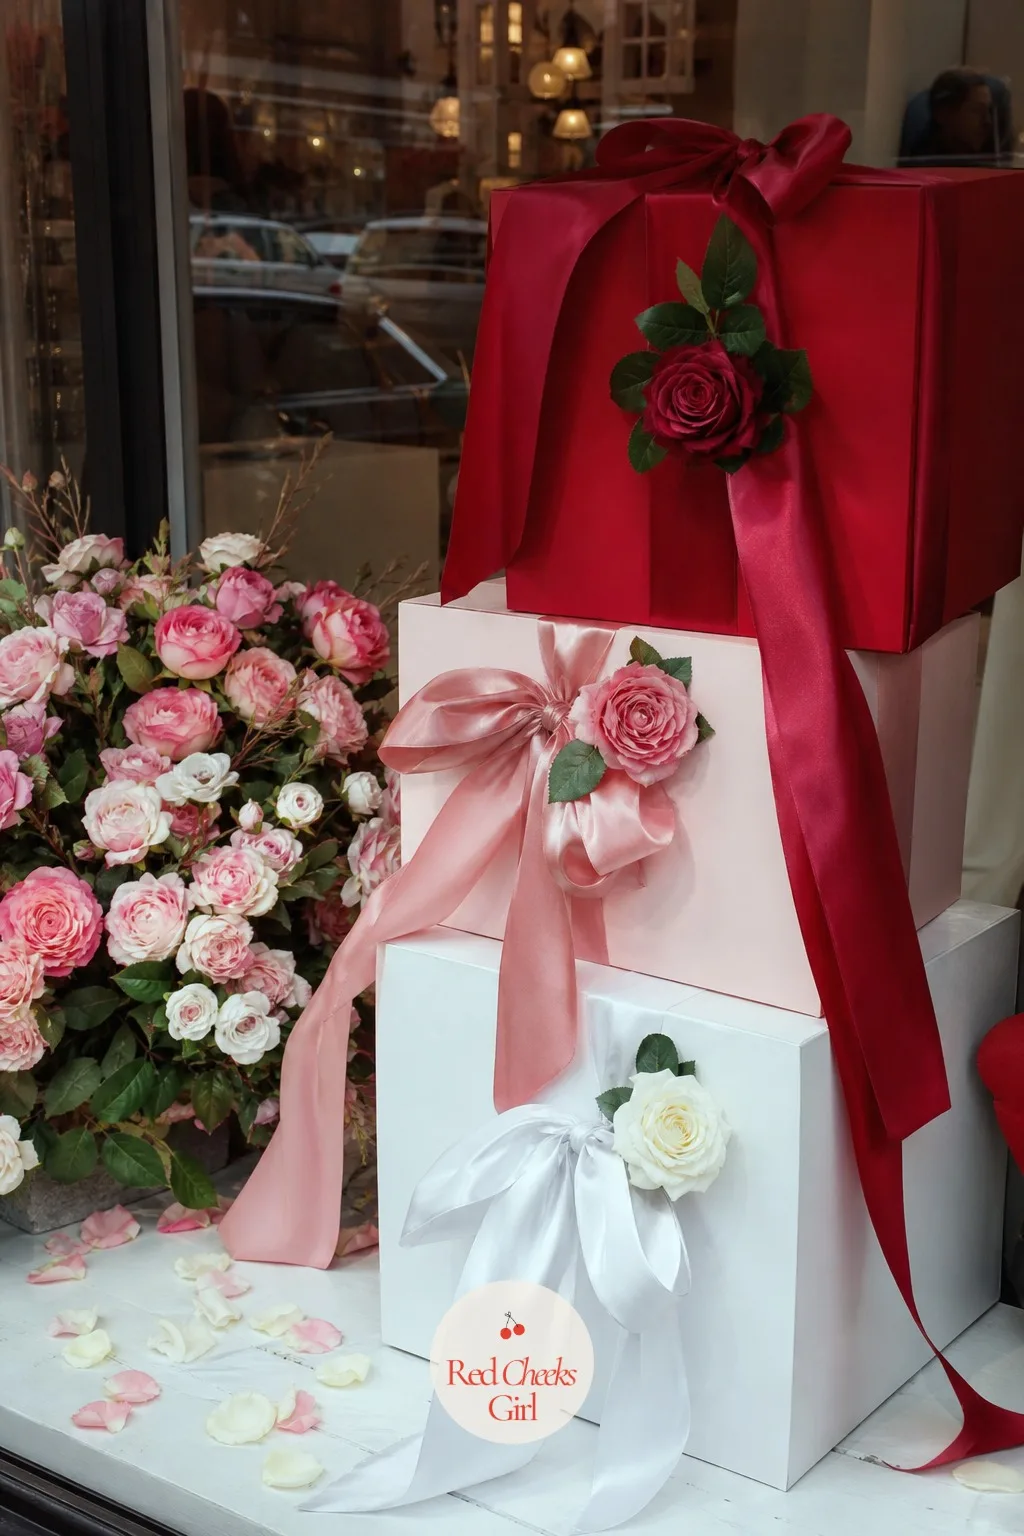
Stack Oversized Gift Boxes Wrapped in Satin Ribbon
Three boxes, staggered at different heights and tied in wide satin bows, do more work than a dozen small props scattered around the window. Wrap each one in cherry red, blush or crisp white, let the ribbon trail down the side rather than sitting flat, and tuck a single faux rose under the top knot.
It suits a gift shop or chocolate shop where the boxes themselves tell the story before anyone reads a label. Stack them in a loose pyramid rather than a straight line, so the eye travels up through the window instead of across it.
No prop boxes on hand? Plain cardboard moving boxes wrapped in paper do exactly the same job for a fraction of the price.
Build a Giant Heart From Folded Paper Envelopes
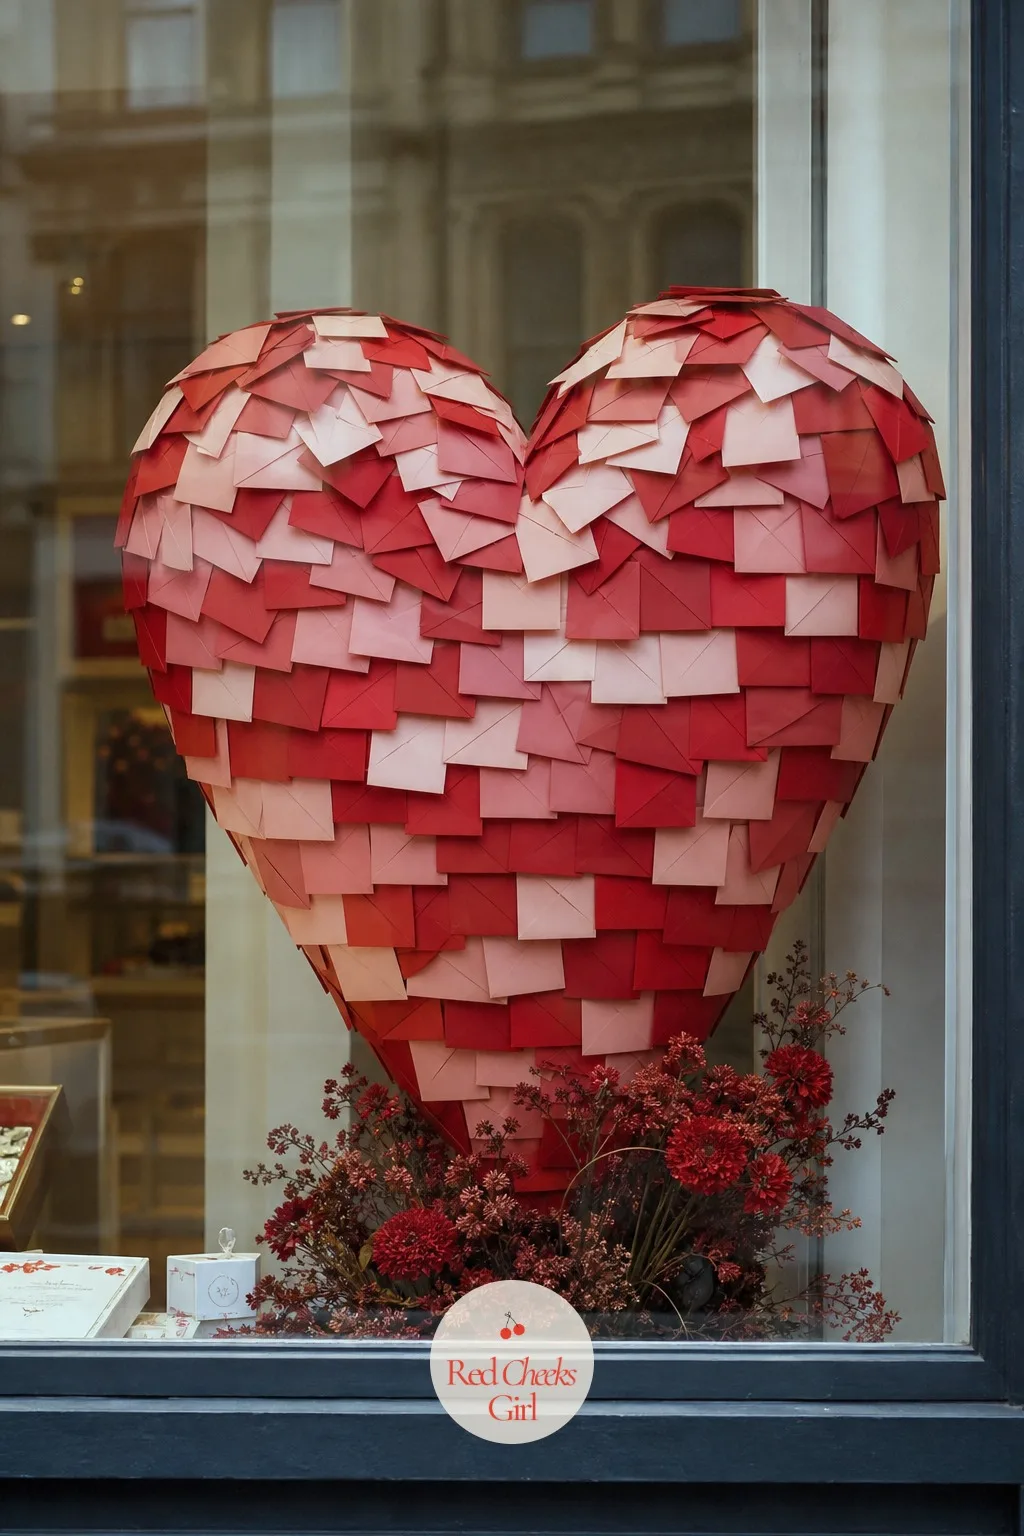
This is the graphic, photographable centerpiece for a shop that leans more editorial than cute. Pin dozens of small red and pink paper envelopes edge to edge over a wire or foam heart frame, overlapping them like shingles so the whole shape reads as texture from a distance and as individual letters up close.
Tuck a few loose dried red florals in at the base where the heart meets its stand, just enough to soften the hard edge of the frame. It suits a stationery shop, a perfumery or a gift shop wanting one striking wall-mounted moment.
Short on time? Swap the envelopes for flat paper hearts in the same two sizes, pinned the same shingled way.
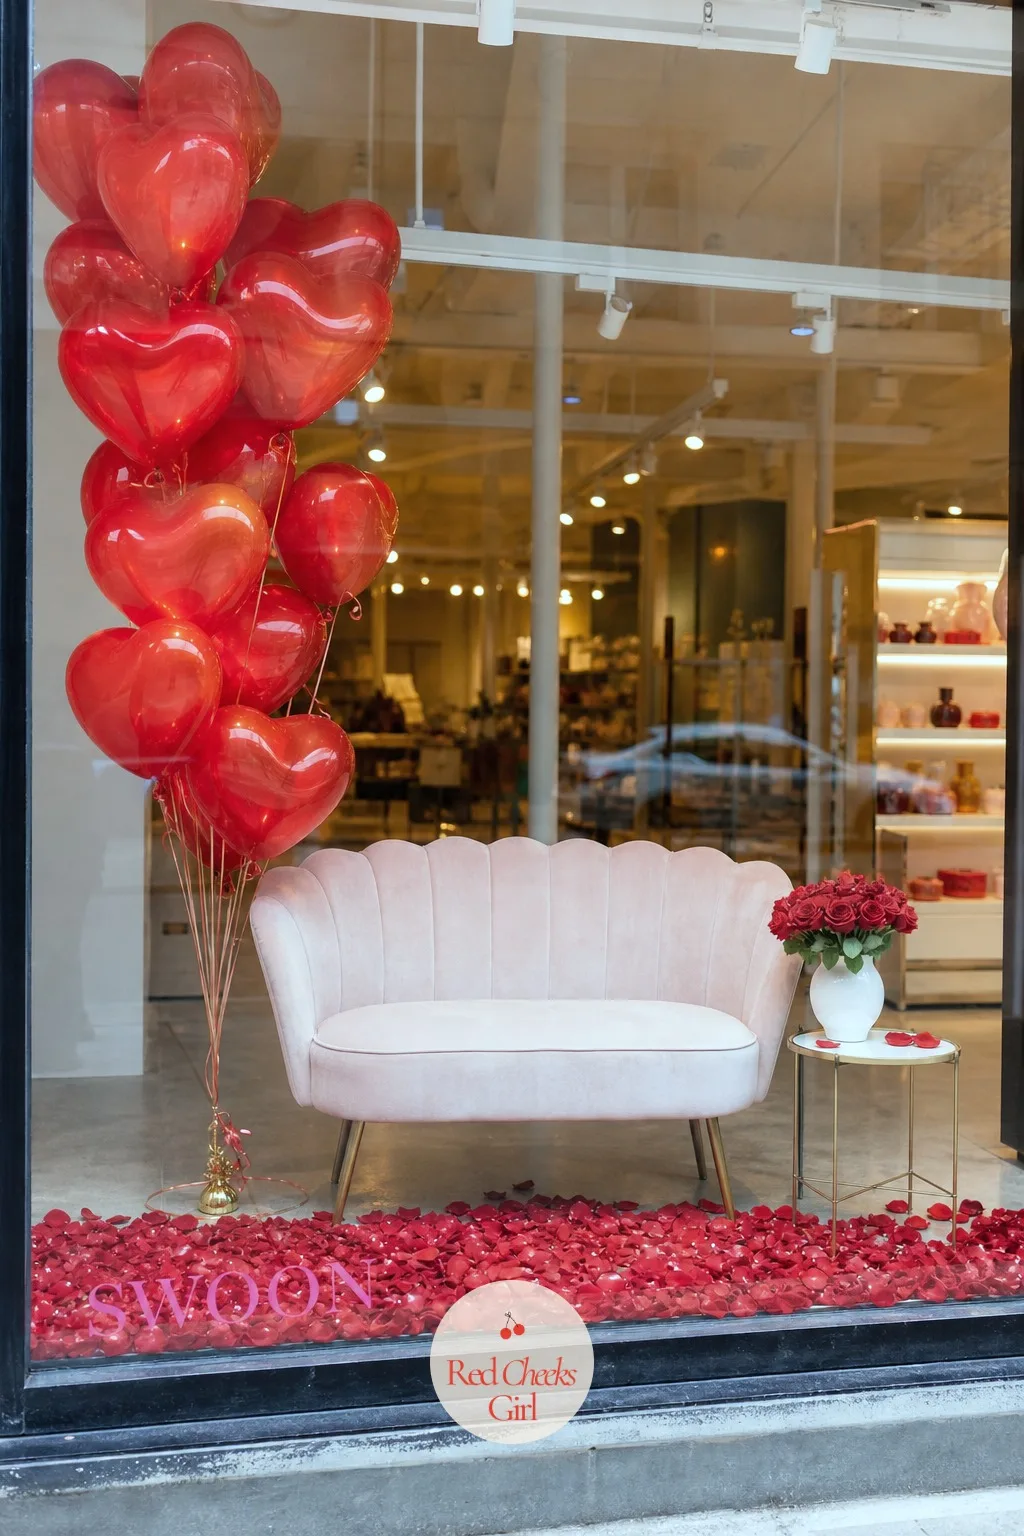
Set a Blush Velvet Bench for Window Photos
A window that invites a photo earns itself free advertising every time someone stops to take one. A small blush velvet bench, flanked by a loose cluster of red heart balloons and a scatter of rose petals across the floor in front of it, gives passersby an obvious spot to pause.
It suits a corner shop or any window deep enough to hold a seat without crowding it, since the bench needs breathing room around it to photograph well. Keep the rest of that corner of the window spare: this is the one zone where less really does more.
No room for a bench? Two stacked vintage suitcases make a low seat that works almost as well.
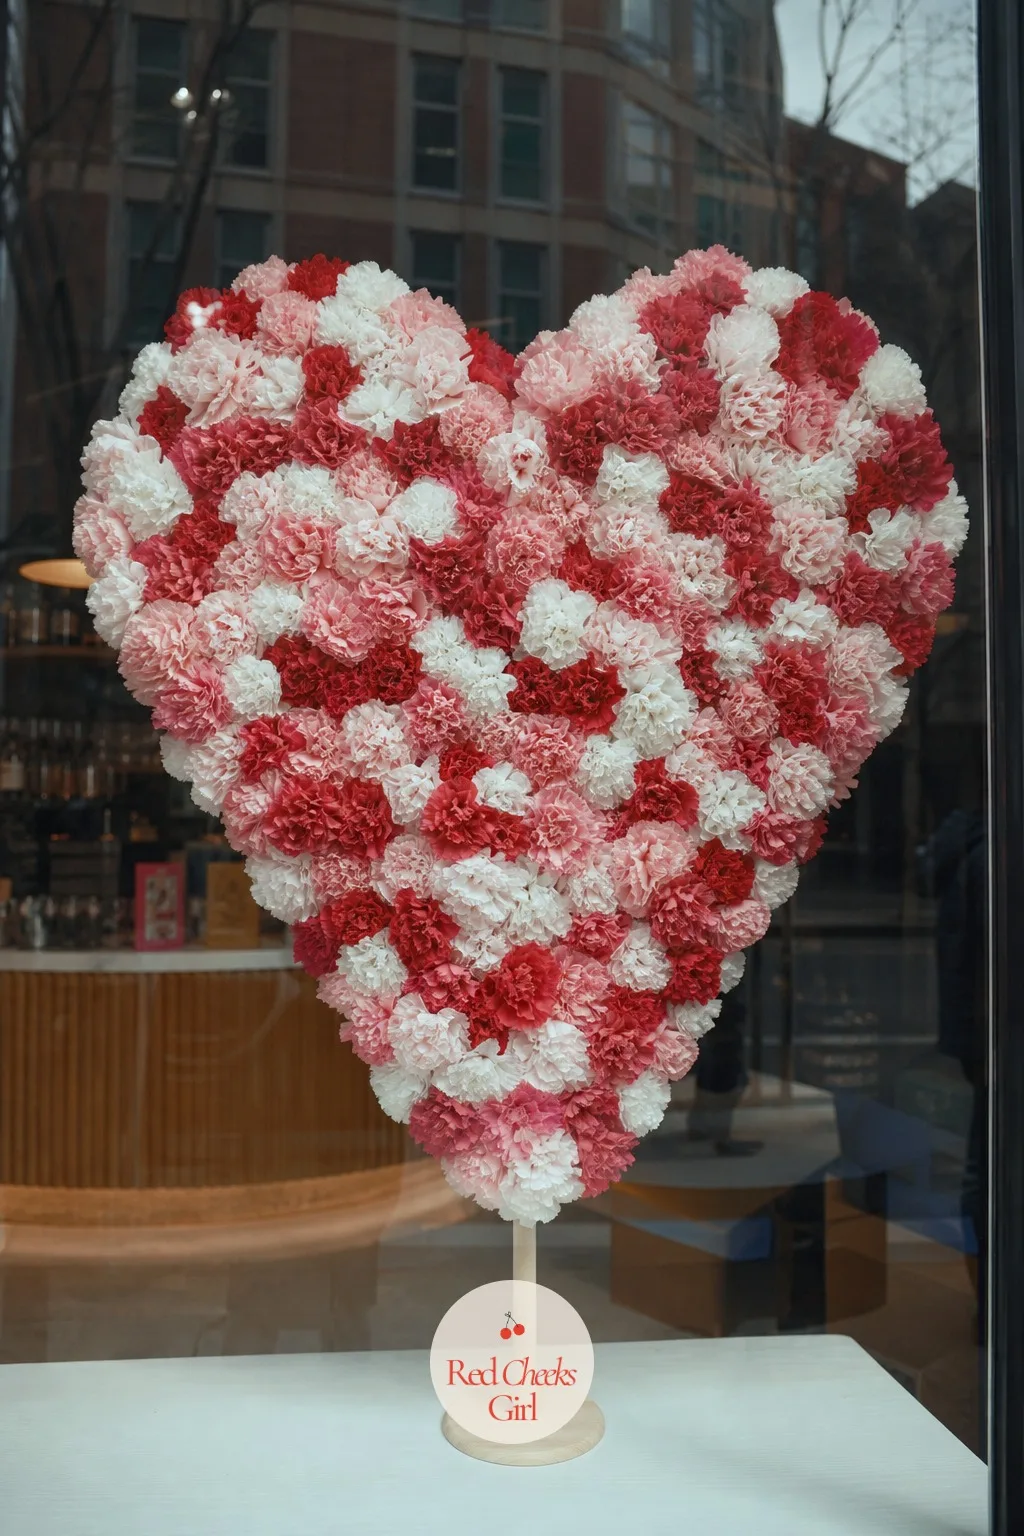
Anchor the Scene With a Towering Paper Flower Heart
For a bakery window, this is the one big wow a passerby remembers after they have walked on past.
Build a heart silhouette entirely from tissue and crepe paper flowers in red, blush and white, packed shoulder to shoulder over a wire frame, mounted upright on a wooden dowel stand so it stands as its own freestanding piece rather than hanging flat.
Set it slightly off-center in the window so it does not block the counter view, with a short stack of treat boxes grouped near its base. Work the paper flowers dense at the top curves of the heart and let them thin slightly where the point meets the stand.
For a narrow window, build a tabletop version at half the scale instead.
Dress the Pedestals and Stands
This is the zone that actually sells. Products need height variation and a little romance around them without disappearing under it, so the trick is restraint: flowers and ribbon do the framing, the merchandise stays the star.
Keep sightlines open here more than anywhere else in the window. A customer has to be able to tell what you sell from the sidewalk.
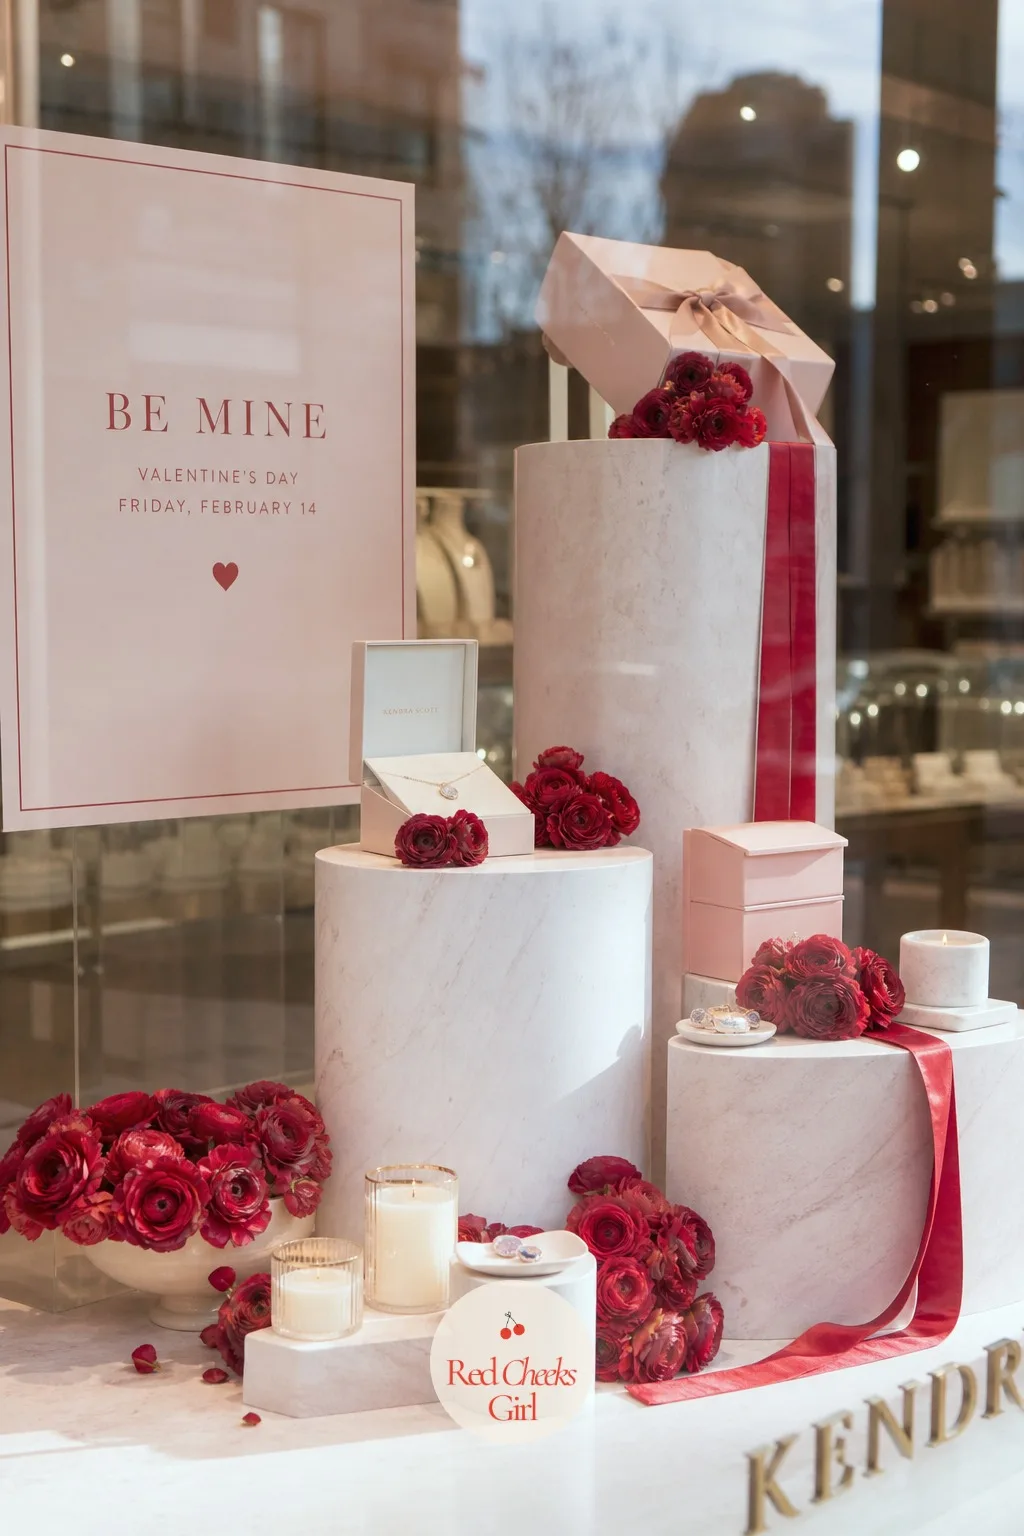
Raise Products on Marble-Look Pedestals With Rose Clusters
Flat shelves make products disappear into each other. A set of cylindrical pedestals in a white and blush marble finish, cut to three or four different heights, gives every item its own level and its own little moment, with a small cluster of red ranunculus tucked at the base of each.
Let a short length of ribbon trail down the side of the tallest pedestal so the eye has somewhere to travel between them. It suits any boutique selling candles, soaps or small jewelry, since the staggered heights do the visual work that empty shelf space usually fails at.
No pedestals to hand? Upturned glass tumblers in varying sizes make a surprisingly good stand-in.
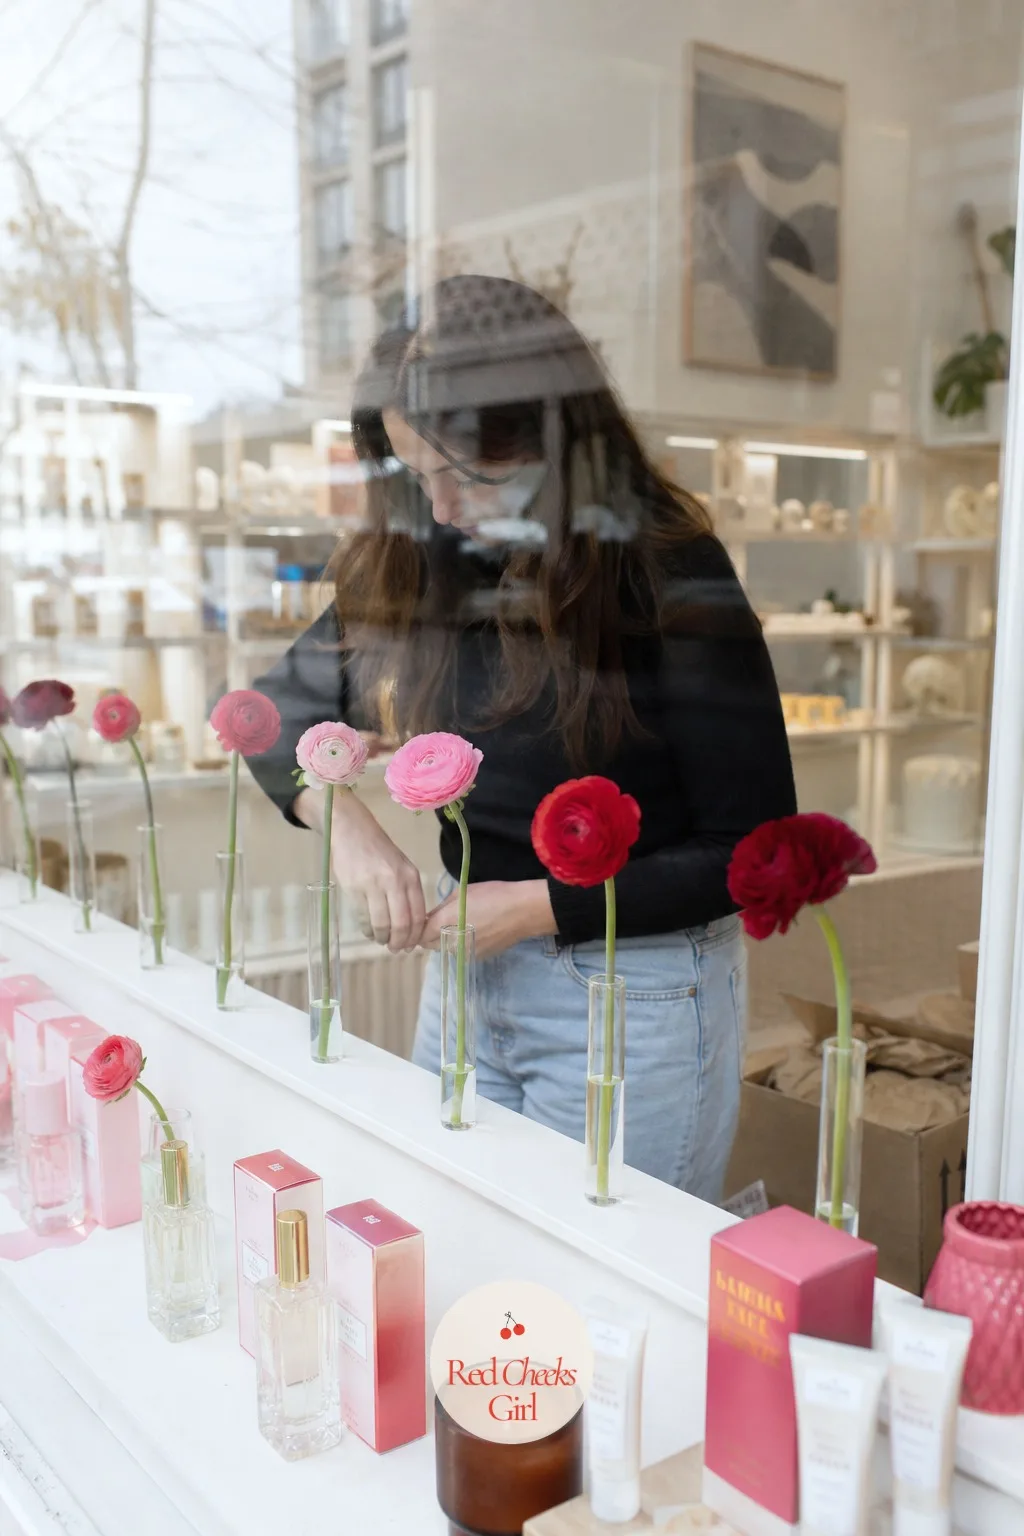
Line Up Bud Vases of Ranunculus Between Products
The temptation with product displays is always to add more florals than the products can carry. A row of narrow bud vases, each holding a single stem of red or blush ranunculus, spaced evenly between product groupings, adds color at eye level without ever blocking the line of sight to what is actually for sale.
It suits a cafe counter window or a stationery shelf where customers need to read labels from the street. If this is your shop and you also sell online, these notes on how to launch an Etsy shop are worth bookmarking for after the holiday rush.
No bud vases handy? A row of collected glass bottles, rinsed and mismatched, does the same job for nothing.
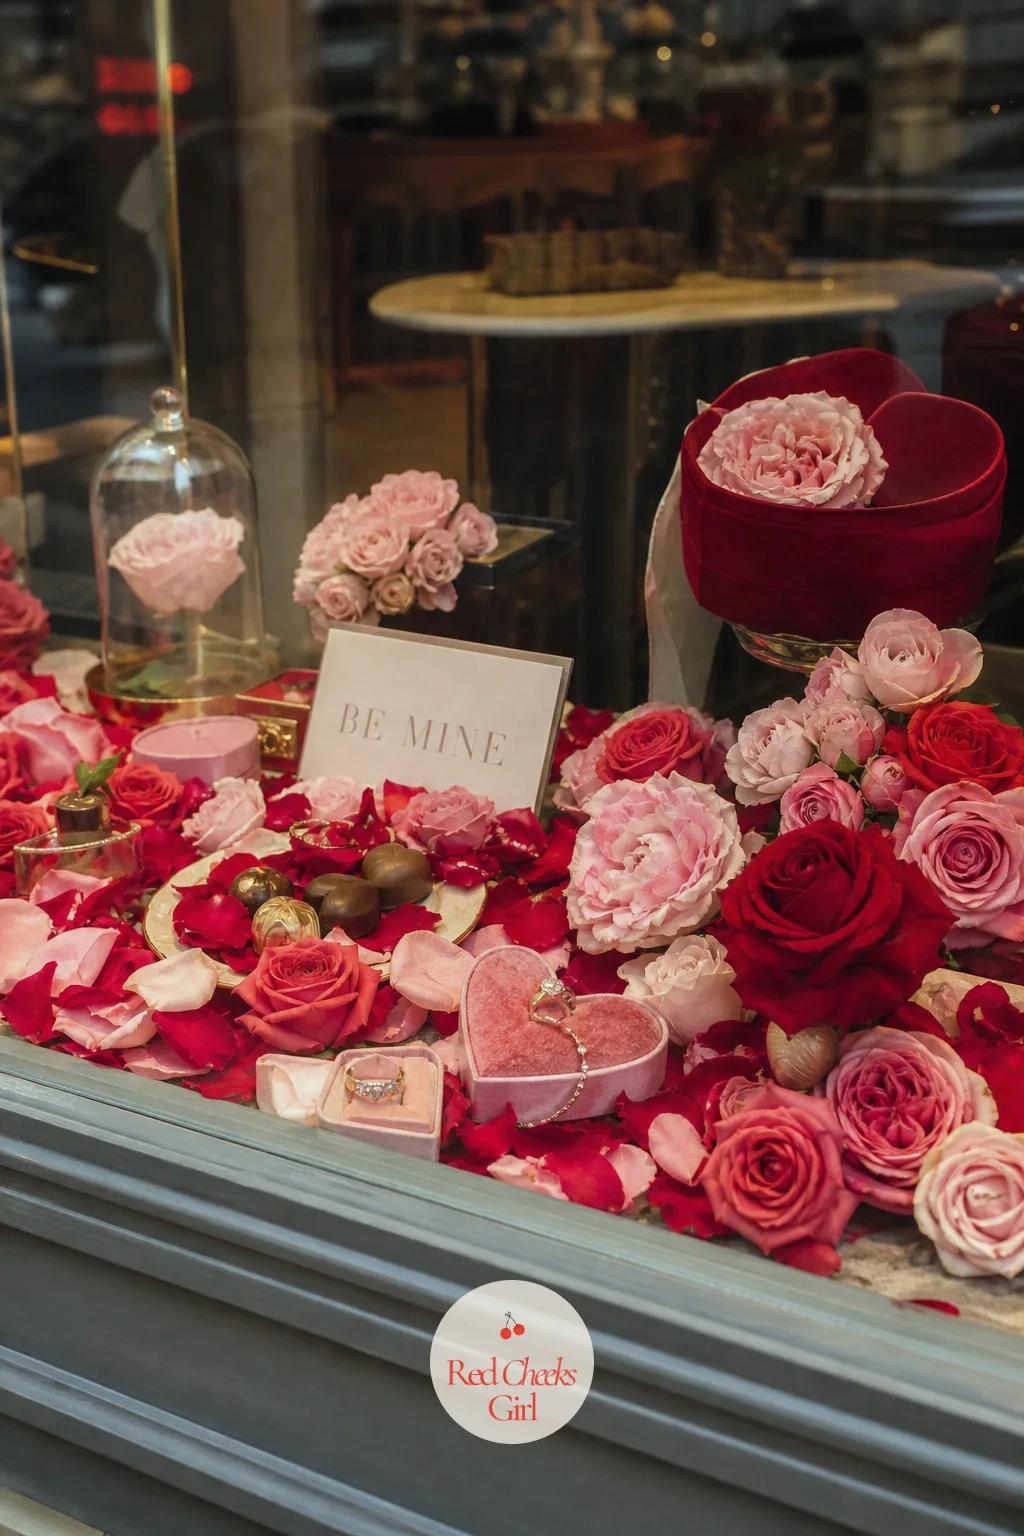
Set Products on a Bed of Rose Petals
A flat tray of products on bare wood looks unfinished no matter how nice the items are. Scatter faux red and blush petals directly across the tray or shelf and nestle the products right into them, chocolates, soap bars or small jewelry pieces sitting as if they landed there naturally.
It suits a chocolate shop or a jewelry counter wanting a soft, slightly indulgent base without adding height or clutter. Keep the petal layer shallow, just enough to cover the surface, so the products never look buried.
If petals shed too much for a longer display run, shredded red and pink tissue paper gives the same effect without the mess.
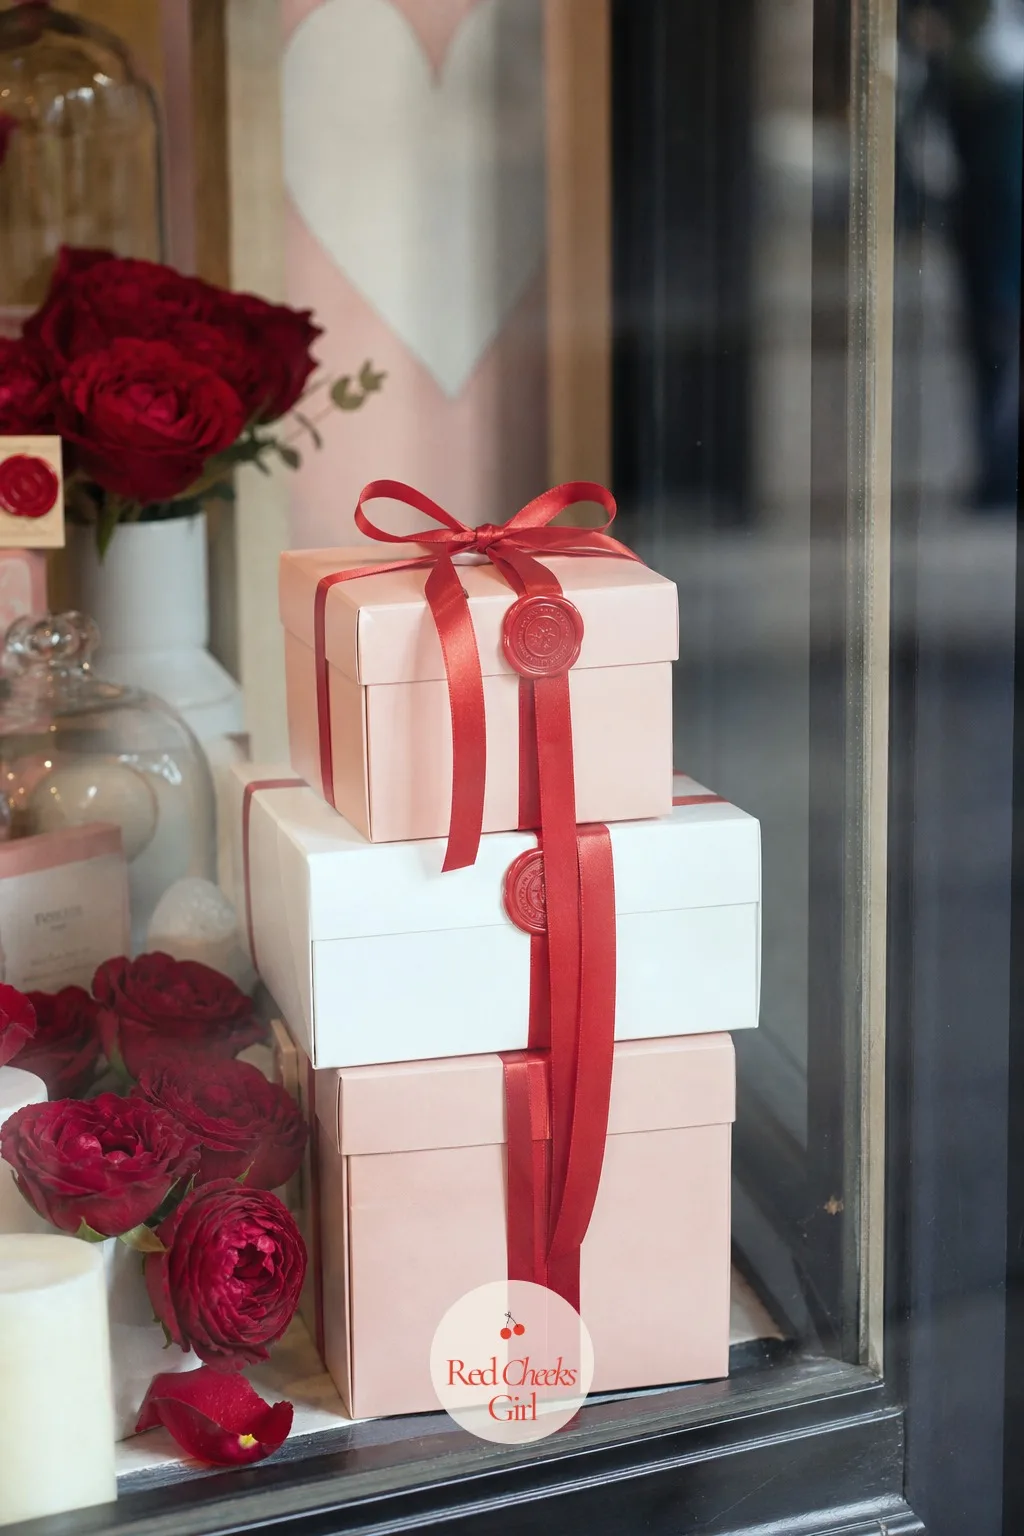
Wrap Product Boxes in Ribbon and Wax Seals
Plain product packaging reads as an afterthought in a window this dressed. Wrap boxes uniformly in blush or white paper, tie each with a single length of red ribbon, and finish with a small wax seal stamped into the knot, then stack them in a loose pyramid near the glass.
It suits a bakery boxing up treats, a soap maker or a perfumer, since the uniform wrap makes a mismatched product line look like one considered collection. Keep the stack slightly uneven rather than perfectly stepped, so it photographs as a pile rather than a display case.
No wax and stamp kit on hand? Self-adhesive wax seal stickers give almost the same finish in a fraction of the time.
🛍 Shopping guide
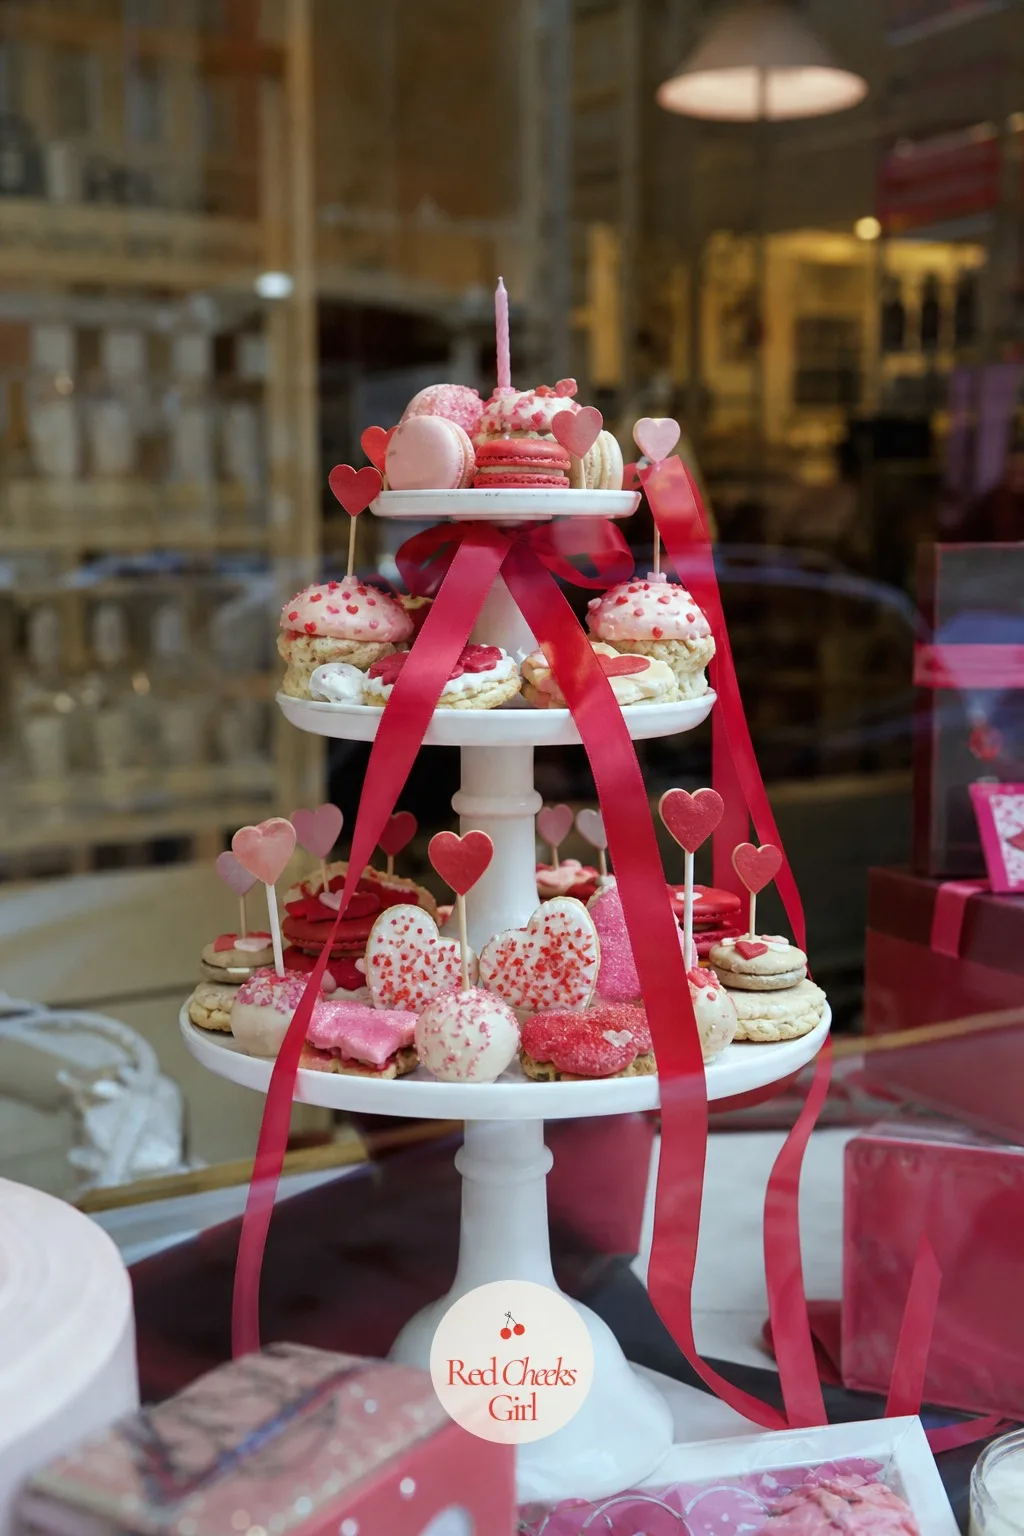
Display Treats on a Tiered Stand With Trailing Ribbon
A tiered stand gives baked goods the height a flat plate never manages, and it reads as generous even with a modest number of items on it.
Set cookies, cupcakes or small pastries across a white or gold tiered stand, top a few with heart picks, and let a length of ribbon trail from the top tier down past the base.
Flank the stand with one or two loose roses rather than a full arrangement, so the treats stay the obvious focal point. It suits any bakery or cafe window, and these Valentine’s Day food ideas are worth a look for what goes on the actual stand.
No tiered stand on hand? Stack two or three cake plates of different sizes on top of each other instead.
Work the Glass Itself
The pane is free real estate most shops never touch. A little paint, a strip of decals or a looped garland along the edge finishes the whole display for almost nothing, and it is the first thing to remove in March.
These treatments sit flush to the glass, so they never compete with what is happening deeper in the window.
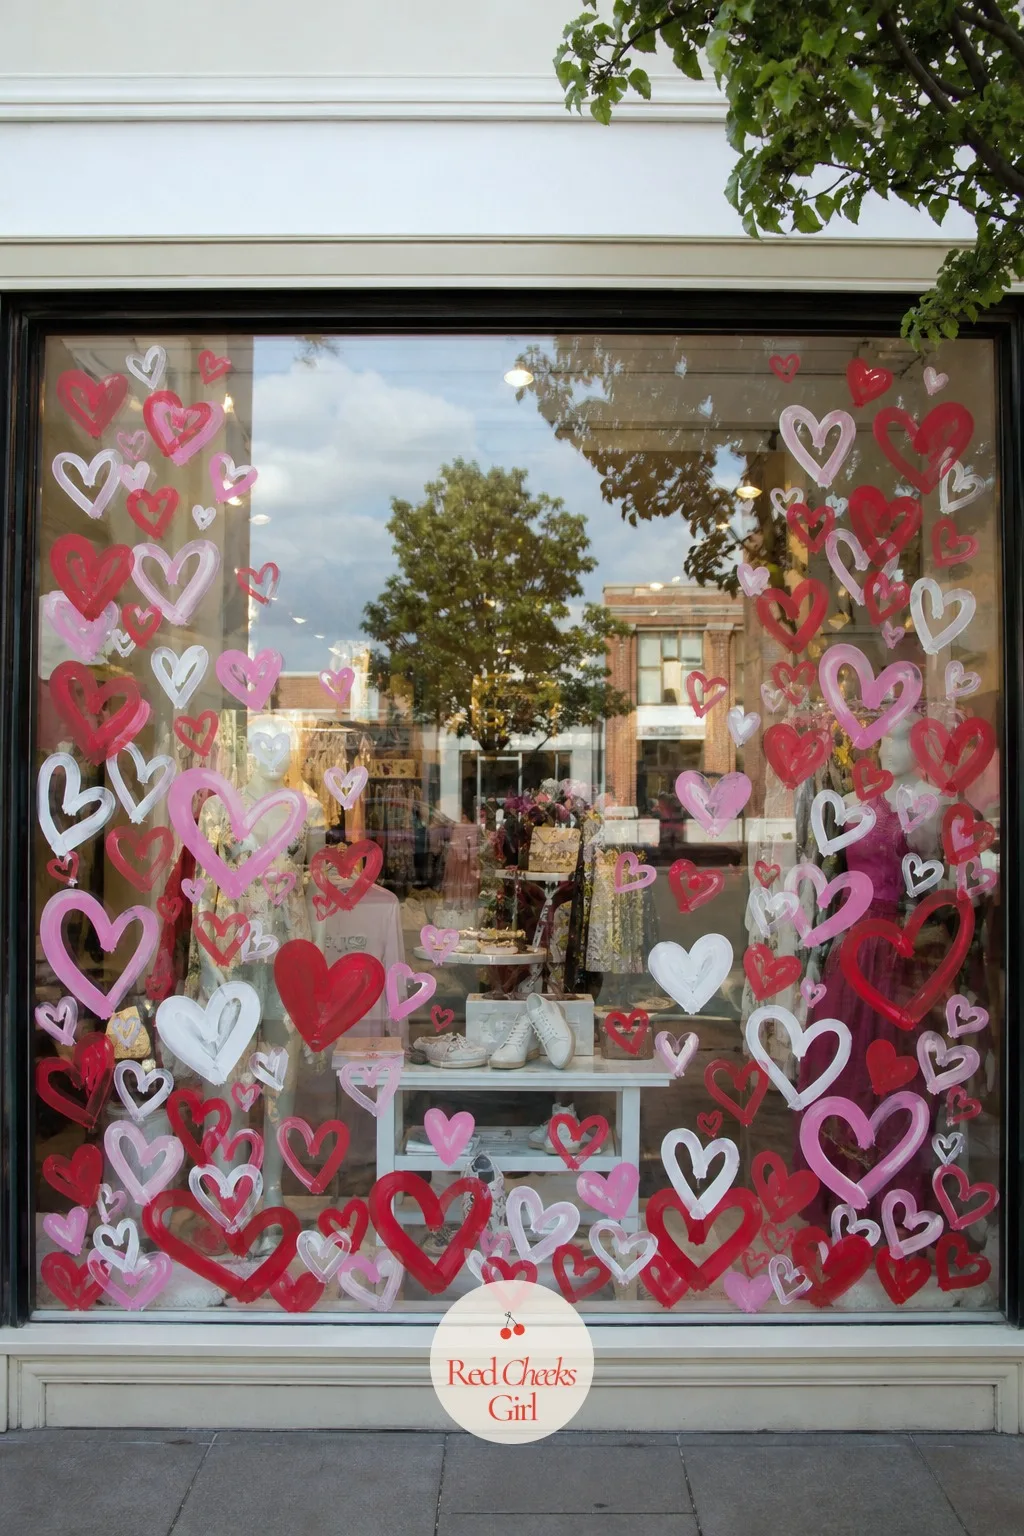
Paint Hearts Directly Onto the Glass
This is the fastest, cheapest finishing move on the whole list, and it almost always gets skipped. Use washable chalk-paint pens to freehand hearts of varying size across the lower corners of the glass, in red, pink and white, clustering them denser at the edges and letting them thin out toward the middle so the products stay fully visible.
It works on any storefront, leased or owned, since the paint wipes off cleanly with glass cleaner when the season ends. Give yourself a quiet hour before opening and the whole pane is done.
If freehand painting feels risky, pre-cut static clings give the same scattered heart effect with none of the commitment.
🛍 Shopping guide
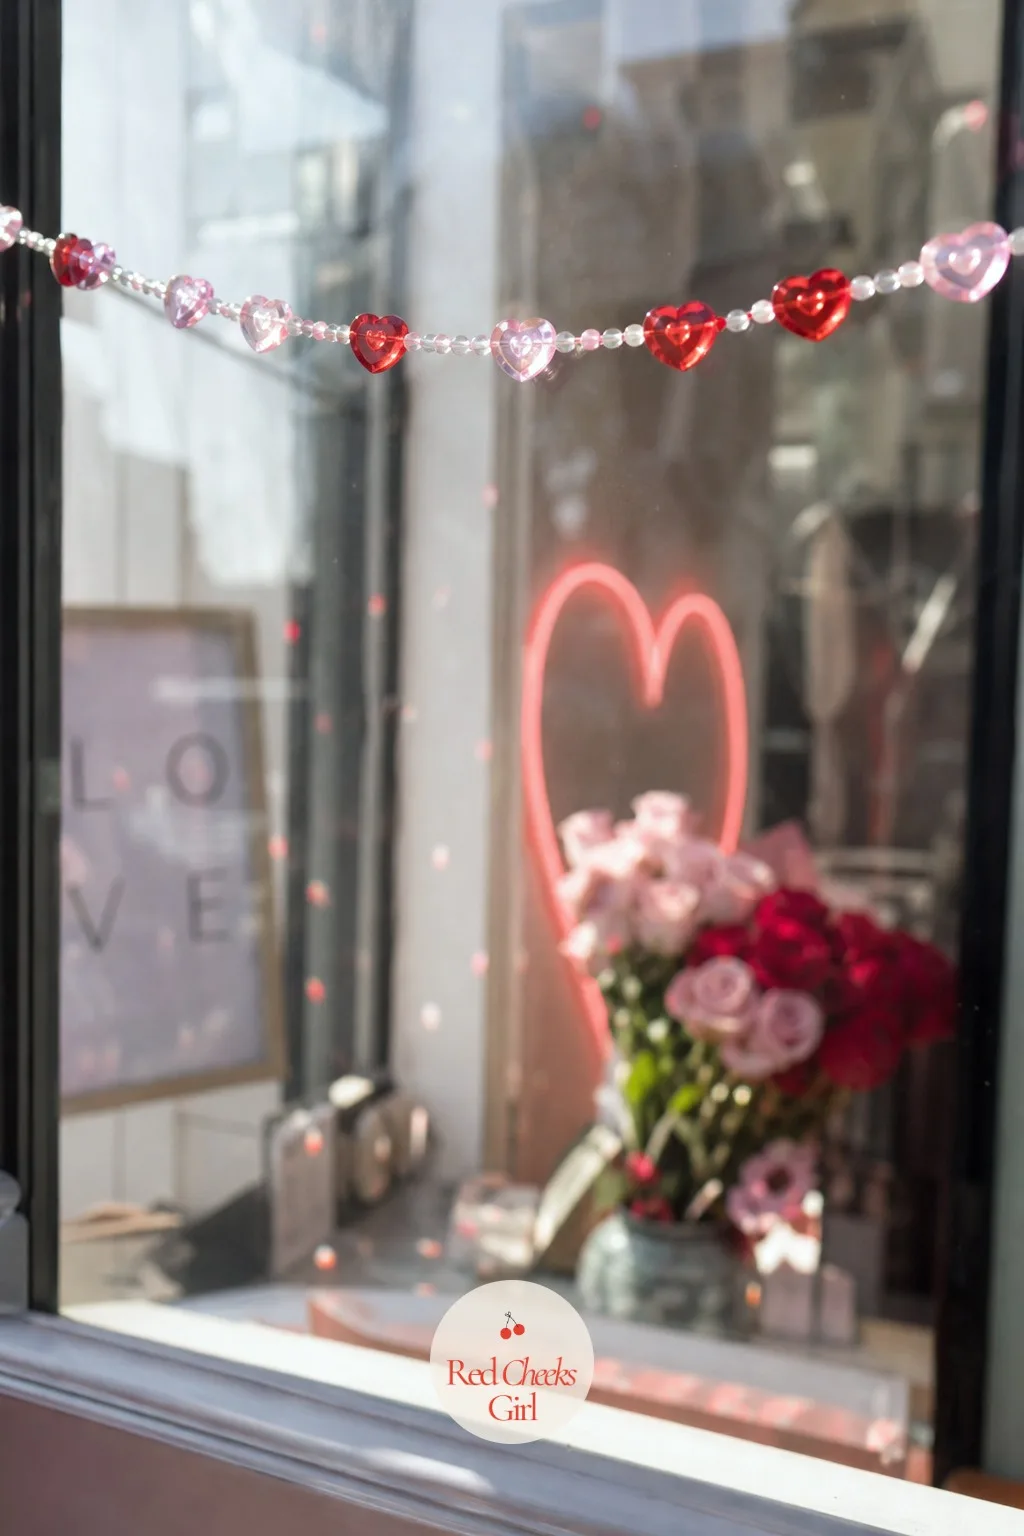
Hang a Beaded Heart Garland Across the Top
Sparkle at eye level does something painted hearts cannot: it throws actual light. A garland of small acrylic heart beads strung along fishing line in a shallow swag across the top of the pane catches the sun and scatters tiny flecks of red and pink across the sidewalk in front of the shop.
It suits a jewelry counter or an optical boutique wanting a little glamour without adding bulk to the window. Hang it with removable adhesive hooks at each end so it stays taut without a single hole in the frame.
Painted wooden hearts strung the same way give a softer, matte version if acrylic feels too shiny for the rest of the window.
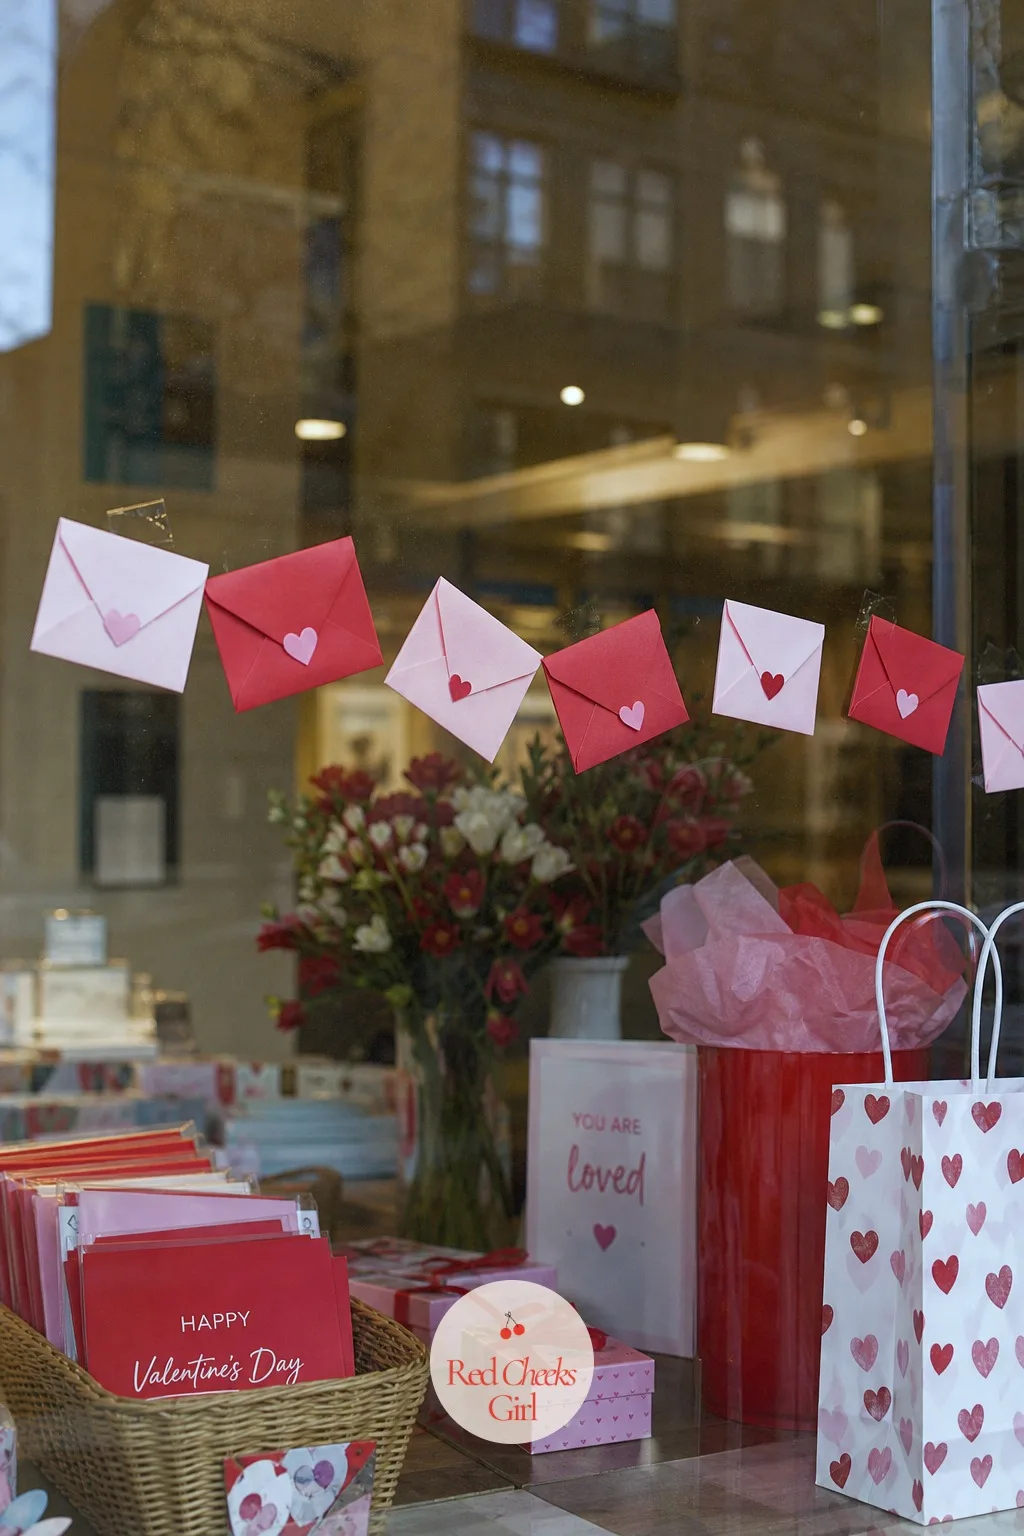
Tape a Row of Mini Envelopes Along the Glass
This one plays off the mailbox centerpiece without repeating it: small red and blush envelopes, each sealed with a tiny heart sticker, taped in a loose zigzag line along the inside of the glass at eye level, as if a handful of letters landed against the window on their way in.
It suits a stationery shop, a cafe or a gift shop, since the scale is small enough to sit alongside products without competing for attention. Keep the line loose and slightly uneven rather than ruler straight, so it reads as a drift rather than a border.
Swap the envelopes for small luggage tags if the shop sells gifts rather than paper goods.
🛍 Shopping guide
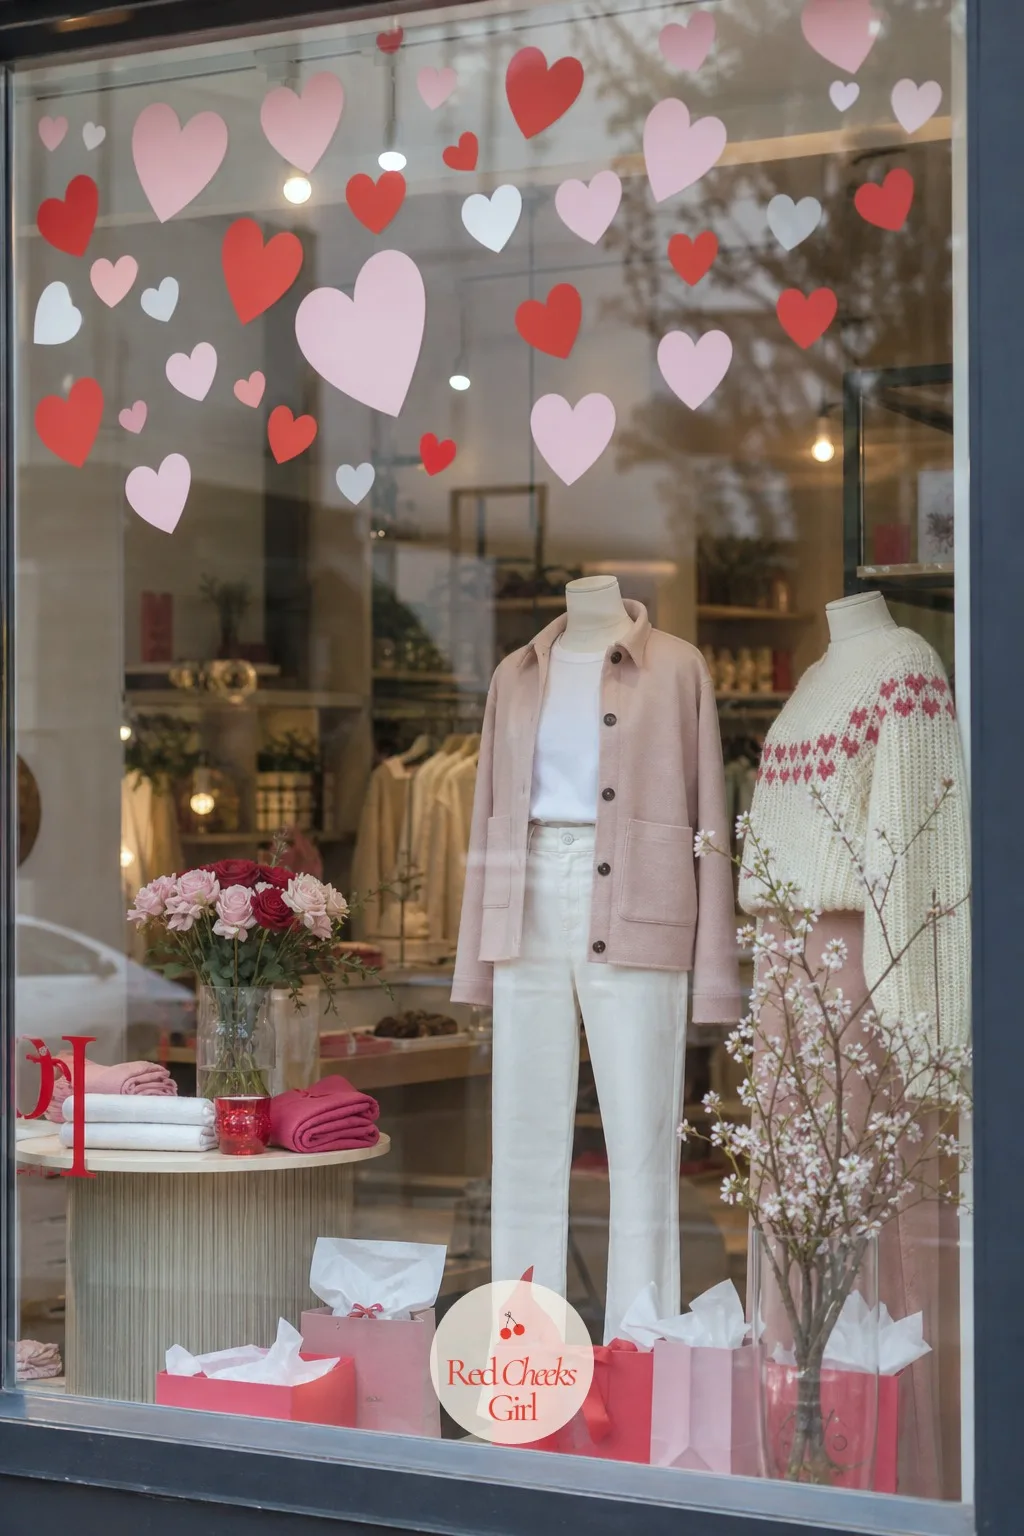
Apply Frosted Heart Decals in a Scatter Pattern
Painted hearts bring color; frosted ones bring texture, and the two do not compete because this treatment sits higher up the pane, out of the way of the painted corners below. Apply frosted vinyl heart decals in varying sizes across the upper glass in a loose, uneven scatter, the way confetti might fall mid-air.
The frosted finish catches the light without blocking the view into the window, so it suits any storefront that wants texture rather than more color. These decals lift cleanly with no residue when the season ends.
If frosted vinyl is hard to source locally, etched-look static clings in the same scatter give a near-identical finish.
Edge the Glass With a Looped Ribbon Garland
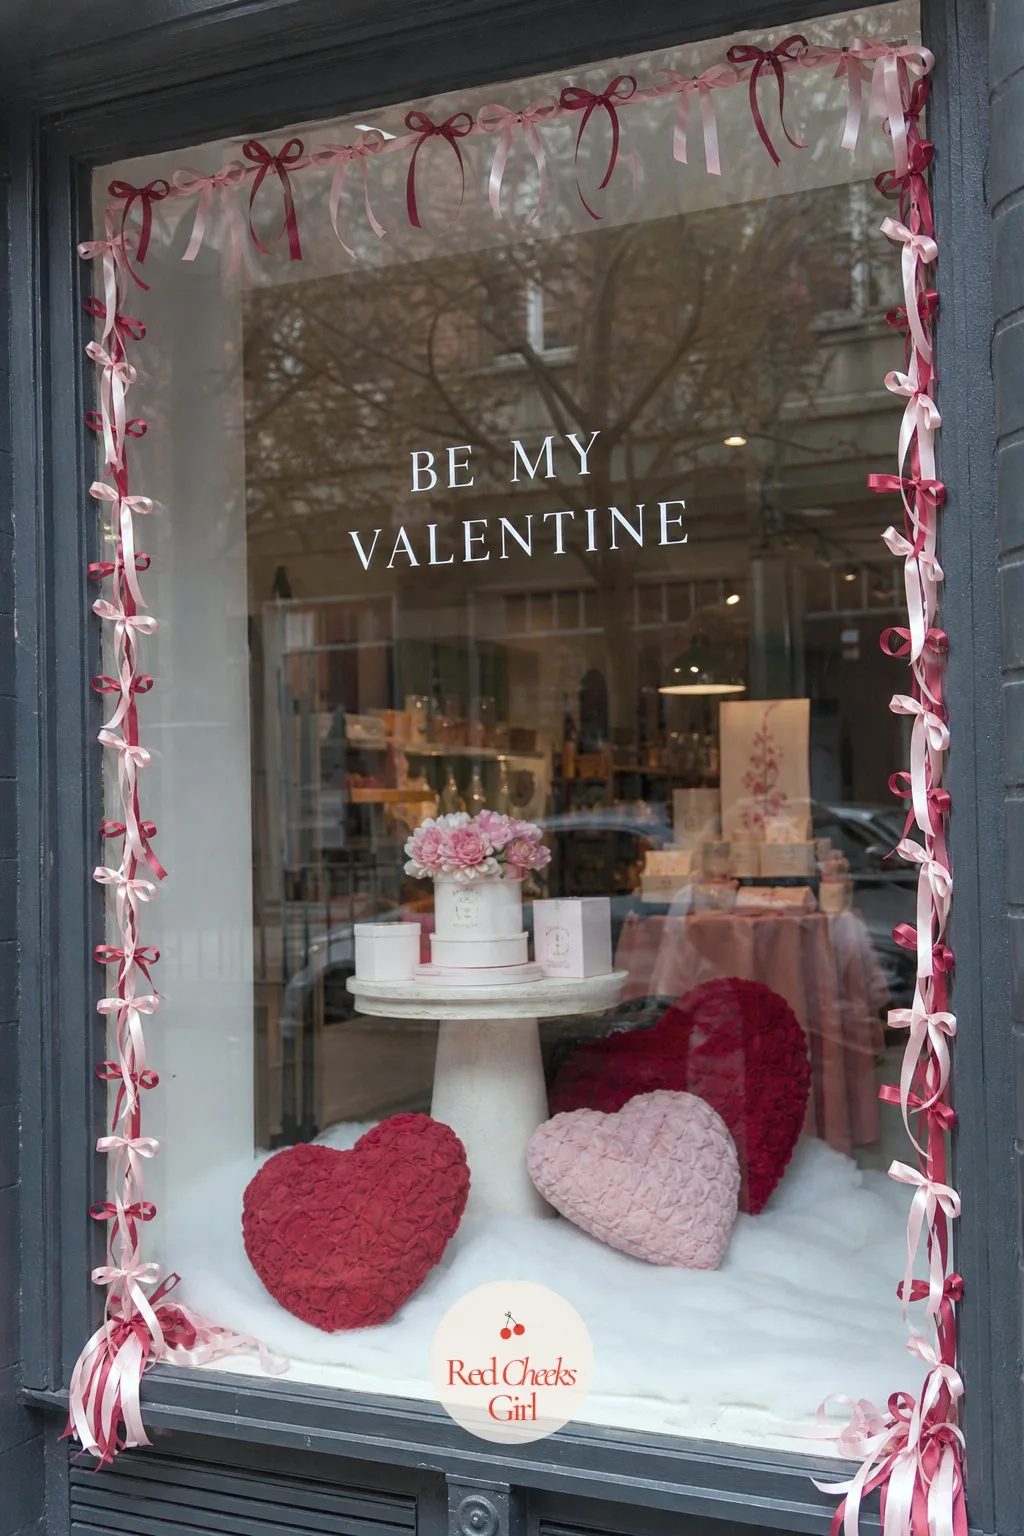
The simplest way to make a whole window feel finished is to give it a border, the way a frame finishes a painting. A continuous loop of small satin ribbon bows, strung along the full perimeter of the glass in red and blush, ties every other zone together into one considered scene.
Finish the bottom corners with a small cluster of loose ribbon streamers rather than letting the loop end flat. It suits any shop as the very last step, the thing that makes a busy window read as deliberate instead of crowded.
One roll of ribbon covers an average storefront window, so it is the cheapest finishing touch on this whole list.
Frequently Asked Questions
How do I create the perfect Valentine’s Day window display?
Pick one cohesive palette of two or three colors, build one clear centerpiece, then frame it and finish the glass; a display with one strong idea always outperforms a window crammed with many small ones.
What colors work best for a Valentine’s window display?
Red and pink remain the classic choices because they read instantly as romance from across the street, and a crisp white keeps the combination from feeling heavy or overdone on glass.
How do I make a Valentine’s window display on a tight budget?
Lean on paper, ribbon and balloons rather than fresh florals, since cardstock hearts and a balloon garland cost a fraction of flowers and hold up for the full season without wilting.
What props should I include in a Valentine’s shop window?
One unmistakable centerpiece (a mailbox, a giant heart, stacked gift boxes) matters more than a pile of small props; build around that single piece rather than scattering decor evenly across the space.
How do I balance product display with the Valentine’s theme without overwhelming the products?
Let decor frame the products rather than sit on top of them: pedestals, bud vases and ribbon add color around the merchandise, while the sightline to the actual items for sale stays clear.
How early should a Valentine’s window display go up?
Most small shops build theirs about two to three weeks before the holiday, giving enough runway for foot traffic to notice it without the display looking tired by the day itself.
Thinking about starting a candle business? You’re in the right place! In my opinion, the candl
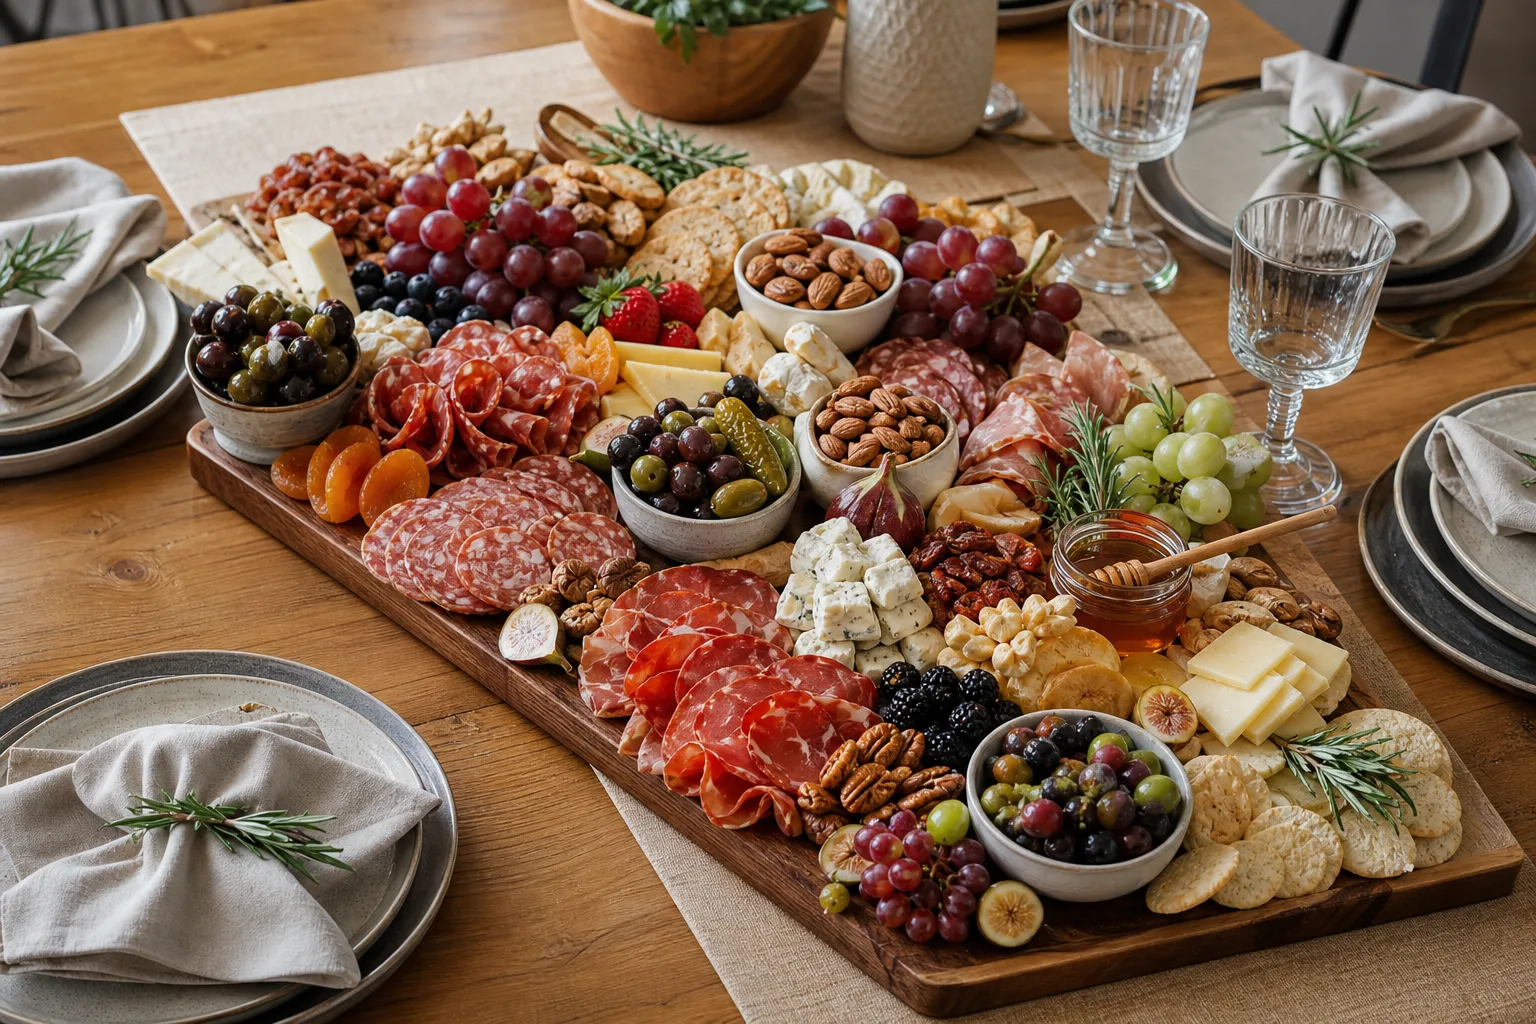
16 charcuterie business ideas for home cooks: pickup boards, grazing tables, cones, a cart, gift box
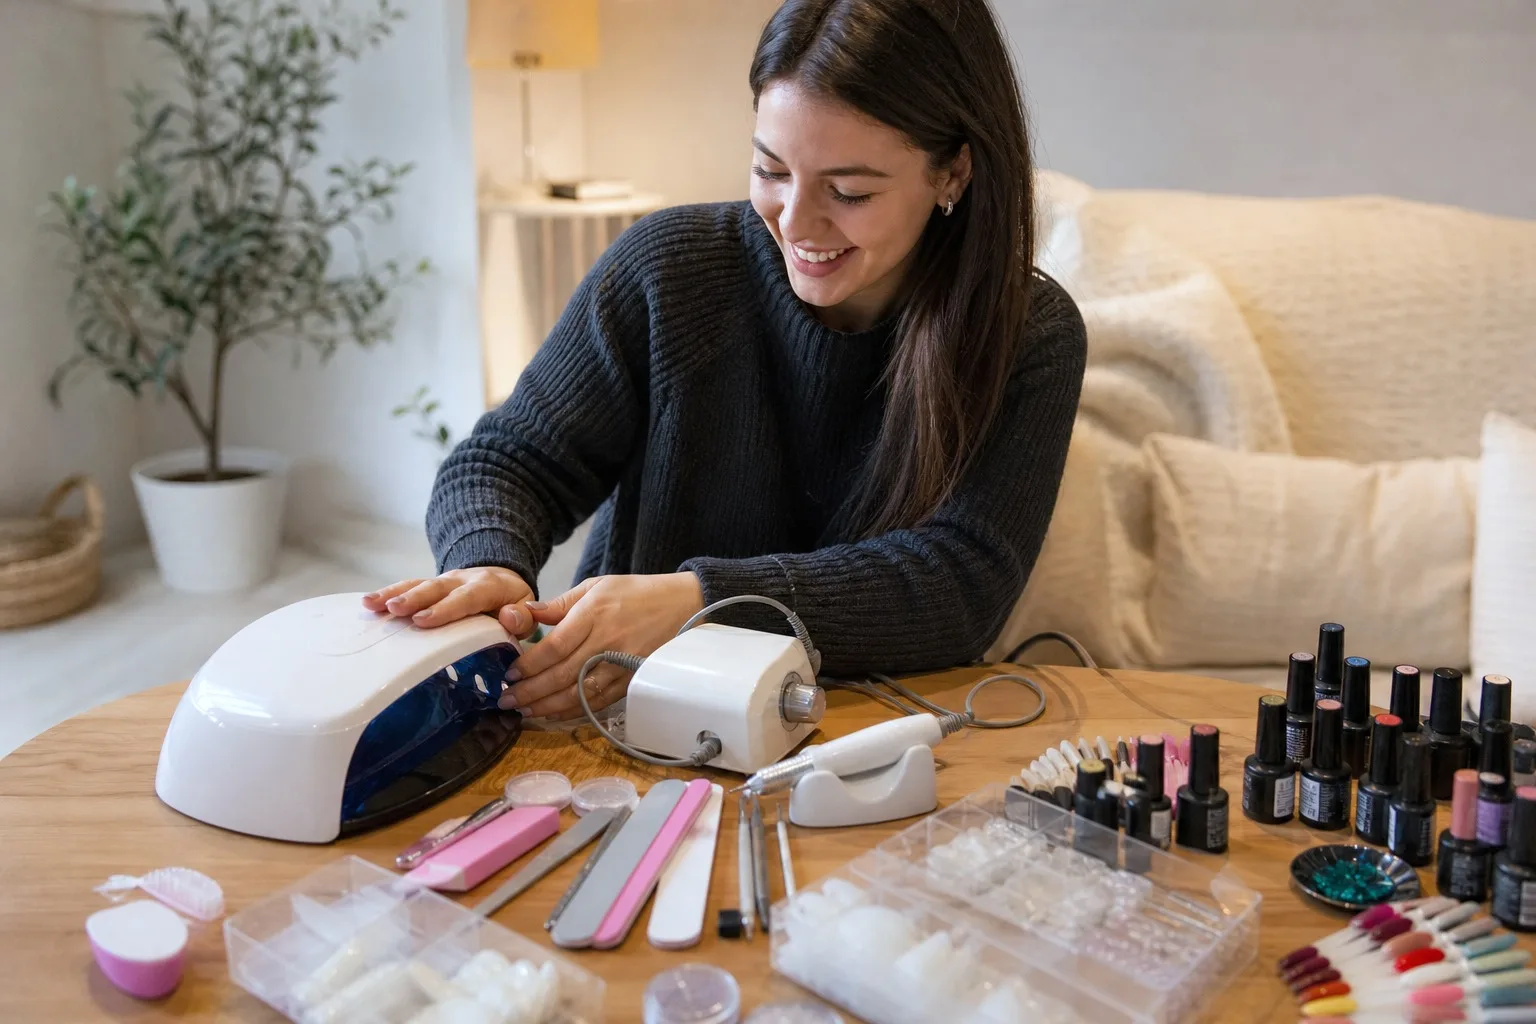
Start a nail tech business at home with the UV lamp, e-file, milky pink gel polish, charms and packa
Leave a Reply