

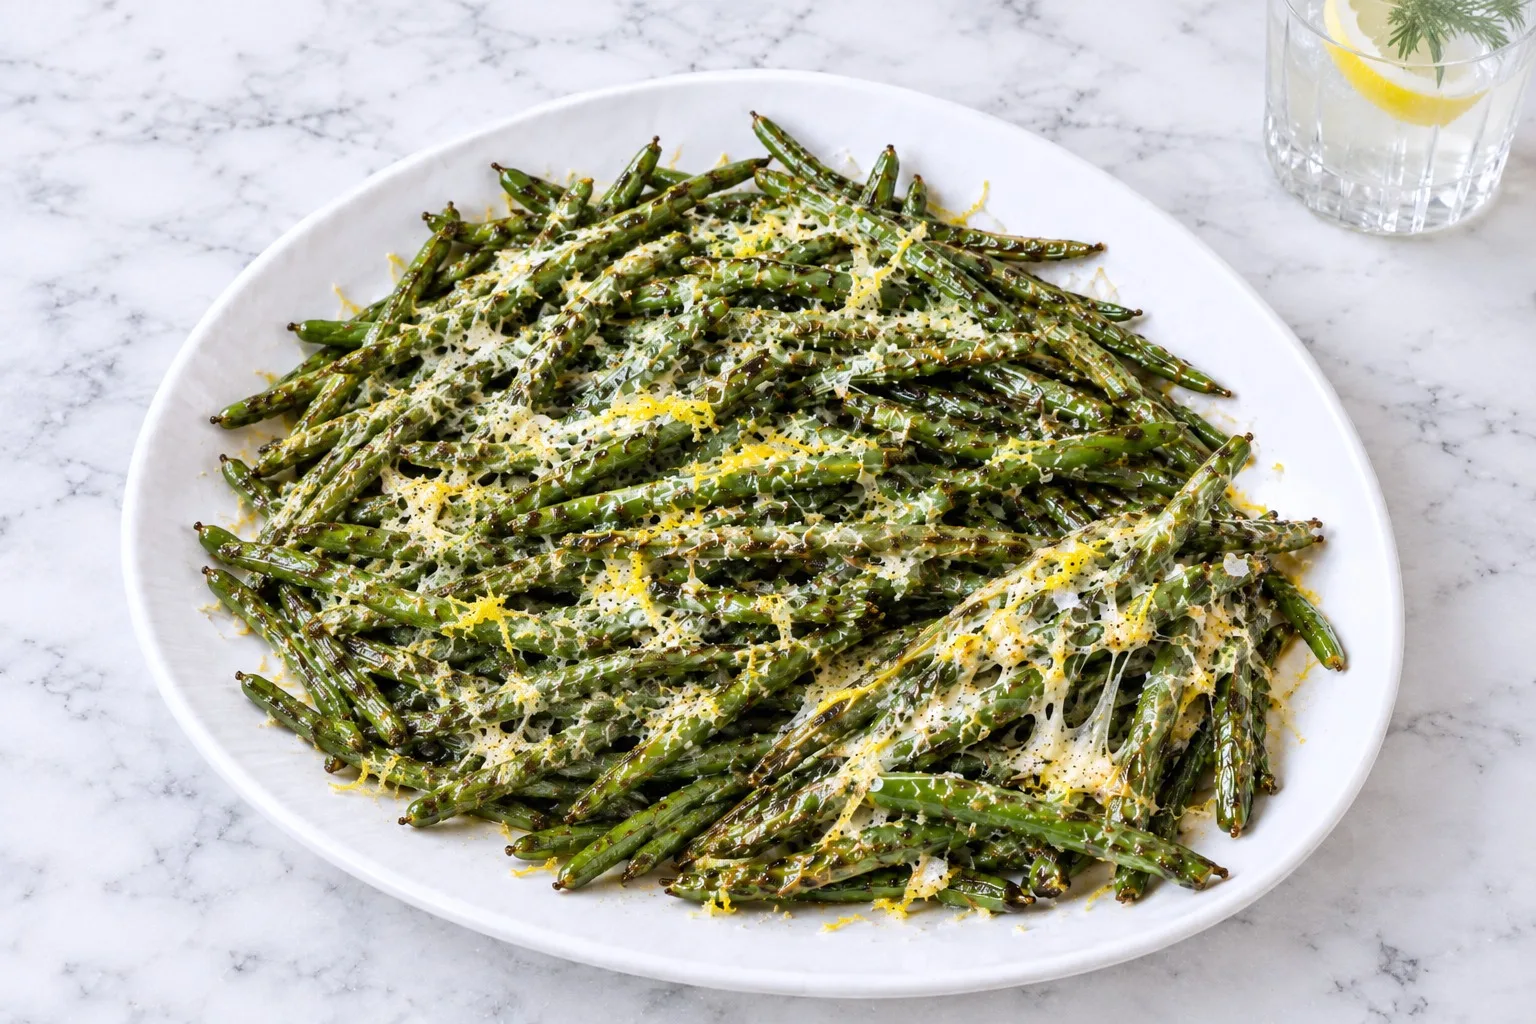
Roasted green beans turn a vegetable most people tolerate into one they ask for twice: blistered, nutty, and finished with parmesan and a confetti of lemon zest.
The whole dish needs one pan and about twenty minutes in a hot oven, with no boiling pot to babysit. It holds its own on a Tuesday next to plain roast chicken and on a holiday table crowded with heavier things.
This post contains affiliate links. If you buy through them, I may earn a small commission at no extra cost to you.
Table of Contents
A Green Bean Side That Actually Gets Eaten
Roasted green beans solve a problem every host knows: the vegetable side that sits there, half finished, while everyone goes back for more bread.
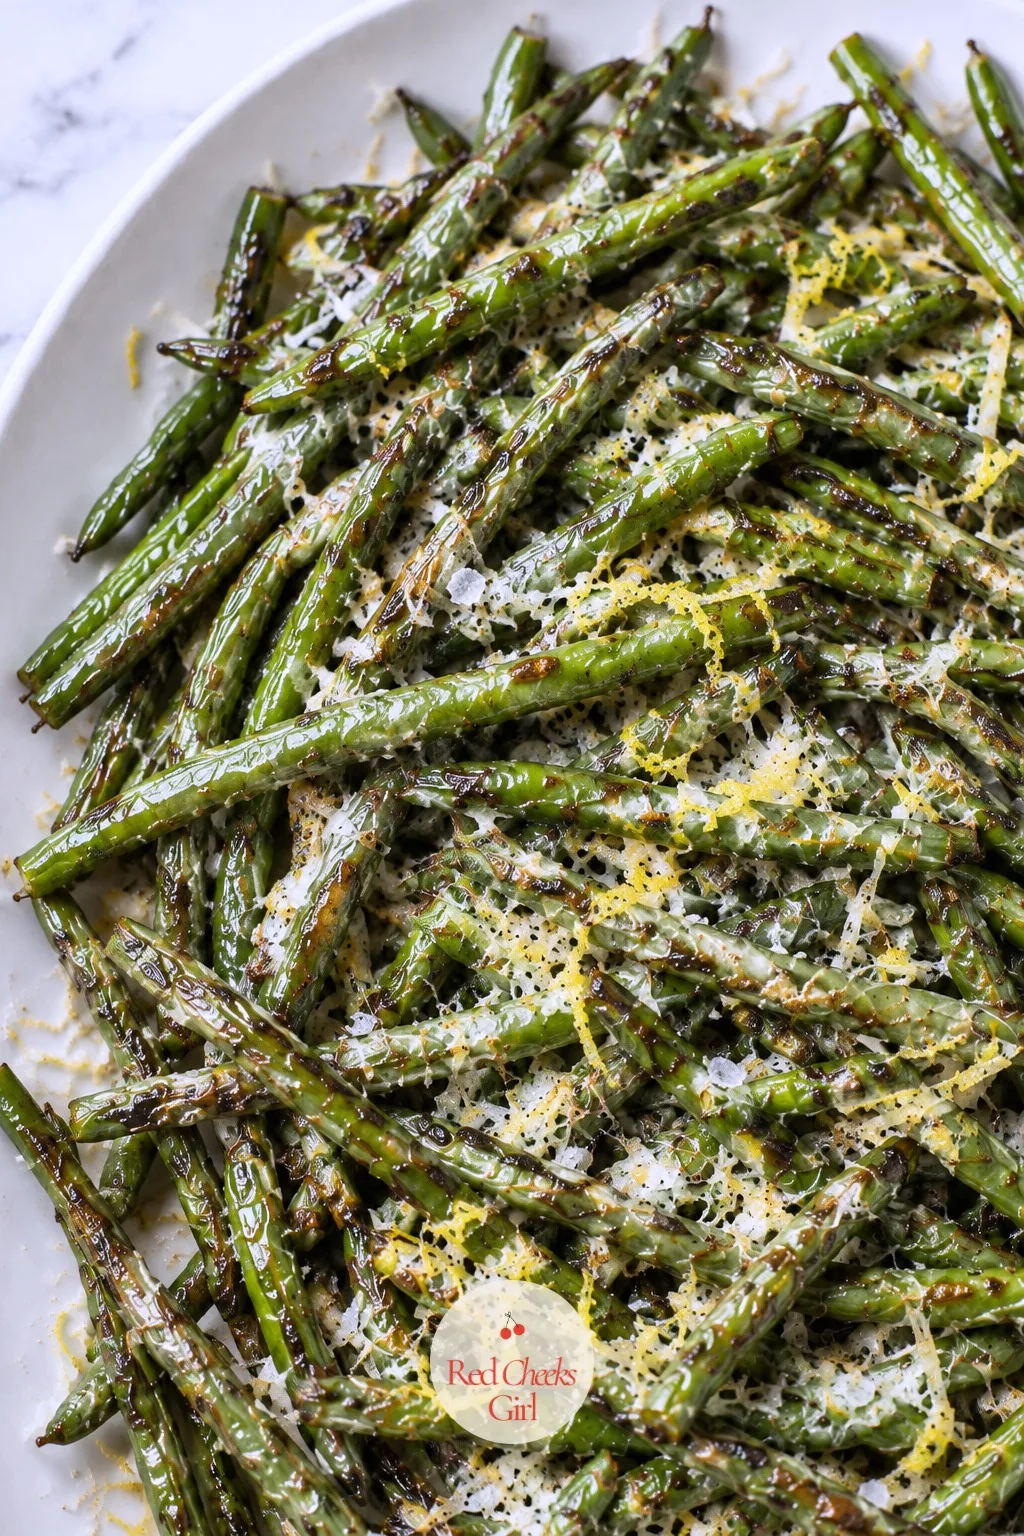
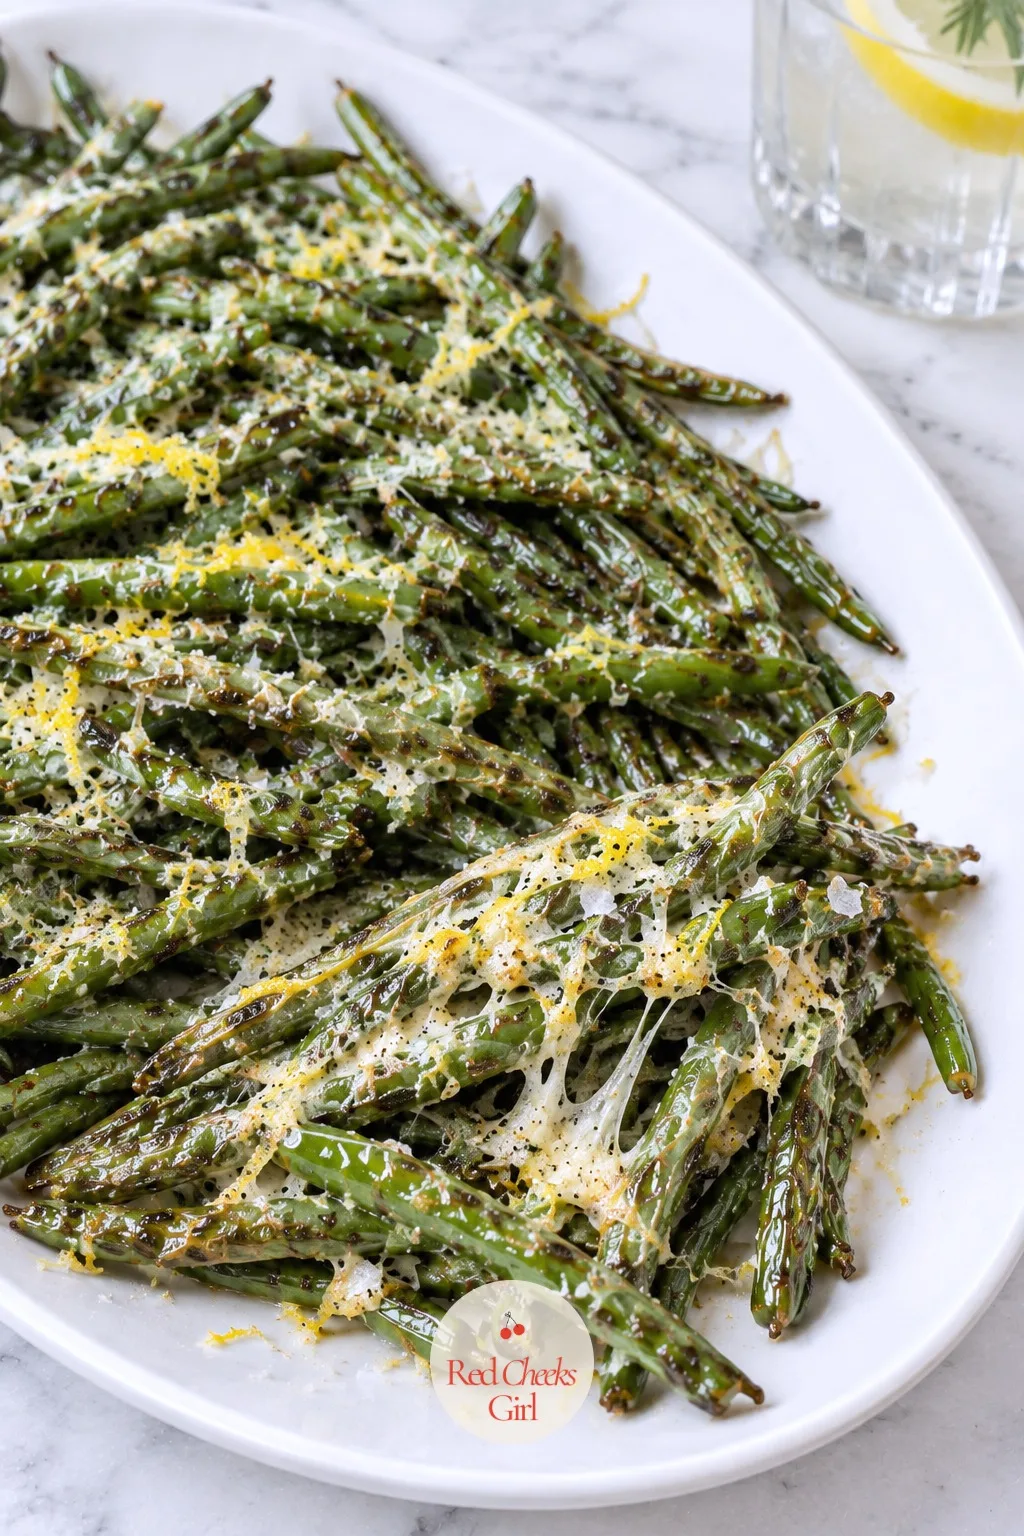
Something happens to a green bean under high heat that steaming never manages. The skin blisters, a few spots go nearly brown, and the inside stays snappy instead of turning to mush.
You need one pan, a few pantry staples and about twenty minutes, so this slides into a weeknight as easily as it dresses up a holiday table set for twelve.
The part that decides whether these taste like a restaurant side or a sad vegetable has nothing to do with the parmesan. It is how much space the beans get in the pan, and that costs nothing at all.
The Ingredients That Make the Difference
Fresh green beans are the one ingredient with no real substitute here. Look for pods that snap cleanly when you bend them, not ones that bow without a sound.
Olive oil needs to properly coat each bean, not just puddle at the bottom of the bowl. That full, even layer is what lets the high heat brown the skin instead of drying it out before it blisters.
Garlic goes in sliced, not minced to a paste. Thin slices roast alongside the beans and turn golden instead of burning to a bitter dust in the first few minutes under that kind of heat.
Parmesan and lemon zest arrive only at the very end, off heat. Added too early, the cheese turns rubbery and the zest turns bitter instead of bright.
Flaky salt matters more than people expect. It sits on the surface of the warm beans instead of dissolving away, so every bite tastes seasoned instead of just salted.
How to Make It
This is the exact method, start to finish, with nothing assumed. Follow the order and the beans come out blistered, not steamed, with a finish that tastes like far more effort than it actually took.
Trim and Dry the Beans
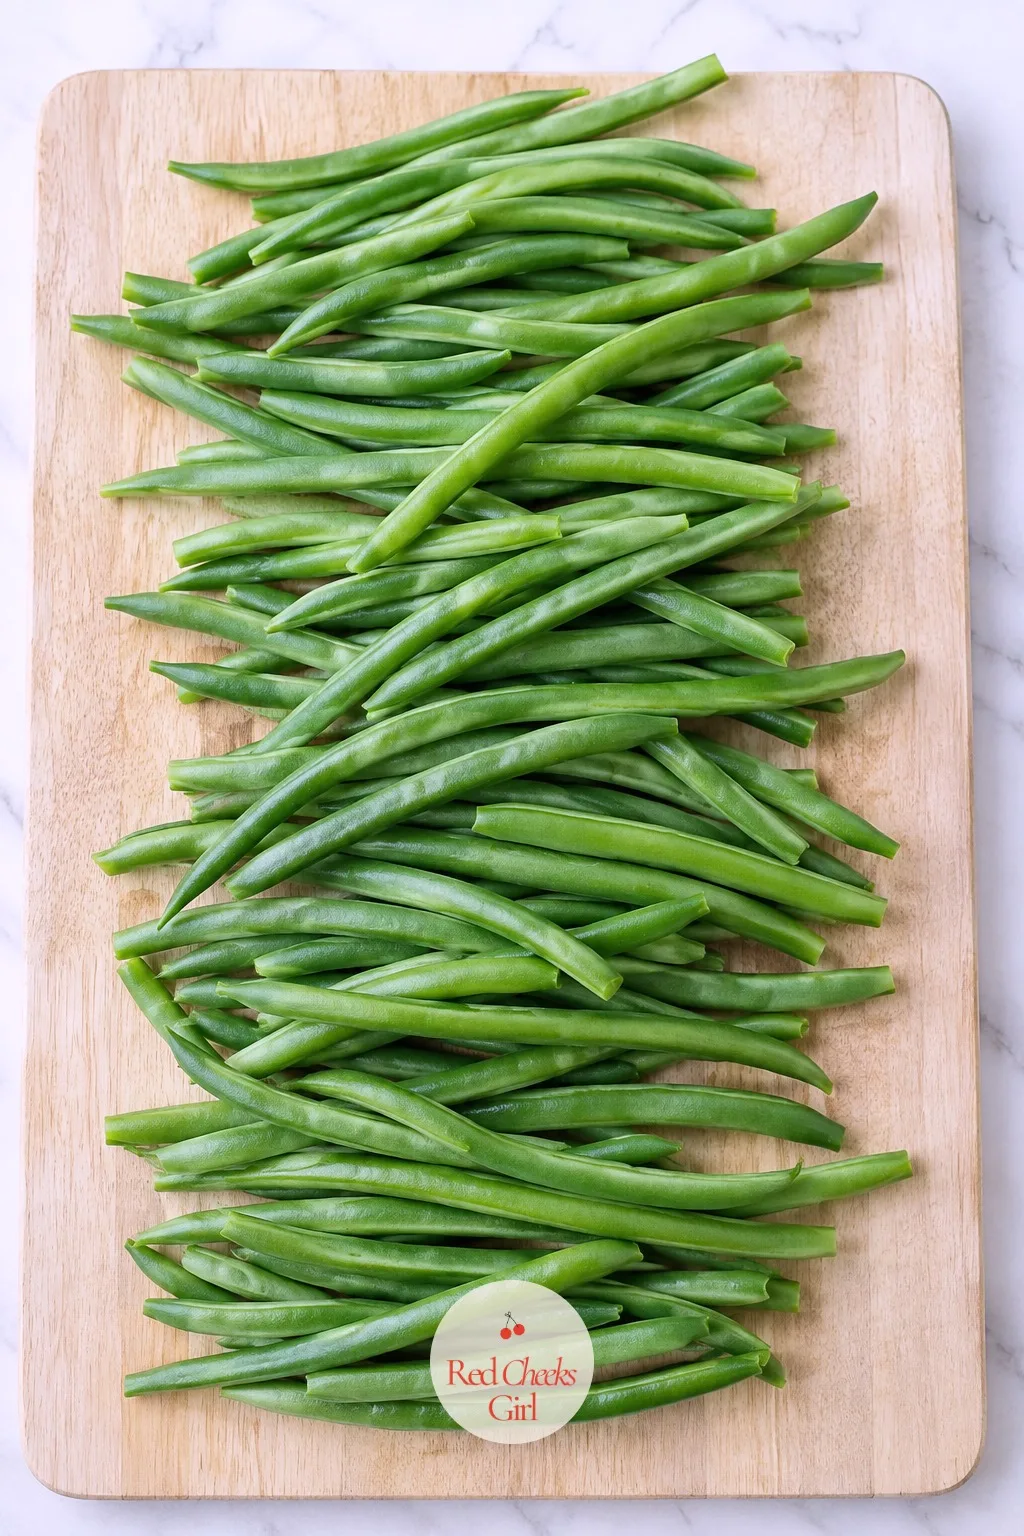
Line up the trimmed green beans once every stem end is off and the pods are patted fully dry. Any damp spots will steam instead of blister once they hit the hot pan.
Toss With Oil and Garlic
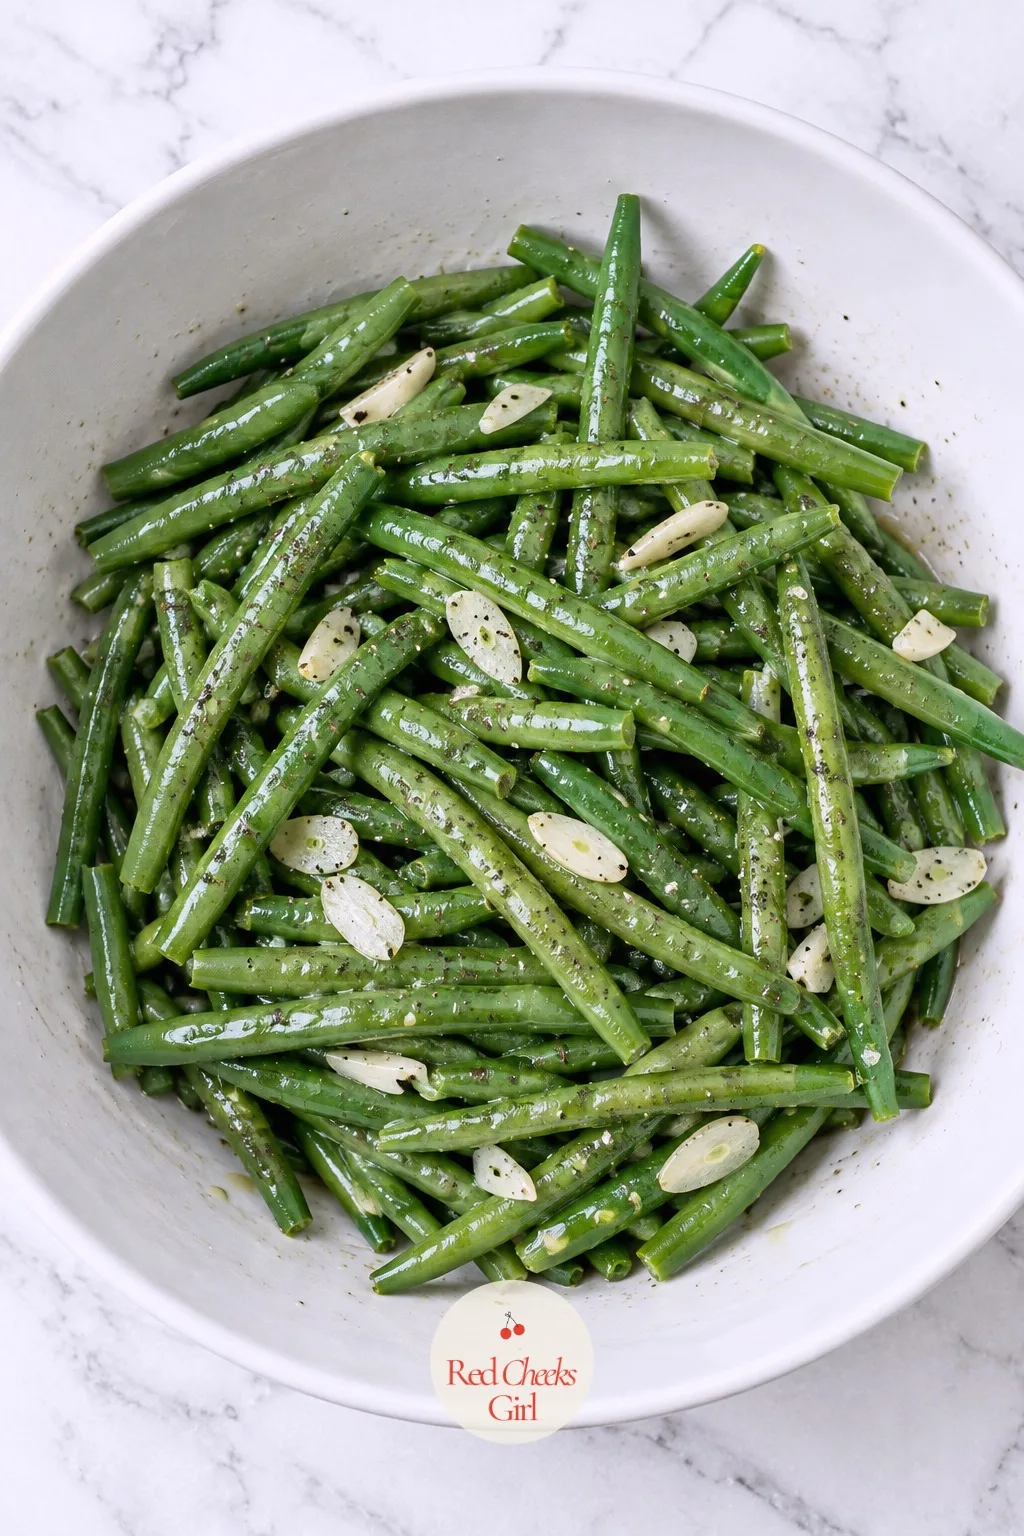
Turn the beans through the olive oil, garlic and salt until every pod is glossy. You want a visible sheen, not just oil sitting in the bottom of the bowl.
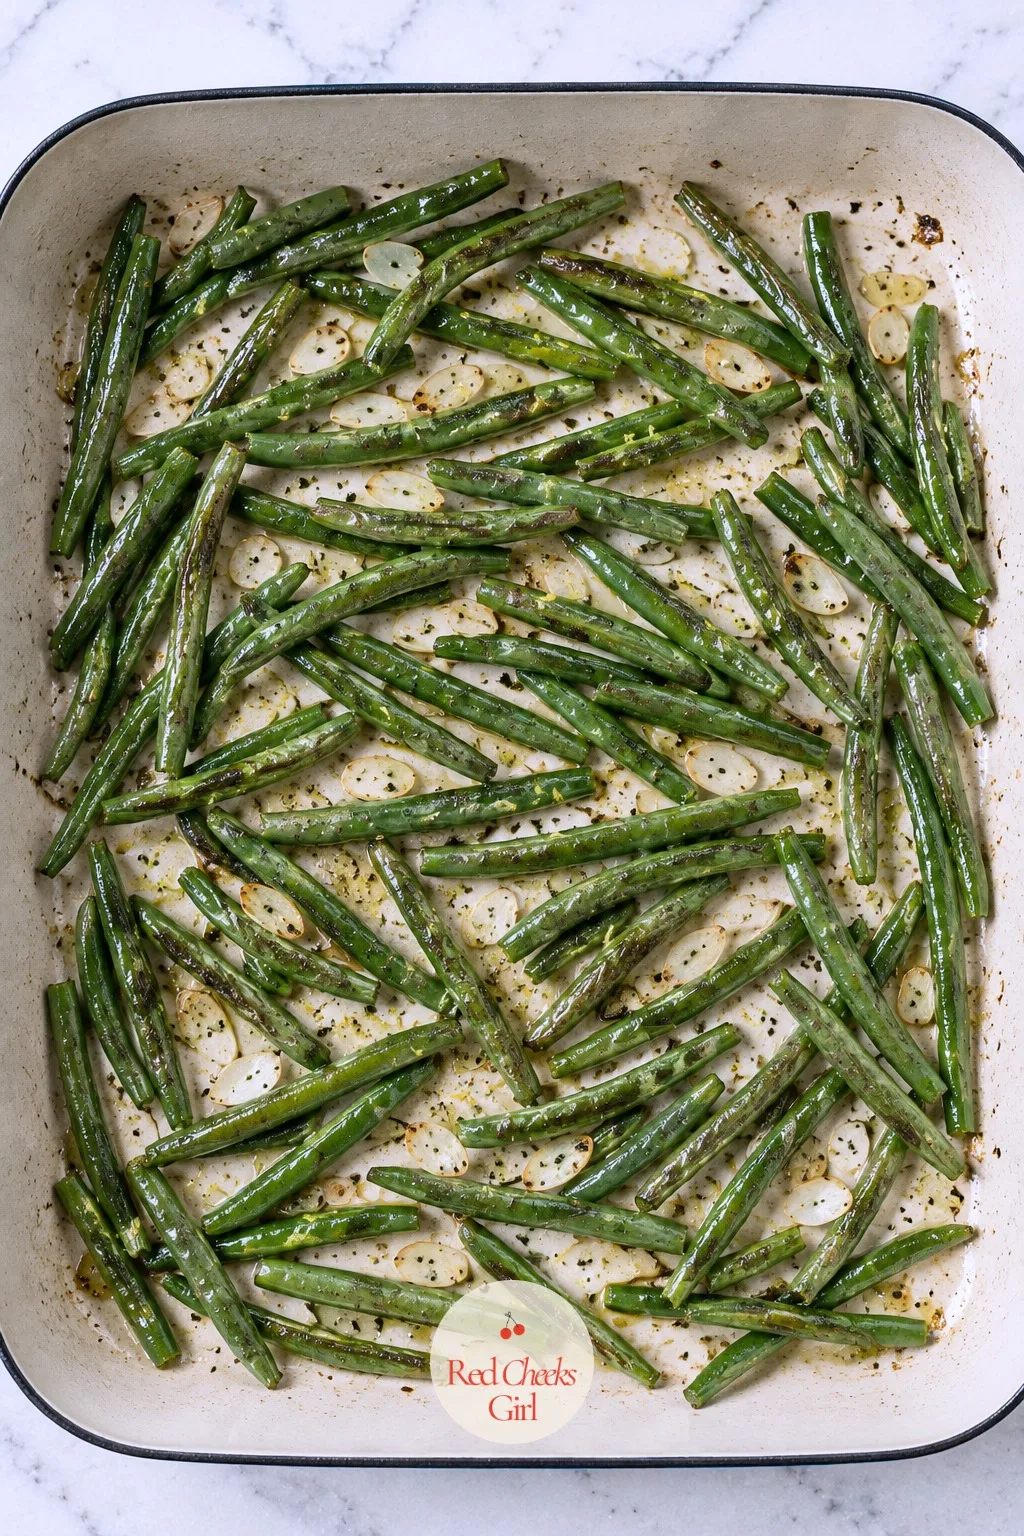
Spread in a Single Layer
Spread the raw, oiled beans across the hot pan so no two pods touch. This is the moment that decides whether they roast or steam, so resist piling them up.
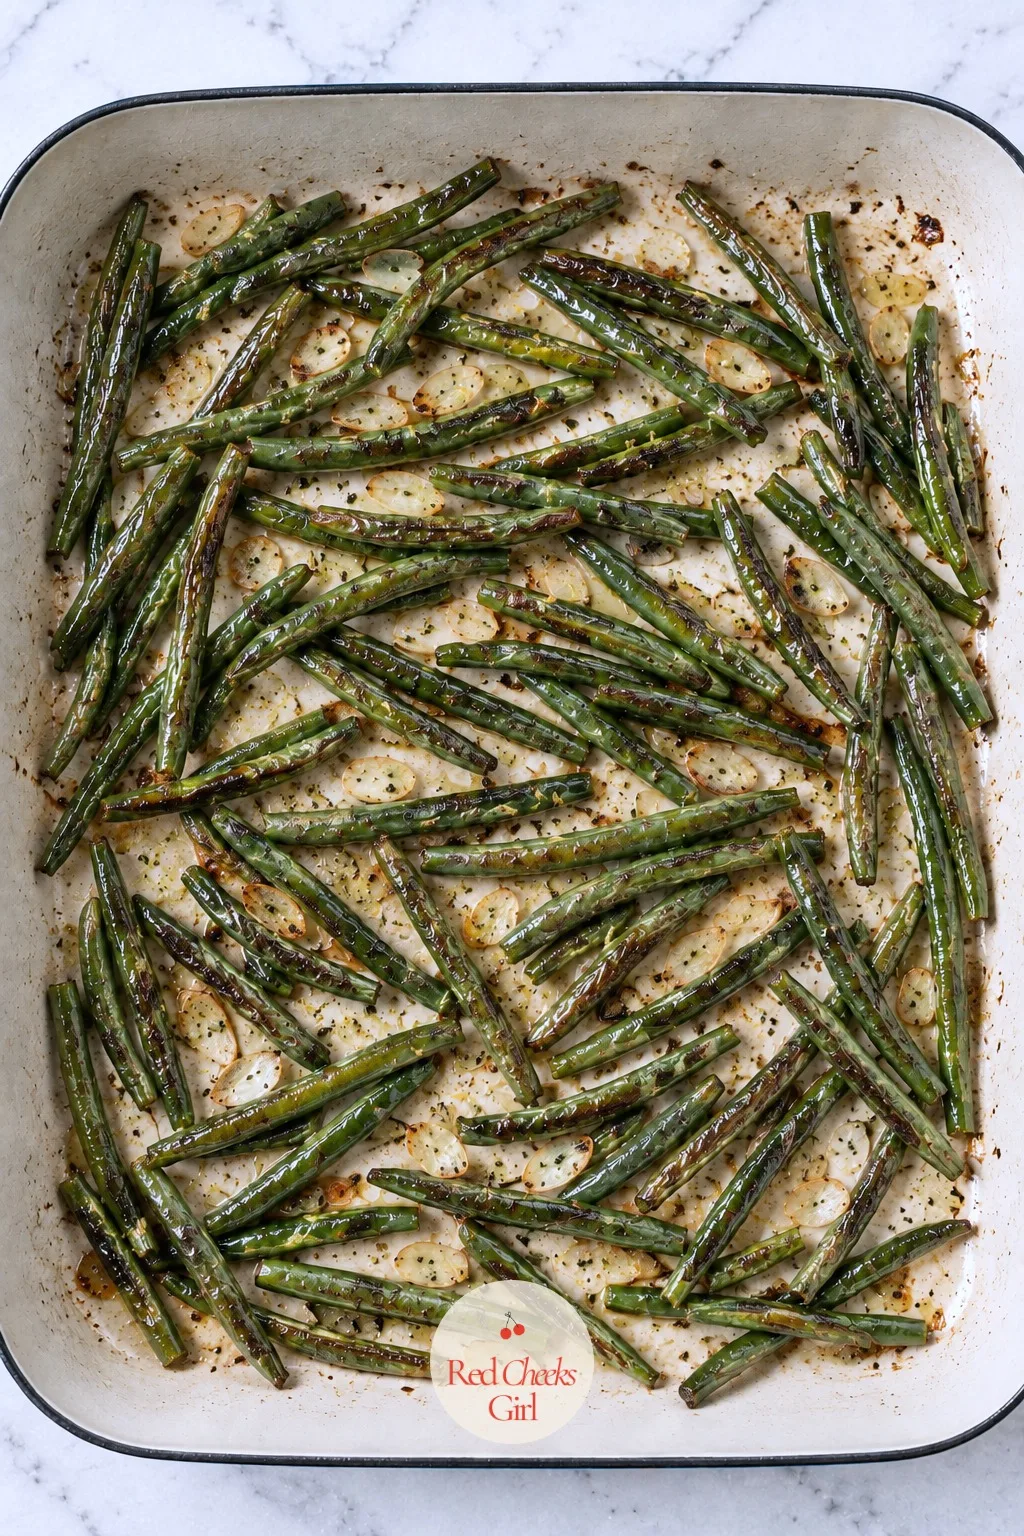
Roast Until Blistered
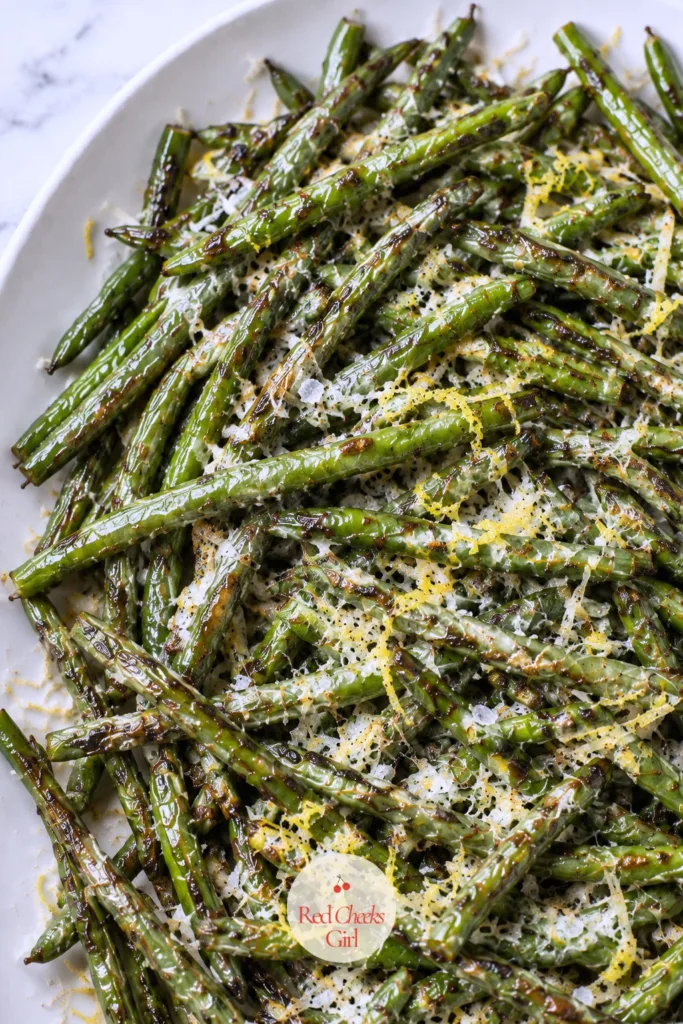
Pull the pan out once the skins have taken on brown, blistered patches and a few edges have gone slightly dark. The beans will look smaller and a little wrinkled, which is exactly right.
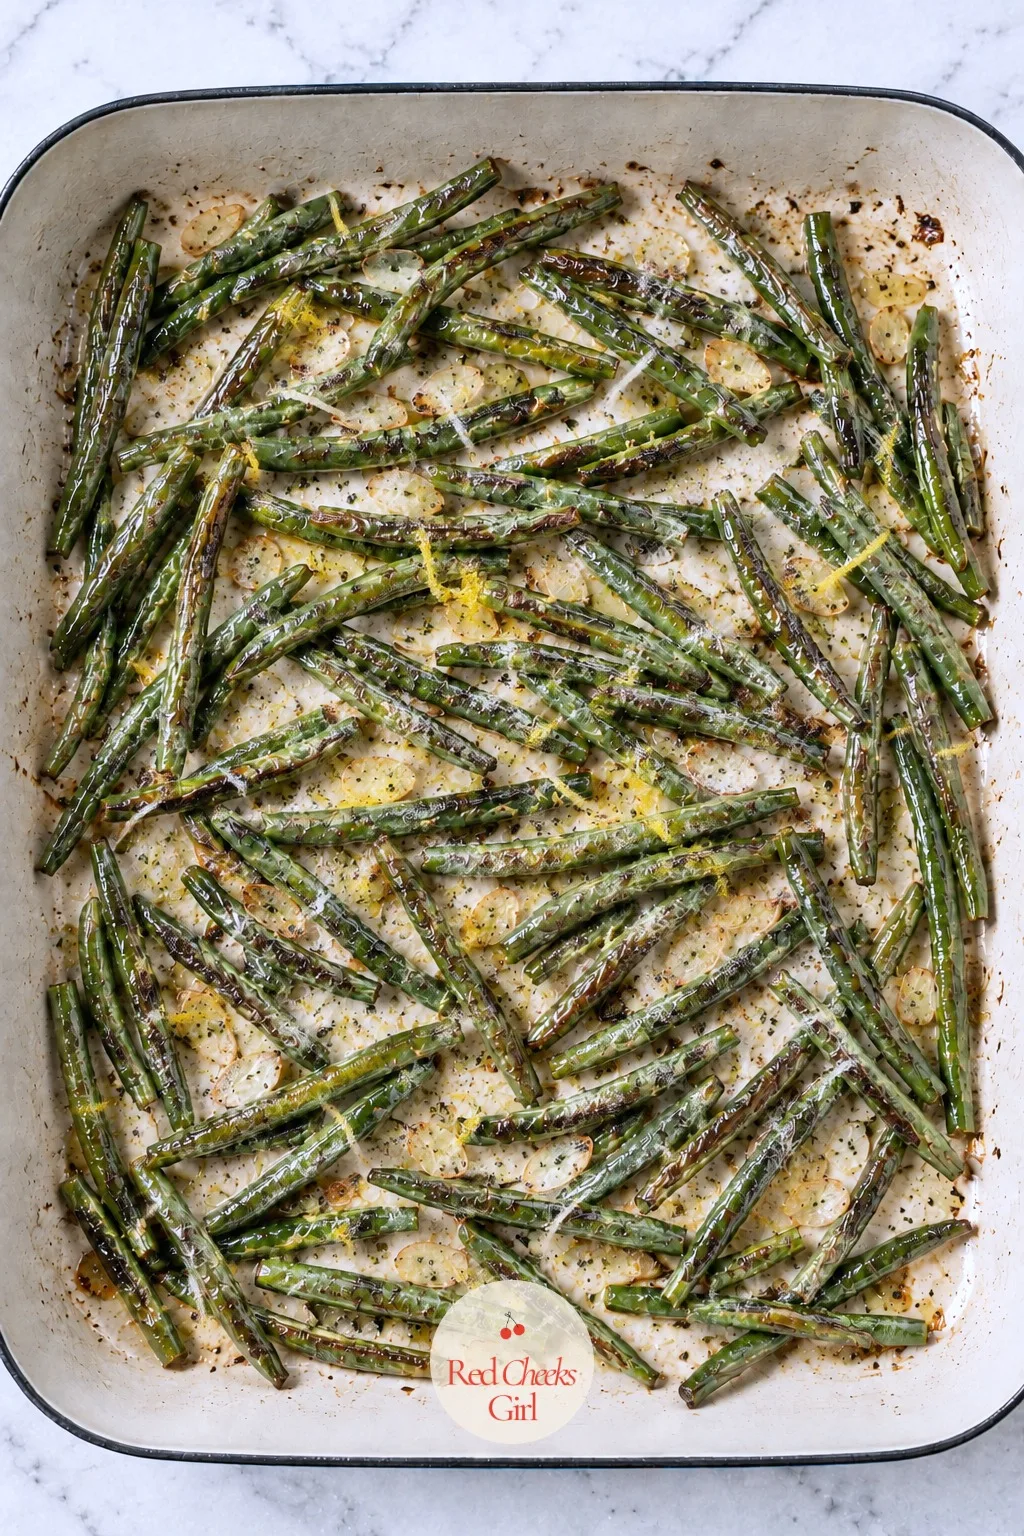
Finish With Parmesan and Lemon Zest
Scatter the parmesan and lemon zest over the hot beans right in the pan. The cheese should soften and cling rather than melt into a sheet.
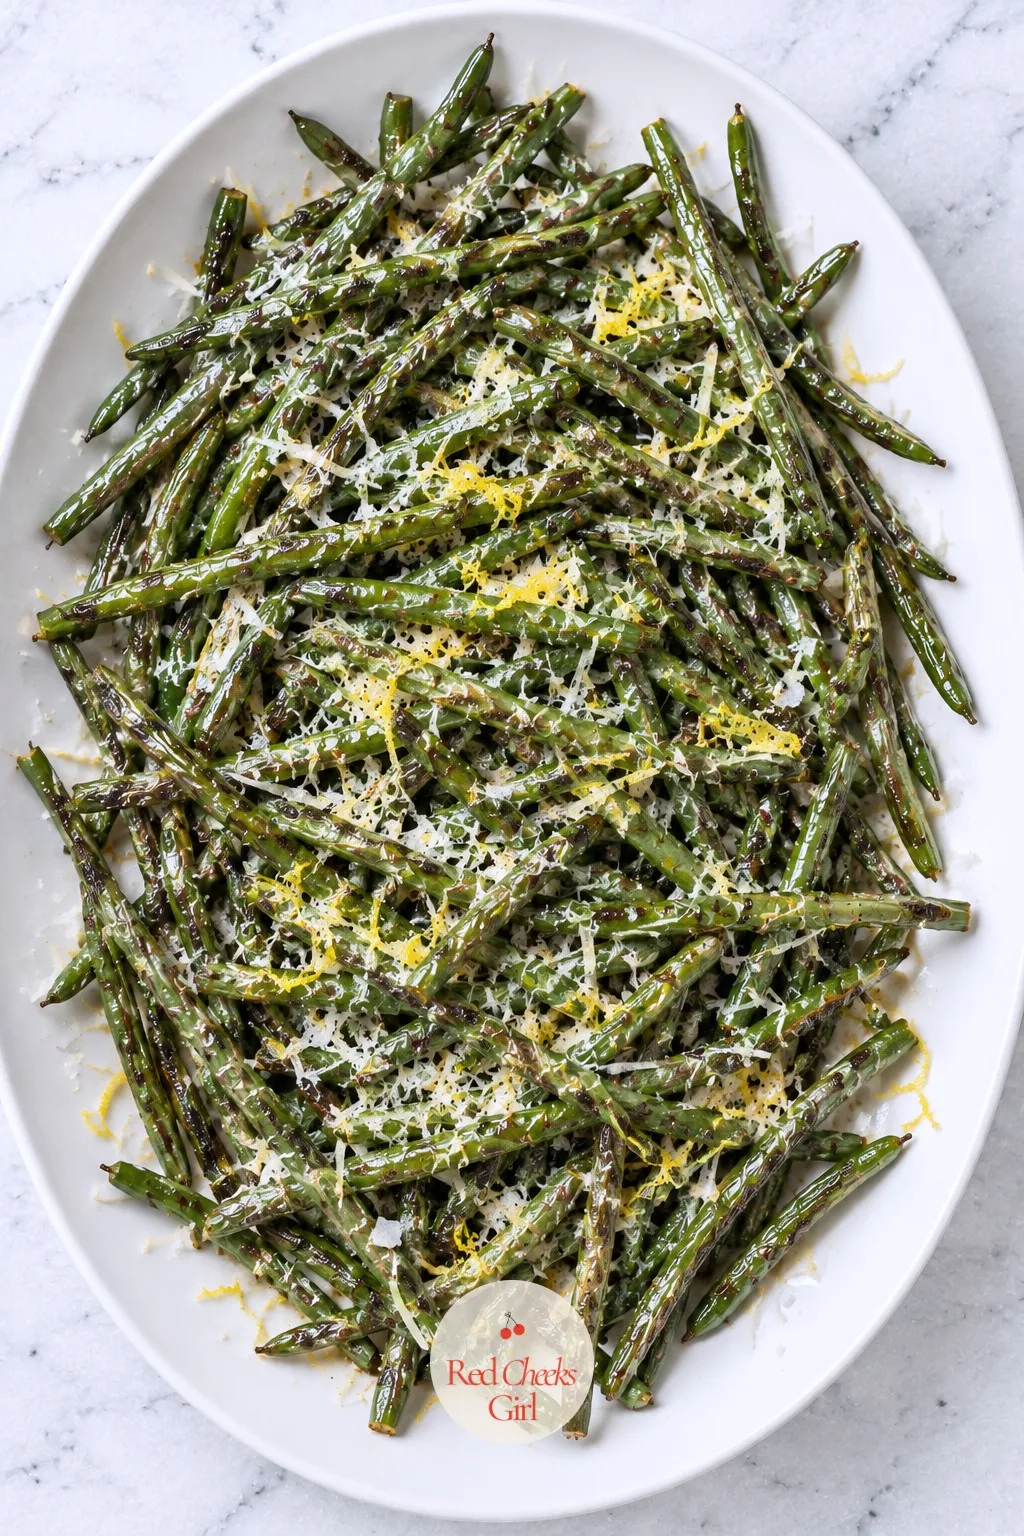
Serve While Still Crisp
Pile the finished beans onto the platter and get them to the table quickly. The blistered edges soften fast once they sit, so this is not a dish to hold.
Tips for Getting It Right
The single biggest mistake is crowding the pan. Pile the beans two deep and the ones in the middle trap steam instead of hot air, so they turn gray and limp while the edges barely color.
Give every bean its own patch of metal. If the beans touch a neighbor on both sides, split them across two pans rather than one crowded one: it costs five extra minutes, not a ruined dish.
Dry beans matter just as much as space. Water left on the skins turns straight to steam in a 450°F oven, so pat them properly before the oil ever goes on.
Watch for doneness by look, not just time. You want blistered, slightly shriveled skins with real brown spots, not uniform bright green: that uniform color means they never got hot enough to actually roast.
Add the parmesan after the beans come out, never before. Cheese thrown on raw beans just burns onto the pan instead of melting into the dish.
Swaps and Substitutions
No fresh green beans at the store worth trusting? Frozen will work in a pinch, but thaw them fully and pat them dry first, or the extra water will keep them from ever blistering.
Parmesan can step aside for pecorino romano if you want something sharper, or nutritional yeast if someone at the table skips dairy: use about three tablespoons and expect a milder finish.
Olive oil swaps easily for avocado oil, which handles the high heat just as well and leaves a cleaner, more neutral flavor behind.
For a holiday table, toasted sliced almonds or a few strips of crisped prosciutto scattered on top turn the same base dish into something that looks like it took more work than it did.
Garlic powder can replace fresh garlic at about half a teaspoon, stirred in with the oil, for a milder background flavor that will not risk burning.
What to Serve It With at a Party
On a weeknight, these beans sit happily next to anything simple: plain roast chicken, a seared steak, or a bowl of pasta tossed with just butter and parmesan. They need nothing else to feel finished.
For a bigger spread with friends, set them out next to the kind of easy mains people grab from a buffet; the game day party food list has plenty of options that do not compete with the beans for attention.
At a holiday table, these go right beside turkey, ham or a standing rib roast, where their lemon and garlic cut through the richer, heavier dishes around them. The Christmas dishes and hosting finds list is worth a look if the rest of the menu still needs filling in.
If the holiday table already feels crowded with things to cook same-day, pair these with a dish you can finish ahead: the Thanksgiving side dishes you can make the day before round-up takes some of that pressure off entirely.
Once dinner winds down, keep the table lingering a little longer with something from the dinner party games you play right at the table, no need to clear the plates first.
Roasted Green Beans
Ingredients
- 1 1/2 pounds fresh green beans stem ends trimmed
- 3 tablespoons olive oil
- 4 cloves garlic thinly sliced
- 3/4 teaspoon kosher salt
- 1/4 teaspoon black pepper
- 1/3 cup parmesan finely grated, plus more for serving
- 1 lemon zested
- flaky sea salt for finishing (optional)
Instructions
- Trim the stem ends from 1 1/2 pounds fresh green beans, rinse them in a colander, then spread them on a clean kitchen towel and pat them completely dry so no water clings to the skins.
- Heat the oven to 450°F and set a rimmed cream enameled roasting pan on the center rack while it heats, so the metal is already hot when the beans go in.
- Tip the dried beans into a wide white ceramic mixing bowl, add 3 tablespoons olive oil, the 4 thinly sliced garlic cloves, 3/4 teaspoon kosher salt and 1/4 teaspoon black pepper, then toss with your hands until every bean looks glossy and coated.
- Pull the hot roasting pan from the oven and spread the beans across it in a single layer, leaving space between each one; if they look crowded, divide them between two pans so steam can escape instead of pooling under the beans.
- Roast the beans for 10 minutes undisturbed, then pull the pan out, shake it once to turn the beans, and return it to the oven for 8 to 10 minutes more, until the skins are blistered and browned at the edges and a bean bends without snapping.
- Remove the pan from the oven and let the beans sit for 2 minutes; this short rest keeps the parmesan from melting into a puddle the moment it lands on top.
- Scatter the 1/3 cup grated parmesan and the lemon zest over the hot beans directly in the pan, tossing gently so the cheese softens against the residual heat without clumping.
- Slide the beans onto a white ceramic serving platter, finish with flaky sea salt if using, and serve within a few minutes while the edges are still crisp.
Good to Know
Frequently Asked Questions
Do I need to blanch green beans before roasting?
No, raw fresh green beans roast directly in a hot oven without blanching first. Skipping that step actually helps, since beans that go in dry are more likely to blister instead of steam.
Can I use frozen green beans instead of fresh?
Frozen green beans will work, but thaw and pat them completely dry first since extra moisture keeps them from browning. Expect a softer result than beans roasted fresh from the start.
Can I double this recipe for a crowd?
Yes, but split the beans across two pans instead of one larger pile. A single crowded pan traps steam and the extra beans will turn soft instead of blistered.
Can I roast green beans with other vegetables on the same pan?
Yes, as long as the vegetables share a similar cook time, like cherry tomatoes or thin asparagus. Dense vegetables such as potatoes need a head start or they will finish raw while the beans burn.
Can I roast these at a lower temperature if I’m baking something else at the same time?
Yes, a 400°F oven works if that’s what another dish needs; just add 5 to 10 extra minutes. The beans will blister less dramatically but still turn tender and lightly browned.
Can I roast these ahead of time for a holiday meal and reheat them later?
Technically yes, but the crisp edges fade fast even after reheating in a hot oven. For a holiday table, it’s worth the extra oven slot to roast them close to serving time.
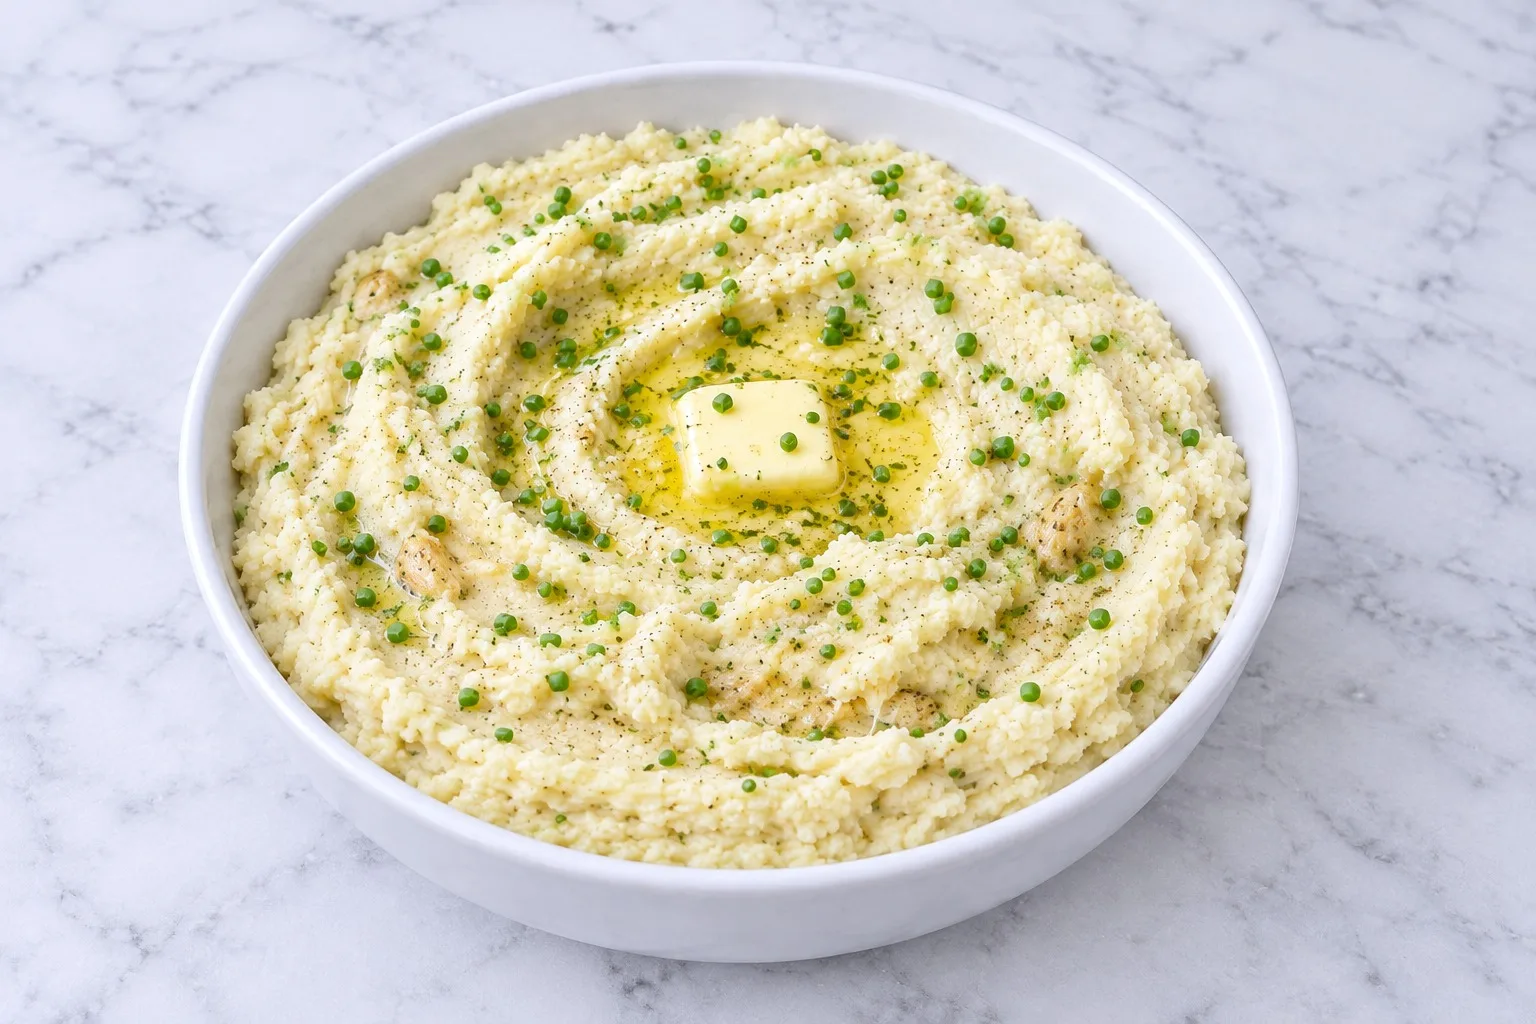
Garlic mashed potatoes turn silky and rich enough for a crowd of eighteen, finished with roasted gar
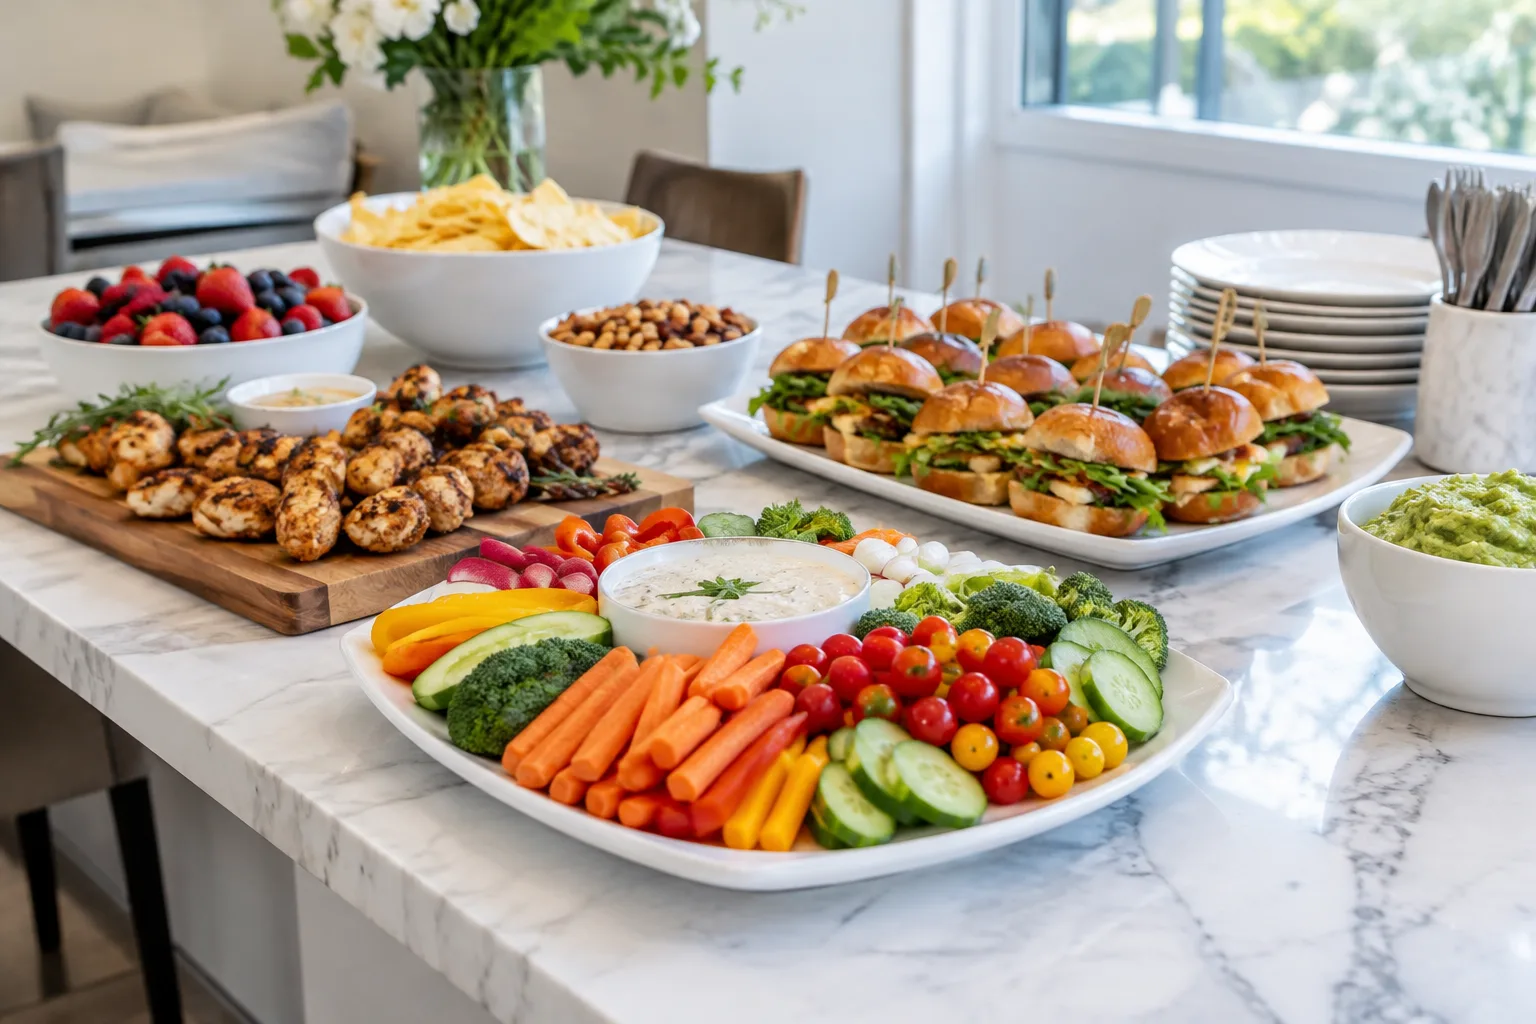
14 healthy game day food recipes built on protein and fiber: buffalo dip, air fryer wings, lettuce c
Meatball sub casserole bakes torn garlic bread with meatballs, marinara, mozzarella and provolone in
Leave a Reply