

Mud Kitchen Setups That Keep Kids Busy for Hours With Nothing but Water, Dirt and Imagination

My daughter spent forty-five minutes last summer making “soup” out of grass clippings and a puddle. She didn’t ask me for anything. She didn’t need a screen. She didn’t even come inside for a snack.
I stood at the kitchen window watching her like I’d just discovered fire.
That was before we built her a proper mud kitchen. Now? I have to call her in for dinner twice.
This post contains affiliate links. If you buy something through these links, I may earn a small commission at no extra cost to you. I only recommend things I’d actually use.
If you’ve been thinking about setting one up — or you Googled “mud kitchen setups for kids” at 11pm after seeing someone’s Pinterest version — this is the guide I wish I’d had. No fancy woodworking skills required. Most of these you can pull together in a weekend for under $50.
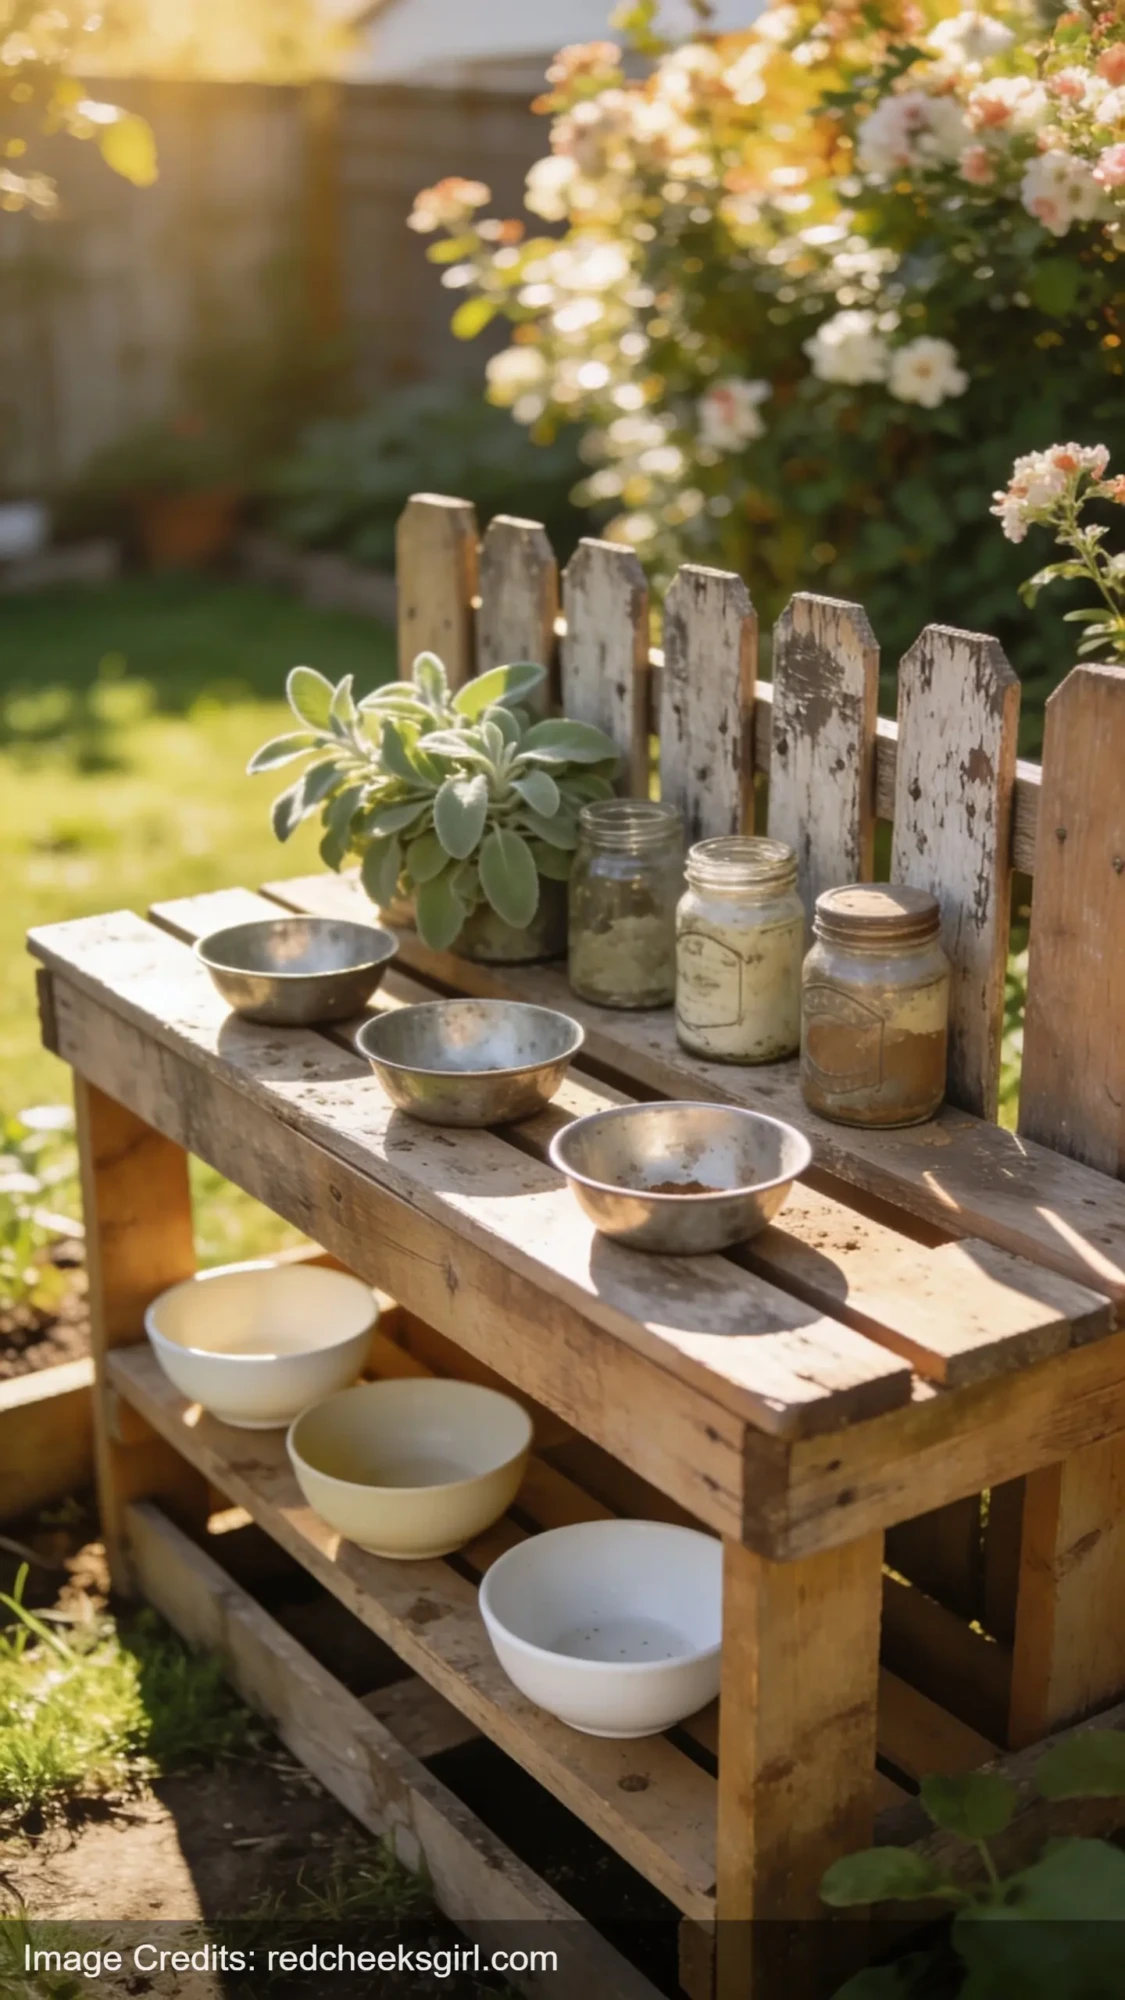
Why a Mud Kitchen Is Worth the Mess (and There Will Be Mess)
Mud play isn’t just cute. Child development researchers have been saying for years that unstructured outdoor play — especially sensory play like mud — builds focus, creativity, and emotional regulation in ways that structured activities just don’t. The University of Minnesota Extension has a whole piece on the developmental value of messy outdoor play if you want to send it to your mother-in-law when she questions your choices.
But honestly? You don’t need a study. You need to watch your kid for twenty minutes with a bucket of water and some dirt. They figure out volume, mixing, cause and effect, textures. They play pretend. They stay busy.
The setup just gives it structure — something to come back to, something that signals “this is the play space.”
The Bare Minimum Setup (Free or Under $10)
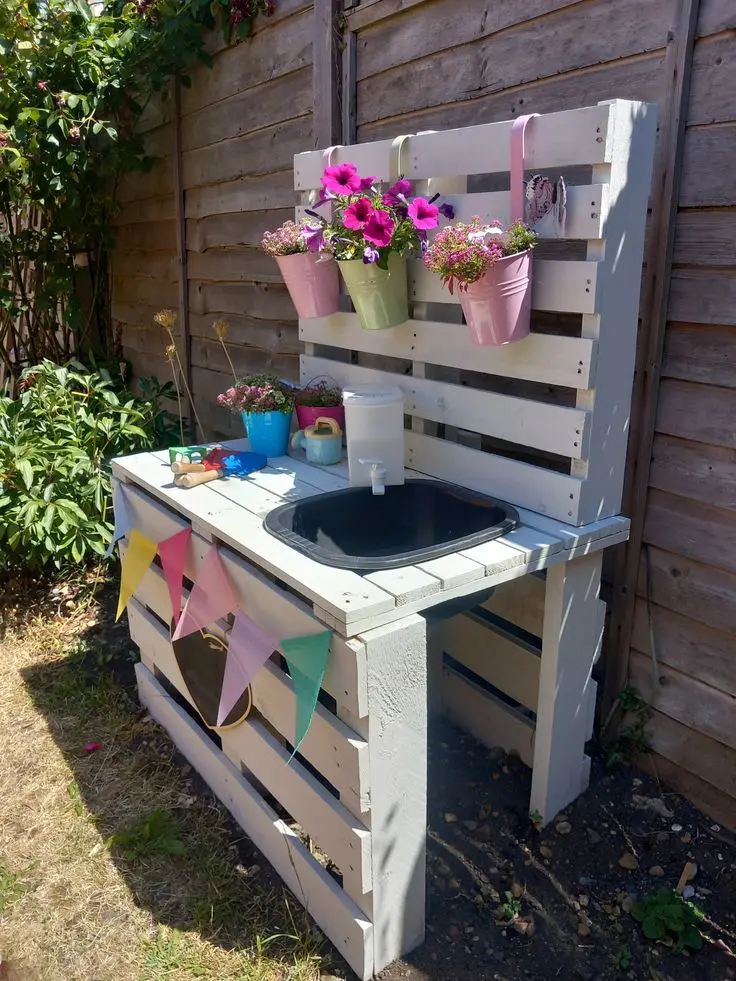
Before we get into Pinterest-level builds, let’s talk about what actually works with zero budget.
An old wooden pallet propped against a fence. Two mismatched bowls from the thrift store. A mason jar for “spoons.” That’s a mud kitchen.
Seriously. Kids don’t care about the aesthetic. They care about having their own designated place where they’re allowed to make a mess. The designated-ness is the thing.
If you want to start even simpler: drag a low garden table outside, put a plastic bin on it, fill it with water, point at the dirt, and walk away. Come back in an hour. I promise they’ll be fine.
Once you see how much mileage you get out of the basic version, you’ll know whether it’s worth building something more permanent.
12 Mud Kitchen Setups Worth Stealing
1. The Pallet Kitchen
This is the most common DIY for a reason. One wooden shipping pallet (free from hardware stores, garden centers, or Facebook Marketplace), sanded down and propped upright or attached to a fence. Add a couple of hooks for hanging utensils, cut a hole for a mixing bowl “sink,” and you’ve got a wall-mounted kitchen in an afternoon.
The whole thing cost one family I know exactly $0. They used an old colander as the “sink strainer.” Their kids used it daily for two summers.
Sand the pallet first. Splinters are not the kind of sensory experience we’re going for.
If you want to make it more durable, seal it with an outdoor wood sealant — a small can runs about $12 and will protect it for seasons. outdoor wood sealant for pallet projects
2. The Repurposed Nightstand
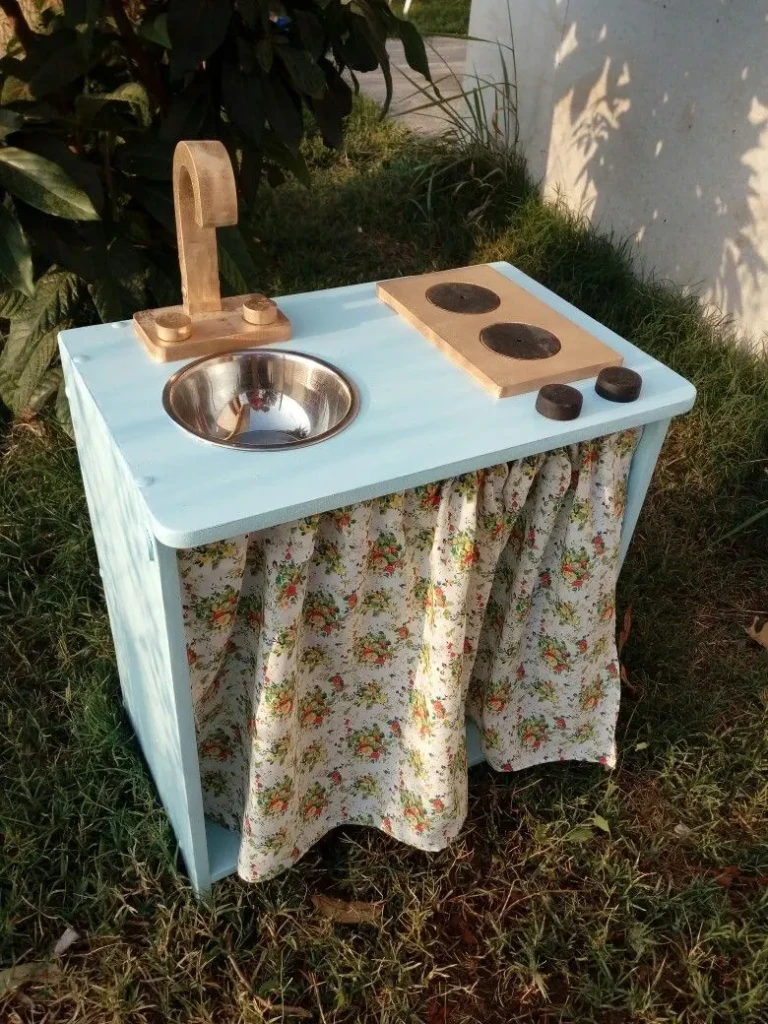
An old two-drawer nightstand with the top cut out for a plastic bin? Genuinely one of the cleverest builds I’ve seen. The drawers become storage for “ingredients” — pebbles, pine cones, leaves. The bin holds water. It looks surprisingly cute, especially if you paint it.
Thrift stores always have nightstands. Budget: $5–15 for the furniture, paint you probably already have.
3. The Plastic Toy Kitchen, Moved Outside
Before you build anything, check if you have a plastic toy kitchen already inside. A lot of families do. Move it outside. Done.
It’s not as cute as wood, but it handles weather surprisingly well and the kids genuinely don’t care. Wipe it down at the end of summer, bring it in, and it lasts years. Zero build time. Zero cost.
4. The IKEA Hack
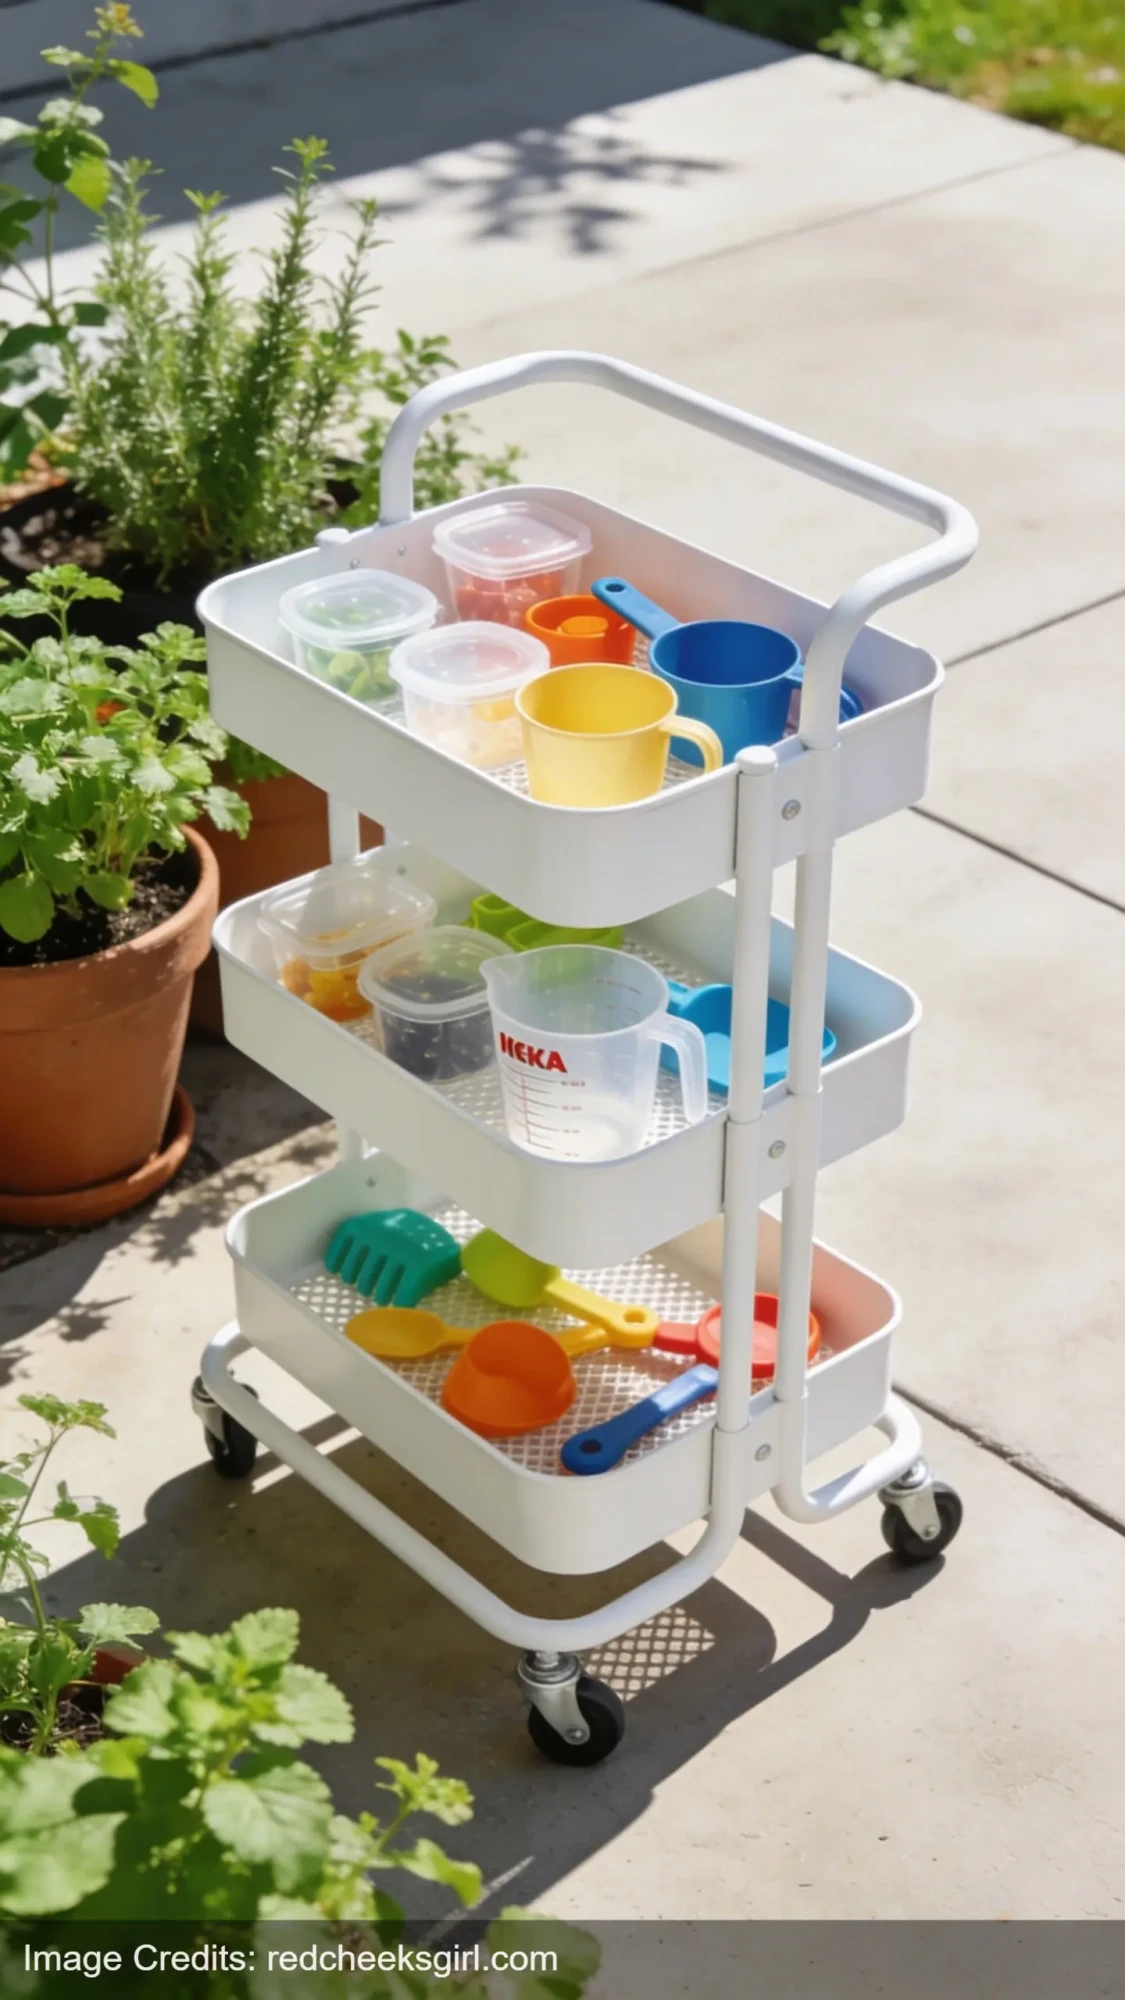
The IKEA RÅSKOG cart — the little rolling metal trolley — works shockingly well as a portable mud kitchen station. Roll it outside, put containers on the shelves, fill a bowl with water on top. Roll it back inside (or into the garage) when you’re done.
It’s not a “real” kitchen, but for apartment patios, small yards, or reluctant-commitment parents, it works.
5. The Serious Woodworking Build (For People Who Like That Kind of Thing)
If someone in your house can use a drill and doesn’t mind a project, you can build a proper two-burner mud kitchen with a sink, shelf, and storage for about $40–60 in lumber. There are free plans on Pinterest and YouTube that walk through it step by step.
The thing lasts. Mine is three years old and has survived two kids, four seasons, and one incident involving a full bag of potting soil being used as “flour.”
Key features worth building in: a real cutout for a bowl or basin (easier than a real plumbing setup), a lower shelf for storing utensils, and hooks on the side for hanging pots. small outdoor pots and pans set for kids
6. The Fence Rail Setup
If you have a wooden fence with a flat top rail, that’s already your counter. Seriously. Hang a few S-hooks, clip on a container, and the fence does the work. This is ideal for rental situations where you can’t build anything permanent or dig anything in.
7. The Sandbox Combo
A sandbox with a flat wooden surround — or even just a wide wooden border — doubles as a mud kitchen prep area. Kids move between dry sand play and wet mud depending on their mood. Add a water table on the side and you’ve got a full outdoor sensory station.
The key is proximity. If the water source is too far from the “kitchen,” the mud ratio gets unmanageable fast. Keep it close and contained. A small kids outdoor water table next to a pallet kitchen is genuinely one of the best summer setups I’ve tried.
8. The Tire Stack
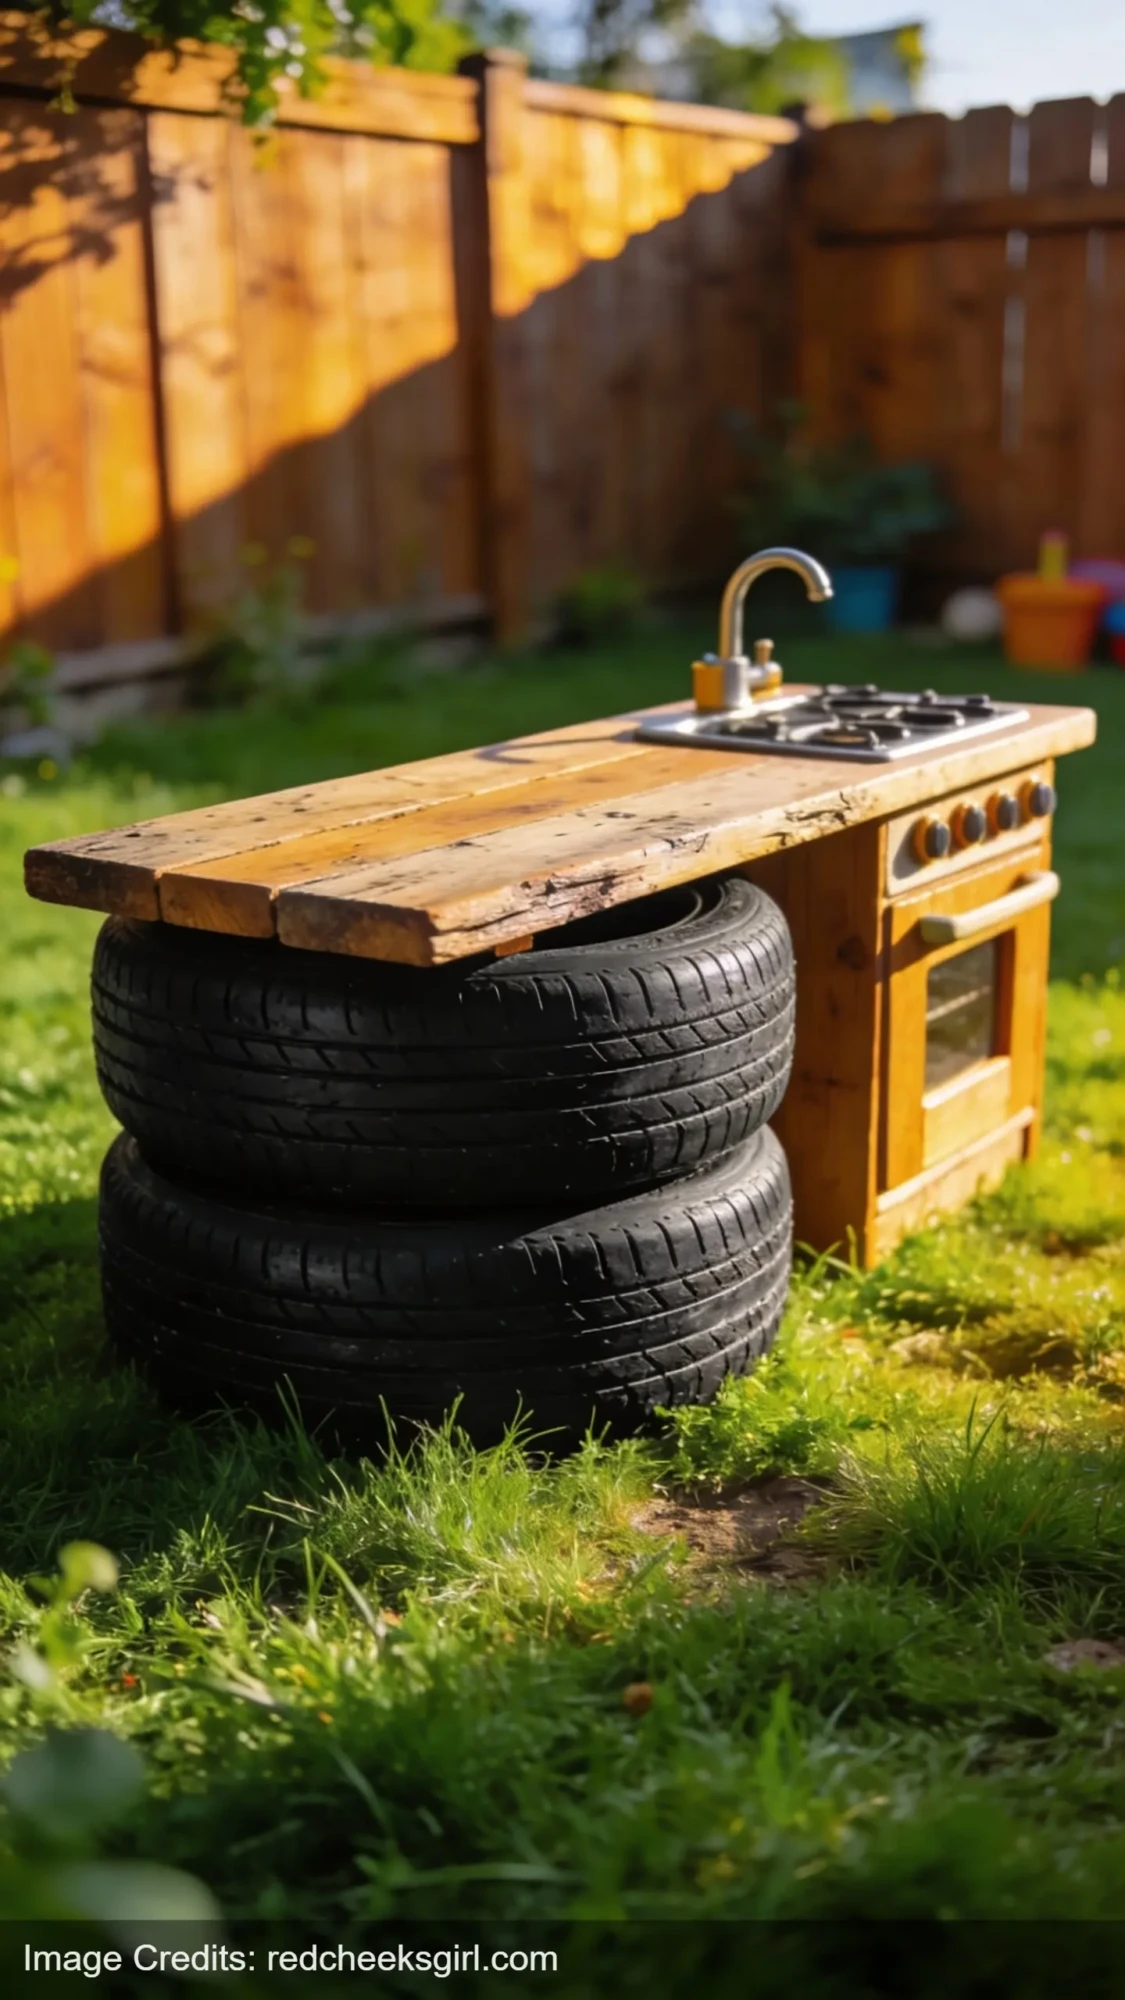
Two old tires stacked and filled with dirt, with a plank across the top as a counter. Weird? Yes. Does it work? Absolutely. Old tires are free from tire shops (call first — many give them away) and the circular shape actually contains the mess better than a flat surface.
Kids also love the visual weirdness of it. It becomes a Thing. The tire kitchen.
9. The Metal Shelf Unit, Outdoors
A cheap wire shelving unit — the kind from a garage sale or the back of someone’s laundry room — works as an outdoor kitchen frame. The wire shelves mean rainwater drains through instead of pooling. Add hooks on the sides, a plastic bin for the “sink,” and some containers on the lower shelf for supplies.
Budget: whatever you find secondhand. Usually $0–10. plastic storage bins for outdoor use
10. The Window Box Kitchen
Mount a long window box planter (the rectangular kind you’d normally put flowers in) horizontally along a fence or wall at kid height. Fill it with dirt. Put a small container of water beside it. That’s the prep station. Add a flat board below as the “counter.” The planter keeps the dirt somewhat contained, which your future self will appreciate.
11. The Step Stool Riser Version
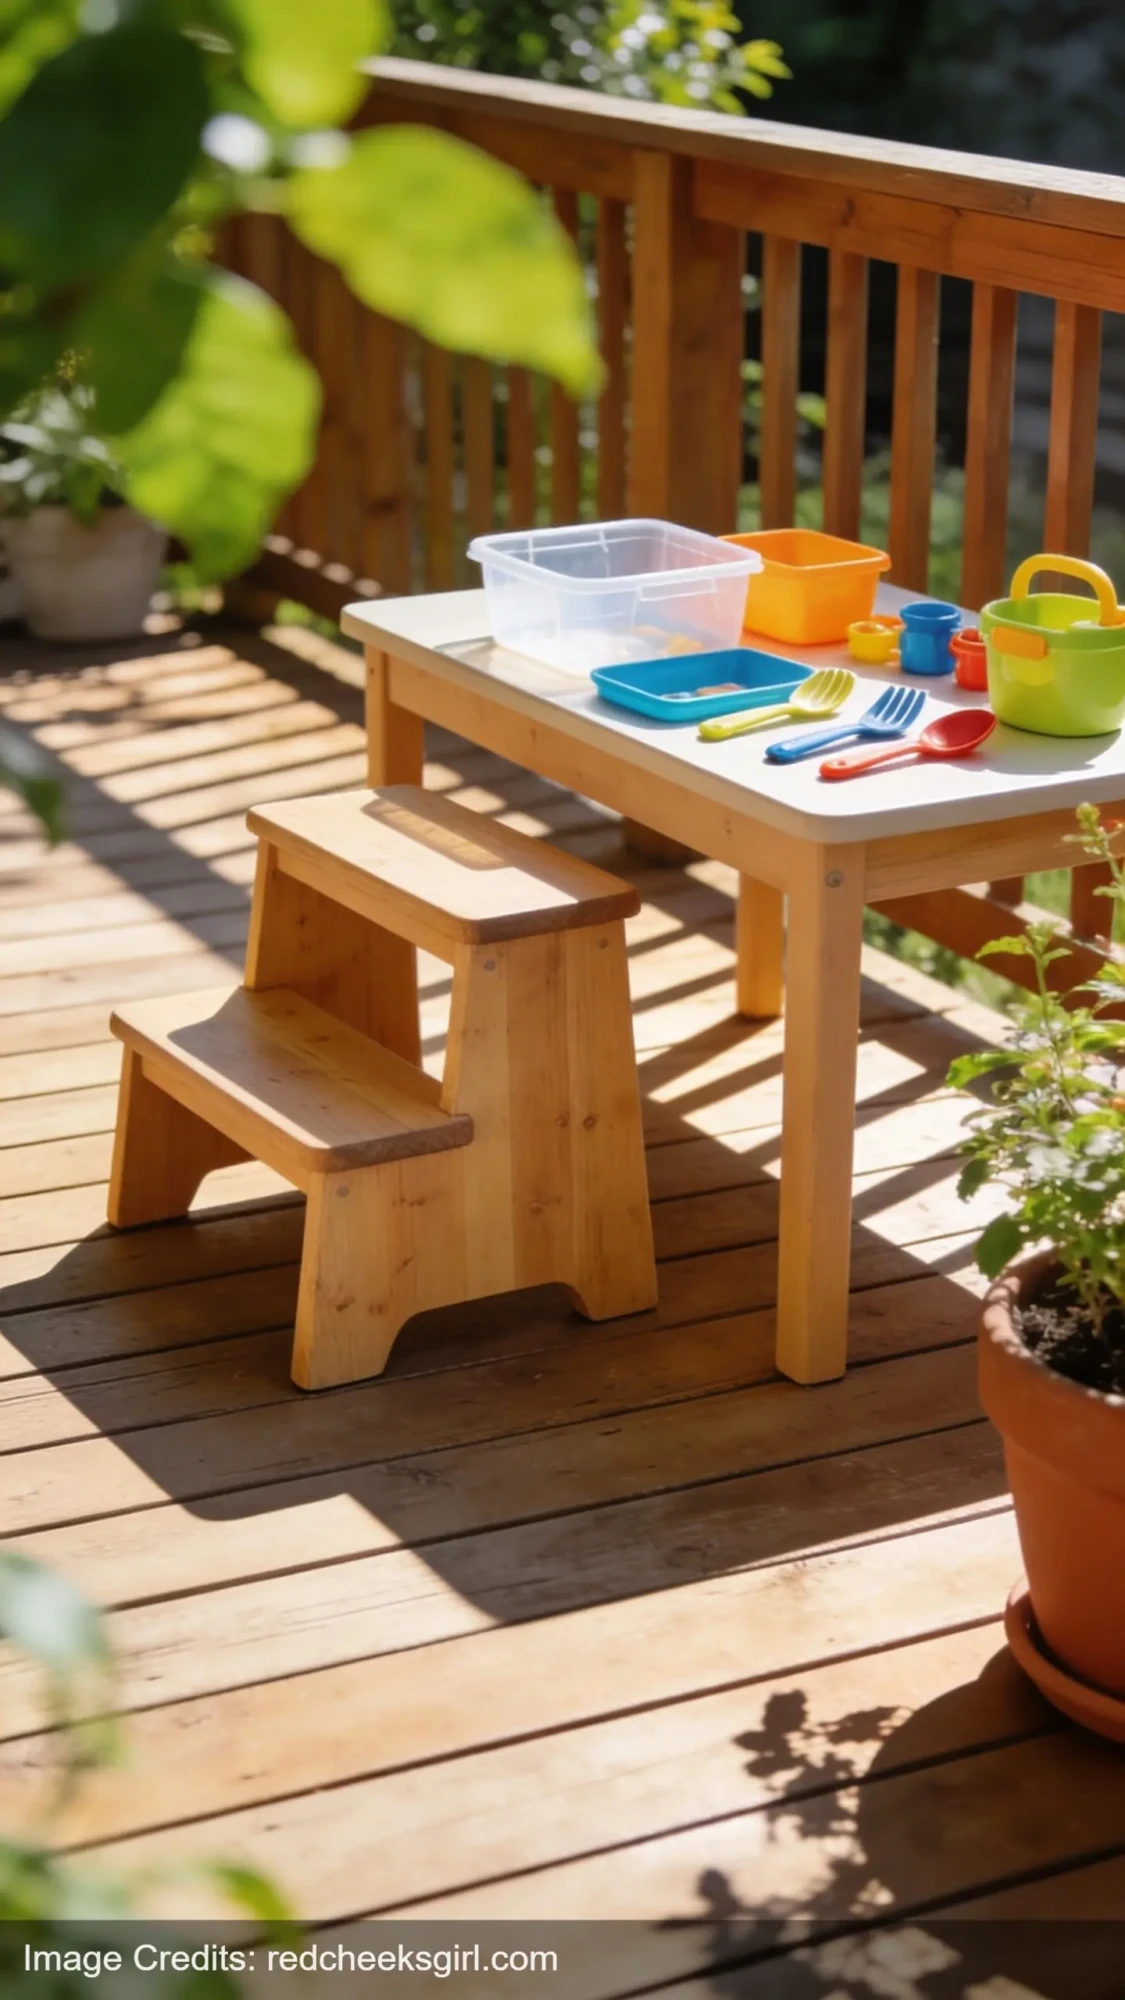
If your kid is small (2–3 years old) and your current outdoor table is adult-height, don’t build anything yet — just add a sturdy step stool in front of a low table and put a bin on top. That’s your starting setup. See if they use it before investing in a build.
A lot of mud kitchen setups go unused because the kid was too young or the height was wrong. Match the setup to where they are right now.
12. The Full Station: Mud Kitchen + Ingredient Bar
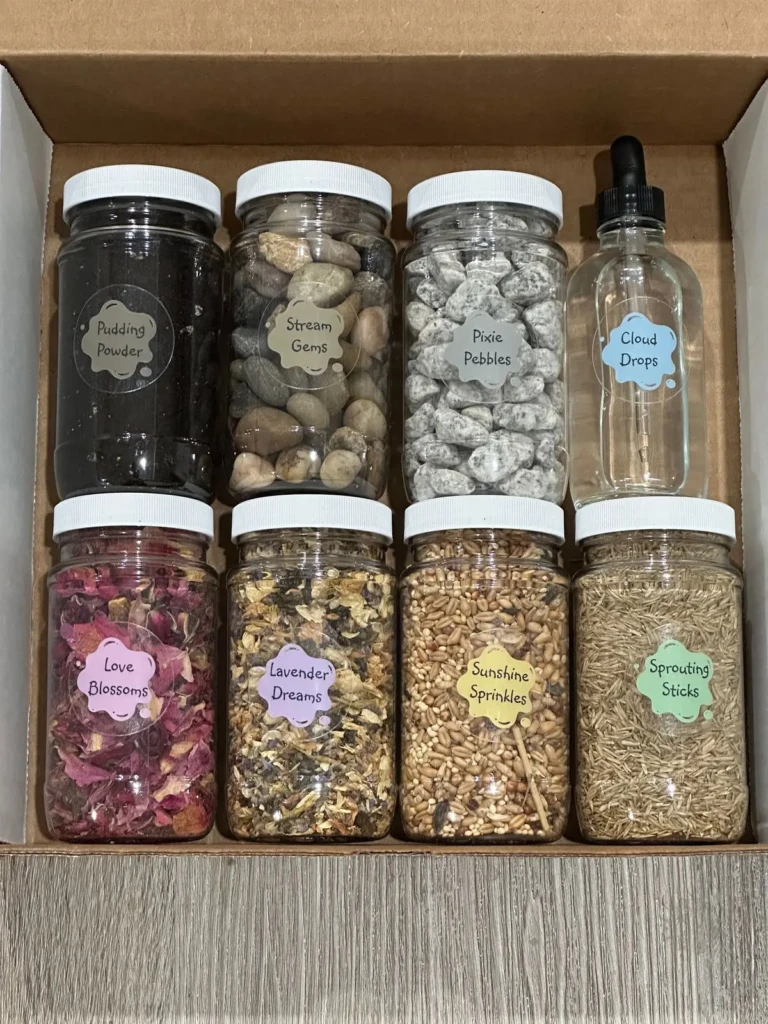
Once your kid is into it — really into it — the upgrade that makes the most difference isn’t a fancier kitchen. It’s an ingredient bar.
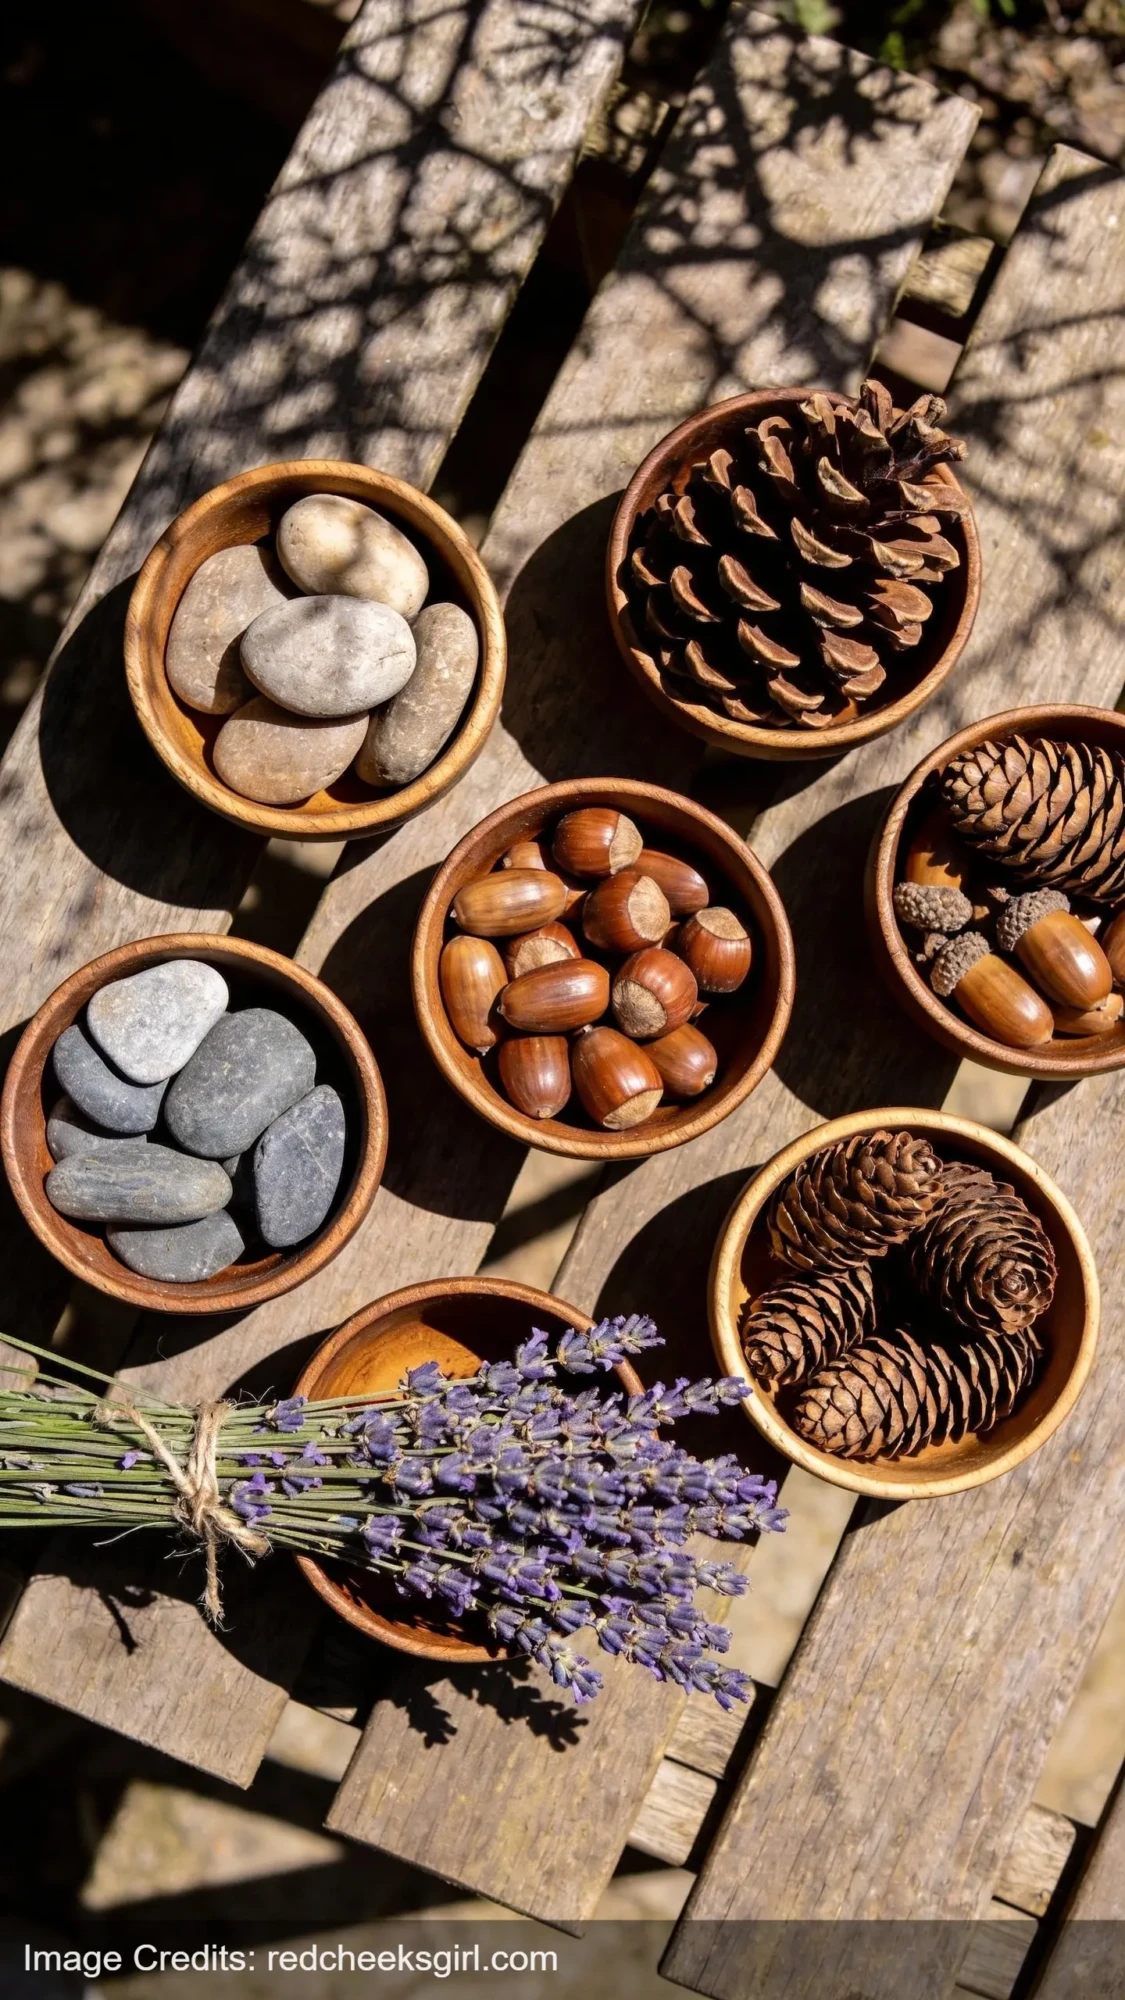
A small shelf, crate, or set of mason jars holding the “pantry”: dried herbs from last year’s garden, small pebbles, pinecones, seed pods, dried pasta, food coloring (the washable kind), dried beans. Labeled with little signs if you want to take it over the top.
This is the setup that turns a 20-minute play session into a two-hour one. The variety in the ingredients is what drives the creativity. When kids can “choose” what goes in the soup, they’re running the whole show.
For this station I keep a dedicated outdoor kids utensil set — a few spoons, a whisk, a small funnel, a measuring cup. Nothing precious. Dollar store and secondhand all the way.
What to Add to Any Setup (The Accessories Make It)
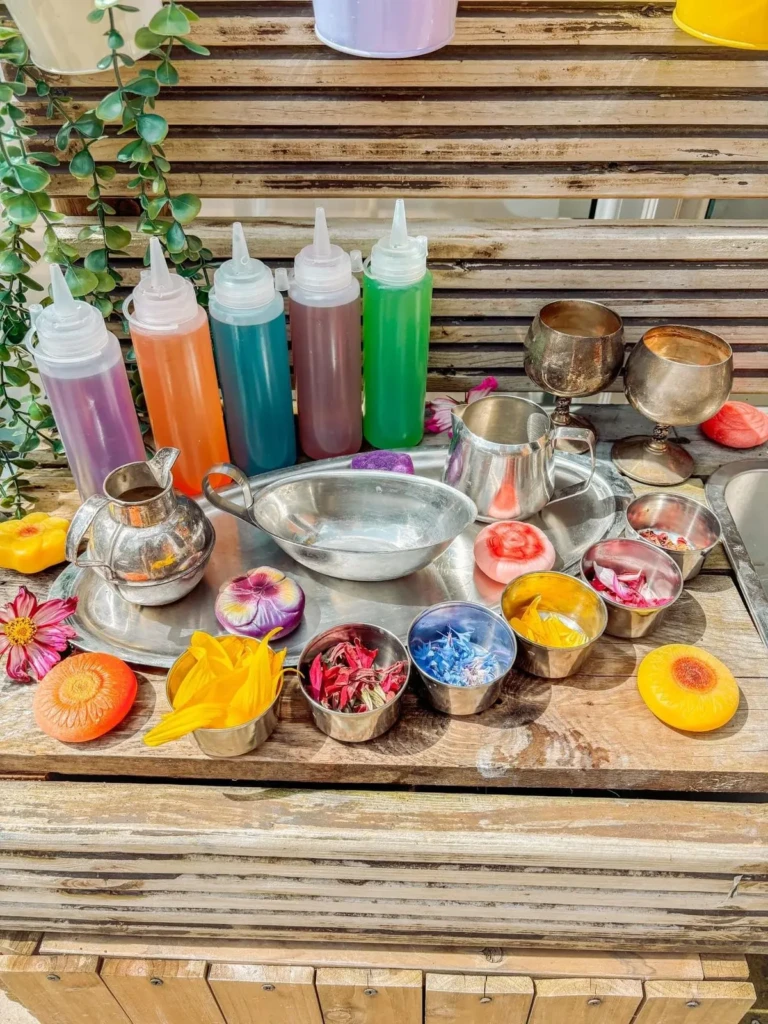
The kitchen itself is just the stage. Here’s what actually gets used:
Utensils: Real ones from the thrift store work better than toy ones. Old wooden spoons, a metal whisk, a small ladle. Cheap enough that you don’t care when they get destroyed.
Containers: Muffin tins are incredible for mud kitchens. Kids can make 12 individual “cupcakes.” Ice cube trays, too. muffin tin for kids mud kitchen
Water source: A small watering can beats running inside every ten minutes. Fill it at the beginning of play and let them manage it themselves. The act of controlling the water is half the fun.
Chalk labels: On a blackboard-painted section of the kitchen or just on a small chalkboard propped nearby. Let kids label their “dishes.” Wildly popular with ages 4–7.
Loose parts: Anything natural and small. Pebbles, acorns, seed pods, lavender sprigs, bark chips. These rotate with the season. In spring it’s flower petals. In fall it’s leaves and berries.
The Mess Management Reality Check
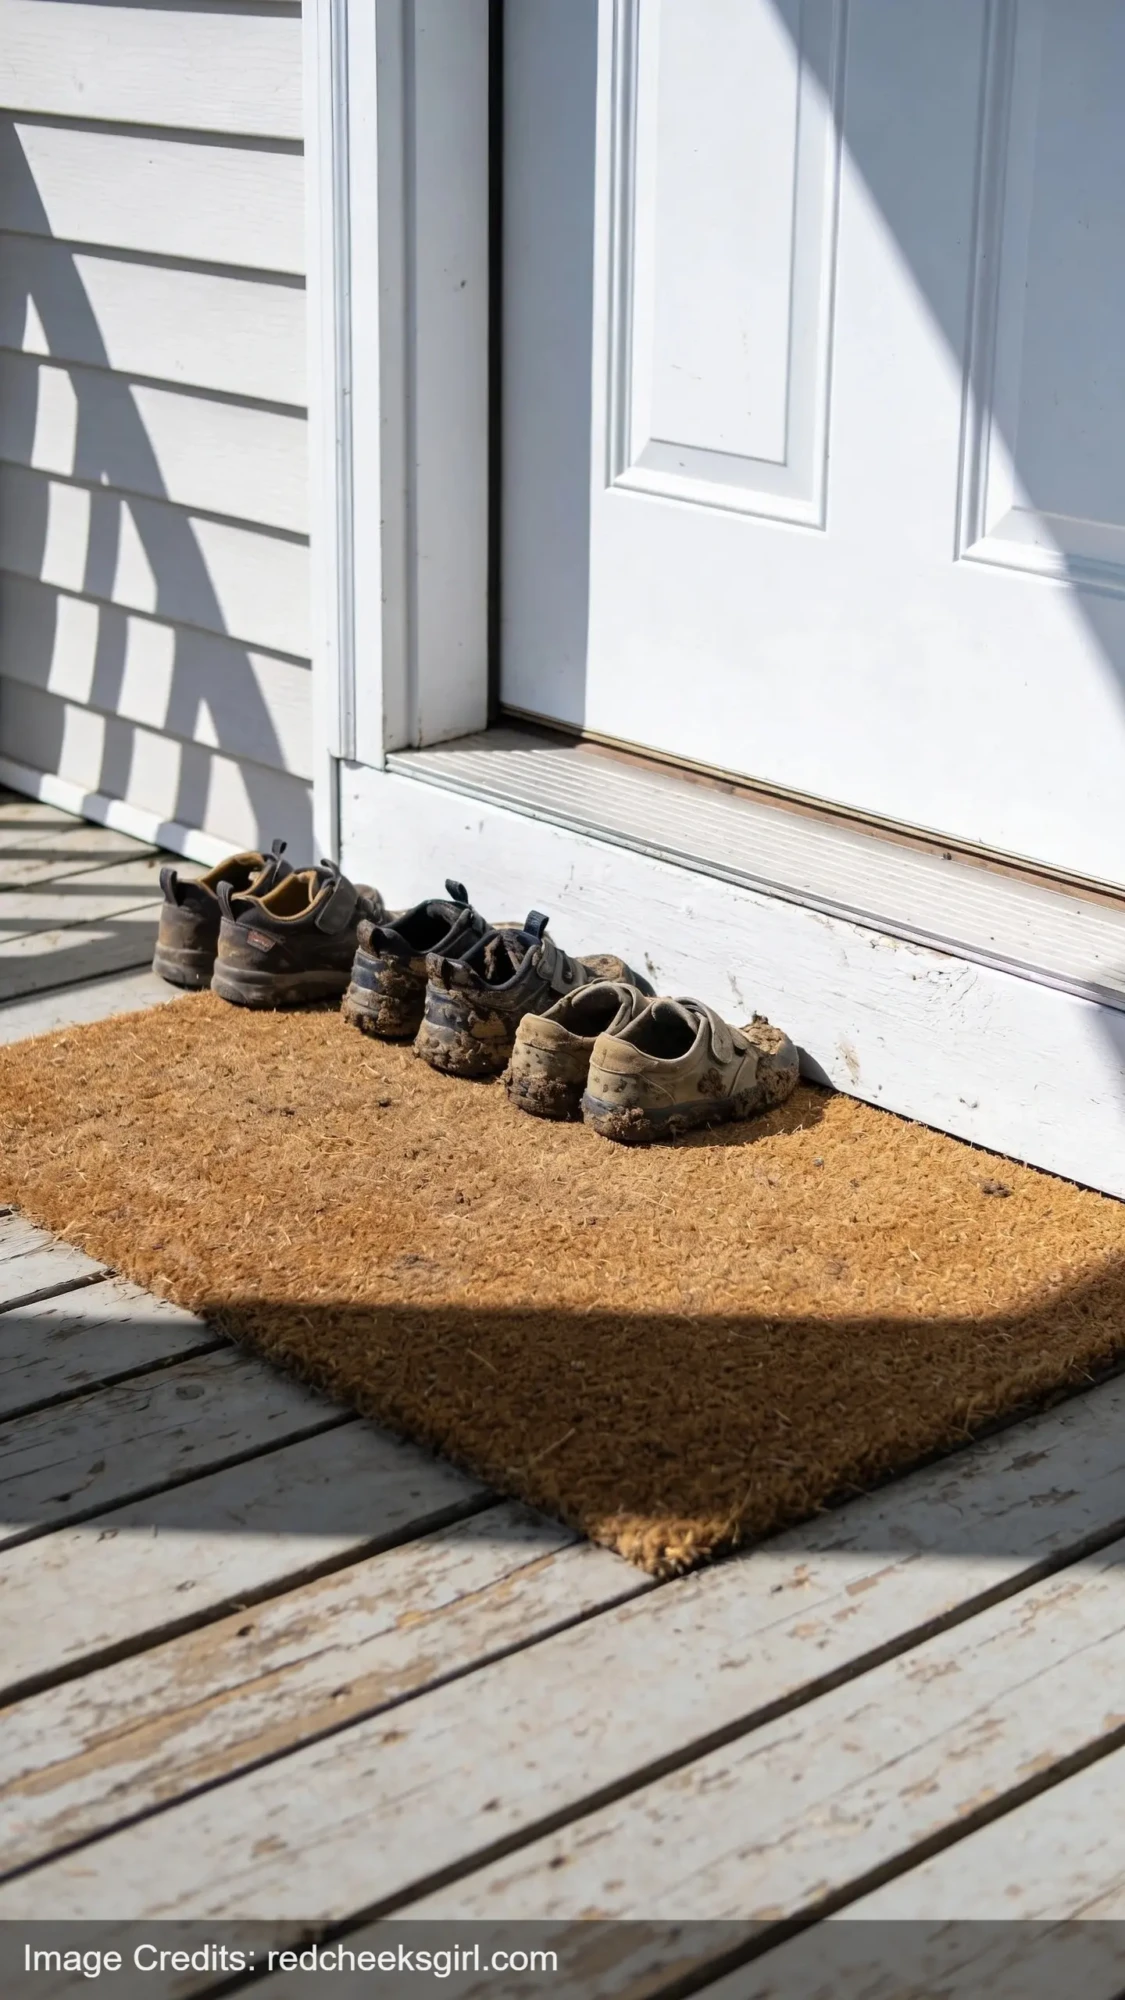
There will be mud on shoes. There will be mud on pants. On good days, mud will stop at the waist. On interesting days, it will not.
A few things that genuinely help:
An outdoor mat or strip of artificial turf just outside the back door catches most of it. Keep a small bin with an old towel specifically for muddy hands — not the good kitchen towels, the rough ones you use for nothing else. A dedicated pair of “mud play” shoes (old sneakers or cheap rain boots) means you stop caring the moment the shoes go on.
The setup itself can minimize mess: keeping the water source close means kids don’t carry full bowls across the yard. A low edging border around the kitchen area — even just a row of stones — signals where mud belongs.
And honestly, some mess is the point. If the kid comes in looking like they fought the yard and lost, that was a great afternoon.
What Age Is a Mud Kitchen Actually For?
This comes up constantly. The short answer: 18 months to around 9 or 10.
The youngest kids (under 3) are mostly sensory — they want to squish, pour, and taste. Supervision is higher at this stage and the setup can be simpler. A bin of dirt and a cup of water is genuinely enough.
Ages 4–7 are the peak mud kitchen years. This is when the imaginative play kicks in fully — restaurants, potions, birthday cakes, science experiments. They want more “ingredients,” more containers, more complexity.
By 8–10, some kids are still very into it (especially if the setup grows with them — add measuring tools, add “experiments” like baking soda and vinegar). Others have moved on. Follow their lead.
If you’re looking for more outdoor spring activity ideas that work across different ages, 28 Spring Fun Activities to Shake Off Winter and Feel Alive Again has a bunch of low-effort setups worth bookmarking.
Connecting Mud Kitchen Play to Other Stuff
The mud kitchen ends up being more connected to other parts of childhood than you’d expect.
My daughter started asking to cook with me indoors after spending a summer “cooking” outside. Measuring, mixing, following a sequence — she’d been practicing all of it. It’s the same with the kids who make potions: they’re doing science. The kids making “bakeries” are doing math.
If your kid is crafty in general, the 15 Mother’s Day Gift Crafts Kids Can Make (Ages 2–11) roundup has some nice ways to channel that same make-something energy on days when you want to stay clean.
And if you’re trying to get more out of your spring and summer without overscheduling everyone, 45 Spring Activities to Welcome the Season and Lift Your Mood has ideas that work for kids and adults — not just kids.
FAQ
Does a mud kitchen need to be covered or weatherproofed? Not necessarily, but it helps. If you seal the wood (even one coat of outdoor sealant), sand any rough edges each spring, and store metal utensils indoors over winter, most setups last 3–5 years easily. Pallet builds are the least durable — expect 2–3 seasons.
My kid isn’t into it. What now? Play with them the first few times. Make your own “soup.” Be ridiculous about it. Most kids need an adult to model the play before they run with it independently. Give it 3–4 sessions before you decide it’s a miss.
What if I don’t have a yard? A large plastic bin on a balcony, filled with kinetic sand or dirt from a bag, with a small container of water. It’s not the full experience, but it works for apartments. A tray underneath catches most of the mess.
Are there safety concerns? Keep it away from areas where dogs go to the bathroom. Don’t add anything with sharp edges at kid height. If your kid is still mouthing things, skip the small loose parts (pebbles, acorns) until they’re past that stage. Otherwise, mud is pretty safe.
How do I get the mud stains out of clothes? Let them dry completely before washing. Dried mud brushes off; wet mud sets. Cold water, not hot, on the stain. OxiClean or a similar oxygen-based stain remover on anything that doesn’t budge.
The afternoon my daughter declared herself the “head chef of the muddy restaurant” and refused to serve me until I said the magic word (it was “bloop”), I realized this whole setup had been one of the better $40 decisions I’d made that year.
It doesn’t have to be beautiful. It just has to be there.
There’s a specific kind of afternoon I keep chasing. Overcast sky. Something bubbling on the s
12 Kitchen Counter Styling Ideas That’ll Make You Actually Want to Cook (Number 7 Is a Game-Changer)
Real talk: your counters can look good AND be functional. Here’s how. Okay, confession time. F

38 fall bedroom decor ideas built on texture and weight, not seasonal motifs. Swap a duvet cover, la
Leave a Reply