


A platter that looks catered without a caterer in sight: that is the whole point of this list. Small, neat, colorful bites that stand up in a hand holding a glass, nothing that needs a fork and nothing that drips down a wrist.
Plan on for a cocktail-only evening with no sit-down dinner after, and lean toward the lower end if dinner follows. For a room of eight to ten, four or five of the recipes below is plenty; so there is no need to make all fourteen in one night.
This spread leans on shellfish, fish, dairy, egg, gluten and tree nuts across the fourteen recipes, so check the ingredient lists against anyone’s allergies before the tray goes out.
If you are pouring, keep it moderate and keep water and food moving around the room too; if you are dressing the rest of the table, the ideas in Engagement Party Decorations for a Home or Backyard scale down fine for any elegant evening, not only a proposal, and Party Appetizers for Every Kind of Gathering fills in the rest of the spread if the platter needs more around it.
The order below runs from the most impressive dish, the one that earns a compliment before anyone has tasted it, down to the one that takes four minutes and no stove. Start wherever your evening and your nerve allow.
This post contains affiliate links. If you buy through them, I may earn a small commission at no extra cost to you.
Table of Contents
- Blini with Crème Fraîche and Salmon Roe
- Seared Tuna on Wonton Crisps
- Mini Crab Cakes with Remoulade
- Smoked Salmon Cucumber Rounds with Dill Cream
- Gougères
- Burrata with Roasted Tomatoes
- Deviled Eggs with Caviar
- Prosciutto Wrapped Melon
- Mushroom Tartlets
- Endive Boats with Pear and Blue Cheese
- Fig and Goat Cheese Bites
- Whipped Feta Crostini with Honey and Pistachios
- Stuffed Dates with Goat Cheese
- Caprese Skewers with Pesto
- Frequently Asked Questions
Blini with Crème Fraîche and Salmon Roe
This is the one that makes a room go quiet for a second. Tiny, golden, faintly nutty from the buckwheat, each one topped with a bead of orange roe that catches the light: it reads as effort even though the batter takes ten minutes.
Work the batter in advance and fry the blini an hour or two before guests arrive, then top them at the last minute so the crème fraîche stays cold and the roe does not bleed its color into the pancake.
If buckwheat flour is not on hand, use all-purpose flour instead and call them silver dollar pancakes; nobody at a cocktail party will mind the honesty.
Pour something to go with the tray: Party Drinks Everyone Will Ask You to Make Again covers the full bar so you are not improvising a cocktail list at six in the evening.
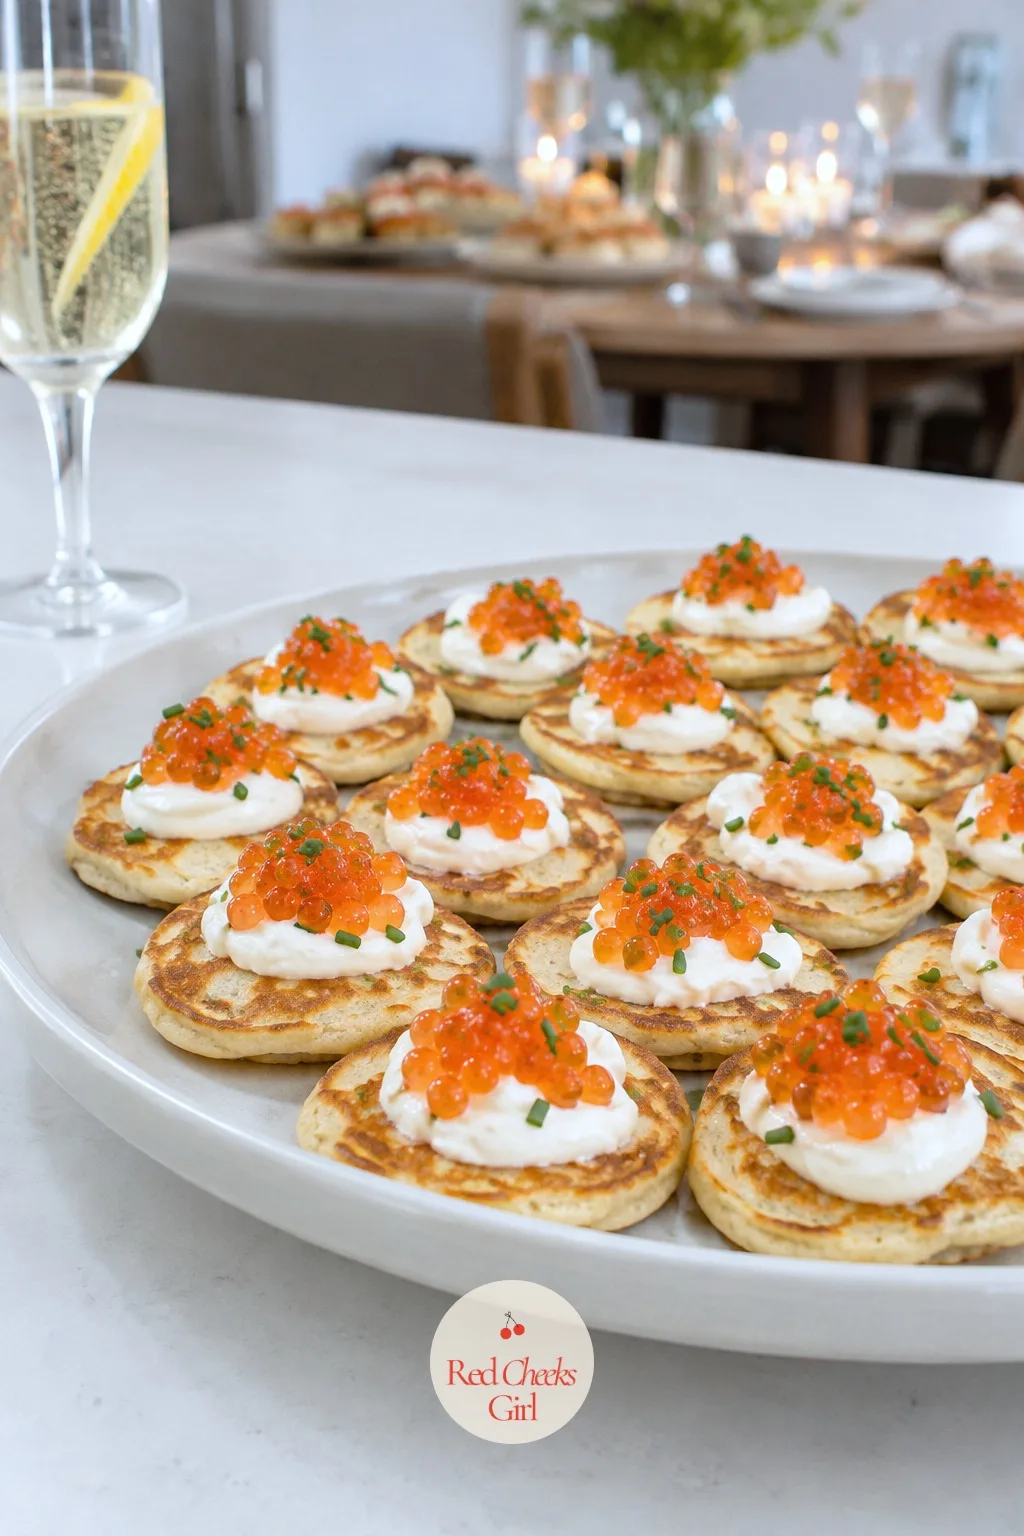
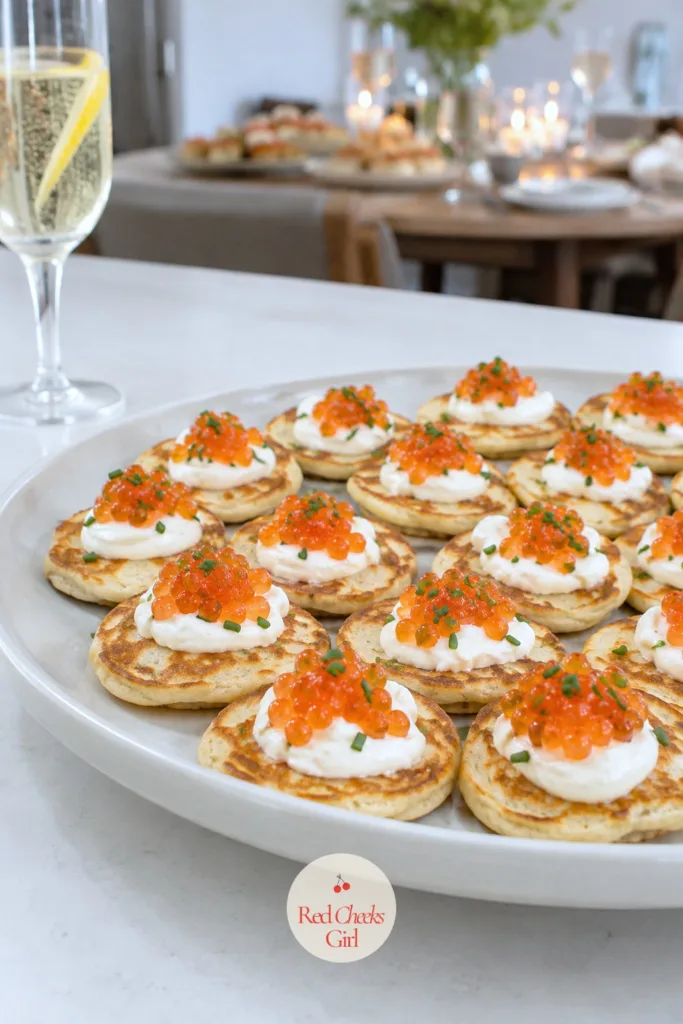
Blini with Crème Fraîche and Salmon Roe
Ingredients
- 1/2 cup buckwheat flour
- 1/2 cup all-purpose flour
- 1 teaspoon baking powder
- 1/2 teaspoon salt
- 1/2 teaspoon sugar
- 1 large egg
- 1 cup whole milk
- 2 tablespoons unsalted butter melted, plus extra for the pan
- 1/2 cup crème fraîche
- 2 ounces salmon roe
- 2 tablespoons fresh chives finely snipped
Instructions
- In a medium bowl, whisk the buckwheat flour, all-purpose flour, baking powder, salt and sugar together until no streaks of flour remain.
- In a separate bowl, whisk the egg, milk and melted butter together until smooth.
- Pour the wet ingredients into the dry ingredients and whisk just until combined; the batter should be pourable, about the thickness of heavy cream, with small lumps still fine.
- Let the batter rest at room temperature for 10 minutes; it will thicken slightly and the baking powder will start to bubble at the edges when you stir it.
- Heat a nonstick skillet or griddle over medium heat and brush with a thin layer of butter.
- Drop level teaspoons of batter onto the hot pan, spacing them an inch apart, and cook for 1 to 2 minutes, until small bubbles form across the surface and the edges look dry and set.
- Flip each blini and cook for 30 to 45 seconds more, until the underside is golden brown; transfer to a wire rack to cool completely.
- Repeat with the remaining batter, re-buttering the pan between batches so the blini do not stick or scorch.
- Just before serving, top each blini with a small dollop of crème fraîche, a few eggs of salmon roe and a pinch of chives.
Good to Know
🛍 Shopping guide
Seared Tuna on Wonton Crisps
You would say you cannot sear tuna. You can: ninety seconds in a screaming hot pan and it is done, rare in the middle, the only real skill being not walking away from the stove. The wonton crisp underneath does the rest of the work, lacquered and crunchy under a ribbon of rare fish.
Buy sushi-grade tuna from a counter you trust and ask the fishmonger for it the same day you serve it; this is one bite that is only as good as the fish under the glaze. Fry the wonton crisps a few hours ahead and keep them in an airtight container at room temperature so they stay crackling.
If you would rather not fry a second pan of oil, swap the wonton crisps for thin, toasted baguette rounds; the tuna carries the bite regardless.
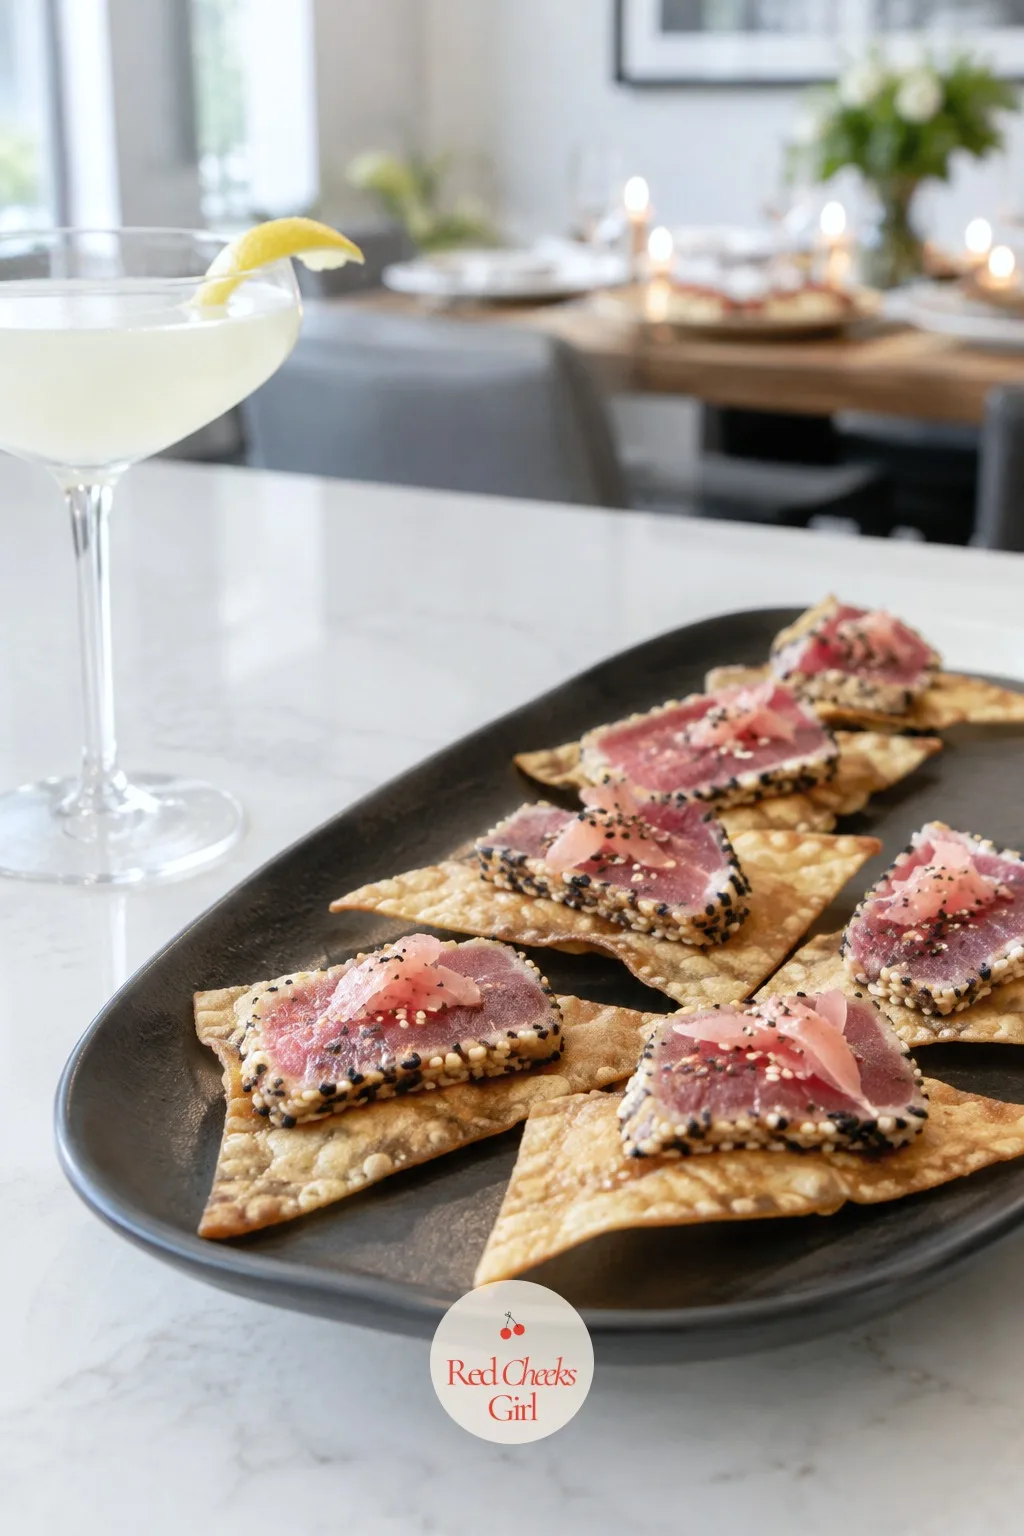
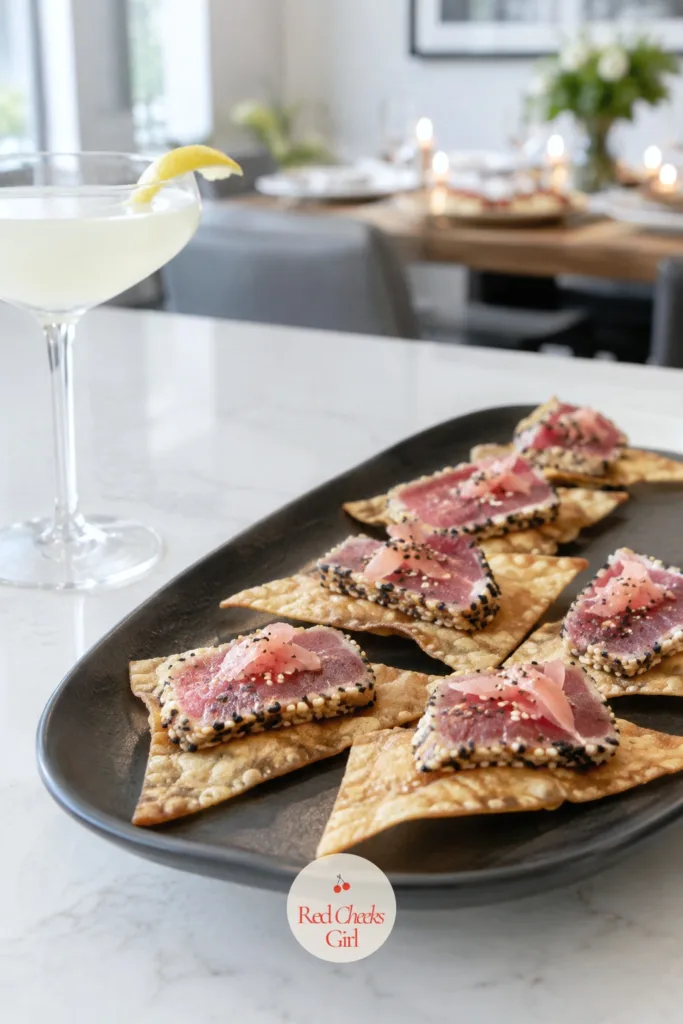
Seared Tuna on Wonton Crisps
Ingredients
- 8 ounces sushi-grade tuna steak about 1 inch thick
- 24 square wonton wrappers cut into triangles
- 1 cup vegetable oil for frying the wontons
- 1 tablespoon vegetable oil for searing the tuna
- 1 teaspoon sesame oil
- 1 teaspoon black and white sesame seeds mixed
- 1/2 teaspoon salt
- 1/4 teaspoon black pepper
- 1/4 cup mayonnaise
- 1 teaspoon wasabi paste
- 2 tablespoons low-sodium soy sauce
- 2 scallions thinly sliced
- Pickled ginger for garnish
Instructions
- Heat the vegetable oil for frying in a small saucepan to 350 degrees F, checking with a frying thermometer or by dropping in a wonton corner; it should sizzle and bubble immediately.
- Fry the wonton triangles in batches of 5 or 6 for 1 to 2 minutes, turning once, until golden brown and crisp.
- Lift onto a paper-towel-lined tray to drain and cool completely; they crisp further as they cool.
- Pat the tuna steak dry, rub with sesame oil, and press the sesame seeds, salt and pepper onto all sides.
- Heat the tablespoon of vegetable oil in a heavy skillet over high heat until it shimmers and just starts to smoke.
- Sear the tuna for 45 seconds per side for a rare center; the outside should be opaque and golden while the inside stays deep pink.
- Rest the tuna on a cutting board for 5 minutes, then slice against the grain into very thin pieces.
- Stir the mayonnaise and wasabi paste together and spread a small amount on each wonton crisp.
- Top each crisp with a slice of tuna, a drop of soy sauce, a few scallion slices and a sliver of pickled ginger; serve within the hour.
Good to Know
🛍 Shopping guide
Mini Crab Cakes with Remoulade
Order remoulade from a jar once and you will hear about it at the party. Make it yourself, with capers that pop and a scrape of lemon zest, and the little crab cake underneath it tastes like the whole point rather than a vehicle for sauce.
Keep the filling cold and barely bound, more lump crab than filler, so each cake fries into a crisp shell around a center that still tastes like the sea rather than the breadcrumb. Chilling the formed patties for 20 minutes before they hit the pan is not optional: skip it and they fall apart on the first flip.
Form and chill the patties the night before, then fry them in the last twenty minutes before the door opens; the texture holds far better than a cake that sits around once cooked.
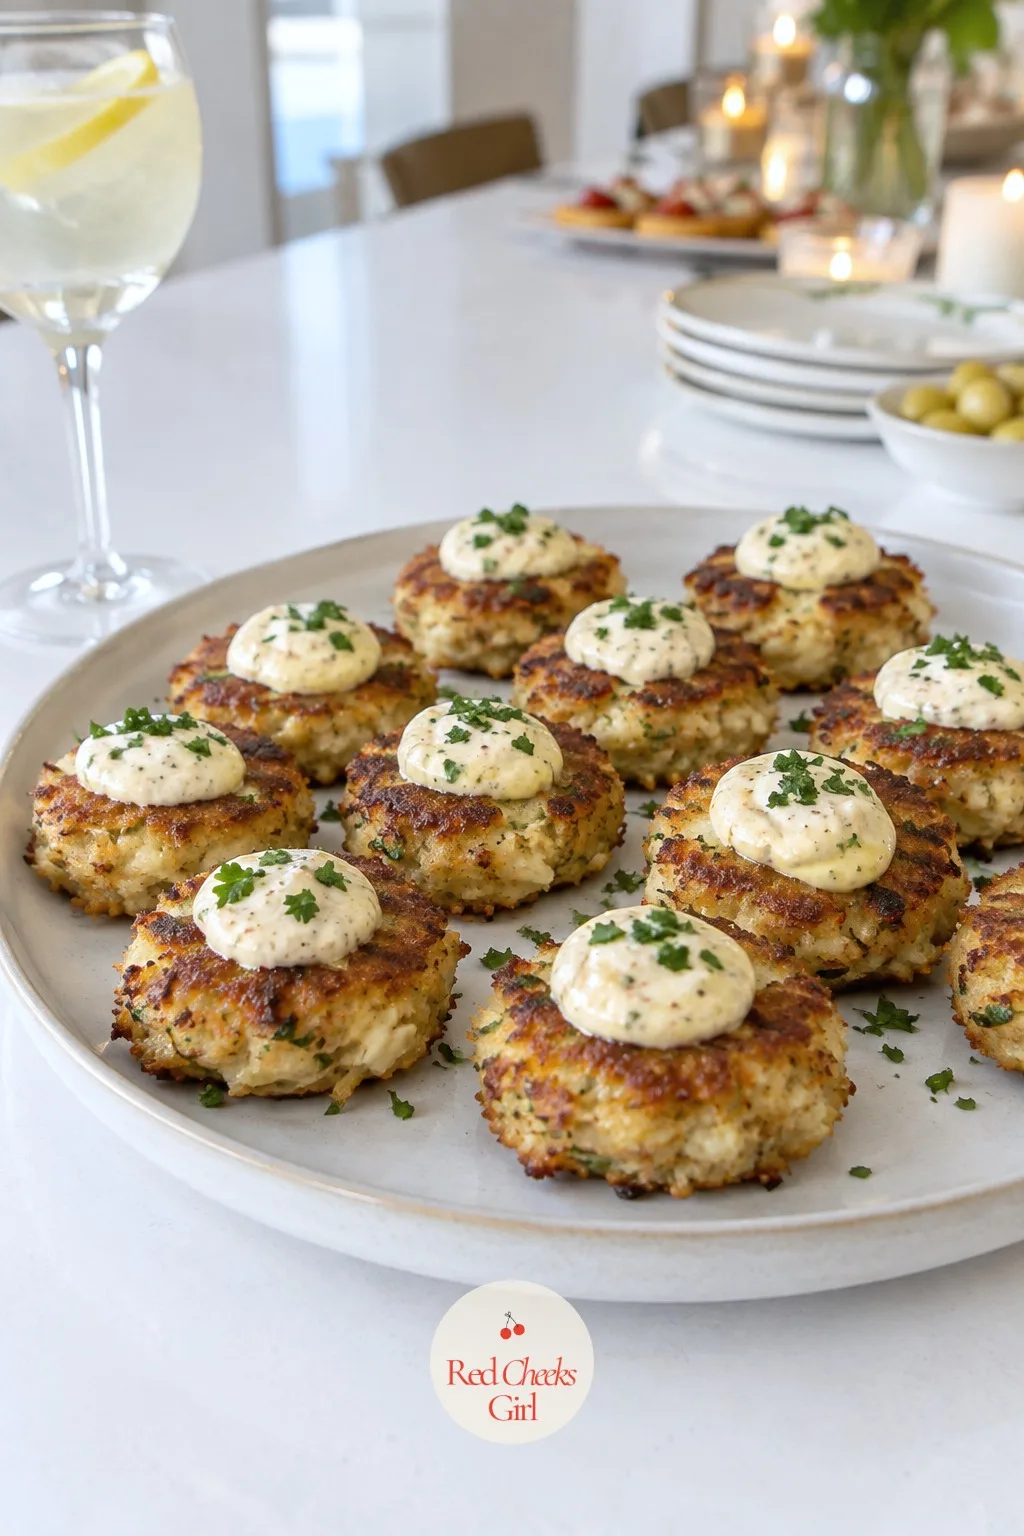
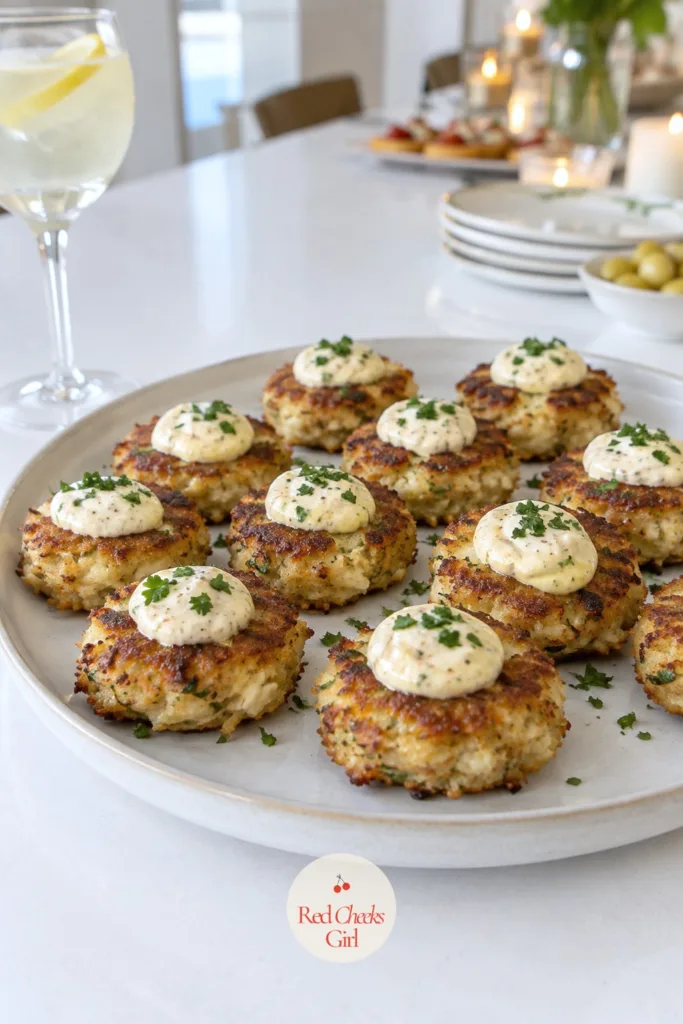
Mini Crab Cakes with Remoulade
Ingredients
- 1 pound lump crab meat picked over for shells
- 1/2 cup panko breadcrumbs
- 1/4 cup mayonnaise
- 1 large egg
- 1 teaspoon Dijon mustard
- 1 teaspoon Old Bay seasoning
- 1 teaspoon lemon zest
- 2 tablespoons fresh parsley chopped
- 2 tablespoons unsalted butter
- 2 tablespoons vegetable oil
- 1/2 cup mayonnaise for the remoulade
- 1 teaspoon Dijon mustard for the remoulade
- 1 tablespoon capers chopped
- 1 tablespoon cornichons finely chopped
- 1 teaspoon hot sauce
- 1 teaspoon lemon juice
- 1/4 teaspoon smoked paprika
Instructions
- In a large bowl, gently fold the crab meat, panko, 1/4 cup mayonnaise, egg, 1 teaspoon Dijon, Old Bay, lemon zest and parsley together, being careful not to break up the lumps of crab.
- Divide the mixture into 20 portions, about 1.5 tablespoons each, and shape into patties roughly 1.5 inches wide.
- Arrange the patties on a parchment-lined tray and chill in the refrigerator for 20 minutes, until firm enough to hold their shape when lifted.
- While the patties chill, whisk together the remoulade: 1/2 cup mayonnaise, 1 teaspoon Dijon, capers, cornichons, hot sauce, lemon juice and smoked paprika; refrigerate until serving.
- Heat the butter and oil in a large skillet over medium heat until the butter foams.
- Fry the crab cakes in batches, 2 to 3 minutes per side, until deep golden brown and crisp on both faces; do not crowd the pan.
- Transfer to a paper-towel-lined plate to drain briefly.
- Top each warm crab cake with a small spoonful of remoulade and a pinch of parsley, and serve immediately.
Good to Know
🛍 Shopping guide
Smoked Salmon Cucumber Rounds with Dill Cream
Cold, crisp, faintly briny: this is the bite that disappears first because it asks nothing of anyone’s jaw or their patience. The cucumber stays cool against the tongue, which is half of why it works on a warm room full of people holding wine glasses.
Salt the cucumber slices lightly and let them sit on paper towels for a few minutes before building; skip this and the rounds weep and the whole tray goes soft by the second hour. Pipe the dill cream rather than spoon it if you have a bag in the drawer: it looks tidier and takes the same amount of time.
If dill is not your thing, swap it for fresh chives or tarragon; the cream cheese base carries either one just as well.
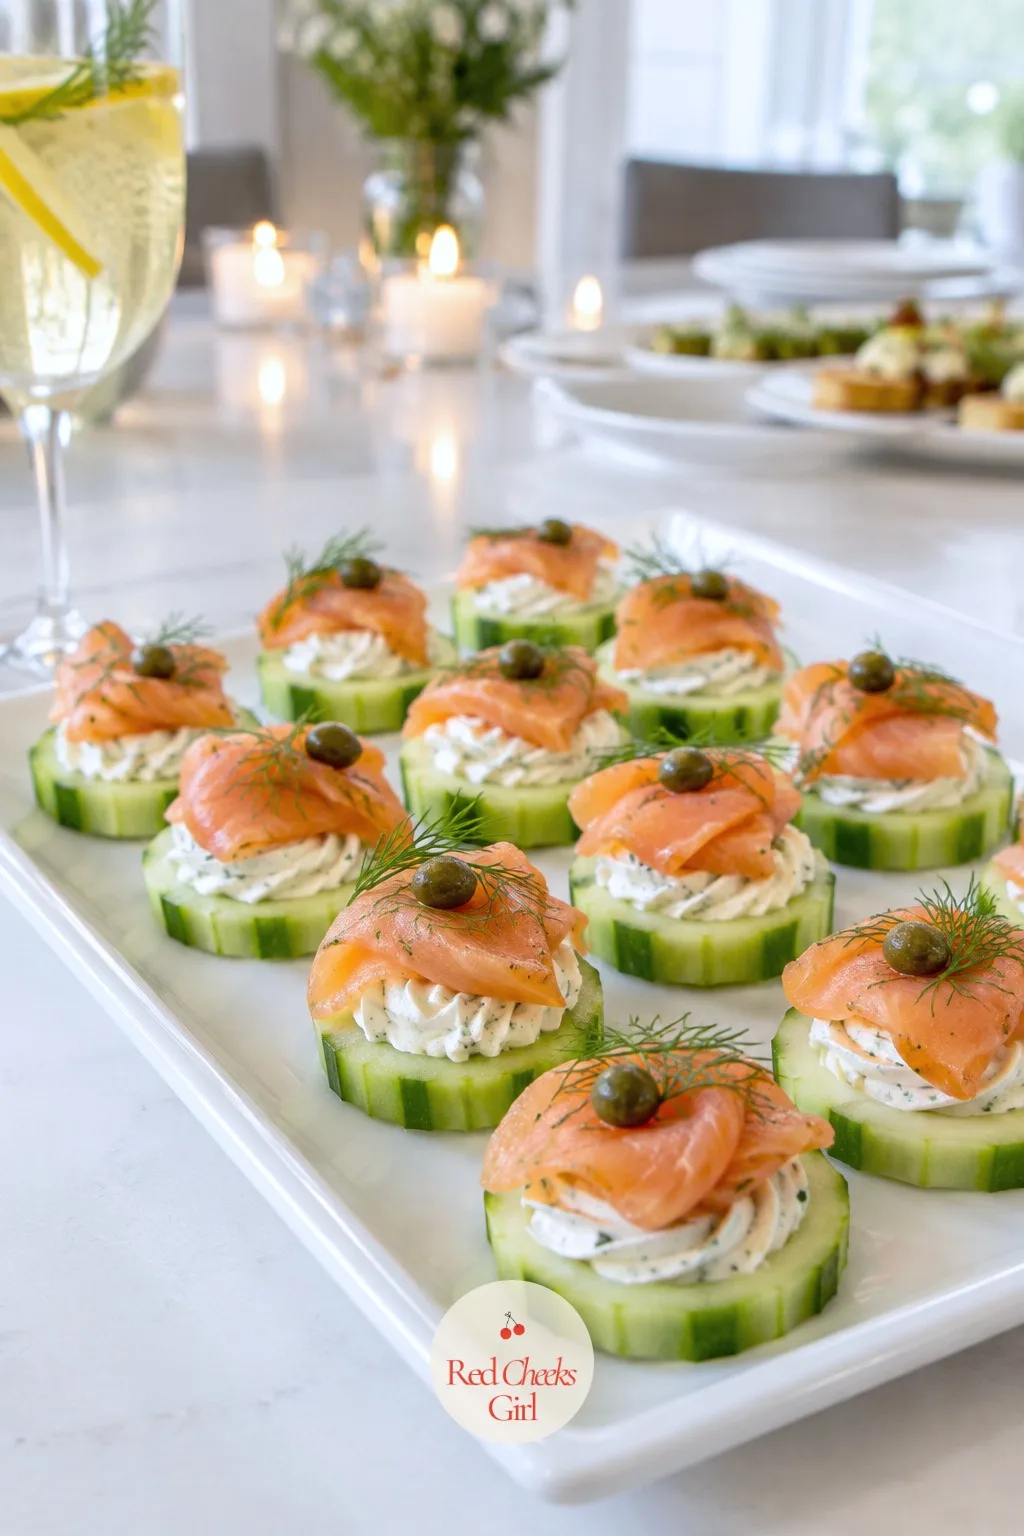
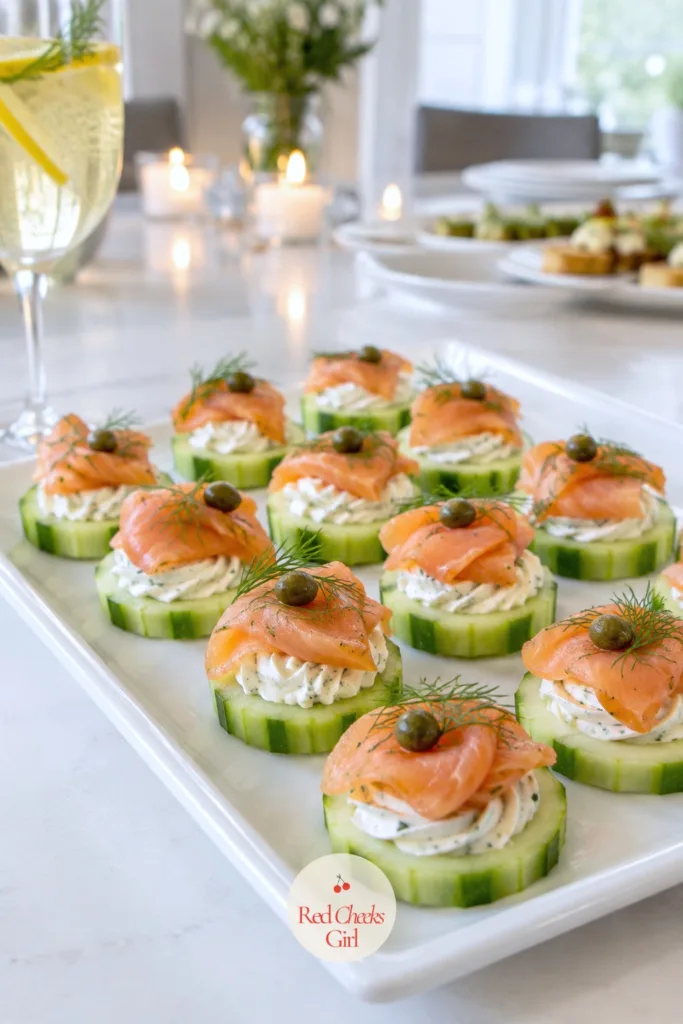
Smoked Salmon Cucumber Rounds with Dill Cream
Ingredients
- 2 English cucumbers sliced into 1/4-inch rounds
- 8 ounces cream cheese softened
- 1/4 cup sour cream
- 2 tablespoons fresh dill finely chopped, plus extra sprigs for garnish
- 1 teaspoon lemon zest
- 1/4 teaspoon salt
- 4 ounces smoked salmon thinly sliced
- 2 tablespoons capers drained
- Freshly cracked black pepper
Instructions
- Lay the cucumber rounds on a double layer of paper towels, sprinkle lightly with salt, and let them sit for 10 minutes to draw out excess moisture.
- Pat the cucumber rounds dry with a fresh paper towel.
- In a bowl, beat the cream cheese, sour cream, chopped dill, lemon zest and 1/4 teaspoon salt together until smooth and fluffy.
- Spoon the mixture into a piping bag fitted with a star tip, or use a small resealable bag with the corner snipped off.
- Pipe a small rosette of dill cream onto each cucumber round.
- Fold a small ribbon of smoked salmon and drape it over each rosette.
- Top each round with 2 or 3 capers and a small sprig of dill.
- Finish with a crack of black pepper and chill for at least 15 minutes before serving so the cream firms slightly.
Good to Know
Gougères
These are the ones that make people ask what is in the oven before they have even sat down. A gougère is choux pastry with cheese folded through it, baked until it puffs into something between a popover and a cheese twist, and it is far less fragile to make than it looks.
The dough itself is forgiving once you know the one rule: dry it out over the heat after the flour goes in, until it pulls cleanly from the pan and forms a thin film on the bottom. Skip that step and the eggs will not bind properly and the puffs stay flat.
Do not open the oven door for the first 15 minutes; a rush of cold air at the wrong moment is the one thing that collapses a gougère after all that work.


Gougères
Ingredients
- 1 cup water
- 6 tablespoons unsalted butter cubed
- 1/2 teaspoon salt
- 1 cup all-purpose flour
- 4 large eggs at room temperature
- 1 1/4 cups Gruyère cheese grated, plus extra for topping
- Pinch of cayenne pepper
- 1 egg beaten with 1 tablespoon water, for egg wash
Instructions
- Preheat the oven to 400 degrees F and line two baking sheets with parchment paper.
- In a medium saucepan, bring the water, butter and salt to a rolling boil over medium-high heat.
- Remove from the heat and dump in the flour all at once, stirring vigorously with a wooden spoon until a smooth dough forms.
- Return the pan to medium heat and stir constantly for 1 to 2 minutes, until the dough pulls away from the sides and leaves a thin film on the bottom of the pan.
- Transfer the dough to a mixing bowl and let it cool for 5 minutes, stirring occasionally so it does not scramble the eggs.
- Beat in the eggs one at a time, fully incorporating each before adding the next; the dough will look slippery at first, then come back together glossy and smooth.
- Fold in the Gruyère and cayenne pepper.
- Spoon or pipe tablespoon-sized mounds onto the prepared baking sheets, spacing them 2 inches apart.
- Brush each mound lightly with egg wash and scatter a little extra cheese on top.
- Bake for 20 to 25 minutes, without opening the oven door, until the gougères are puffed, deep golden brown, and sound hollow when tapped; cool for 5 minutes before serving.
Good to Know
Burrata with Roasted Tomatoes
This is the dish for the guest who claims she does not like cocktail food. Set a whole ball of burrata out on a platter and nobody minds that it is not technically a one-bite thing: a spoon and some crostini and the room sorts itself out.
Roast the tomatoes until they blister and give up their juice; that juice, mixed with olive oil and a little balsamic, is the actual sauce here, no extra work required. The burrata itself needs nothing done to it beyond sitting at room temperature for twenty minutes before serving, so the center stays soft rather than cold and tight.
If burrata is not at the store, fresh mozzarella works, though it will not have quite the same cream running out when you tear into it.
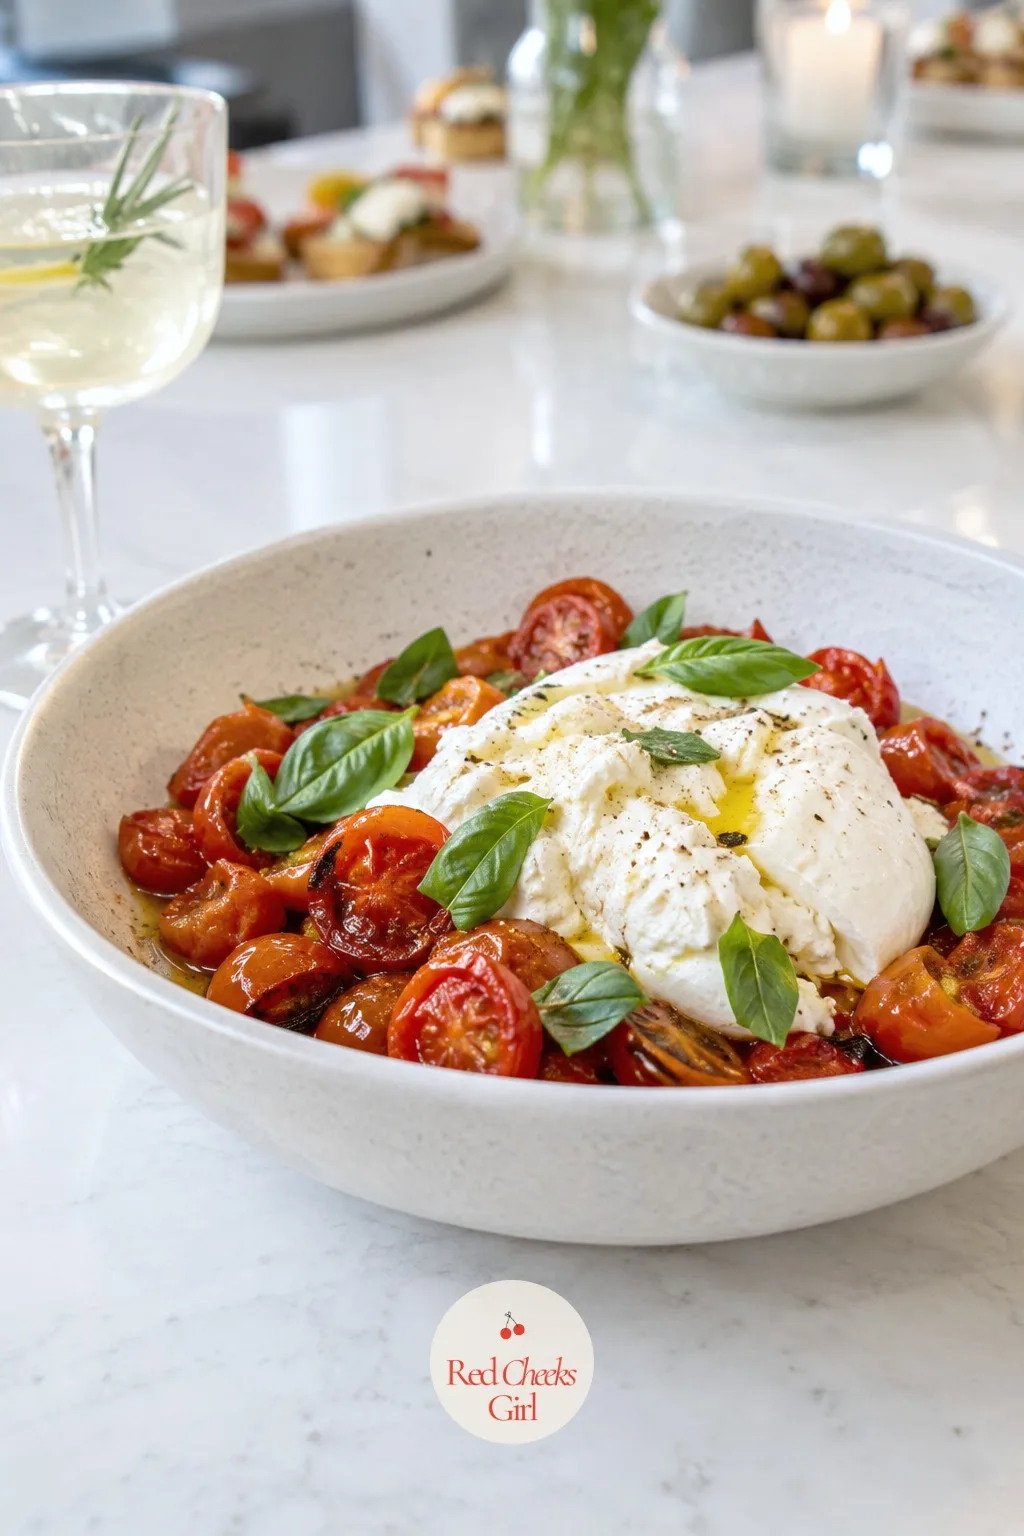
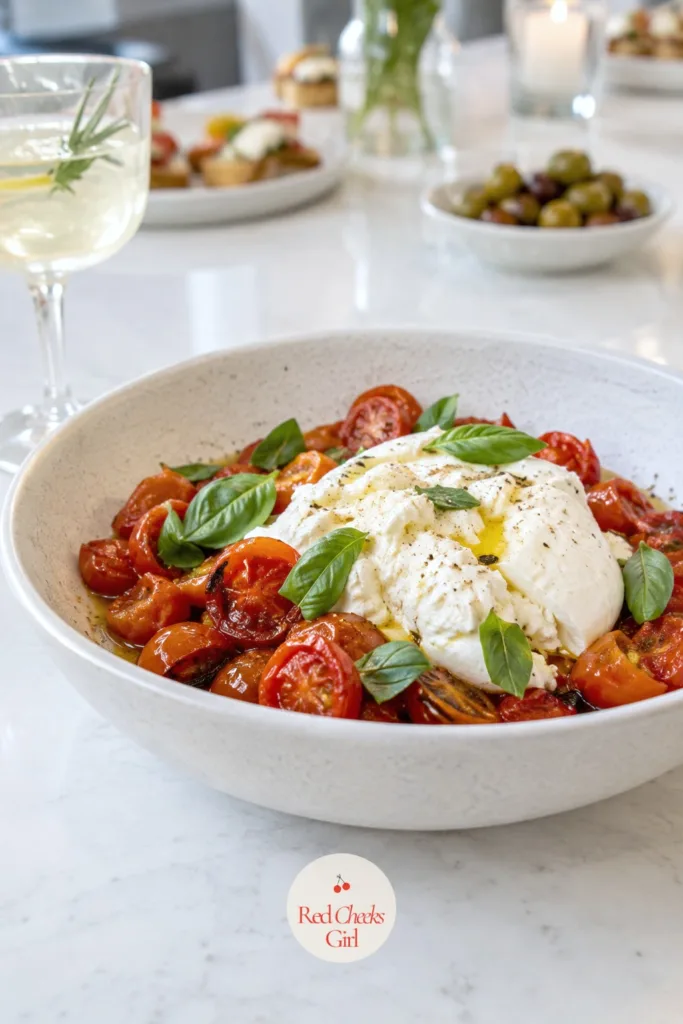
Burrata with Roasted Tomatoes
Ingredients
- 3 cups cherry tomatoes mixed colors if possible
- 3 tablespoons olive oil plus extra for drizzling
- 3 garlic cloves thinly sliced
- 4 sprigs fresh thyme
- 1/2 teaspoon salt
- 1/4 teaspoon black pepper
- 2 balls burrata about 8 ounces each
- 1 tablespoon balsamic glaze
- 1/4 cup fresh basil leaves torn
- Flaky salt for finishing
- Crostini or sliced baguette for serving
Instructions
- Preheat the oven to 400 degrees F.
- Toss the cherry tomatoes with 3 tablespoons olive oil, garlic, thyme, salt and pepper on a rimmed baking sheet.
- Roast for 20 to 25 minutes, until the tomatoes have blistered, collapsed slightly, and released a juicy syrup on the pan.
- Remove the thyme stems and let the tomatoes cool for 10 minutes.
- Remove the burrata from the refrigerator and let it come to room temperature for 20 minutes before serving; the center should feel soft when pressed gently.
- Place the burrata balls on a platter and spoon the roasted tomatoes and their juices around and over them.
- Tear the burrata open at the table or just before guests arrive so the cream spills over the tomatoes.
- Drizzle with extra olive oil and the balsamic glaze, scatter the basil and flaky salt on top, and serve with crostini alongside.
Good to Know
Deviled Eggs with Caviar
Deviled eggs always get eaten, no matter how formal the party gets around them. A small spoon of caviar or salmon roe on top is the whole trick: same filling your grandmother made, dressed for a different kind of evening.
Boil the eggs properly, a full cold-water start into a rolling boil then straight into ice water, and the yolks come out that even pale yellow instead of gray-rimmed. Pipe the filling rather than spoon it; it looks tidier and uses up less filling per egg, which means you stretch a dozen eggs into two dozen bites.
Buy a small jar of inexpensive roe rather than true caviar for a crowd this size; the look reads the same from across the room.
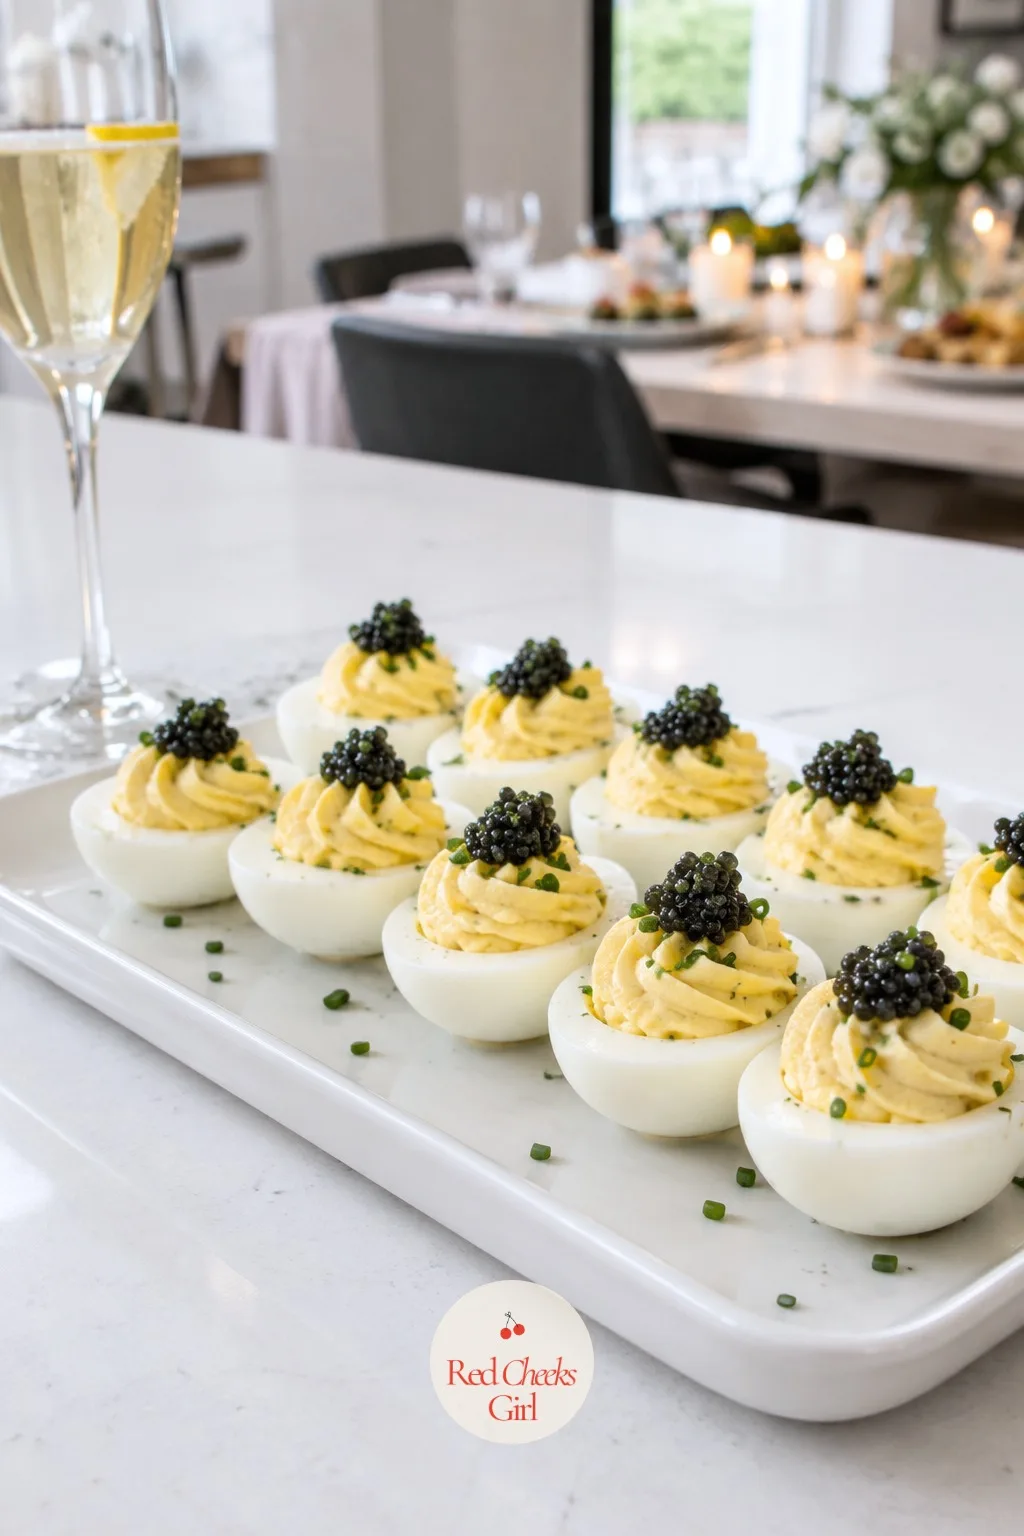
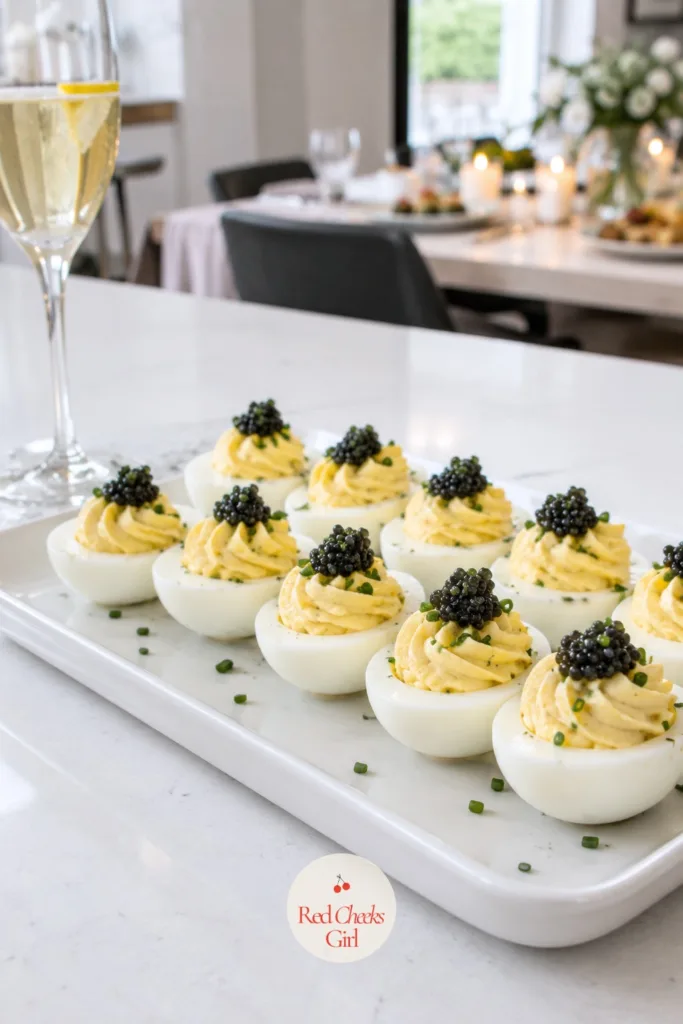
Deviled Eggs with Caviar
Ingredients
- 12 large eggs
- 1/3 cup mayonnaise
- 1 teaspoon Dijon mustard
- 1 teaspoon white wine vinegar
- 1/4 teaspoon salt
- 1/4 teaspoon white pepper
- 2 tablespoons fresh chives finely chopped
- 1 small jar about 1 ounce salmon roe or caviar
Instructions
- Place the eggs in a single layer in a saucepan and cover with cold water by 1 inch.
- Bring to a rolling boil over high heat, then cover, remove from heat, and let sit for 11 minutes.
- Drain and transfer the eggs immediately to a bowl of ice water for 10 minutes to stop the cooking.
- Peel the eggs and slice each in half lengthwise, then scoop the yolks into a bowl, setting the whites aside on a tray.
- Mash the yolks with a fork, then mix in the mayonnaise, Dijon, vinegar, salt and white pepper until smooth and fluffy.
- Spoon the mixture into a piping bag fitted with a star tip.
- Pipe the filling into each egg white half in a tall swirl.
- Top each egg with a small dollop of salmon roe and a sprinkle of chives.
- Chill for at least 15 minutes before serving.
Good to Know
Prosciutto Wrapped Melon
No stove, no oven, no piping bag: this is the one you make while the kettle is still heating for something else. Sweet melon against salty, paper-thin prosciutto is one of those pairings that needed no modern invention to work.
Buy the melon a few days ahead so it has time to ripen on the counter; a melon that smells sweet at the stem end is ready, one that smells of nothing needs another day or two. Wrap the prosciutto loosely rather than tight: it clings to itself and tears less than you would think.
Swap cantaloupe for honeydew, or use both on the same platter for the color contrast; either way the method stays identical.
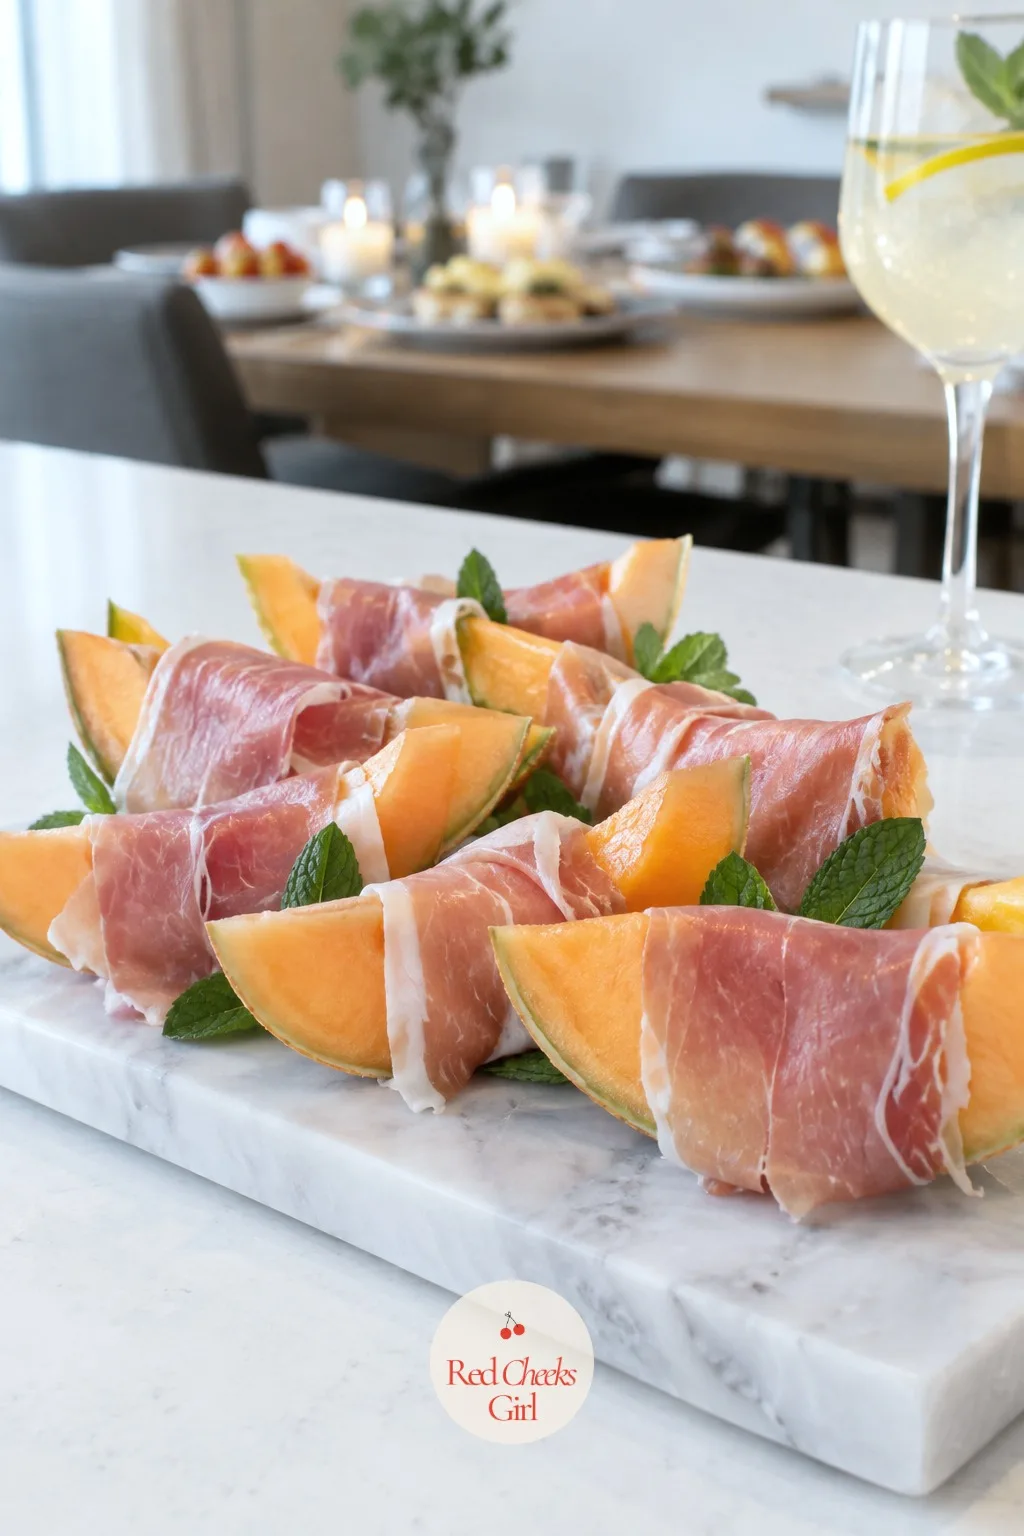
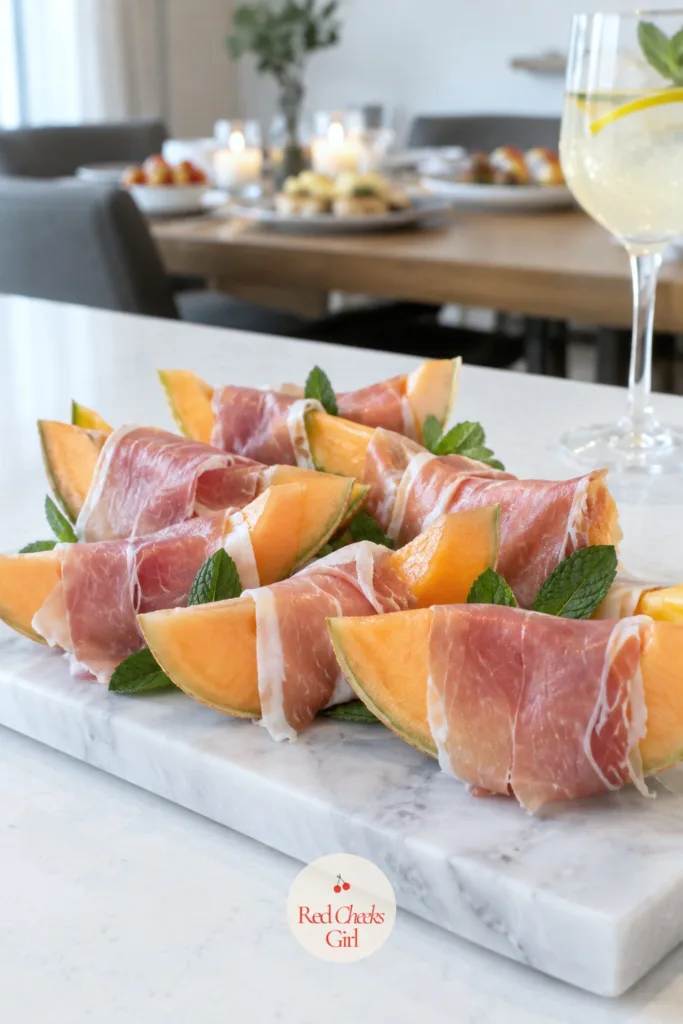
Prosciutto Wrapped Melon
Ingredients
- 1 ripe cantaloupe seeded and cut into 24 bite-sized wedges or cubes
- 8 ounces thinly sliced prosciutto each slice halved lengthwise
- 24 small fresh mint leaves
- 1 tablespoon balsamic glaze
- 1/4 teaspoon flaky salt
- Freshly cracked black pepper
Instructions
- Cut the cantaloupe into 24 wedges or cubes about 1 inch across, discarding the rind and seeds.
- Wrap one half-slice of prosciutto loosely around each piece of melon, leaving the ends slightly open rather than pulling it taut.
- Arrange the wrapped melon on a platter as you go.
- Tuck a small mint leaf under or beside the prosciutto on each piece.
- Drizzle the balsamic glaze lightly over the entire platter.
- Finish with flaky salt and a crack of black pepper just before serving.
Good to Know
🛍 Shopping guide
Mushroom Tartlets
These smell like a dinner party before anyone has stepped through the door: butter, shallot and mushroom reducing down into something dark and savory, tucked into a crisp little shell. It is the warm bite on a tray otherwise full of cold ones, and warm always gets noticed first.
Cook the mushrooms longer than feels necessary, until the liquid they release has fully cooked off and they start to catch a little color in the pan; a wet mushroom filling turns the pastry soggy within the hour.
A splash of sherry at the end lifts the whole thing, though a dry white wine or even a splash of broth works if sherry is not in the cupboard.
Use store-bought mini phyllo shells to skip the pastry work entirely; nobody needs to know.
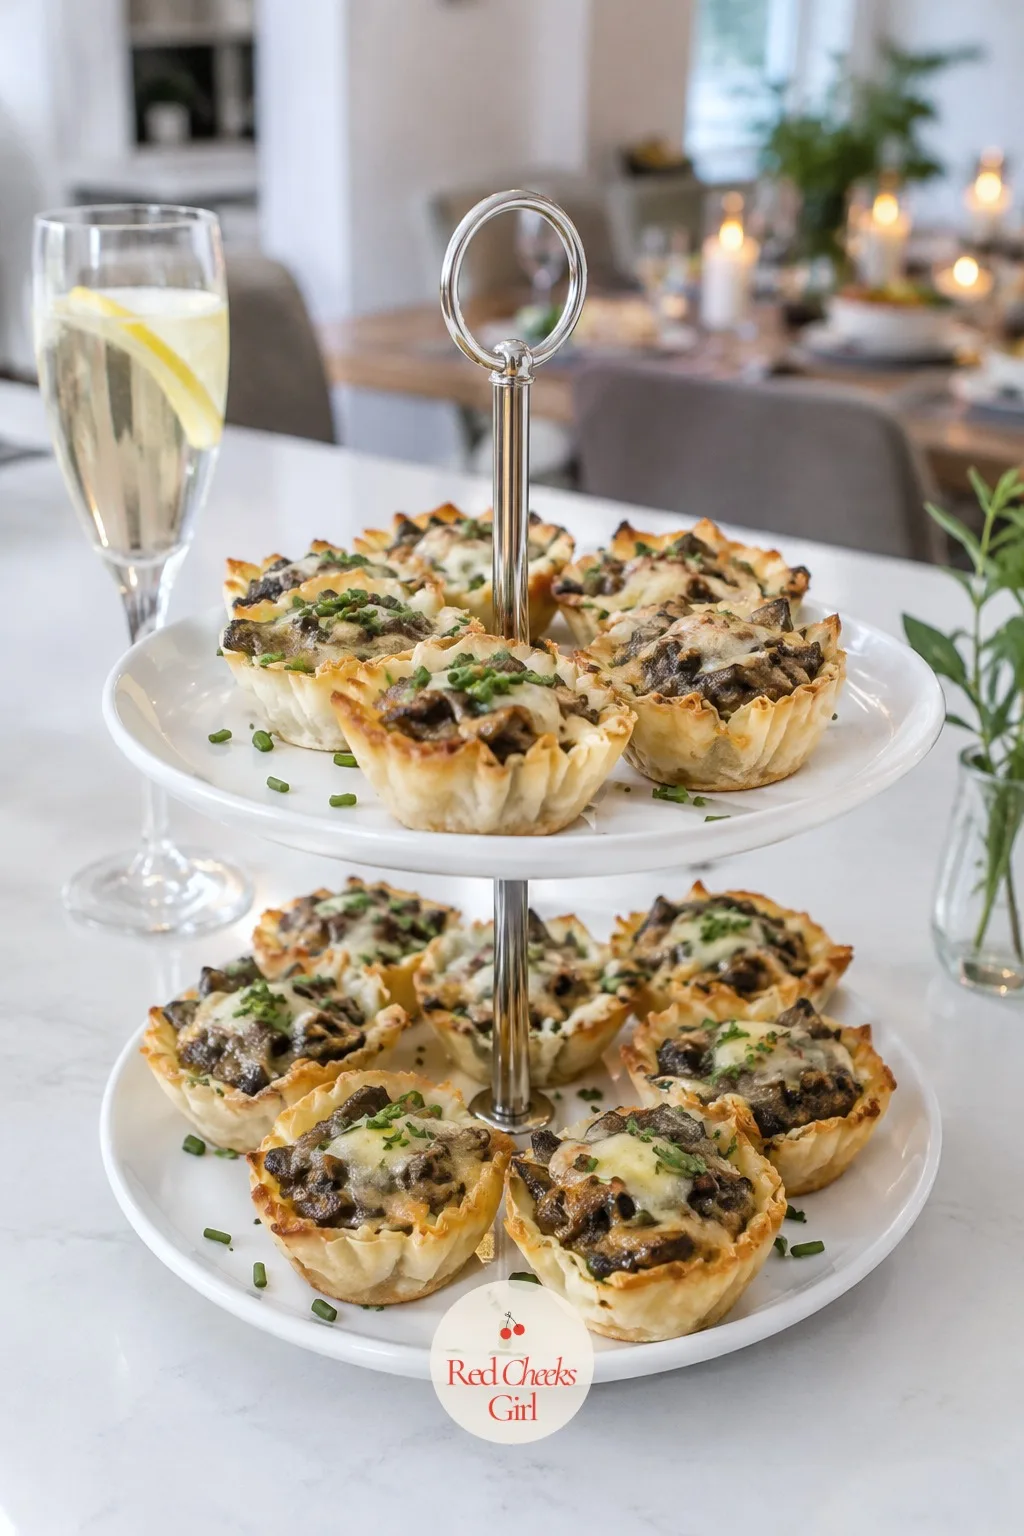
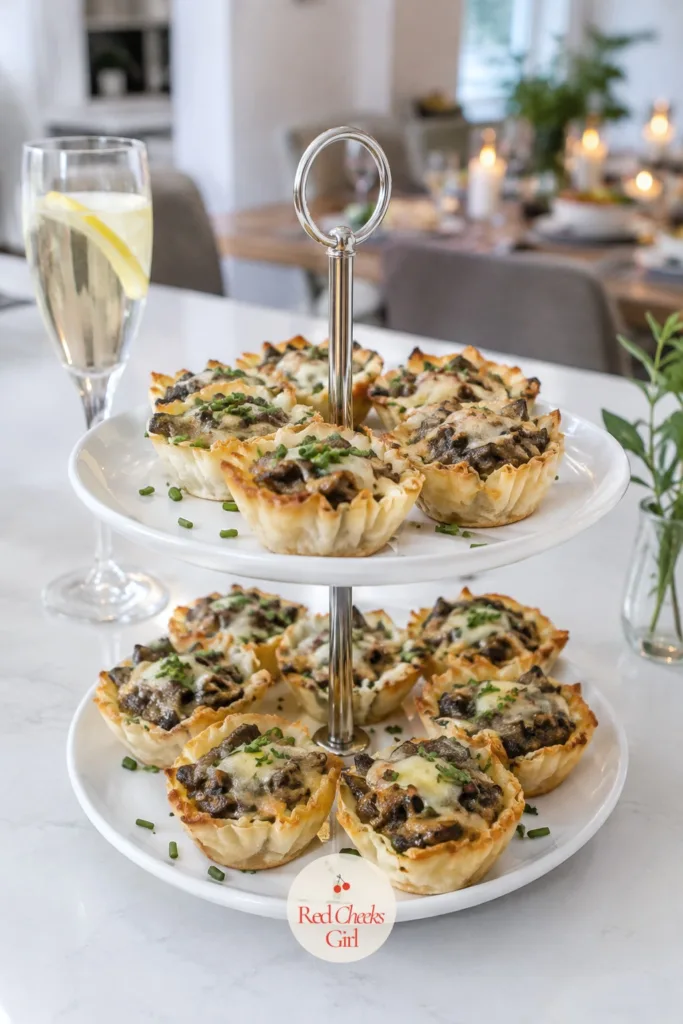
Mushroom Tartlets
Ingredients
- 2 boxes 1.9 ounces each mini phyllo shells, 24 shells total
- 2 tablespoons unsalted butter
- 1 shallot finely diced
- 2 garlic cloves minced
- 10 ounces mixed mushrooms cremini, shiitake, button, finely chopped
- 1 teaspoon fresh thyme leaves
- 1/4 cup dry sherry
- 1/4 cup heavy cream
- 1/2 cup Gruyère cheese grated
- 1/2 teaspoon salt
- 1/4 teaspoon black pepper
- 1 tablespoon fresh chives chopped
Instructions
- Preheat the oven to 375 degrees F and arrange the phyllo shells on a baking sheet.
- Melt the butter in a large skillet over medium heat and add the shallot, cooking for 2 minutes until softened.
- Add the garlic and cook for 30 seconds, until fragrant.
- Add the mushrooms and thyme, and cook for 8 to 10 minutes, stirring occasionally, until the mushrooms have released their liquid and it has fully evaporated, leaving the pan dry and the mushrooms browned.
- Pour in the sherry and cook for 1 minute, scraping up any browned bits from the bottom of the pan.
- Add the cream, salt and pepper, and simmer for 2 minutes, until the mixture thickens enough to coat the back of a spoon; remove from heat and let cool for 5 minutes.
- Spoon the mushroom filling into the phyllo shells, filling each almost to the top.
- Sprinkle the Gruyère over the filled shells.
- Bake for 10 to 12 minutes, until the cheese is melted and bubbling and the edges of the shells are golden.
- Scatter with chives and serve warm.
Good to Know
Endive Boats with Pear and Blue Cheese
If the rest of the tray is rich, this is the one that resets the palate: cold, a little bitter from the endive leaf, sweet from the pear, sharp from the cheese.
Guests who say they are not hungry still pick these up, because they do not read as food so much as a bite of salad someone has handed them.
Toss the pear slices in lemon juice the moment you cut them, or they brown before the tray even leaves the kitchen. Choose a blue cheese that crumbles rather than one that is too soft to hold its shape on the leaf; Stilton or a mild Gorgonzola both work.
Walnuts can be swapped for pecans or left off entirely if nuts are a concern at your table; the pear and cheese carry the bite without them.
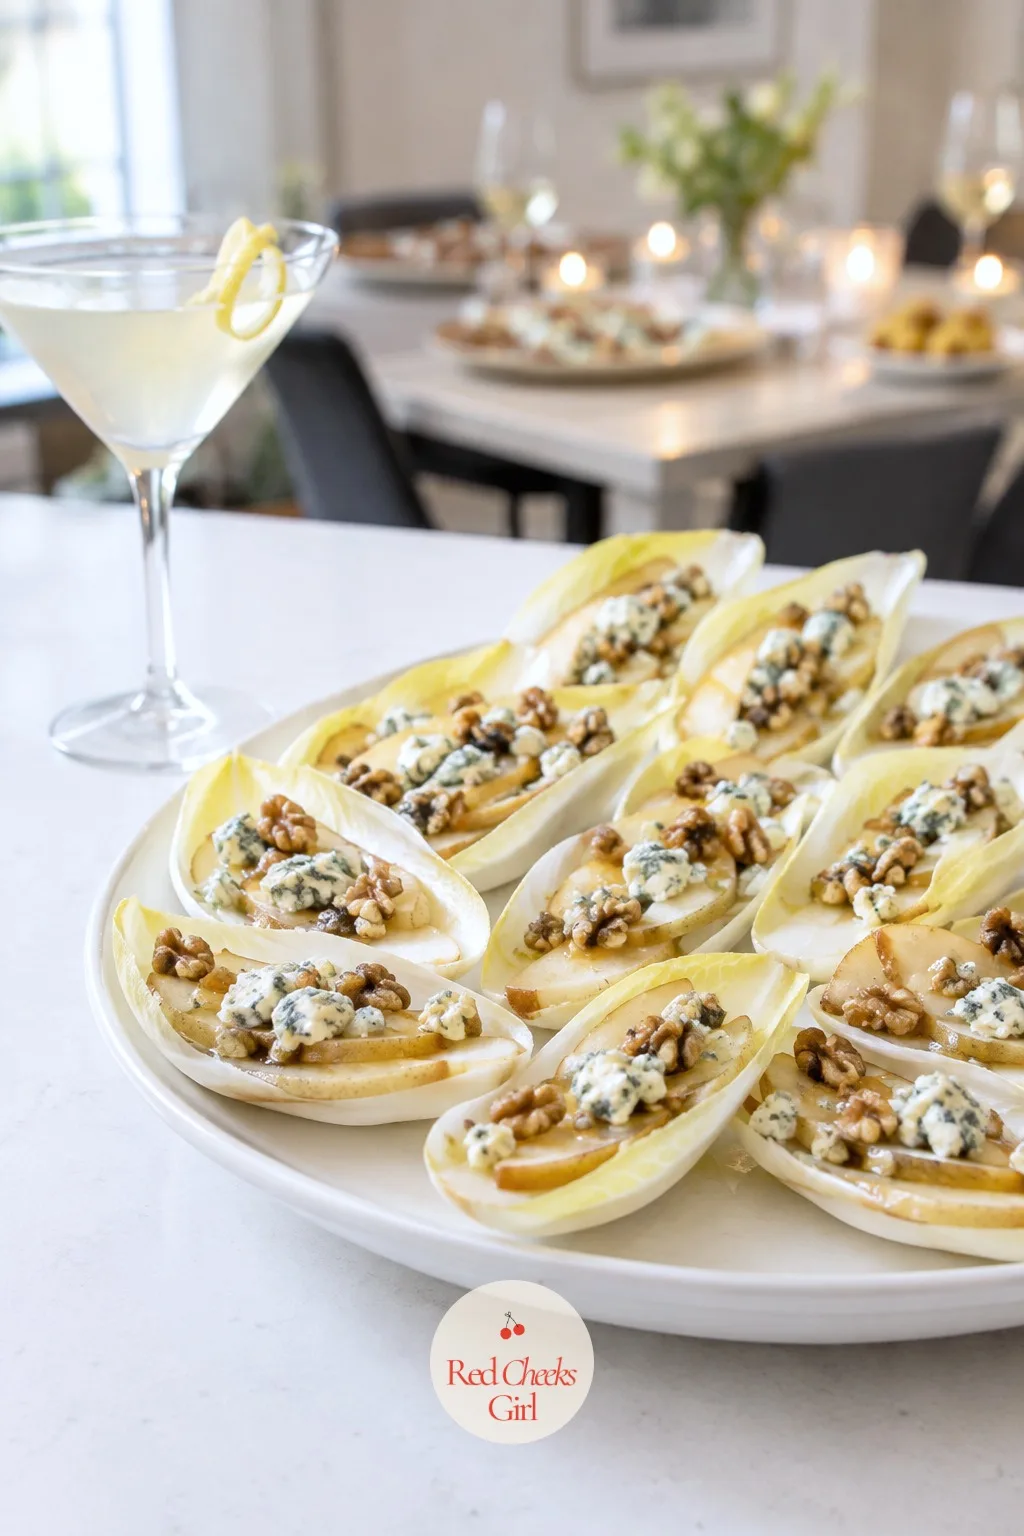
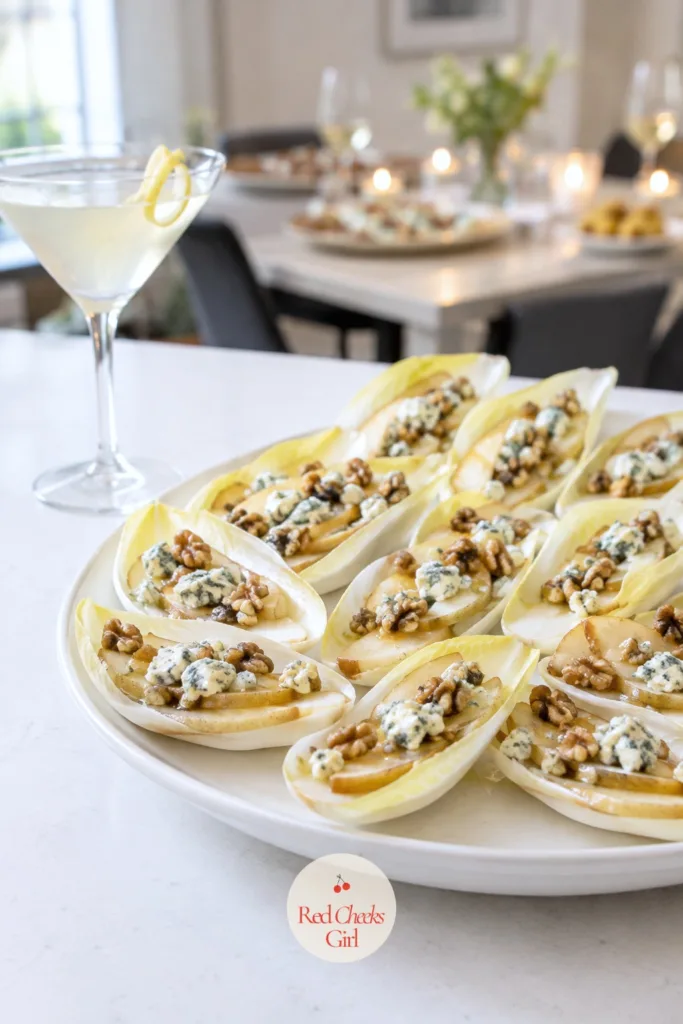
Endive Boats with Pear and Blue Cheese
Ingredients
- 3 heads Belgian endive leaves separated (about 24 sturdy leaves)
- 1 ripe pear thinly sliced
- 1 tablespoon lemon juice
- 4 ounces blue cheese crumbled
- 1/3 cup walnuts toasted and roughly chopped
- 2 tablespoons honey
- 1 teaspoon fresh thyme leaves
Instructions
- Trim the base of each endive head and separate the leaves, keeping the 24 largest, sturdiest leaves for filling.
- Toss the pear slices with the lemon juice in a small bowl to keep them from browning.
- Lay the endive leaves out on a platter, cup side up.
- Tuck 1 or 2 pear slices into each leaf.
- Scatter a pinch of crumbled blue cheese over the pear in each leaf.
- Top with a few pieces of toasted walnut.
- Drizzle the honey lightly over the whole platter.
- Finish with a few thyme leaves and serve within the hour so the leaves stay crisp.
Good to Know
🛍 Shopping guide
Fig and Goat Cheese Bites
Figs only have a short season, and when they show up at the market this is the first thing worth making with them. Cut side up, a round of goat cheese pressed in, a drizzle of something sticky: the fig does almost all the visual work on its own.
If fresh figs are out of season, dried Mission figs plumped in warm water for ten minutes and halved make a good substitute, though the color will not be quite as dramatic on the platter. A honey that has crystallized slightly is easier to drizzle in a thin ribbon than one straight from the fridge.
Build these no more than two hours before guests arrive; the goat cheese softens and slides if it sits too long in a warm room.
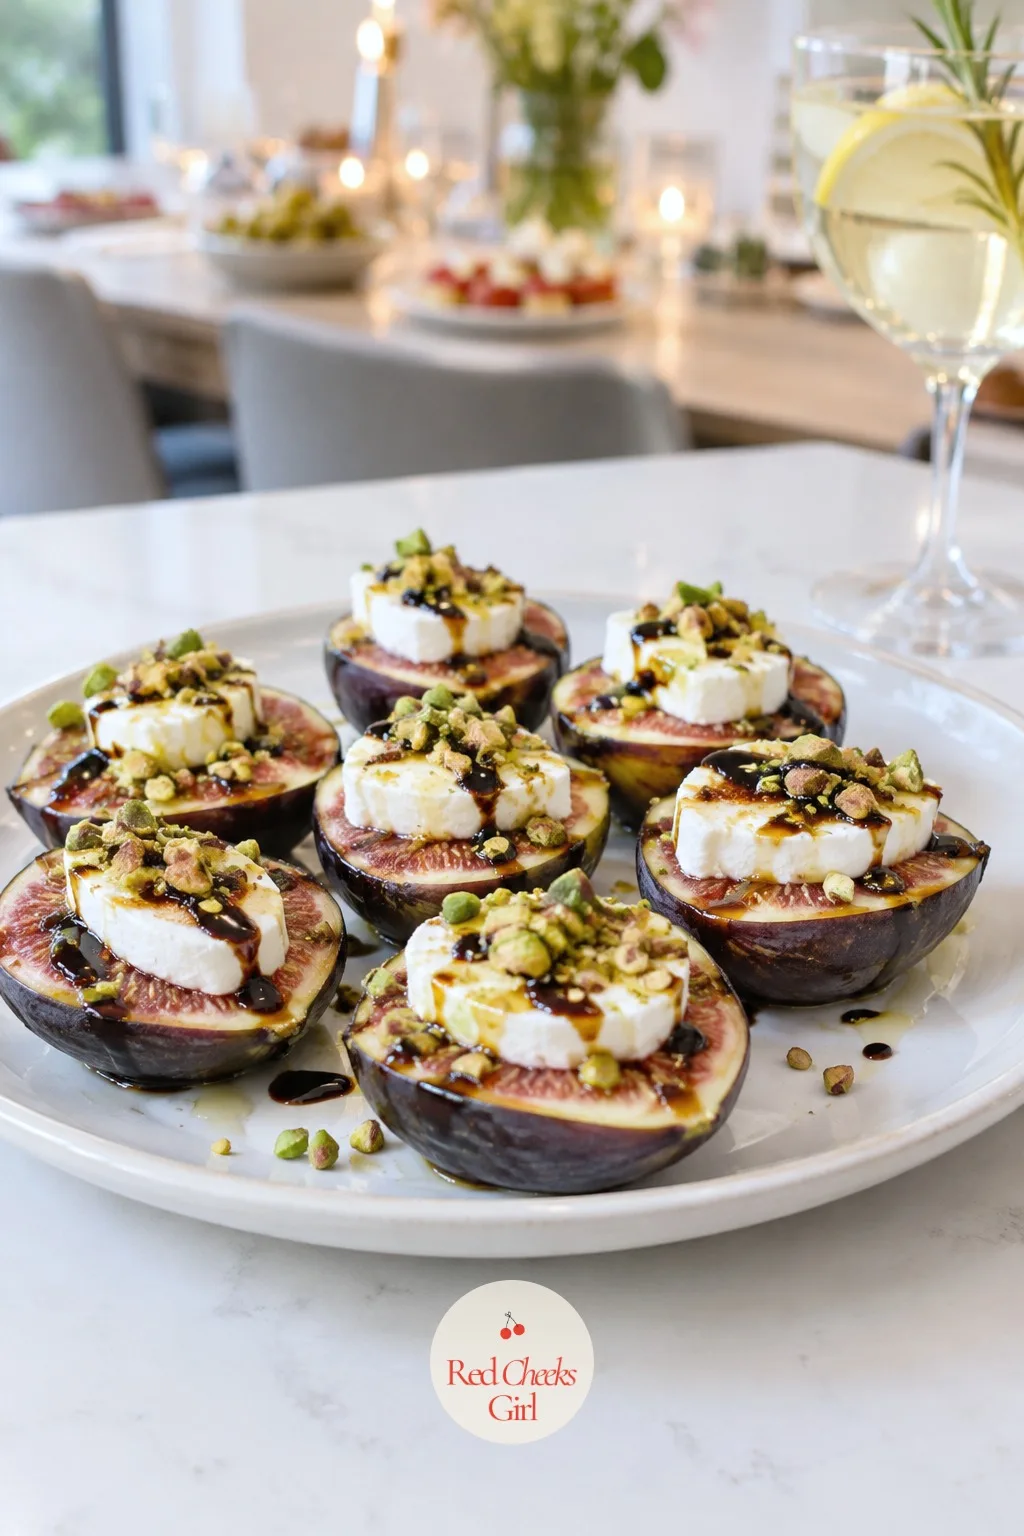
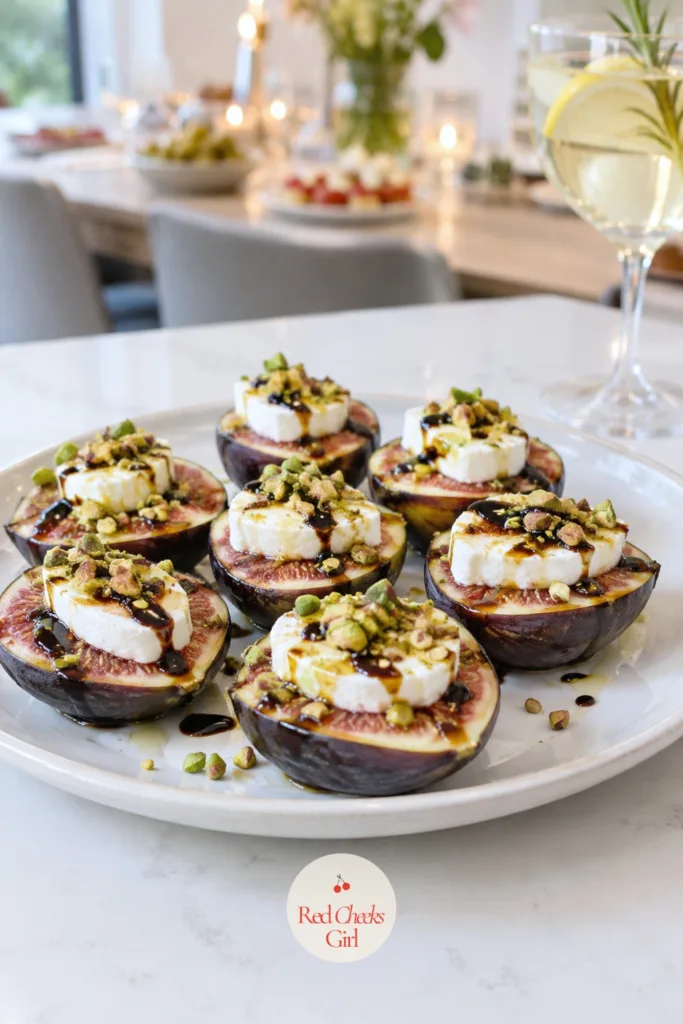
Fig and Goat Cheese Bites
Ingredients
- 12 fresh figs halved
- 4 ounces soft goat cheese
- 2 tablespoons honey
- 2 tablespoons balsamic glaze
- 1/4 cup pistachios toasted and roughly chopped
- 1/4 teaspoon flaky salt
- Fresh thyme leaves for garnish
Instructions
- Arrange the fig halves cut side up on a platter.
- Using a small spoon or your fingers, press a scant teaspoon of goat cheese onto the cut face of each fig half.
- Drizzle the honey over the figs in a thin stream.
- Drizzle the balsamic glaze over the top in the same way.
- Scatter the chopped pistachios over the platter.
- Finish with flaky salt and a few thyme leaves, and serve within 2 hours of assembling.
Good to Know
🛍 Shopping guide
Whipped Feta Crostini with Honey and Pistachios
Whip the feta rather than crumble it and it turns into something closer to a dip than a cheese, light and spreadable, which is the whole trick behind this one. It spreads in a thick swoop across a crisp crostini and holds its shape under the honey rather than sliding off.
Blend the feta and cream cheese together in a food processor rather than by hand; it takes two minutes and the texture is the difference between a cheese board and this. A pinch of chili flakes against the honey keeps it from reading as purely sweet.
This one costs the least of anything on the tray and takes the least effort, which makes it a fair one to lean on if the week has been long.
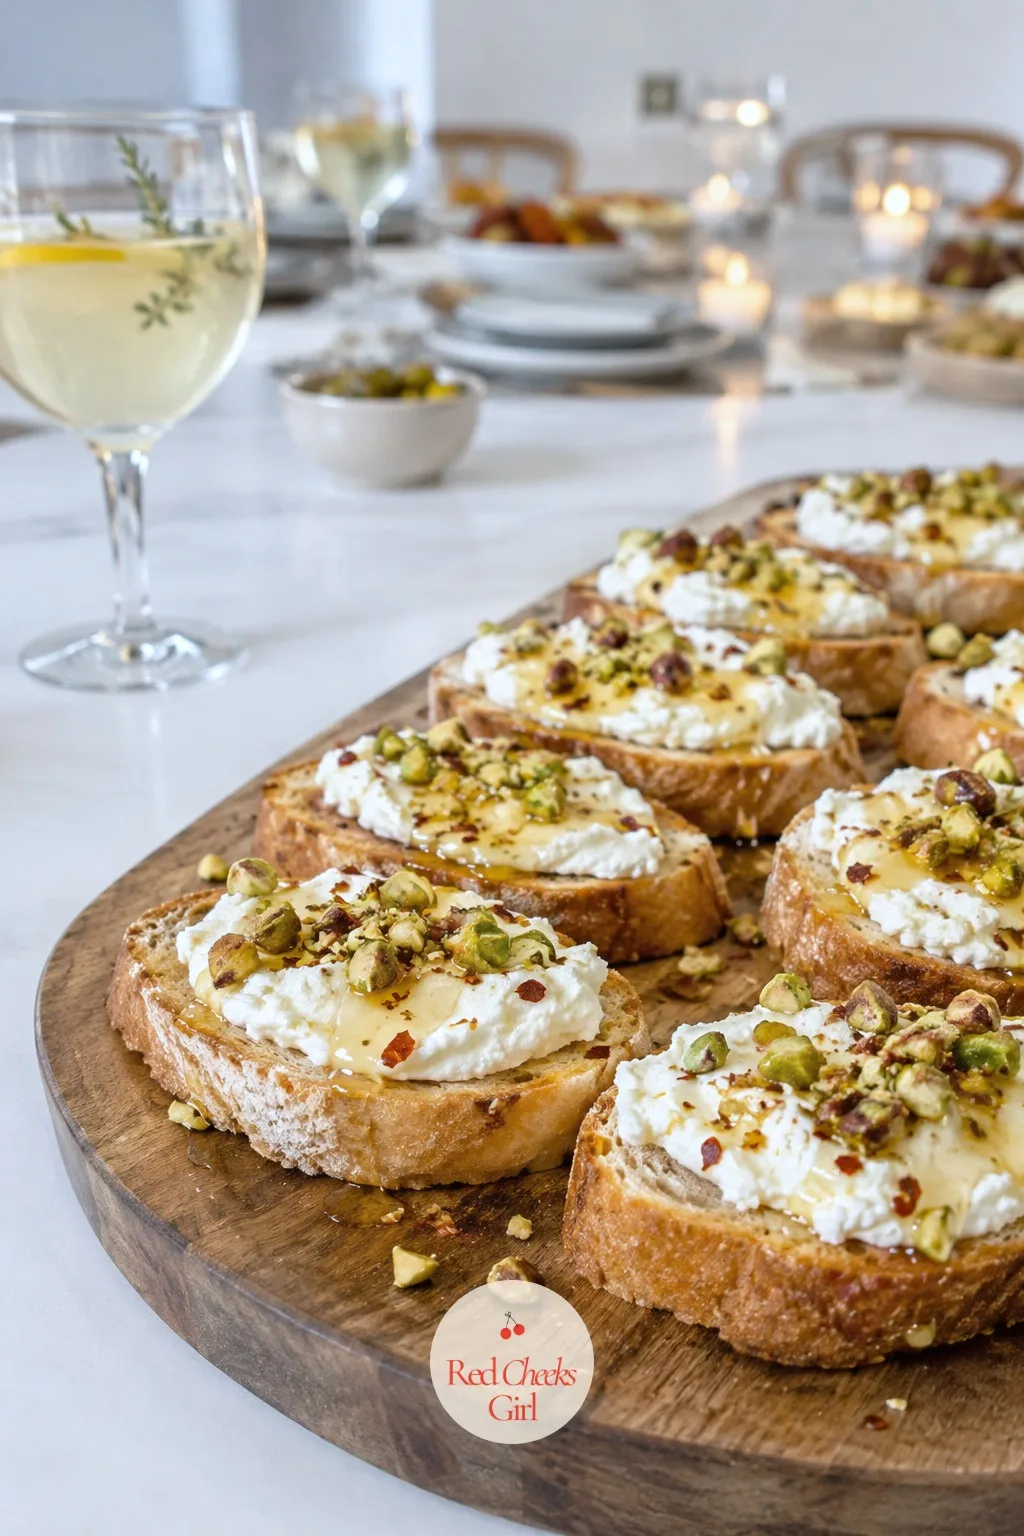
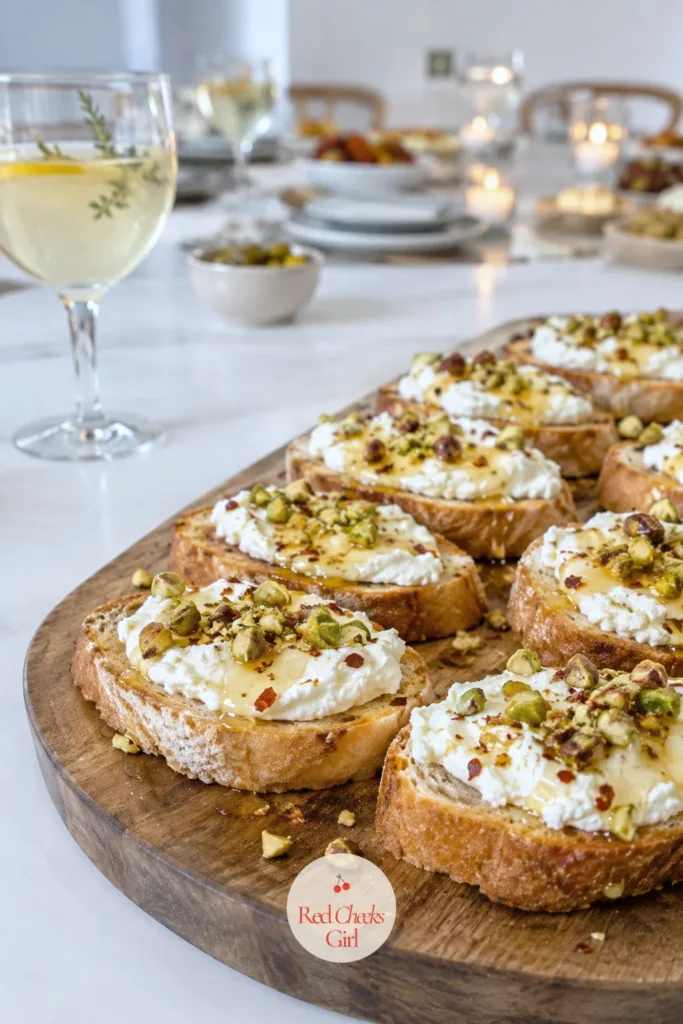
Whipped Feta Crostini with Honey and Pistachios
Ingredients
- 1 baguette sliced into 24 thin rounds
- 3 tablespoons olive oil plus extra for brushing
- 8 ounces feta cheese crumbled
- 4 ounces cream cheese softened
- 1 teaspoon lemon zest
- 1 tablespoon lemon juice
- 2 tablespoons honey
- 1/4 cup pistachios toasted and roughly chopped
- 1/4 teaspoon chili flakes
- Fresh thyme leaves for garnish
Instructions
- Preheat the oven to 400 degrees F.
- Brush the baguette slices lightly with olive oil on both sides and arrange on a baking sheet.
- Toast for 5 to 7 minutes, flipping once, until golden and crisp at the edges.
- In a food processor, blend the feta, cream cheese, 3 tablespoons olive oil, lemon zest and lemon juice until completely smooth and fluffy, scraping down the sides once.
- Spread a generous spoonful of the whipped feta onto each crostini.
- Drizzle honey over the top of each one.
- Scatter with chopped pistachios and a pinch of chili flakes.
- Finish with a few thyme leaves and serve immediately, or hold the components separately and assemble within the hour.
Good to Know
🛍 Shopping guide
Stuffed Dates with Goat Cheese
Sticky, sweet, a little salty at the finish: a stuffed date is the bite guests reach for twice without quite meaning to. There is no cooking involved, which makes it the dish to hand a kid or a nervous first-time helper in the kitchen, if either happens to be around.
Medjool dates are worth seeking out over the smaller, drier varieties; they are large enough to hold a proper amount of cheese and soft enough to bite through cleanly. Press the almond into the cheese rather than on top of it, so it stays put when the tray gets passed around.
For a warm version, press the stuffed dates into a baking dish and broil for 2 minutes, just until the cheese softens at the edges.
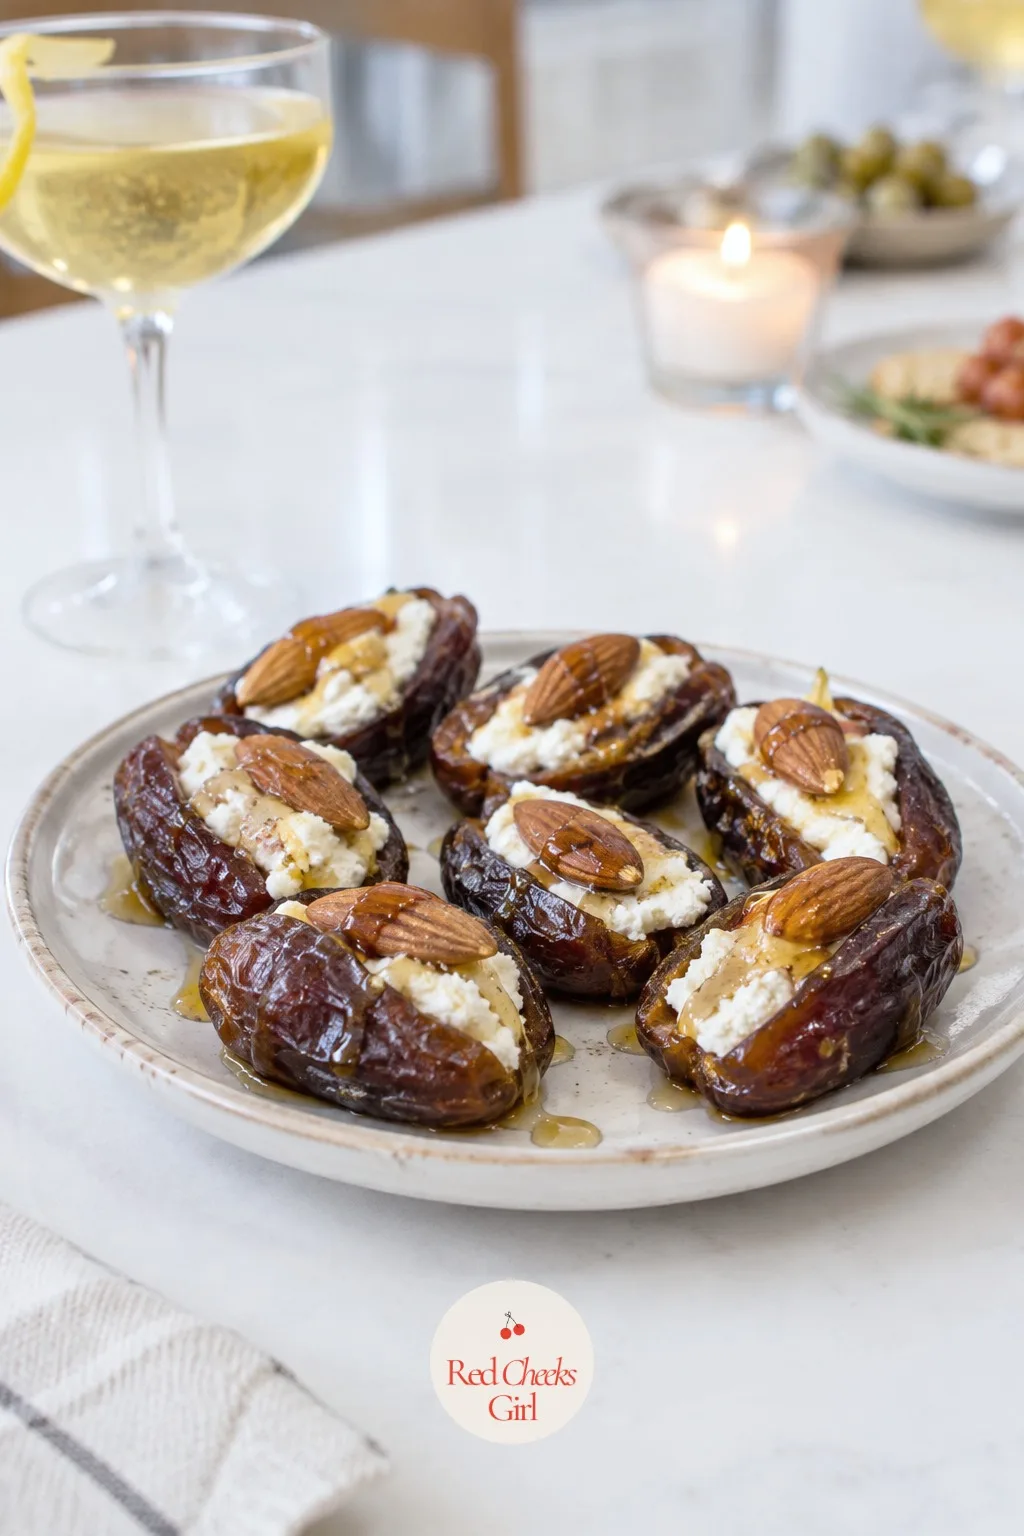
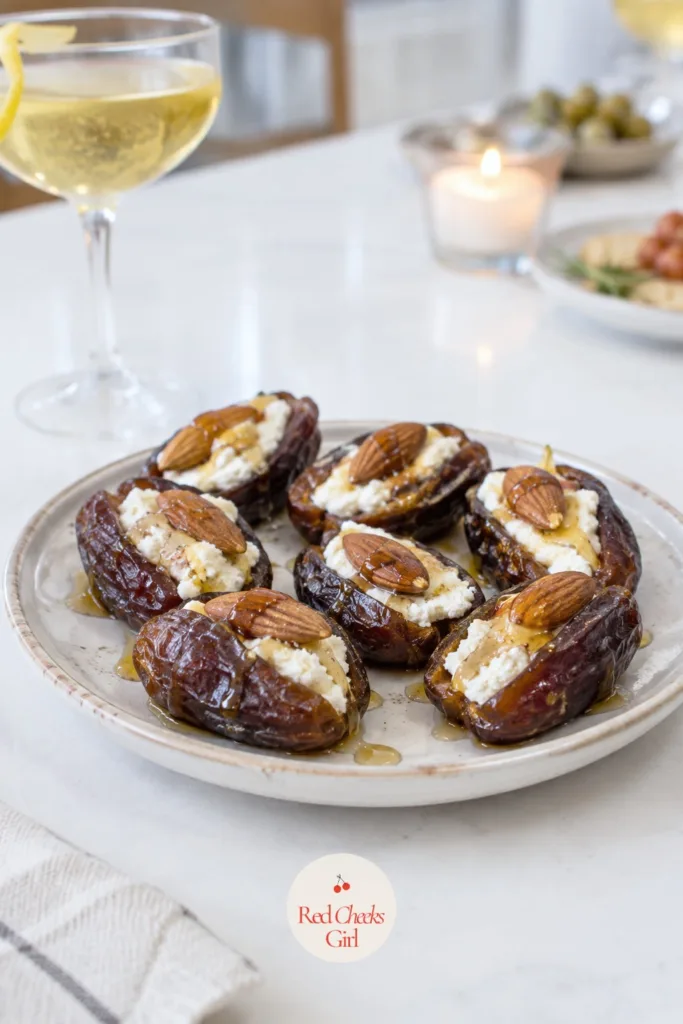
Stuffed Dates with Goat Cheese
Ingredients
- 24 Medjool dates pitted and sliced open on one side
- 4 ounces soft goat cheese
- 24 whole almonds toasted
- 2 tablespoons honey
- 1/4 teaspoon flaky salt
Instructions
- Slice each date open lengthwise on one side, leaving the other side intact so it holds its shape like a boat.
- Spoon about a teaspoon of goat cheese into the center of each date.
- Press one toasted almond into the goat cheese in each date.
- Arrange the dates on a platter, cut side up.
- Drizzle the honey lightly over the top.
- Finish with a pinch of flaky salt and serve at room temperature.
Good to Know
🛍 Shopping guide
Caprese Skewers with Pesto
This is the one you build while still in your slippers, twenty minutes before the first doorbell. Three ingredients on a stick, a drizzle of pesto, and the platter reads as effortlessly as it actually was.
Thread the basil leaf folded rather than flat; it sits more securely on the pick and looks fuller on the skewer. Thin the pesto with a little olive oil before drizzling, or it clumps in heavy spoonfuls instead of coating the tray evenly.
If half the room is skipping alcohol, these pair just as well with a glass from Mocktail Recipes That Taste Like a Real Cocktail Bar as they do with anything poured from a bottle, which keeps the whole tray feeling considered rather than an afterthought.
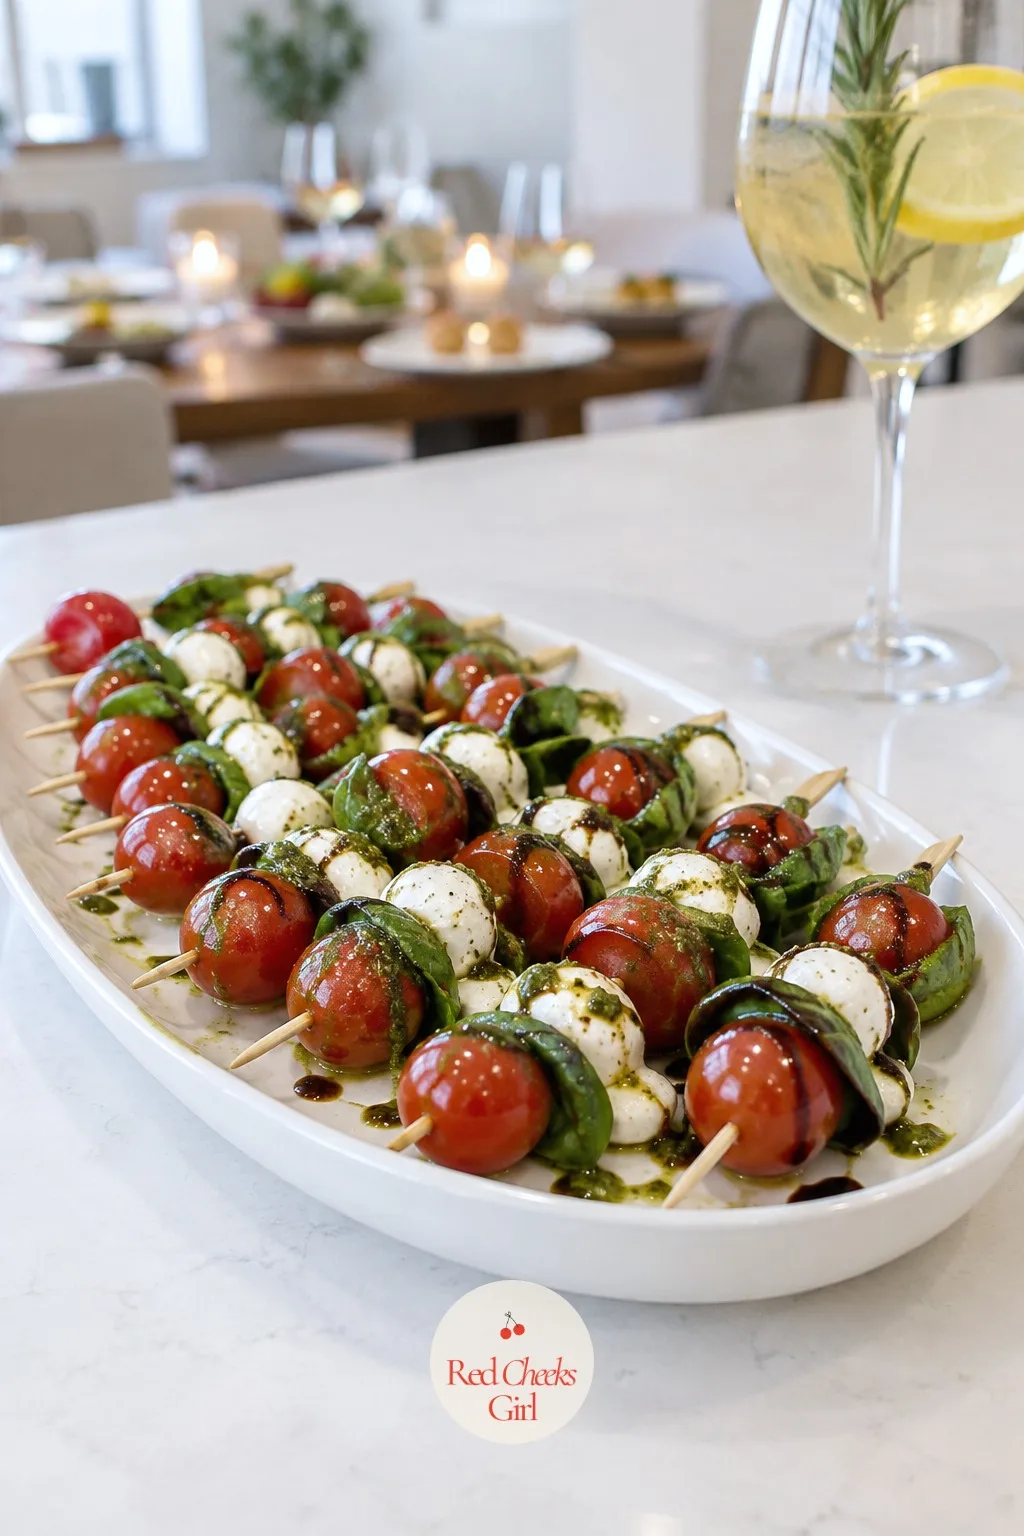
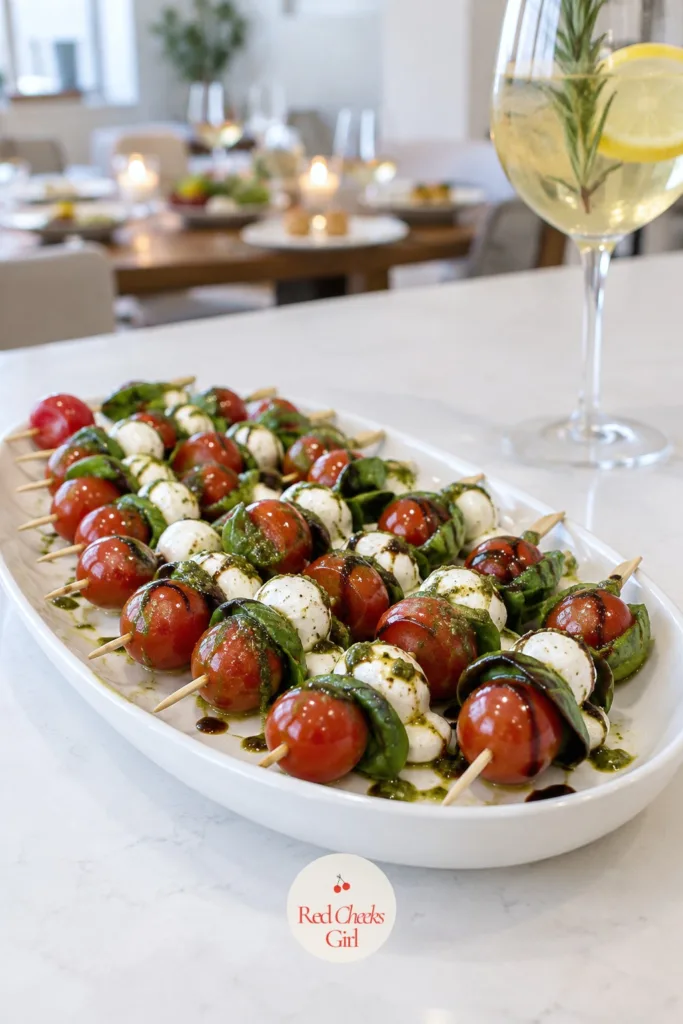
Caprese Skewers with Pesto
Ingredients
- 24 mini mozzarella balls bocconcini, drained
- 24 cherry tomatoes
- 24 fresh basil leaves
- 1/4 cup prepared pesto
- 1 tablespoon olive oil for thinning the pesto
- 1 tablespoon balsamic glaze
- 1/4 teaspoon flaky salt
- Freshly cracked black pepper
- 24 small skewers or decorative toothpicks
Instructions
- Pat the mozzarella balls and cherry tomatoes dry with a paper towel so the skewers do not sit in excess liquid.
- Fold each basil leaf in half.
- Thread one cherry tomato, one folded basil leaf, and one mozzarella ball onto each skewer, in that order.
- Arrange the finished skewers on a platter as you go.
- Whisk the pesto with the olive oil until it loosens into a drizzling consistency.
- Drizzle the thinned pesto over the arranged skewers.
- Finish with the balsamic glaze, flaky salt and a crack of black pepper just before serving.
Good to Know
Frequently Asked Questions
How many different appetizers should I serve at a cocktail party?
Offer three to five different kinds for eight to ten guests, and four or five for fourteen to sixteen. More variety matters less than having enough of each one.
Which of these appetizers can I make a day ahead?
Gougères (piped raw and frozen), crab cake patties, whipped feta, remoulade and stuffed dates all hold well a day ahead. Anything built on cucumber, bread or phyllo is best assembled within a few hours of serving.
How do I keep cucumber or crostini bites from getting soggy before the party?
Keep the base and the wet topping separate until close to serving time, and salt and drain anything watery, like cucumber, before building. Assemble within one to two hours of guests arriving rather than first thing in the morning.
Should elegant appetizers be served warm or at room temperature?
Most of this list is meant to be served cold or at room temperature, which is part of what makes it low-stress. Only the gougères and mushroom tartlets genuinely need to come out warm from the oven.
How far in advance can I prep for a cocktail party?
Stagger the work: sauces, doughs and fillings two to three days ahead, frying and baking the morning of, and final assembly of anything cold in the last one to two hours before guests arrive.
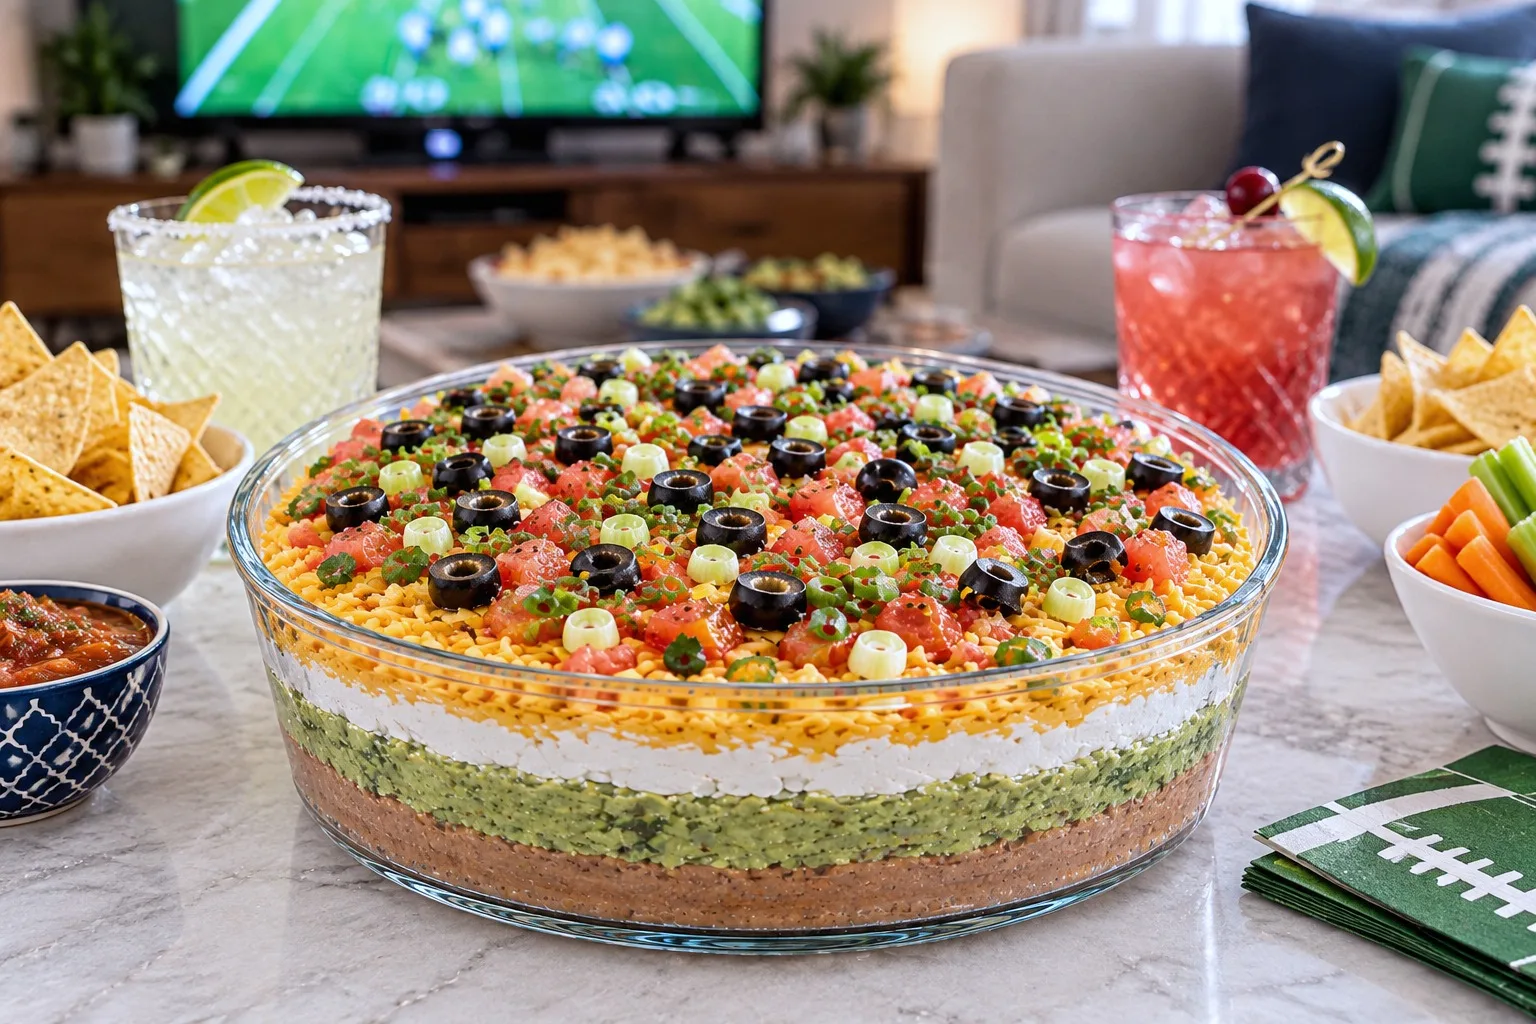
6 layer taco dip stacks beans, guacamole, sour cream, salsa, cheddar, tomatoes and olives in a clear
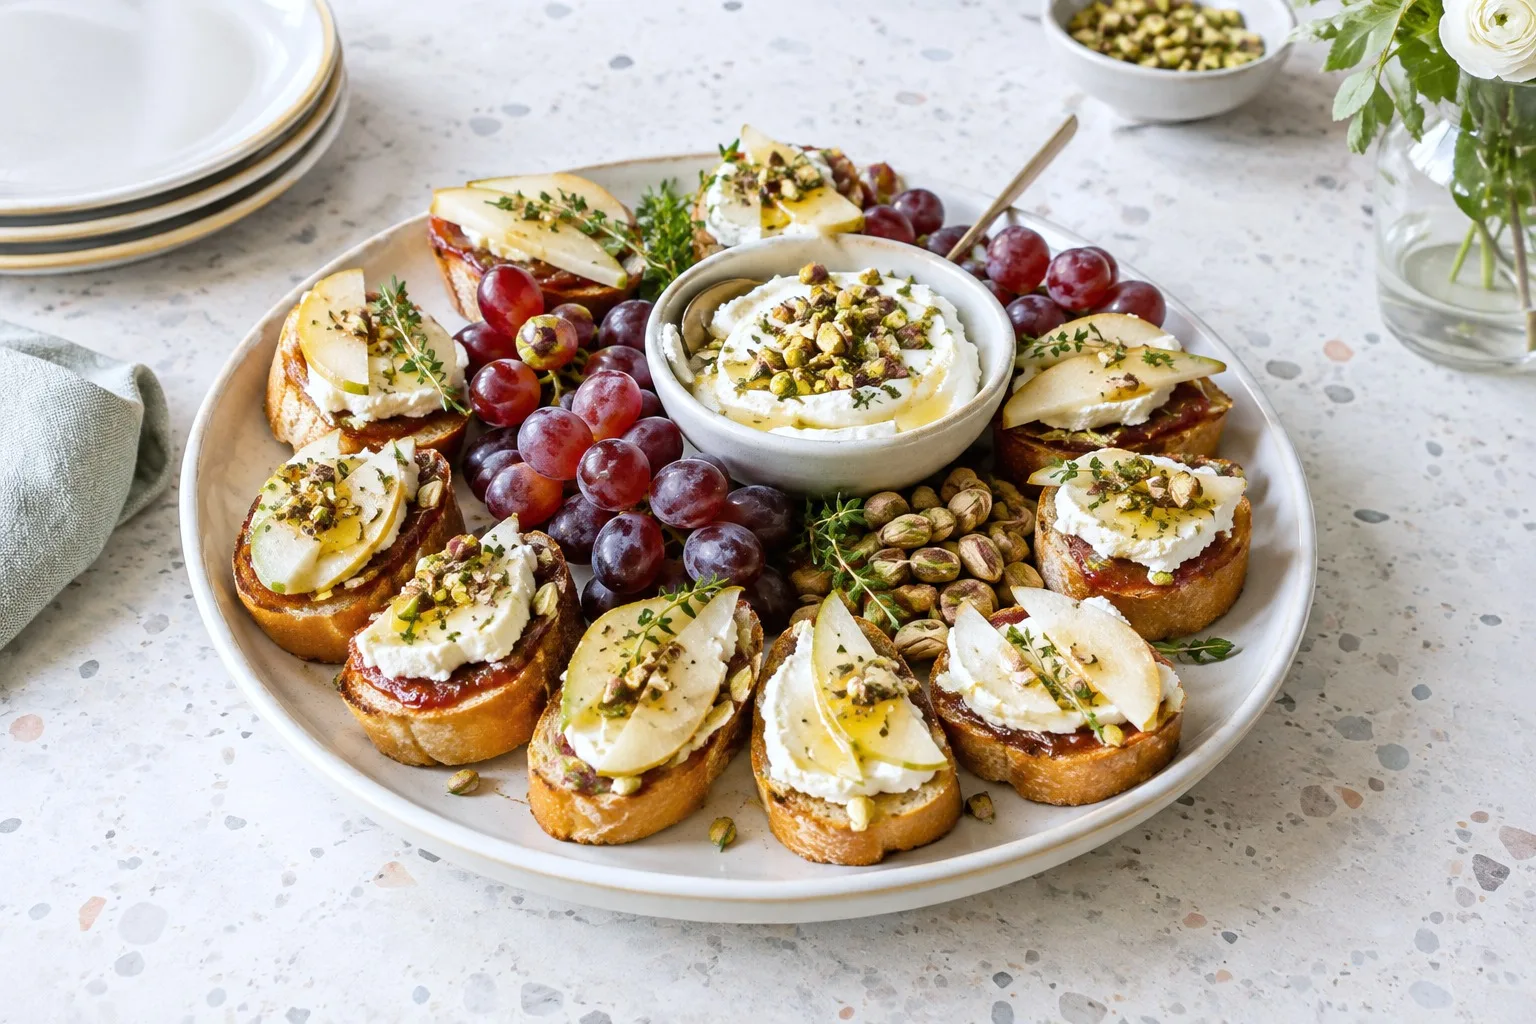
14 goat cheese appetizers for a party, from a herb-crusted log to five-minute marinated medallions,

20 Grinch themed food ideas for a Christmas party or movie night: fruit skewers, roast beast sliders
Leave a Reply