

20 DIY Baby Shower Decorations That Do Not Look Homemade Under Party Lighting
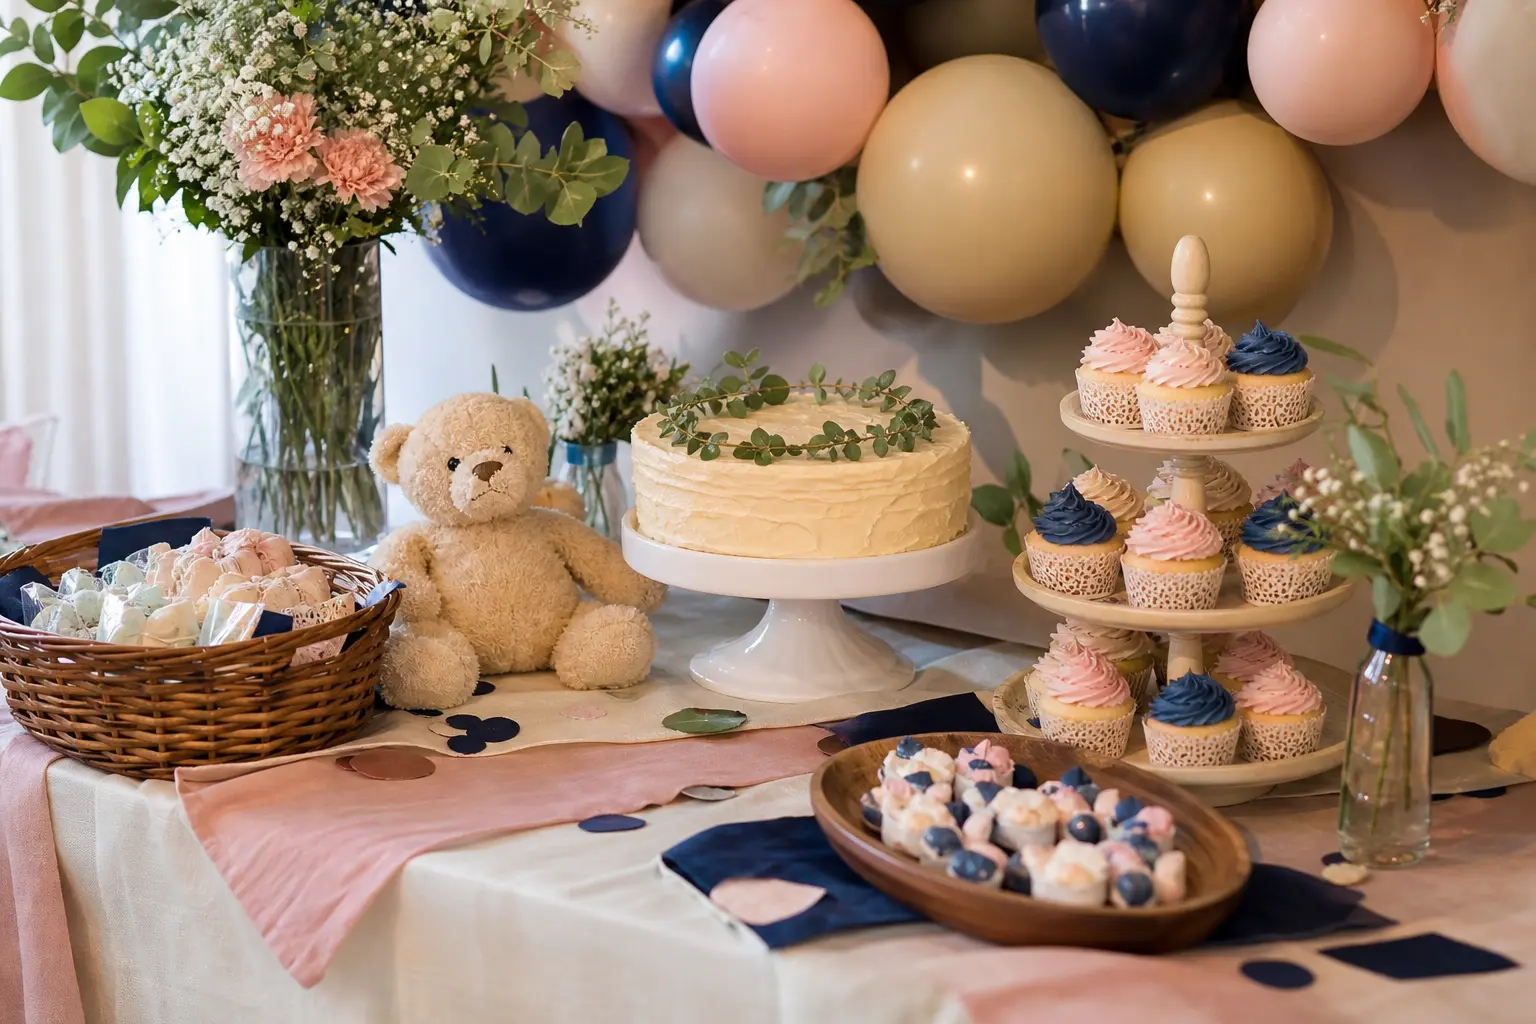
Good diy baby shower decorations share one quality: they hold up when the room is full and phones are pointed at everything. The difference between handmade and homemade is almost never the project itself. It is the last ten minutes you spend on it.
Every idea below names that one step: the laminate pass, the steam, the consistent shade across every pot. Skip it and the piece looks sweet. Do it and the piece looks bought. That is the only standard worth meeting when photos will exist forever.
These twenty projects cover every surface in the room, from the welcome table to the dessert spread, and they all work together because they share the same logic: choose one finish and repeat it without variation. For more starting points, the full roundup of storybook baby shower decorations is worth reading before you commit to a palette.
This post contains affiliate links. If you buy through them, I may earn a small commission at no extra cost to you.
Signs and Lettering
Every sign you make should look like it came from the same hand, because it should. Decide on one lettering style and one paint colour before you touch a single surface, and keep both consistent across every piece in the room. Inconsistency between a welcome sign and a dessert table sign is the first thing a camera picks up.
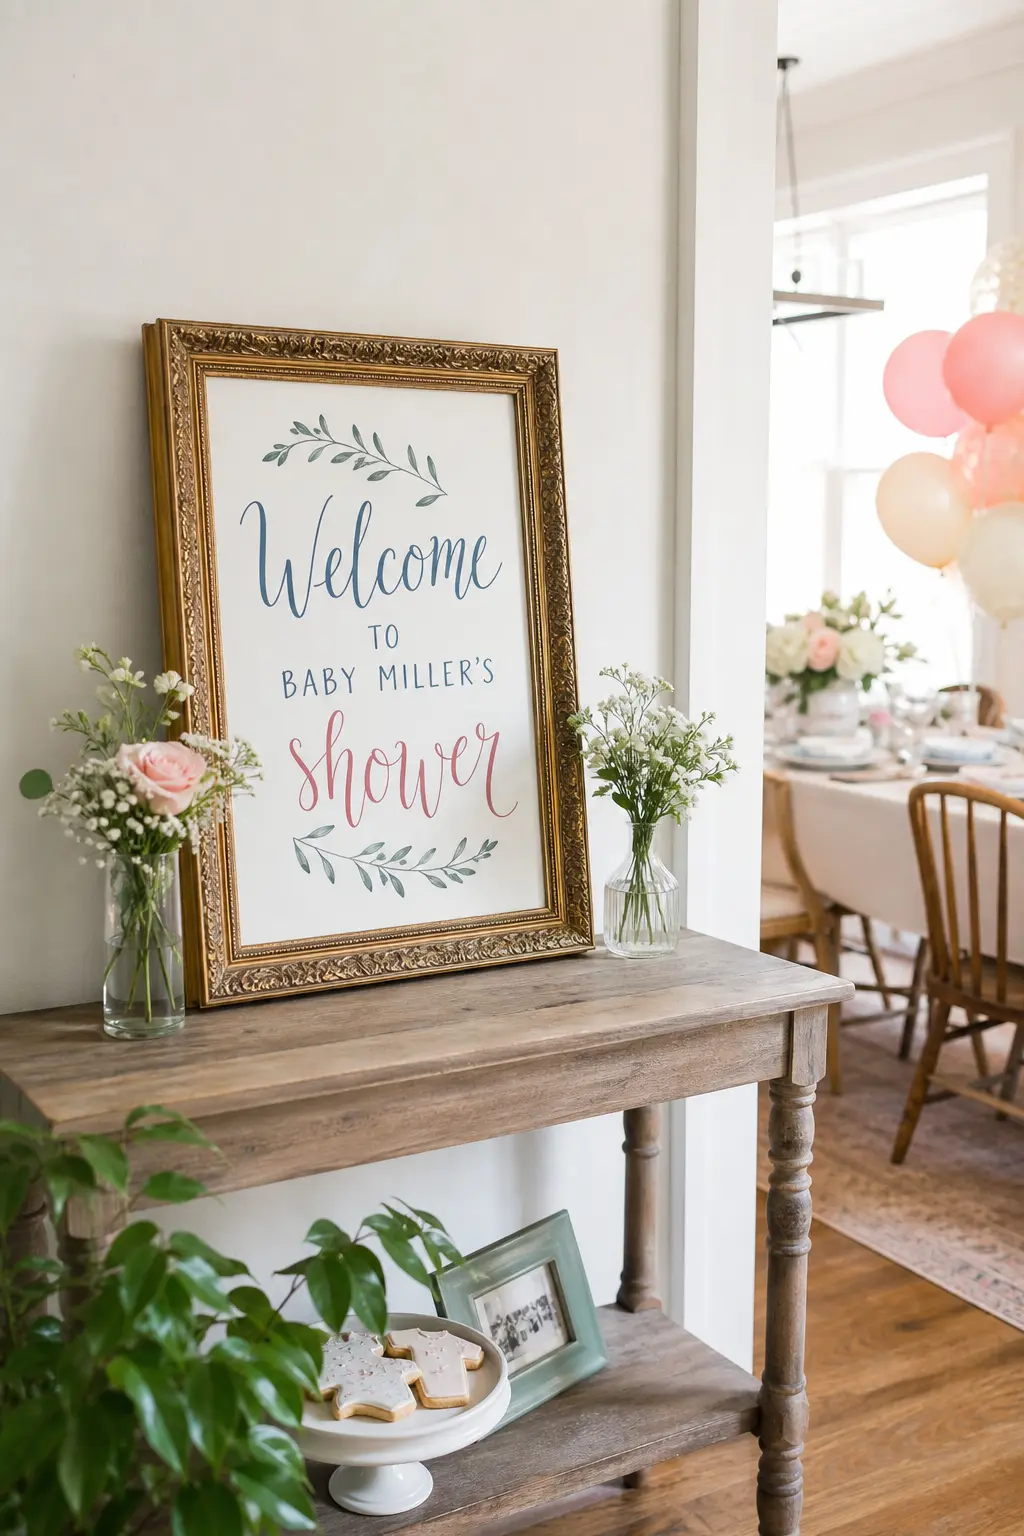
Hand Lettered Welcome Sign on a Thrifted Frame
Find a frame at a thrift store, paint the frame in one flat colour, and let it cure for a full day before you letter the insert. The paint is the finish step: it unifies a mismatched frame and makes the piece look like it was bought as a set.
Use a chalk-based or mineral paint so the colour sits completely flat. Gloss on a welcome sign catches every hot spot in a photo. Flat does not.
🛍 Shopping guide
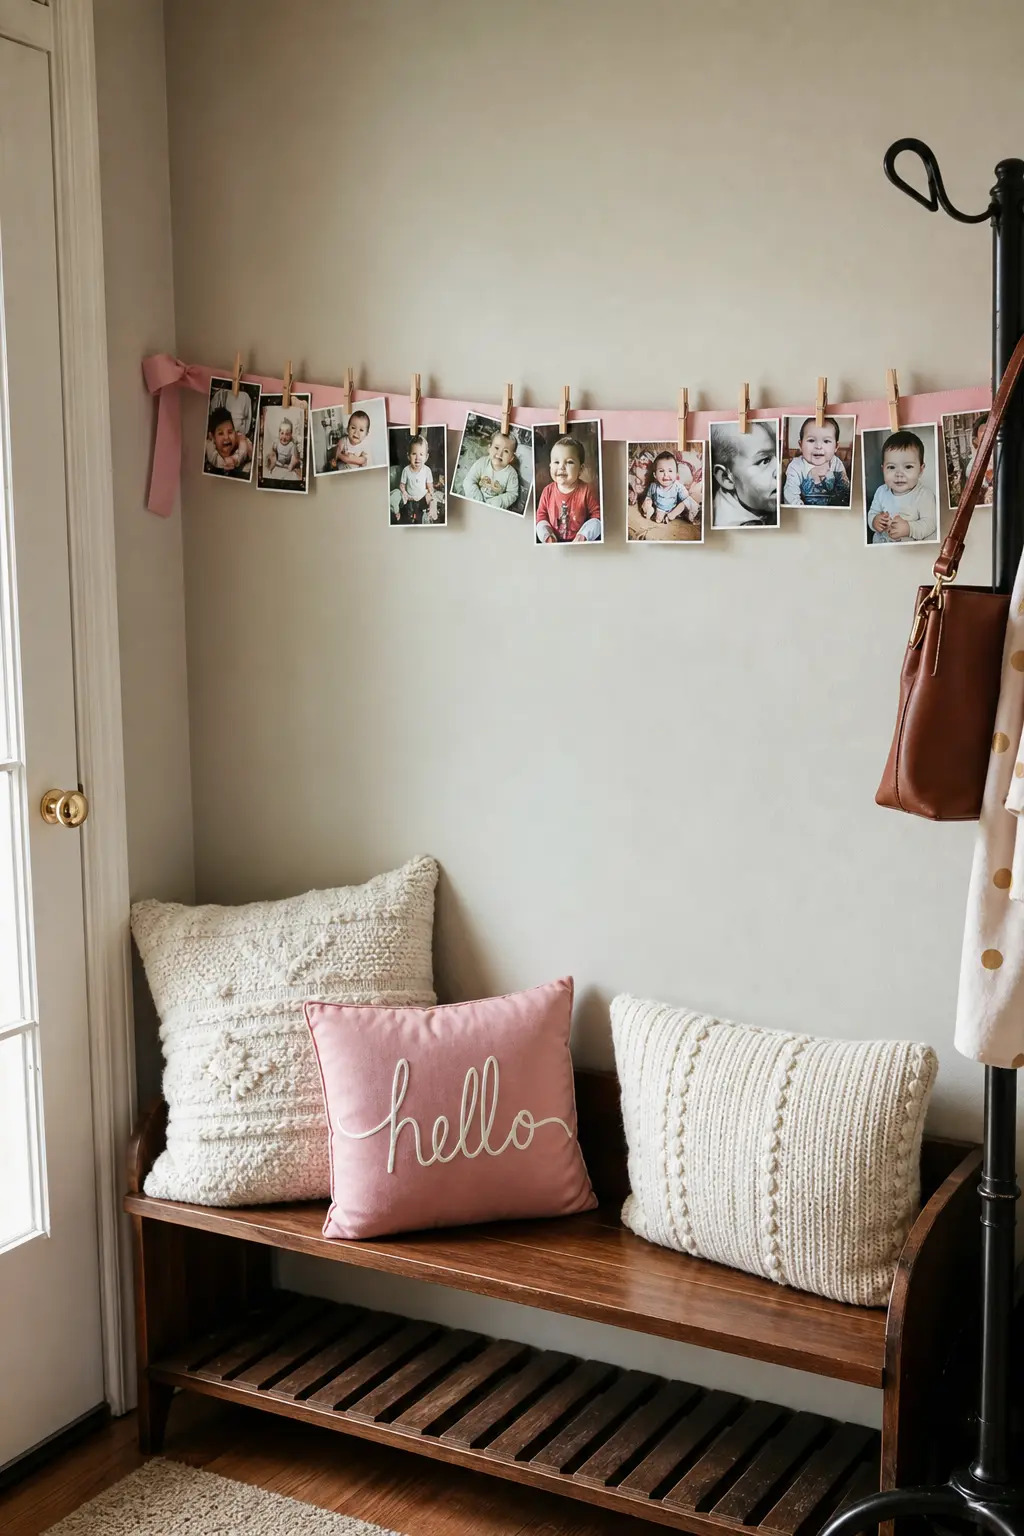
Photo Display Strung on Ribbon
Print photos at one consistent size, trim each one to the same dimensions with a paper trimmer, and hang them from a single length of wide satin ribbon using mini pegs spaced at measured intervals. The consistent size and spacing is the finish step: photos at different scales or uneven gaps read as a mood board, not a display.
Iron the ribbon before you hang it. A creased ribbon is the one detail that makes the whole display look provisional, and it takes thirty seconds to fix.
🛍 Shopping guide
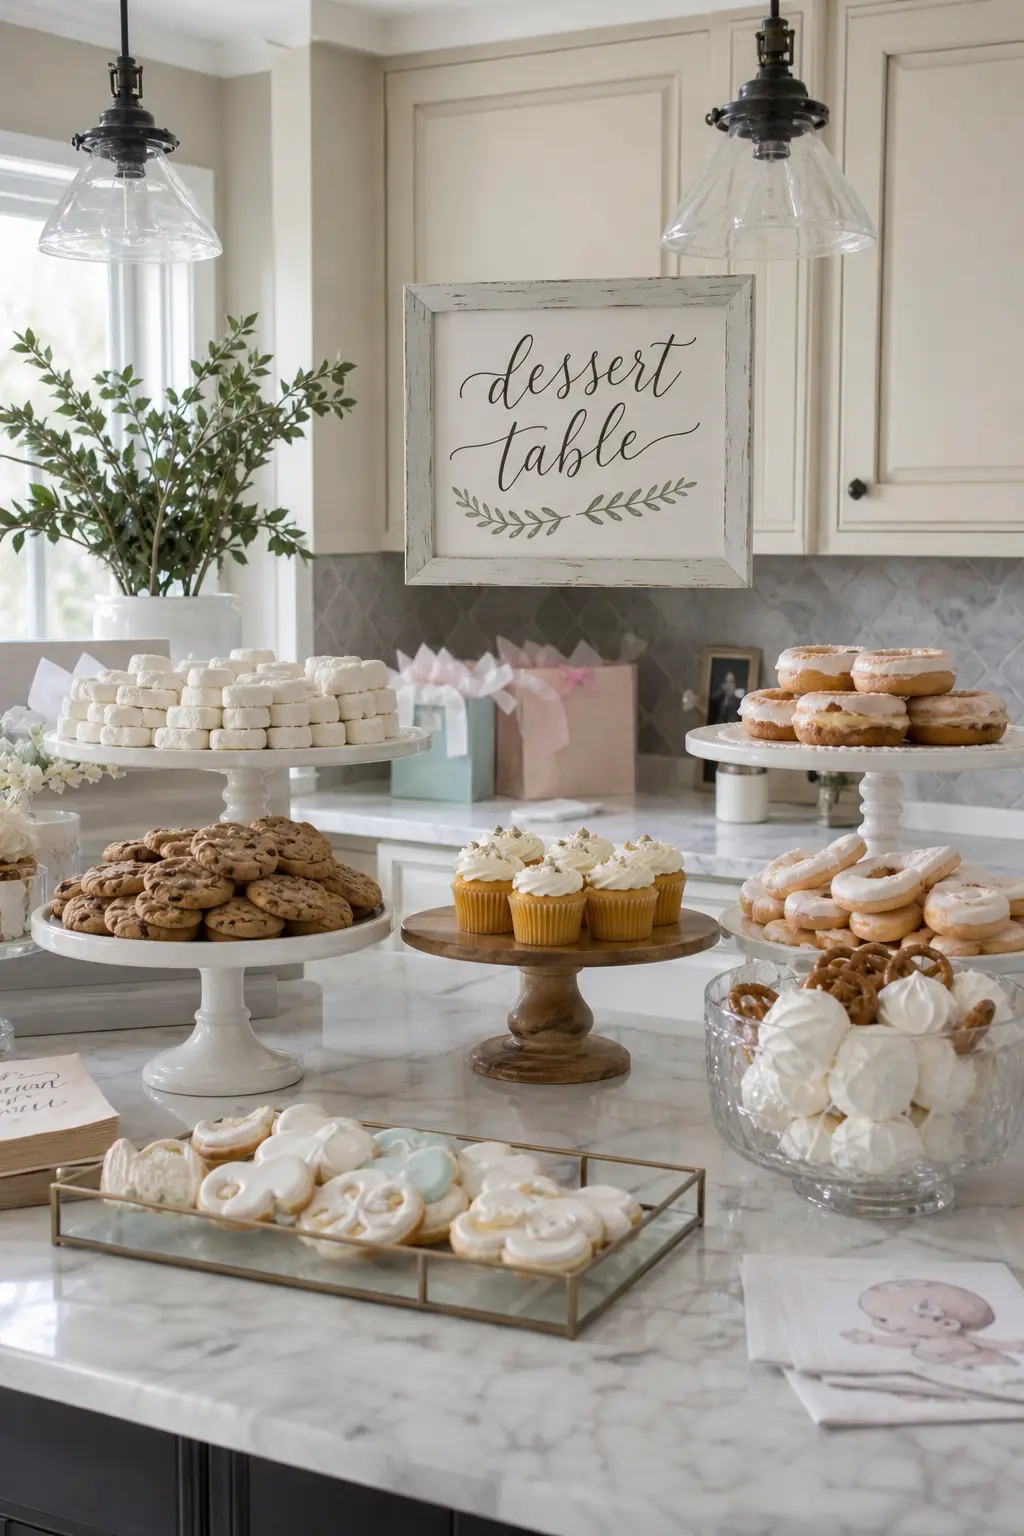
Hand Lettered Dessert Table Sign in the Same Hand as the Welcome Sign
Letter the dessert table sign before you letter the welcome sign, using the same paint, the same brush, and the same stroke pressure. The matching hand is the finish step. Two signs in different weights or styles suggest two different makers, and a consistent room does not survive that read.
If your lettering varies between sessions (and it will), do both signs on the same day in the same sitting. Fatigue changes letterforms more than most people expect, so do the smaller sign first.
🛍 Shopping guide
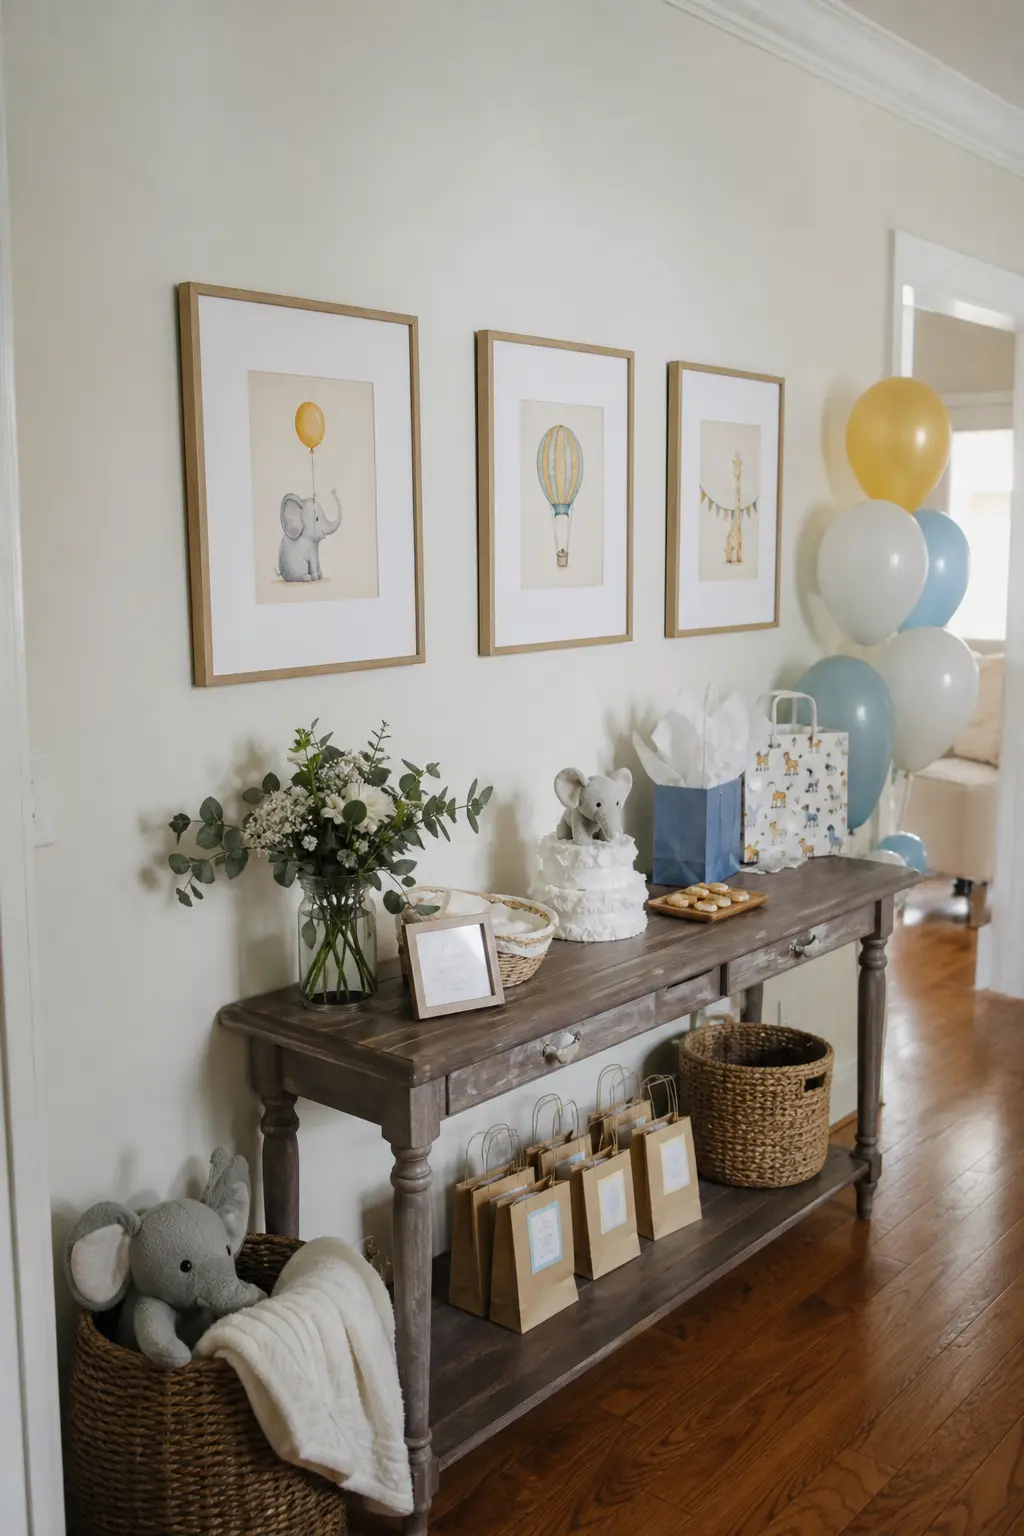
Framed Prints Matted to the Same Size as a Set
Print three or four coordinating art prints, cut mats from the same card stock to the same window size, and frame the whole set in matching frames. The matching mat window is the finish step: different mat proportions in the same frame style still read as a mismatch, and mat proportion is the detail that trained eyes catch first.
Use a mat cutter with a guide rather than a craft knife freehand. A slightly off-square mat window catches the light differently from its neighbours and the whole wall arrangement looks crooked even when it is level.
🛍 Shopping guide
Fabric and Textile Pieces
Fabric is the fastest thing to look expensive and the fastest thing to look cheap, and the only variable is whether it is pressed. Every textile piece here gets ironed or steamed before it goes up. That single step removes the handmade read entirely.
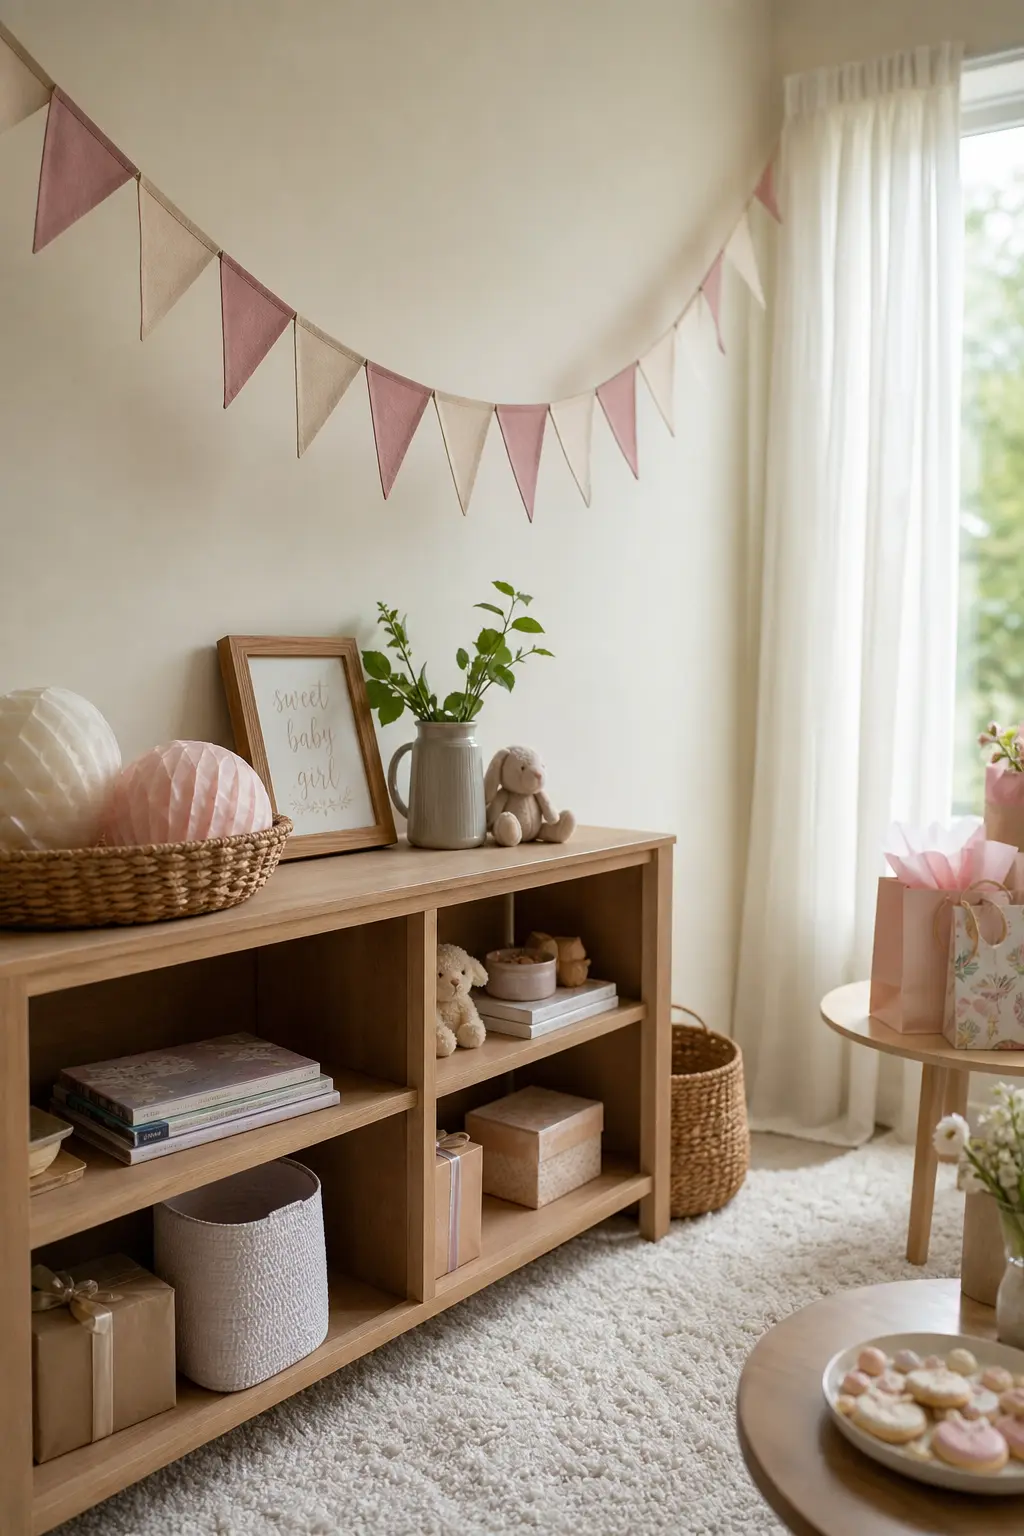
Fabric Bunting Hemmed on a Machine
Cut triangles from two or three coordinating fabrics and run a narrow hem on each edge on the machine. The hem is the finish step. Raw edges fray by the time the party is half over, and fraying reads as unfinished even in soft light.
Press each triangle before you sew it. Stitch the triangles onto a length of cotton twine at even intervals, measured with a ruler. Spacing is everything: even spacing reads as made, uneven spacing reads as done in a hurry.
🛍 Shopping guide
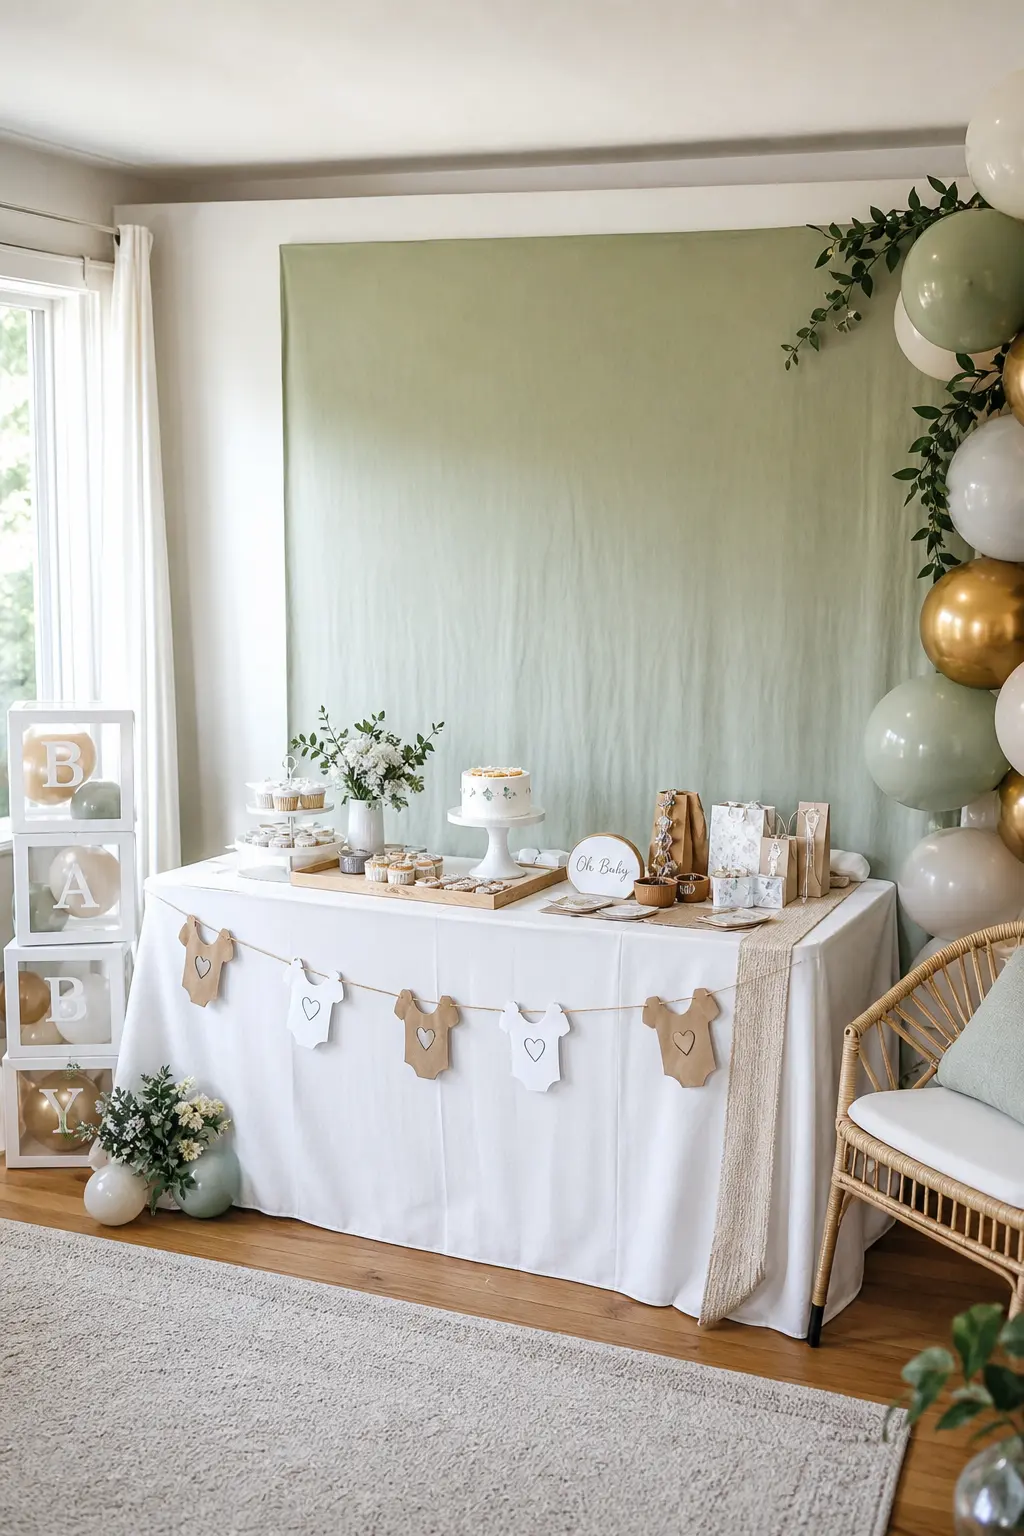
Fabric Backdrop Steamed Smooth Before Hanging
Buy two to three metres of wide fabric in a solid, muted colour, hang it from a curtain rod or tension rod, and steam every section before guests arrive. Steaming is the finish step, and it is non-negotiable. A creased fabric backdrop tells every photo it is a DIY project.
Hang the rod first, drape the fabric, then steam in place from top to bottom in vertical passes. Do not iron on a board and then rehang: the trip from board to rod will put new creases in.
🛍 Shopping guide
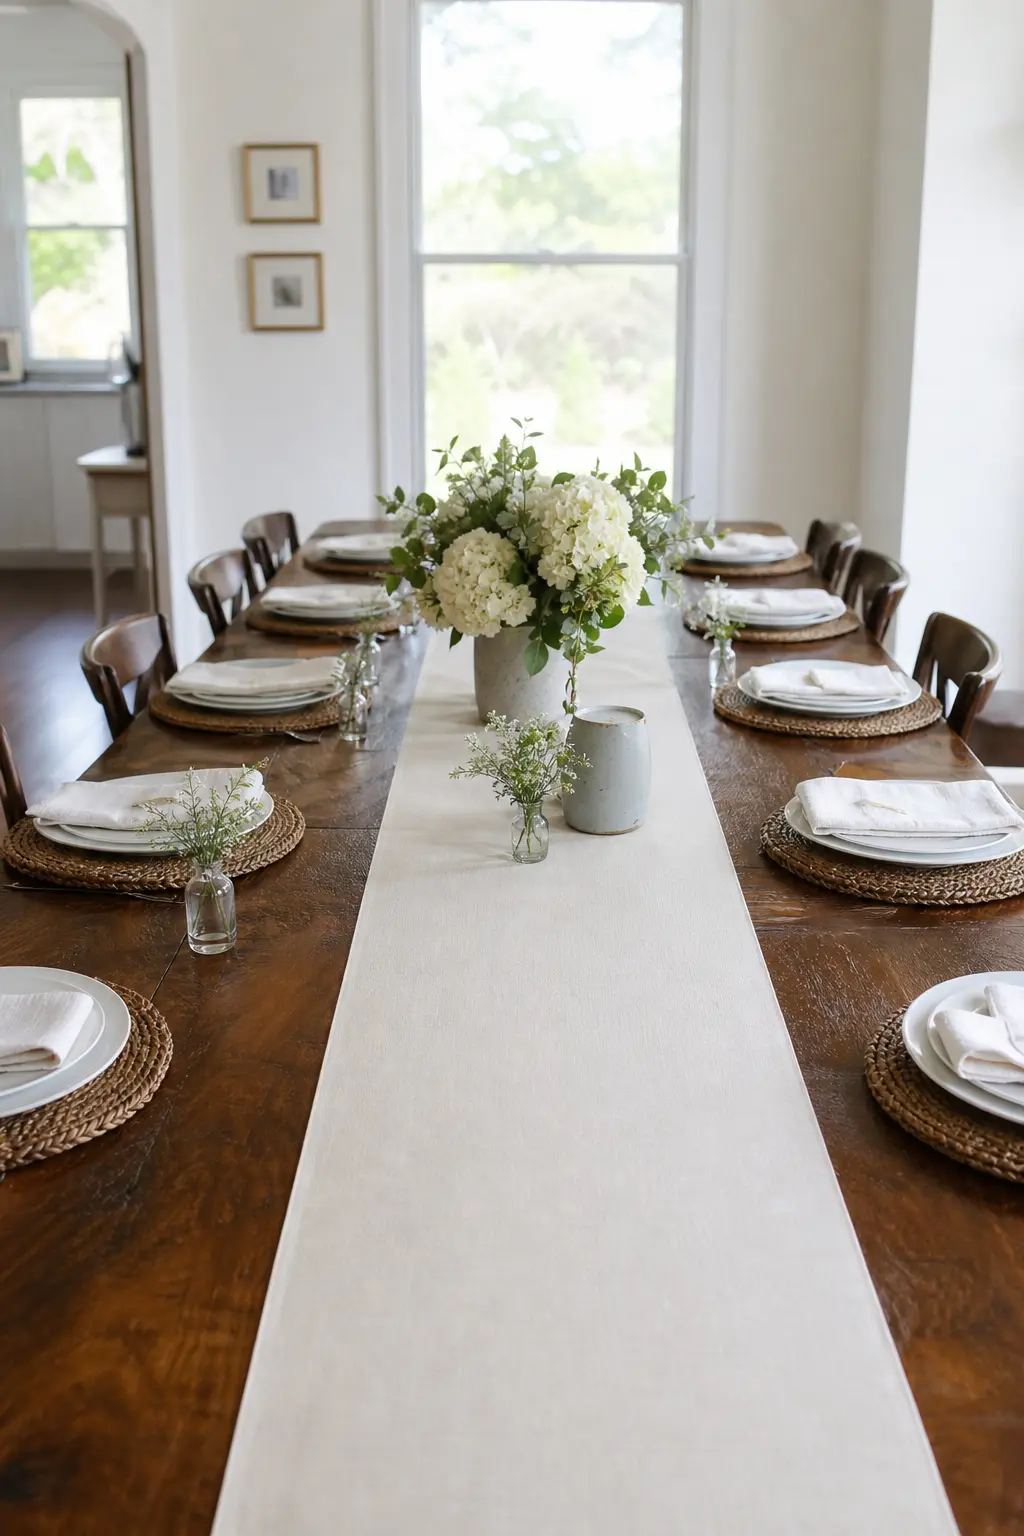
Fabric Runner Ironed Flat
Cut a length of linen or cotton to the table length plus thirty centimetres on each end, hem the short ends on a machine, and press the entire length with a hot iron and starch spray before laying it on the table. The iron with starch is the finish step. An unstarched runner creases under its own weight the moment anything is placed on it.
Lay the runner on the table, then place the centrepiece and vessels on top without sliding them: sliding objects on fabric creates immediate surface wrinkles that radiate from the point of movement.
🛍 Shopping guide
Paper and Garlands
Paper projects earn their keep because they photograph cleanly when the cuts are precise. A craft knife and a steel ruler do more for a paper garland than any amount of decoration. Cut every piece to the same size and the garland reads as intentional, not cobbled together.
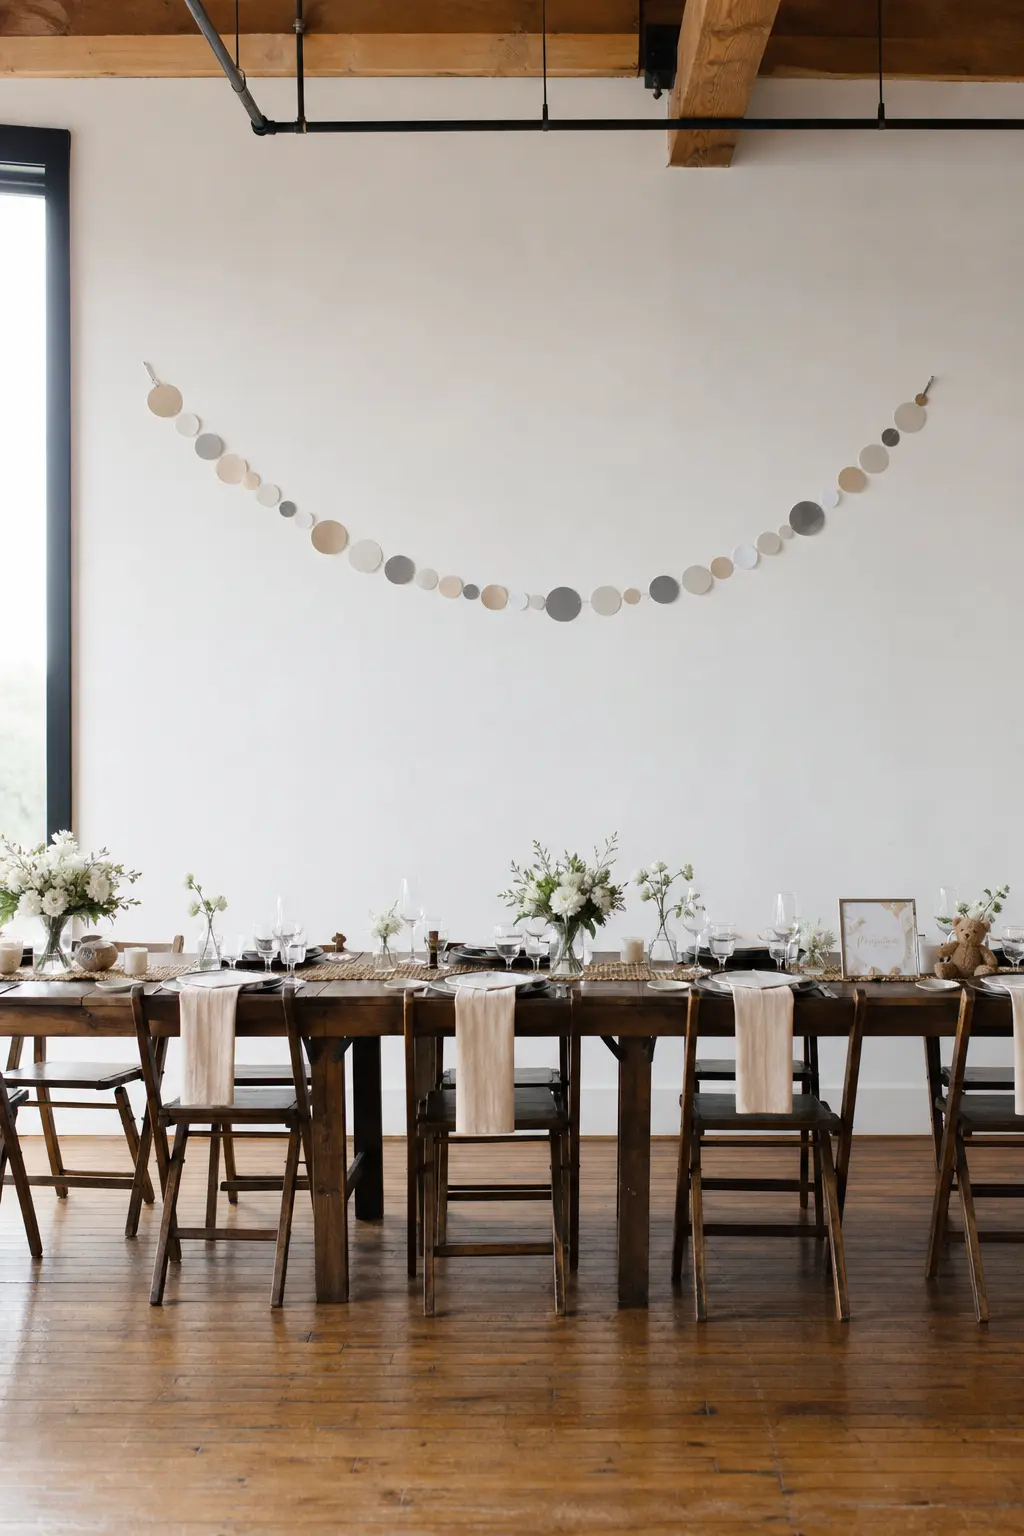
Paper Garland Cut from Three Matching Shades
Choose three shades from the same colour family, one light, one mid, one slightly deeper, and cut every piece to the same size using a craft knife against a steel ruler. The precision of the cut is the finish step. A torn or scissors-cut edge has micro-variations that read as rough in photos.
Thread the pieces onto monofilament rather than string. Monofilament is invisible in photographs, which means the garland appears to float rather than hang.
🛍 Shopping guide
Florals and Greenery
Dried and real botanicals both hold up in a room for hours, but only if they are wired rather than taped. Tape shows. Wire disappears. Every floral piece here uses the same wiring technique so the construction language is the same across the room.
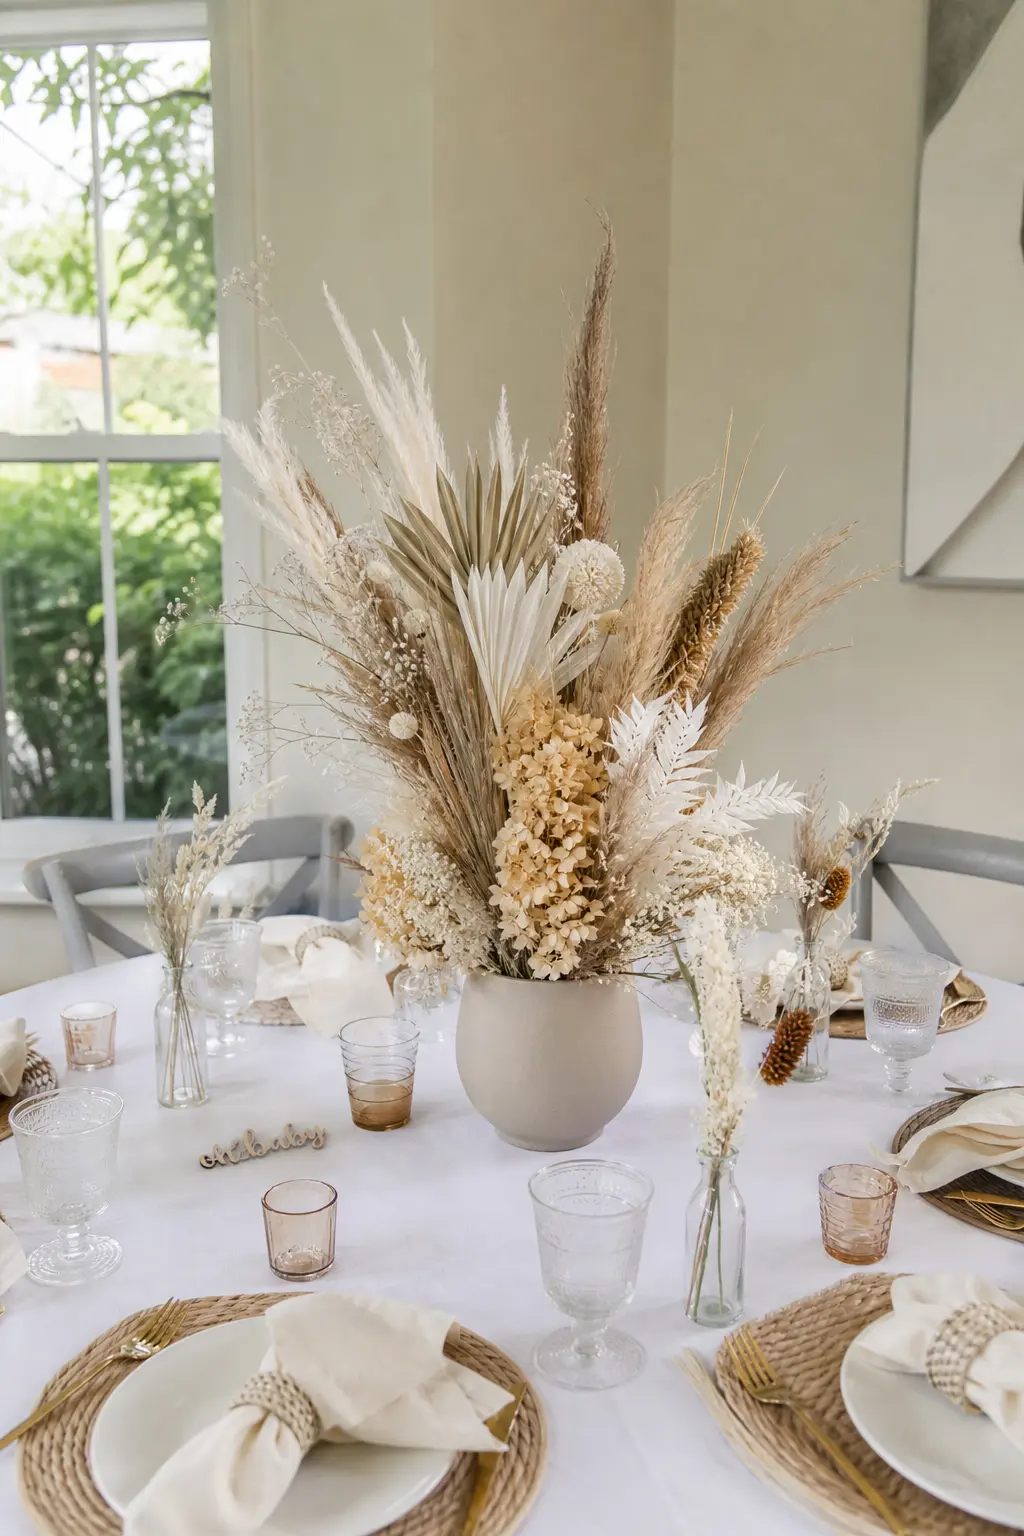
Centrepiece of Dried Florals Wired Together
Buy dried pampas, bunny tails, and preserved eucalyptus, then wire each stem to a central dowel before placing the arrangement in its vessel. Wiring is the finish step: it holds the shape under air conditioning and ceiling fans, which will otherwise rearrange your centrepiece within an hour.
Wrap the wired stems with florist tape in a colour that matches the stems. The tape disappears inside the arrangement and the structure holds all day. Without it, dried stems shift and the arrangement looks deflated by the time guests sit down.
🛍 Shopping guide
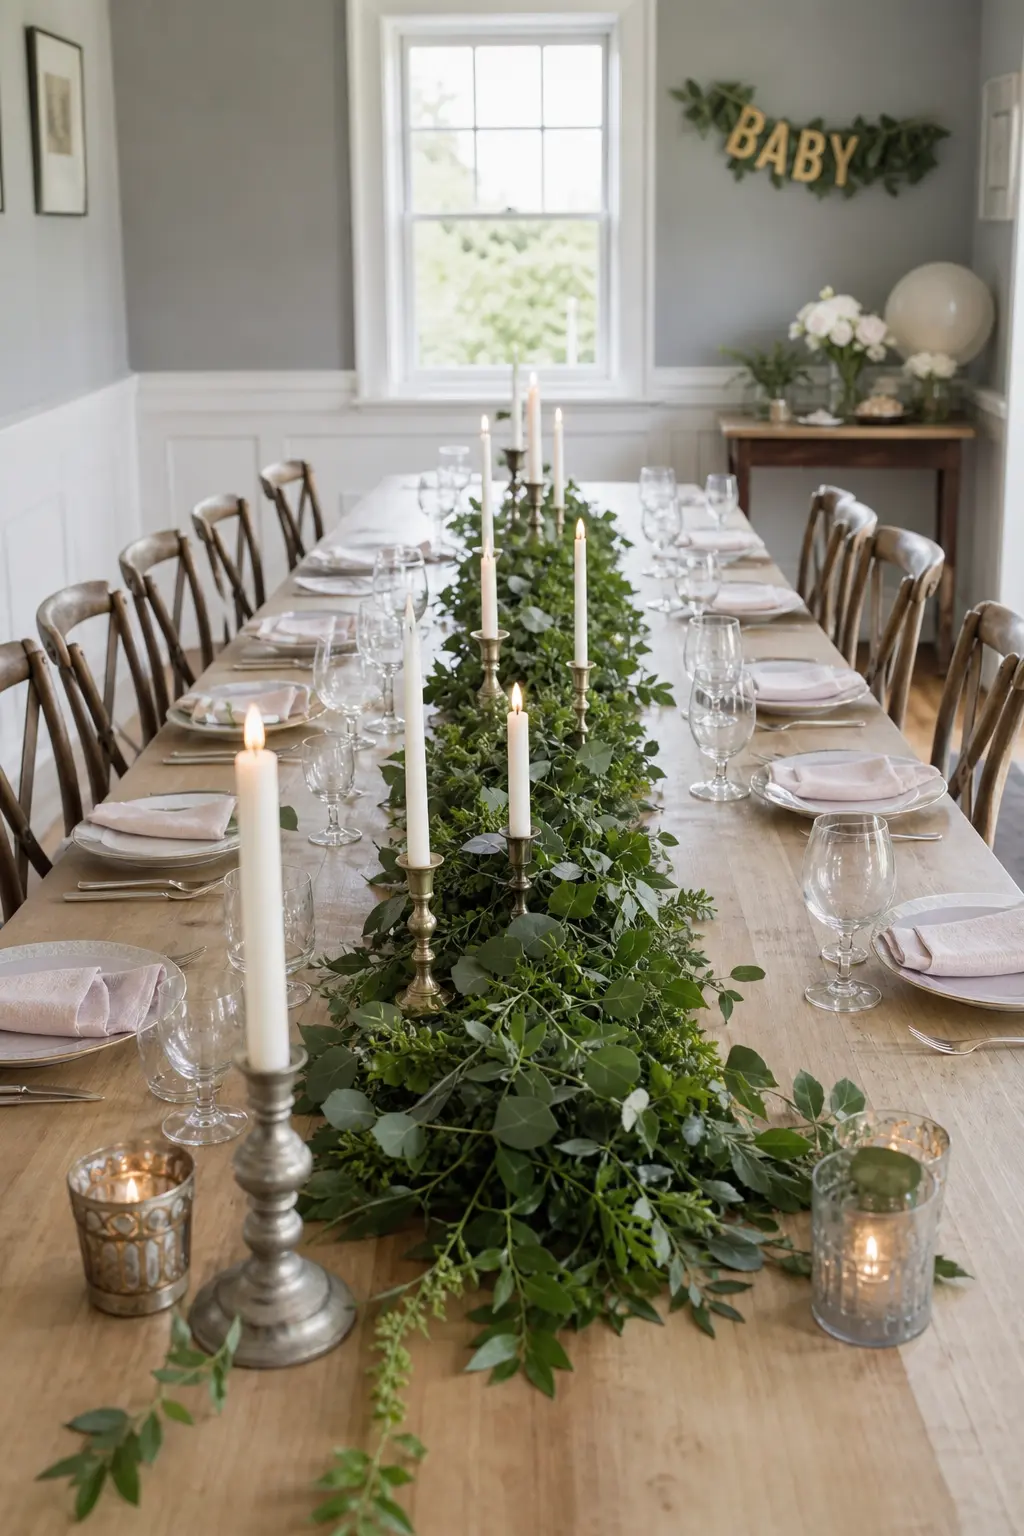
Garland of Real Greenery Wired at Even Intervals
Bundle eucalyptus or bay leaf stems into small clusters, wire each cluster to a rope base with a consistent spacing, and mist the finished garland before hanging. The even spacing is the finish step. Clusters bunched close in some sections and sparse in others read as a garland that ran out of material, even when it did not.
Measure the spacing with a ruler for the first three clusters, then use those as your eye guide for the rest. Mist with water an hour before hanging and again after it is up: real greenery holds its colour for six to eight hours with moisture.
🛍 Shopping guide
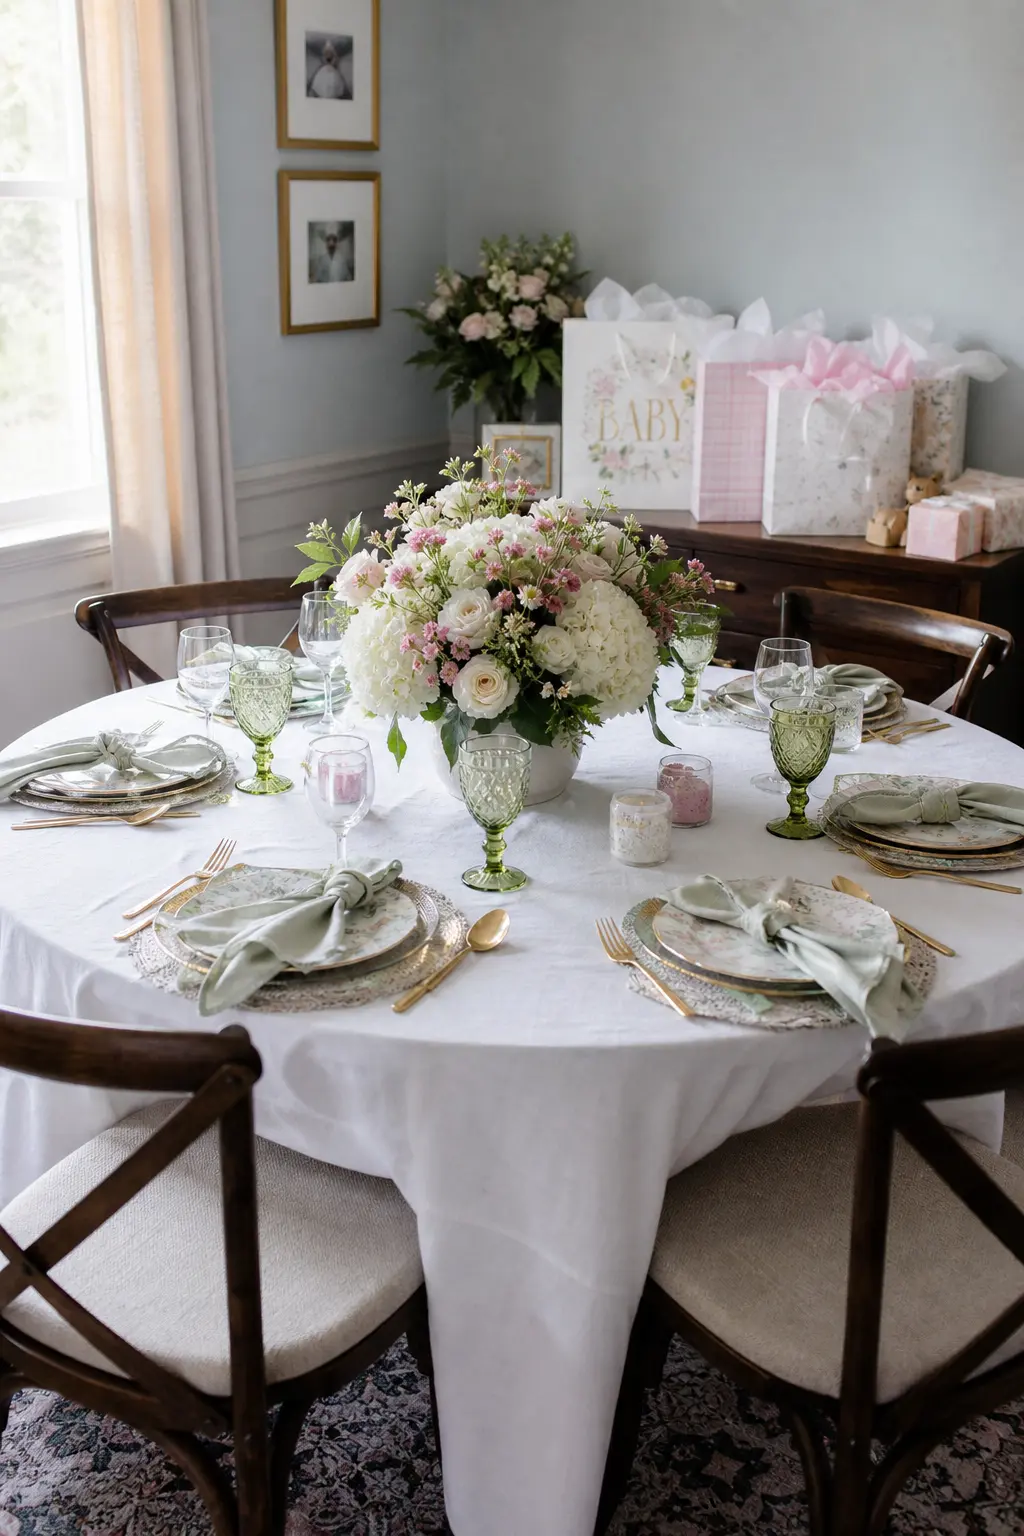
Hand Tied Bouquet for the Centrepiece Using the Same Wire Technique Throughout
Choose three stem varieties, wire each stem individually at the same point on the stem before assembling, and tie the finished bouquet at that wired point with ribbon. Wiring every stem at the same height is the finish step: it gives the bouquet a consistent silhouette from all angles, not just the front.
Bouquets only look round from the front when the maker was thinking about the front. A table centrepiece is seen from every direction. Build it in the hand, turning it as you add stems, and wire as you go rather than at the end.
🛍 Shopping guide
Painted and Finished Objects
Paint is commitment, and that is exactly why it works. One flat colour across every object in a set reads as considered. Two slightly different shades of the same colour, side by side, read as a mistake. Mix enough paint to cover the whole set before you start.
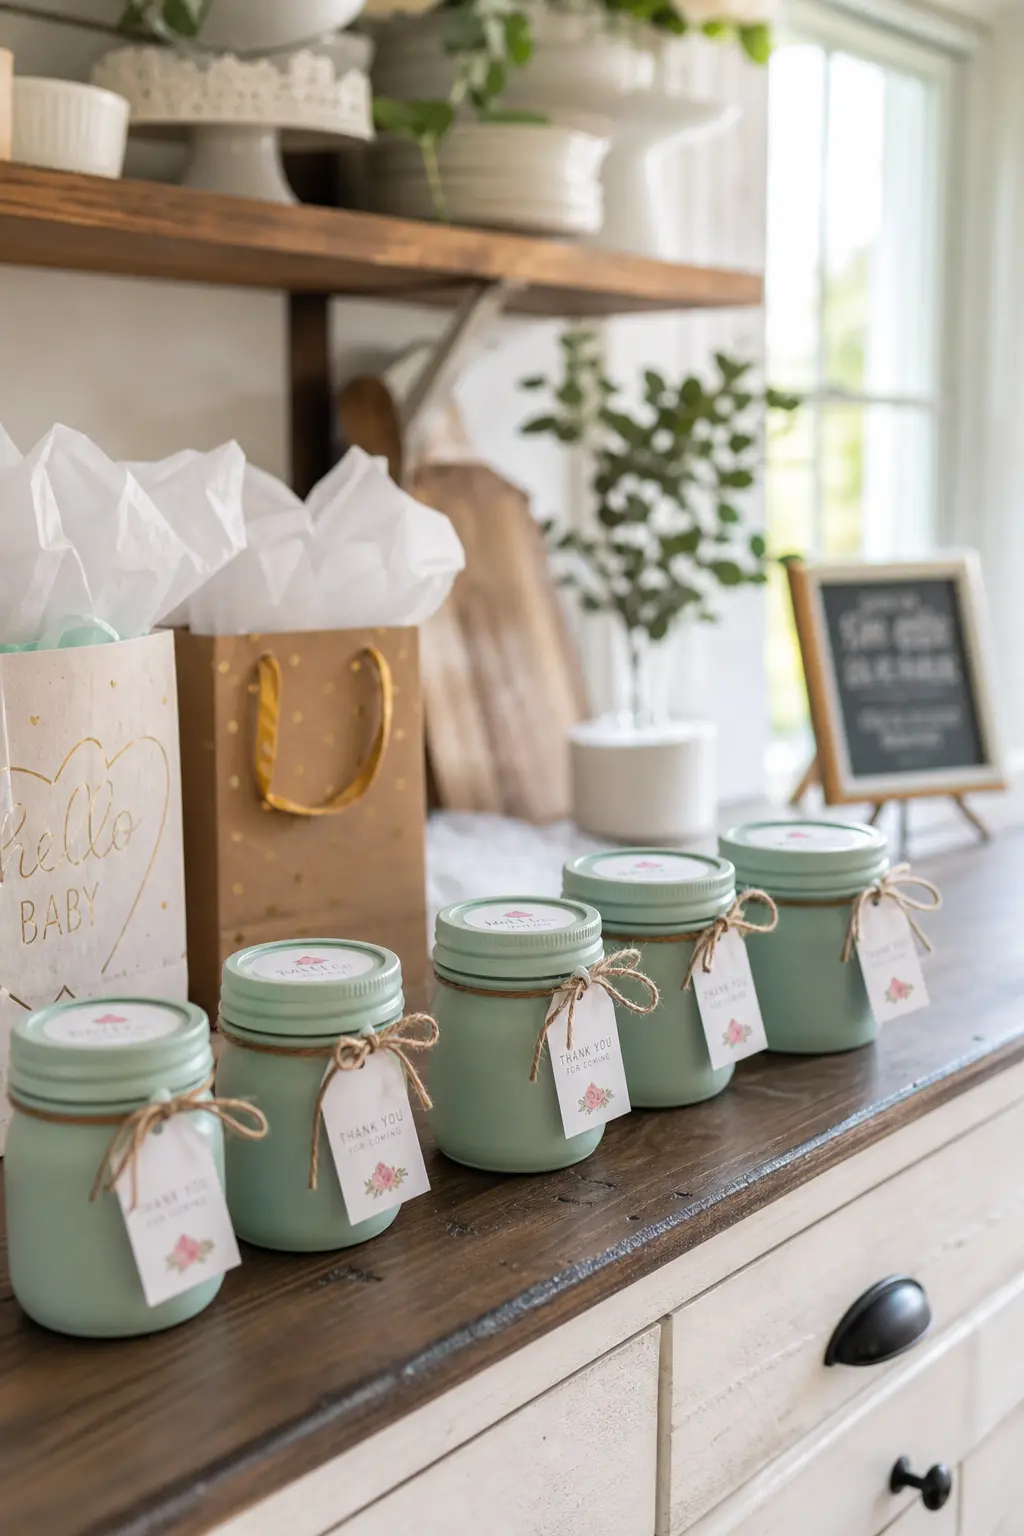
Hand Painted Favor Jars Finished in One Matte Colour
Take a set of small glass jars, apply two thin coats of chalk paint in one colour, and seal with a matte varnish. The varnish is the finish step. Without it, chalky paint lifts where guests pick up the jars, and the damage reads as wear even at an event that lasts two hours.
Paint the lids separately so the seam line stays clean. A paint line that bleeds across the lid edge is the detail that announces handmade in the worst way.
🛍 Shopping guide
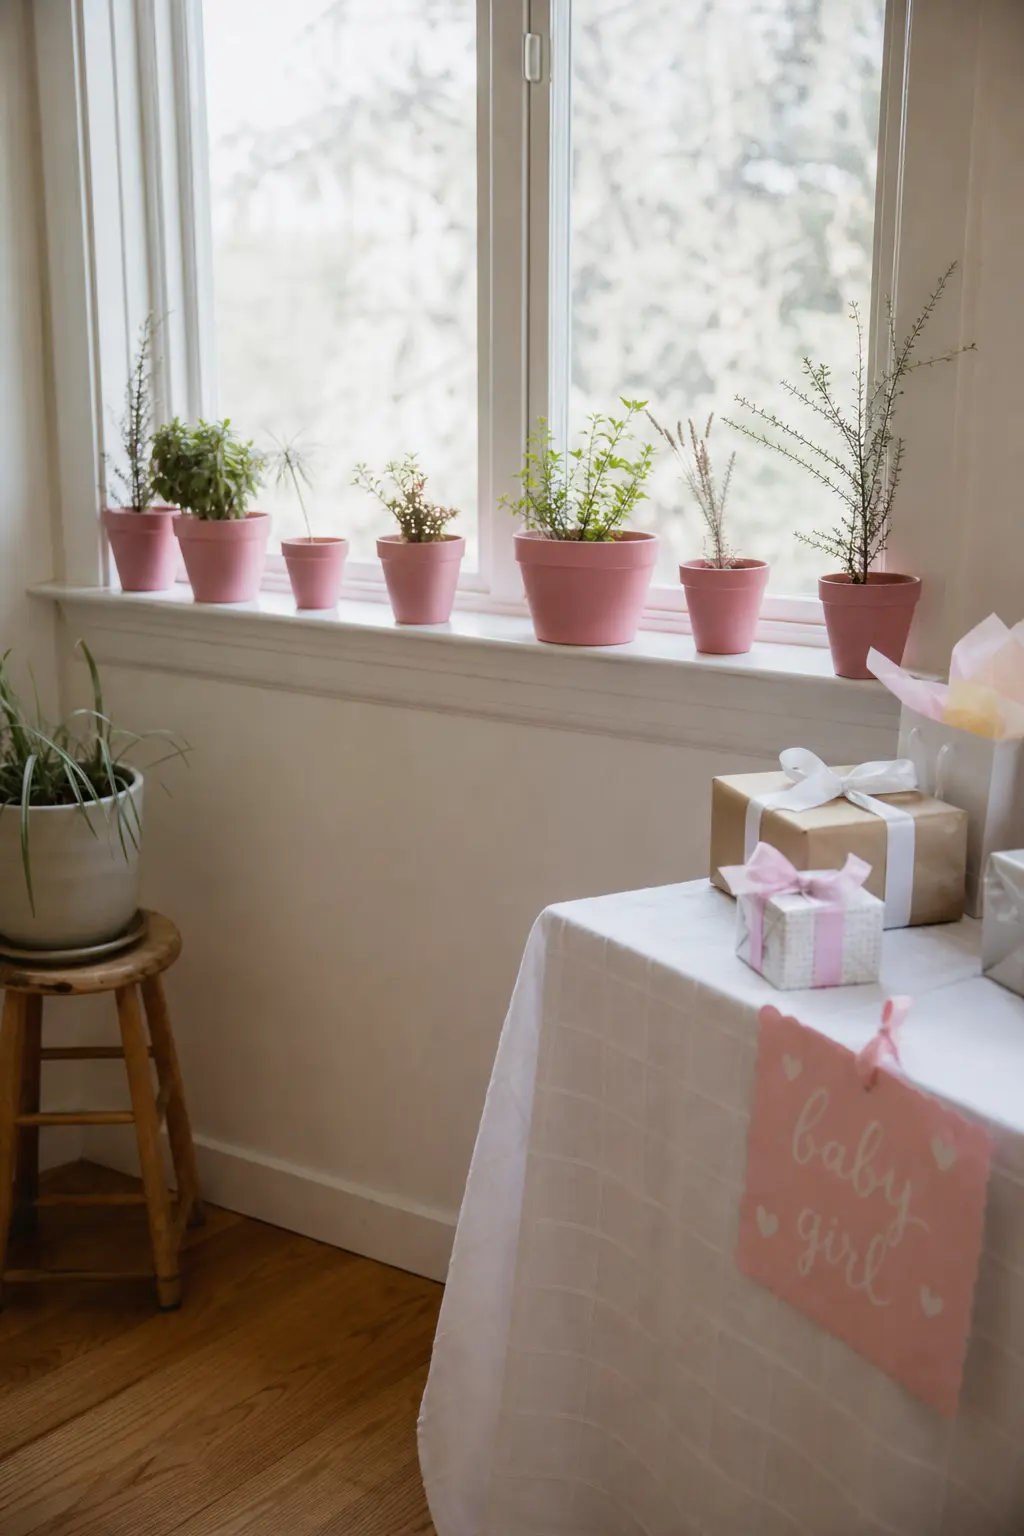
Painted Terracotta Pots Finished Consistently, No Two a Different Shade
Buy pots in the same size, mix a full batch of paint before you start, and coat every pot from the same batch without adding water or pigment mid-project. Using one batch is the finish step: two pots painted from separate mixes will not match, and the difference is obvious in photos even when it is invisible to the naked eye.
Let each coat dry fully before applying the next. Rushing the second coat over a tacky first coat causes streaking that no amount of additional coats will cover.
🛍 Shopping guide
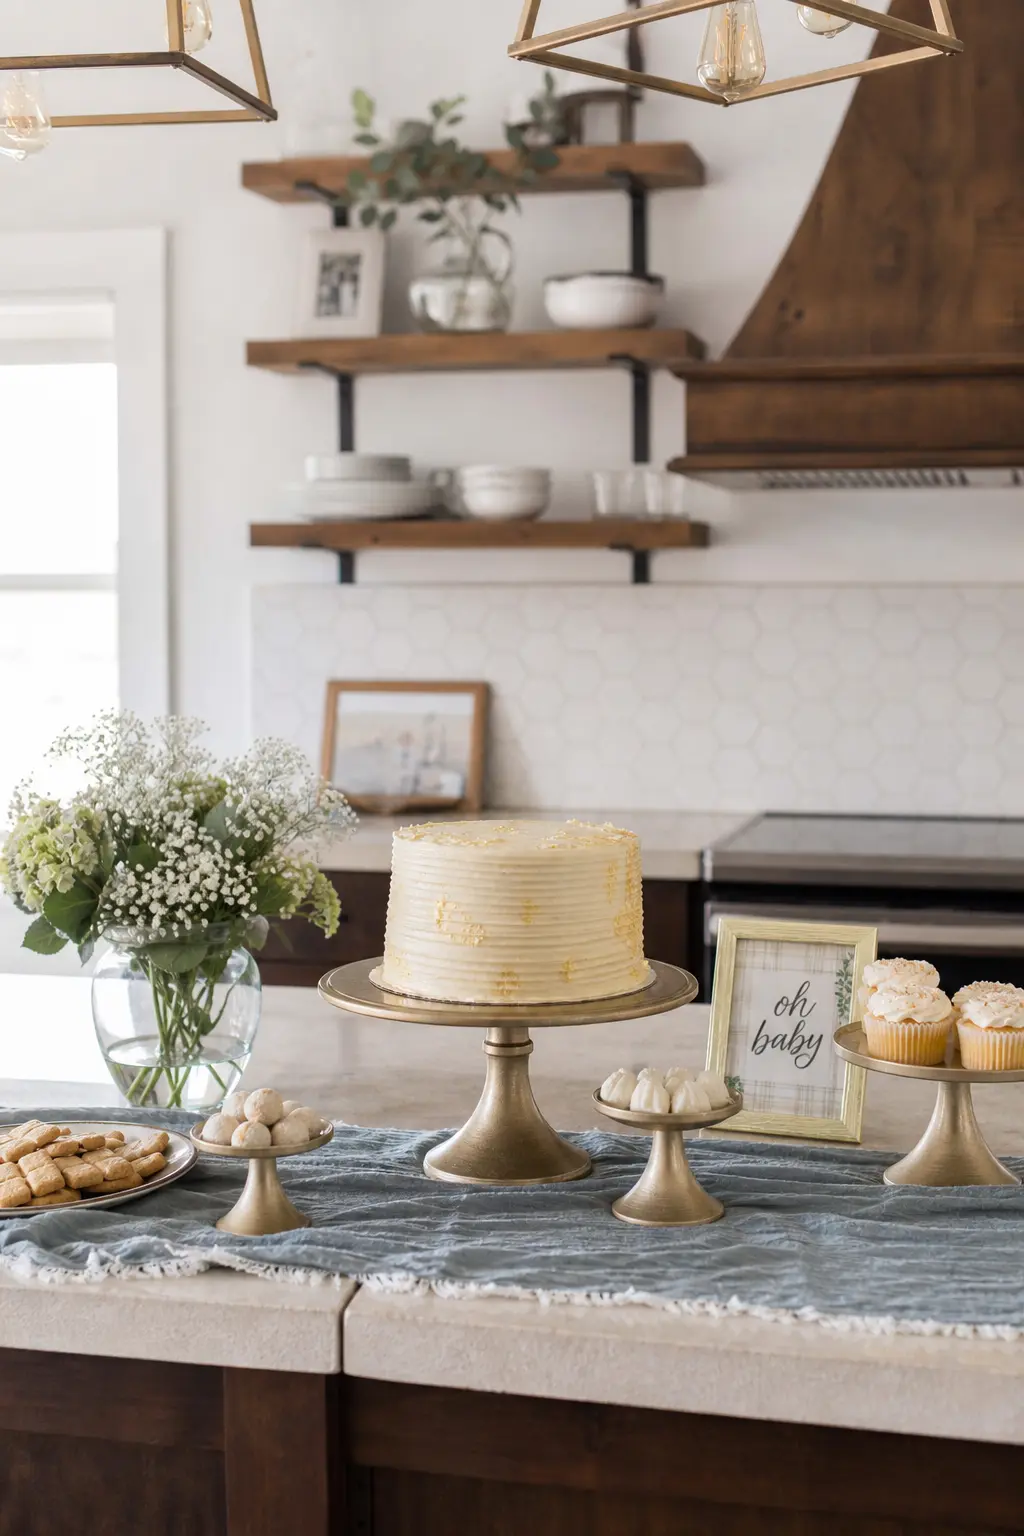
Cake Stand Painted to Match the Room’s Metal Accents
Take a plain ceramic or plaster cake stand and spray it with a metal-finish paint in gold, brass, or matte black to match whatever hardware is already in the room. Matching the room’s existing metal is the finish step: a cake stand in a contrasting metal reads as an accident, and a matching one reads as chosen.
Apply two light coats of spray paint rather than one heavy coat. Heavy coats drip and drips on a smooth curved surface are impossible to sand back without the underlying colour showing through.
🛍 Shopping guide
Keepsakes and Stationery
Favor tags, place cards, and a guestbook alternative all live on the table where guests sit and look for something to do with their hands. Make them identical in size and finish and they read as a designed set. One rogue tag that was cut freehand undoes the rest.
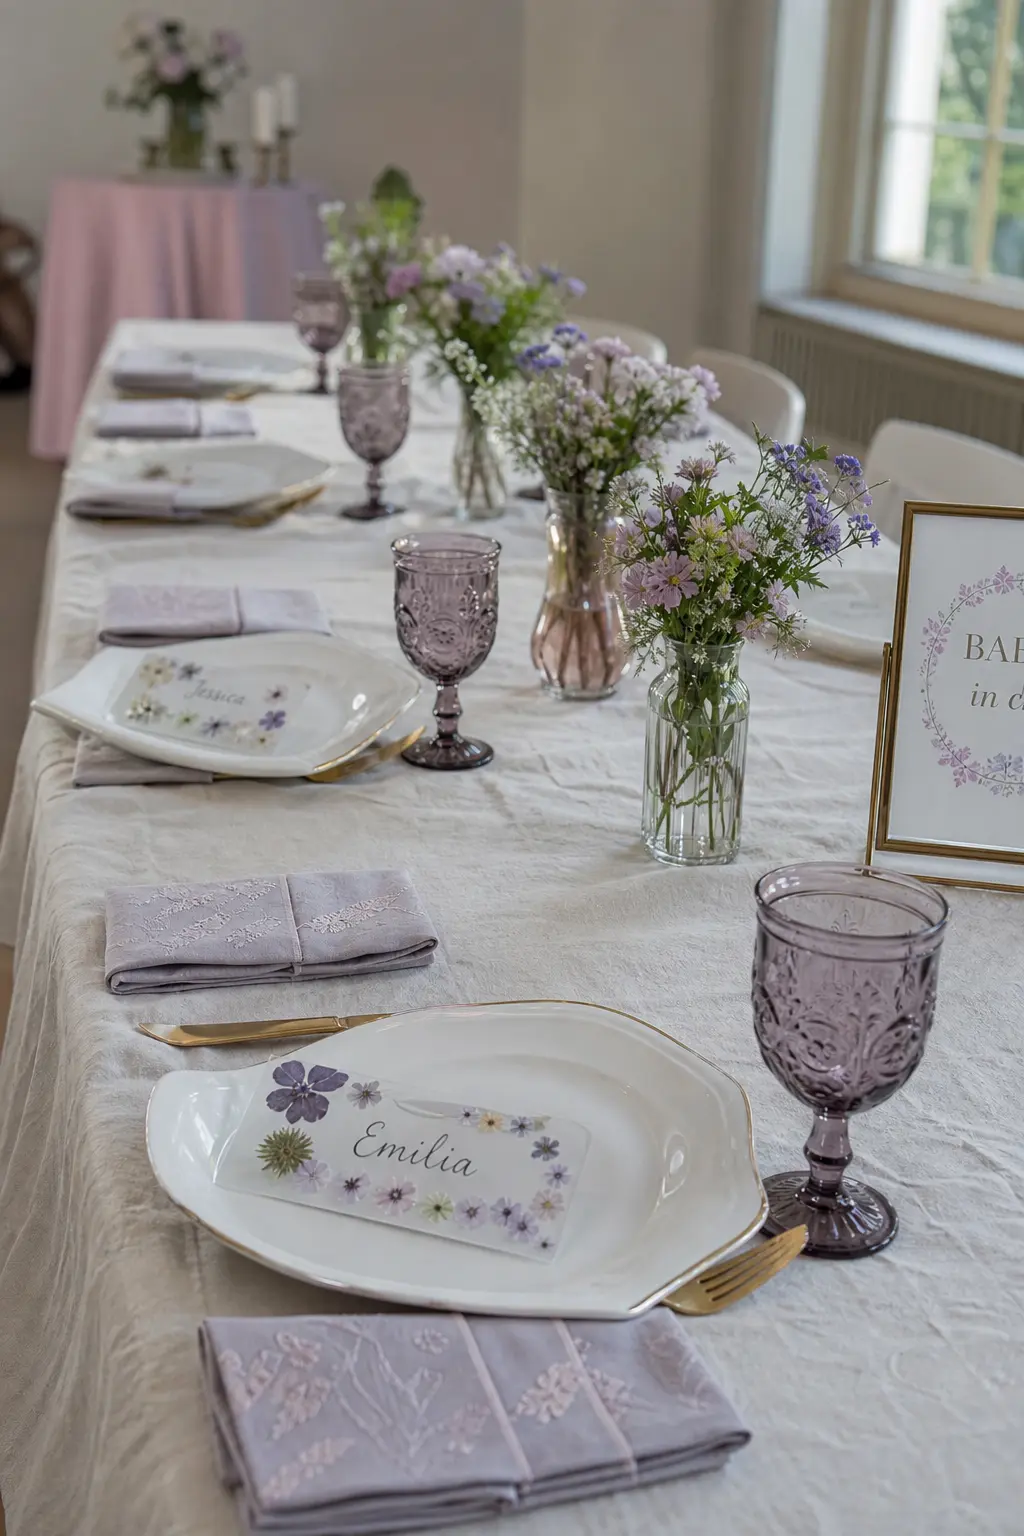
Pressed Flower Place Cards Laminated Flat
Press flowers between heavy books for at least five days, then mount each one on a card cut to the same dimensions. The finish step is lamination: one pass through a laminator and the flowers are sealed, flat, and identical in sheen across every card.
Without lamination, pressed flowers lift at the edges by the time guests arrive. With it, the card looks like something from a stationery studio. Cut every card to the same size using a paper trimmer, never scissors.
🛍 Shopping guide
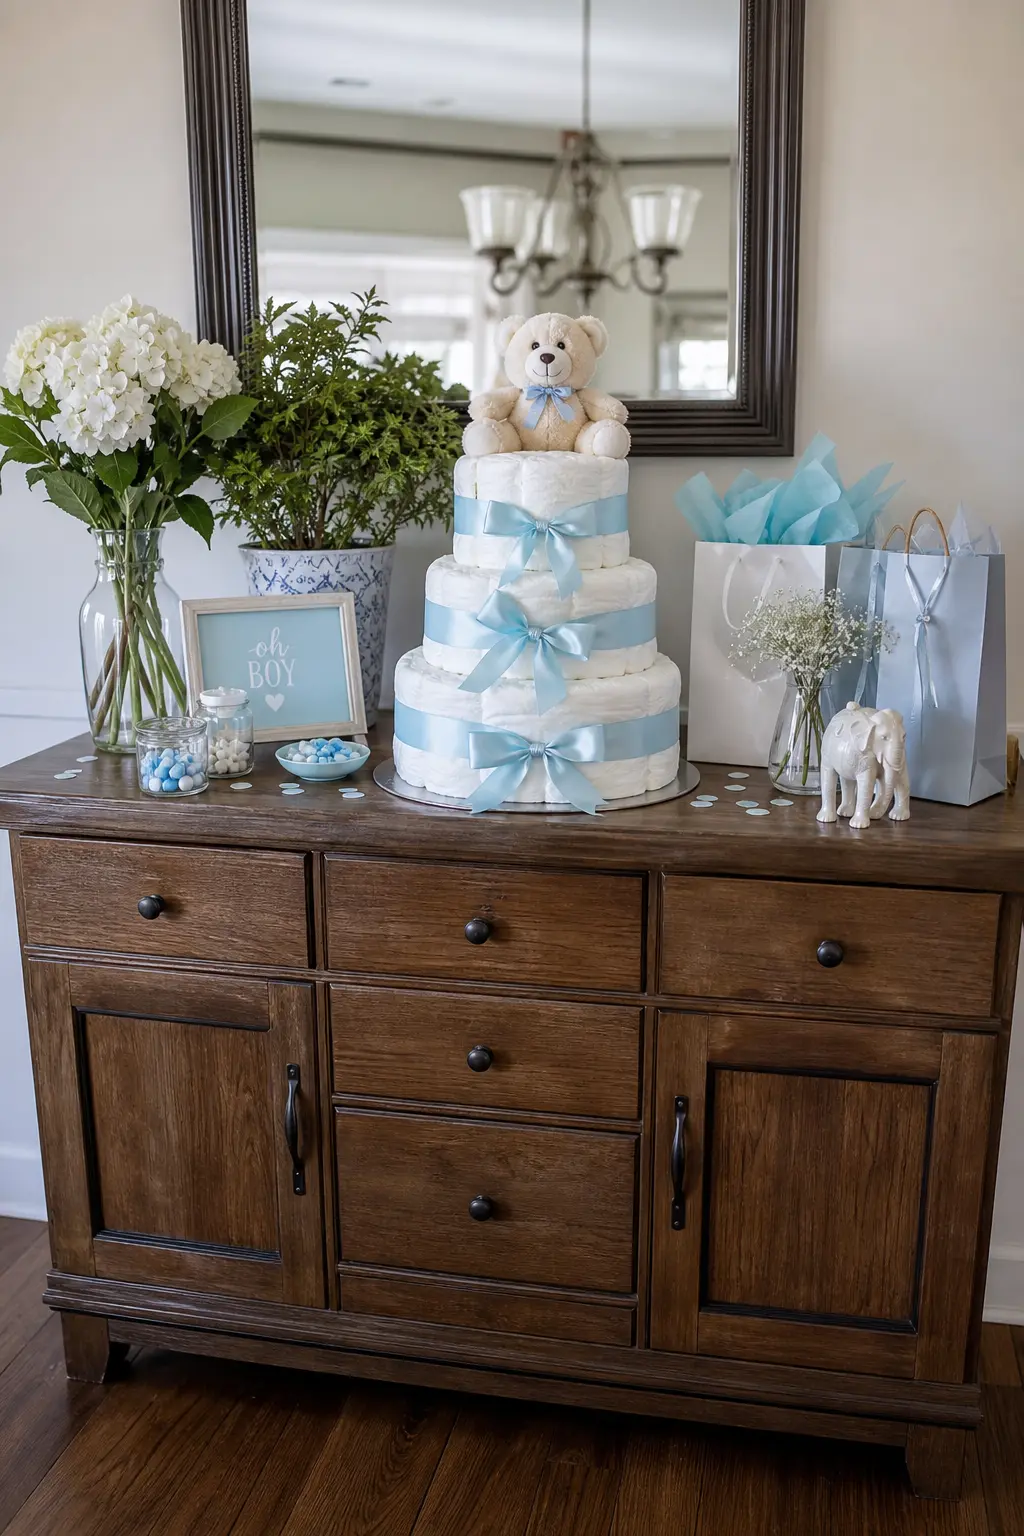
Diaper Cake Built with Edges Tucked
Roll each diaper tightly and secure it with a small rubber band, then build the tiers on a cake board, wrapping each tier in a satin ribbon. The tuck is the finish step: fold the ribbon end under itself at the back and secure it with a single pin so no raw edge or tail is visible from any angle a camera might find.
Tie any topper with the same ribbon used on the tiers. A topper in a different ribbon width or material immediately reads as an afterthought. Keep the material language consistent from base to top.
🛍 Shopping guide
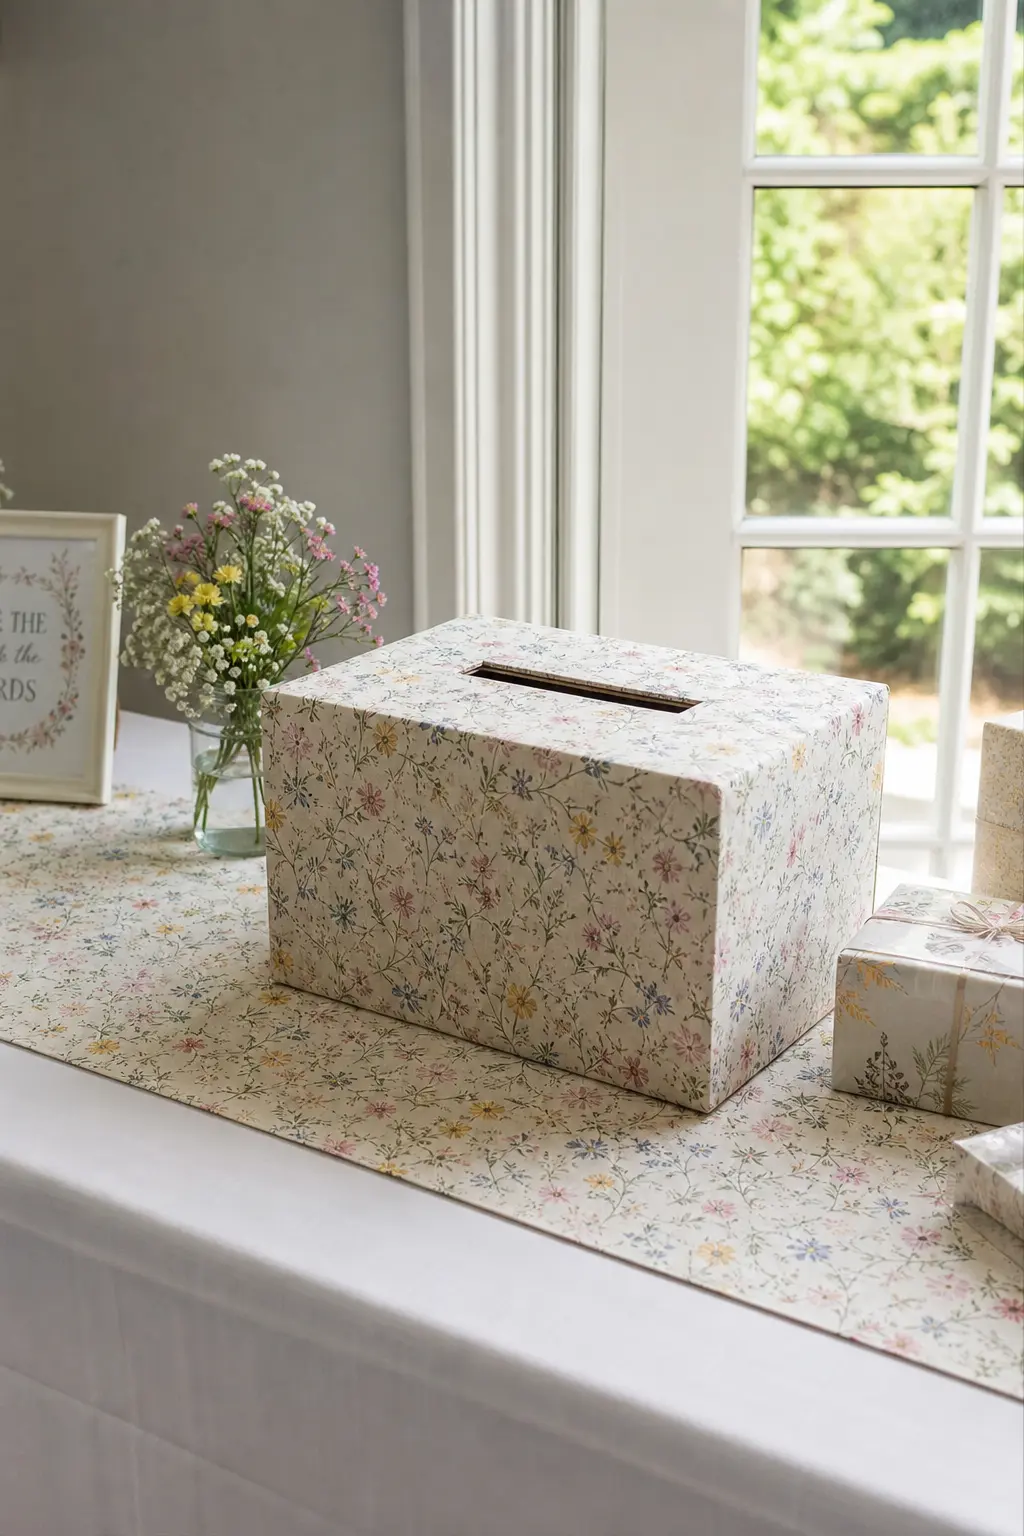
Card Box Covered in the Same Fabric as the Table Runner
Cover a plain gift box in the same fabric you use for the table runner, folding the corners as you would gift wrap and securing them with fabric glue rather than tape. The matching material is the finish step: a card box that sits on the table runner and echoes its fabric reads as part of the design rather than an object placed next to it.
Cut the fabric on the grain so it sits straight on the box. Off-grain fabric pulls at the corners and the pattern, if there is one, runs visibly diagonal.
🛍 Shopping guide
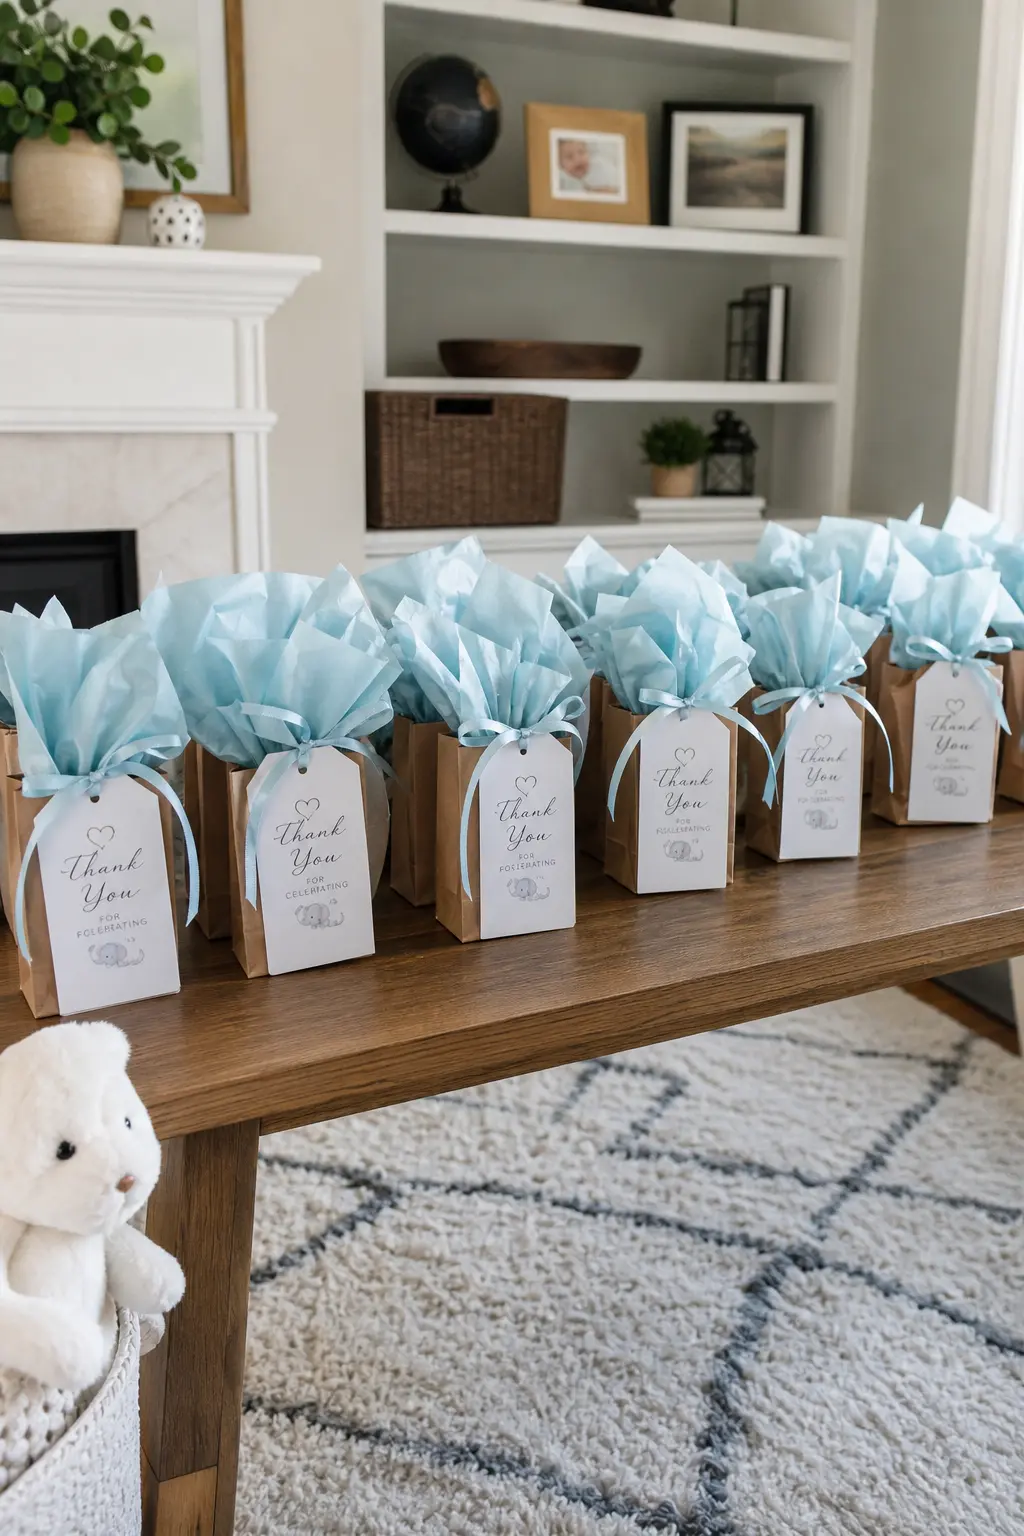
Favor Tags Cut to Identical Size and Shape
Design one tag, print the full sheet, and cut every tag using a punch or a die cutter rather than scissors. The die cut is the finish step. Scissors produce edges that vary by a millimetre or two from tag to tag, and a spread of twenty tags on a table makes that variation obvious.
Punch the hole in the same position on every tag by making a small pencil mark on the punch guide before you start. An off-centre hole on a tag that otherwise matches its neighbours is the one detail guests will notice because they are holding the tag in their hands.
🛍 Shopping guide
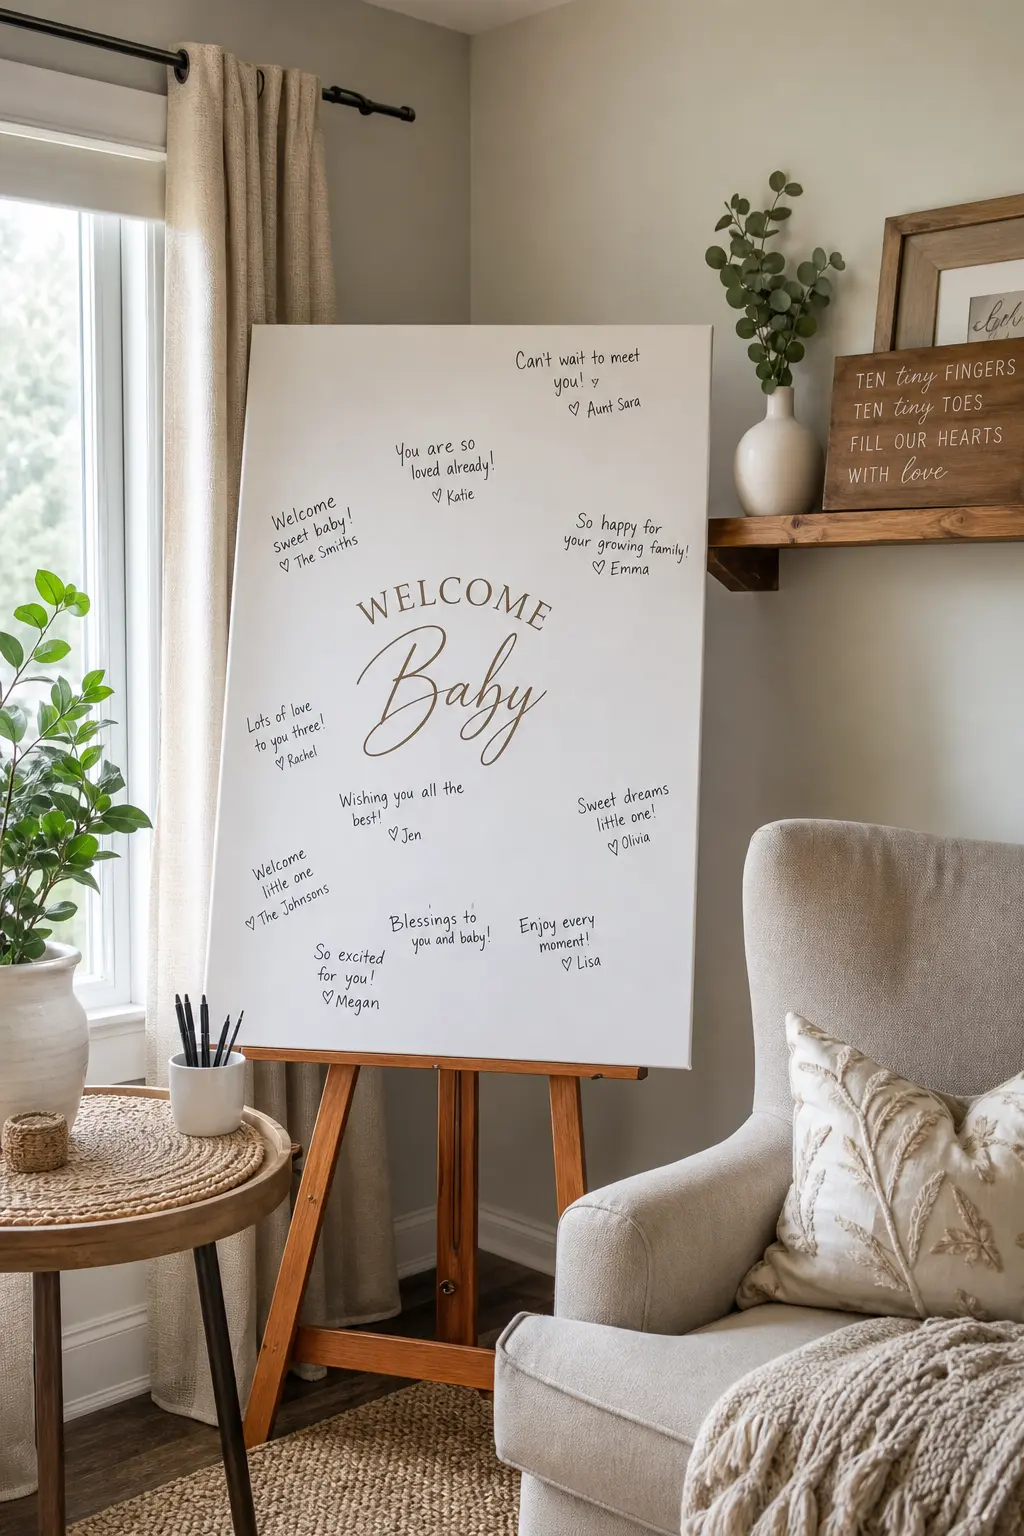
Guestbook Alternative Built from One Large Canvas
Stretch a large canvas, prime it in white, and let guests sign with archival ink pens in black only. One ink colour is the finish step. Multicolour signatures on a shared canvas look like a door at the end of a school year. Black on white looks like a piece of art you will actually keep.
Place the canvas on an easel beside the welcome table with two or three pens in a cup. Brief the first guest (usually the host) so the top of the canvas gets signed first and late arrivals fill in below, rather than everyone clustering in the middle.
🛍 Shopping guide
The Welcome Table
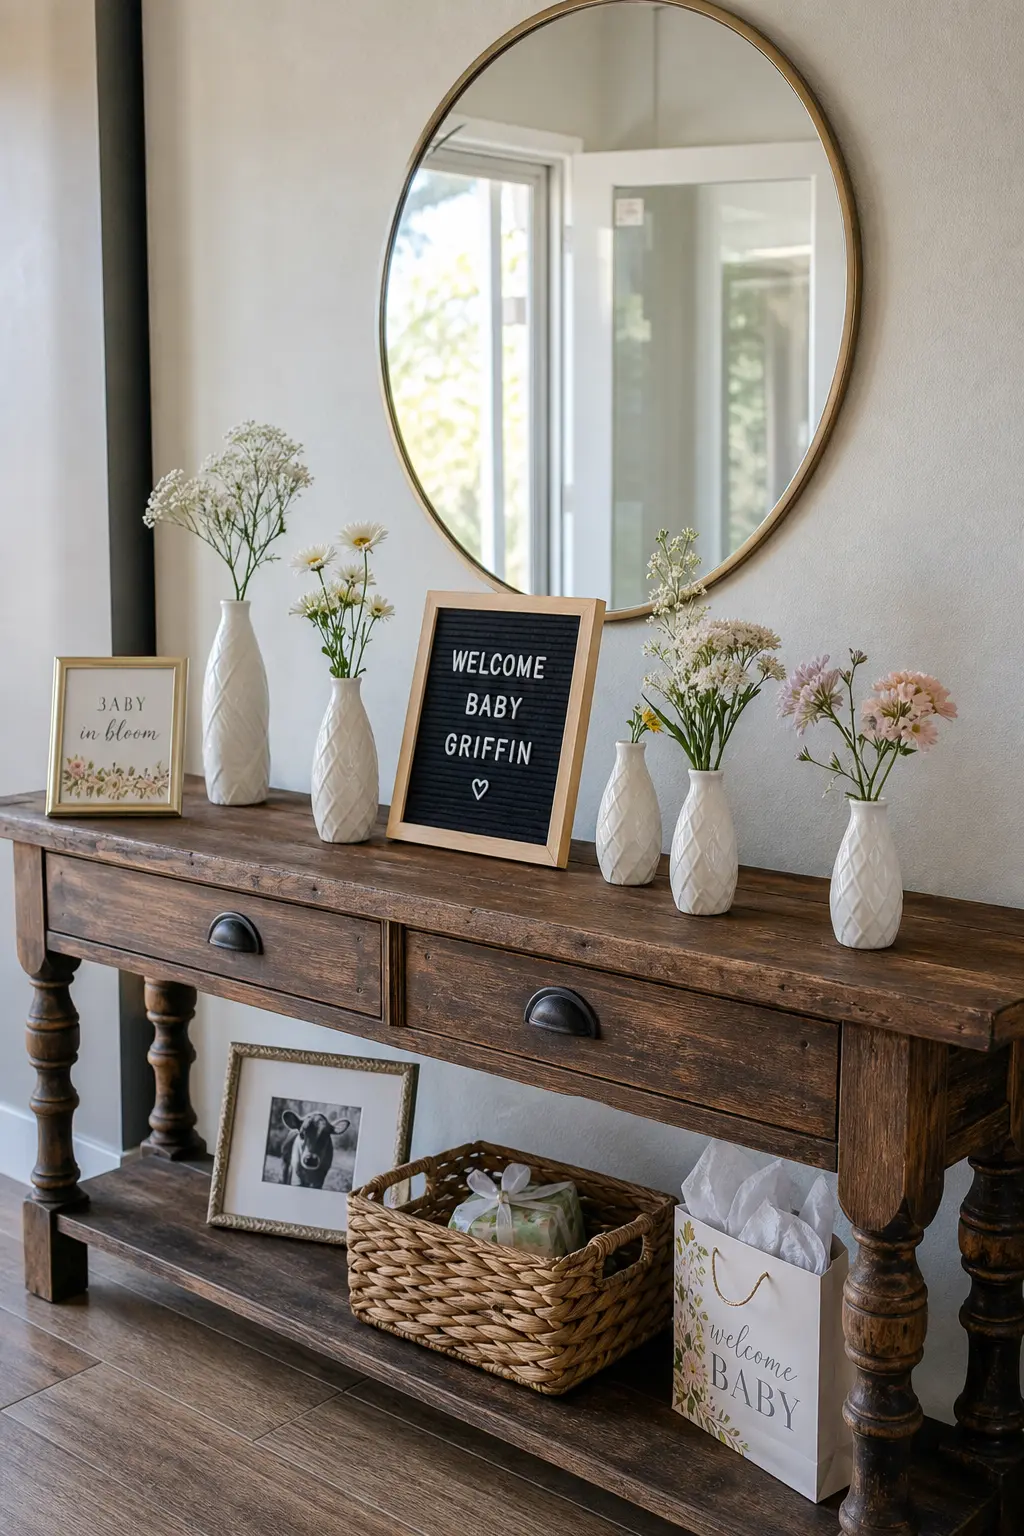
The welcome table is the first thing guests see and the last thing they remember to photograph on the way out. Style it around one repeated vessel shape and it looks edited rather than assembled. Three of the same bud vase beats six different ones every time.
Welcome Table Styled with One Repeated Vessel Shape Throughout
Choose one vessel shape, buy or borrow at least five in that shape, and use that vessel for everything on the welcome table: flowers, greenery, small favour displays, a pen holder for the guestbook. The repetition of shape is the finish step. A table with five different vessel shapes reads as gathered; a table with five of the same reads as designed.
Vary the height by placing some vessels on small risers made from books covered in the same fabric as the table runner. Height variation keeps the eye moving across the table without introducing a new shape language. See the DIY baby shower games article for ideas to add to this same table without crowding it.
🛍 Shopping guide
Frequently Asked Questions
How do you decorate a baby shower without balloons?
Fabric backdrops, paper garlands, dried floral centrepieces and fabric bunting all photograph as well as balloon arrangements and hold their shape throughout the event. The key is choosing pieces that are finished rather than inflated: pressed and laminated place cards, wired greenery garlands and steamed fabric panels give a room the same sense of fullness without a single balloon. For a complete set of non-balloon ideas, the roundup of baby shower brunch ideas covers table styling that relies entirely on botanicals and textiles.
What is a popular baby shower theme this year?
Botanical and nature-themed showers continue to lead, with dried pampas, pressed flowers and terracotta as recurring elements. Gender-neutral earthy palettes in sage, ivory and warm tan are particularly strong because they work for any guest list and any nursery colour scheme. The storybook baby shower format is also consistently popular because it gives the room a clear visual narrative that guests understand immediately.
How much should baby shower decorations cost?
A full DIY decoration set for twenty guests typically runs between sixty and one hundred and fifty dollars when you make everything yourself, depending on whether you already own a laminator, a sewing machine and basic craft tools. The biggest savings come from making items in sets (painting all terracotta pots at once, cutting all tags in one session) rather than one at a time. Buying fabric, paper and paint in one order also avoids the colour-matching problems that come from multiple shopping trips.
Can baby shower decorations work for a gender neutral shower?
Every project in this list works for a gender neutral shower because the palette is your choice, not the project’s. Sage, ivory, warm white, dusty terracotta and natural linen are all gender neutral and photograph cleanly. The rule is the same as for any colour scheme: choose one palette and repeat it without variation. A single pink ribbon on an otherwise neutral table reads as a choice; a table where every element shares the same palette reads as designed. For more gender neutral inspiration, the over the moon baby shower ideas article is built entirely around a non-gendered colour story.
24 baby shower game prizes grouped by winner, from grandma to the coworker to the dad at a co-ed sho

16 fall baby shower games ideas for indoor & outdoor fun — active, printable, and keepsake games y
24 blue jean baby shower theme ideas, from a denim backdrop to bandana napkins and potted cactus fav
Leave a Reply