

15 Coffee Corner Ideas That’ll Make You Actually Want to Wake Up (Even on Mondays)
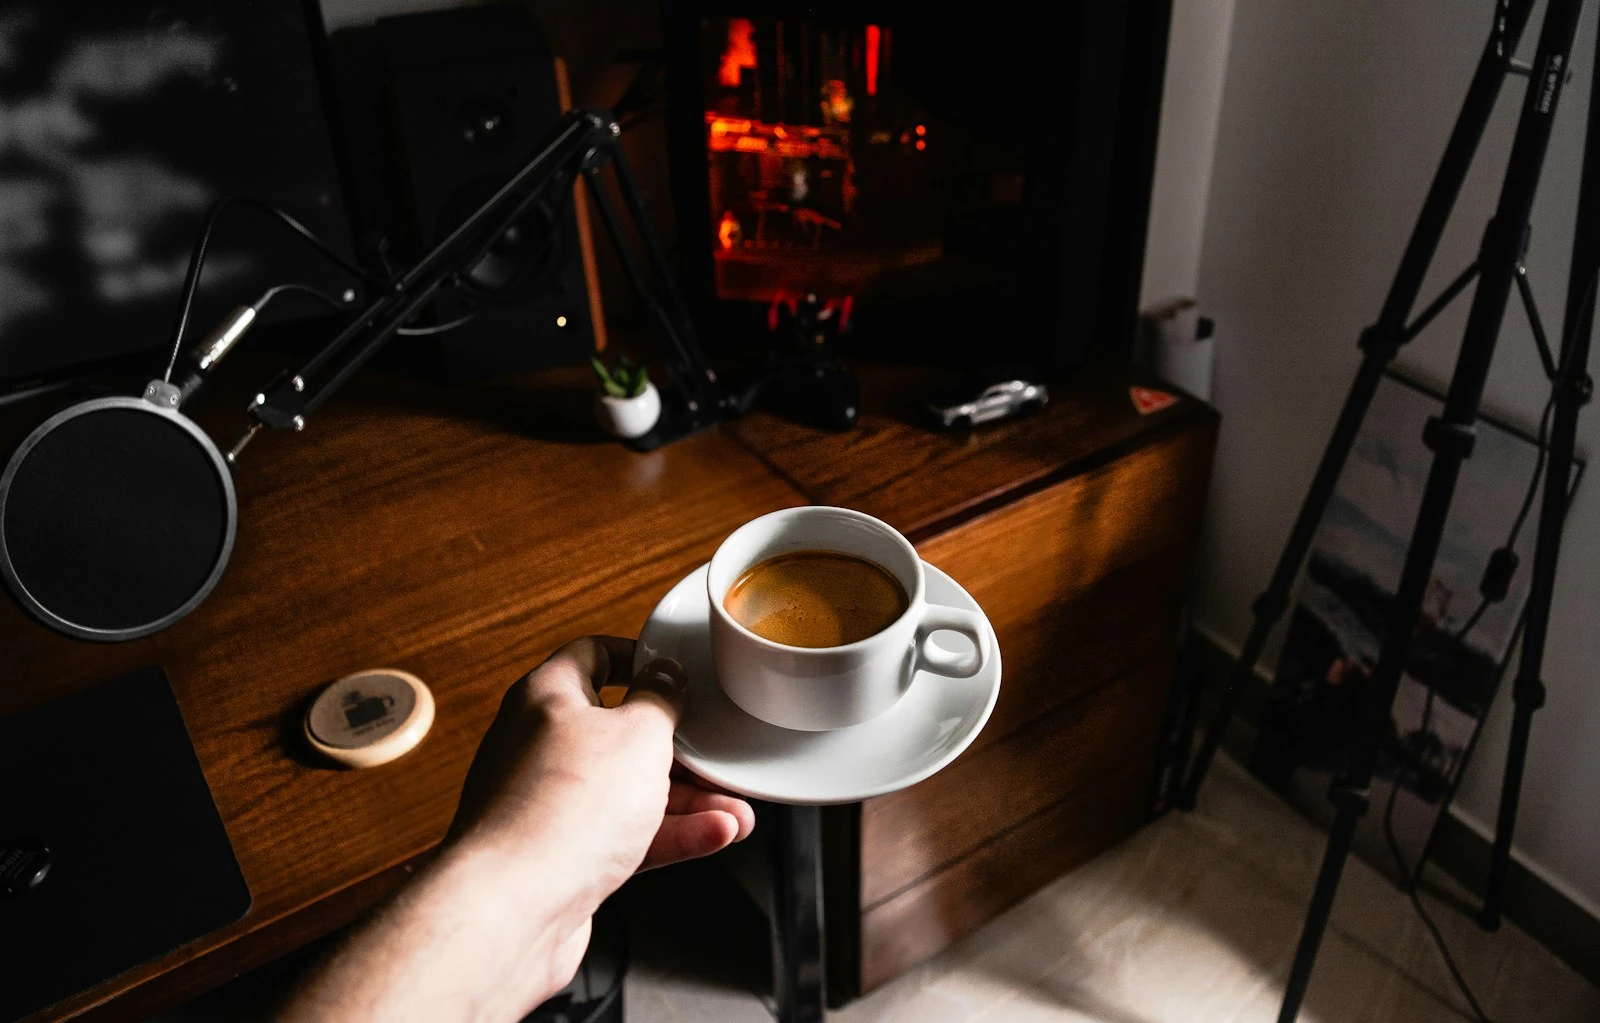
I ignored setting up a coffee corner for two years because I thought it required some fancy built-in or a ton of counter space.
Then I spent one Saturday morning and about $40 at Target, and now my kitchen has this little corner that genuinely makes me happy every time I walk past it. Not in a “my life is transformed” way. Just in a “hey, that’s nice” way.
Turns out you don’t need much. A shelf, a cart, even a tray on your counter. Here’s what actually works.
This post contains affiliate links. If you buy something through these links, I might earn a small commission at no extra cost to you. I only recommend stuff I’d actually use.
The Whole Setup Fits in Like Two Square Feet
Most coffee corner ideas you see online are in huge kitchens with dedicated built-in bars. Cool for them. Not helpful for the rest of us.
Your coffee corner can be a bookshelf wedged into a weird corner. It can be one floating shelf above your coffee maker. It can be literally just a cutting board that you set your stuff on and slide to the side when you need the counter.
The point isn’t Pinterest perfection. The point is not digging through three cabinets before you’ve had caffeine.
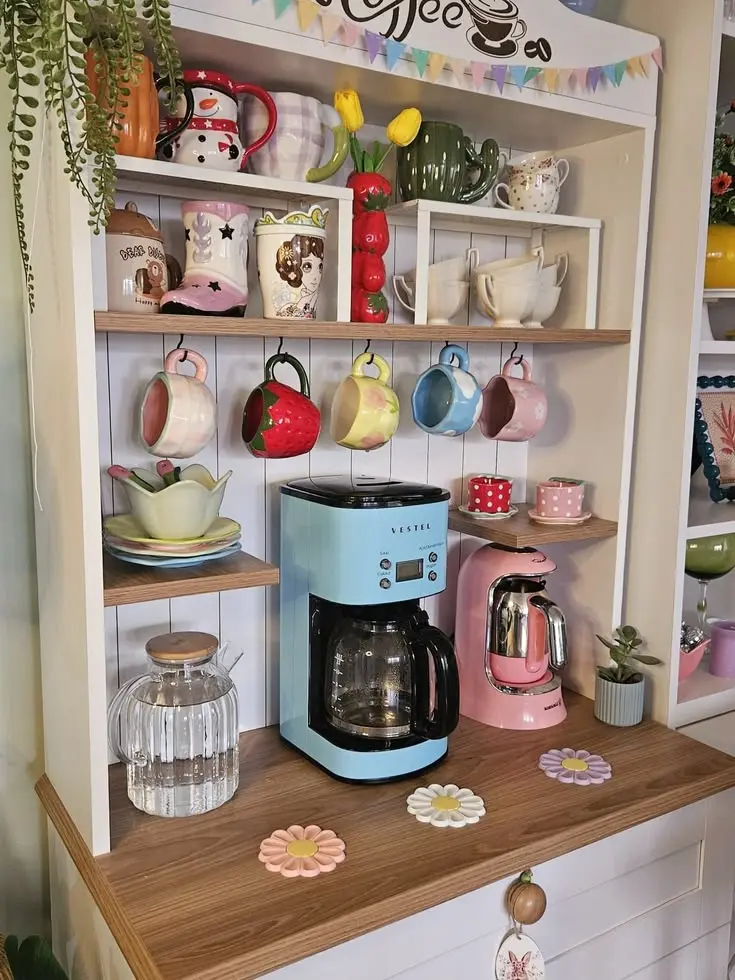
Coffee Corner Ideas That Work in Actual Small Kitchens
The Wall Shelf Solution (This One’s Almost Too Easy)
Mount two floating shelves on any random wall. Bottom shelf gets the coffee maker and mugs. Top shelf gets plants, jars of beans, whatever makes you feel like you have your life together.
The hooks are genius because mugs take up so much cabinet space otherwise.
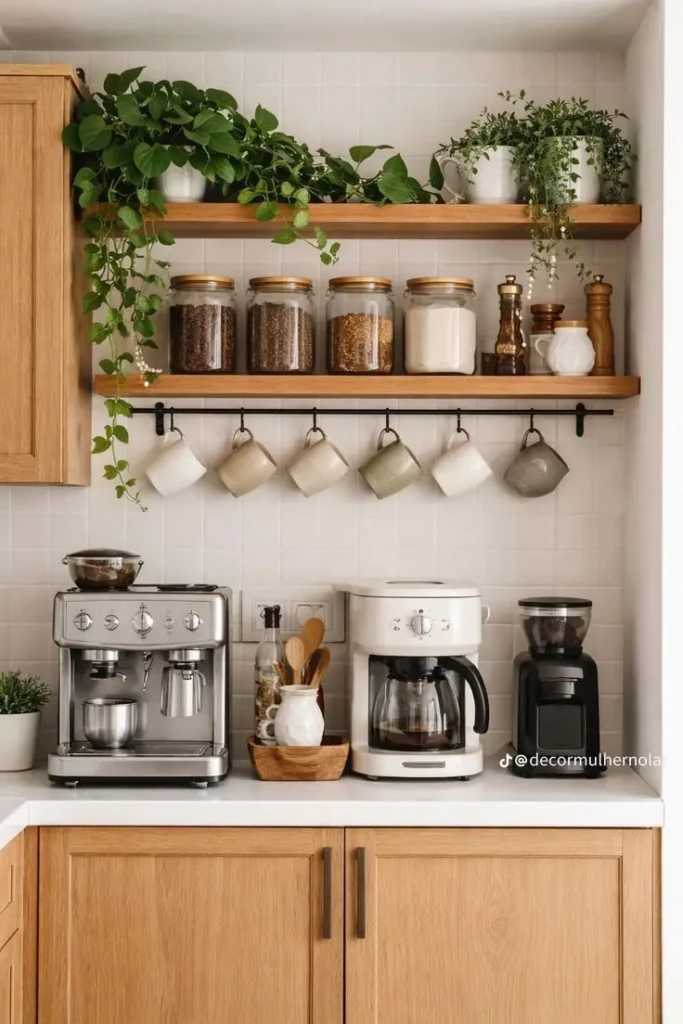
What you need:
- Floating shelves ($25-40 for a set)
- Mug hooks or a rod with S-hooks ($10-15)
- Wall anchors if you’re not hitting studs
I mounted mine crooked the first time. Just unscrew and try again. No one died.
The Rolling Cart (For People Who Rearrange Furniture at 2am)
Get a kitchen cart with wheels. Put your coffee stuff on it. Move it wherever you want.
This is perfect if you’re renting or if you change your mind about things constantly. Which, same.
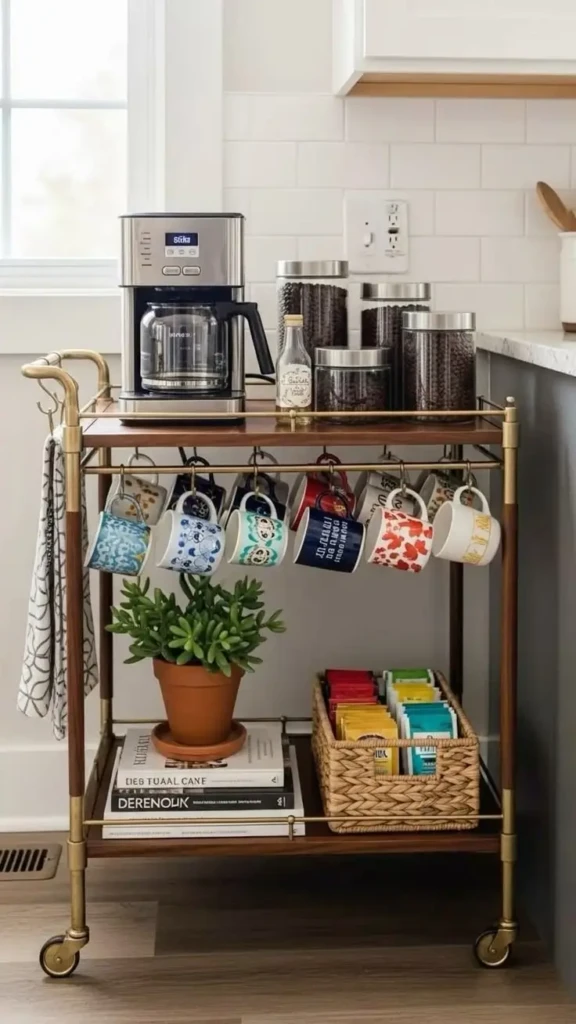
What goes on it:
- Coffee maker on top
- Beans/pods and sugars in the drawer
- Extra mugs and supplies on the lower shelf
- A plant because why not
Kitchen carts on Amazon run $60-150 depending on how fancy you want to get.
The Dedicated Coffee Station Shelf Unit
If you’ve got like three feet of wall space, a tall shelf unit gives you actual storage plus a counter for your coffee maker.
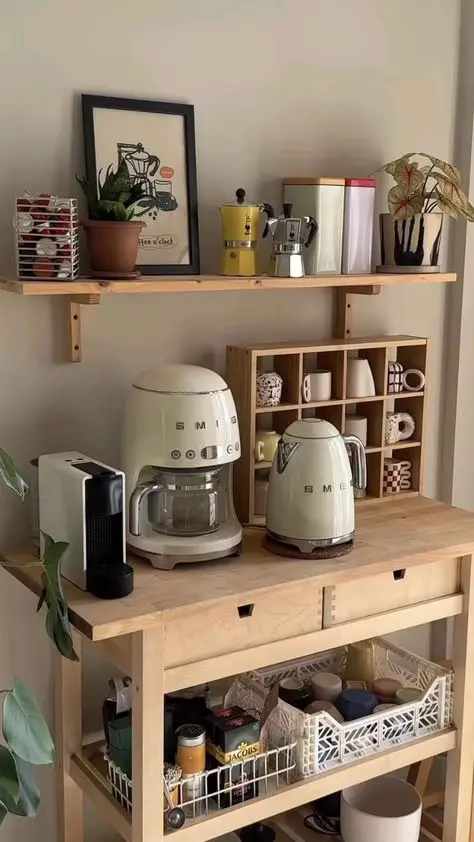
I like this option because you can see everything at once. No more buying a third bag of coffee beans because you forgot you already had two.
Where to find these:
- Bookshelf-style storage units
- Actual coffee bar carts if you want to commit
- Used furniture stores (I got mine for $20 on Facebook Marketplace)
The Corner Shelf Situation
Dead corner in your kitchen? Stick a shelf there.
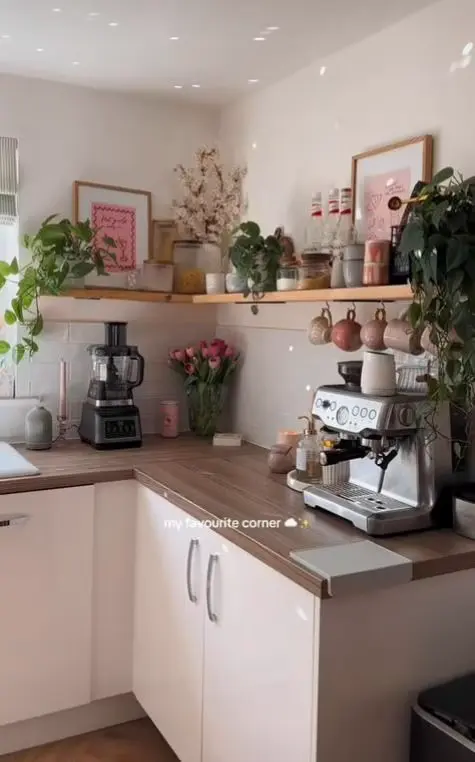
Why corners work:
- You’re not stealing actual usable counter space
- Things don’t spread out as much because there’s a natural boundary
- Looks intentional even when it’s messy
The Tray-on-Counter Method (For Zero Space)
Don’t have room for a shelf? Put everything on a tray.
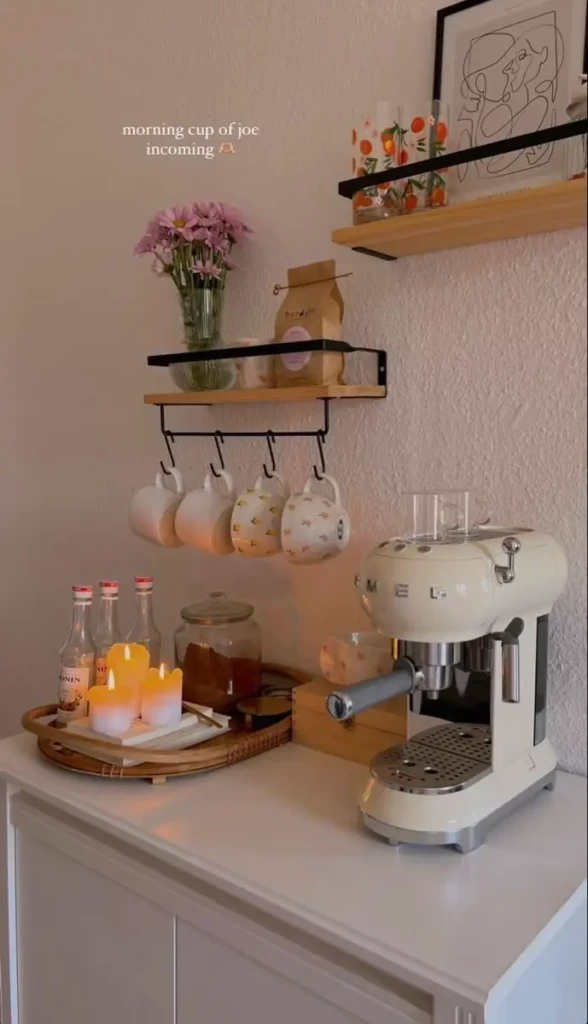
The trick: The tray contains the chaos. You can slide the whole thing over when you need to actually use the counter for cooking.
I use a cheap wooden tray from Target. Cost me $8. Makes me feel like I have my life together. Worth it.
Small Coffee Corner Ideas That Don’t Look Cramped
The Vertical Stack
When you don’t have horizontal space, go up.
Two or three narrow floating shelves stacked vertically give you tons of storage without taking up floor or counter space.
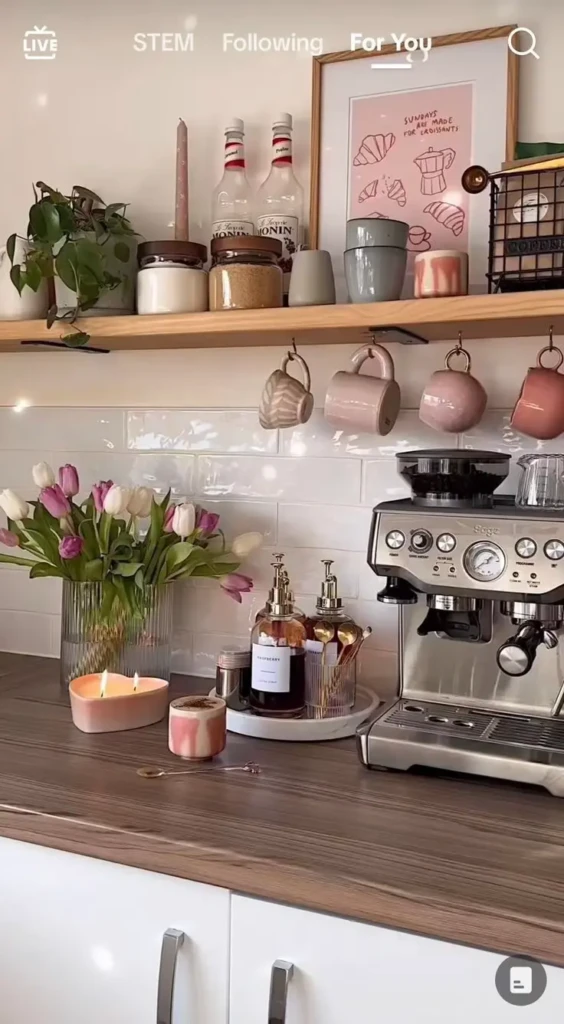
Spacing tip: Put shelves 12-15 inches apart. Closer than that and you can’t fit a coffee maker. Farther apart and it looks weird.
The Over-the-Top Shelf Arrangement
If you’ve only got one shelf, use the space above it too.
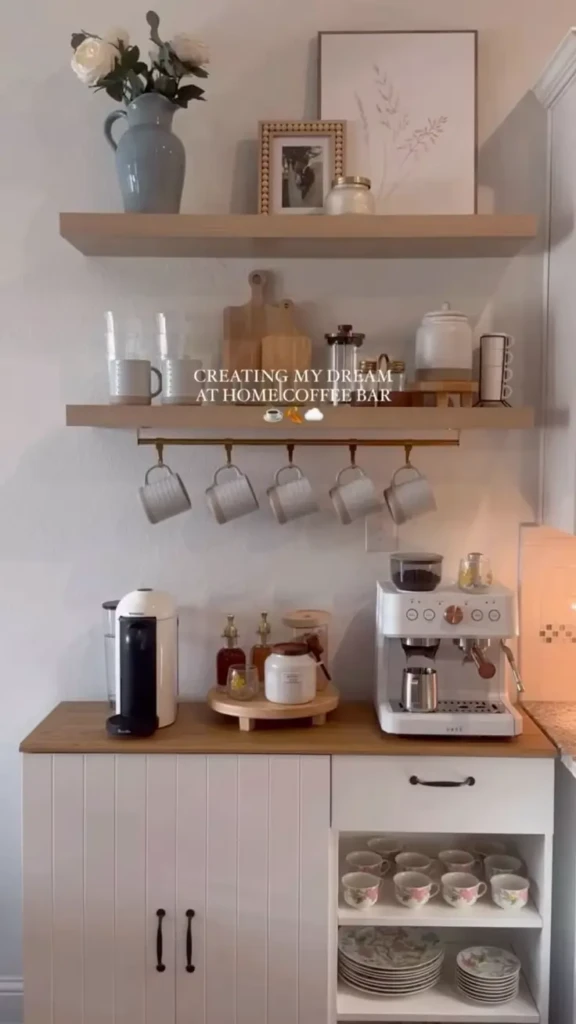
The cutting boards leaning against the wall is a move I didn’t know I needed. They fill vertical space and look intentional.
The Hidden Lower Shelf Display
This works if you’ve got a low cabinet or console table. The open shelf gives you storage that doesn’t feel cluttered because everything’s visible and organized.
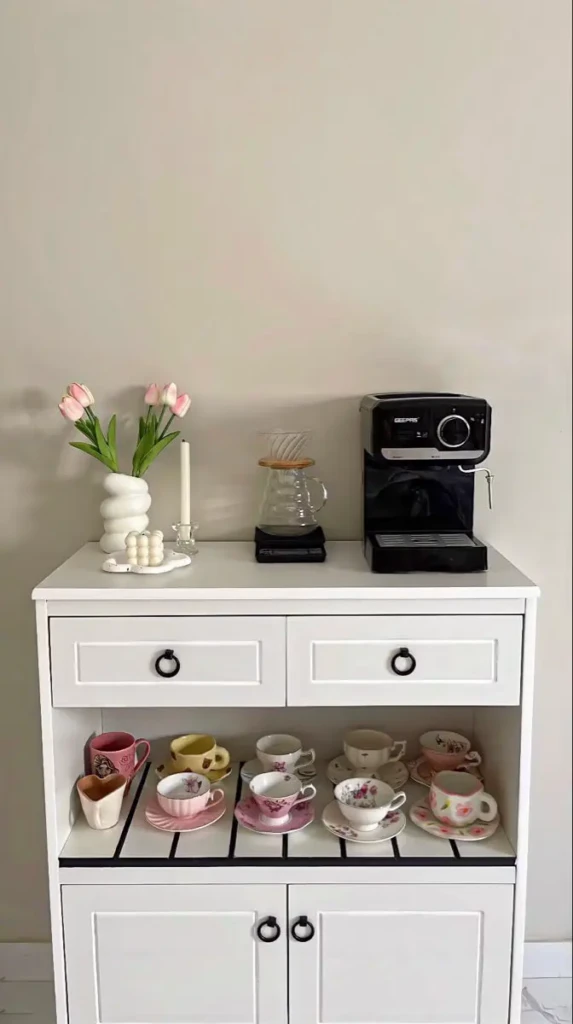
What to put on display:
- Your actual nice mugs
- Matching jars with beans, sugar, stirrers
- A small plant
- Not the random Splenda packets you stole from a gas station
What Actually Goes in a Coffee Corner
You don’t need all of this. Pick what you use.
| Keep out | Hide away | Maybe display |
|---|---|---|
| Coffee maker | Extra pods/beans | Pretty sugar jar |
| Daily mugs (2-4) | Filters | Small plant |
| Milk frother | Backup coffee | Art or photo |
| Spoon or stirrer | Cleaning supplies | Candle |
| One sugar/sweetener option | Extra mugs | Decorative tray |
I started with just a coffee maker and two mugs. Added stuff slowly. You don’t have to buy everything at once.
The Stuff That Makes It Look Good (But Isn’t Required)
Plants
Every setup that looks good has plants. Trailing pothos, small succulents, fresh flowers.
I killed three plants before I accepted that I needed to just buy a fake one. No shame. A $12 faux succulent from Target looks real enough and doesn’t die when I forget about it for two weeks.
Matching Containers
Clear glass jars for beans, white canisters for sugar—anything that matches makes it look more pulled-together.
I got a set of three matching jars from Amazon for $18. Filled one with coffee beans, one with sugar packets, one with tea bags. Looks way better than the random ziplock bags I had before.
Not necessary, but helpful: Glass storage jars
Art or a Sign
A coffee-themed print or even just a photo in a frame makes it feel intentional.
I printed a line drawing from Etsy for $4 and stuck it in a $7 IKEA frame. Took five minutes. Looks like I tried.
The Wooden Tray Move
A wooden tray or lazy Susan holding your sugar, spoons, and whatever else means you can move everything at once when you need to wipe down the counter. That alone makes it worth the $10-15.
Wooden serving trays are everywhere. Get one that fits your counter space.
Coffee Station Ideas That Work with What You Already Have
Use a Bookshelf
That random bookshelf in your hallway? Move it to the kitchen. Clear off two shelves for coffee stuff.
I’ve seen people use the narrow IKEA Billy bookcases as coffee stations. Works perfectly.
Repurpose a Bar Cart
Bar carts are just coffee carts in denial.
Top shelf: coffee maker. Middle shelf: mugs and supplies. Bottom shelf: backup beans, extra filters, whatever.
Turn a Console Table into a Coffee Bar
Narrow console tables fit against a wall and give you surface space plus lower storage.
Stick your coffee maker on top, use the shelf below for mugs and supplies. Done.
The Actual Cost Breakdown (Because I’m Not Made of Money)
Here’s what I spent on mine:
| Item | Cost | Where |
|---|---|---|
| Two floating shelves | $30 | Target |
| Mug hooks (6-pack) | $12 | Amazon |
| Glass jars (set of 3) | $18 | Amazon |
| Small fake succulent | $8 | Target |
| Wooden tray | $10 | Target |
| Frame for art | $7 | IKEA |
| Total | $85 |
Your coffee maker isn’t included because you probably already have one.
If you’re on a tighter budget:
- Skip the jars and use what you have
- Use command strips instead of installing shelves ($8 vs $30)
- No plant, no art—just functional stuff
- Total: $30-40
Setting It Up (The Part Where You Actually Do It)
Step 1: Pick Your Spot
Where’s your coffee maker now? Start there.
If it’s nowhere because it’s buried in a cabinet, put it where you actually stand when you make coffee in the morning.
Step 2: Clear the Area
Take everything off the counter or shelf. Wipe it down. This is the only cleaning required.
Step 3: Put the Big Stuff First
Coffee maker goes down first. Then kettle if you have one. Then milk frother or whatever.
The big appliances dictate where everything else fits.
Step 4: Add Storage
Shelf above? Jars and mugs. Shelf below? Extra supplies. Hooks? Mugs.
Step 5: Add One Nice Thing
Plant, candle, art, tray—pick one thing that makes you happy and put it there.
You’re done.
What NOT to Do (Learn from My Mistakes)
Don’t put it too far from the sink. I had mine on the opposite side of the kitchen for a month. Annoying to fill the water tank. Moved it. Much better.
Don’t display 47 mugs. I thought hanging every mug I owned would look cute. It looked cluttered and half of them got dusty. Keep out 4-6 max.
Don’t buy a bunch of stuff before you set it up. I bought three different storage jars before I realized I didn’t even have room for jars. Use what you have first. Add later if needed.
Don’t put stuff you don’t use. That syrup bottle you bought once for a recipe? Put it away. Coffee corner is for daily stuff only.
FAQ
How much counter space do I need for a coffee corner?
Like 12-18 inches if you’re just doing the basics. A standard drip coffee maker is about 8 inches wide. Add a few inches on each side for mugs and sugar. That’s it.
What if I don’t have any wall space for shelves?
Use a cart, a tray on your existing counter, or the top of a low cabinet. Shelves are nice but not required.
Is it weird to have a coffee corner if I don’t drink coffee every day?
No? I have friends who use their “coffee corner” for tea, hot chocolate, or just as extra storage for mugs. Call it a beverage station if that makes you feel better.
Do I need an espresso machine or is a regular coffee maker fine?
Whatever you actually use. I have a $30 drip coffee maker from Target and it works great. The fancy espresso machines look cool but they’re not necessary.
How do I keep it from getting cluttered?
Only keep out what you use at least once a week. Everything else goes in a cabinet. Do a 30-second cleanup every few days—put dirty mugs in the dishwasher, wipe the counter, done.
Can I do this if I’m renting?
Yeah. Use command strips for shelves, a cart instead of built-ins, or just a tray on the counter. Everything can move with you.
What’s the one thing that makes the biggest difference?
Hooks for mugs. Frees up cabinet space and looks intentional. You can get a cheap adhesive hook strip for like $8 and stick it under a shelf or on the wall.
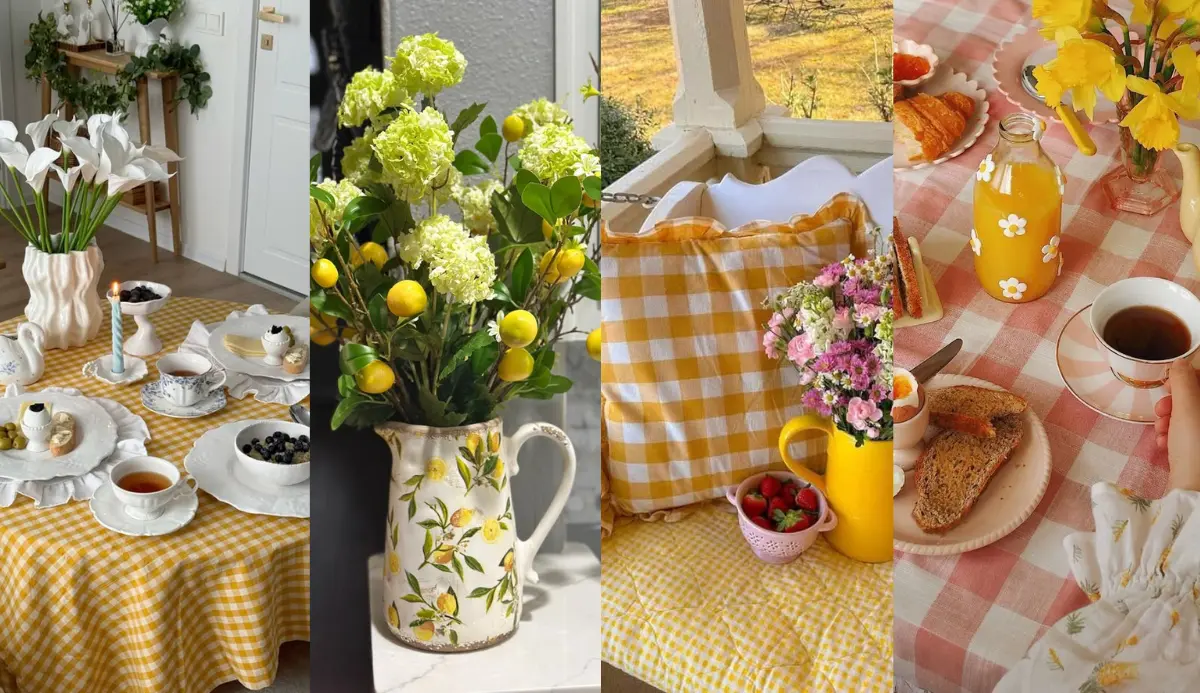
There’s something magical about bringing Mediterranean warmth into your home when temperatures
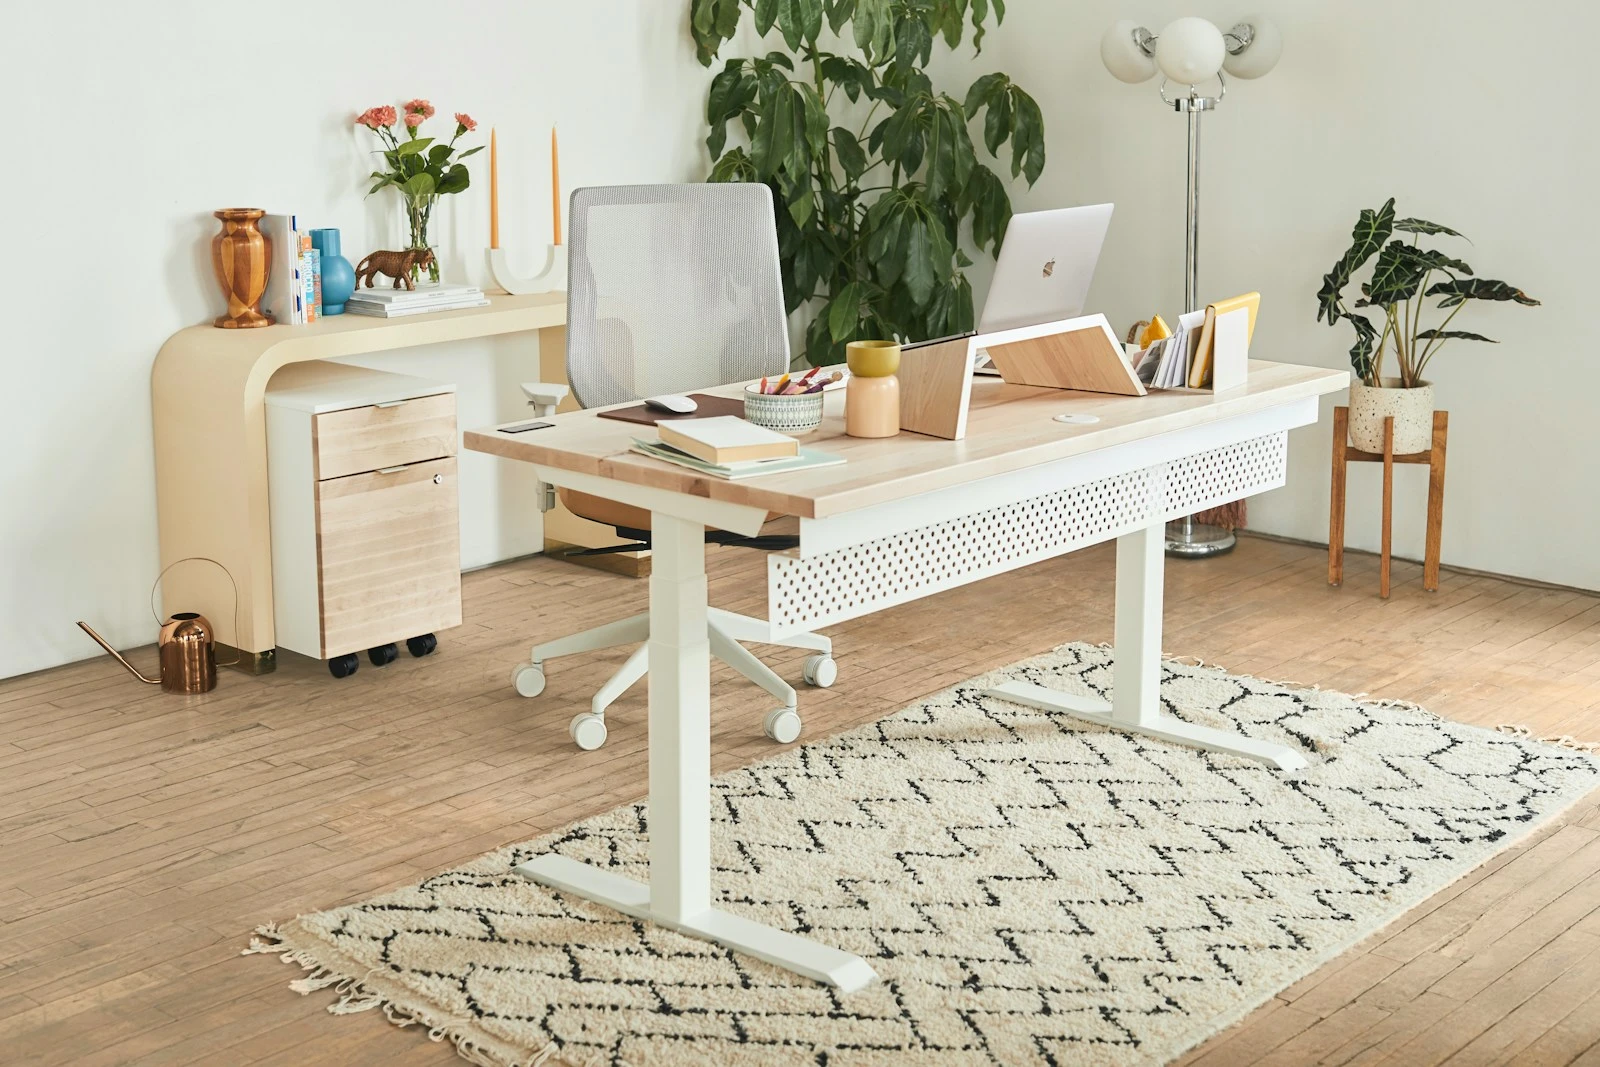
I moved my desk into the sunroom on a Tuesday in February, mostly because I was losing my mind in th
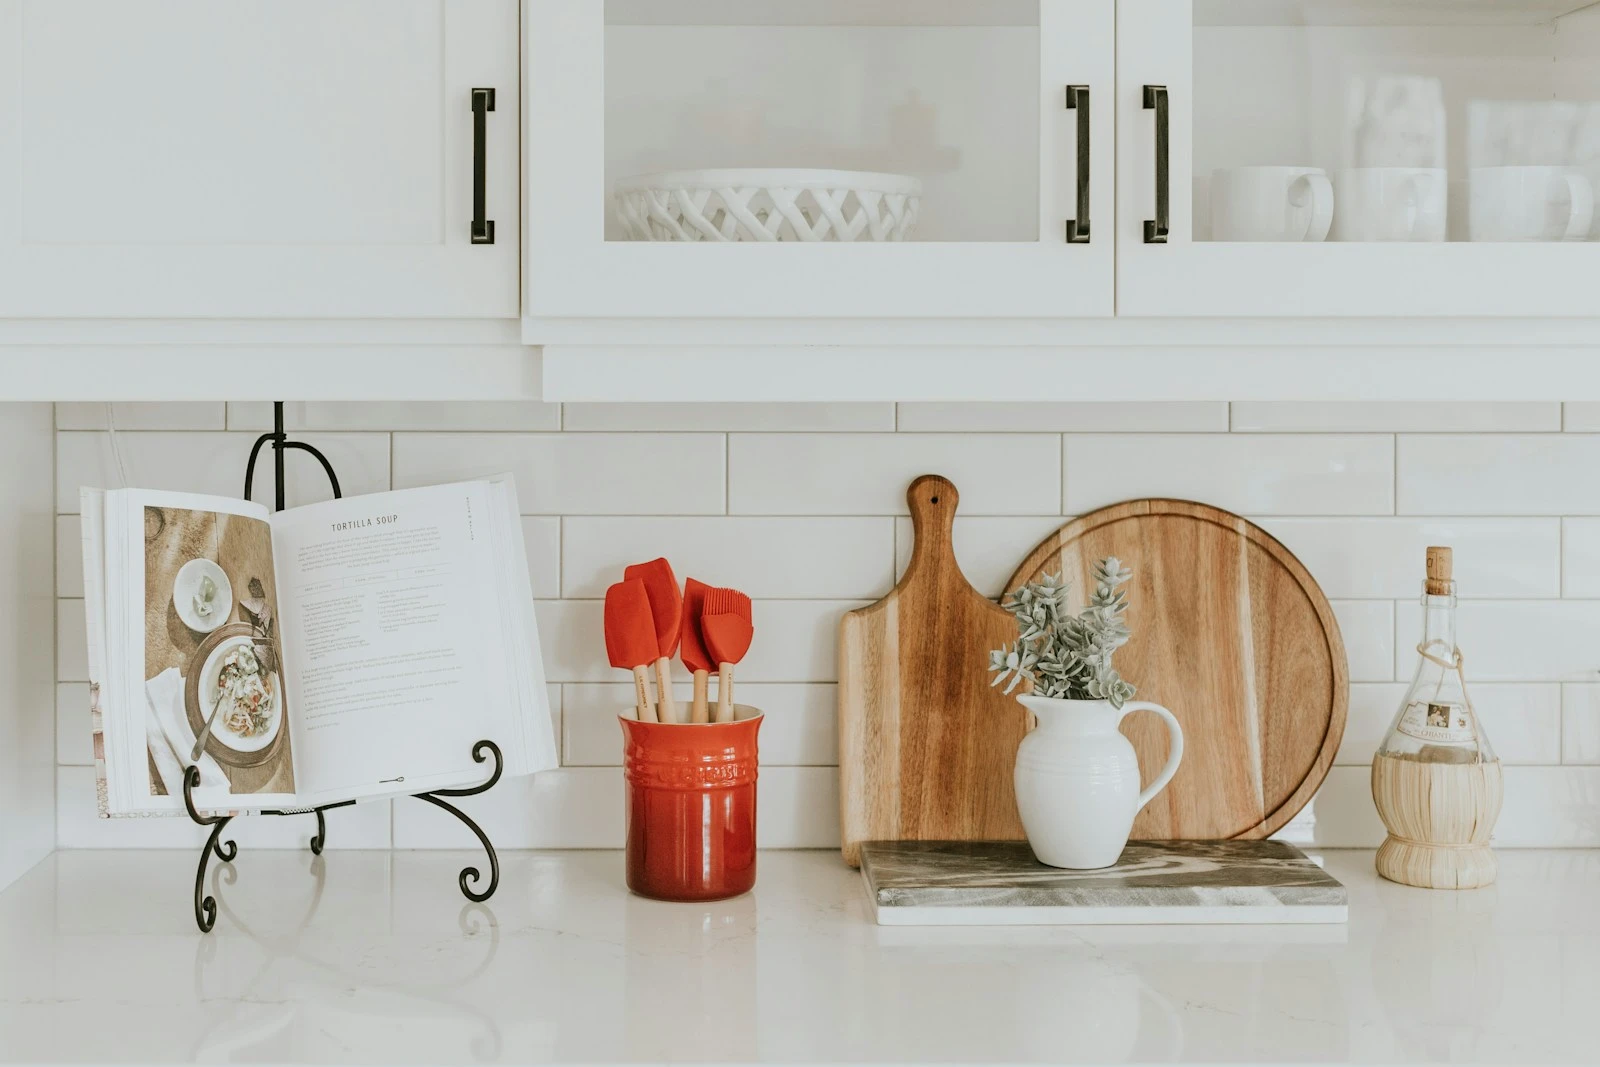
12 Kitchen Counter Styling Ideas That’ll Make You Actually Want to Cook (Number 7 Is a Game-Changer)
Real talk: your counters can look good AND be functional. Here’s how. Okay, confession time. F
Leave a Reply