

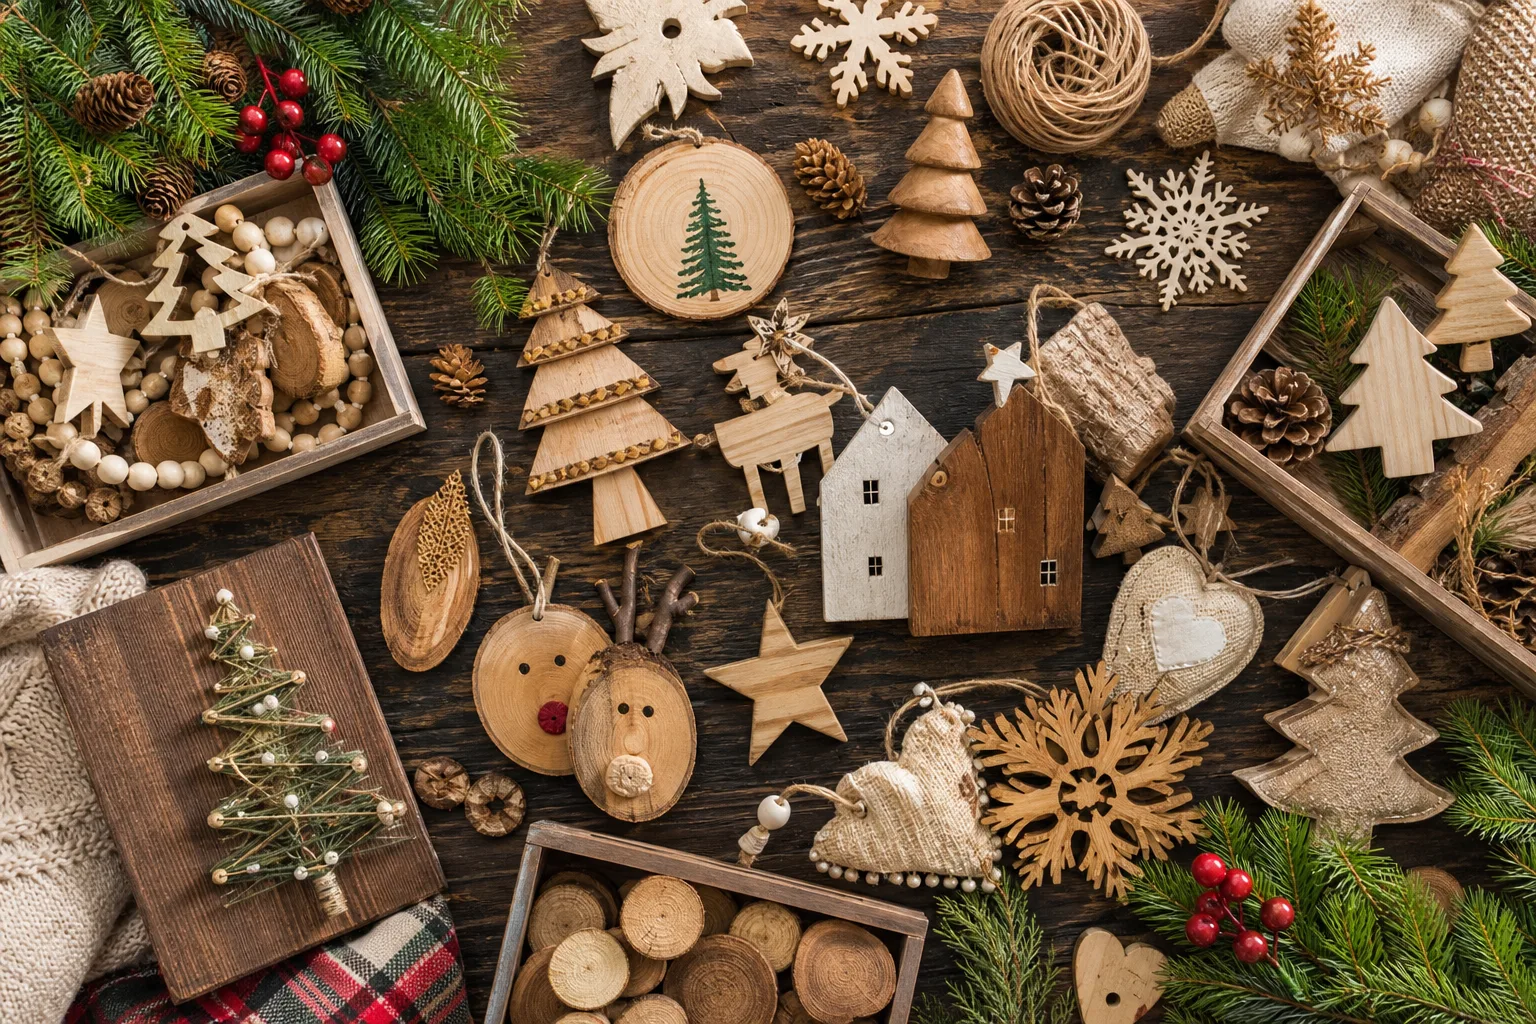
Plastic ornaments catch the light in a way that reads as December, not as yours. Wood does the opposite: it holds a little weight, a little grain, a little proof that someone’s hands were on it before it landed on your shelf. That is the whole appeal, and it costs almost nothing to get there.
None of this needs a workshop. A scroll saw helps, but a craft knife, sandpaper and a tin of paint get most of these to the same finish line. If you want the fuller build-out of this same material, the 19 Christmas Wood Crafts Where the Grain Does Half the Work sits alongside this one.
What follows runs from the tree, to the mantel, to the wall, to the gift pile, so you can pick by room rather than by skill level. Every one of them survives being picked up, which is more than most tinsel can say.
This post contains affiliate links. If you buy through them, I may earn a small commission at no extra cost to you.
Ornaments for the Tree
The tree is the first thing anyone sees walking in, and a run of identical glass balls says you bought the tree rather than built it. These six give it texture: cut edges, visible grain, a little weight on the branch that glass never has.
Wood Slice Star Ornaments
Every box of ornaments has three broken ones by December, and plastic stars crack at the points first. A wood slice does not. Cut a five-point star from thin pine, sand the edges smooth, and it survives the attic box for a decade.
Paint it ivory, run a thin gold line around the outer edge with a fine brush, and drill one hole at the top point for the hanging thread. The grain shows faintly through the paint if you go light on the coats, which is the whole point of using wood at all.
If you do not own a scroll saw, a craft store sells pre-cut wood star blanks for under a few dollars each, and the paint step is the same either way.

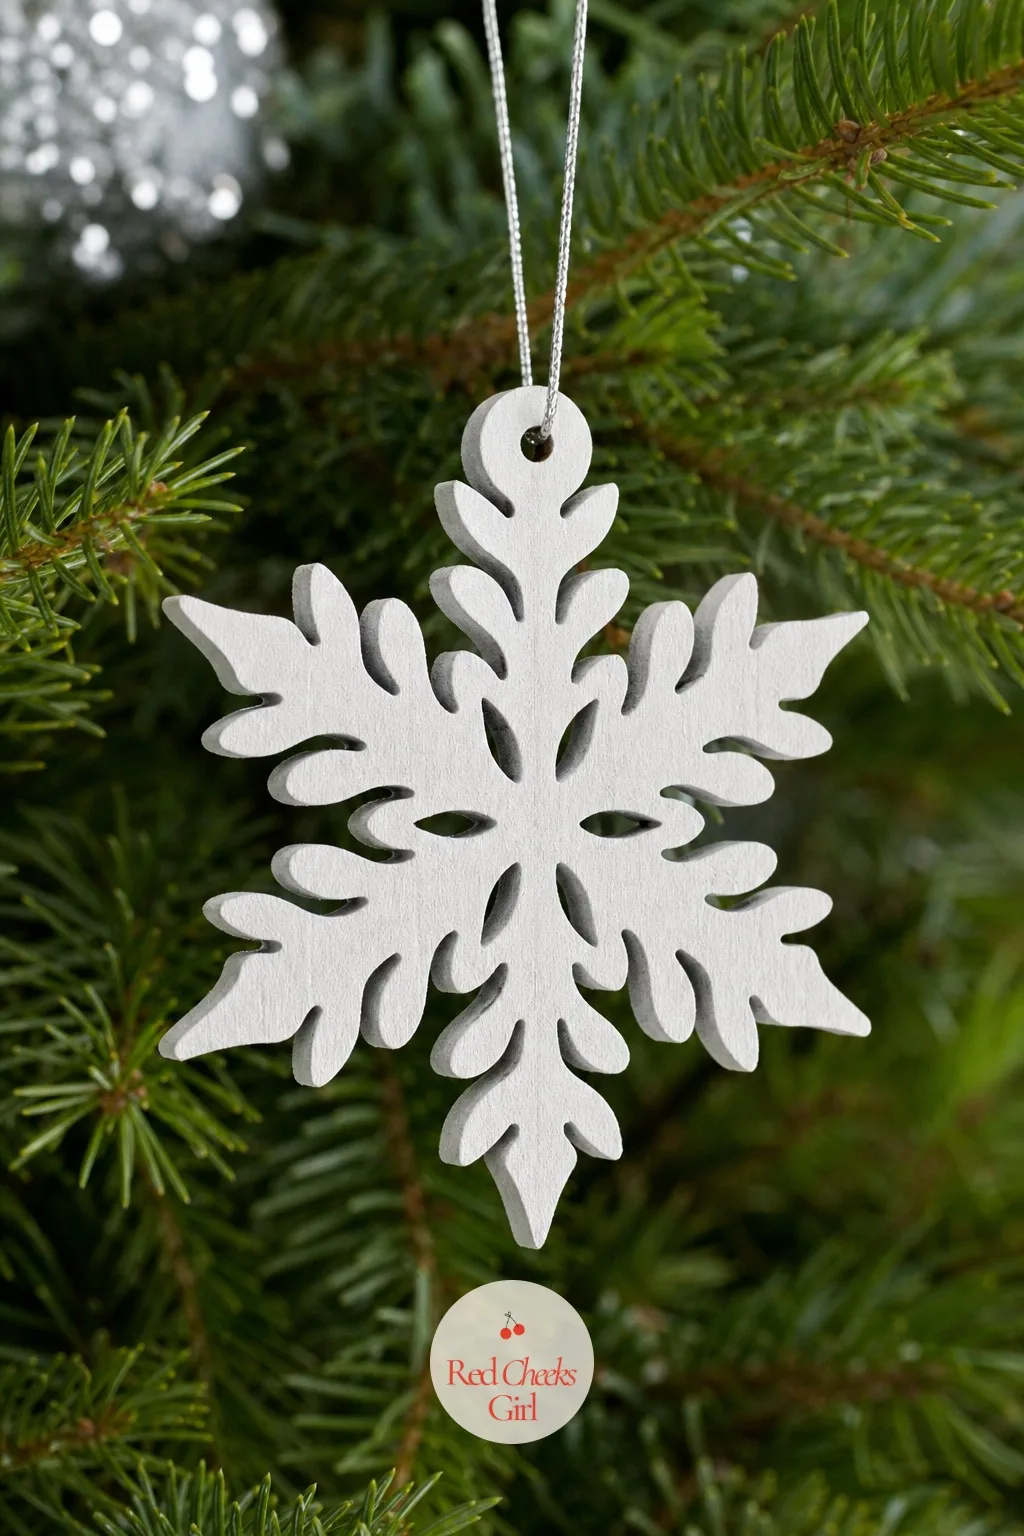
Scroll-Saw Snowflake Ornaments
A snowflake that is actually made of ice melts off the tree by January. This one does not, and it gets more interesting the longer you look at it, because no two cuts come out quite symmetrical.
Trace a six-point snowflake template onto thin plywood, cut the inner negative space out with a scroll saw, then paint it white and dust the tips with silver before the paint sets. The uneven cut lines read as handmade rather than mistaken.
Skip the scroll saw entirely and cut a simpler four-armed version from craft sticks glued in a star pattern instead, painted the same white and silver.
Wood-Burned Reindeer Ornaments
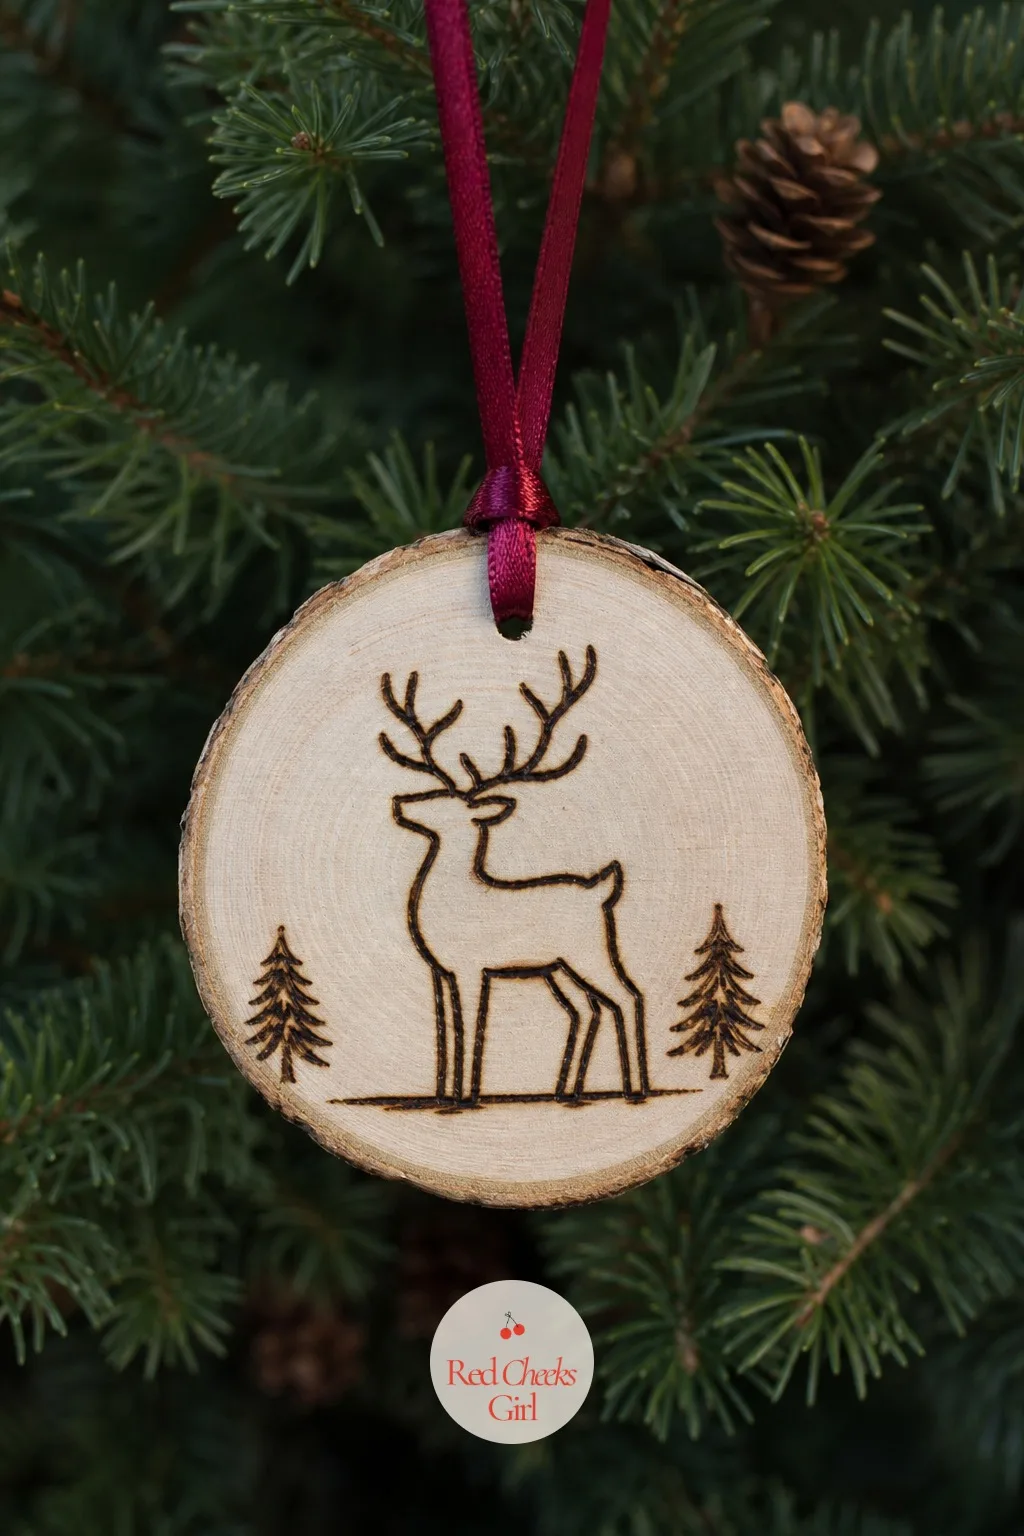
Paint chips eventually, but a burned line never does, which is why this one still looks sharp years after the paint-only ornaments have gone matte at the edges.
Sketch a simple reindeer outline onto a natural wood round, then trace it with a woodburning pen so the line sits dark against the pale grain. Leave the rest of the wood bare and finish with a single coat of clear wax.
Tie it with a thin burgundy ribbon loop instead of twine, which keeps the whole thing feeling finished rather than rustic by accident.
Hand-Painted Mini Sleigh Ornaments
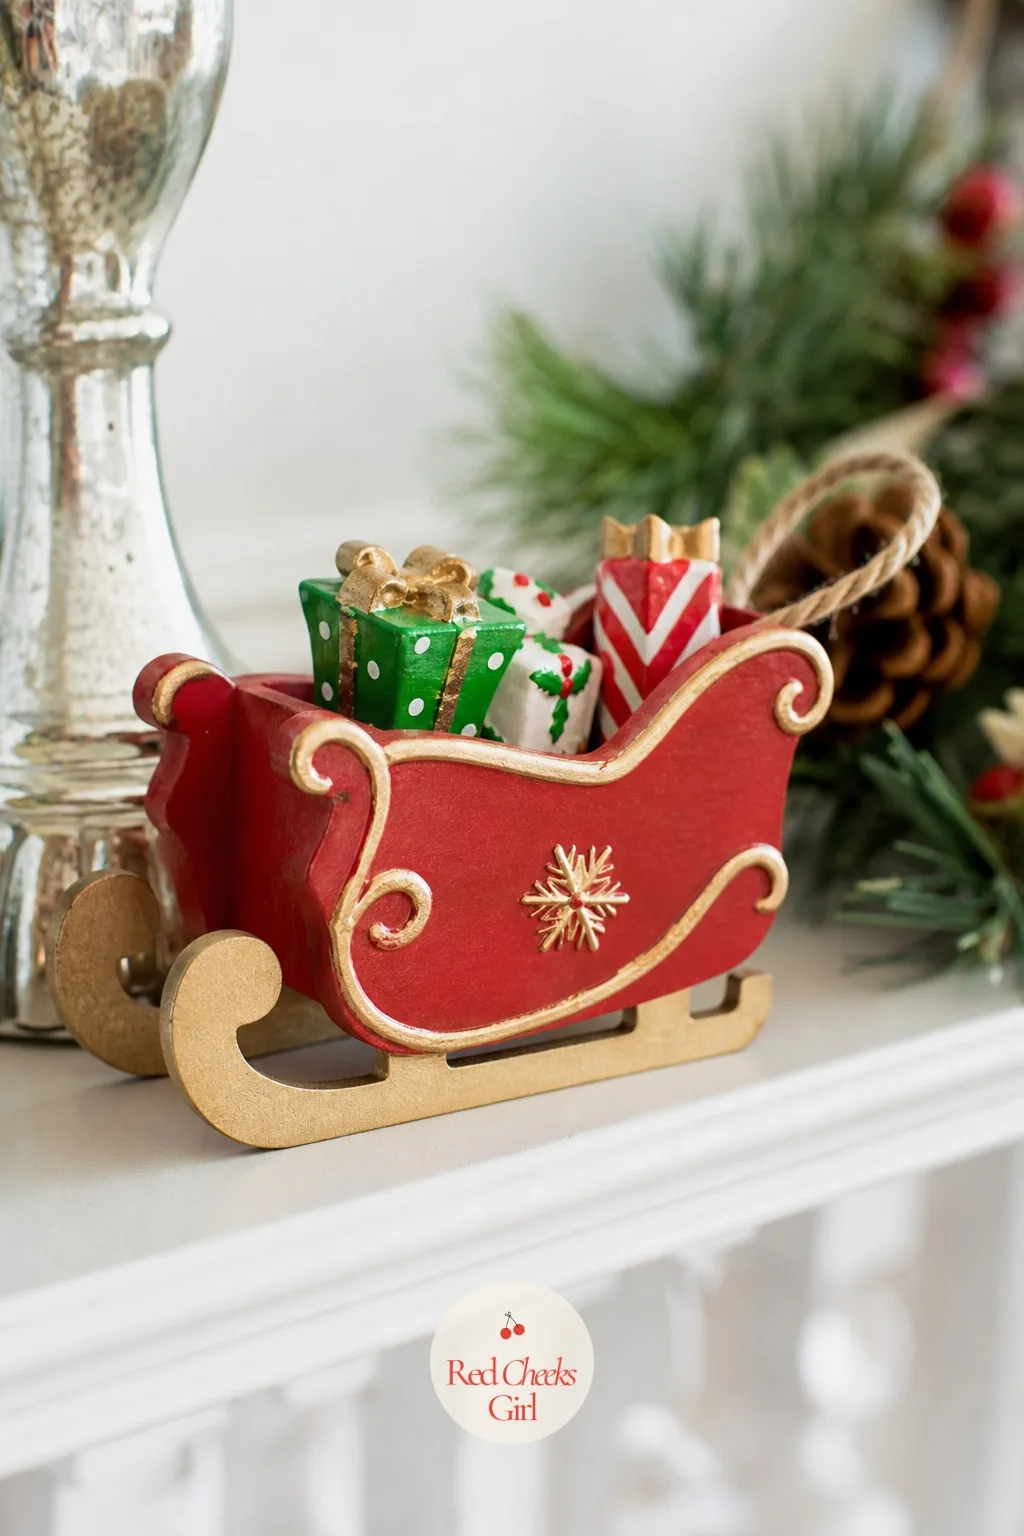
A sleigh ornament usually comes molded in thin plastic that looks hollow up close. Carve or cut one from a small wood block and it reads as an object rather than a stocking-stuffer filler.
Cut the runners and body separately from scrap pine, glue them into a simple sleigh silhouette, then paint the body cherry red with gold trim along the rim. A tiny dot of gold at each runner tip finishes it.
Fill the sleigh bed with three or four mini wrapped gift shapes cut from the same scrap, painted in contrasting colors, before you hang it.
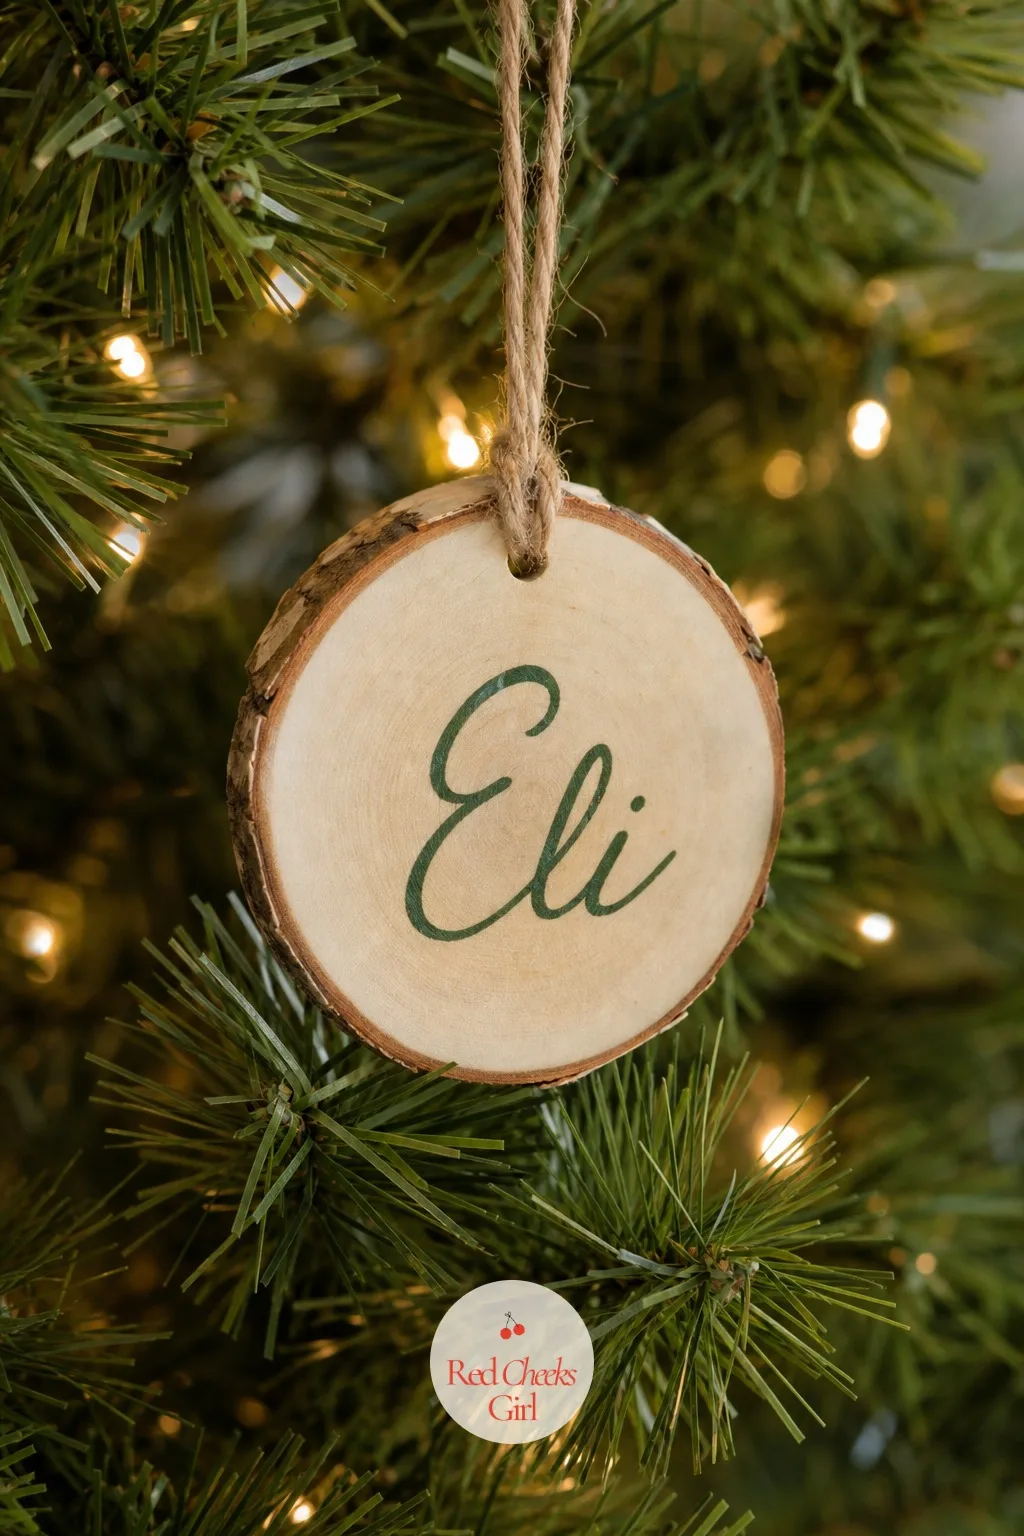
Birch Round Name Ornaments
Place cards get thrown out the day after. A birch round with a name painted across it goes straight onto the tree instead, and it is the one ornament every guest looks for first at next year’s gathering.
Slice a birch branch into thin rounds, sand the faces smooth, and letter each name in forest green with a fine paintbrush, leaving the bark edge natural and untouched.
If birch branches are not easy to come by, a craft store wood slice does the same job and takes the paint just as well.
Scrap Wood Gingerbread Men Ornaments
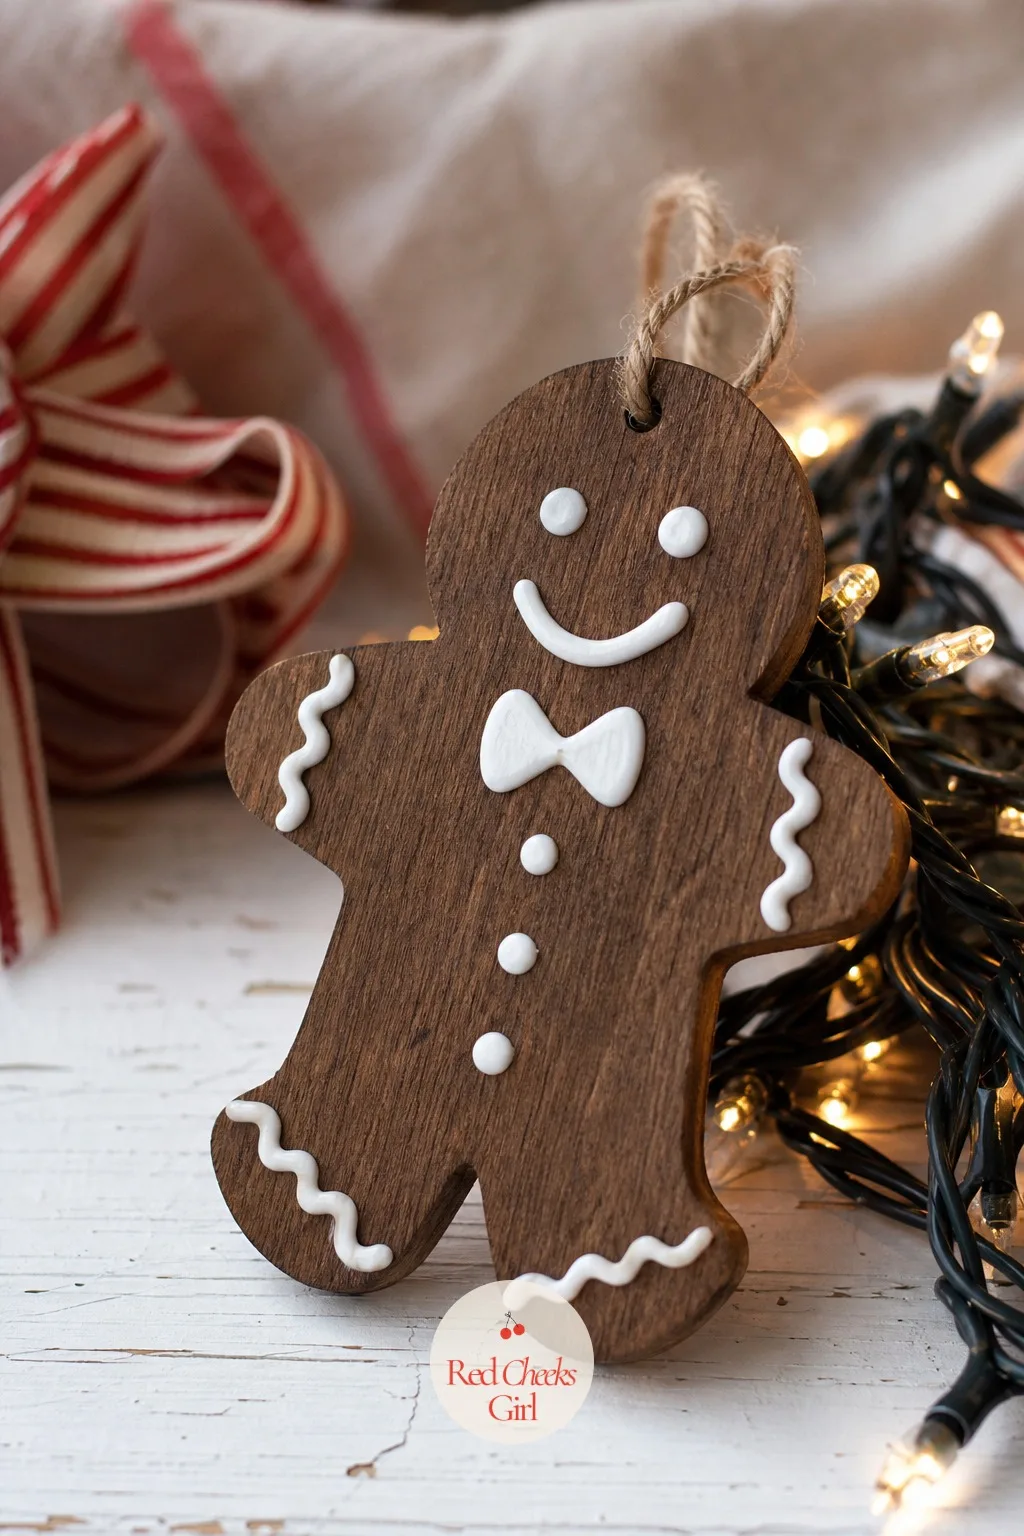
Real gingerbread cracks and draws ants by February. A wood version solves both problems and still gets the walnut brown stain right.
Cut a simple gingerbread man shape from scrap wood, stain it a warm walnut, then pipe the icing details in white acrylic using a fine squeeze bottle rather than a brush, for the raised look real icing has.
A row of these along a garland string does the job of a whole gingerbread house for a fraction of the mess.
Mantel and Tabletop Pieces
The mantel carries the eye when the tree is across the room, so it earns something with more presence than a candle in a jar. These sit, glow or serve, and none of them need to be put away before guests arrive, because they are the decor.
Wood Block Christmas Village
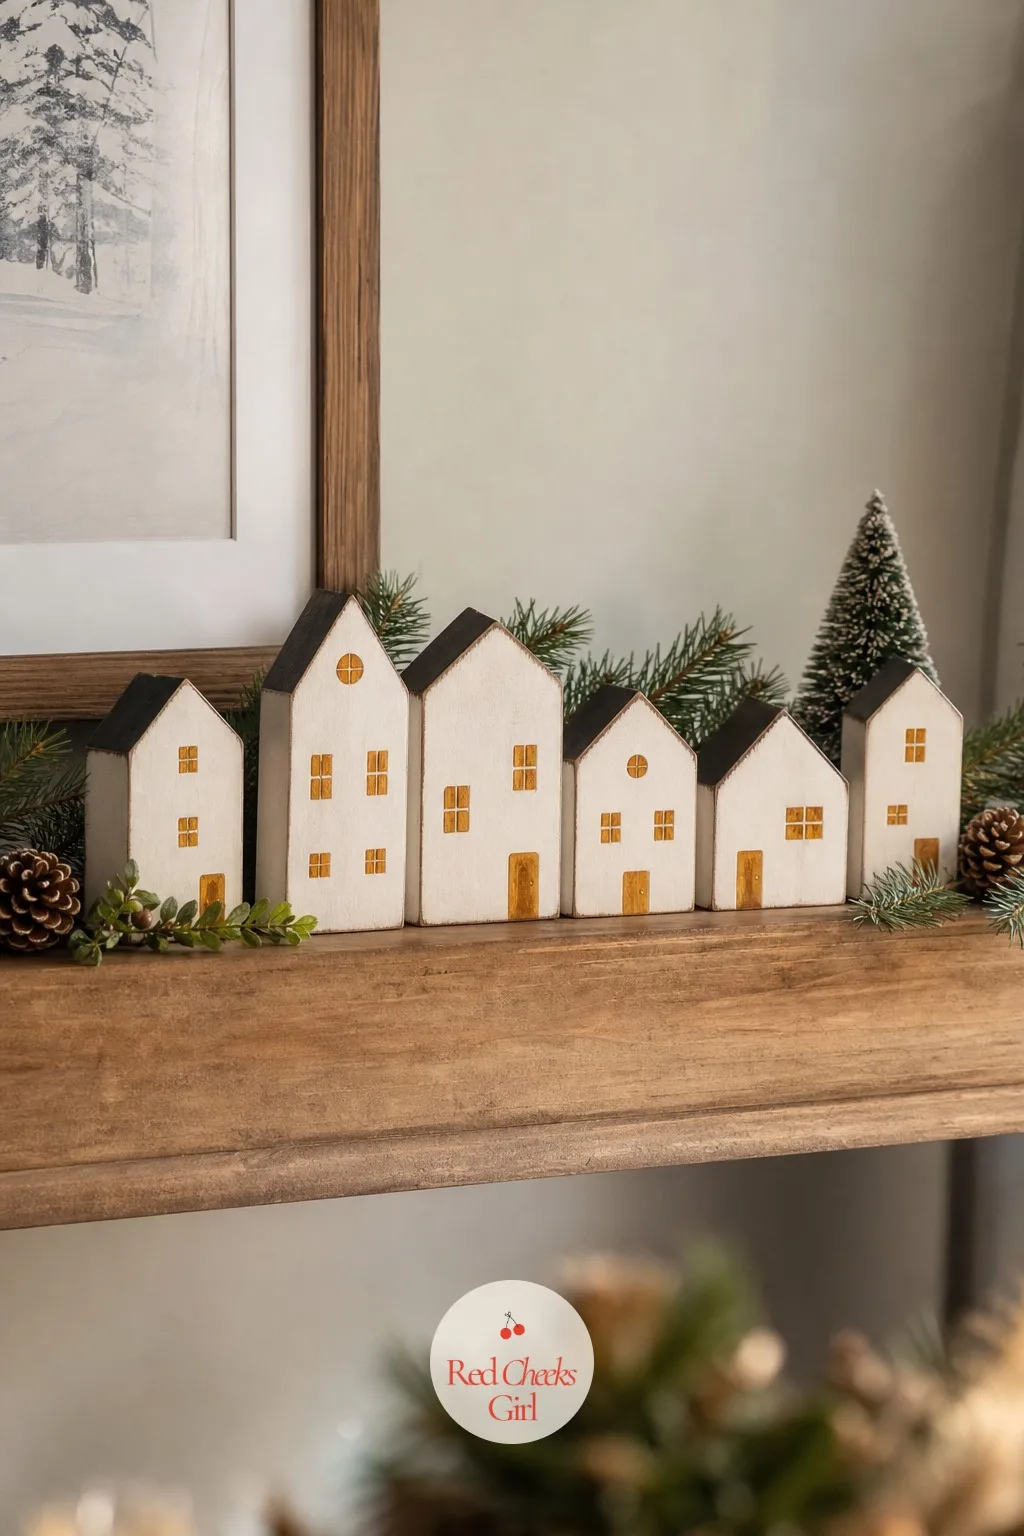
A porcelain village set costs real money and still looks like everyone else’s. Cut your own from scrap wood blocks and the roofline becomes whatever you want it to be.
Stack small rectangular blocks into house shapes, paint the bodies white, and cut simple triangle roofs from darker wood left unpainted. Carve or paint small amber windows that catch candlelight from behind.
Set a string of warm micro lights behind the row so the windows glow once the room goes dim, and the whole shelf reads as a street at night.
🛍 Shopping guide
Tiered Wood Tray Centerpiece
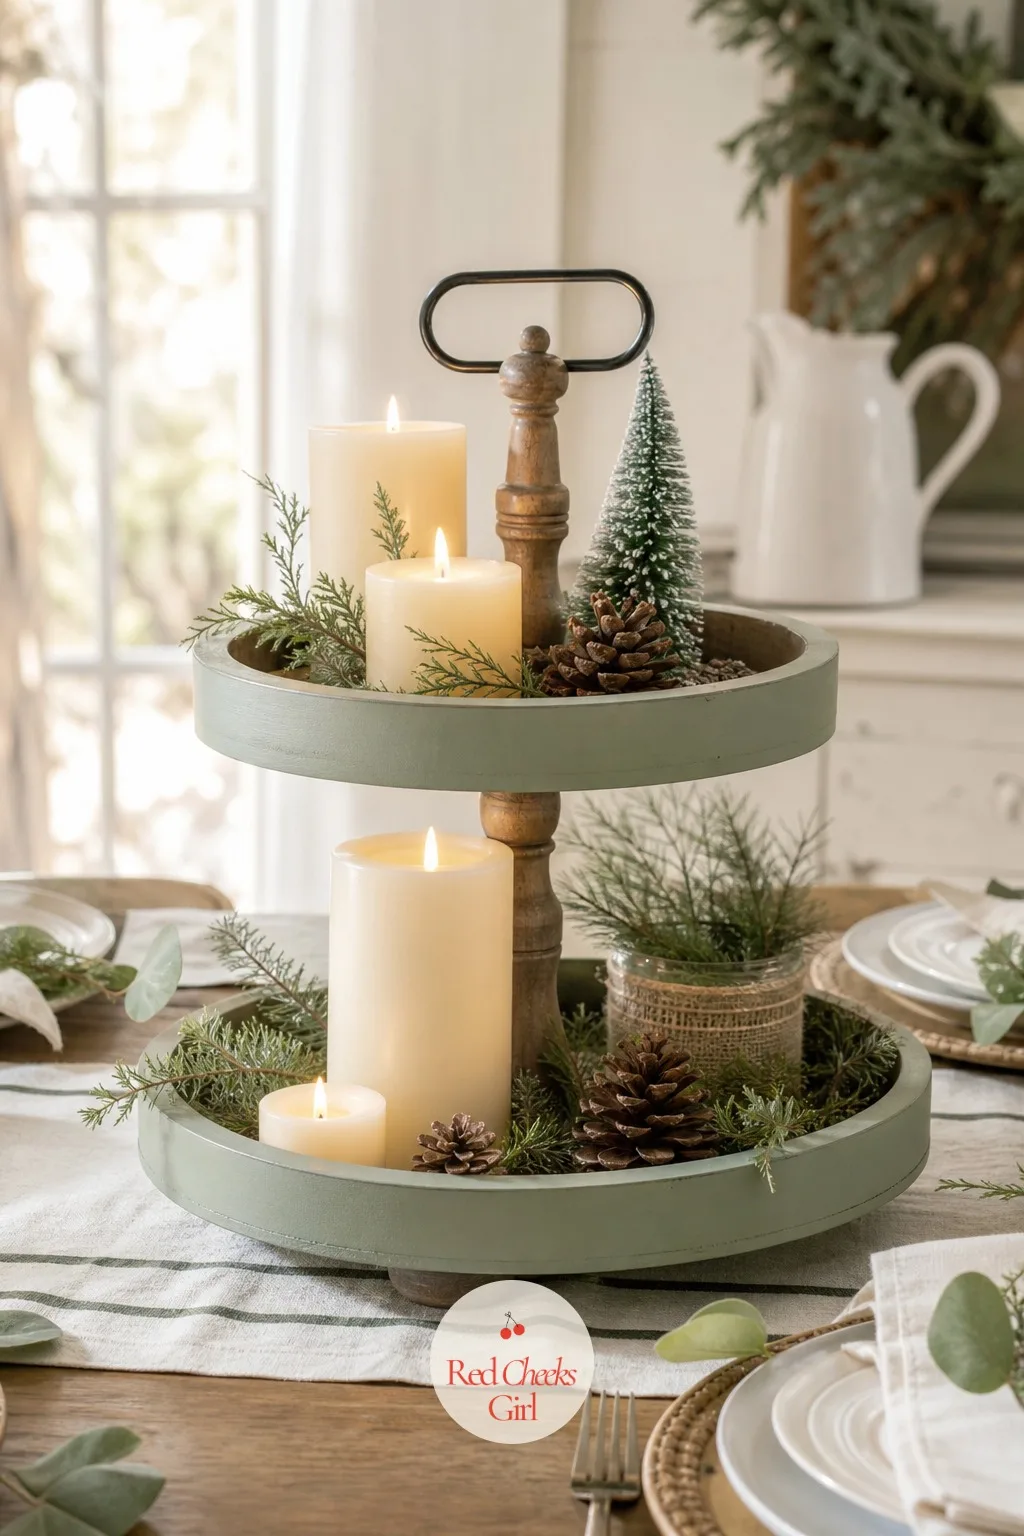
A flat platter of ornaments on the table always slides around by the second course. A tiered wood tray keeps everything stacked and visible instead, and it earns its keep again at Easter.
Build or buy a two-tier round wood tray, paint the rim a soft sage green, and fill the tiers with a mix of cream pillar candles and a few of the mini sleigh ornaments from the tree.
Swap the sage for a deep plum if the rest of the table leans jewel-toned rather than soft.
Wood Bead Garland Bowl Filler
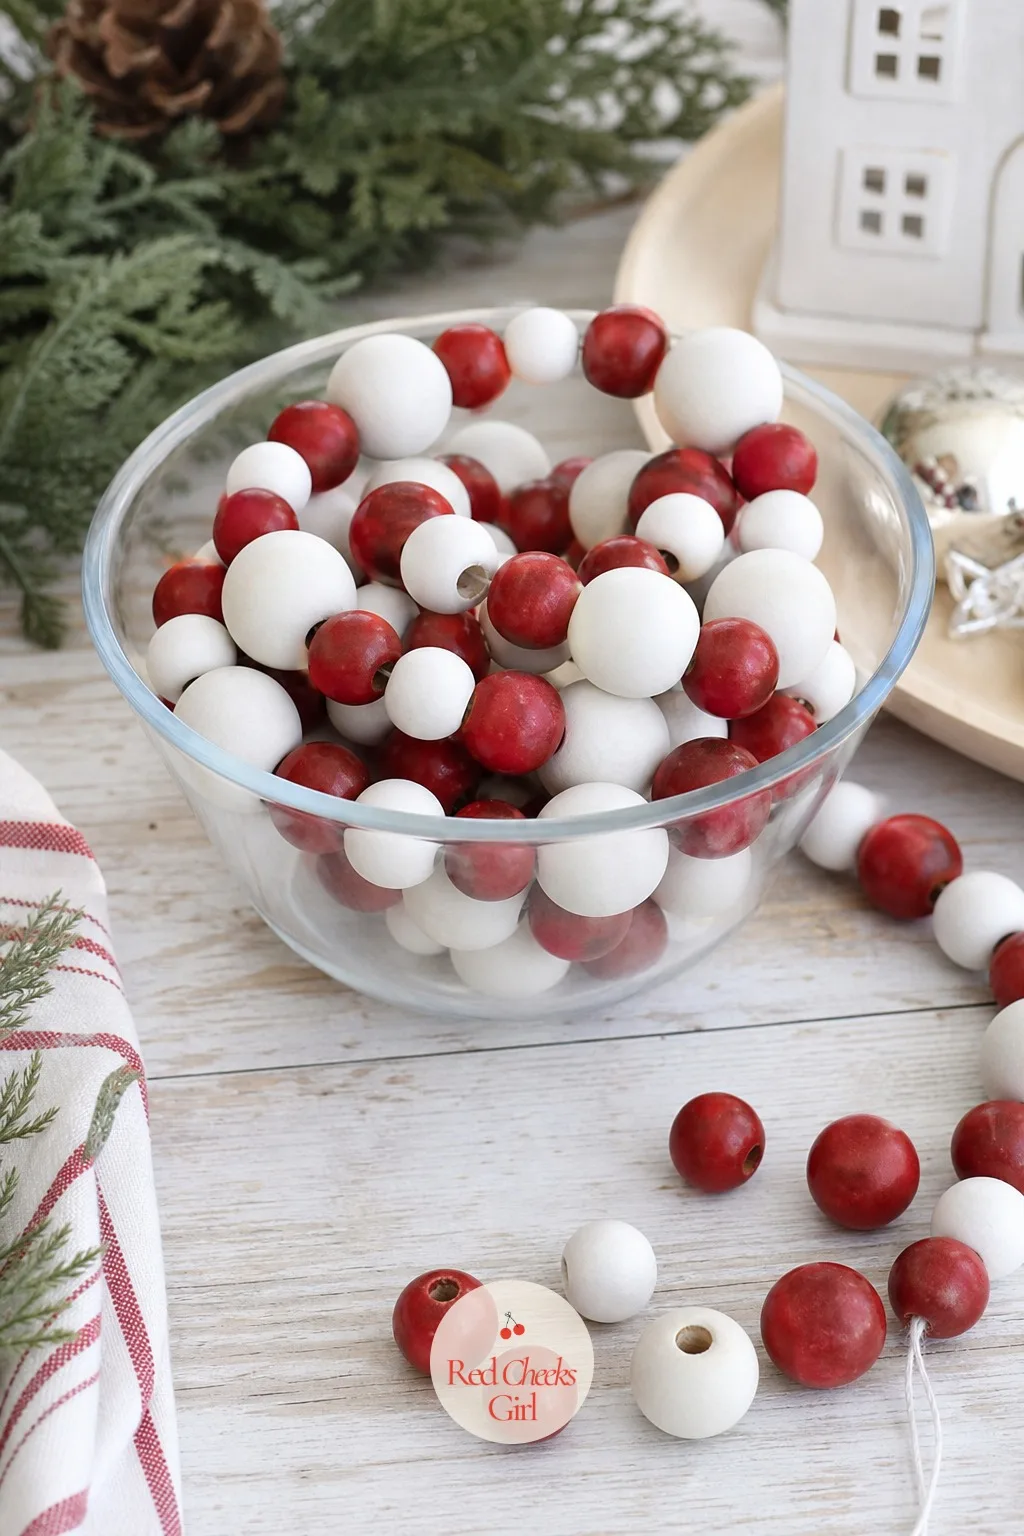
An empty glass bowl on the coffee table looks unfinished the second the party starts. Fill it with painted wood beads instead of the usual ornament balls and it photographs better up close, since the beads catch light differently than glass does.
Thread large wood beads alternating cranberry red and bare white onto a length of thin cord, knot it loosely, and coil the whole strand into a wide glass or ceramic bowl.
Leave a few beads loose and scattered around the base of the bowl so it reads as spilling rather than arranged.
🛍 Shopping guide
Mini Wood House Luminaries
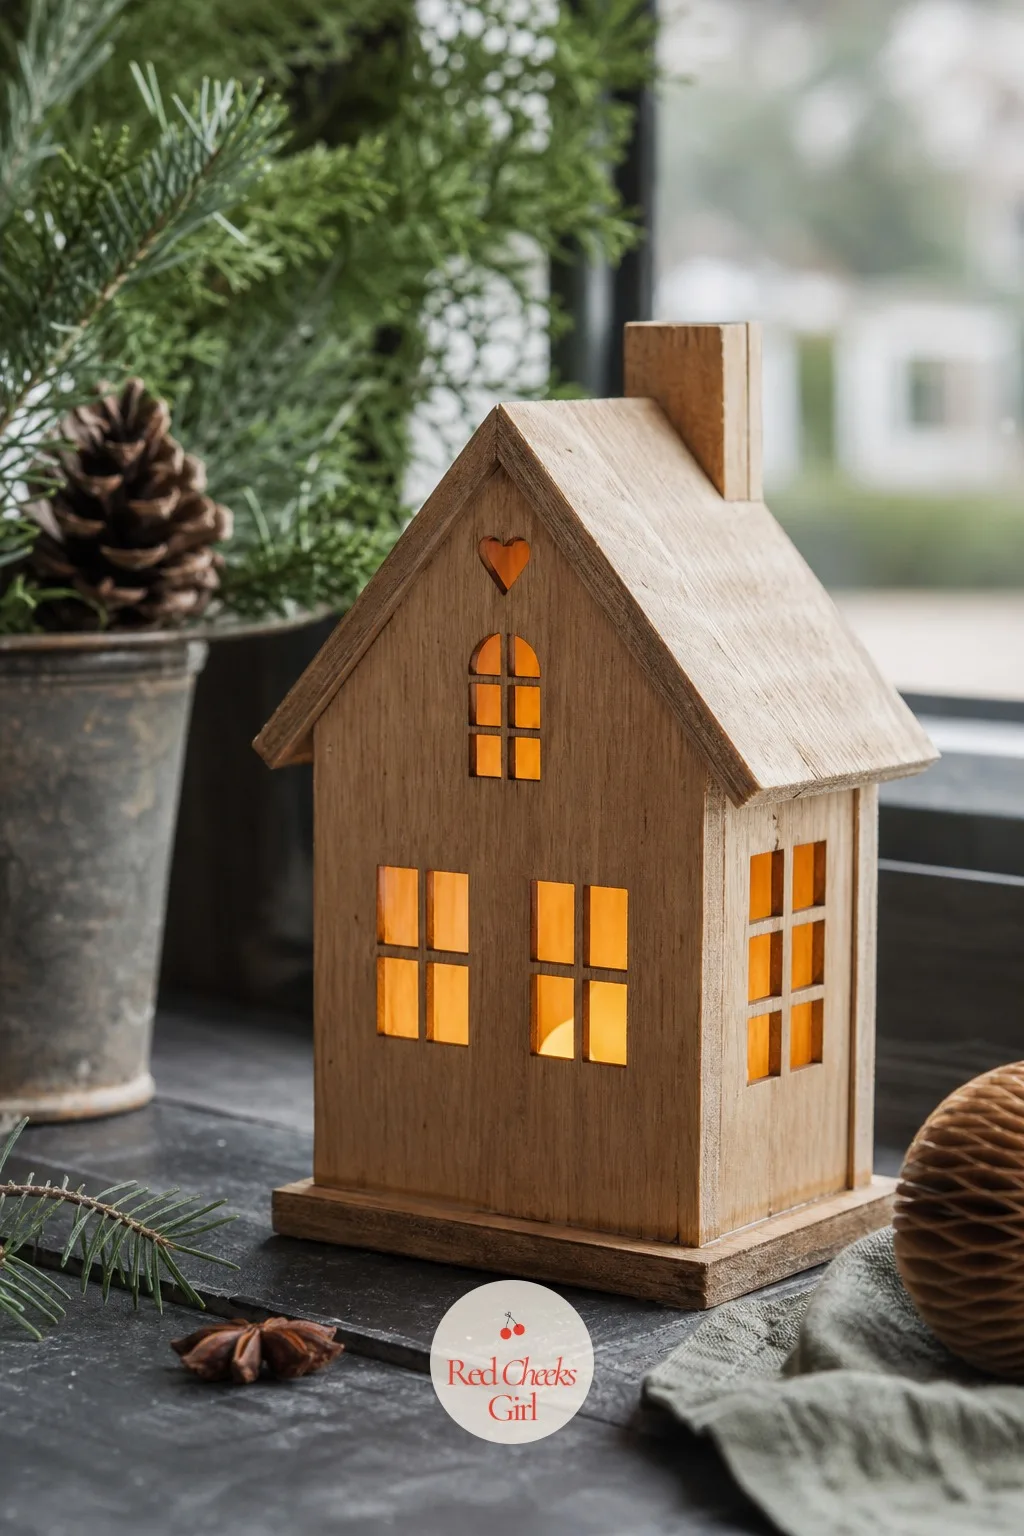
Battery candles alone look a little bare on a windowsill. House-shaped wood lanterns give the same glow a frame to sit inside, with light coming through cut-out windows instead of just sitting in a jar.
Cut a small house shape from scrap wood, hollow or box the inside, and cut thin window slits that let an LED tea light show through once it is set inside and switched on at dusk.
Leave the wood bare and let the grain show, since the glow does the decorating here, not the paint.
Stacked Wood Snowman Candle Holder
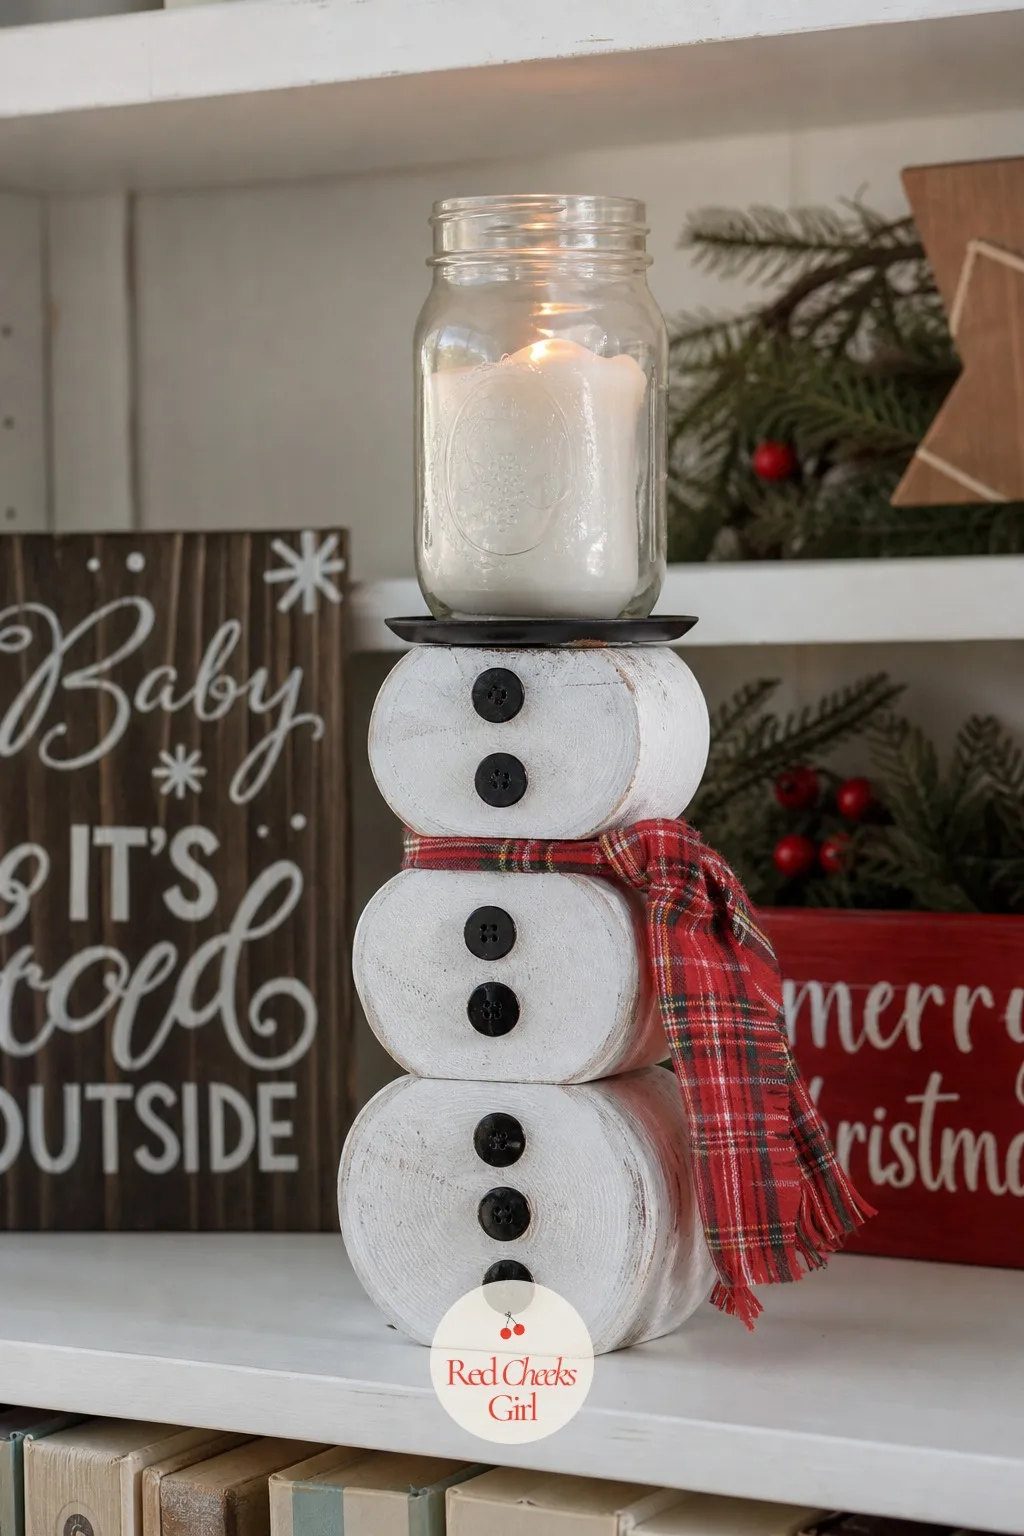
A plastic snowman figurine always looks slightly melted even brand new. Three stacked wood rounds painted white, topped with a mason jar candle, solve that in about twenty minutes.
Stack and glue three wood rounds of decreasing size, paint the stack white, add small black dot buttons and a simple painted face, then set a mason jar holding a flameless tea light on top as the hat.
A scrap of black felt circle glued under the jar finishes the hat brim without any stitching involved.
🛍 Shopping guide
Wood Star Serving Platter
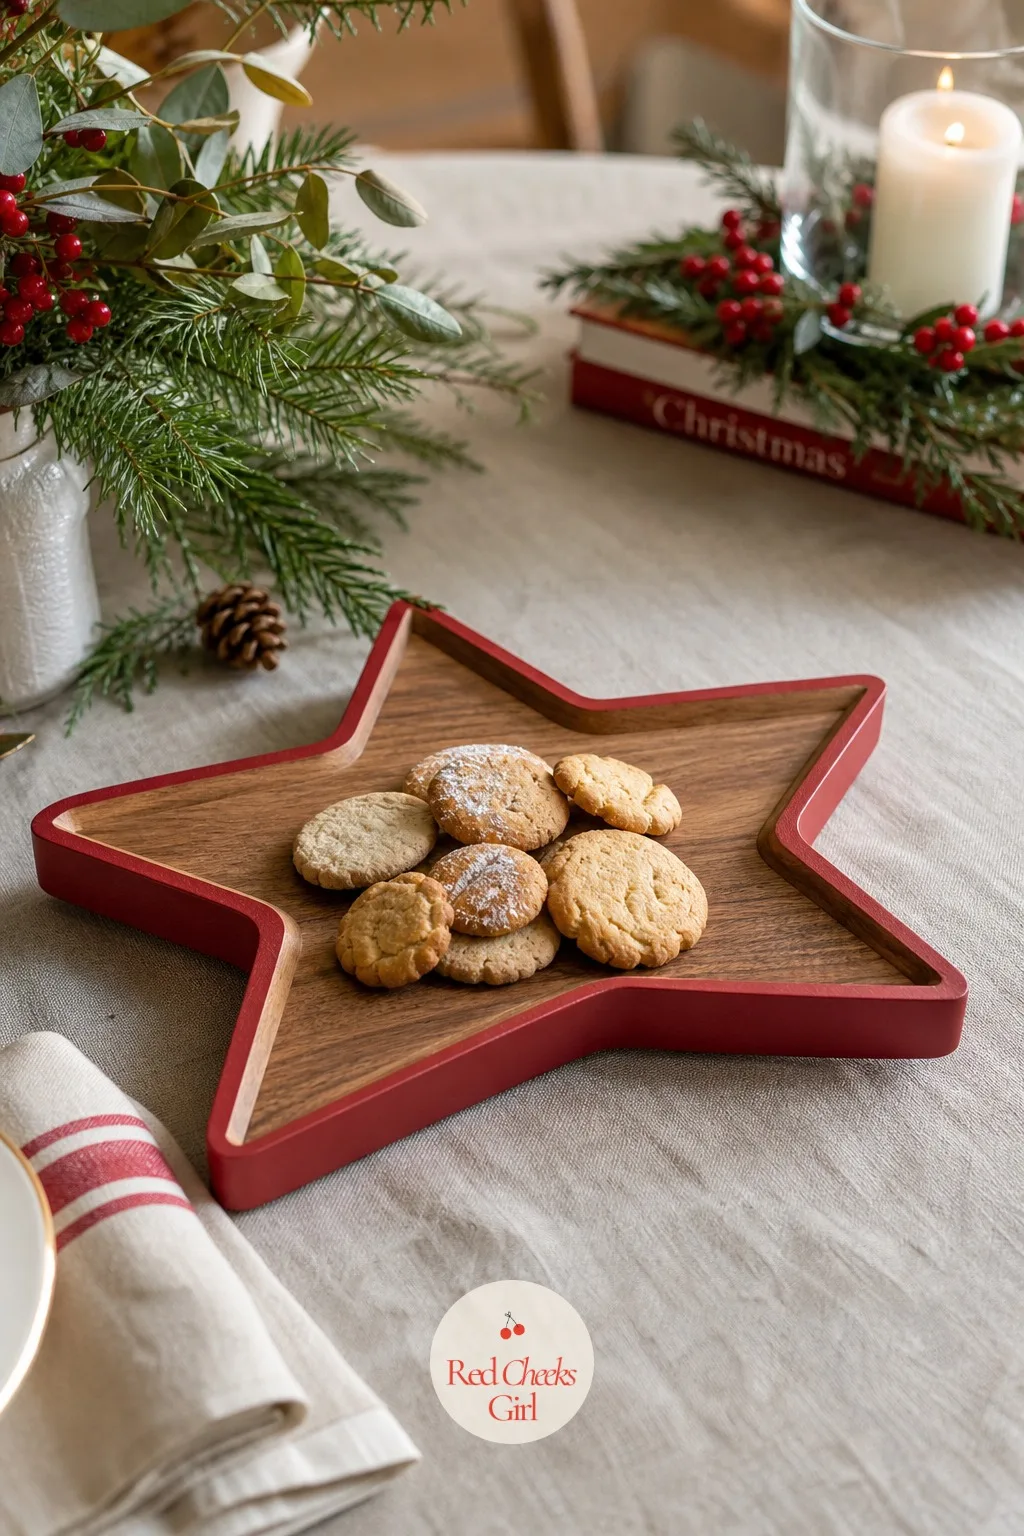
The cookie tray at every party is either plastic or disposable, and neither survives being handed around twice. A wood star platter does, and it goes straight from serving to display once the cookies are gone.
Cut a large five-point star from a thick wood board, sand it to a smooth edge, add a raised lip with thin wood strips glued around the perimeter, then leave the center natural and paint only the outer edge crimson.
Finish with food-safe wood oil if it will touch anything edible directly.
Wall Signs and Hanging Art
A bare wall behind the sofa says the decorating stopped at the tree. These hang flat, take one picture hook each, and read as finished the moment they go up, no fussing with proportions required.
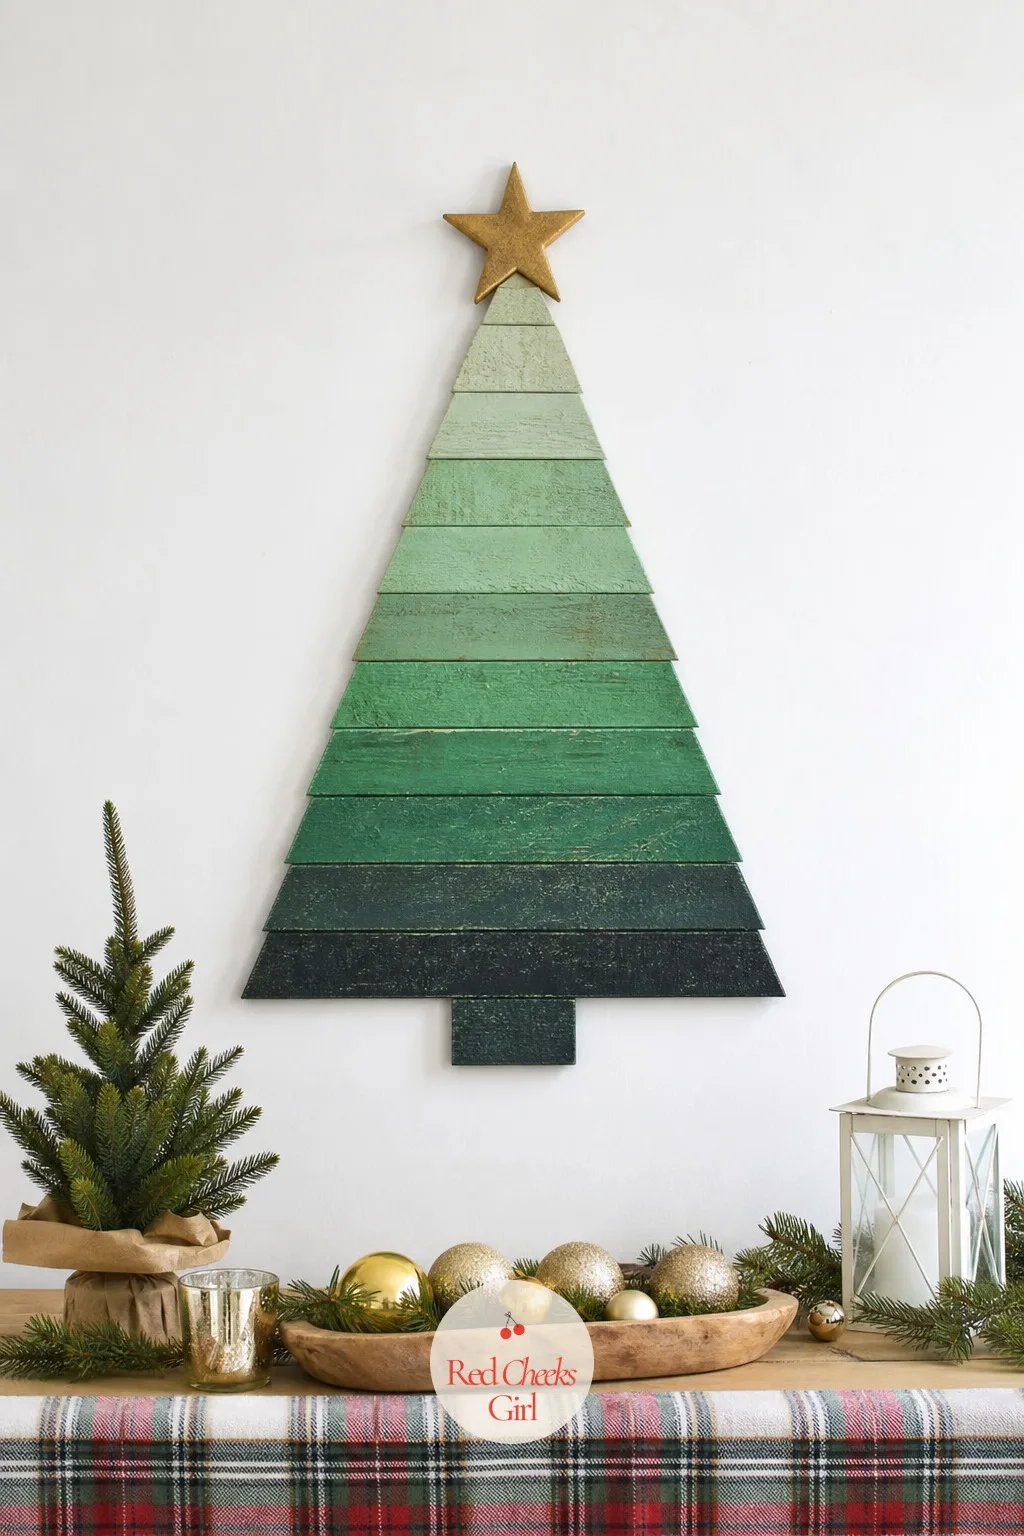
Layered Wood Christmas Tree Wall Art
A flat painted tree on canvas reads as something bought at a big box store. Layer the same shape out of wood strips and it gets dimension a flat canvas never will.
Cut graduated horizontal wood strips in decreasing lengths, paint them in an ombre run from deep emerald at the base to pale sage near the top, then mount them onto a backing board with small spacers so each strip casts a shadow line.
Top it with a single brass star cut from thin metal or wood painted gold.
🛍 Shopping guide
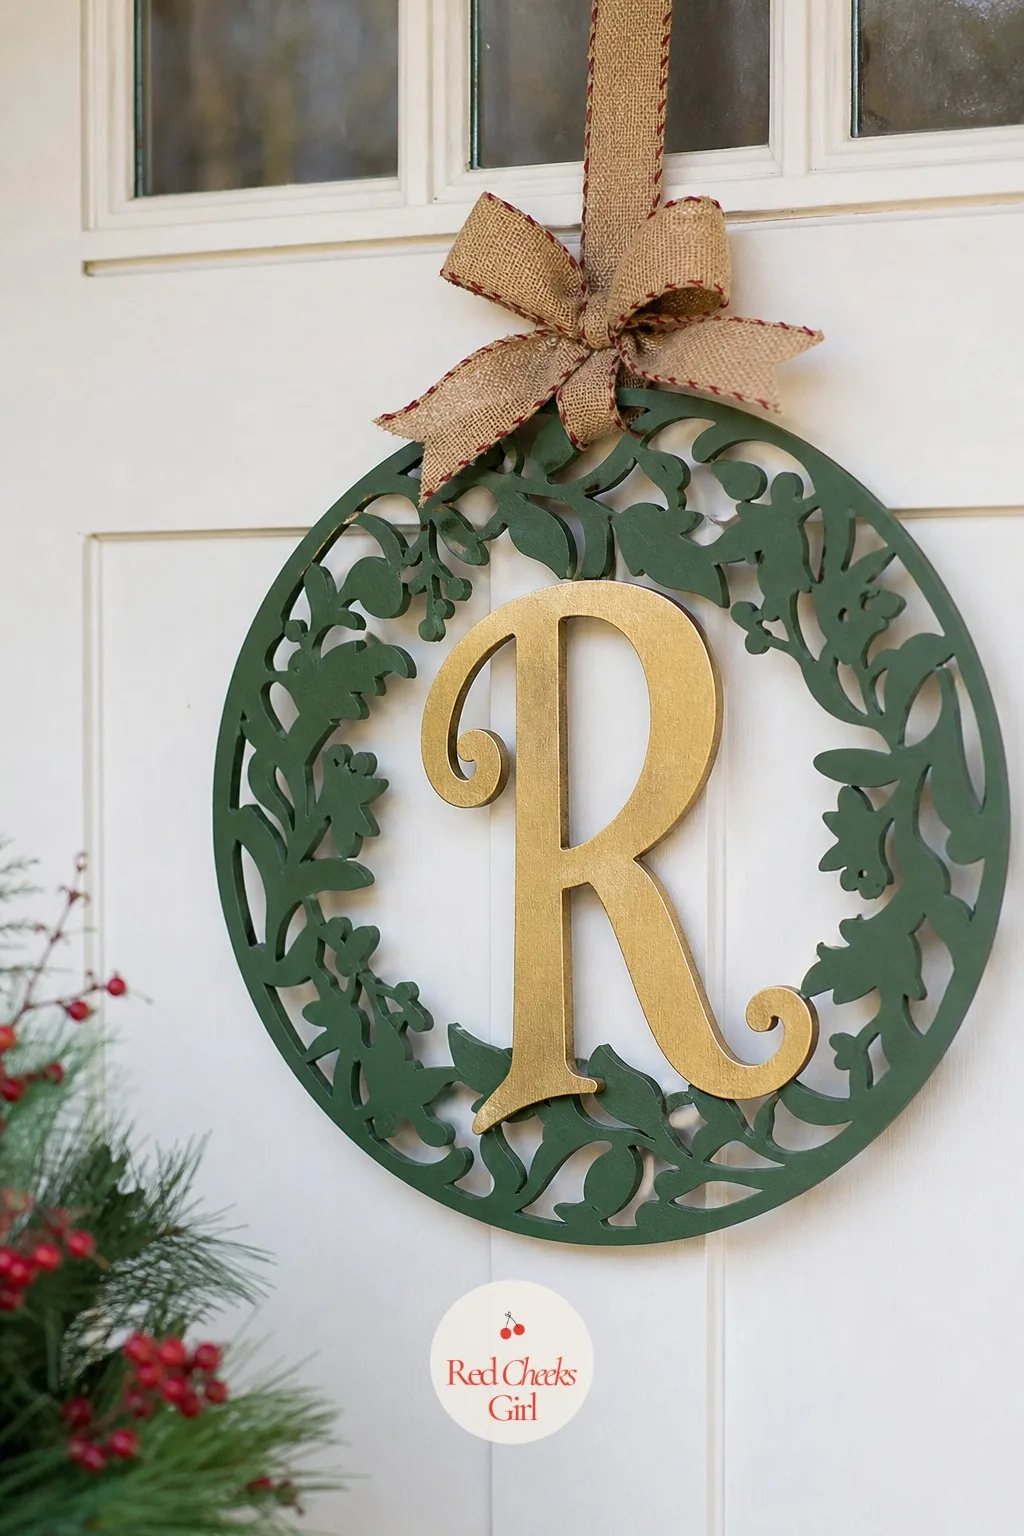
Scroll-Saw Monogram Wreath
A plain wreath on the door says the season arrived. A monogram cut into the center of one says whose house this is, which matters more the more neighbors stop by.
Build a simple wood ring wreath from thin bent wood strips, paint it deep green, then cut a single large letter from a contrasting wood and mount it centered inside the ring, finished in gold.
If bending wood strips sounds like too much, buy a plain wood ring base and skip straight to the letter.
🛍 Shopping guide
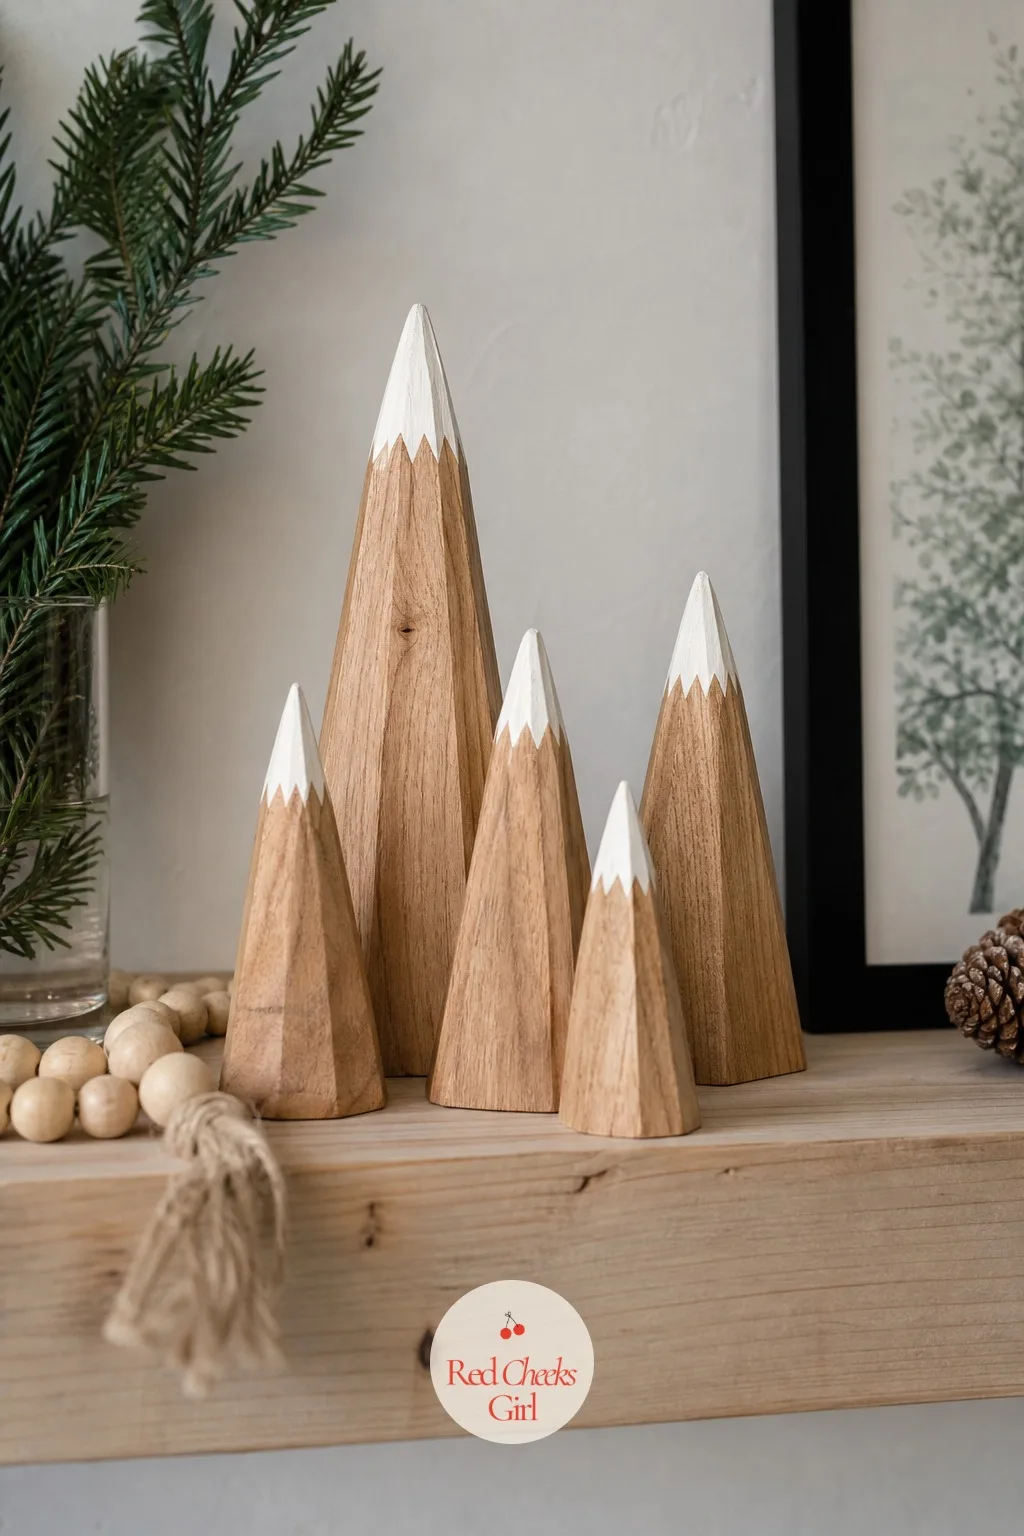
Wood Shim Mini Tree Cluster
A single flat wall sign can feel sparse on a big stretch of wall. A cluster of small fanned trees fills the same space with more texture and costs almost nothing to build.
Fan five or six thin wood shims into a cone shape, glue them flat at the base onto a small wood disc stand, dip just the tips in white paint, and leave the rest of the shim bare.
Group three or four at different heights on a floating shelf instead of the wall if drilling is not an option.
Vintage Wood Ski Wall Sign
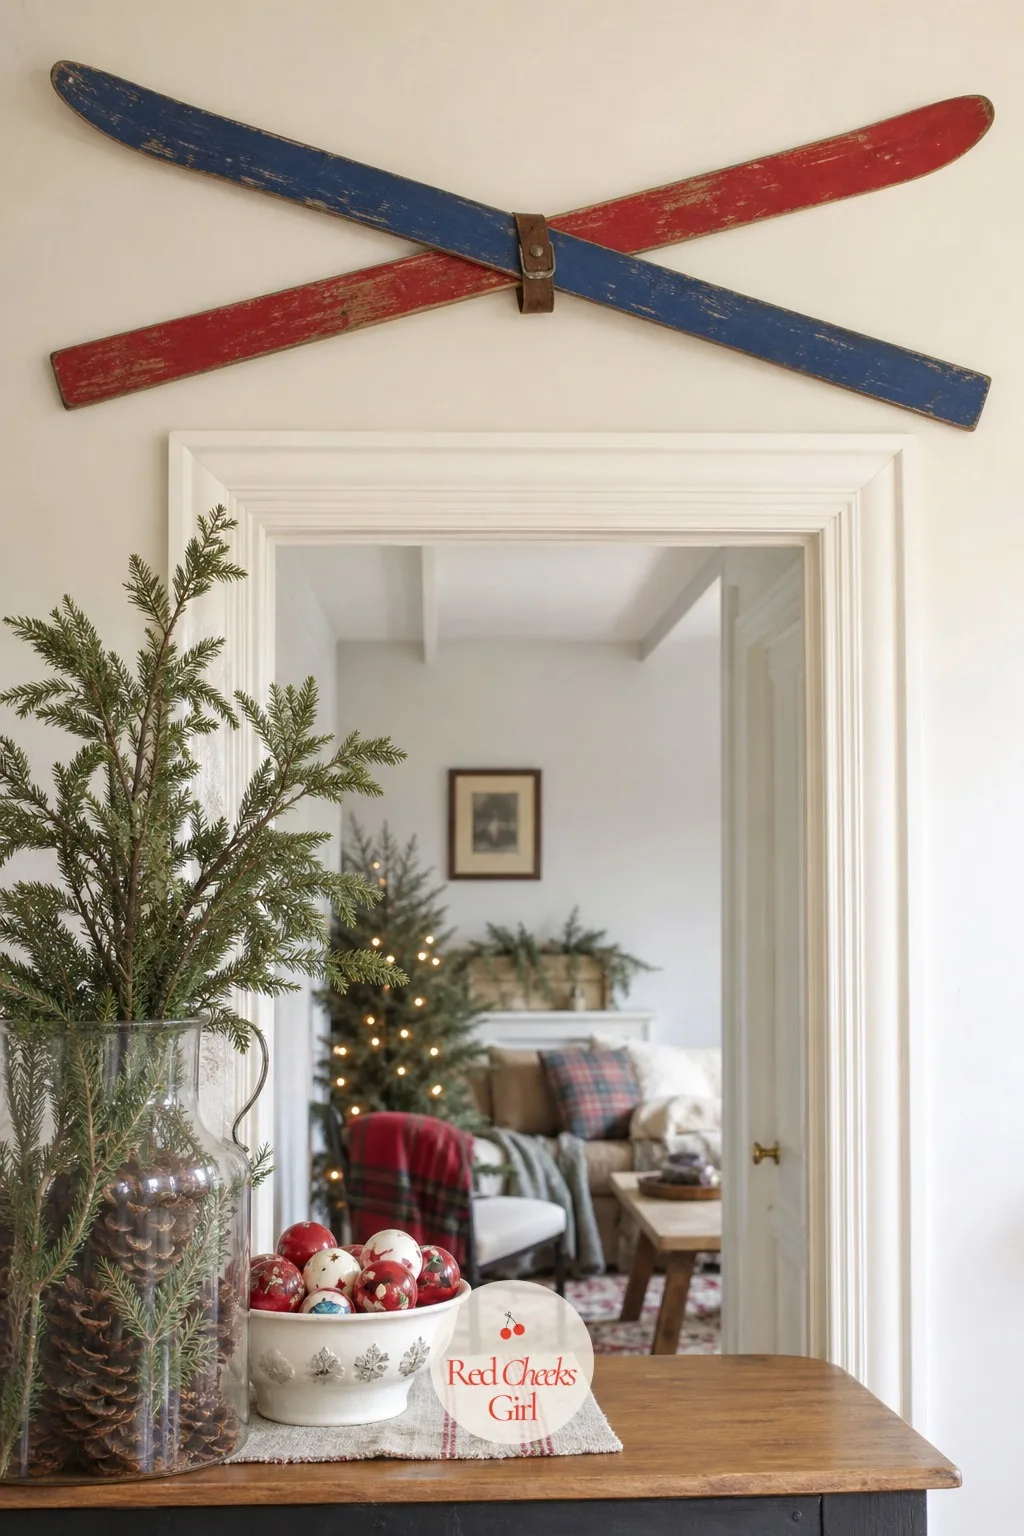
Every mantel has a sled or a sign somewhere, and most of them are the same stock cutout. Crossed wood skis painted in cobalt and red read as a find rather than a craft project.
Cut two long narrow boards into tapered ski shapes, curl the tips with steam or buy pre-shaped blanks, paint one cobalt blue and one cherry red, then cross and bolt them together with a small leather strap at the center.
Hang them above a doorway where the crossed shape reads clearly from across the room.
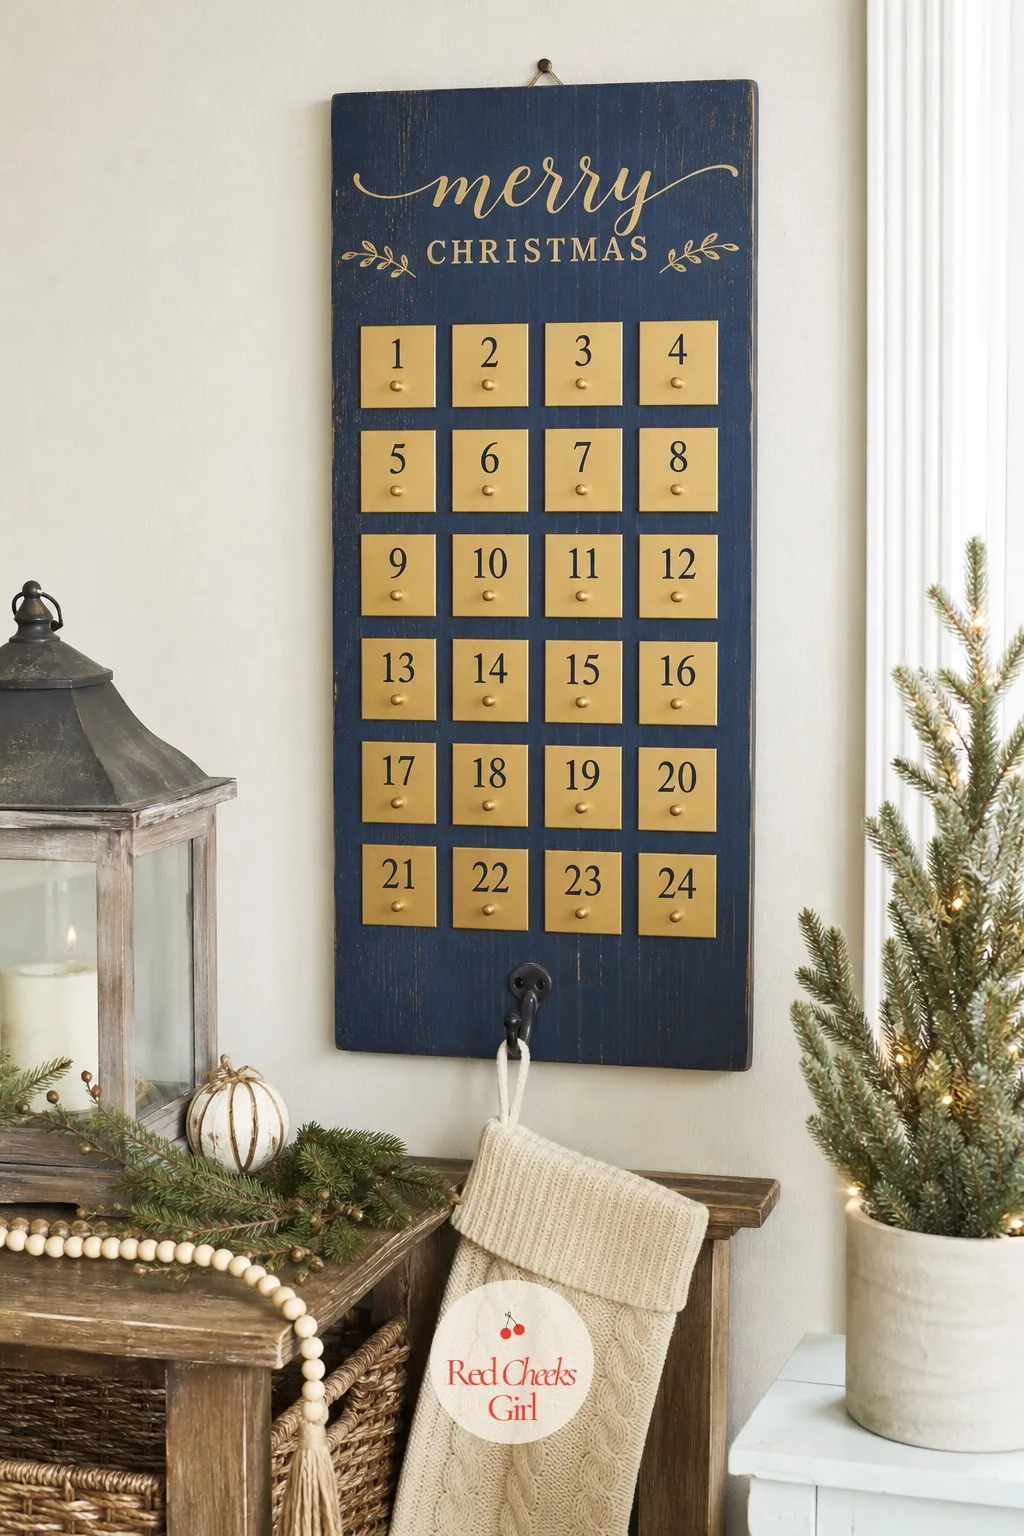
Wood Plank Advent Countdown Board
A paper advent calendar gets thrown out every year. A wood countdown board gets hung up every year instead, and the anticipation of flipping the number becomes its own small ritual.
Build a simple backing board from wide planks painted navy, attach twenty-five small sliding or hinged wood squares numbered in gold, and leave space at the bottom for a single hook to hang a stocking once December starts.
A shorter version with just the final ten days works just as well on a smaller wall.
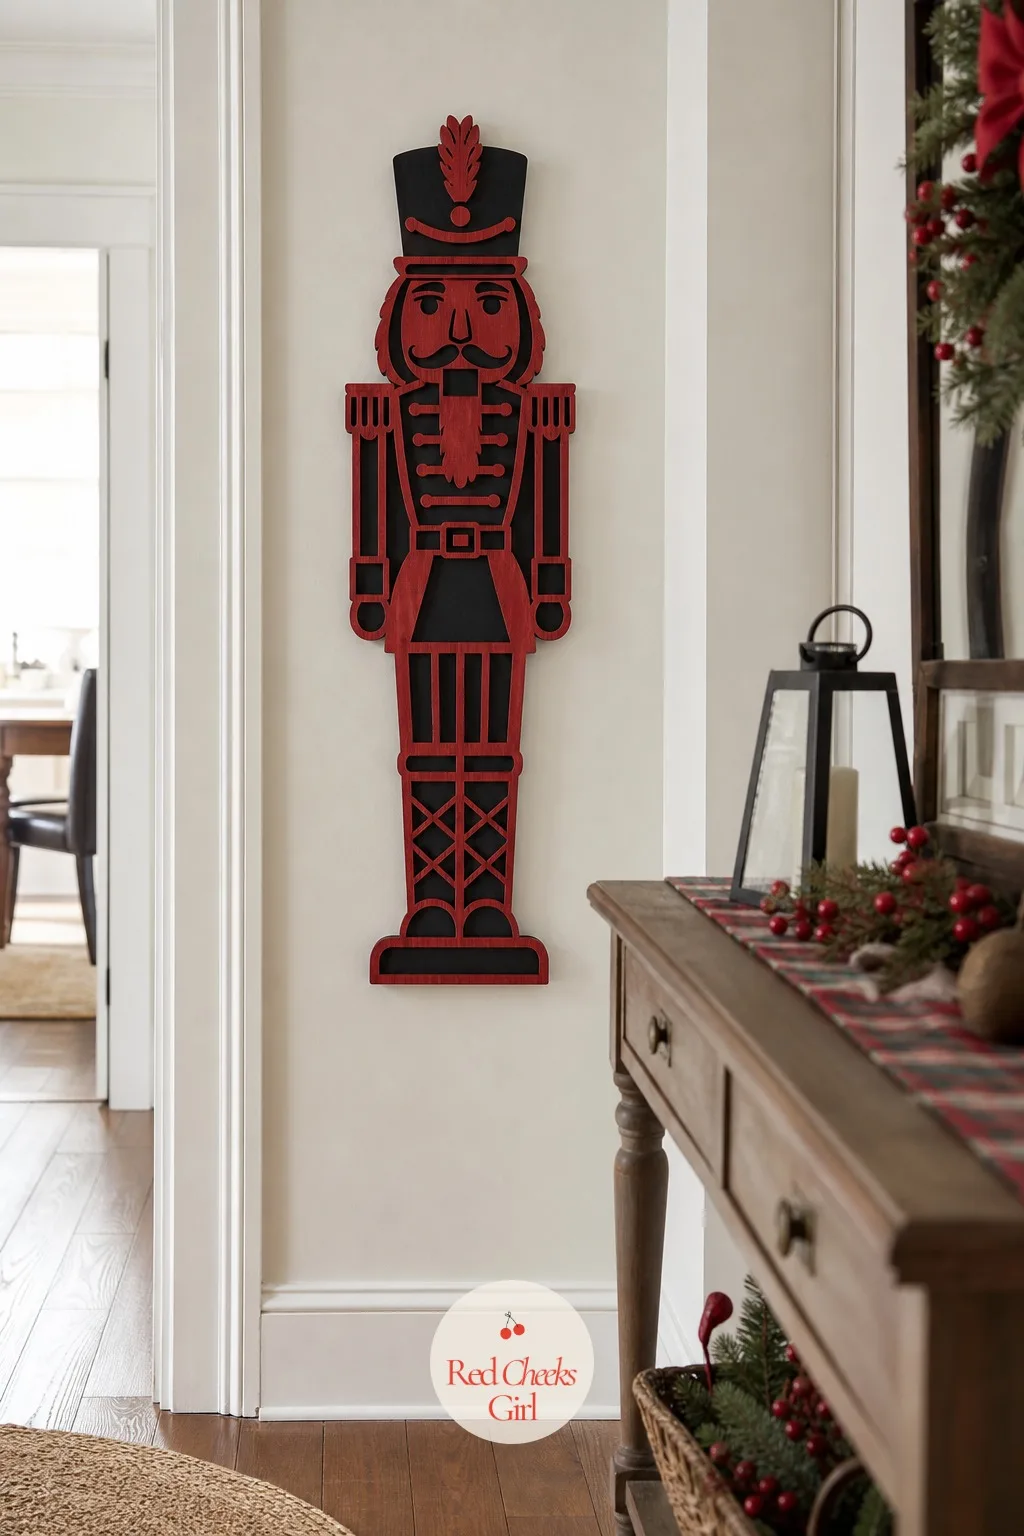
Scroll-Cut Nutcracker Wall Plaque
A full nutcracker figurine takes up shelf space most entryways do not have. A flat silhouette plaque gets the same character onto a narrow wall instead, which matters in a tight hallway: the Christmas hallway decorations for narrow spaces run on exactly this kind of flat-profile logic.
Cut a nutcracker silhouette from a single wood board with a scroll saw, paint the hat and coat deep red, the face and beard black and white, and mount it flush against the wall rather than freestanding.
A simpler version drops the face detail entirely and keeps just the hat and coat block shape in silhouette.
🛍 Shopping guide
Gifts and Keepsakes to Give
The hostess gift and the teacher gift both deserve better than another candle, and wood gives you something that still gets used in March. For more of this same instinct, the cheap Christmas gift ideas that look way more expensive than they are runs on the identical logic.
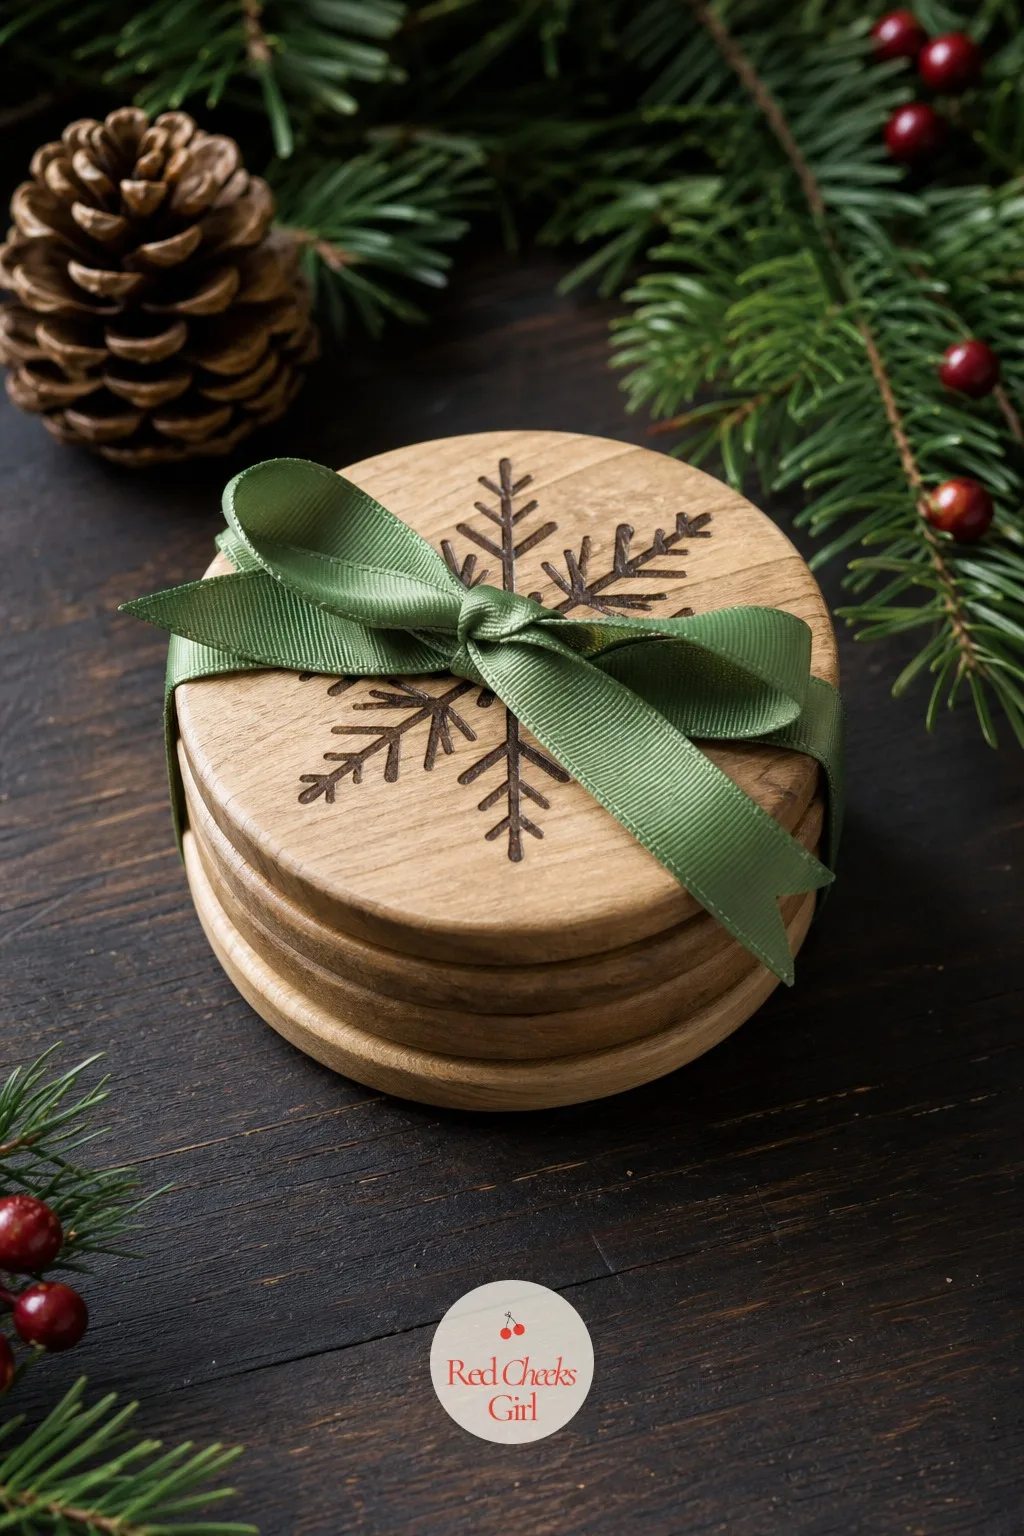
Engraved Wood Coaster Set
A candle is the default hostess gift, and every hostess already has four unlit ones in a drawer. A set of engraved wood coasters gets used the same night, with drinks going straight onto them.
Cut four or six wood rounds, sand smooth, and burn or laser-engrave a single snowflake design centered on each, leaving the natural wood color as the only finish.
Stack them with a thin ribbon tied once around the set rather than wrapping them, so the design shows immediately.
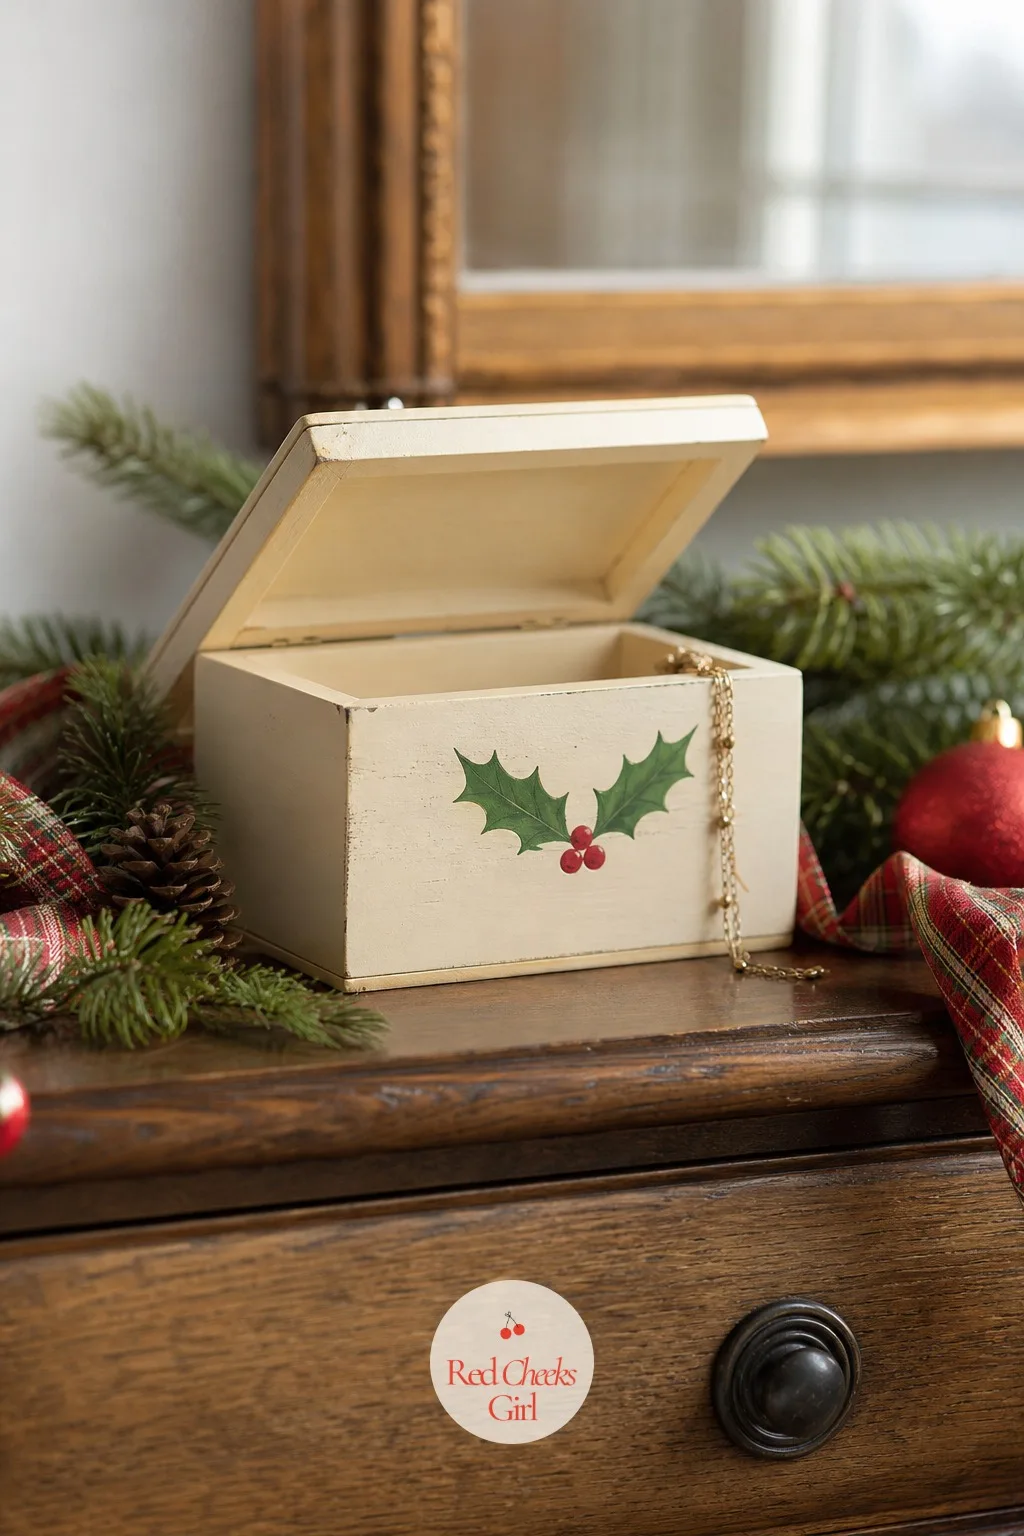
Wood Ornament Keepsake Box
Wrapping paper on a small gift gets torn off and binned within the hour. A keepsake box gets kept on a dresser for years after, holding earrings or buttons long after December ends.
Build or buy a small hinged wood box, paint the lid cream, and add a single hand-painted holly sprig in green with small red berry dots across one corner.
Leave the inside unpainted and line it with a scrap of soft fabric instead, so whatever goes inside does not rattle.
🛍 Shopping guide
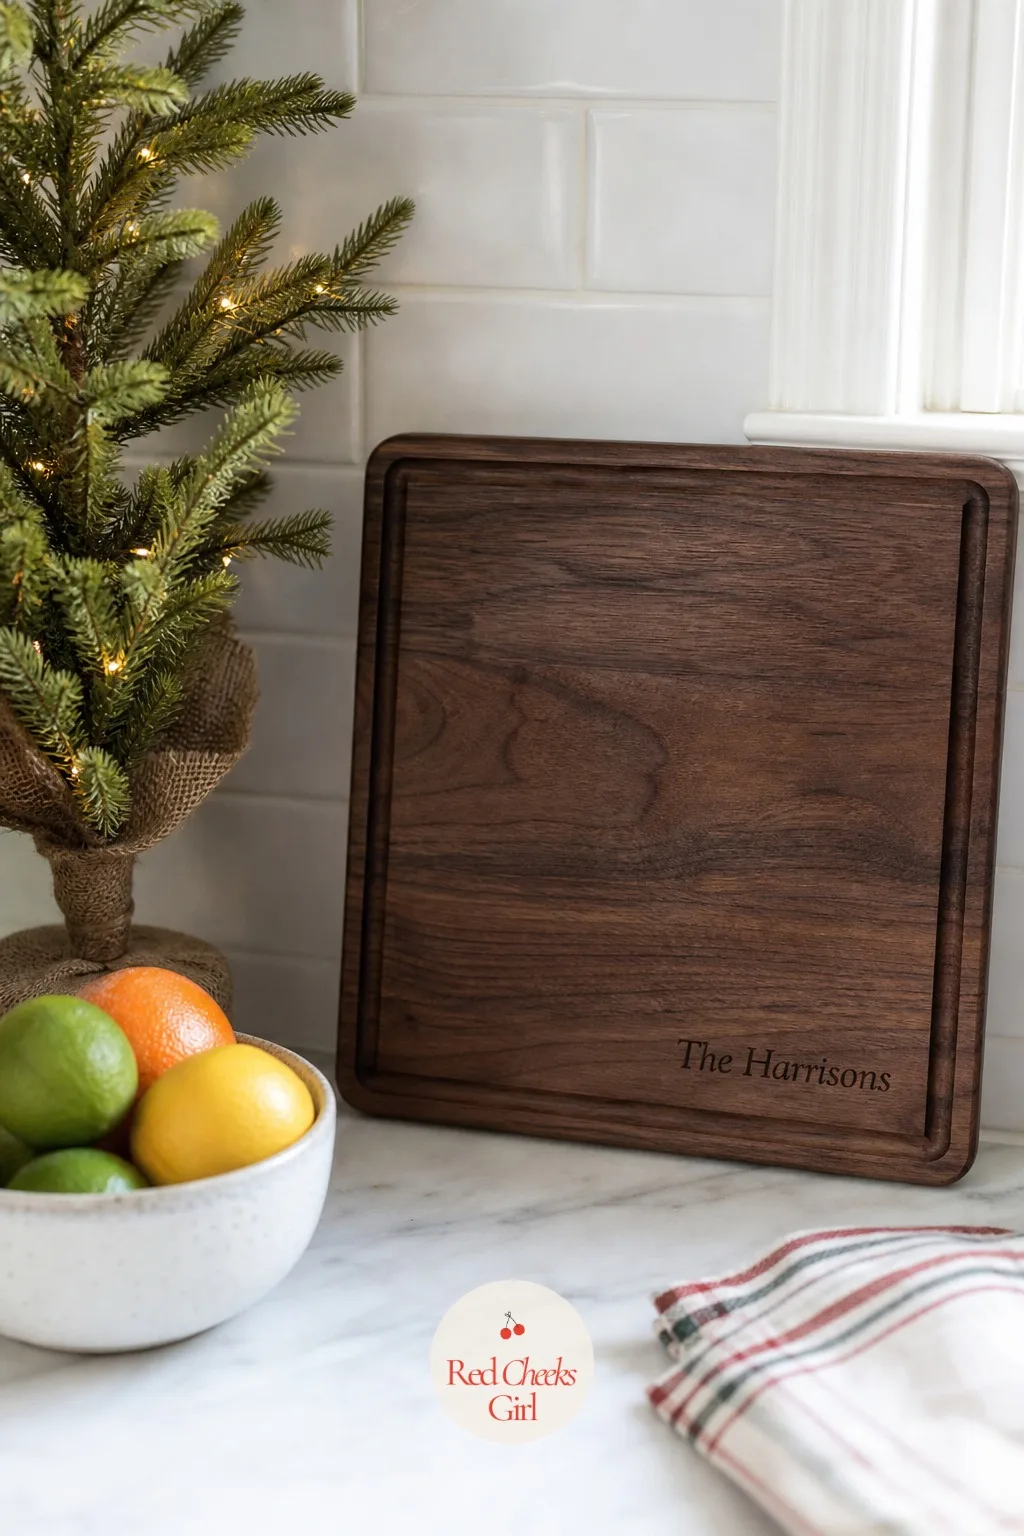
Personalized Wood Cutting Board
A generic cutting board sits in the cabinet behind the one someone actually reaches for. Engrave a name or a date across the corner of a walnut board and it becomes the one that gets pulled out first, every single time.
Sand a walnut board smooth, mask off a corner, and burn or laser-engrave a name, initials, or a short date in a simple serif style.
Finish the whole board in food-safe mineral oil before wrapping, so it arrives ready to use rather than needing a first coat.
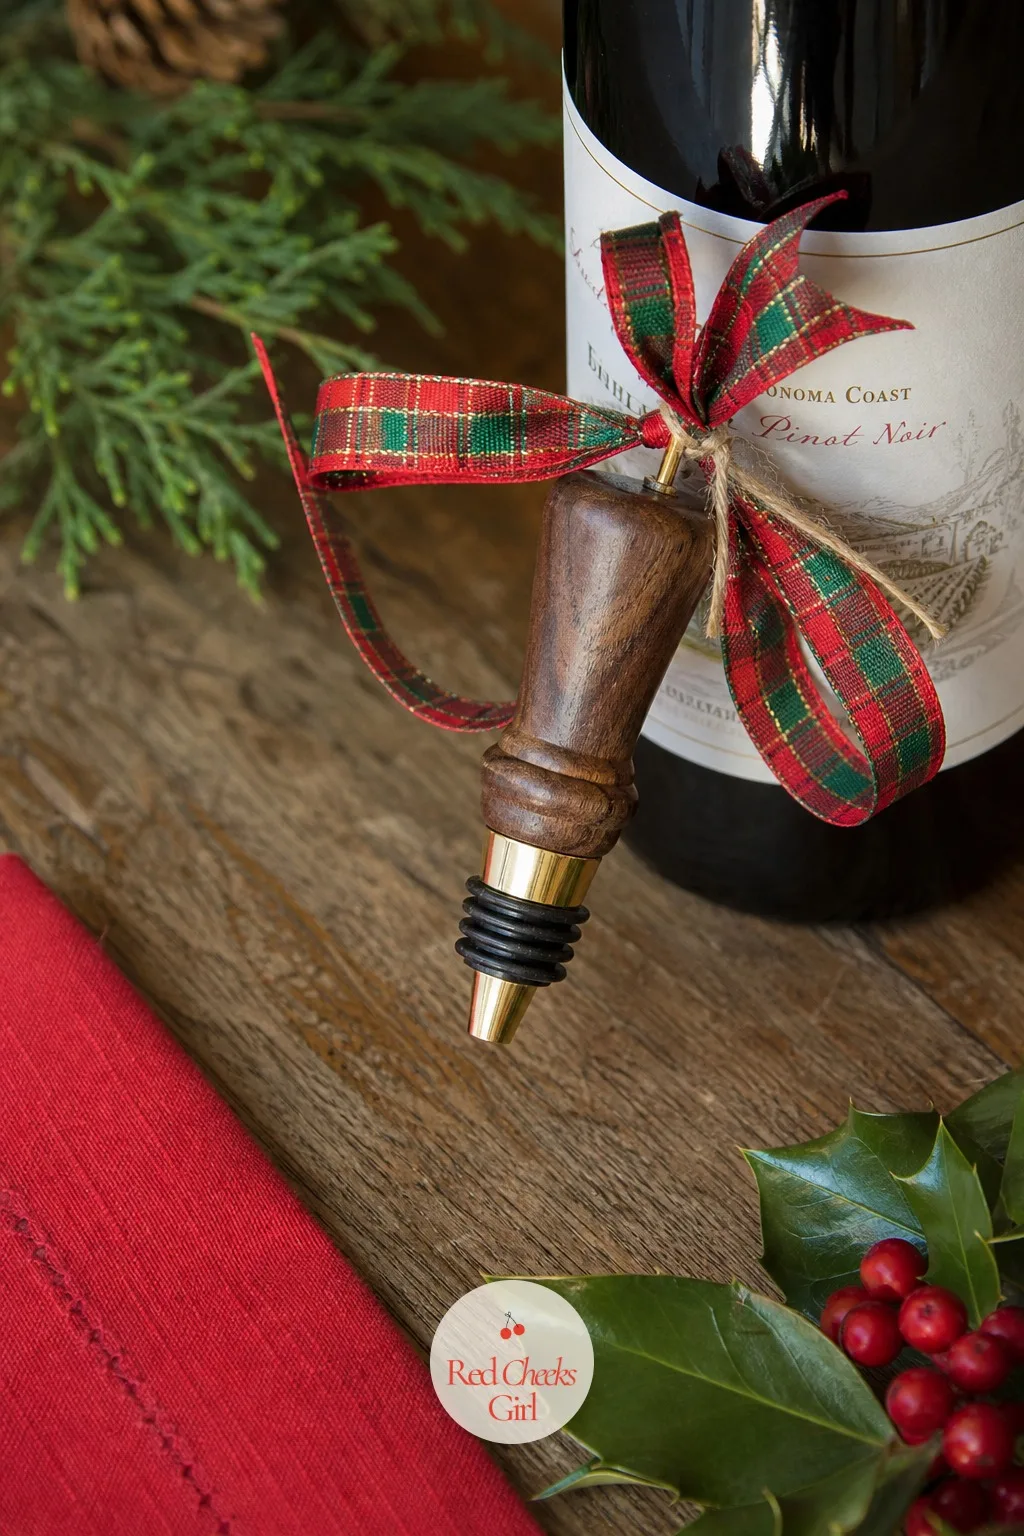
Wood Bottle Stopper Gift
A bottle of wine alone feels like the gift ran out of ideas halfway through. A turned wood stopper attached to it turns one bottle into two gifts stacked together.
Turn or sand a small wood finial into a rounded stopper shape, finish it in dark walnut stain, and fit it with a brass cork-style base sold separately for exactly this purpose.
Tie it to the bottle neck with the same narrow ribbon used elsewhere on the gift table, so the whole gift reads as one set.
🛍 Shopping guide
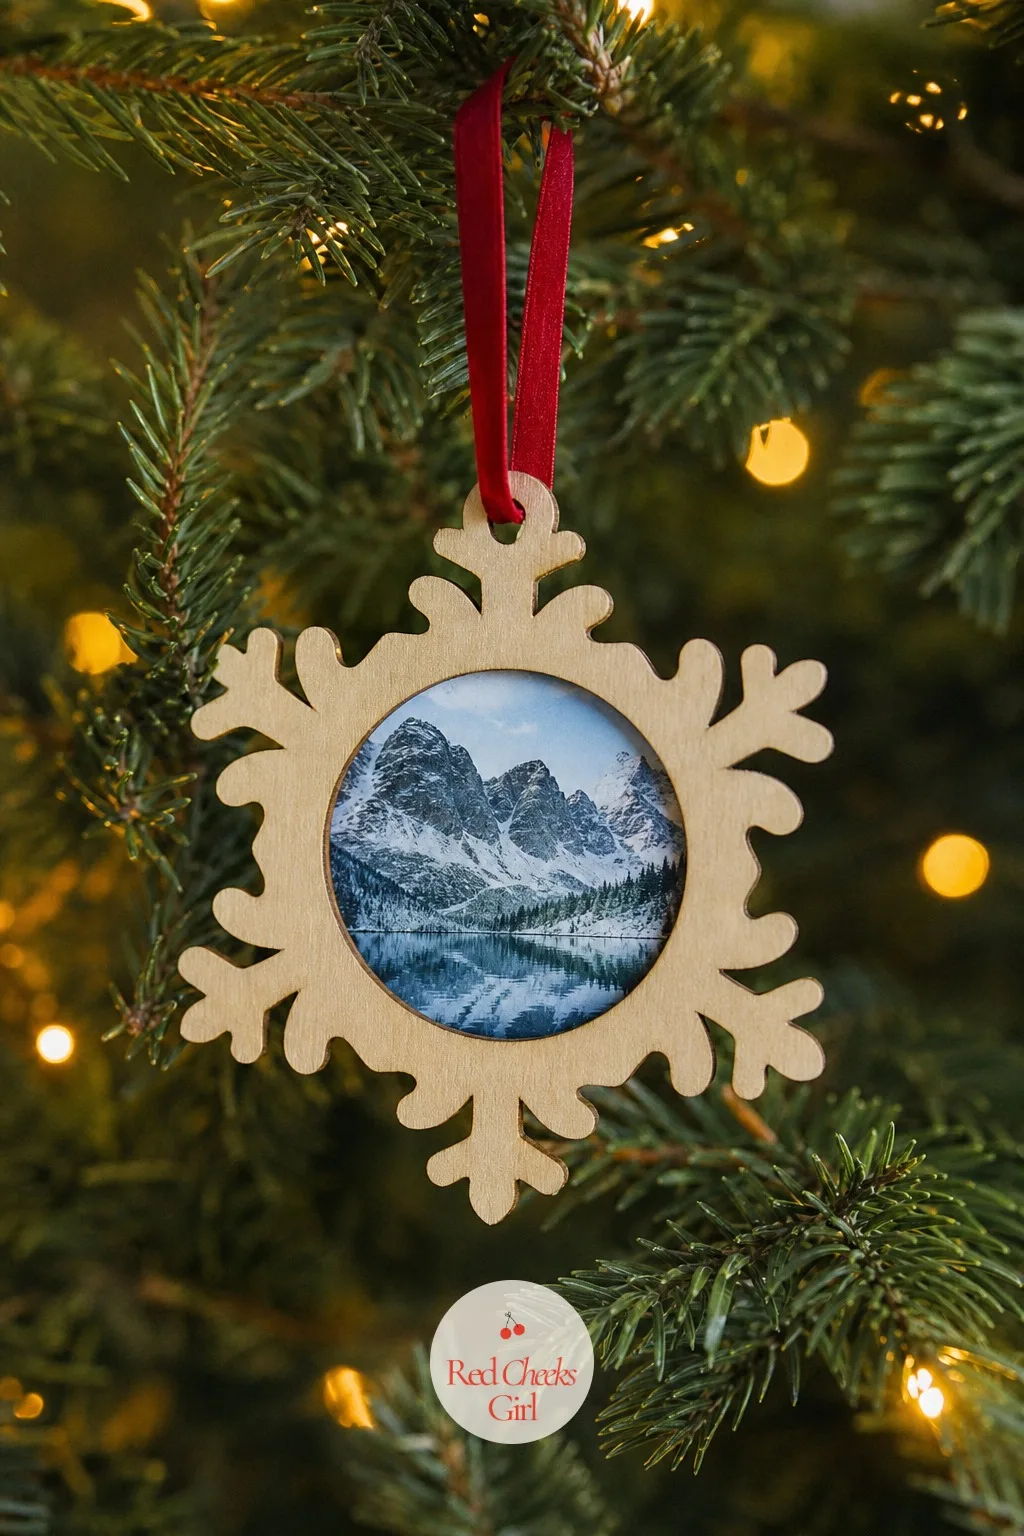
Wood Photo Ornament Frame
A printed photo card gets looked at once and filed away. A tiny wood frame ornament with the same photo inside gets hung on the tree every year after, which is the entire difference between a card and a keepsake.
Cut a small wood frame shape with a center cutout sized to a wallet photo, sand the edges, leave the wood natural, and glue the photo in from behind before adding a thin ribbon loop.
A family photo from the past year works best, since it dates the ornament the moment it goes up.
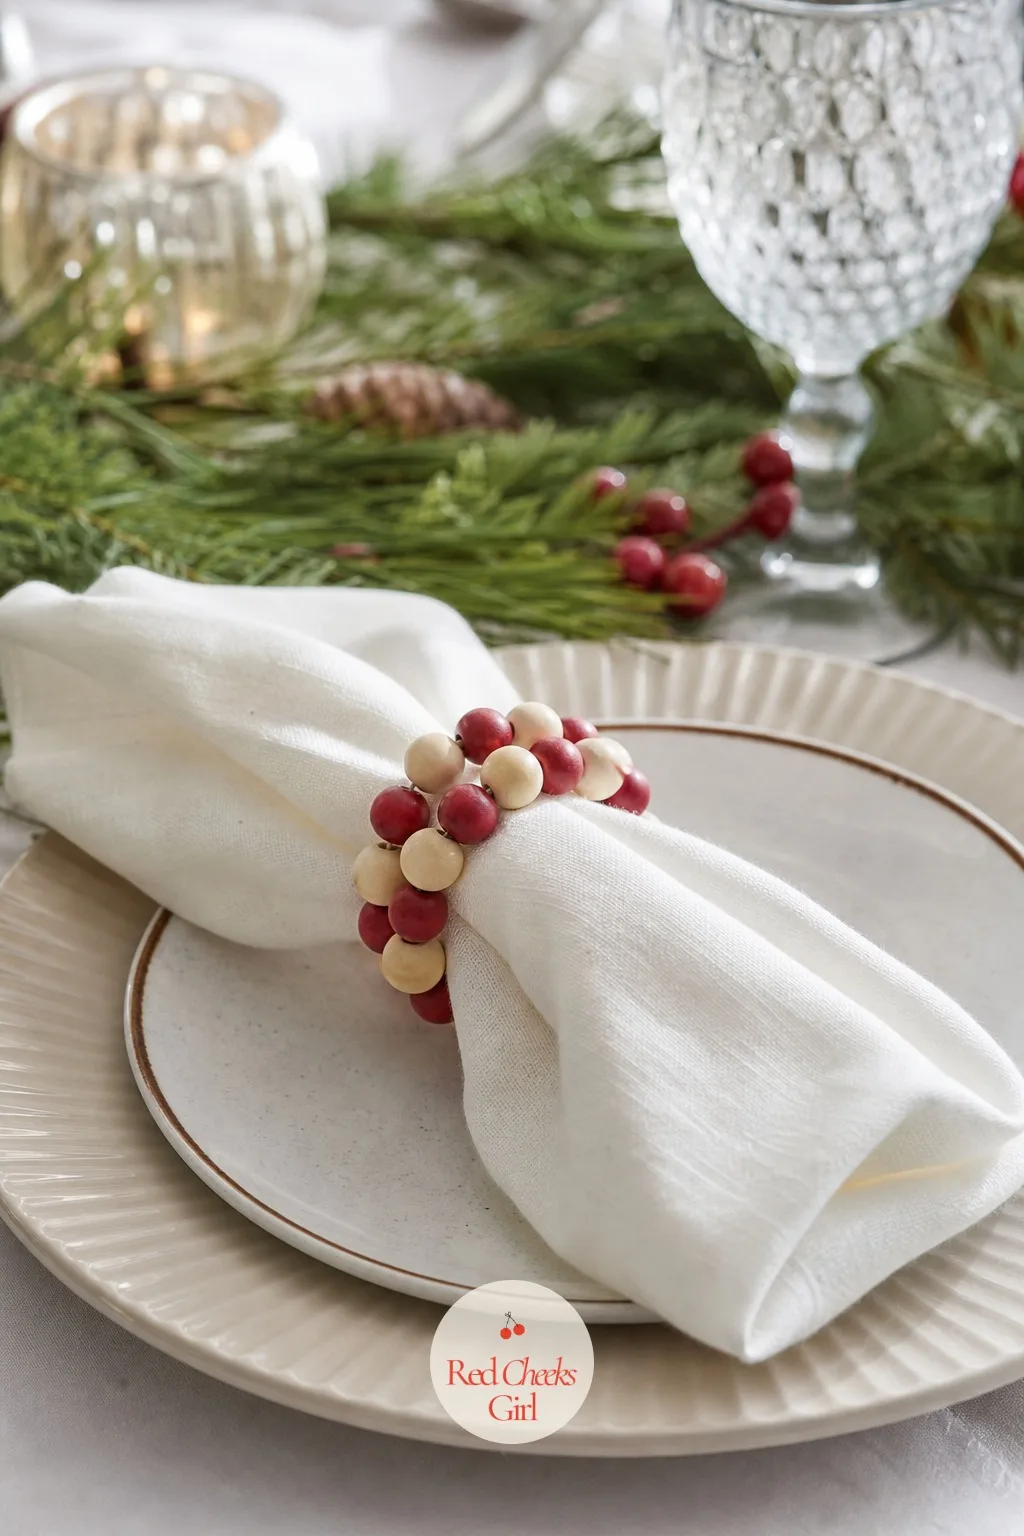
Wood Bead Napkin Ring Set
Plastic napkin rings get swept into the junk drawer by New Year. A set threaded from painted wood beads gets wrapped up and sent home with a guest instead, which saves you the storage entirely.
Thread four or five large wood beads in alternating cranberry red and ivory onto a short length of flexible wire, twist the ends into a closed ring, and fold the napkin through before each place setting.
Leave one spare set wrapped by the door for whichever guest asks where to find them, since someone always does.
🛍 Shopping guide
Frequently Asked Questions
What kind of wood is best for Christmas crafts?
Pine, basswood and birch cut the easiest and take paint or stain well, which is why most small ornaments and signs use them. Scrap fence pickets or pallet wood work too for anything rustic that does not need fine detail cutting.
How do you make wood Christmas ornaments at home?
Cut a shape from a thin wood slice or plywood with a scroll saw or craft knife, sand the edges, then paint, stain or wood-burn the design before drilling a small hole for the hanging loop. Pre-cut unfinished wood blanks skip the cutting step entirely if you would rather start at the painting.
What can I make with leftover scrap wood for Christmas?
Scrap pieces are ideal for small ornaments, mini village houses, gift tags and tree-shaped cutouts, since none of those need a large board to start from. Offcuts too small for anything else usually still work as bead spacers or napkin ring filler.
How do you seal or finish wood crafts so they last?
A coat of clear acrylic sealer or wax protects painted pieces from scuffing in storage, while food-safe mineral oil is the right choice for anything that touches food, like a cutting board or serving platter. Either dries within a few hours and does not change the paint color underneath.
Can you sell handmade wood Christmas crafts?
Yes, small painted ornaments, signs and trays are common at craft markets and online shops, and pricing usually covers materials plus time rather than just materials alone. Keeping a consistent, recognizable style across a set tends to sell better than one-off unrelated pieces.
What tools do I actually need to start making wood crafts?
A craft knife, sandpaper, wood glue and a basic paint set cover most of the simpler projects, with a scroll saw or jigsaw only needed once you move into more detailed cutouts. A woodburning pen is a useful low-cost addition for anyone who wants texture without relying on paint alone.

18 christmas crafts to sell that photograph as one curated collection: same three colours, same fini
12 free printable paper chain christmas decorations: candy stripes, gingham, tartan and shape garlan

Get the holiday movie aesthetic room by room: cream, stone gray, soft red and pine, a Cotswold cotta
Leave a Reply