

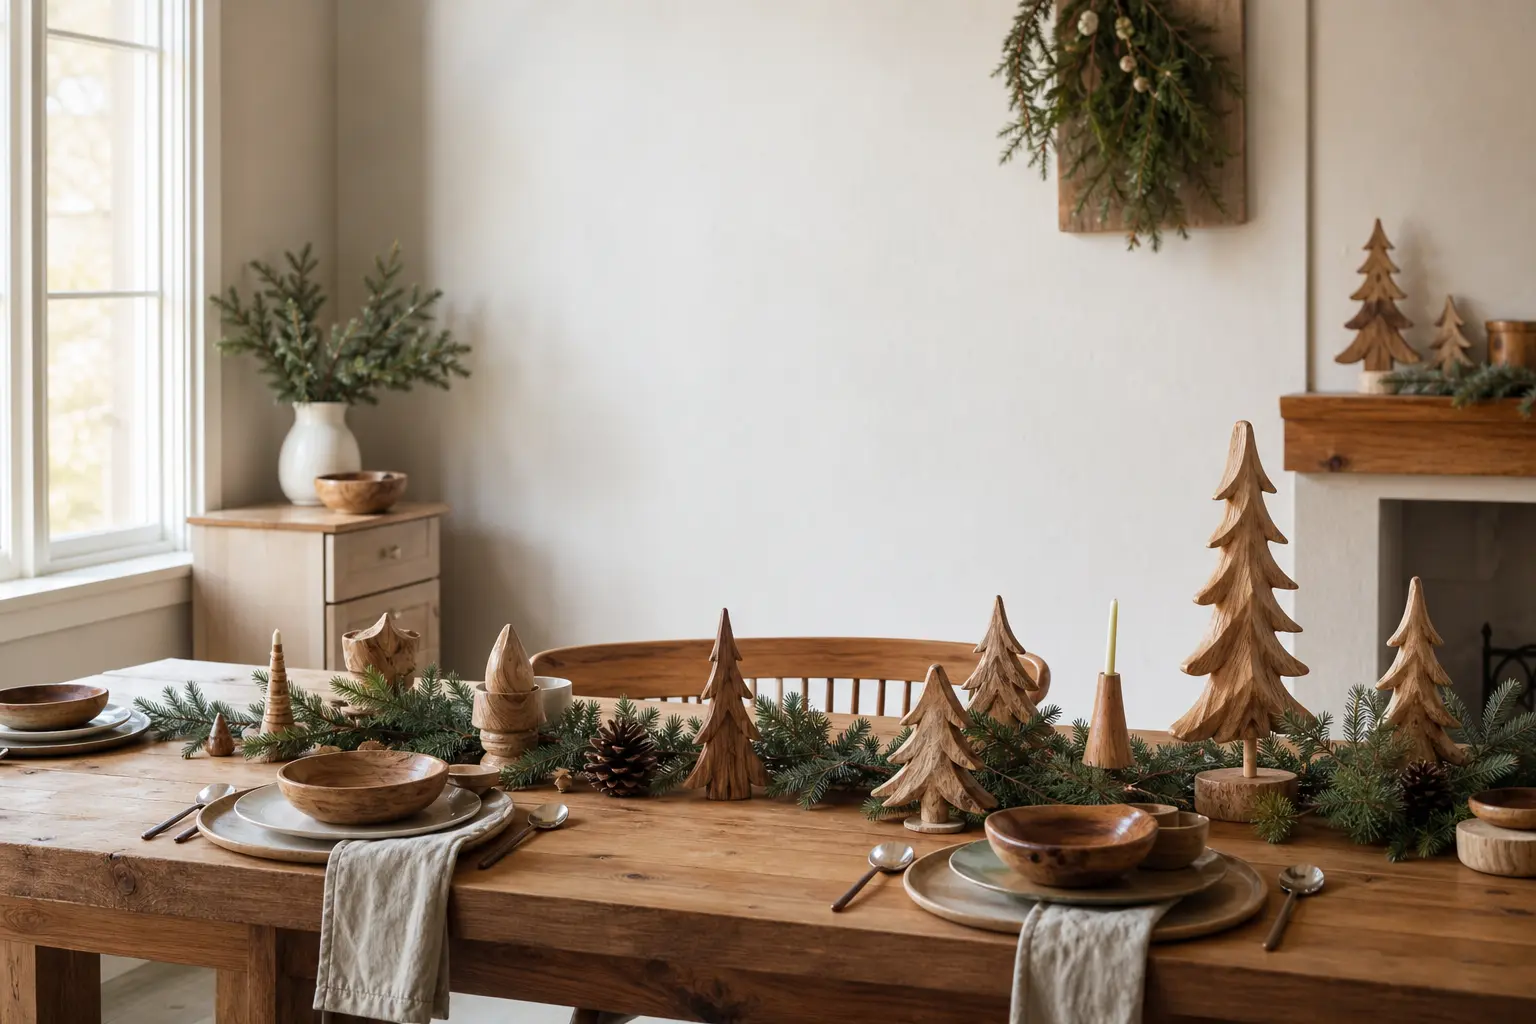
The best christmas wood crafts start with one rule: if you cannot see the grain, you worked too hard. Scrap timber already has a pattern. Your job is to cut it, brand it, or stack it so that pattern becomes the decoration rather than something to hide under chalk paint.
Every project here names exactly how the wood’s own surface does the visual work: growth rings, bark lines, end grain, natural taper, original weathering. None of them need a scroll saw, a template traced from a screen, or a single coat of solid paint.
This is also a list for people who have a saw and some offcuts and want finished results by the weekend. Check the time notes on each entry. Most of them are genuinely quick, and none of them require a workshop full of gear.
This post contains affiliate links. If you buy through them, I may earn a small commission at no extra cost to you.
Ornaments and Hanging Pieces
Hanging pieces reward the grain most because you see them from every angle as they turn. Choose slices and rounds with visible rings, not clean-sanded blanks, and the ornament earns its place before you touch a tool to it.
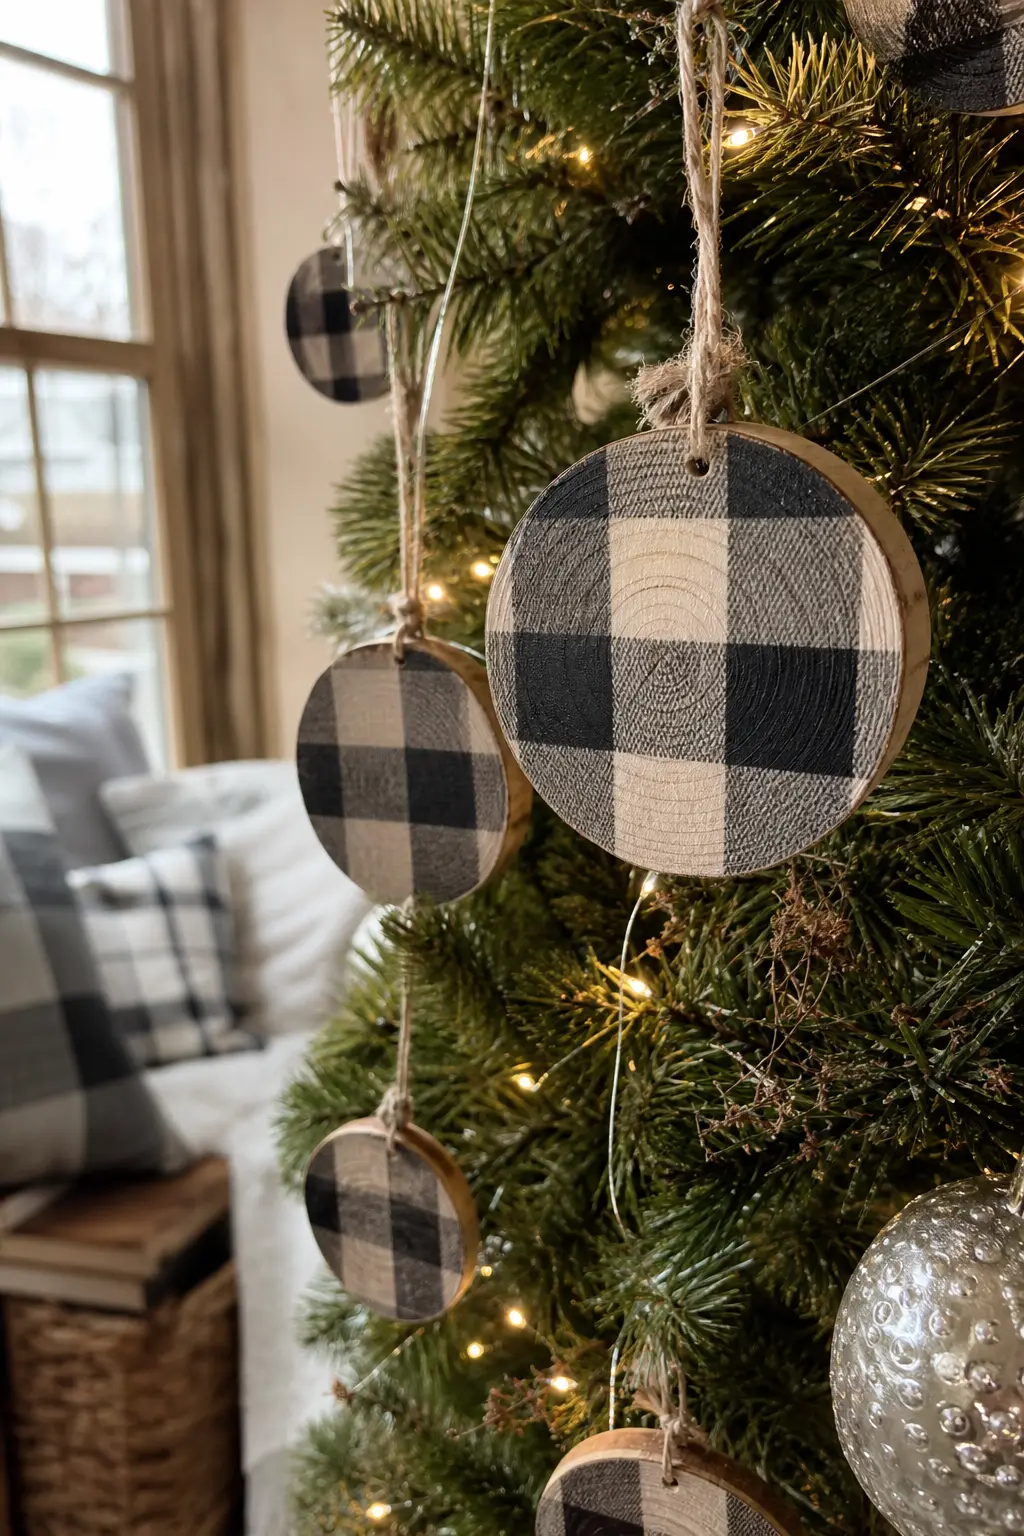
Buffalo Check Stamped Wood Slice Ornaments
Cut slices about a quarter inch thick from a branch with visible growth rings. The rings become part of the buffalo check grid because the curved lines of the grain break the stamp pattern in a way no printed paper ever could.
Use a foam stamp and one colour of ink, pressed lightly so the grain resists in places. Those resist spots are the design. Drill a small hole, thread twine, and stop there.
🛍 Shopping guide
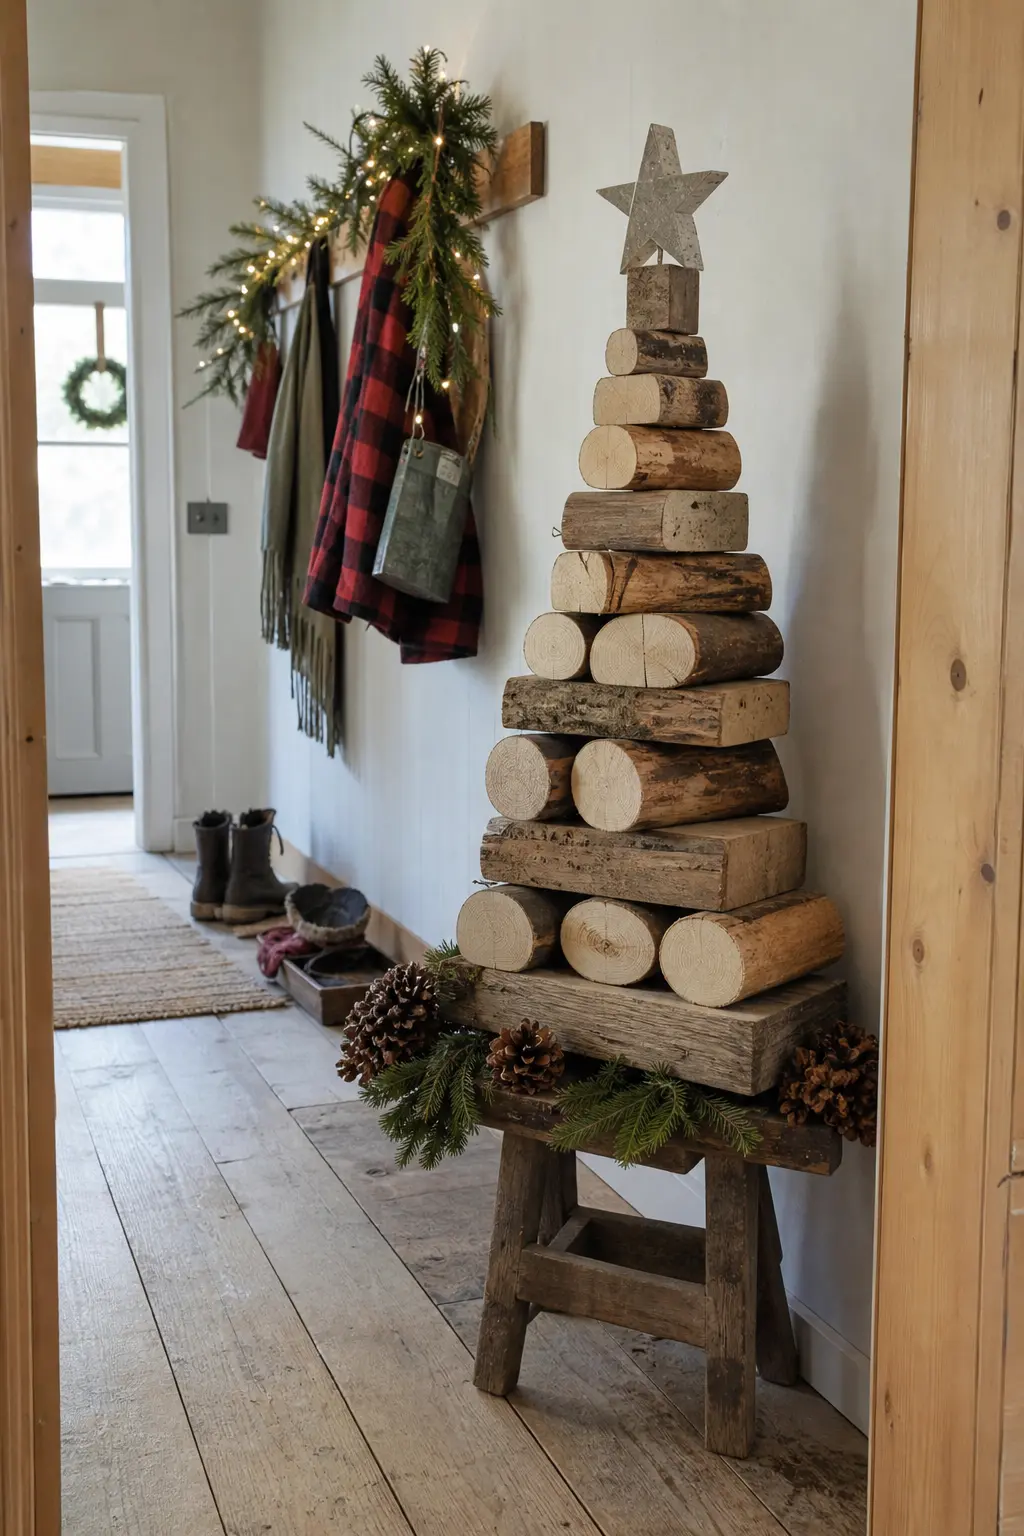
Stacked Offcut Tree With Visible End Grain
Stack offcuts from widest to narrowest, screwing them through a central dowel rod. Leave them completely raw. The cut face of each piece shows its own ring pattern, and the variation across different offcuts gives the tree its texture.
No two stacks will look the same because no two pieces of timber share the same growth history. That is the point. A star cut from the same timber tops it neatly without competing.
🛍 Shopping guide
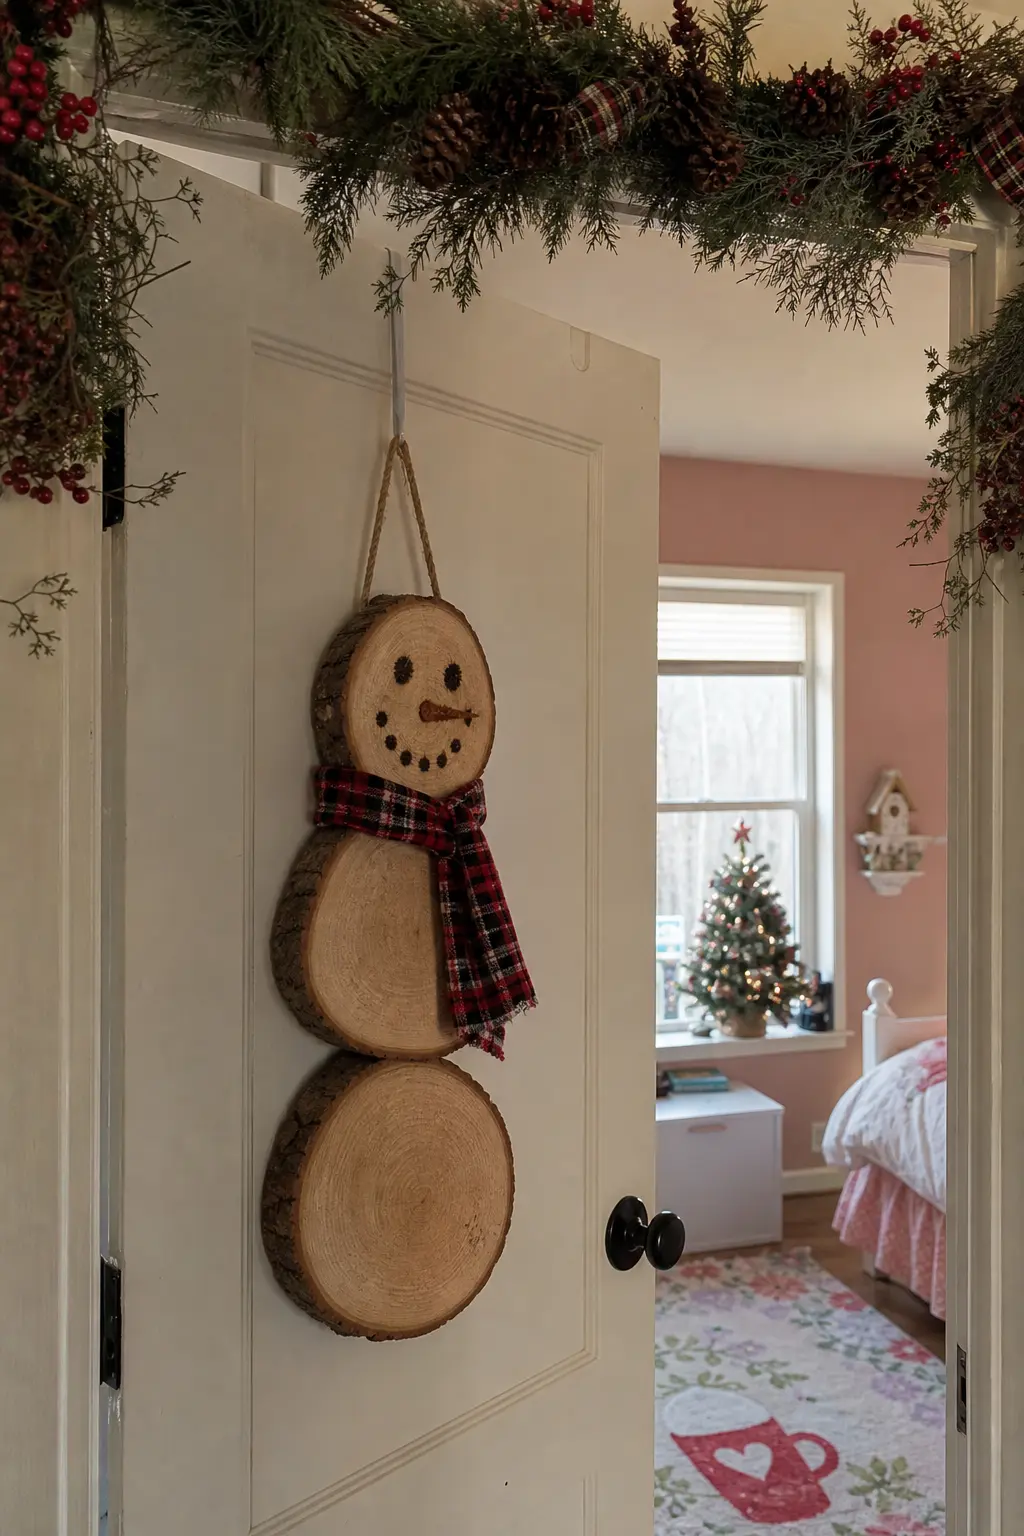
Wood Slice Snowman With a Burned Face
Stack three rounds in decreasing sizes, the largest at the bottom. Drill a small hole through all three and thread wire to hold them in a line. Burn the face into the top slice with a fine pyrography tip: dots for eyes, a curved line for the mouth.
The grain shows through and around every mark. A burned face reads warmer and more permanent than painted-on features that chip and flake. Add a scrap of plaid fabric as a scarf around the joint between the top and middle round.
🛍 Shopping guide
Advent and Countdown Projects
Advent projects live on the wall or mantel for the whole of December, so the material matters more than for a one-night centrepiece. Raw wood ages gracefully across those weeks in a way that painted MDF simply does not.
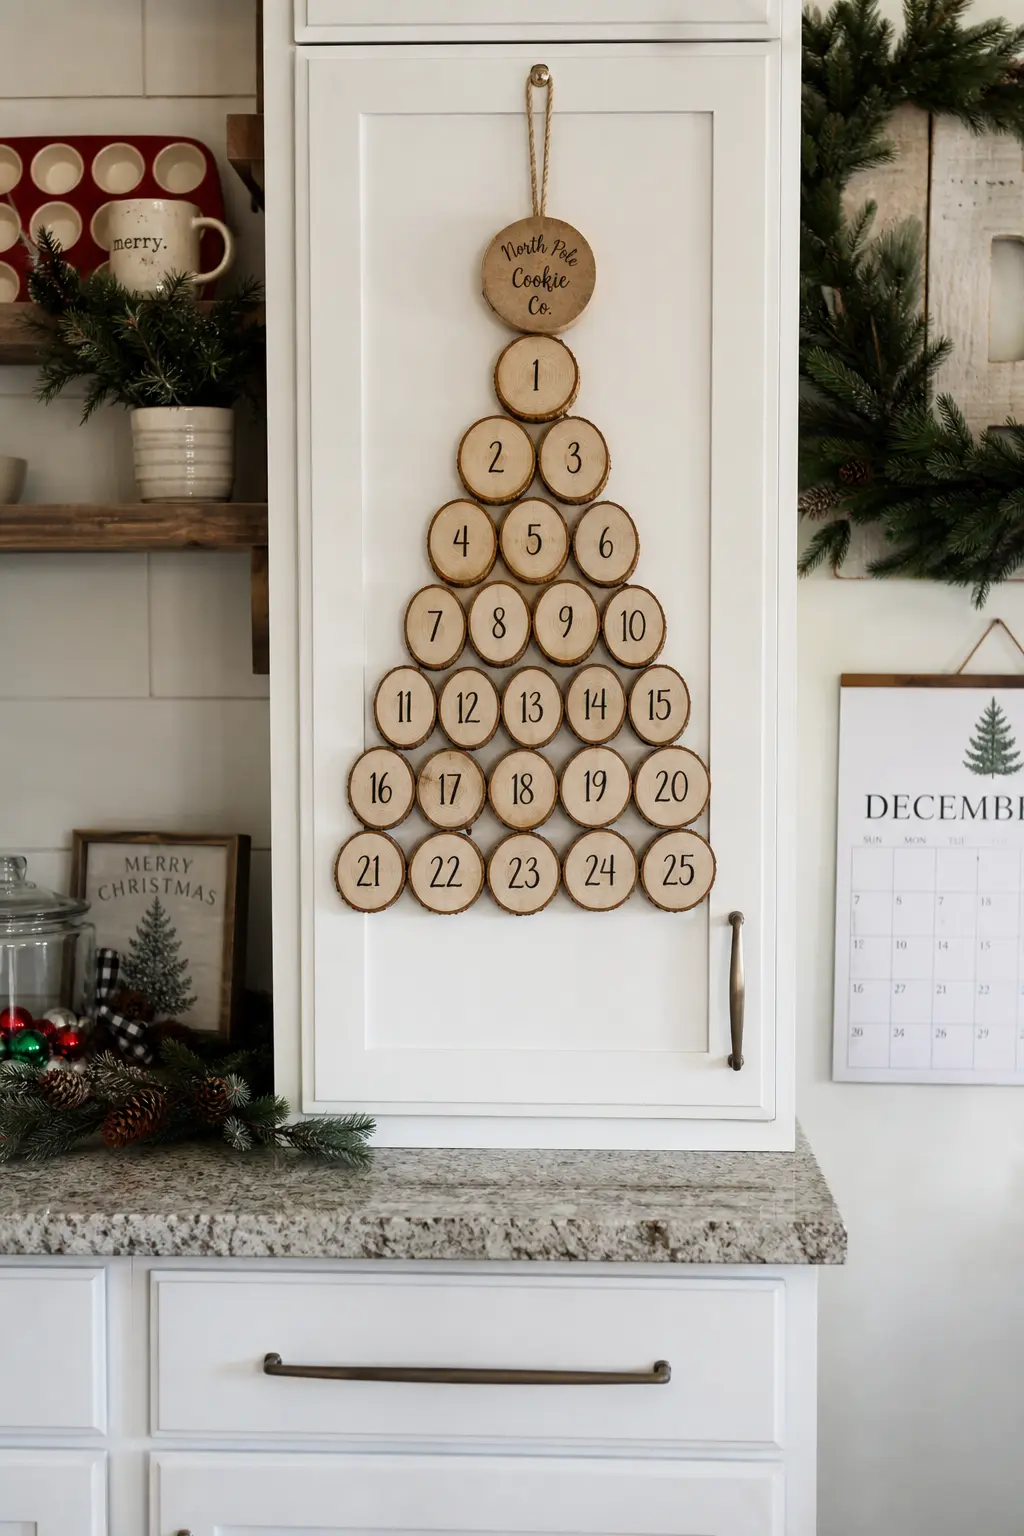
Wood Cookie Advent Calendar With Branded Centre Disc
Cut twenty-five rounds from a log, sand only the face, and arrange them on a board in the shape of a tree. The centre disc sits at the peak and takes the branded year mark: use a pyrography pen so the number chars into the grain rather than sitting on top of it.
Number the other discs with the same pen. The char reads dark against pale grain without any paint. Hang small envelopes or tiny bags from each disc with a tiny brad.
🛍 Shopping guide
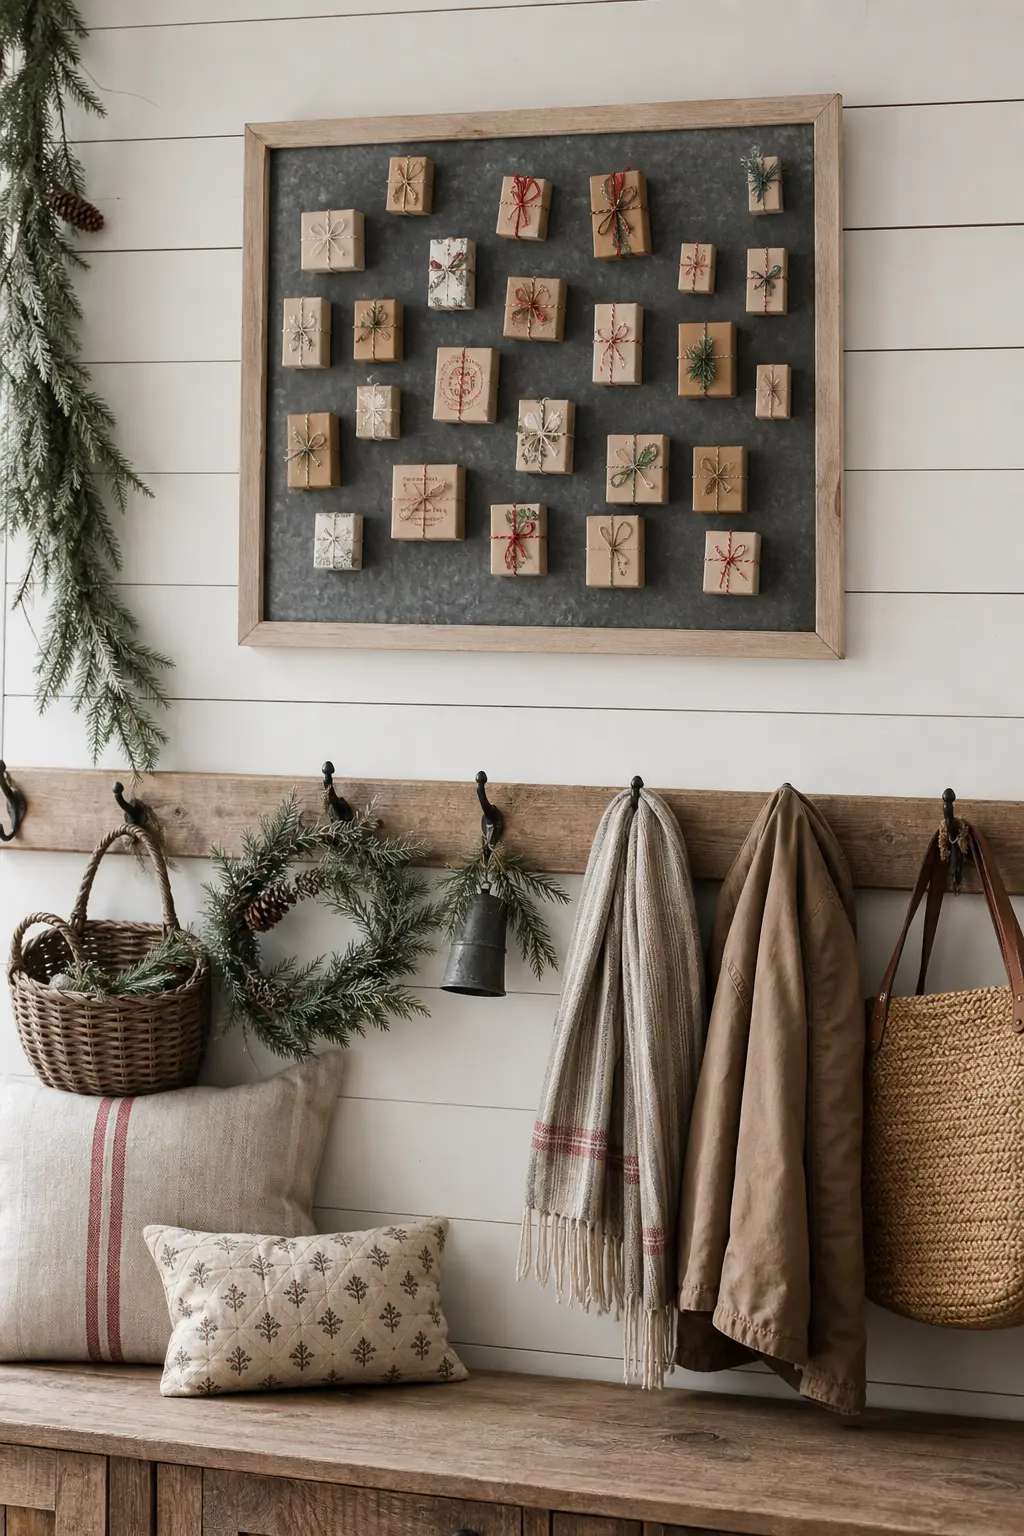
Magnetic Matchbox Advent Board
Spray a plain cookie sheet with blackboard spray paint, then frame it with raw timber offcuts screwed to the edges. The frame is the wood element: leave it completely unsealed so the grain shows against the dark centre panel.
Wrap twenty-five matchboxes in small squares of kraft paper and press a magnet to the back of each. The contrast between the raw pale timber frame and the dark board makes the little wrapped boxes read as gifts even before anyone opens them.
🛍 Shopping guide
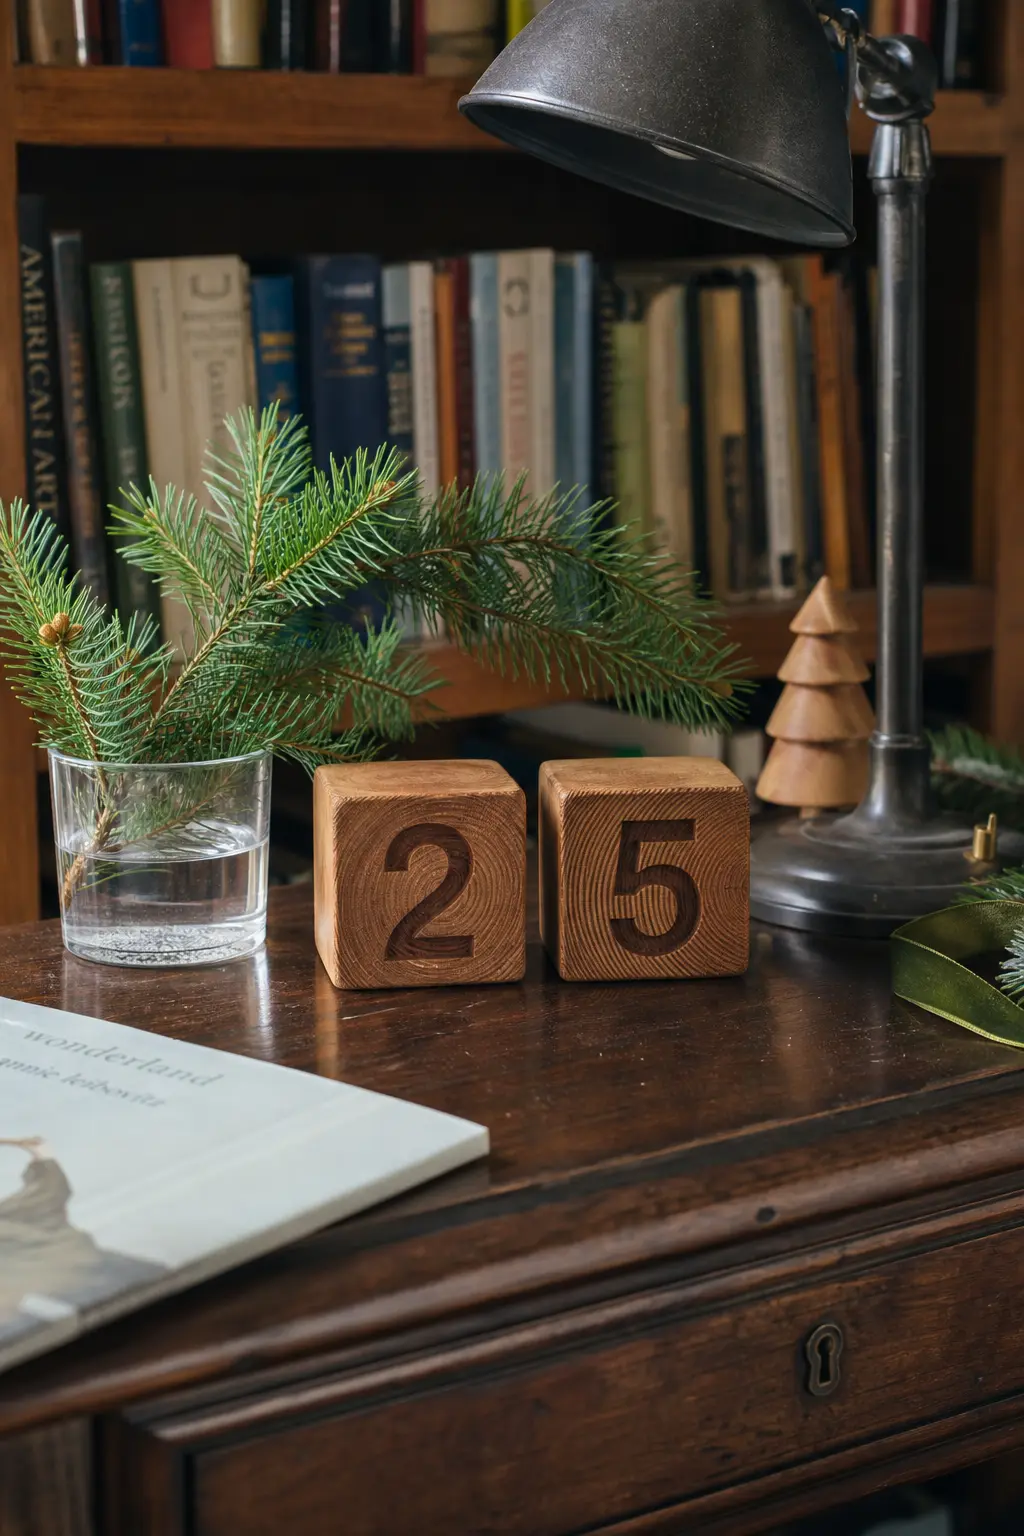
End Grain Calendar Countdown Block
Cut cubes from a thick branch or post so the end grain faces the front. Route numbers into that end grain face: the tool cuts across the rings rather than along them, and the resulting numeral has a distinct texture that no face-grain surface can replicate.
Make enough cubes for a 1-25 countdown, or two cubes that rotate to show any date. The end grain absorbs a single coat of oil deeply and dries to a tone noticeably richer than the sides: that contrast is visible and deliberate.
🛍 Shopping guide
Candles, Risers and Table Pieces
Table pieces work at eye level, which means every growth ring and bark scar is visible to someone sitting across from it. That is a reason to celebrate the marks, not sand them away.
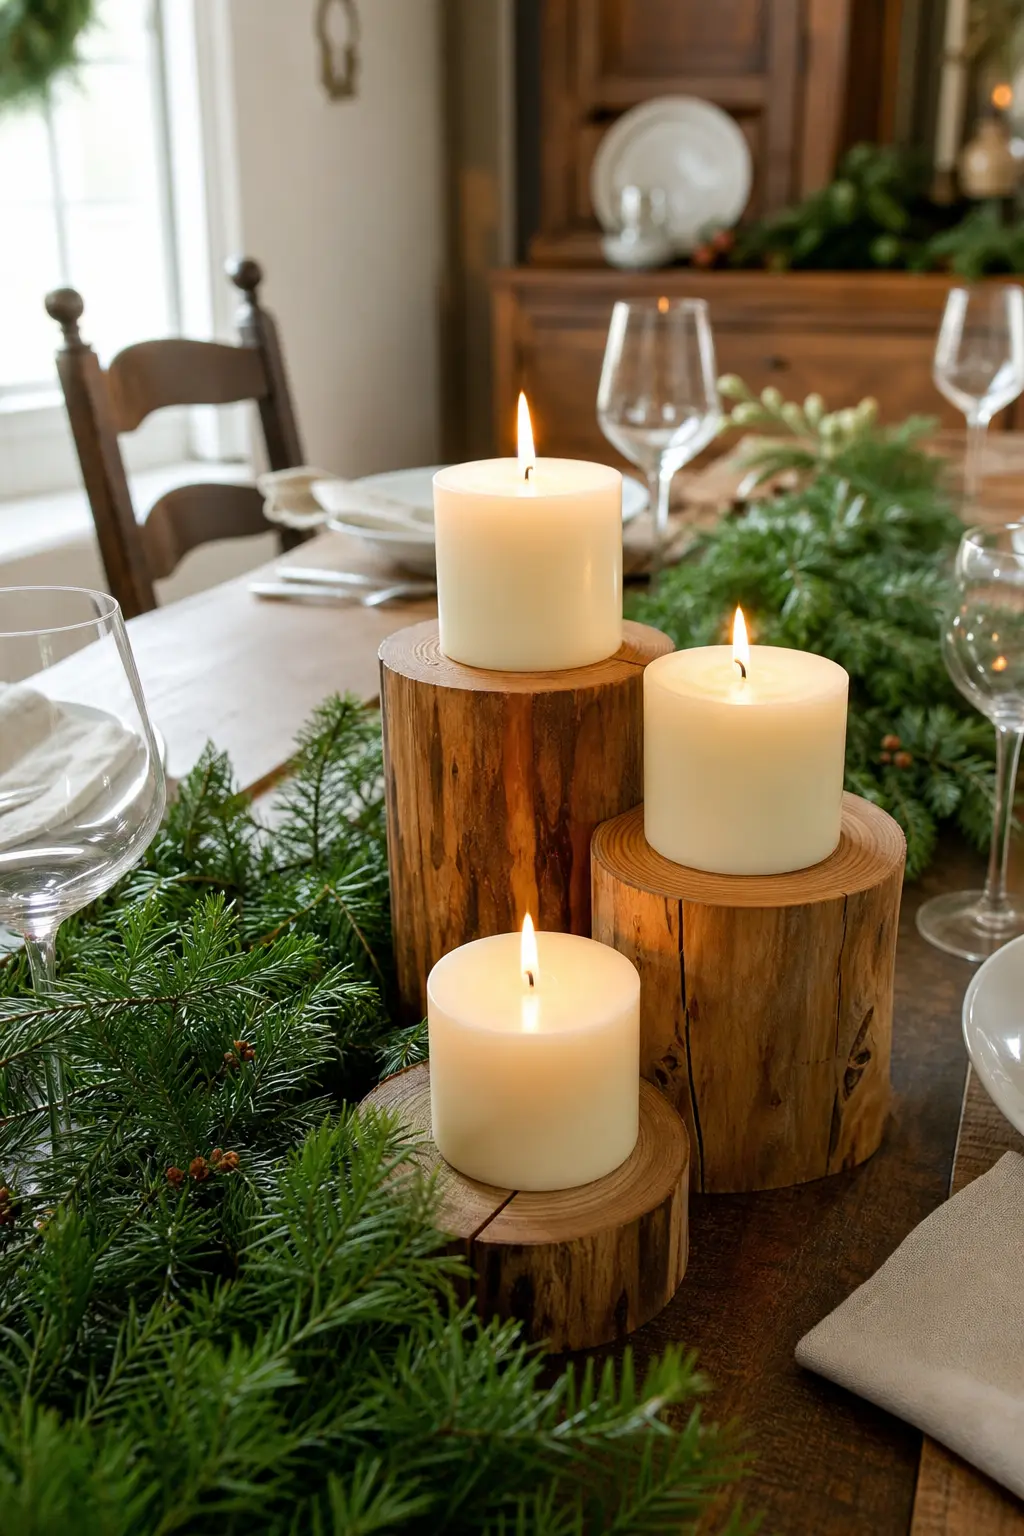
Candle Risers Cut to Show Growth Rings
Cut short cylinders from a branch or dowel and sand the top face to reveal the concentric growth rings. When a pillar candle sits on top, the rings read as the base pattern framing the flame above.
Make three at different heights for one grouping. Seal the top face only with a thin coat of paste wax so the rings catch the light. Leave the sides completely raw so the bark texture contrasts with the smooth top.
🛍 Shopping guide
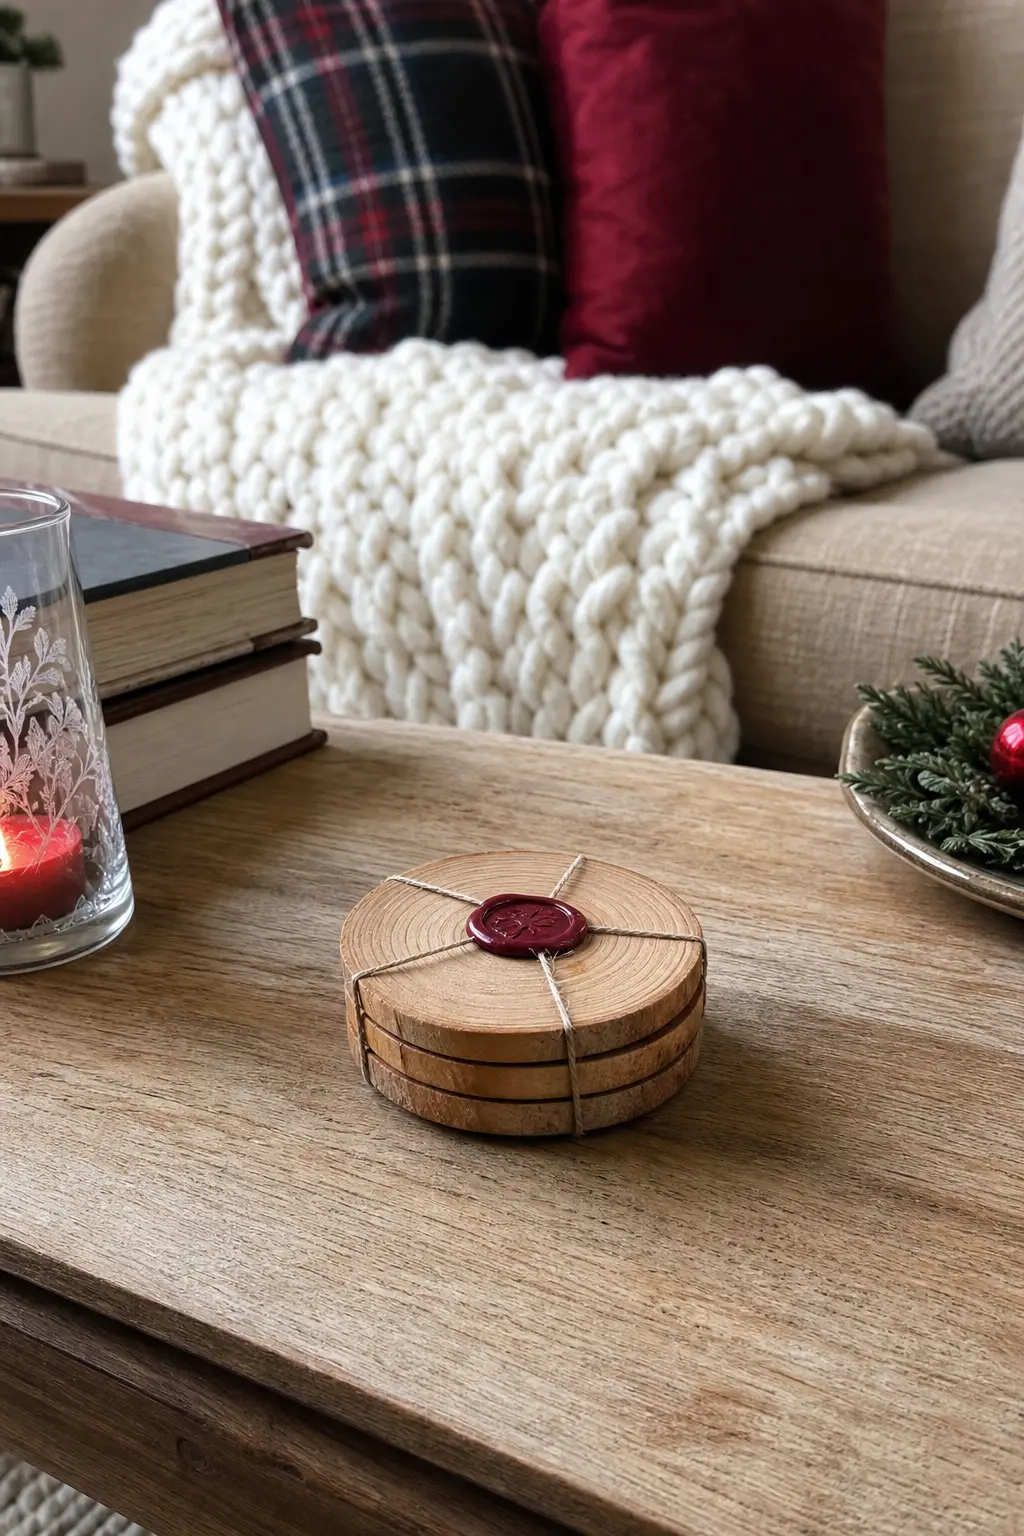
Stacked Coaster Rounds Sealed With Wax Only
Cut rounds from a log branch, sand the face through 80, 120 and 220 grit, and stop. The progression of grits reveals the ring pattern progressively: 80 grit shows the structure, 220 grit makes it shine. Apply one coat of clear paste wax and buff it off.
The wax protects the surface from condensation without altering the colour. Stack four rounds, tie with a strip of leather, and give them as a set. The age rings visible on each coaster are the design. Nothing else is needed.
🛍 Shopping guide
Signs, Trays and Serving Pieces
A sign or a serving board is used, handled, and passed around. The grain becomes tactile as well as visual, which is exactly why a sealed-but-unfinished surface beats a painted one every time.
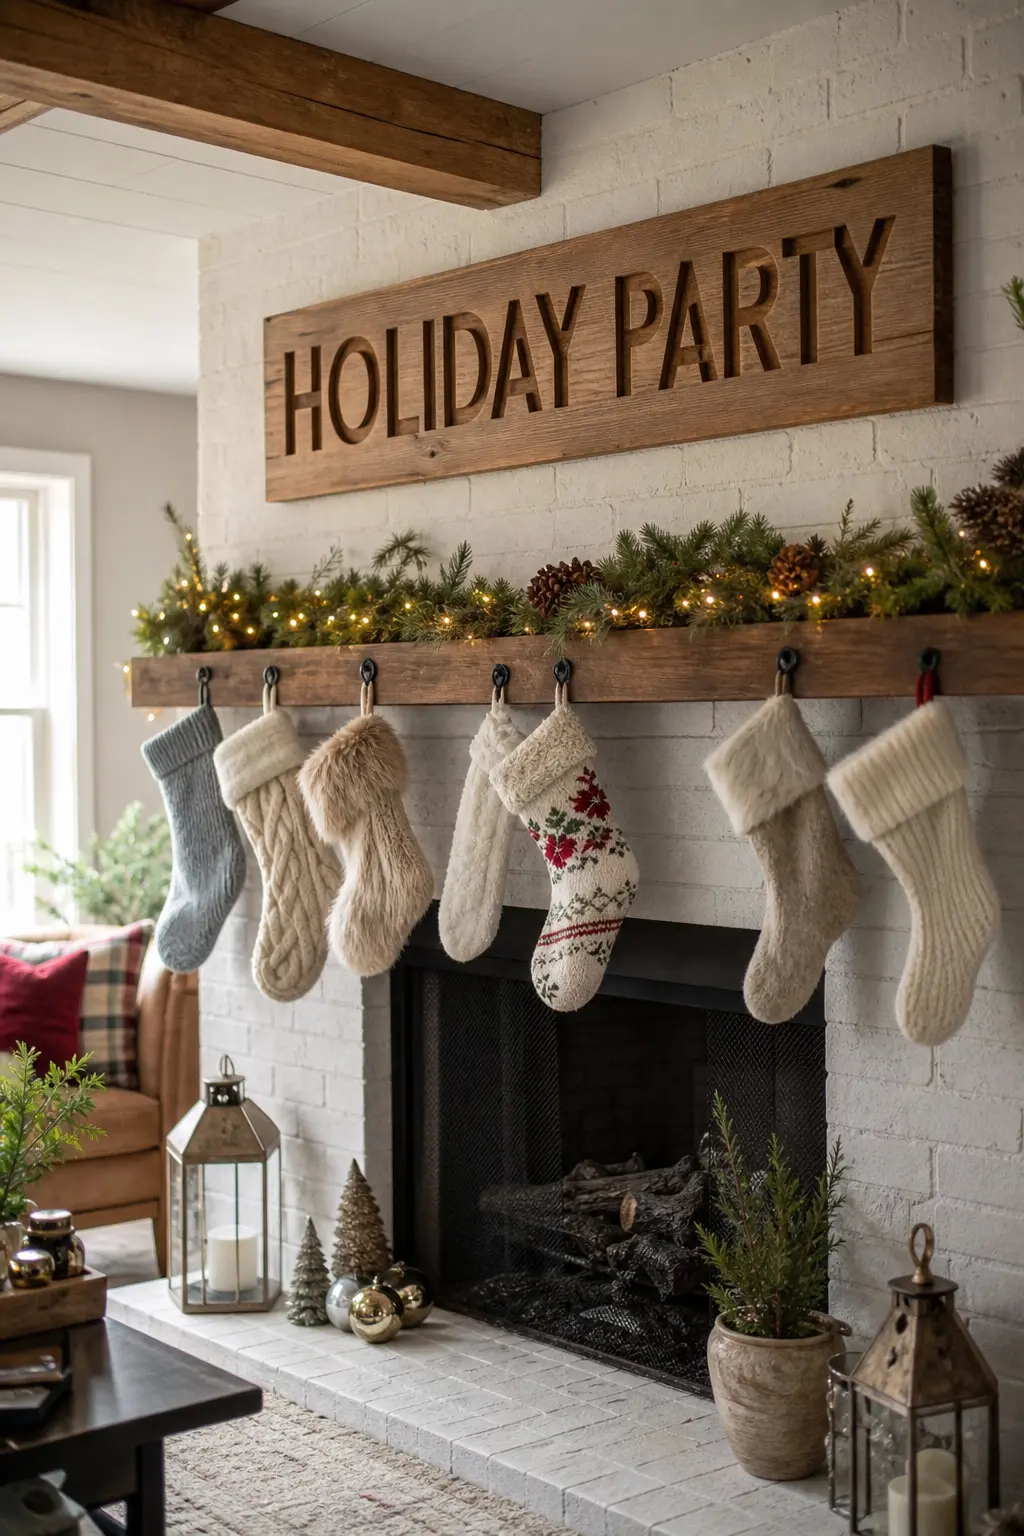
Routed Plank Sign With Shadow-Holding Letters
Route your word or phrase into a plank at least three-eighths of an inch deep. The depth is the detail: shadow pools in the channel and the letters read clearly without a drop of paint. The grain runs straight across the background and curves into each letter edge where the router cut through it.
Sand the face to 180 grit and wipe with a single coat of Danish oil. The oil darkens the grain slightly and makes the shadow in the routed channels even more pronounced. Hang it on the wall, not on a shelf, so the light can do its job.
🛍 Shopping guide
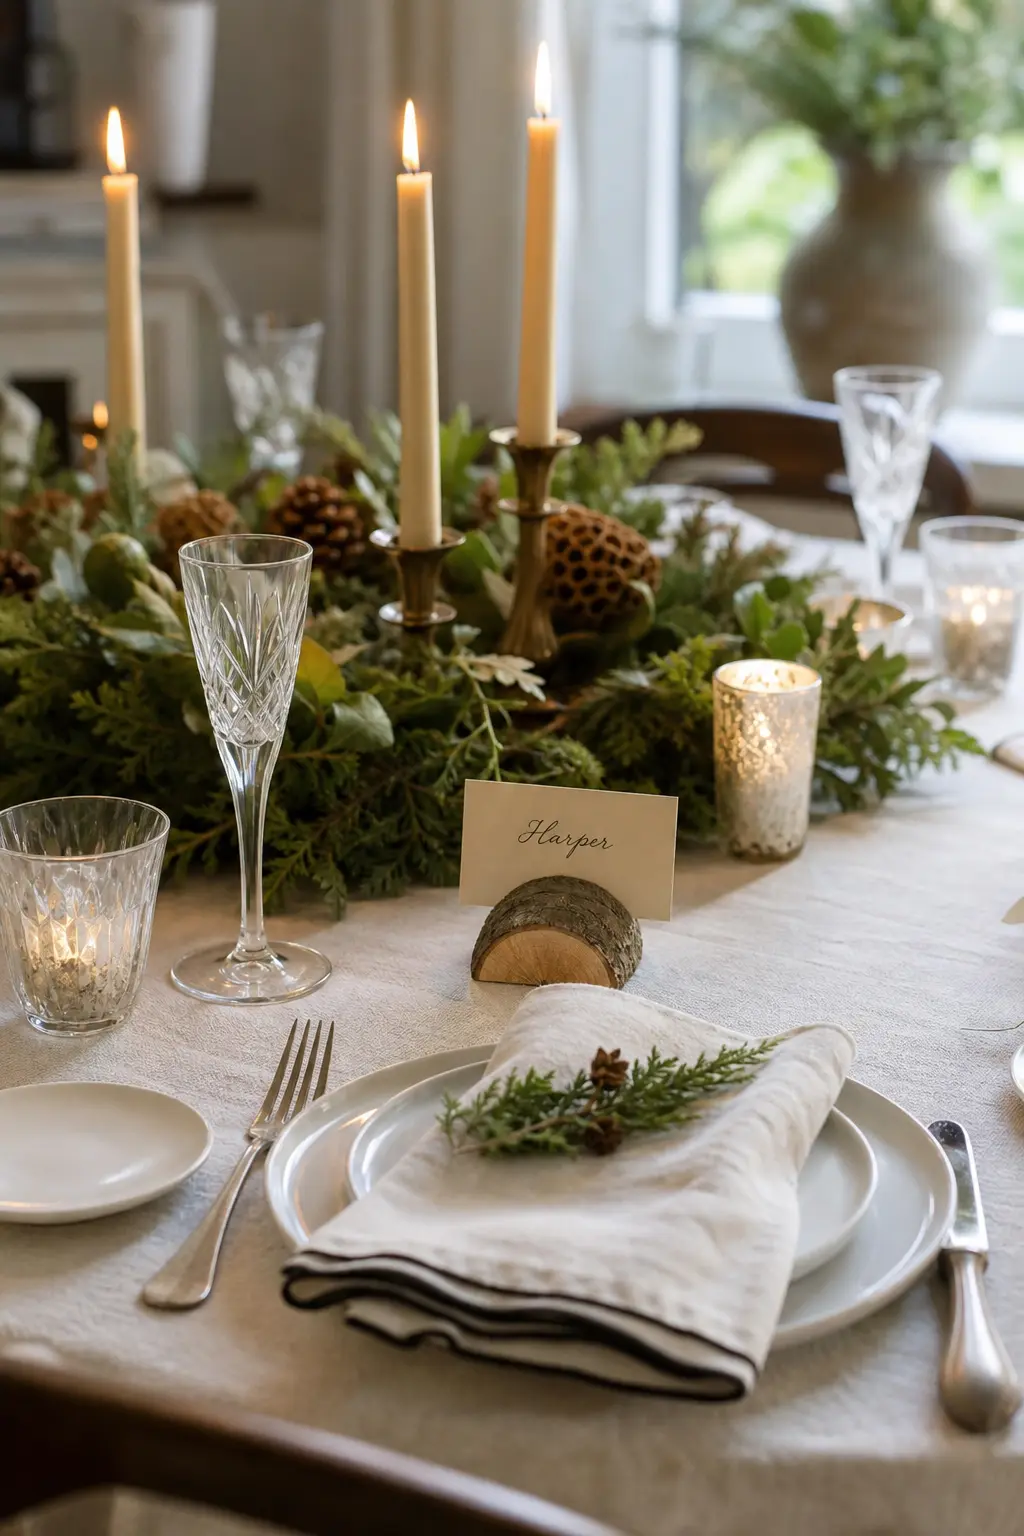
Branch Round Place Card Holder With Bark Intact
Split a branch round on the bandsaw so one flat face sits on the table and the bark remains on the curved back. Cut a thin slot across the flat face with a handsaw: this holds the place card upright.
The bark is the decoration. Do not remove it, do not seal it, do not add anything to it. Set one at each place and let the table linen and the candle do the rest of the styling.
🛍 Shopping guide
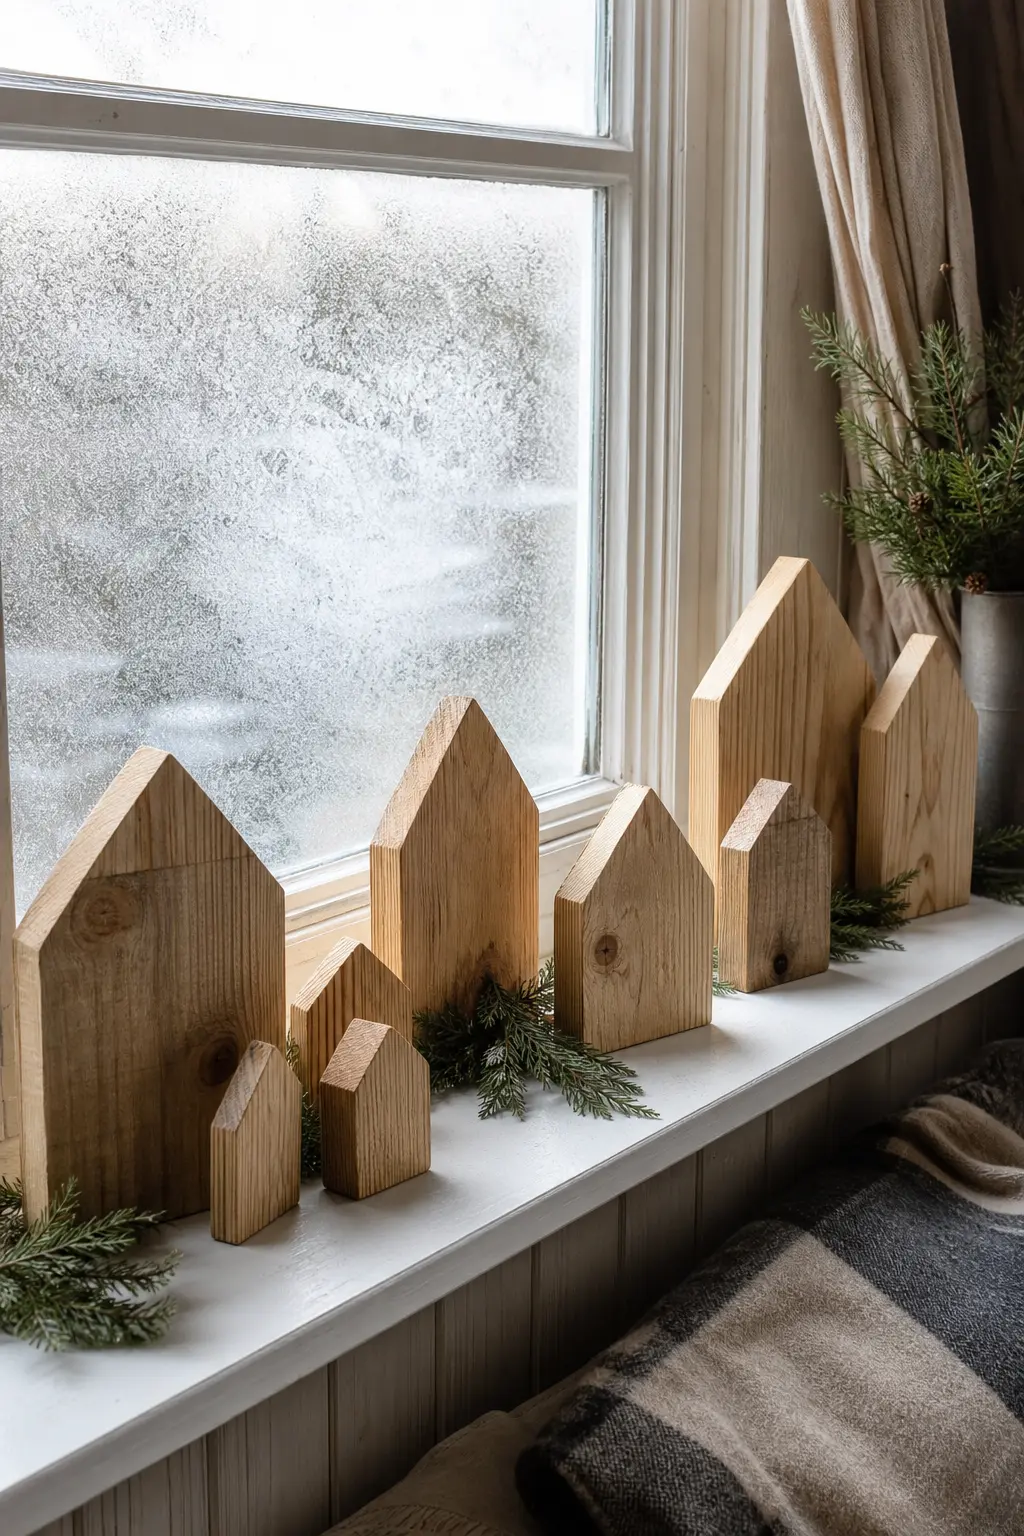
Scrap House Village on Natural Tapered Boards
Cut house shapes from scrap boards, using the natural taper of each piece so the roofline follows where the board narrows. No two houses share the same silhouette because no two boards were the same width.
Leave the wood completely raw. Route or burn a door and window outline on each one. Arrange them on a mantel or windowsill in a staggered row, tallest at the back. The grain running vertically through each house makes them read as actual timber buildings rather than craft-store cutouts.
🛍 Shopping guide
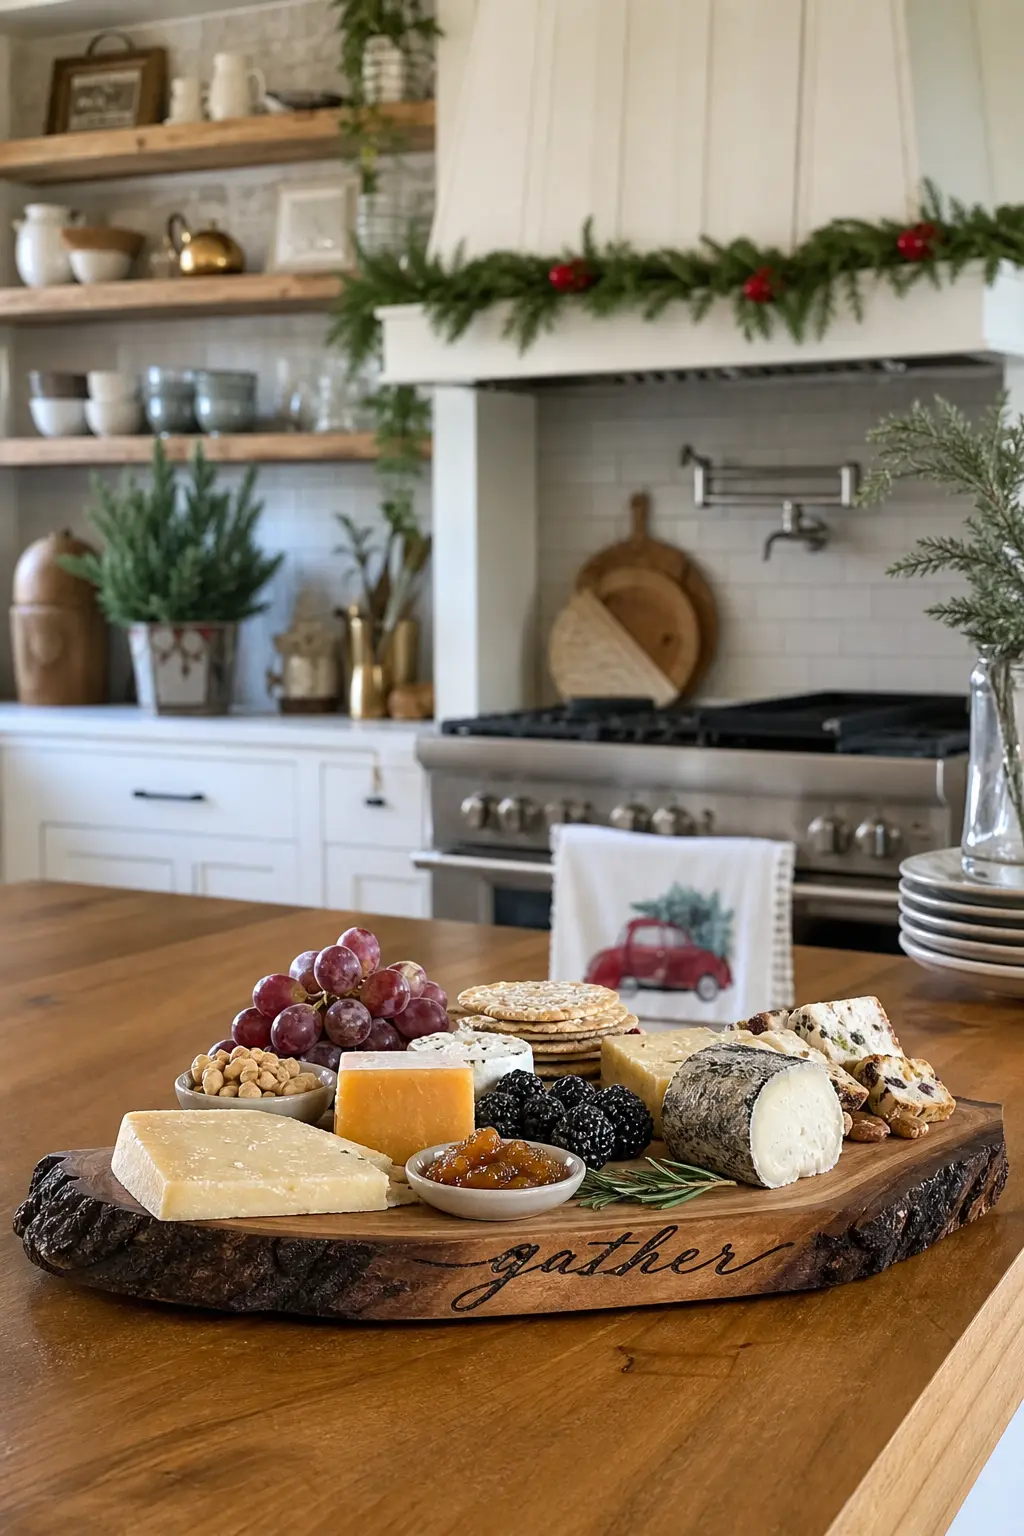
Live Edge Serving Board With a Word Burned Along the Bark
Find a live edge board where the bark line is clean and consistent. Burn one word along that edge with a pyrography pen: the irregular line of the bark means the baseline of the word is organic, not ruler-straight, and that is what makes it beautiful.
Sand the face to 220 grit and finish with food-safe butcher block oil. Use the board. Set cheese on it, bread, fruit. A serving piece that looks like a craft project is half as good as one that looks like it belongs in the kitchen.
🛍 Shopping guide
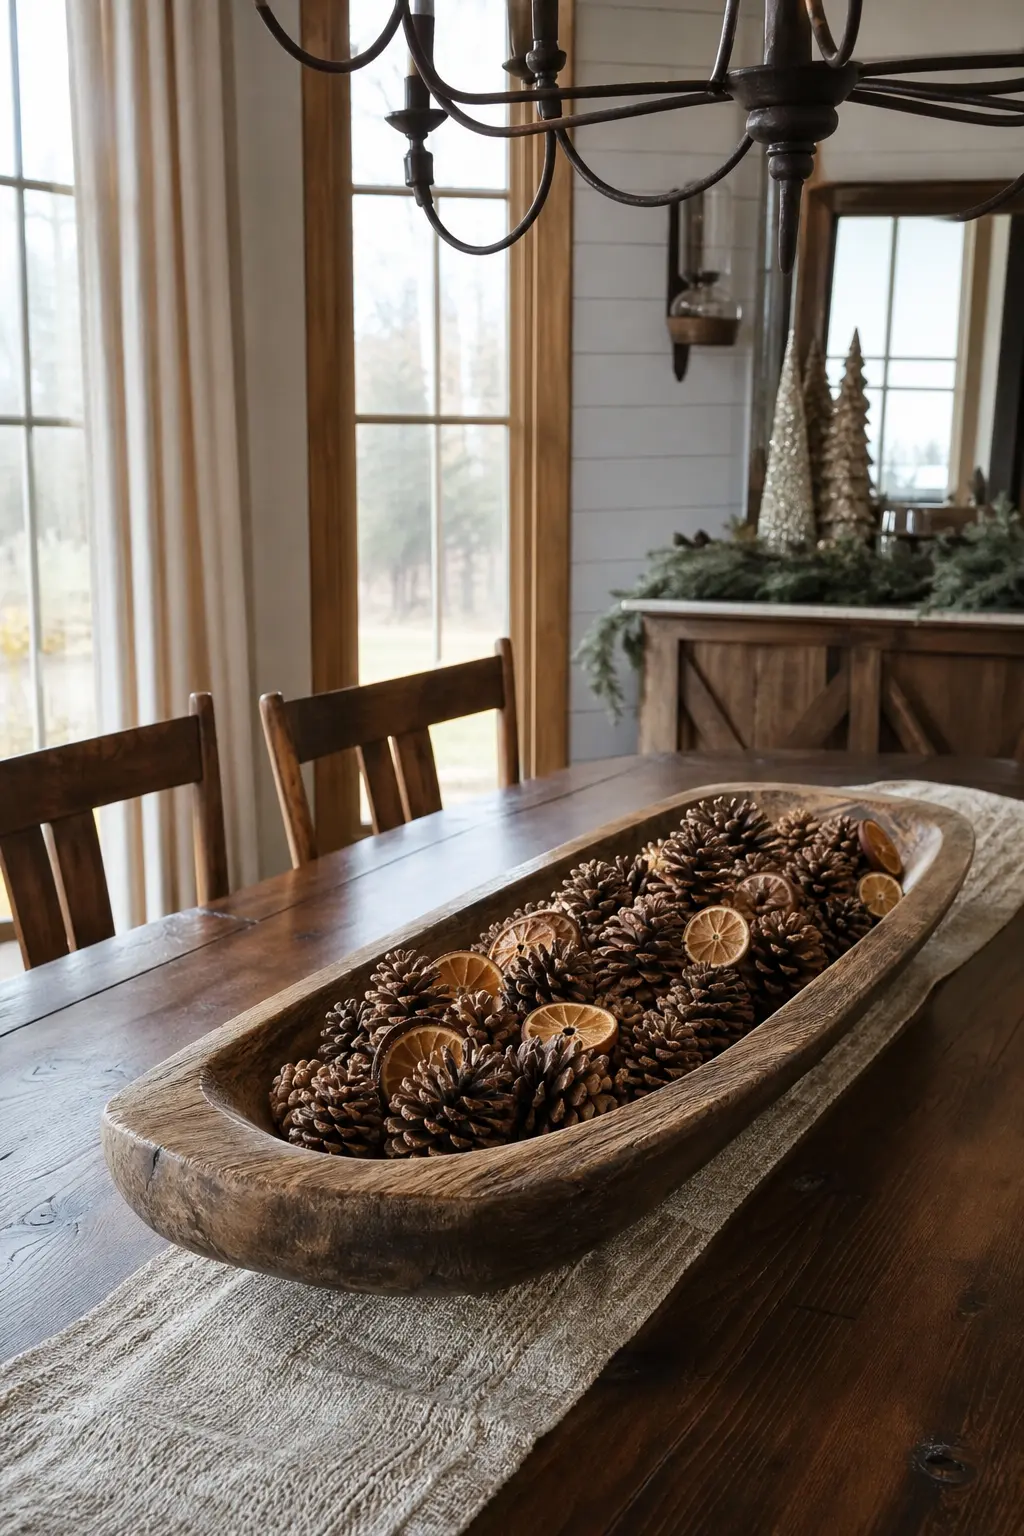
Carved Dough Bowl Tray Filled With Pinecones
Carve or gouge a shallow concave shape into a wide plank using a bowl gouge or a large spoon carving tool. The carving reveals the inner grain in a pattern that no flat surface shows: the rings curve and fold as the wood dips, and the tool marks left deliberately add texture.
Wax the surface and fill it with pinecones, dried orange slices, and a few cinnamon sticks. Nothing is glued down. The tray is functional next year for bread or fruit, and the grain inside the bowl is the reason it is beautiful now.
🛍 Shopping guide
Garlands and Smaller Accents
Garlands and small accents are where scrap offcuts earn their keep. The variation in tone across different species and cuts is the whole point: it is not inconsistency, it is the design.
Dowel and Bead Garland With One Stained Bead
Cut a dowel into half-inch lengths and alternate them on a strand of hemp cord with raw wood beads. Every fifth bead, substitute one bead stained in a single dark walnut tone. That one darker bead is the only colour variation: everything else is raw grain.
The rhythm of pale, pale, pale, pale, dark makes the garland read as designed rather than unfinished. Drape it across a mantel or loop it along a shelf. It does not compete with anything underneath it.

🛍 Shopping guide
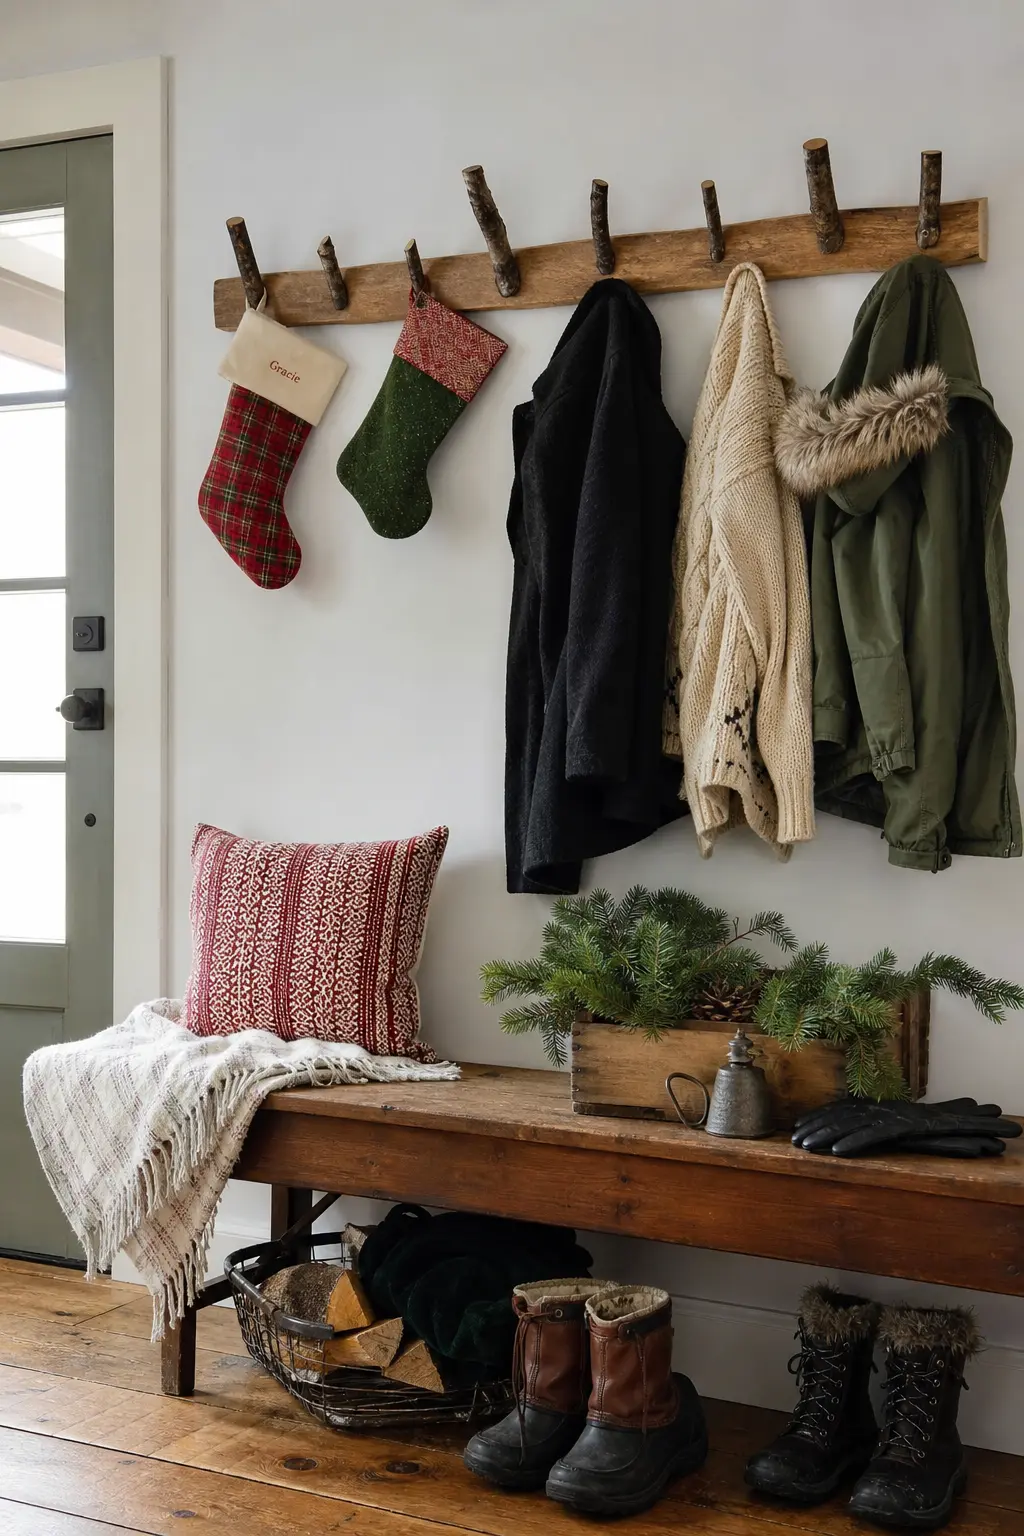
Branch Peg Rail With Bark at Every Peg
Cut pegs from a single branch so each one retains the bark along its length. Mount them through a backing strip of the same timber, spacing them evenly. Because all the pegs come from one branch, the bark pattern and colour matches across the whole rail.
Hang it in the entryway and use it all December: coats, stockings, a wreath waiting to go on the door. The bark is the hardware. Buy none.
🛍 Shopping guide
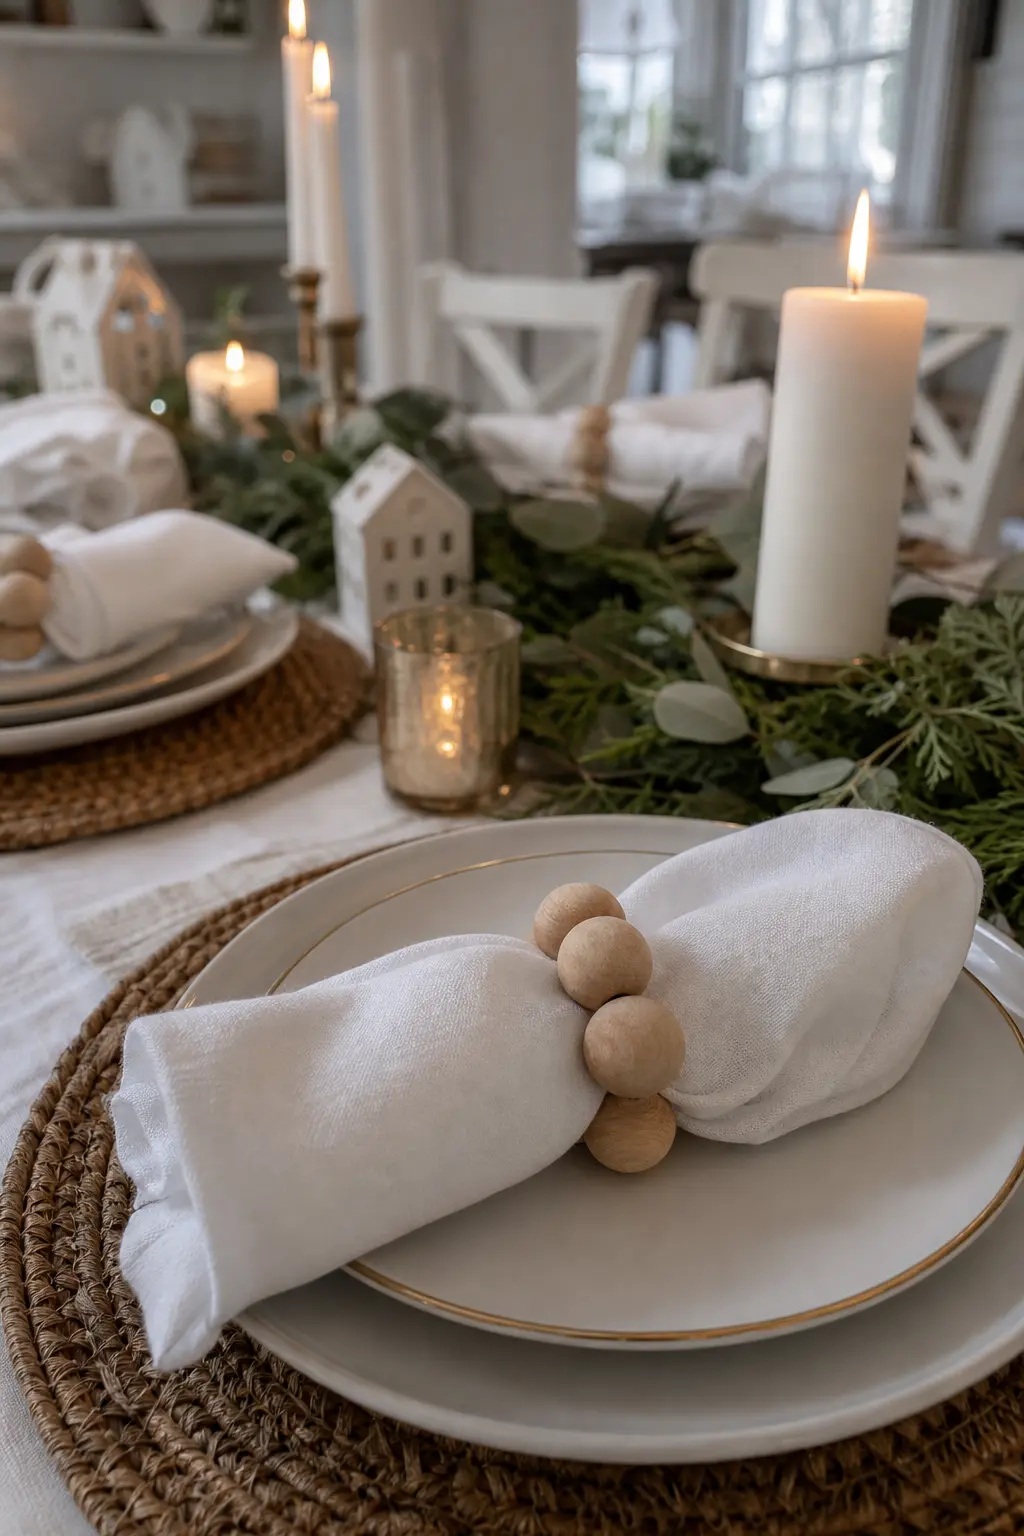
Unfinished Wood Bead Napkin Ring
String four or five large wood beads on a length of elastic cord, knot the ends together, and slide the ring onto a rolled napkin. The elastic keeps the ring snug without a clasp. The grain on each bead runs in a different direction from its neighbours because they were cut from random positions on the dowel.
Do not sand, stain or seal them. The slight roughness of unfinished beads grips the napkin linen slightly, which means the ring actually stays on better than a polished one would.
🛍 Shopping guide
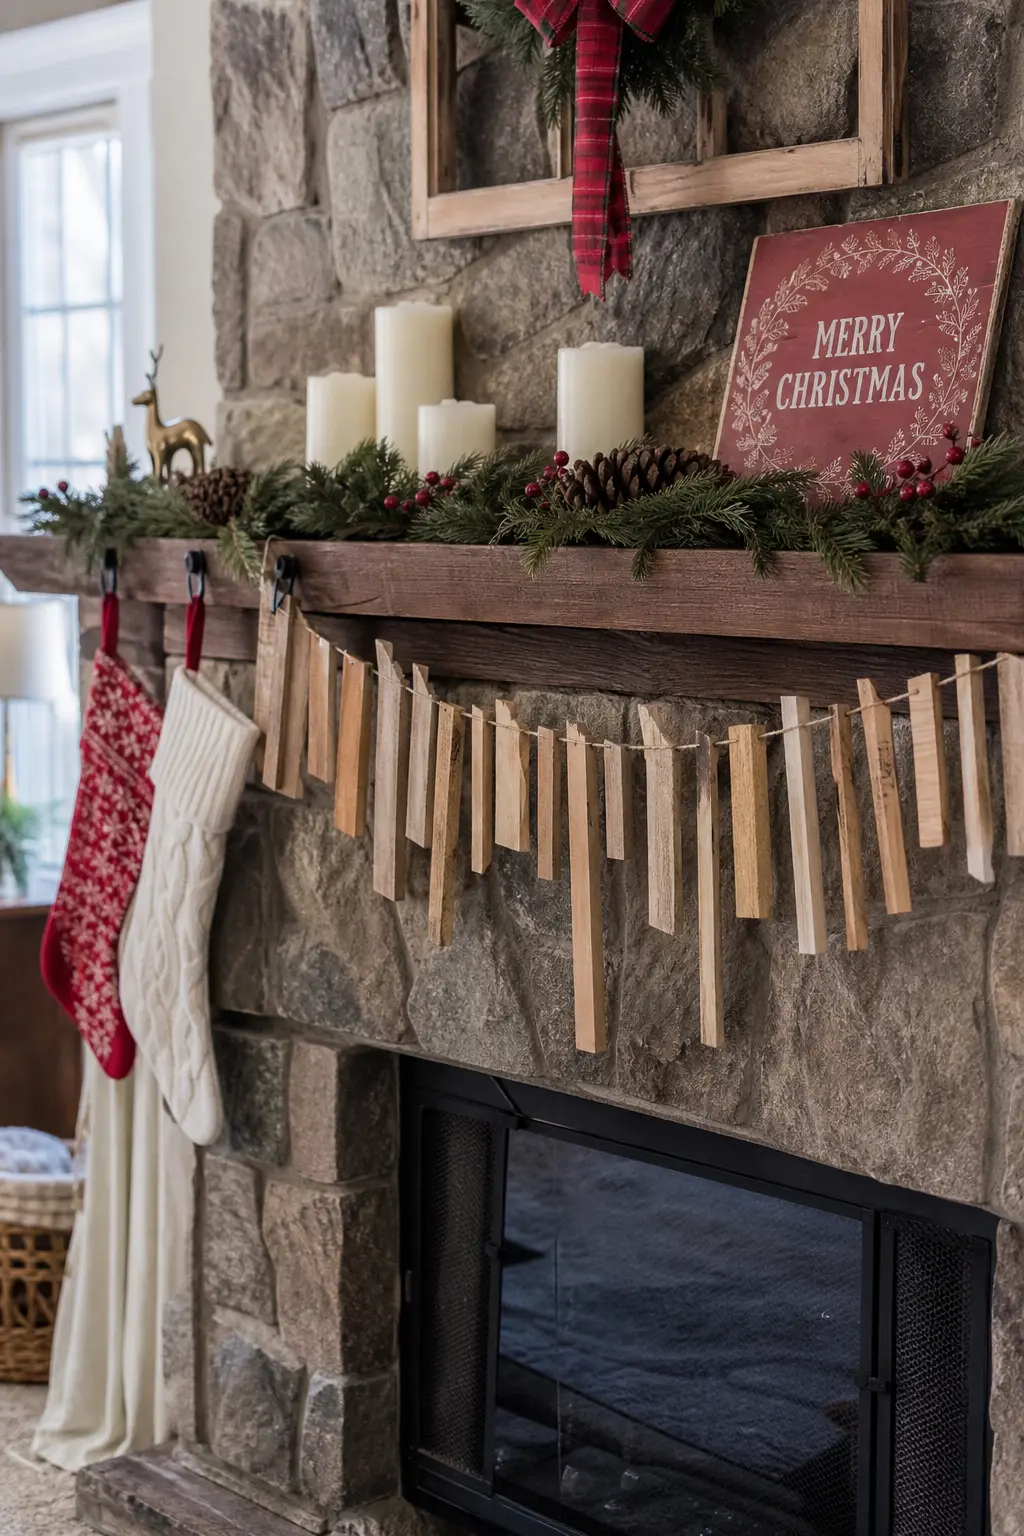
Scrap Wood Mantel Garland of Graduated Unsanded Offcuts
Cut offcuts into rectangles of graduated lengths and wire them through a drilled hole at the top of each piece. Hang them along a length of jute twine, largest pieces at the centre tapering to smallest at each end. Do not sand any of them.
The saw marks, the rough edges, the variations in species where you used different scrap pieces: all of that is what makes the garland interesting. It hangs flat against the mantel front and costs almost nothing if you already have offcuts.
🛍 Shopping guide
Outdoor and Structural Pieces
Outdoor pieces need sealing, but they do not need painting. A good exterior wax or a thin coat of tung oil protects the surface while keeping every ring and streak visible through December and into storage.
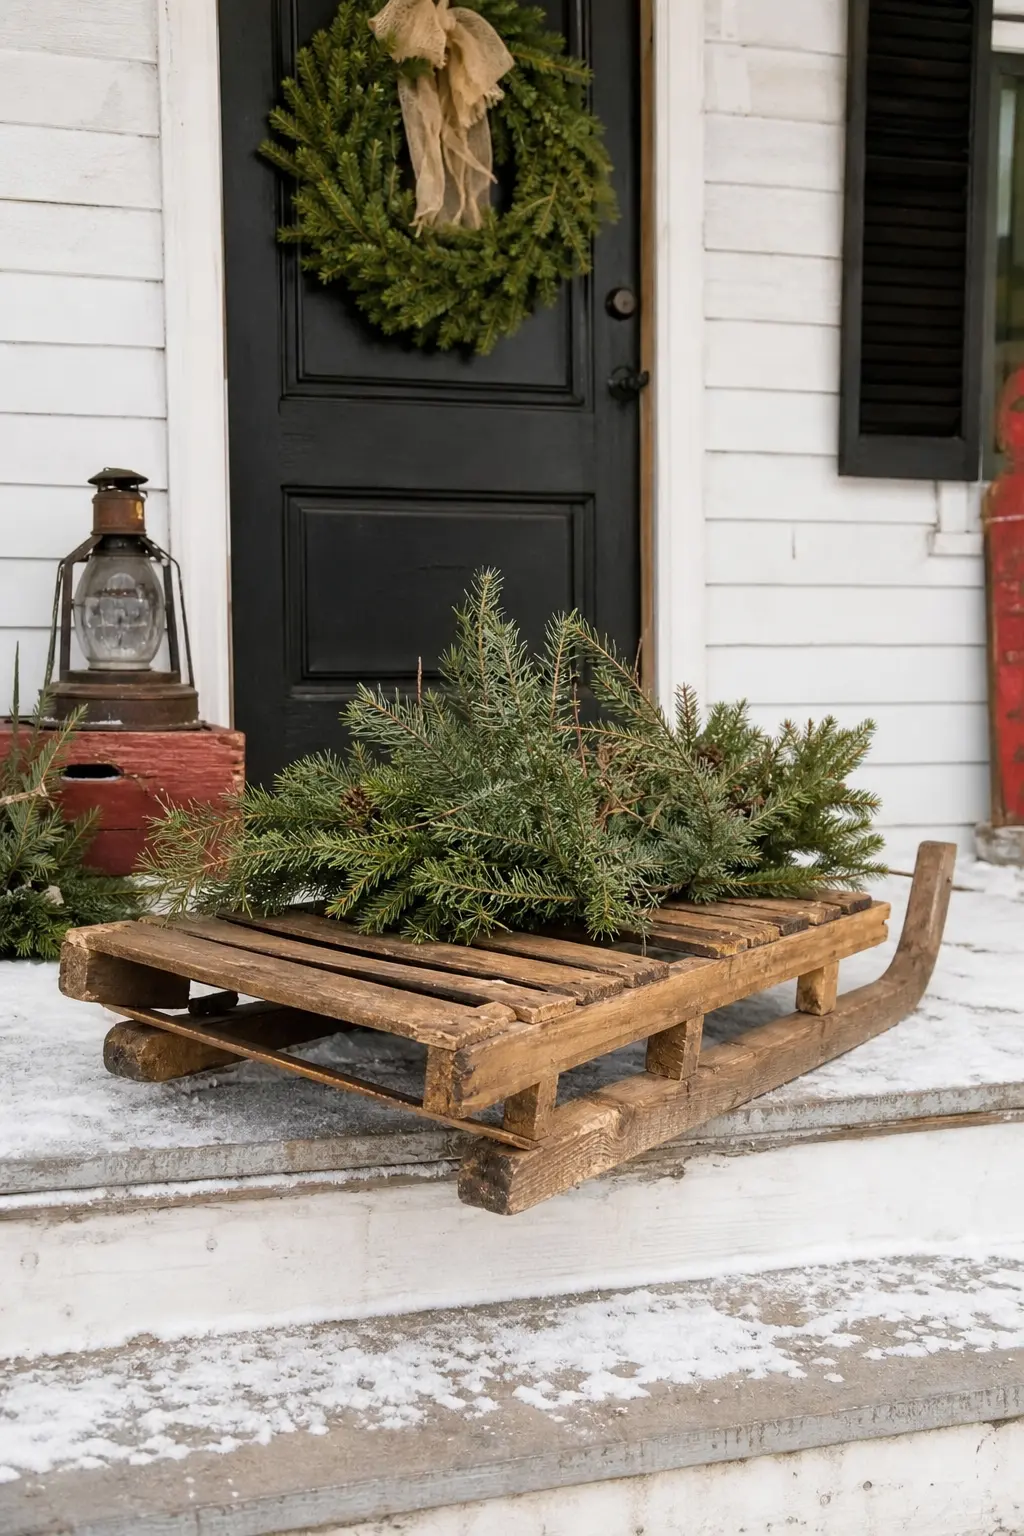
Pallet Sled With Open Plank Gaps
Build the sled platform from pallet planks but leave the gaps between them open instead of filling with wood filler or adding extra boards. The gaps show that it is built from found material, and snow or shadow filling those gaps in use is part of the effect.
Cut the runners from heavier stock, screw them underneath, and curve the front tips with a jigsaw. Seal with a thin exterior oil so the grain survives a season outdoors. Pile with wrapped boxes or a bundle of greenery for the front porch.
🛍 Shopping guide
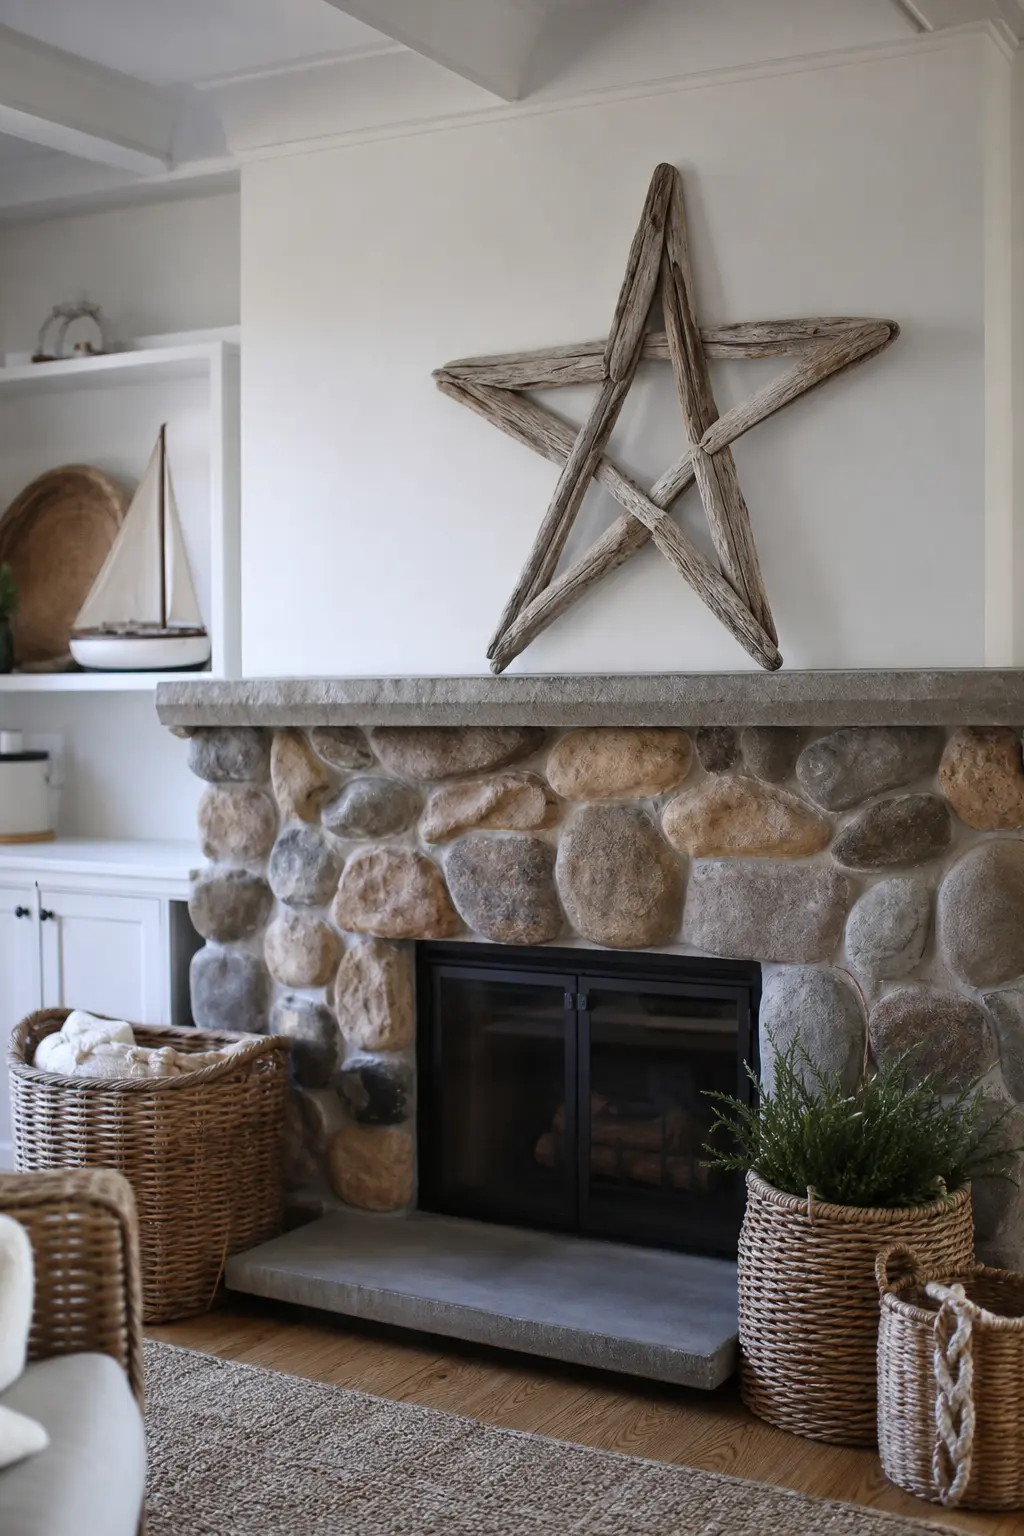
Driftwood Star With Original Weathering Kept
Gather five pieces of driftwood as close to the same diameter as you can manage. Bind them at the centre with wire, arrange them in a star, and add a second wire wrap at each arm joint. Do not sand, bleach, paint or seal them.
The silver-grey weathering and the pale streaks in the grain are the finish. Hang it on the front door or above the fireplace. If pieces are slightly different tones, that variation reads as collected rather than mismatched.
🛍 Shopping guide
Christmas Wood Crafts
The thread running through all nineteen projects is restraint. You are not covering the wood; you are editing it. Route the letter deep enough that shadow does the work. Brand the word along the bark line, not over it. Sand only to the grit that reveals the rings without erasing them.
If you want to go further with the season, the christmas crafts hub connects every category. For tree-specific builds, the diy christmas tree guide covers structural forms in detail. Adult makers who want projects with more technique should read christmas crafts for adults, and for a broader seasonal project list, diy christmas rounds up the quickest wins across every material.
Buy the wax and the pyrography pen before you start. Everything else you probably already own.
Frequently Asked Questions
What Christmas wood crafts can a beginner make?
Start with projects that need only one tool. Wood bead napkin rings require nothing but a hand drill and elastic cord. Stamped wood slice ornaments need a foam stamp and an ink pad. The stacked offcut tree needs a saw and a dowel. All three show the grain clearly and none of them require carving, routing or burning skills.
What wood is best for Christmas wood crafts?
Pine and birch are the most practical choices. Pine is widely available as scrap and offcuts, takes a pyrography pen cleanly, and has visible growth rings even in thin slices. Birch has a fine, consistent grain that reads well on small ornaments. For a serving board or tray, use a hardwood such as maple or walnut: both are dense enough to resist moisture and show a tight, attractive ring pattern.
Do Christmas wood crafts need a scroll saw?
None of the projects here require one. A hand saw, a jigsaw and a basic router cover almost everything on this list. Many projects, including the garland, the napkin rings and the place card holders, need only a hand saw or an awl. A scroll saw is useful for intricate silhouette cutting, but this list deliberately avoids that approach so the grain remains the focus rather than a traced outline.
How do I finish Christmas wood crafts so they last?
Match the finish to the use. For decorative pieces that stay dry, one coat of paste wax is enough: it protects without altering the colour. For serving boards, use a food-safe oil such as butcher block conditioner. For outdoor pieces, apply a thin exterior tung oil or a penetrating outdoor sealer. Avoid polyurethane on any piece where showing the grain matters: it adds a plastic sheen that competes with the wood itself.
10 printable Christmas games for kids, teens and adults, sorted by age and energy, so you can pick t

12 candy cane wreaths in peppermint red and sugar white, one for every door, mantel and small space
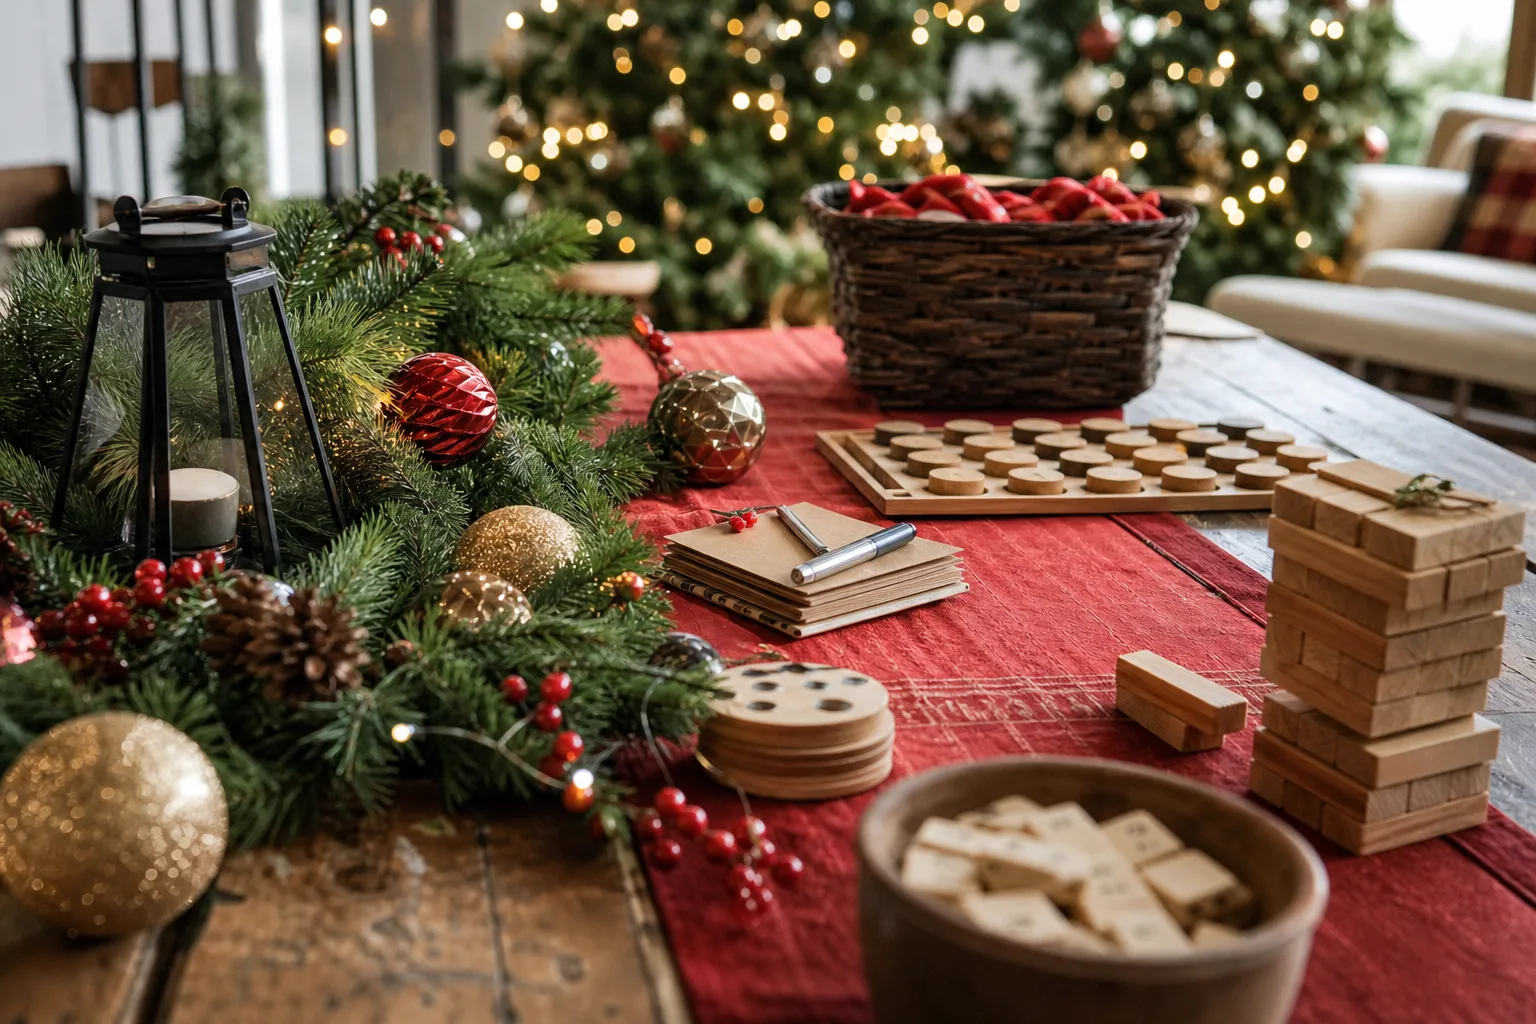
Find the right games for Christmas party night fast: 26 guides sorted by group size, budget, theme a
Leave a Reply