

Christmas Ornament Painting Ideas: 18 Glass Ball Designs With Snow Globes, Gnomes and Starry Nights
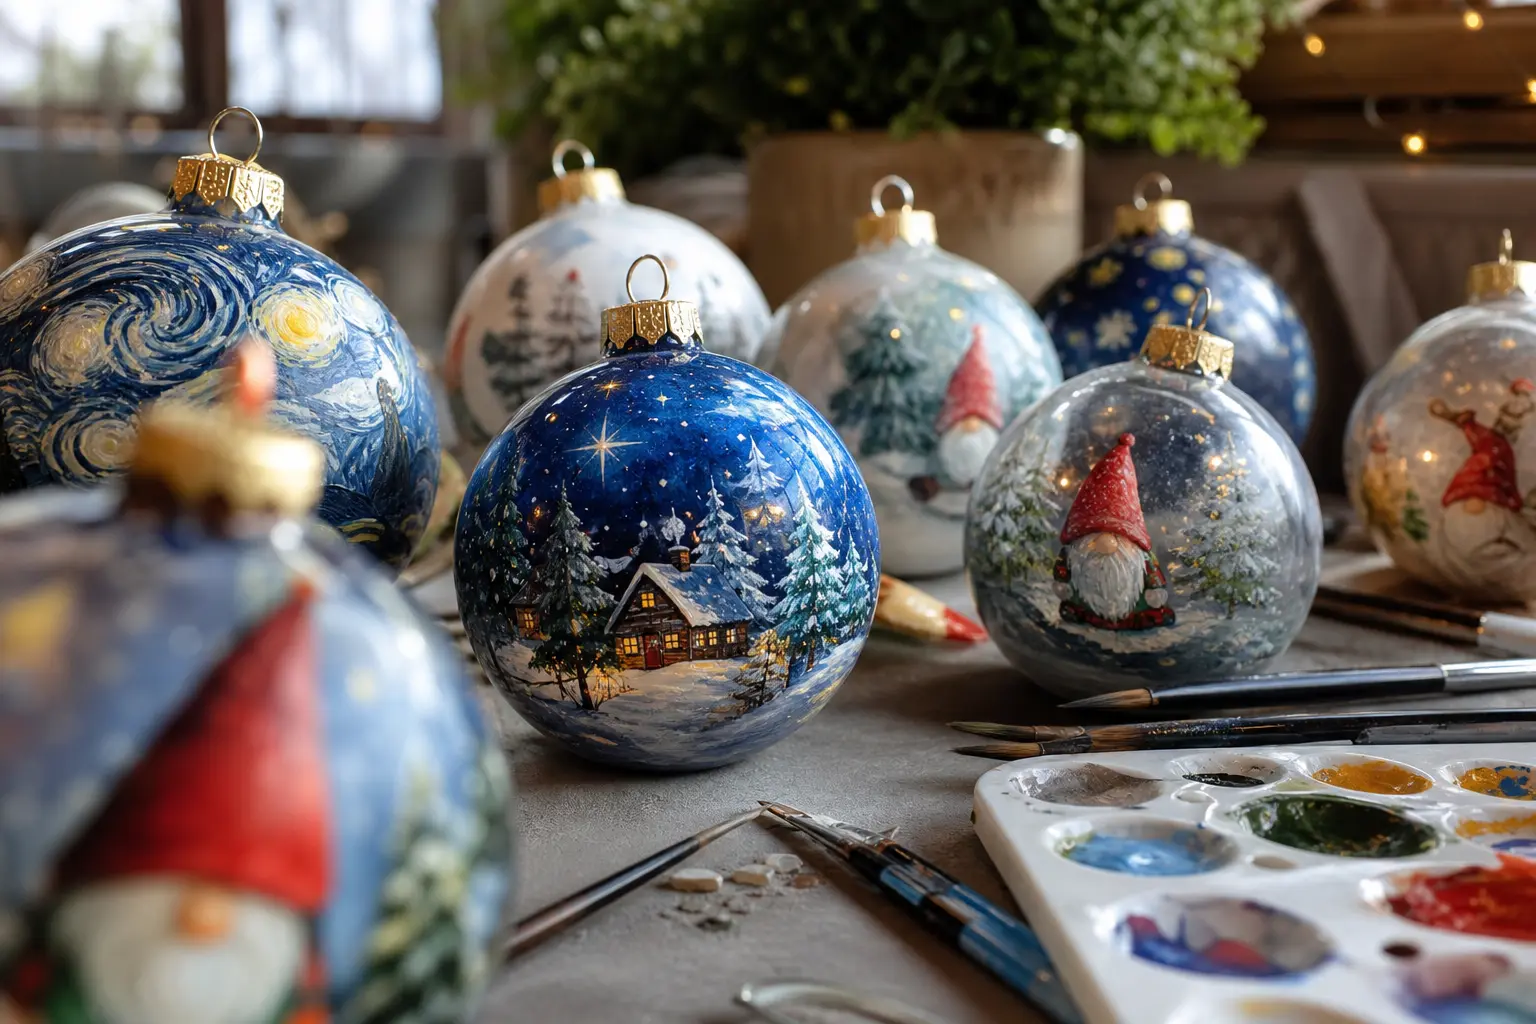
A box of clear glass balls looks like nothing until someone opens the paint. That is the whole appeal: cheap blanks, a kitchen table, and an hour that turns into a proper tree full of pieces nobody else owns. No art degree required, no Pinterest-perfect pressure, just a steady hand and a willingness to let the first one come out a bit wonky.
Treat it as the easy party activity it actually is: pour a drink, put on the ambient Christmas station, and let people pick their own lane. Some will want a tiny painted scene, some want to dip and swirl and call it done in five minutes.
Eighteen looks follow, grouped by mood rather than skill level, so you can match the idea to the ornament blanks already in your cart.
This post contains affiliate links. If you buy through them, I may earn a small commission at no extra cost to you.
Snow Globe Scenes
These are the ones that make people pick the ball up and turn it toward the light. A frosted base coat does the heavy lifting, then a fine brush adds the scene sitting inside that imagined glass dome. They look complicated from across the room and take about fifteen minutes once you know the trick, and they hang beautifully on anything from a vintage-leaning tree to a bare modern one.
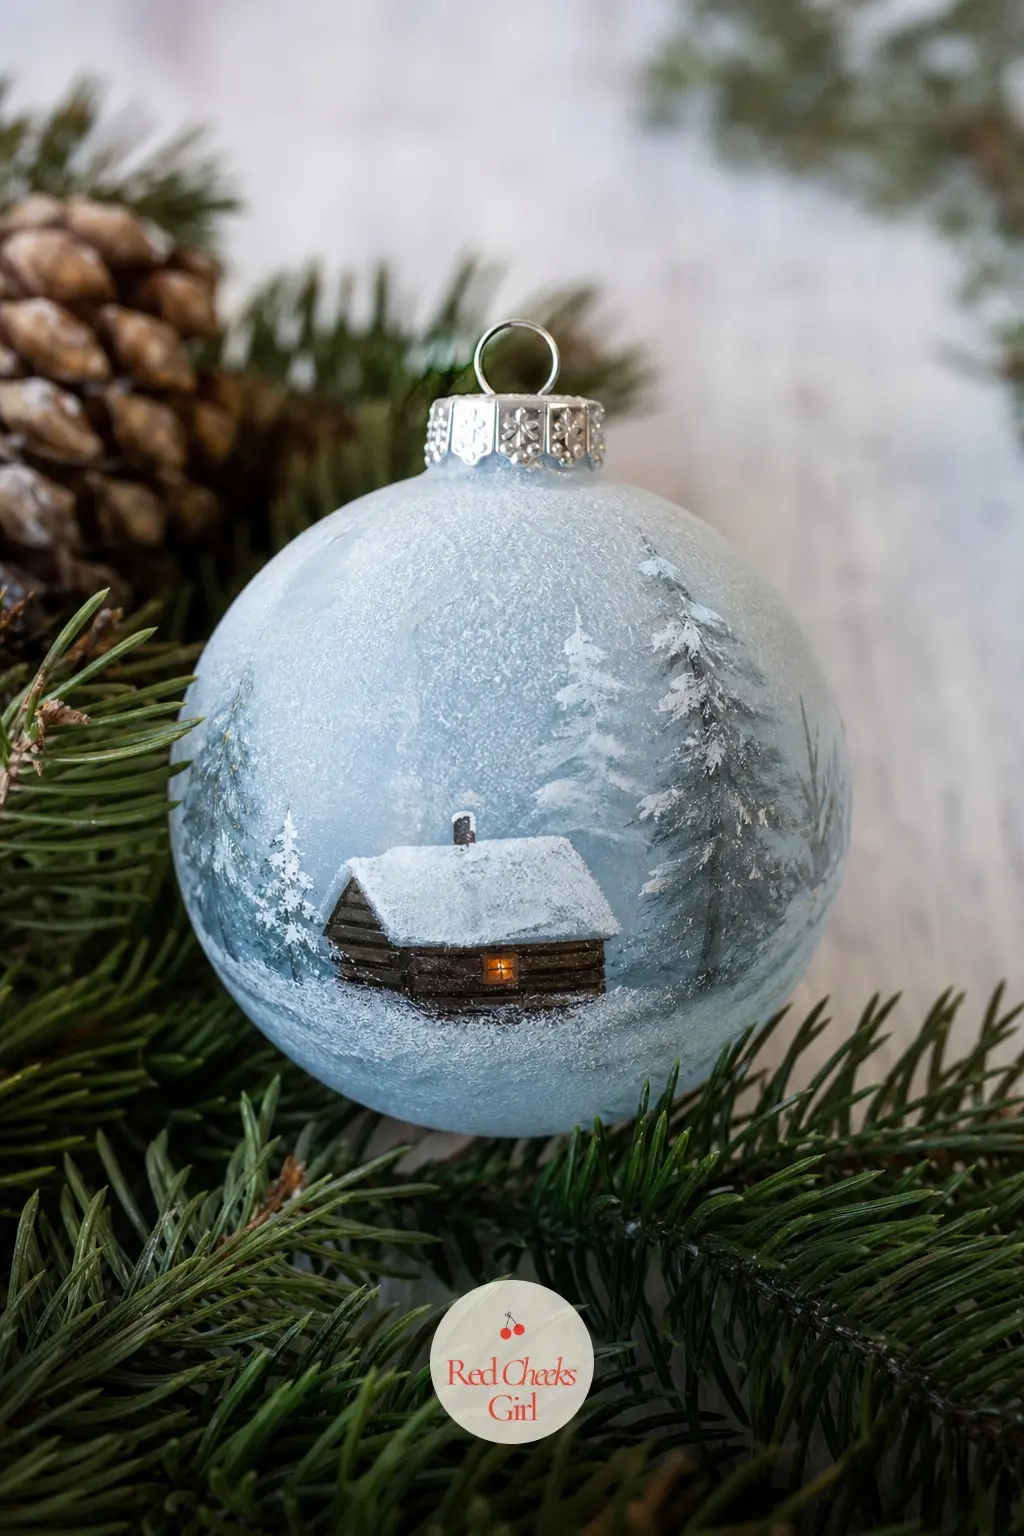
Frosted Cabin Snow Globe Ball
She wants an ornament that looks like it has weather inside it. A coat of matte ice-blue varnish over the lower half gives that frosted-glass look before a single detail goes on.
Paint a tiny cabin silhouette in deep brown along the base, one window picked out in warm amber so it glows against the cold blue. Dot the top half with white paint flicked off a toothpick for falling snow.
Quick to batch: base coat twenty balls at once, then add the cabin detail to each while the first coats dry. If you would rather skip the landscape entirely, the blue frost alone still reads as a finished ornament.
🛍 Shopping guide
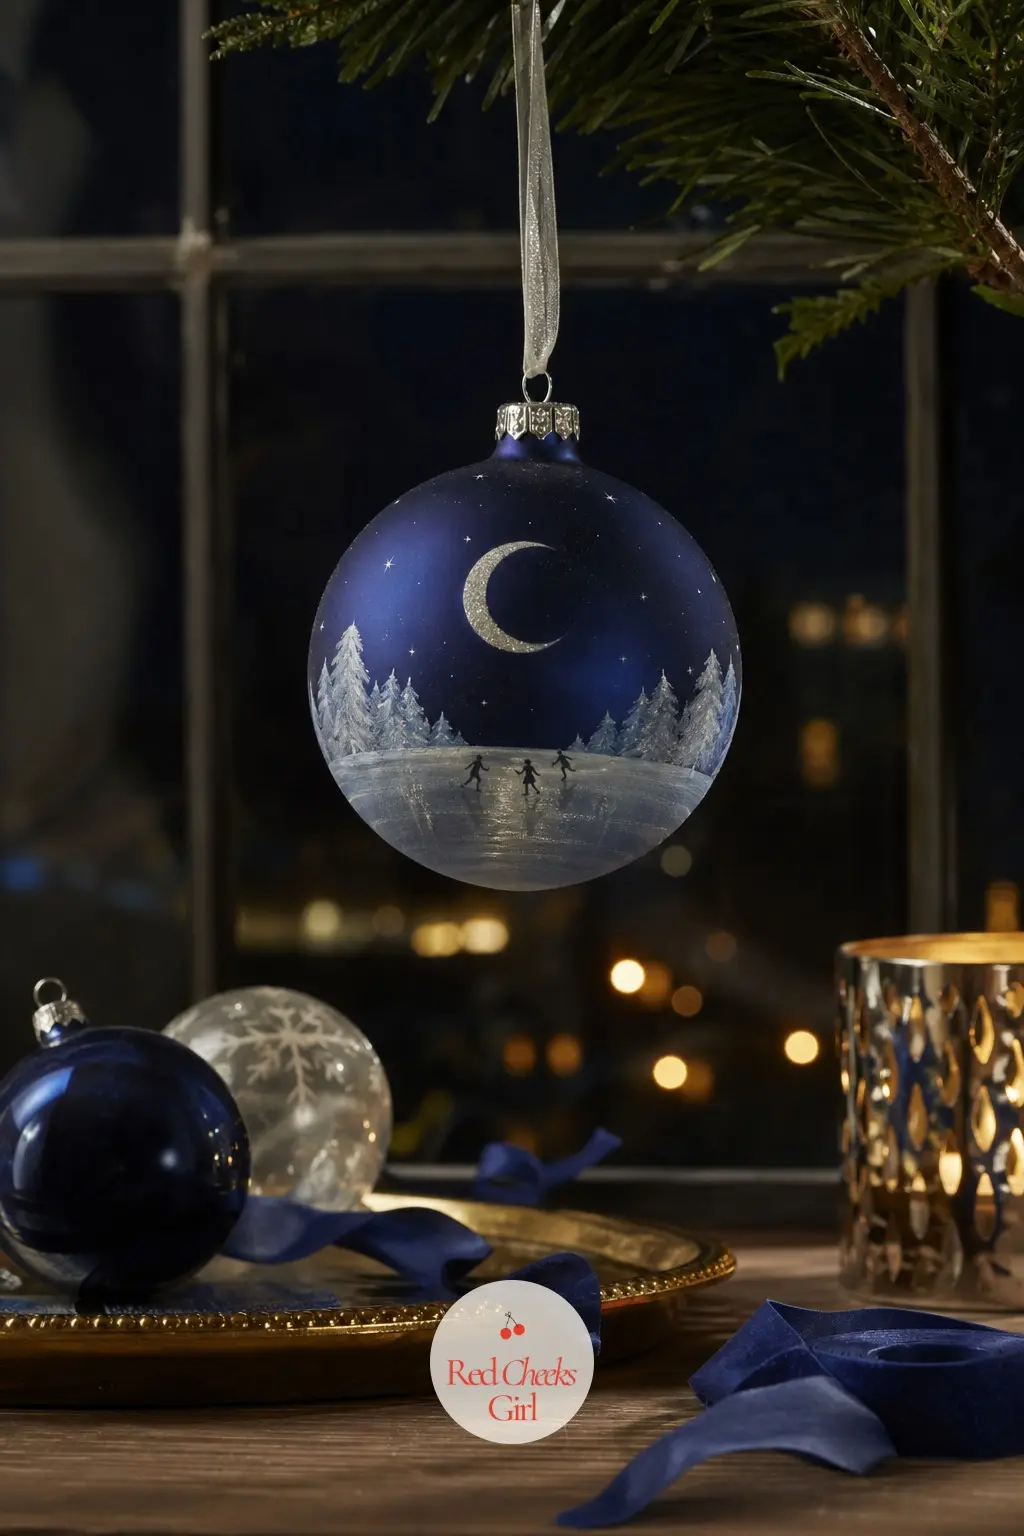
Moonlit Skating Pond Ball
This one is for the ornament box that already has too much red in it. A midnight navy base, a silver crescent moon in the upper curve, and a pale icy oval near the bottom standing in for a frozen pond.
A few confident white commas with a liner brush become skaters without needing to look like actual people, which is the whole trick: suggestion over detail. Silver paint pen adds the finishing sparkle along the pond’s edge.
If navy feels heavy for a smaller tree, swap in a soft charcoal grey base and the whole mood lightens without losing the scene.
🛍 Shopping guide
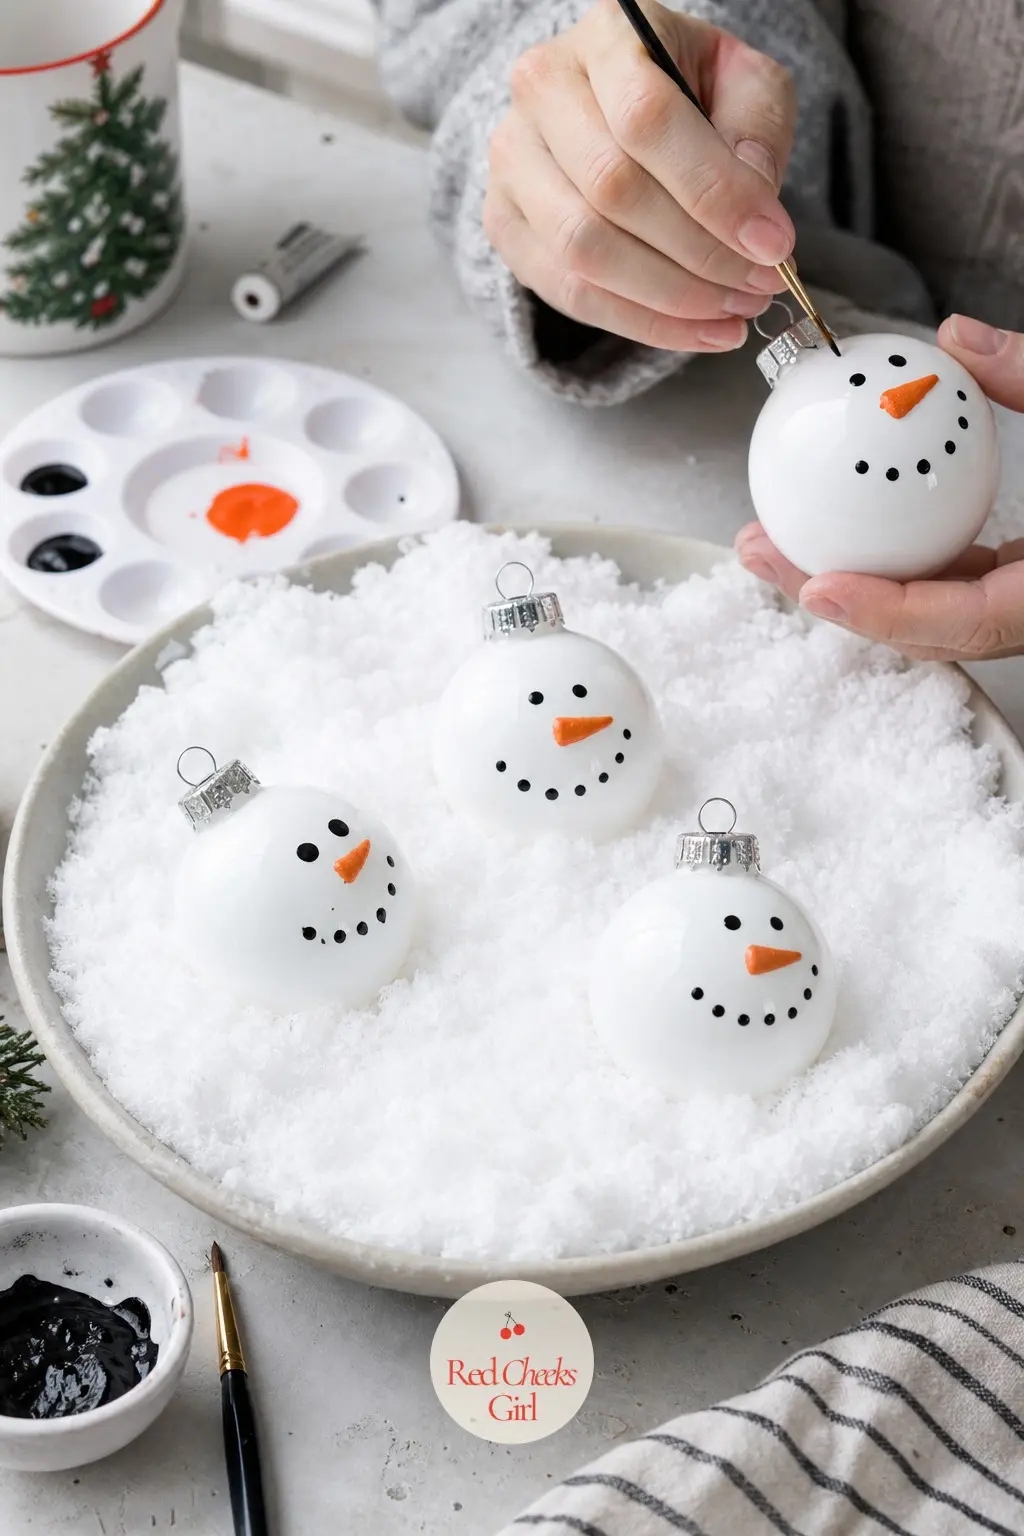
Snowman Family Tableau Ball
Three stacked white circles, a carrot-orange triangle, and two coal-black dots: easier to paint than it sounds, and the kind of ornament a guest will want to take straight home. Snow-white gives the base, a single fine brush adds the face.
Keep the palette to three colours only, white, orange, black, so a whole table of people can share one small set of paints without waiting on each other.
Cheap to run as a group project since the blanks cost little more than a dollar each in bulk packs.
🛍 Shopping guide
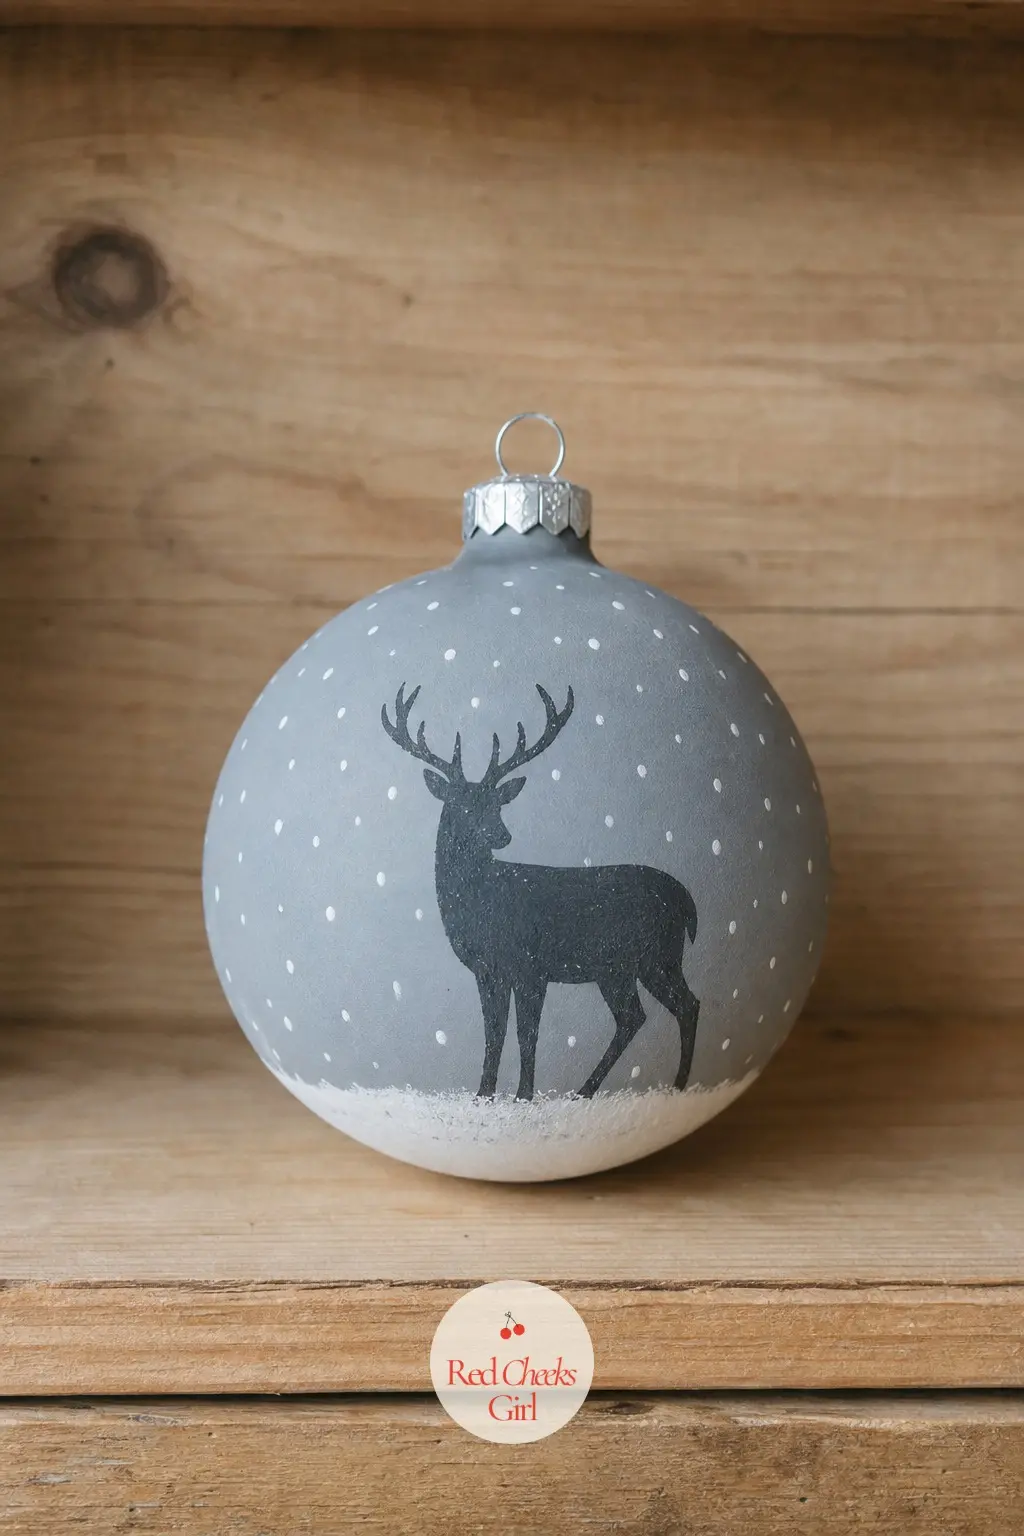
Woodland Deer in Snowfall Ball
A slate grey wash over the glass, then a single deer silhouette in flat charcoal standing in a drift of white dots. No antlers needed if the brush gets shaky, a doe reads just as well as a stag.
The grey background is forgiving of uneven coverage in a way bright white never is, which makes this the kinder option for someone newer to a brush.
A single gold star dot near the deer’s head lifts the whole thing from sketch to scene.
Gnome and Character Faces
Faces are forgiving: a crooked nose or an uneven beard just adds character, which is exactly what a first-timer needs to hear before she picks up a brush. These sit happily on a tree already carrying clip-on birds and glass mushrooms, the kind described over on the whimsical tree roundup, without competing for attention.
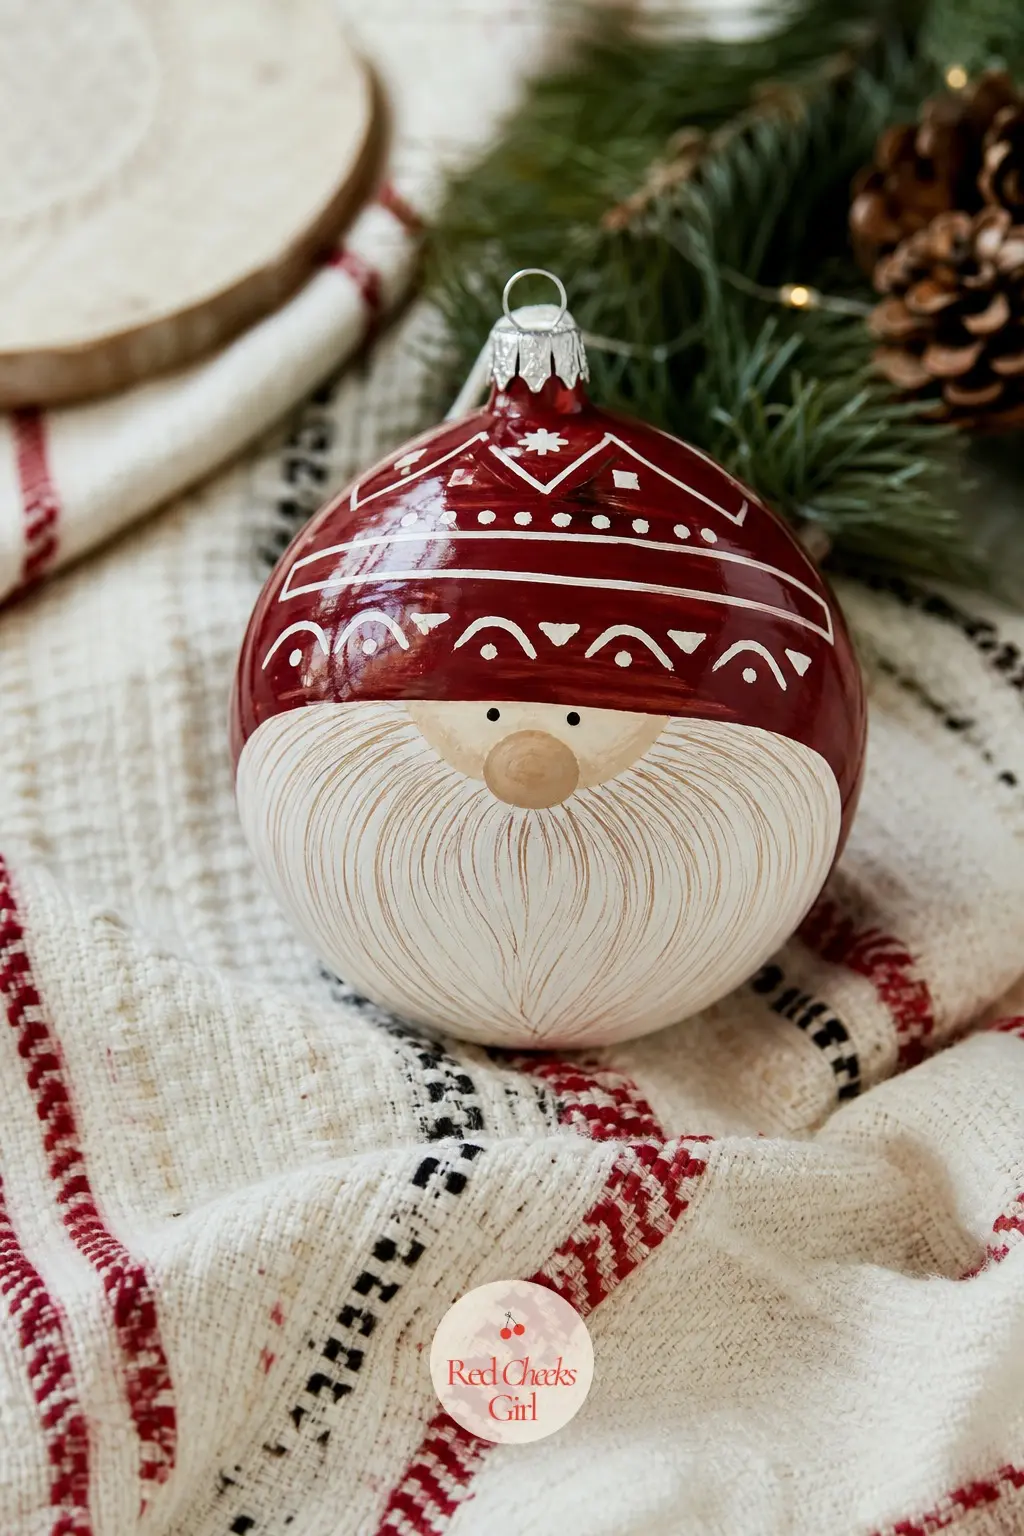
Bearded Gnome Face Ball
Brick-red for the pointed hat, cream for a beard painted in loose overlapping strokes, a smudge of dusty pink for cheeks: this is the ornament every gnome-loving friend will try to claim before the paint even dries.
No eyes needed, the beard covers most of the face anyway, which removes the hardest part of painting anything with a face.
A quick, forgiving project since mistakes just become more beard.
🛍 Shopping guide
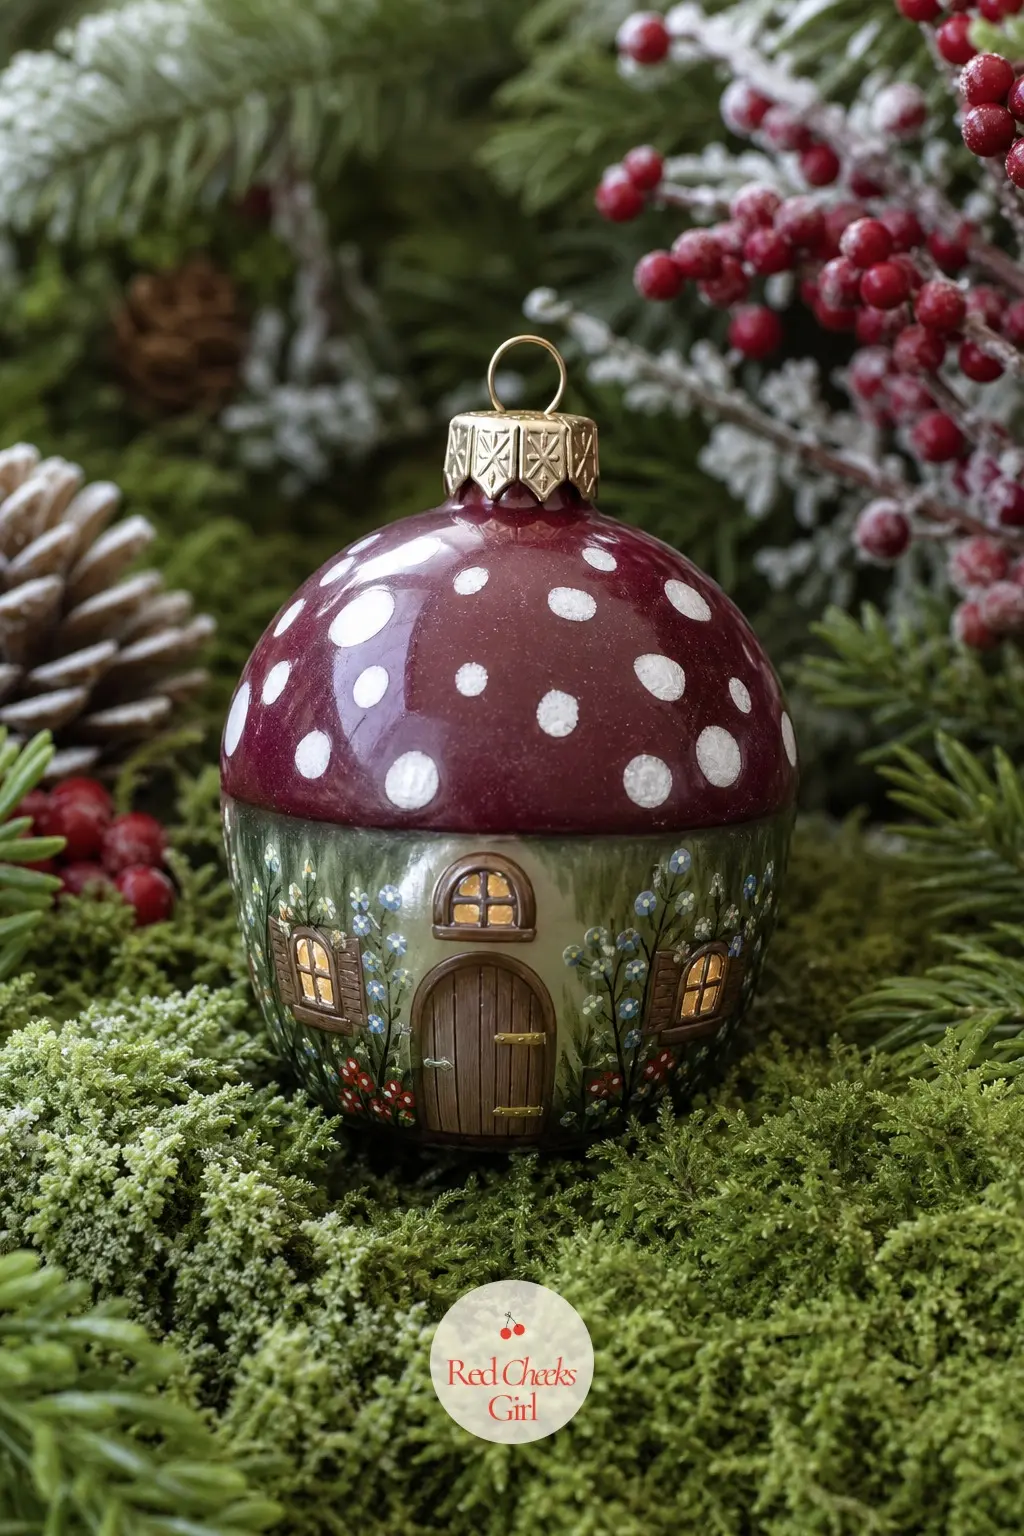
Mushroom Gnome House Ball
A burgundy cap dotted in white sits over a mossy green base with a tiny gold window cut into it, the ornament version of a cottagecore postcard. The dots go on last with the end of a paintbrush dipped straight in white.
Burgundy and moss green together photograph beautifully against a plain tree, no extra styling required.
Finish with a single warm gold dot for the window glow before the paint sets.
🛍 Shopping guide
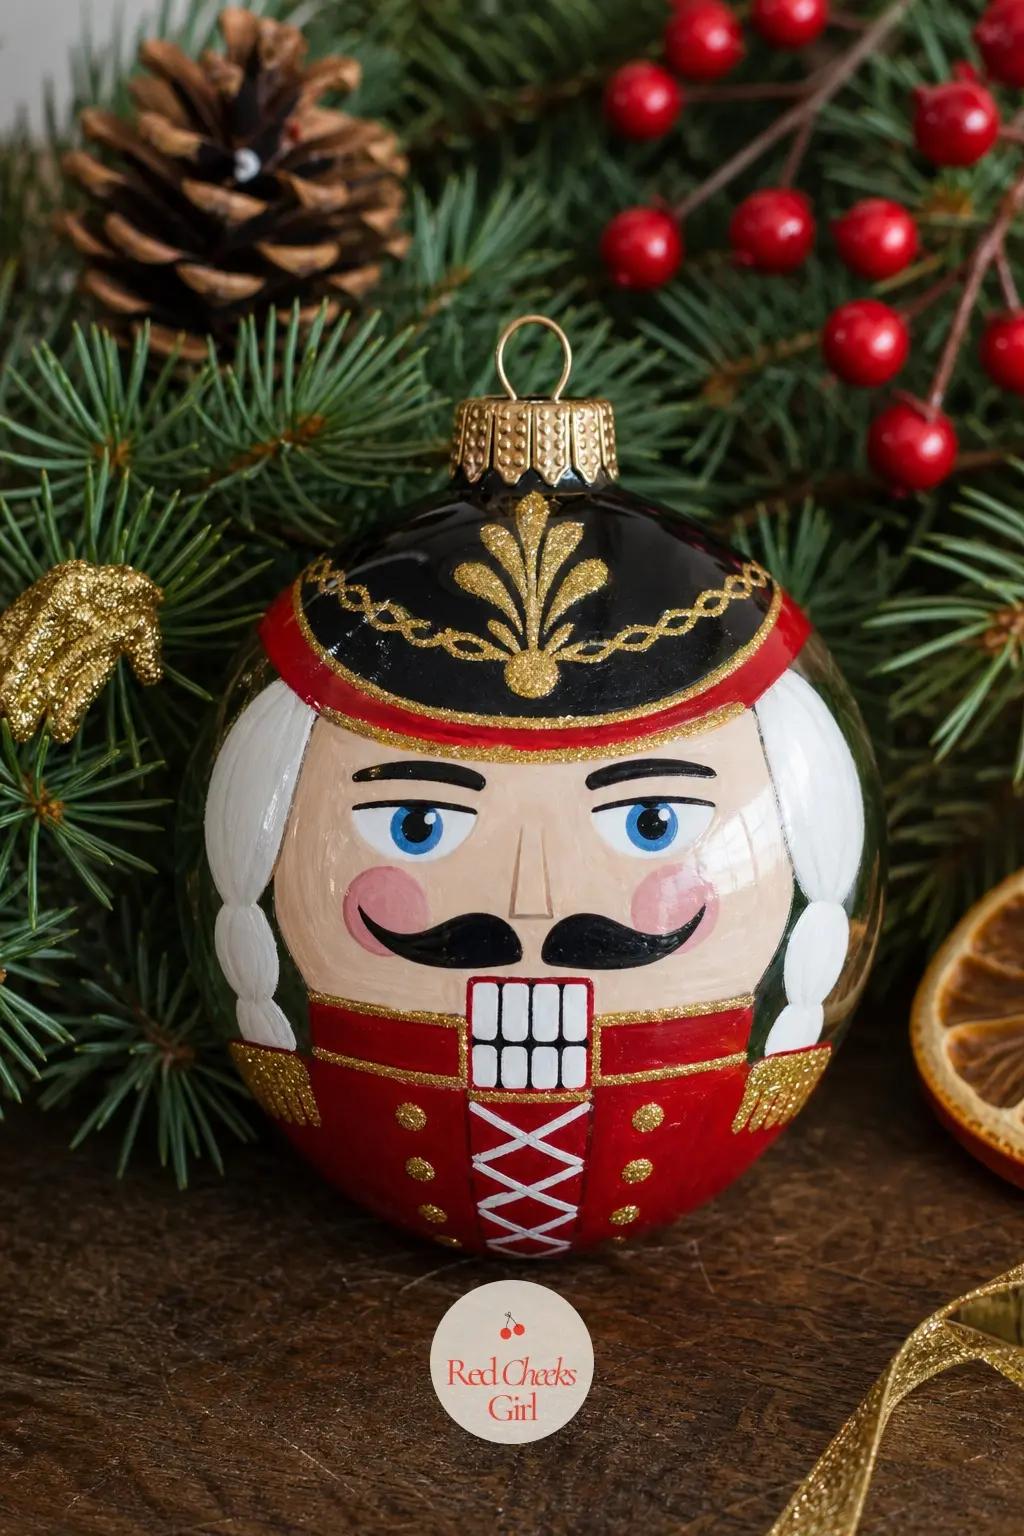
Painted Nutcracker Soldier Ball
Navy coat, gold braid, cherry-red cheeks: the classic nutcracker colours translate onto a round glass ball more easily than you would think, since the curve hides the fact nobody drew a straight uniform line.
Gold paint pen does the braid detail in one pass, no steady brush required.
A satisfying one for anyone who wants a traditional look without reaching for red and green again.
🛍 Shopping guide
Starry Night and Celestial Skies
A dark base coat and a scatter of dots or a single crescent moon: this is the lane for someone who wants an ornament that reads as art, not craft. No drawing skill needed, just patience while the black dries before the gold goes on top.
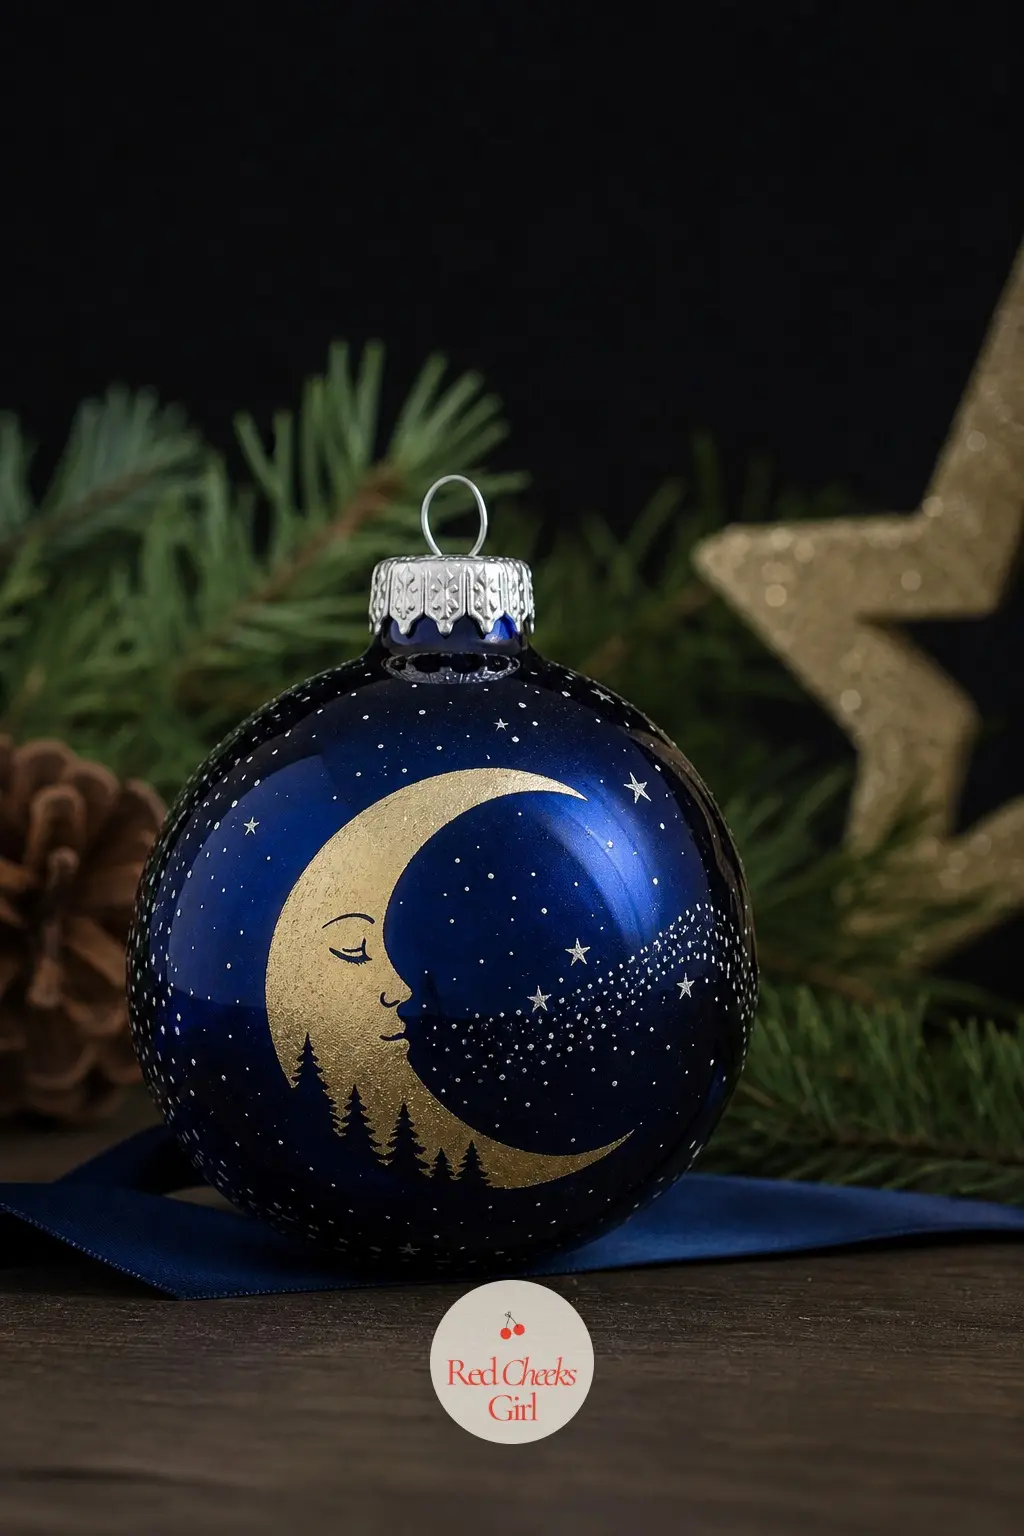
Moon and Star Silhouette Ball
Deep indigo covers the whole ball first, left to dry completely, then a single pale gold crescent moon goes near the top with a scatter of fine silver dots trailing below it like dust.
This is the ornament for someone who wants one strong, simple image rather than a busy scene, and it takes under ten minutes once the base is dry.
Works equally well in black if indigo feels too soft for a darker tree.
🛍 Shopping guide
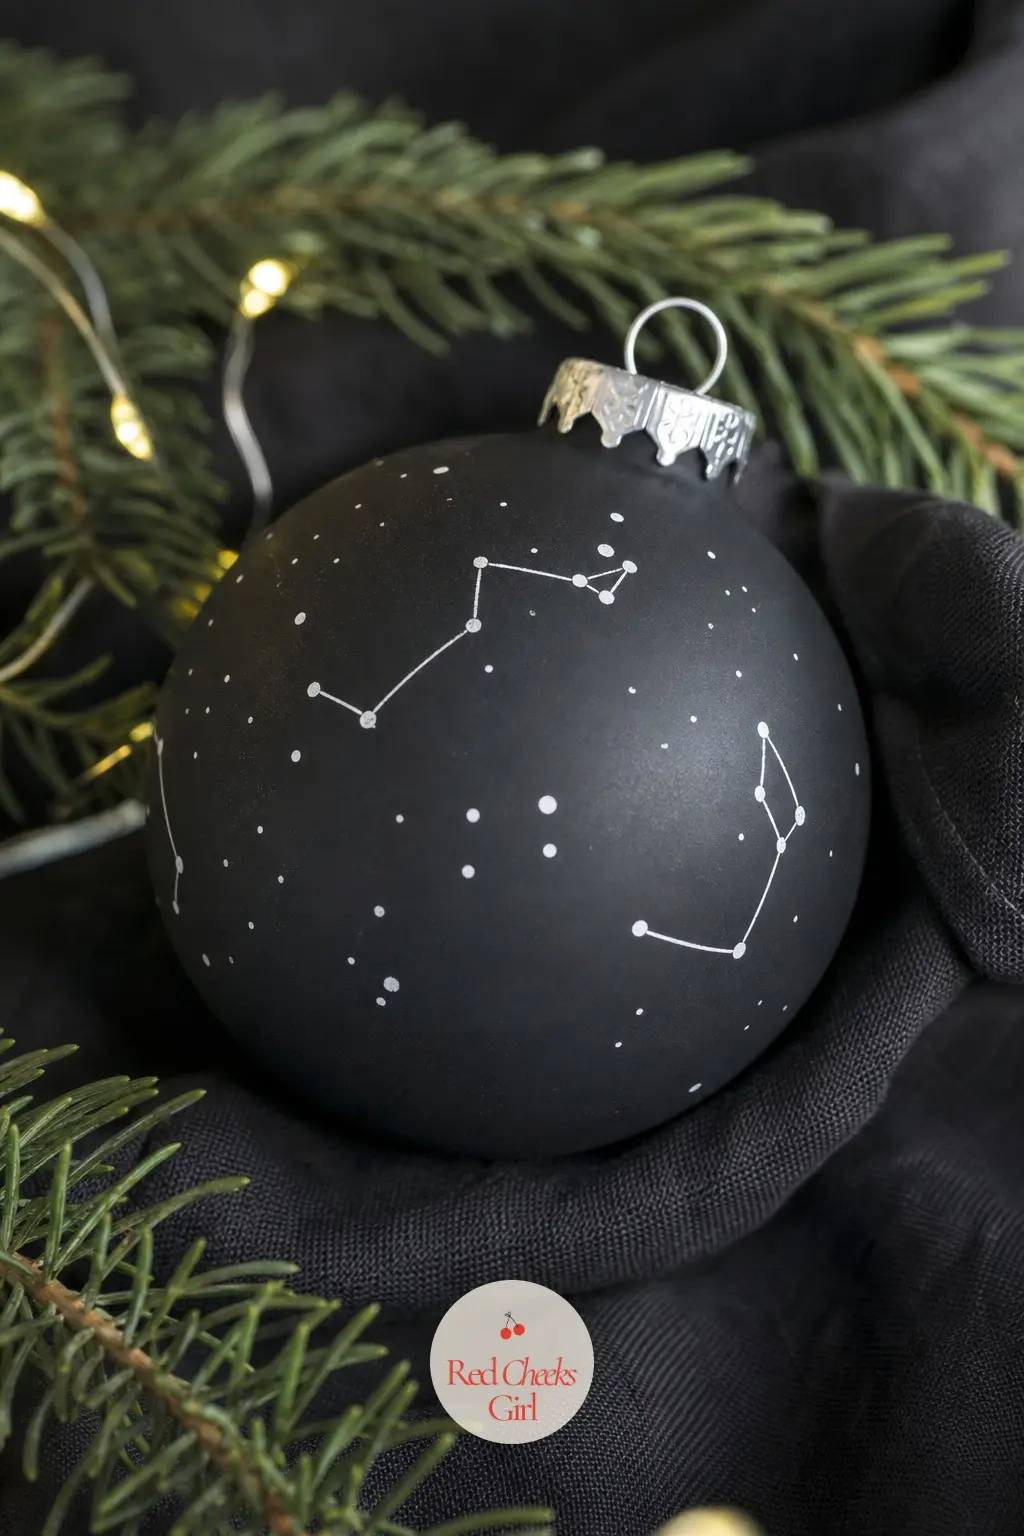
Constellation Dot Map Ball
A matte black base and a white paint pen are the whole supply list. Dot out a loose constellation shape, a few connecting lines, done.
No drawing talent needed since real constellations are just scattered dots joined up, and a slightly wrong line looks exactly as authentic as a correct one.
A quiet, almost meditative project for the one guest who wants to sit a little apart from the group with her own ball and brush.
🛍 Shopping guide
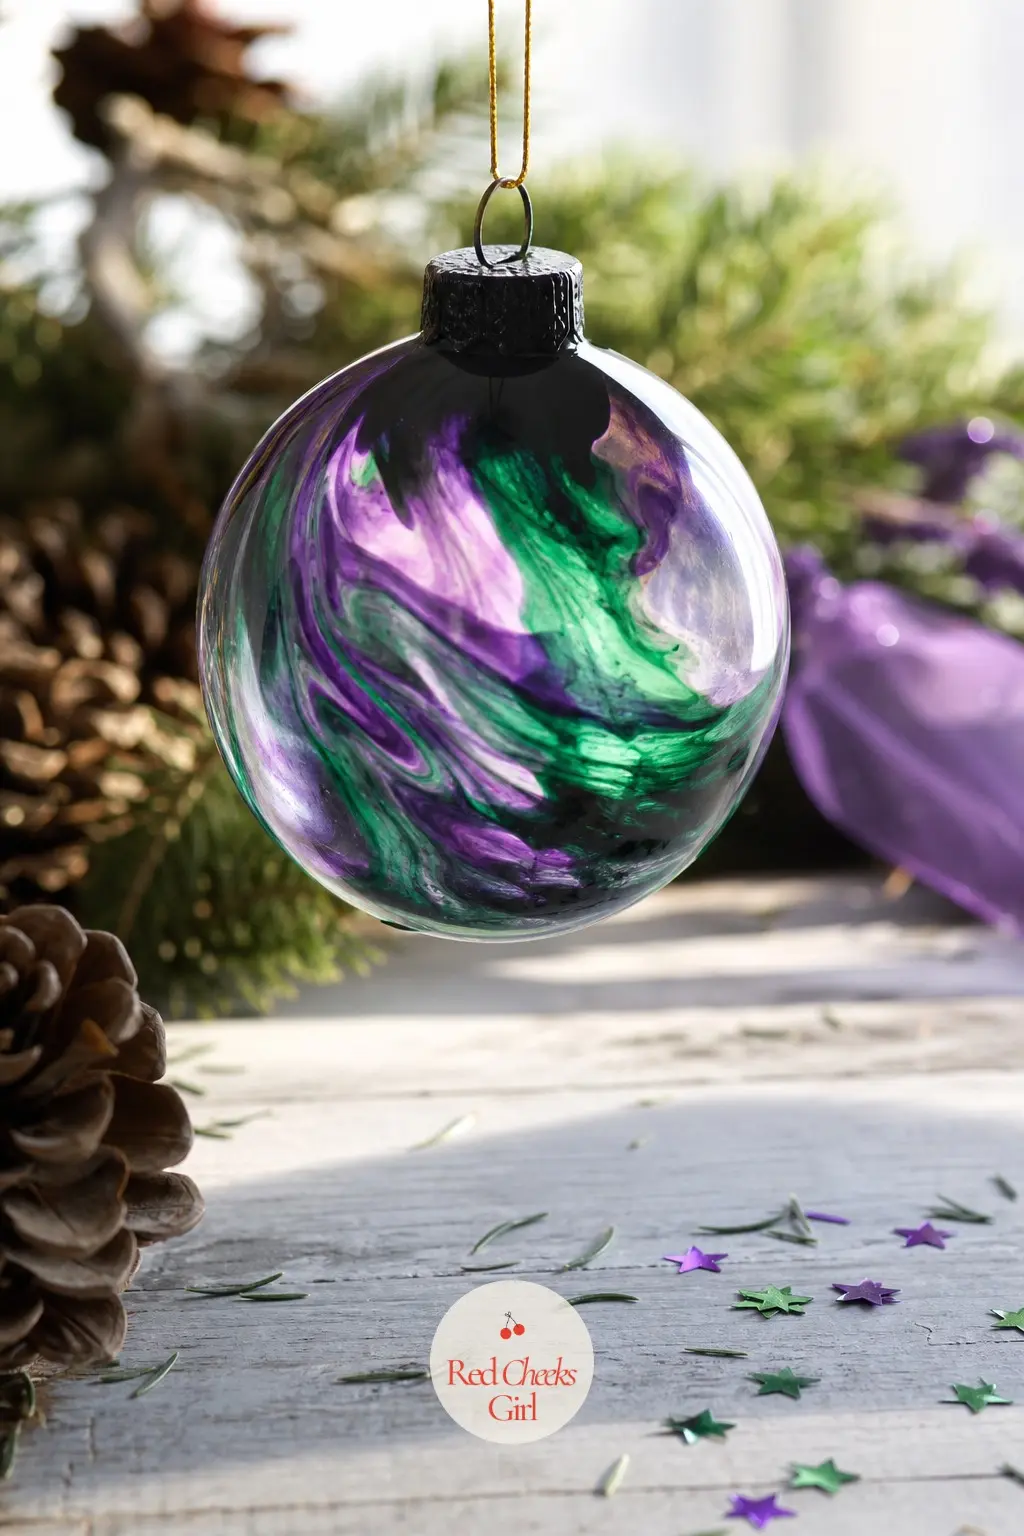
Aurora Swirl Ball
Emerald and violet poured together inside the ball, tilted and rotated against a black-painted top half, mimic the northern lights without a single brushstroke involved.
Pour, swirl, drain the excess, let it sit upside down overnight: the technique is nearly identical to the marbled pour below, just with a cooler palette.
One of the few entries on this list that looks genuinely impressive for almost no skill at all.
🛍 Shopping guide
Marbled, Dipped and Splatter Finishes
No brush control required here, which makes this the section to hand to the guest who swears she cannot paint. The same swirl-and-pour logic that works on river rocks over in the stone painting ideas translates almost exactly to a glass ball, just with less drying time between coats.
Marbled Pour Ball
Rose pink and cream poured into the open ball, tilted side to side until the colours ribbon through each other, then drained and left upside down to dry. No brush touches the glass at all.
This is the one to hand the guest who insists she has no art skill whatsoever, because the technique genuinely cannot go wrong.
Quick enough to make three or four while the next round of drinks gets poured.
🛍 Shopping guide
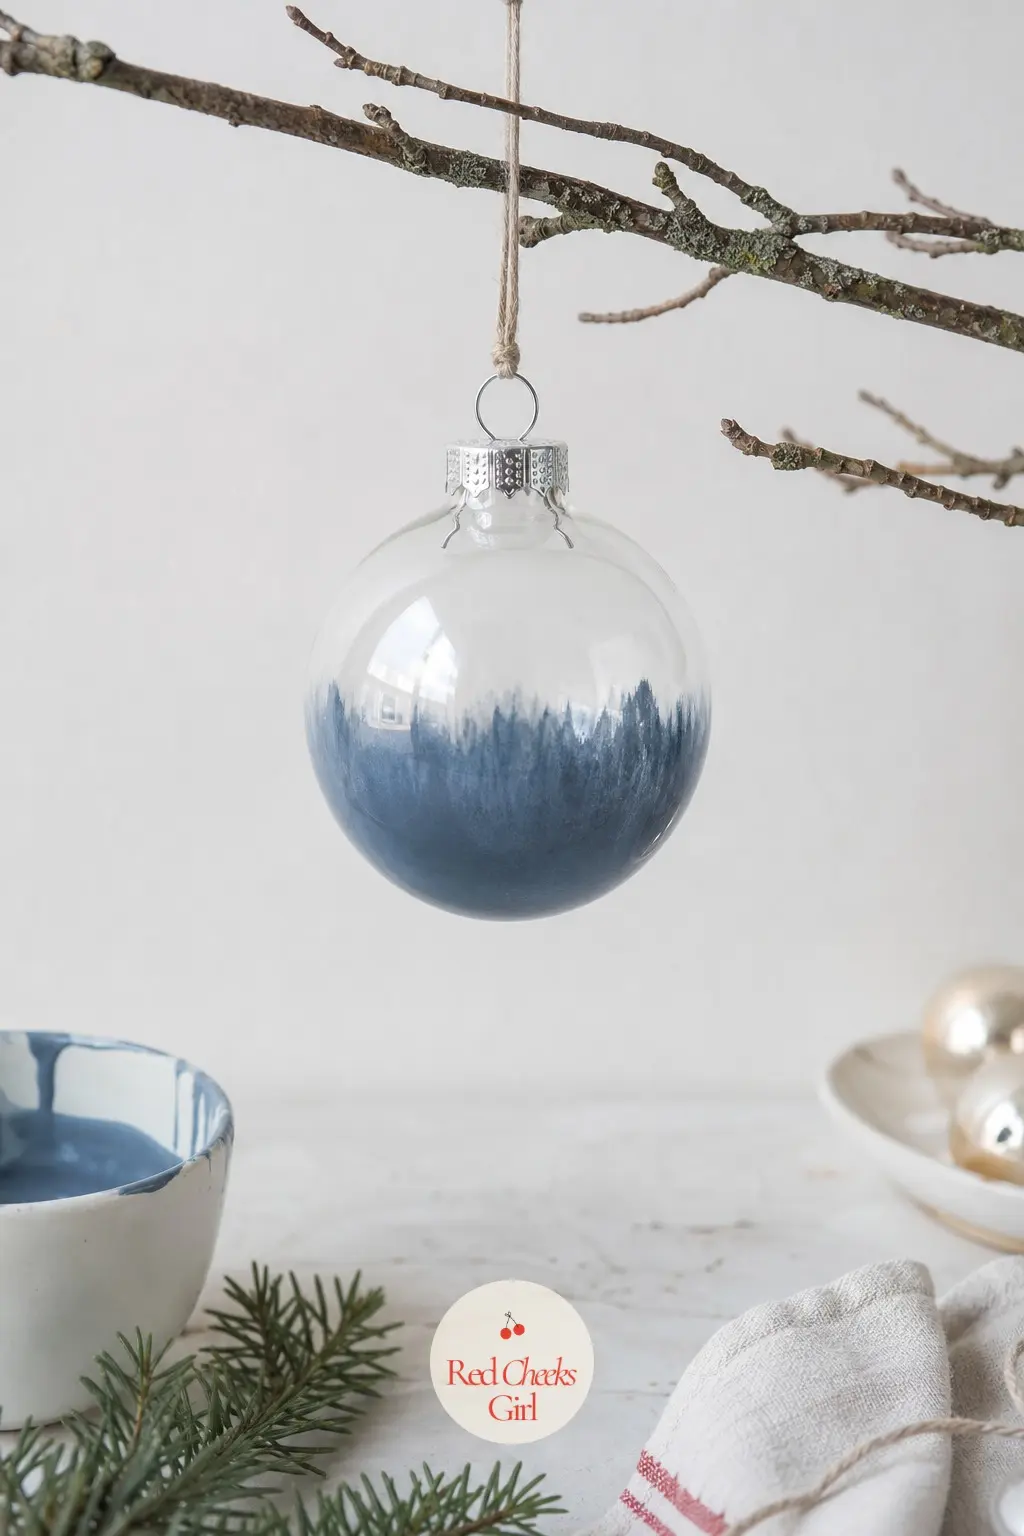
Ombre Dip Ball
Dusty blue paint thinned slightly with water, dipped so only the bottom third of the ball takes colour, the rest left clear or frosted white. Dip again lightly for a soft gradient where the two meet.
Works on plastic blanks just as well as glass, so it is the entry to reach for if drilling into anything or handling real glass with children nearby feels like one risk too many.
One dip, one dry, one done.
🛍 Shopping guide
Speckled Splatter Ball
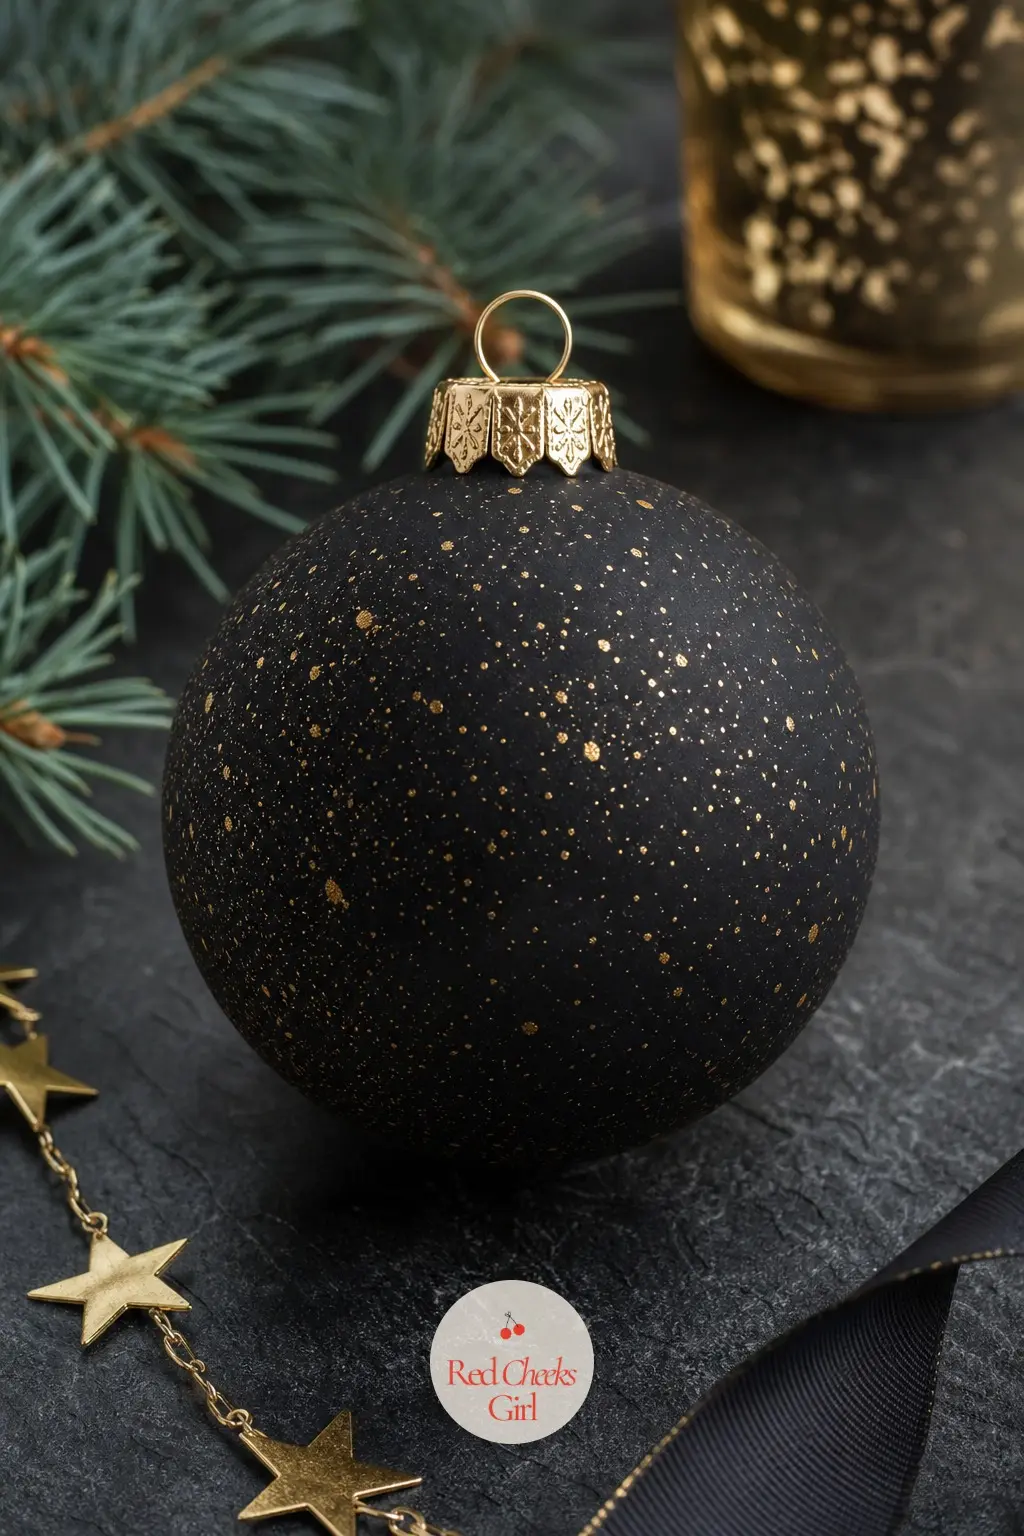
Matte black base, then gold paint flicked off an old toothbrush across the surface in a fine, uneven spray. The mess is the whole point here, so cover the table properly before anyone starts flicking.
Fast to produce in volume, a whole batch of twenty can be speckled in the time it takes to paint one detailed scene by hand.
If gold feels too bright against black, cream speckle reads softer and almost antique.
🛍 Shopping guide
Nature and Woodland Motifs
Pulled from the actual outdoors rather than a Christmas clipart folder: bark, berries, a single pinecone’s worth of texture. The palette stays muted and a little dusty, which keeps the whole batch from reading as novelty.
Pinecone Texture Ball
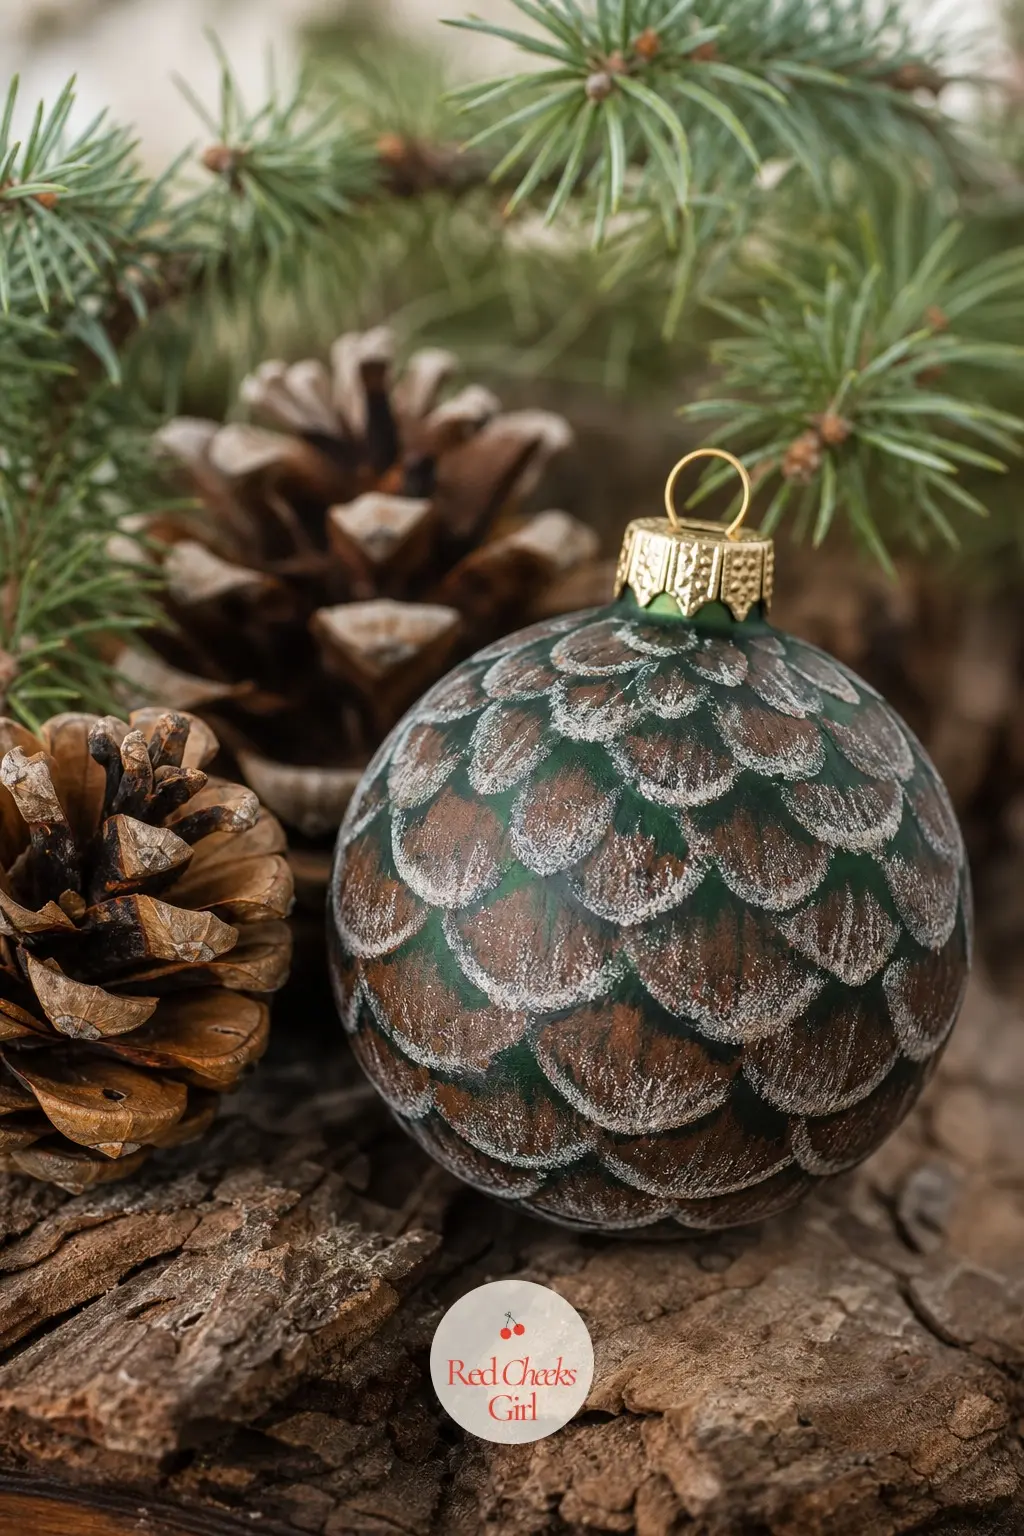
Deep forest green base, then warm brown scales built up in short overlapping strokes with a stiff brush to mimic a pinecone’s layered texture, finished with a dry-brushed frost of pale grey across the tips.
A slightly fussier entry than most on this list, better suited to the guest who already enjoys detail work and wants a project that takes a full glass of wine to finish.
Pairs naturally with real pinecones scattered nearby for scale and texture.
🛍 Shopping guide
Holly Berry Sprig Ball
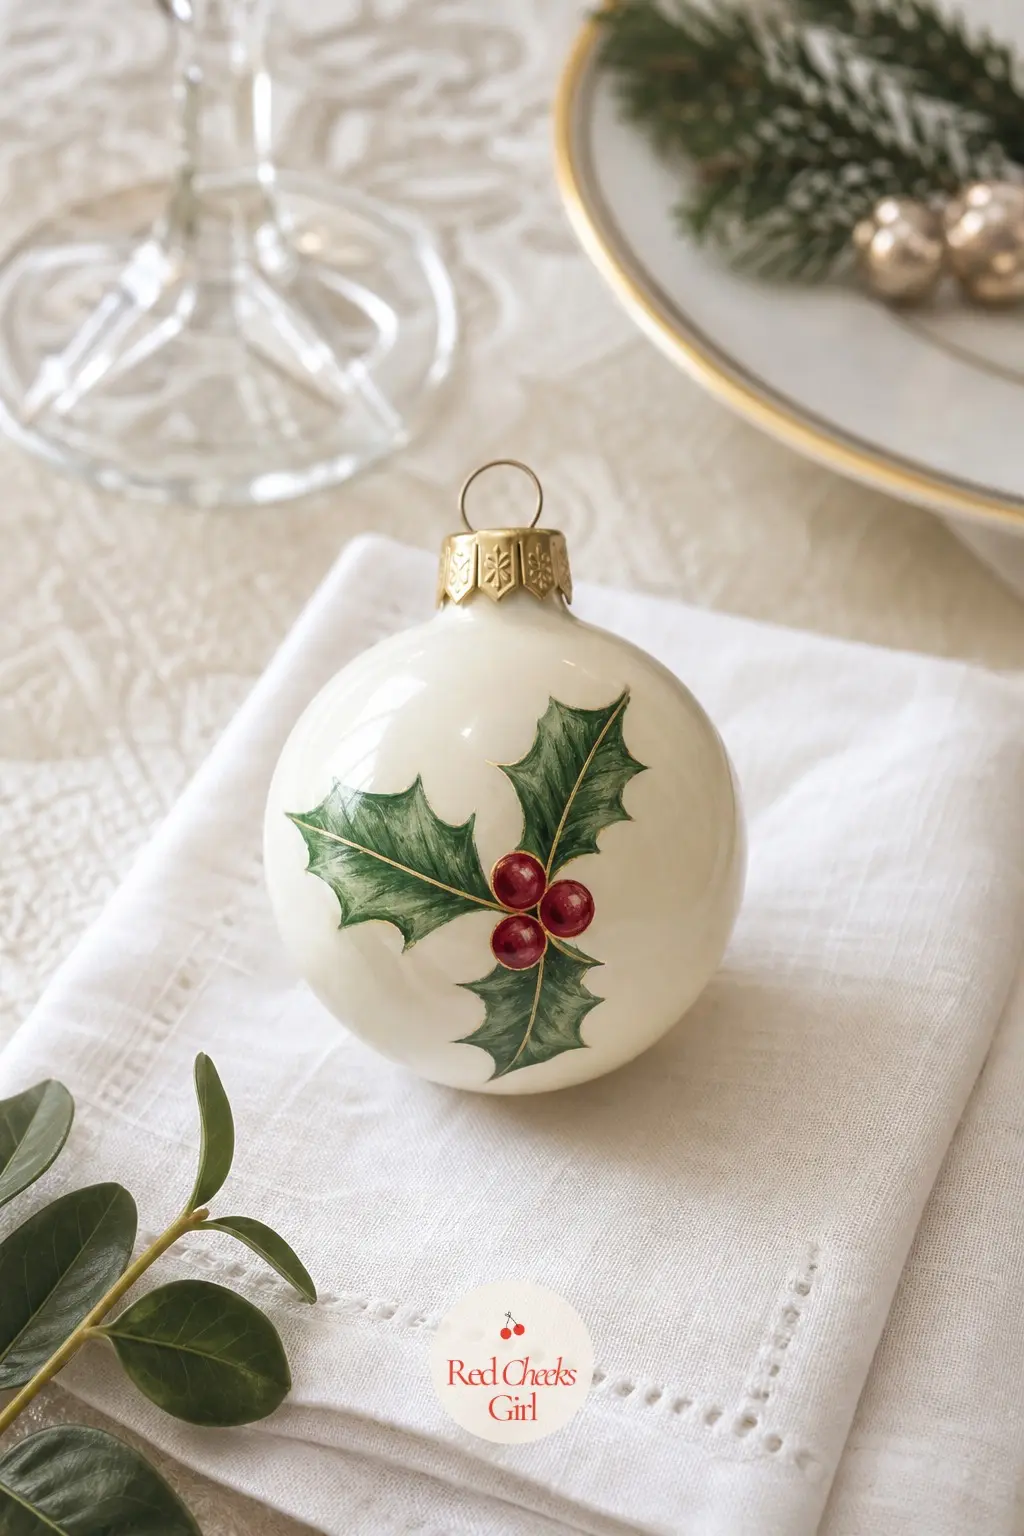
Cream base, then a loose sprig of holly green leaves painted in two quick strokes each, finished with three small cherry-red dots clustered at the stem. Nothing about it needs to be symmetrical to look right.
Softer than the usual red-and-green Christmas palette because the cream base takes the edge off, good news if the rest of the tree already runs bright.
A pretty, quick one to make in a batch of ten or more.
🛍 Shopping guide
Birch Tree Silhouette Ball
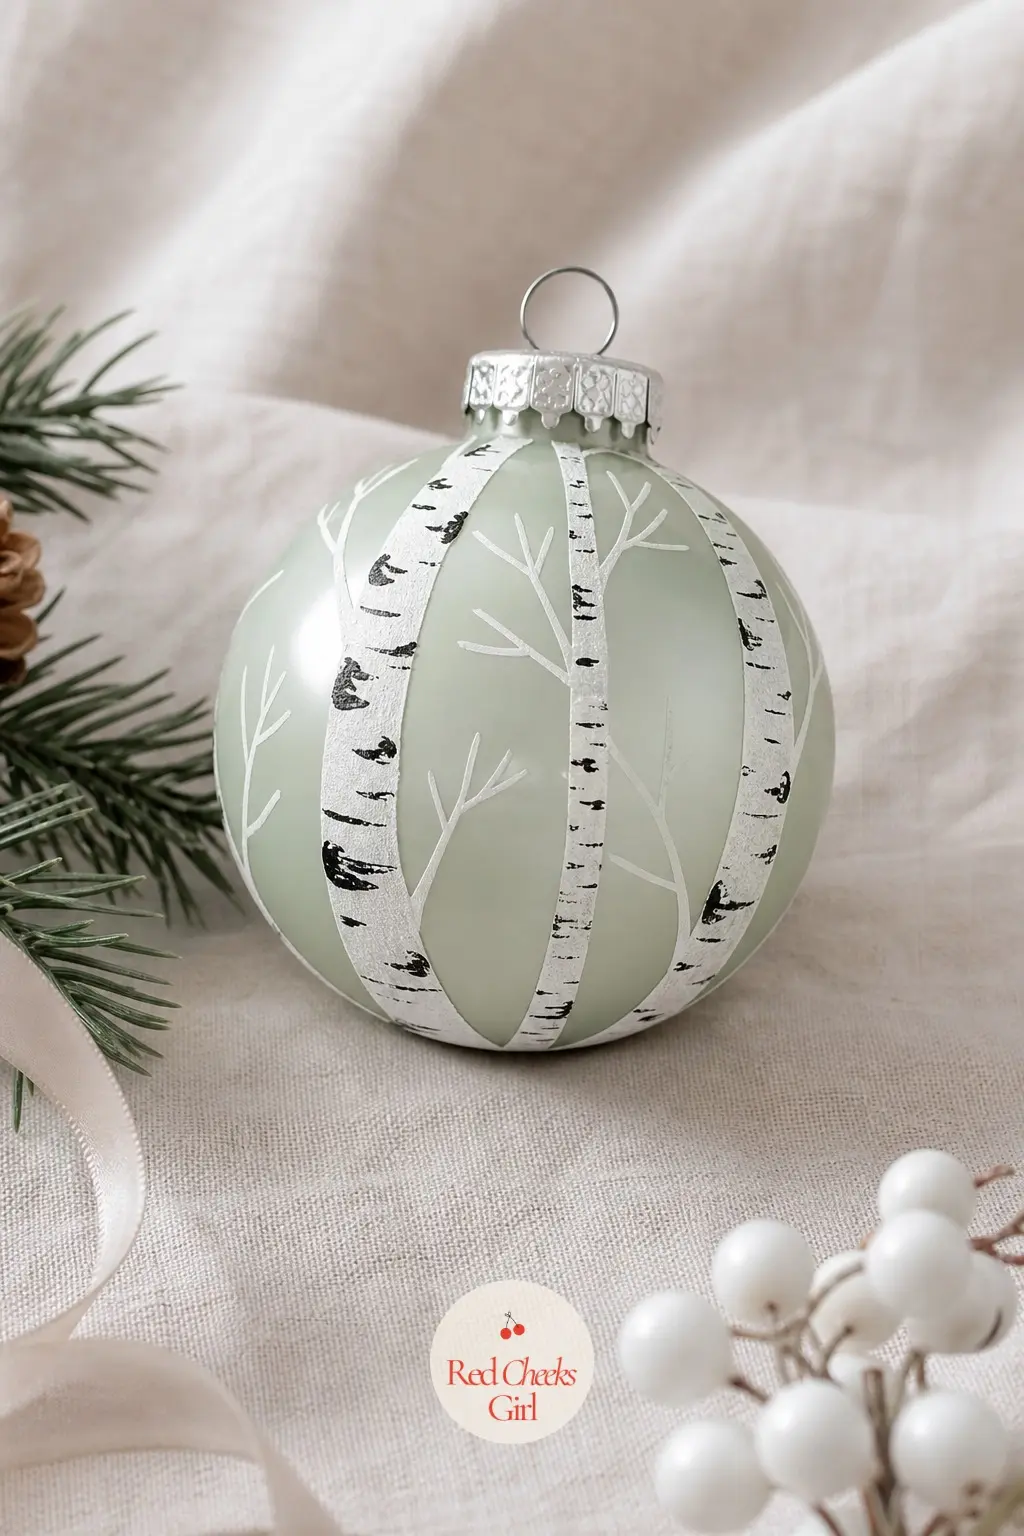
Pale sage green covers the ball first, then two or three birch trunks go on in off-white with short black horizontal dashes for the bark markings. Restrained, almost Scandinavian, and nothing like the usual Christmas ornament palette.
Good for the friend who finds red and gold a bit much and wants something that could live on a shelf the other eleven months of the year.
Takes patience with the bark dashes but no real skill.
🛍 Shopping guide
Metallic and Elegant Finishes
For the balls that need to look like they came from a shop, not a kitchen table. Both ideas here lean dressy enough to give away as hostess gifts, no apology required.
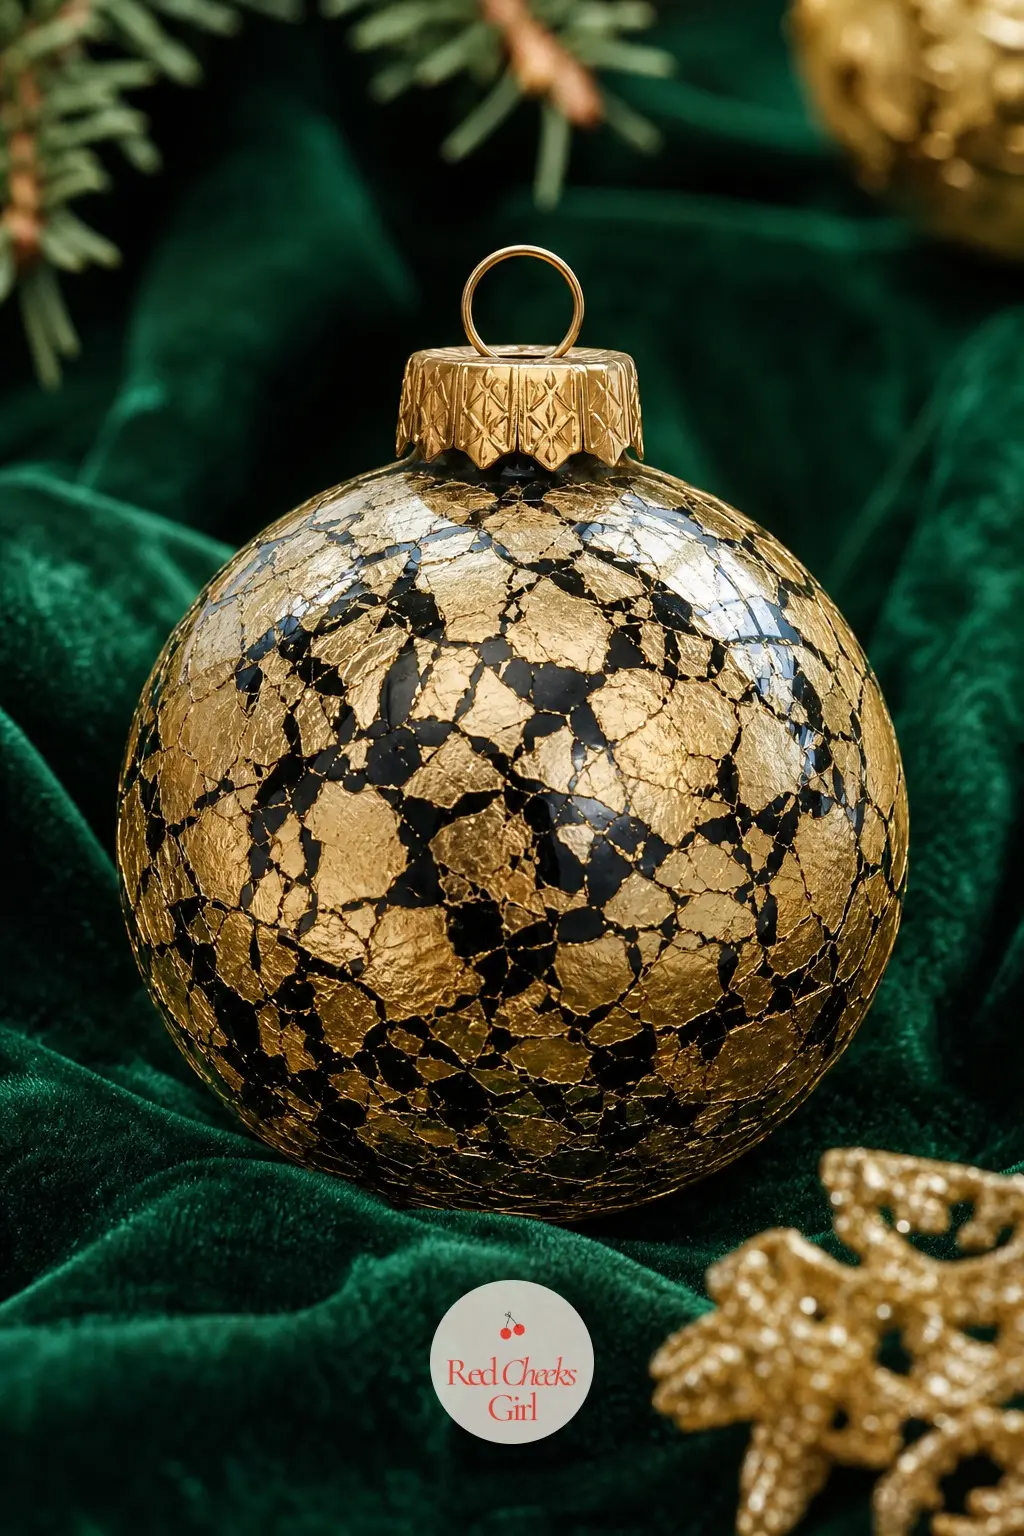
Gold Leaf Fracture Ball
Black paint covers the inside of the ball first, left to dry, then loose fragments of gold leaf press onto the outside over a thin layer of adhesive size, cracking naturally as they settle into the curve.
Messier than it sounds but genuinely hard to get wrong, since the fractured gold looks intentional no matter how the pieces fall.
Easily the most expensive-looking entry here for very little actual spend.
🛍 Shopping guide
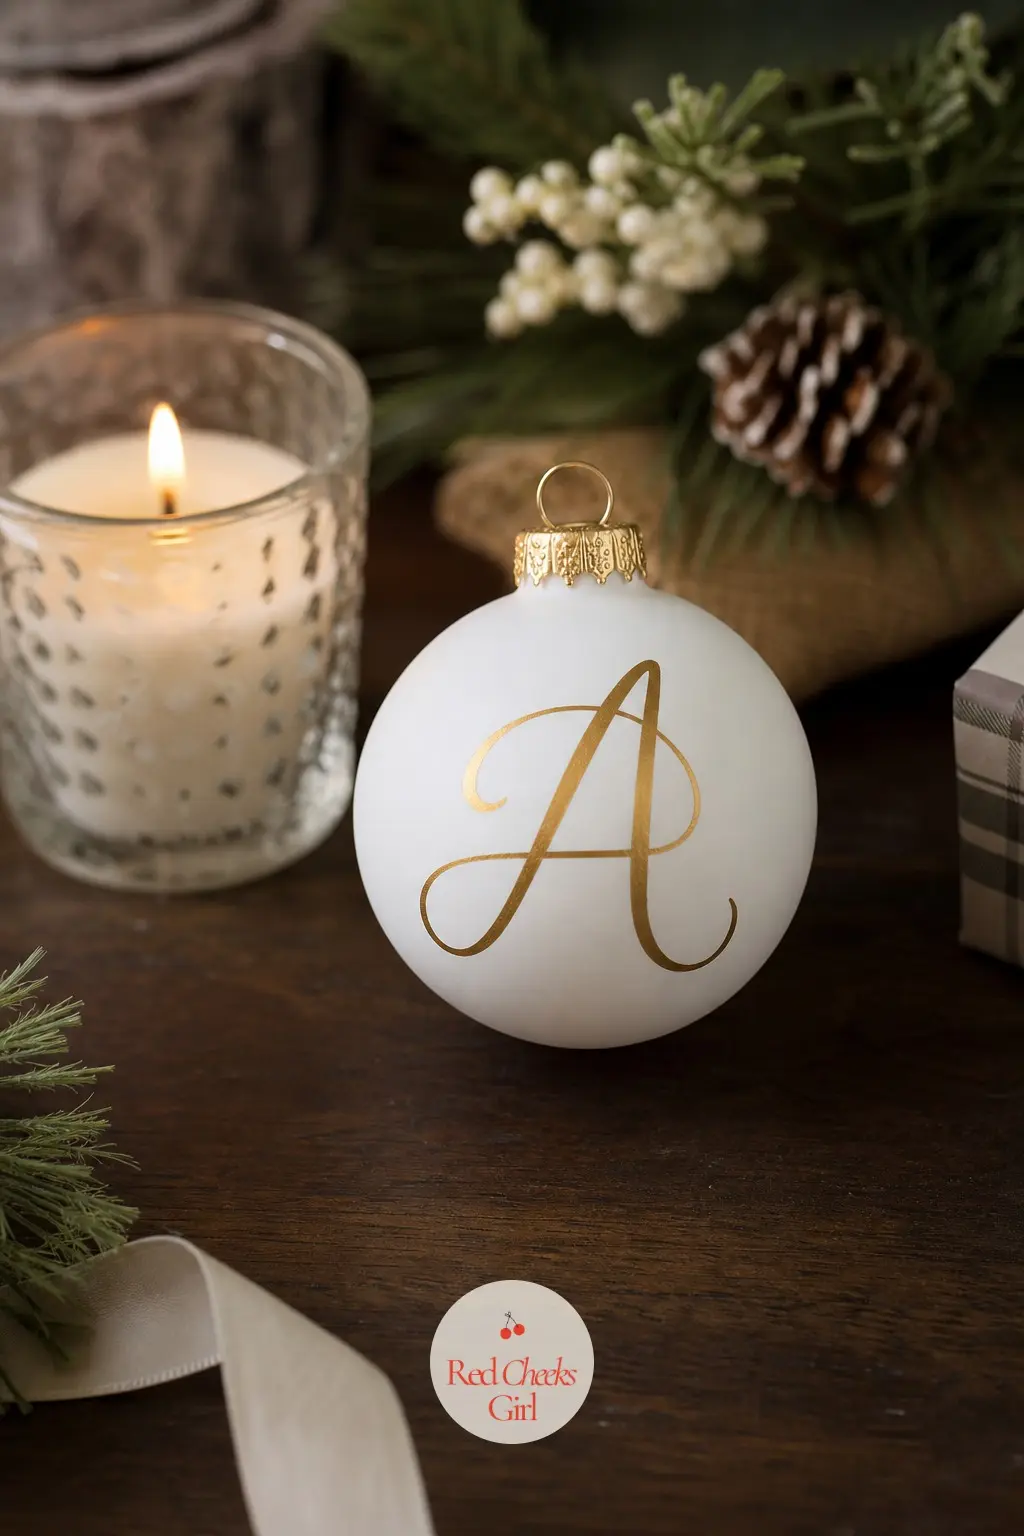
Monogram Calligraphy Ball
Matte white base, one gold-scripted initial in the centre, nothing else. The restraint is the whole look, so resist the urge to add a snowflake border around it.
A steady hand helps here more than anywhere else on the list, so this is the one to save for the guest who already does nice handwriting on cards.
Doubles neatly as a place-card holiday gift if a loop of ribbon goes through the cap before the paint fully cures.
🛍 Shopping guide
Frequently Asked Questions
What kind of paint do you use on Christmas ornaments?
Acrylic craft paint is the standard choice, and ideally one labelled for glass or multi-surface use. As one painting guide puts it, acrylic may be the most common, but chalky paints can work, as well as spray paint, and for a crisper, more specialist glass finish, enamel-style glass paints such as Pebeo Vitrail are made specifically for the job.
Do you need to prime glass before painting it?
Not always, but it helps the paint grip and stops streaking. Guidance on priming glass ornaments notes that it is helpful to apply a layer of primer or matte white acrylic paint, this will make the next layer of paint stick better.
How do you paint the inside of a clear ornament?
Remove the metal cap, add a small amount of paint, then tilt and rotate. One tutorial describes it simply: once you have about four squirts of paint in your clear glass or plastic Christmas ornament, you’ll want to kind of tilt it and roll it around so that the paint coats the entire inside, then drain the excess and leave it upside down to dry.
Will the painted design crack, peel, or scratch off over time?
It can, especially with handling, which is why sealing matters. One alcohol ink tutorial warns that the paint won’t hold up to rigorous handling, and even though we sealed the alcohol ink ornament, the paint can still be scratched, so a careful hang rather than a toss into a storage bin keeps these looking good for years.
Can I use plastic ornaments instead of glass?
Yes, and it is often the smarter choice for a mixed group. As one guide notes, glass or plastic ornaments might be the easiest to hand-paint, and they’re more cost-effective, so if you’re working with a child, or someone clumsy, you might want to stock up on the plastic baubles, while glass still edges it out for paint adhesion on the more detailed designs.
What is the easiest ornament painting technique for a group with no art skill?
A simple poured swirl beats anything that needs a steady brush. One classic method just involves pouring paint into the open ball and letting it move on its own: pour some paint into the glass ball ornaments, swirl the paint around to coat the inside, drain, and let it dry, no drawing required at any point.

25 cozy christmas decor ideas in cream, oatmeal, warm red and pine, carried from the tree to the sma
25 outdoor Christmas decorations for the door, porch, windows, path, yard and roofline, each one bui
22 crochet christmas wreath free pattern ideas grouped by technique: granny squares, tiny berries, c
Leave a Reply