

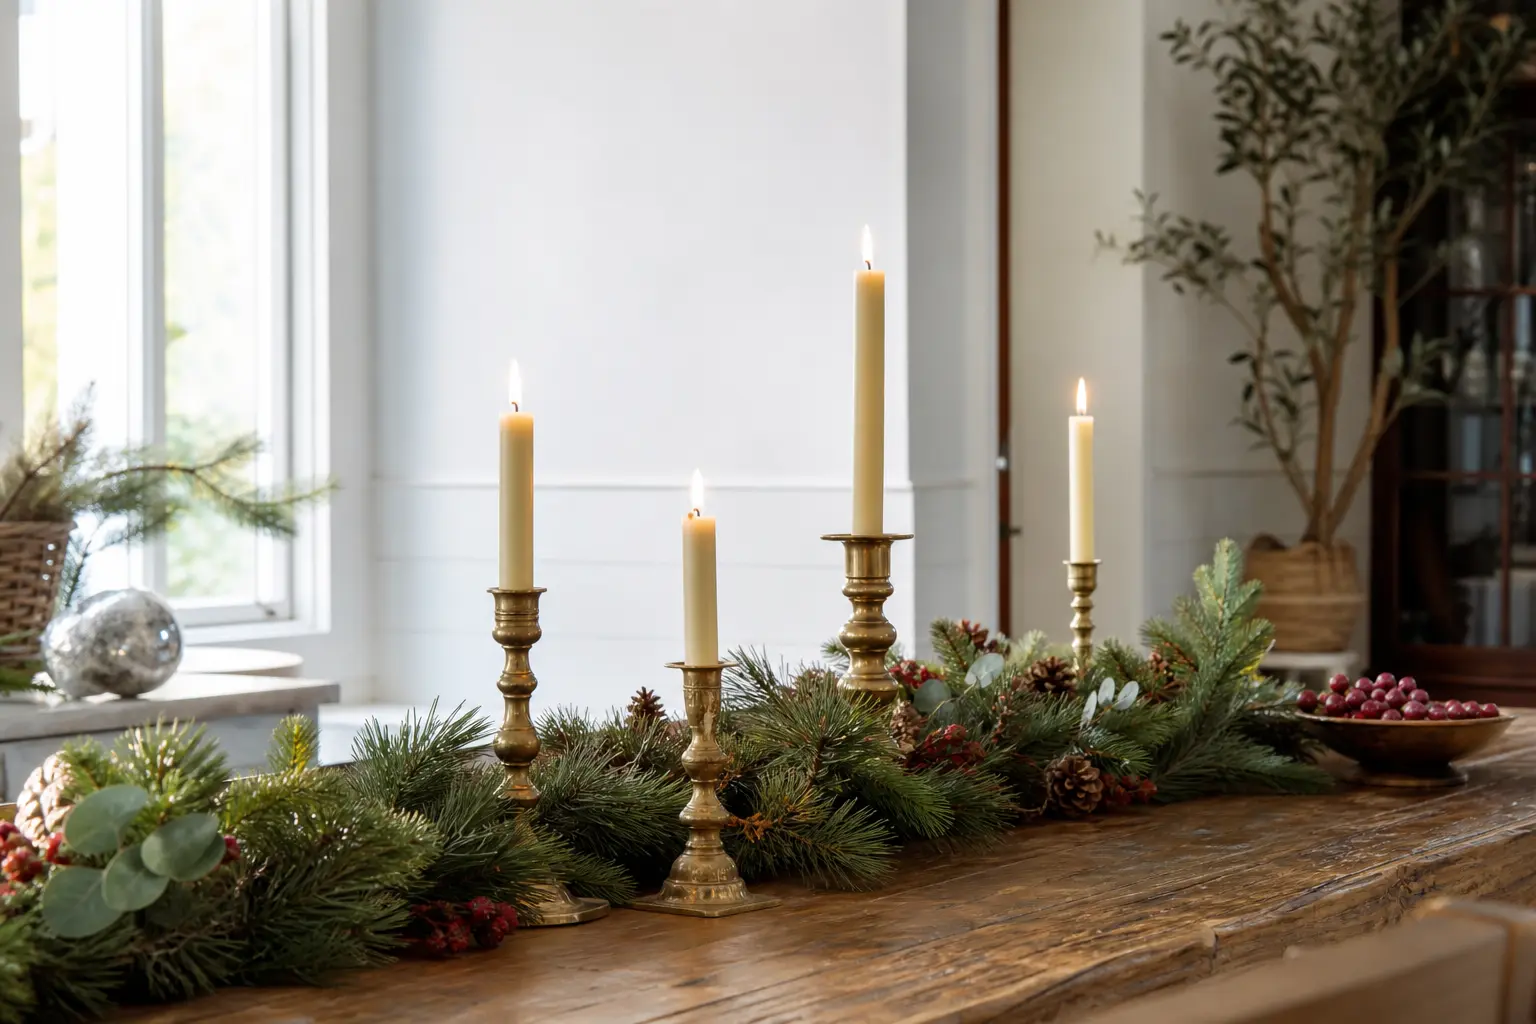
Every christmas candles decorations photograph you have ever saved looks the same: a fat pillar glowing right in the middle of a lush garland, the flame an inch from the needles. The image is gorgeous. The worry you cannot name is completely valid. Seasonal decorations cause hundreds of house fires each year in the US, and the ignition point is almost always the moment flame meets dried greenery, ribbon or tissue paper.
None of the 19 arrangements below bury a candle inside foliage. Each one gets you the same warm, layered look by raising the flame above the garland line, enclosing it behind glass, replacing it with a flameless version, or putting a material that will not burn between the two. The palette throughout is brass, cedar green, amber glass and cream, so everything reads as a set even if you mix and match. For a broader overview of the whole room, see the full guide to christmas party ideas.
Each entry below names the safety method it uses, so you can choose what suits your space. Flameless entries note where a timer makes life easier. Real-flame entries note the minimum clearance. All of it looks intentional, nothing looks like a compromise.
This post contains affiliate links. If you buy through them, I may earn a small commission at no extra cost to you.
Raised and Enclosed: Glass Does the Work
The fastest way to keep a flame away from greenery is to lift it or surround it with glass. These four arrangements use hurricane shades, deep cylinders and cake stands to put air and material between the wick and anything that could ignite. The glass also concentrates the amber glow, which is exactly the effect the styled photographs are after.
Hurricane Glass Raised Above the Garland Line
A tall hurricane shade sitting on a brass ring stand puts the open top of the glass a clear four inches above the highest point of the garland beneath it. The flame burns inside the glass, the garland drapes around the base of the stand, and the two never meet.
Use a pillar that sits at least two inches below the lip of the hurricane so the flame does not lick over the edge. Amber glass deepens the glow and hides the mechanics of the stand. Cedar-green eucalyptus at the base reads as intentional styling, not an afterthought.

🛍 Shopping guide
Greenery Ring Set Below a Tall Pillar
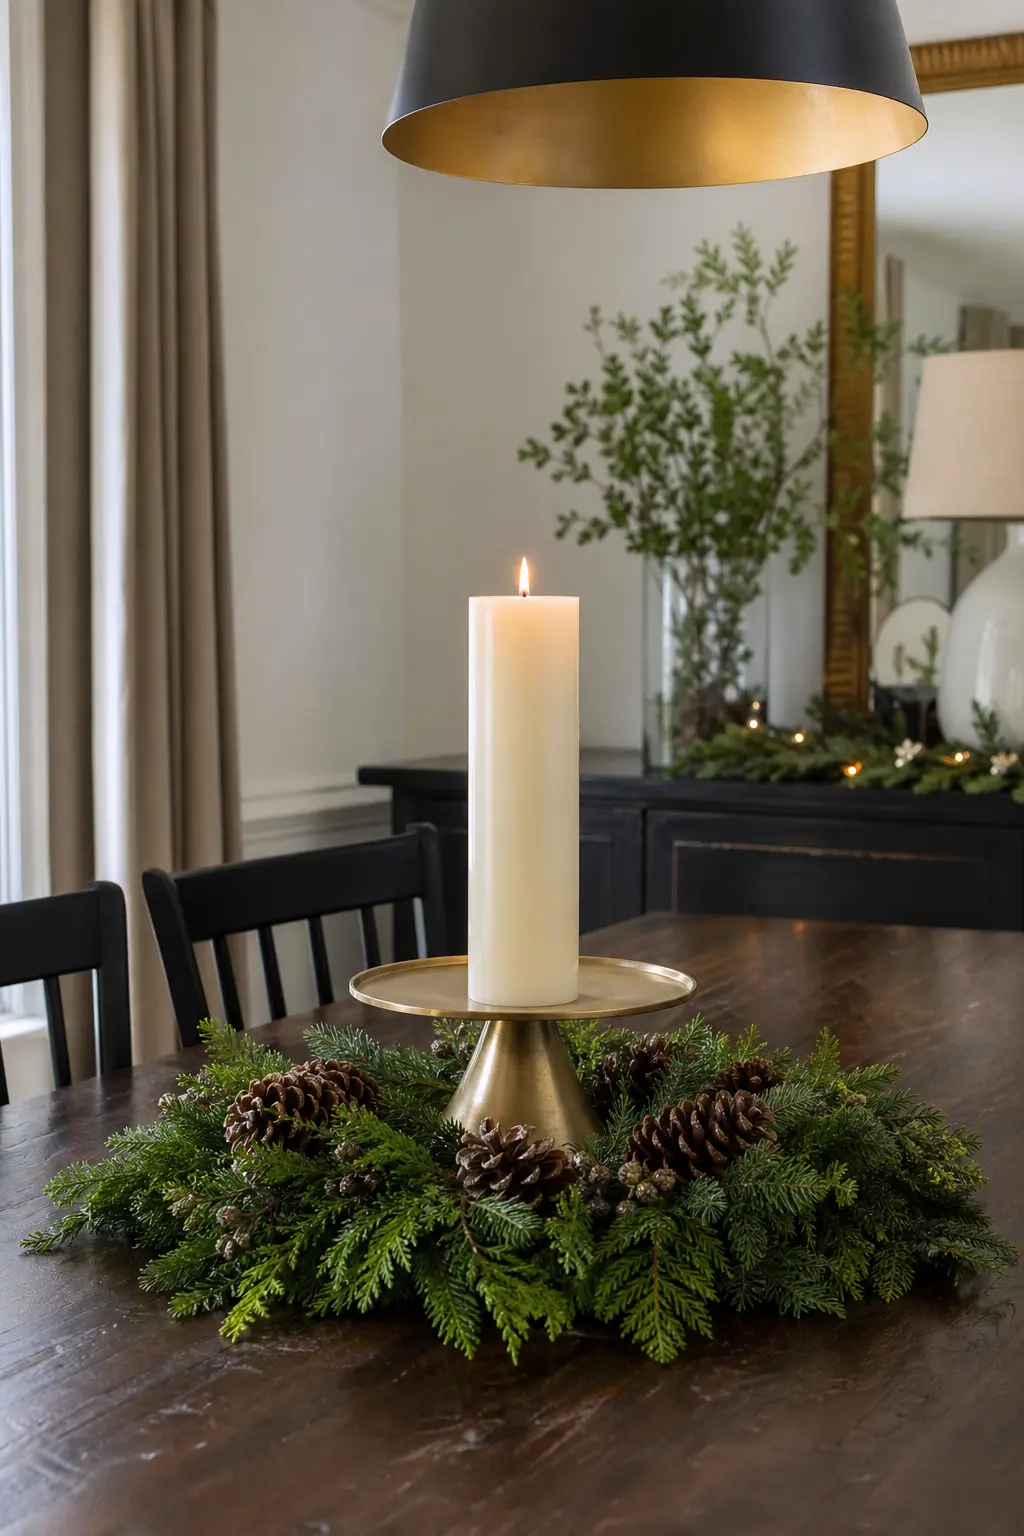
A tall cream pillar on a brass pedestal plate raises the flame well above a wreath-style ring of fresh cedar and pine cones laid flat on the table. The greenery forms a decorative collar at the base of the pedestal, not around the candle itself.
The key measurement: the top of the greenery ring should sit at least six inches below the flame. Fresh greenery is safer than dried, but dried looks better in photographs. If you use dried, bump that gap to eight inches and check it every time you light the candle.
🛍 Shopping guide
Candles on a Raised Cake Stand Over the Foliage
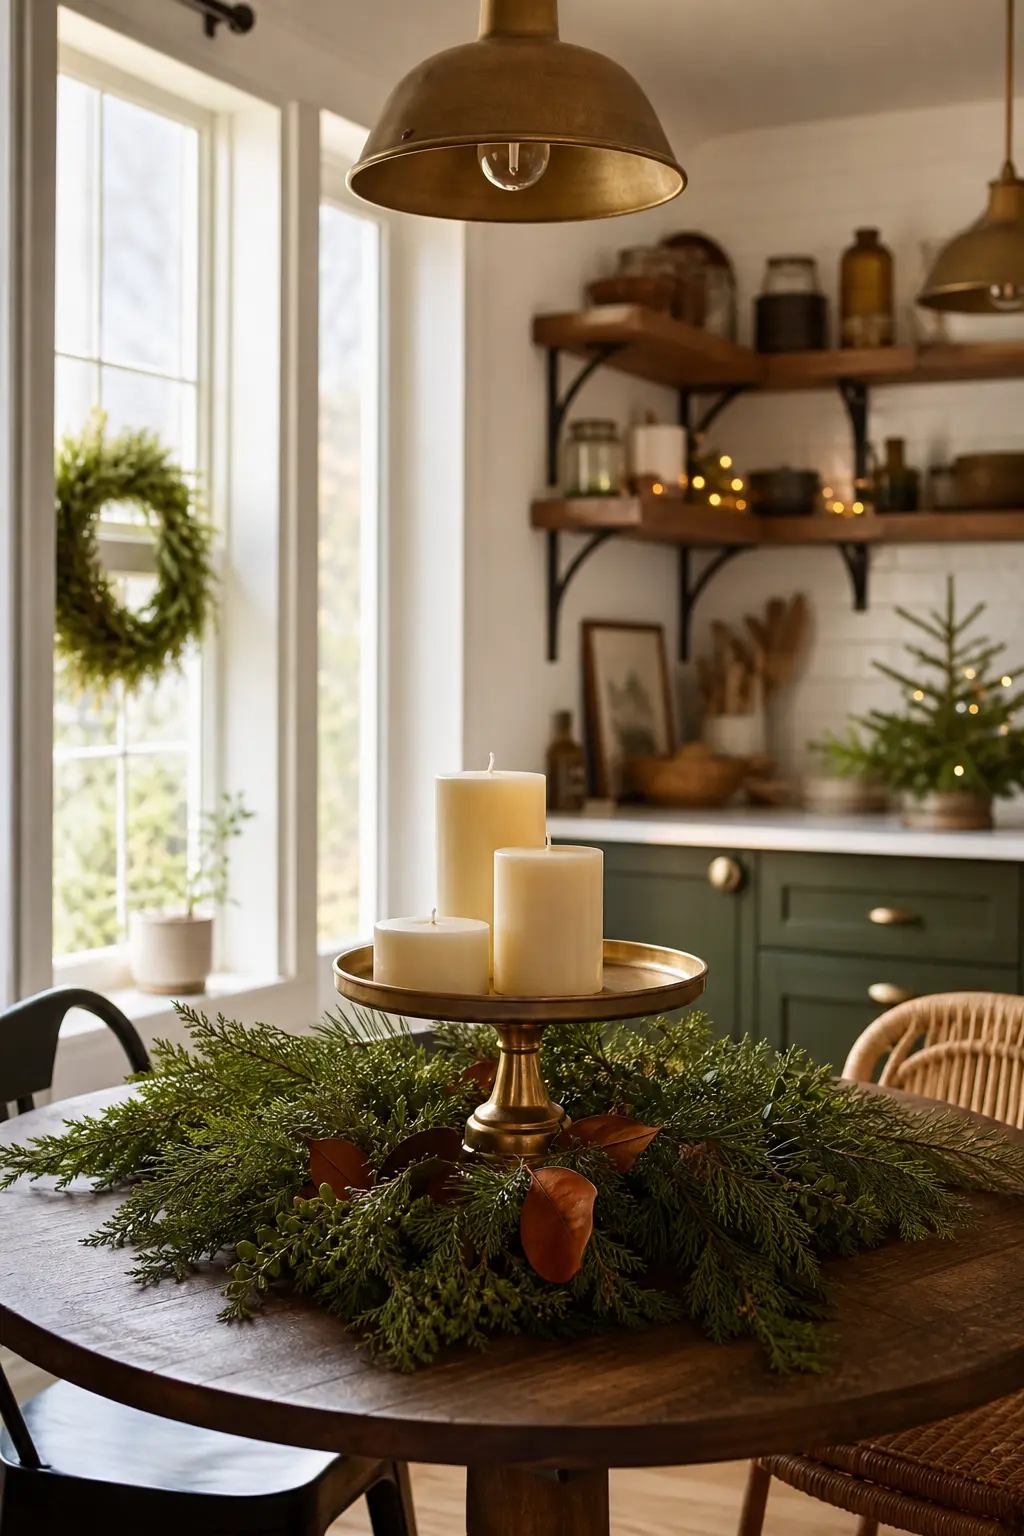
A footed cake stand in cream or brass lifts a cluster of three pillar candles entirely above the garland that wraps the table centrepiece. The stand’s stem acts as a built-in spacer. The garland stays on the table surface; the candles burn six to eight inches above it.
Group candles in odd numbers and vary the heights so they read as a considered arrangement rather than a fire hazard in formation. Trim wicks to a quarter inch before each burn so the flame stays controlled and the candles do not drip onto the stand.
🛍 Shopping guide
Candles in a Deep Glass Cylinder
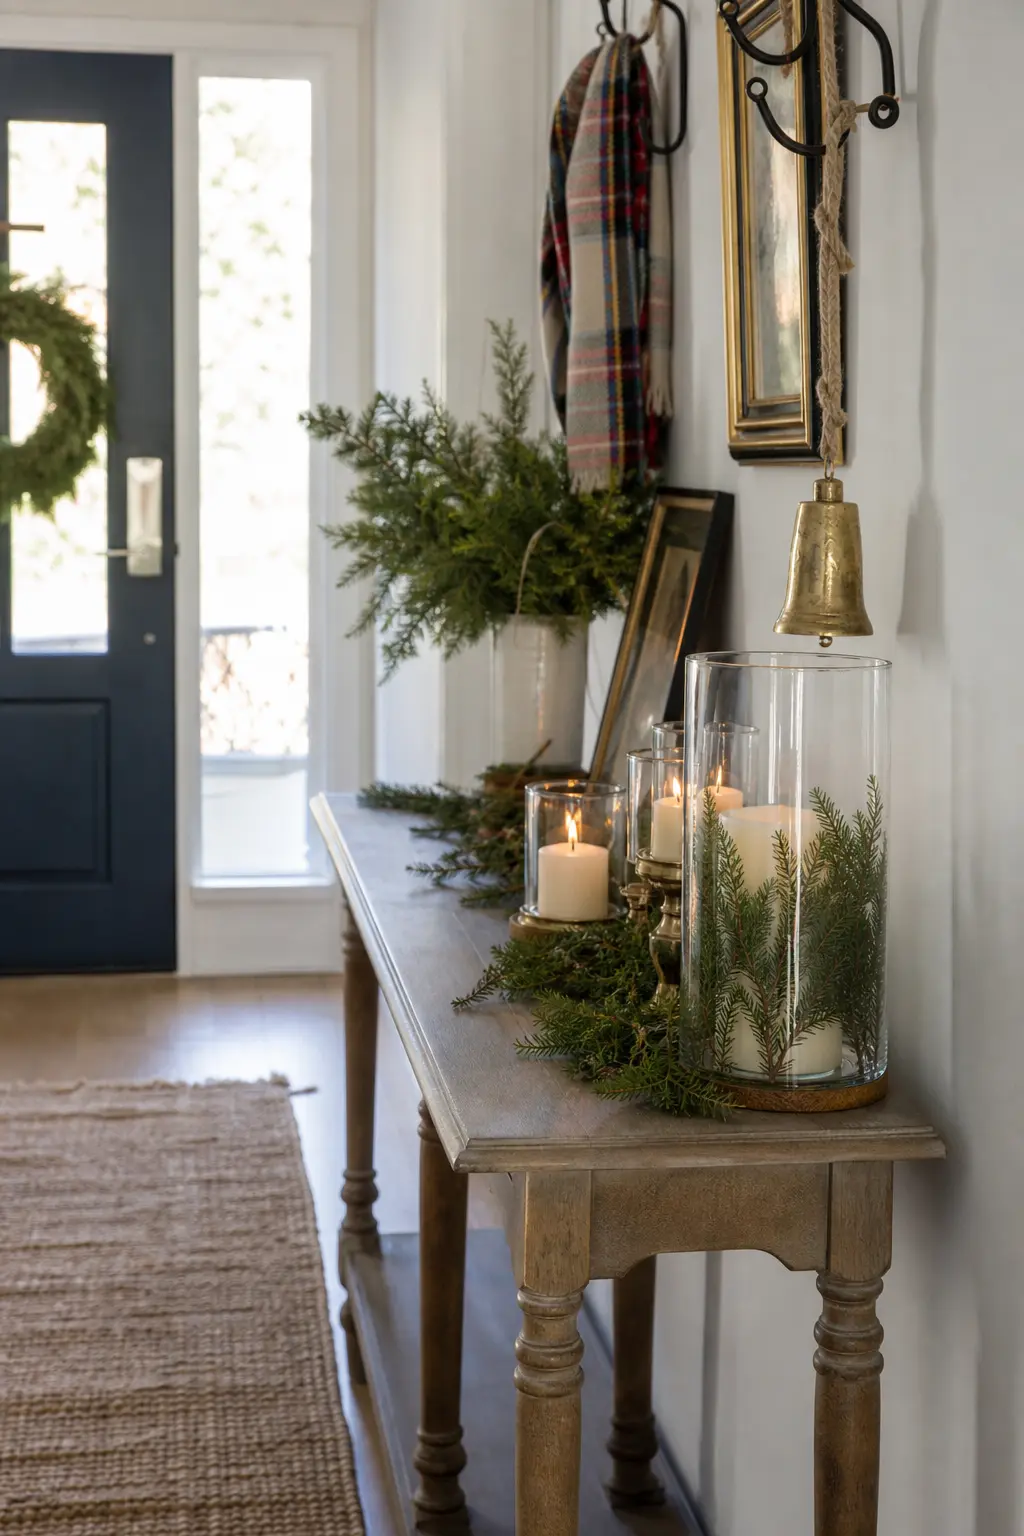
A cylinder vase that stands taller than the candle inside it encloses the flame on all four sides. The flame has no path to anything outside the glass. You can press sprigs of cedar against the outside of the cylinder for decoration, because the glass wall is the barrier.
Choose a cylinder at least two inches taller than the candle so the flame stays below the rim. Drop a small circle of sand or decorative gravel in the base so the candle sits stable and you can lift the whole thing without tilting it.
🛍 Shopping guide
Tall Holders and Clear Geometry
A taper in a holder that puts the flame eight or more inches above the table surface clears most garland arrangements automatically. These four entries use height, metal stems and spare geometry so the greenery stays at the base where it belongs, and the flame burns in open air well above it.
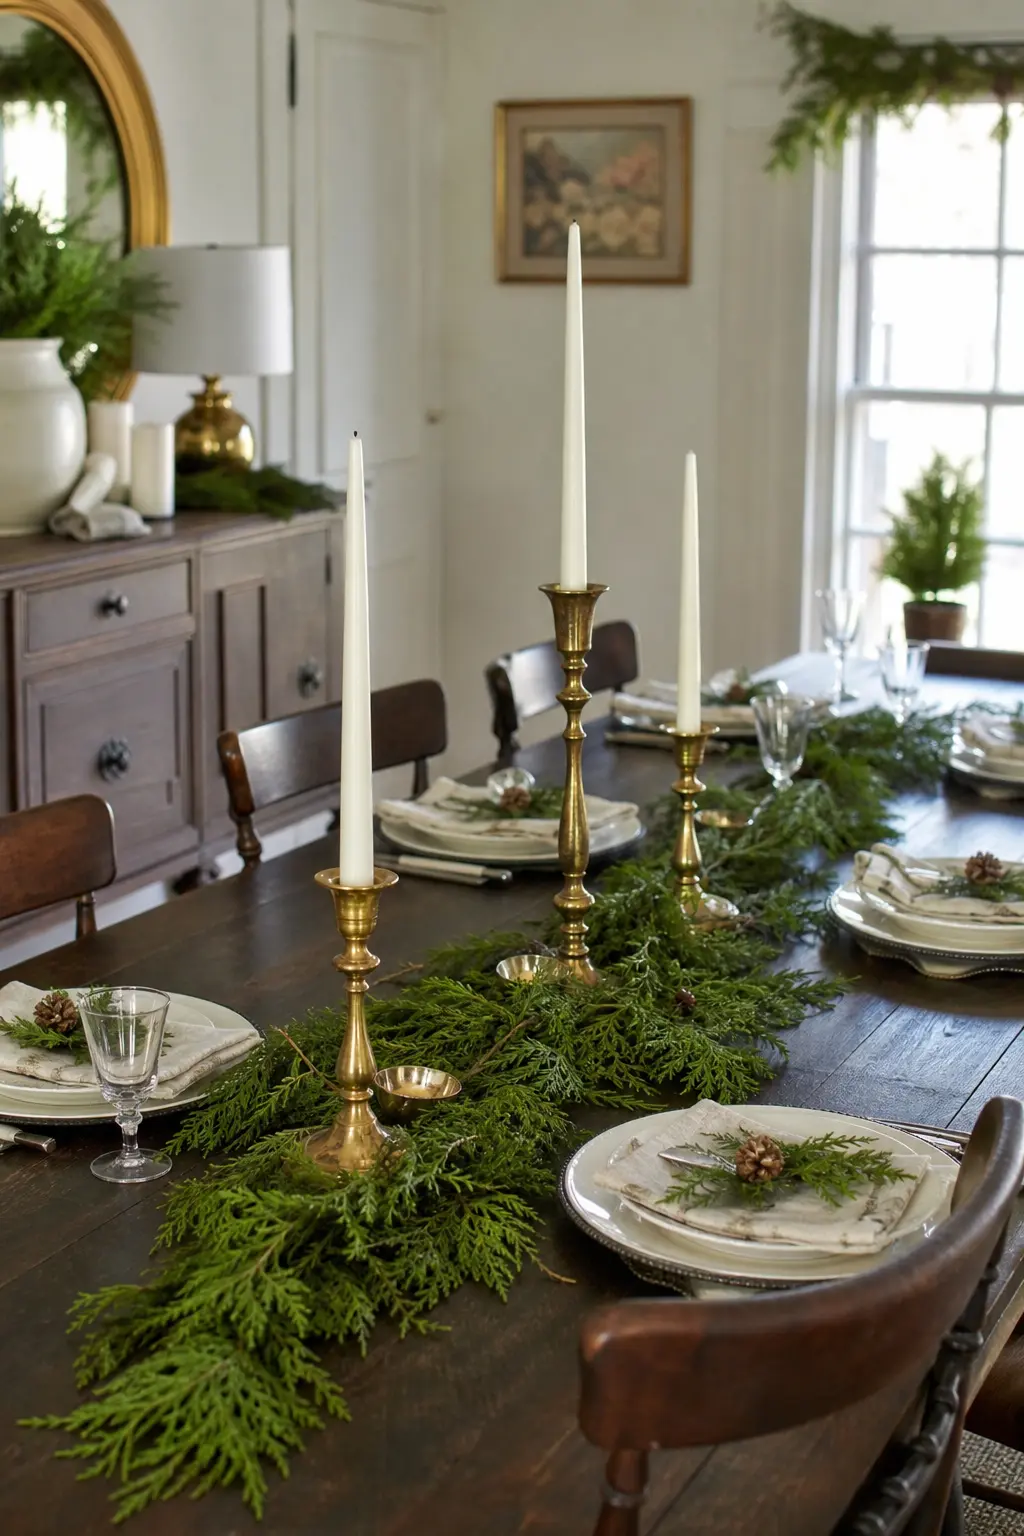
Tapers in Tall Holders With the Greenery at the Base
A taper in a holder that puts the bobeche ten inches above the table means the flame burns at twelve to fourteen inches, well above any garland laid at table level. This is the arrangement that looks most like the dangerous photographs, but the geometry is completely different.
Use brass holders with a spike or cup that grips the taper firmly so the candle does not lean as it burns down. Lay the cedar garland flat on the table around the base of the holders, not climbing the stems. That horizontal separation is everything.
🛍 Shopping guide
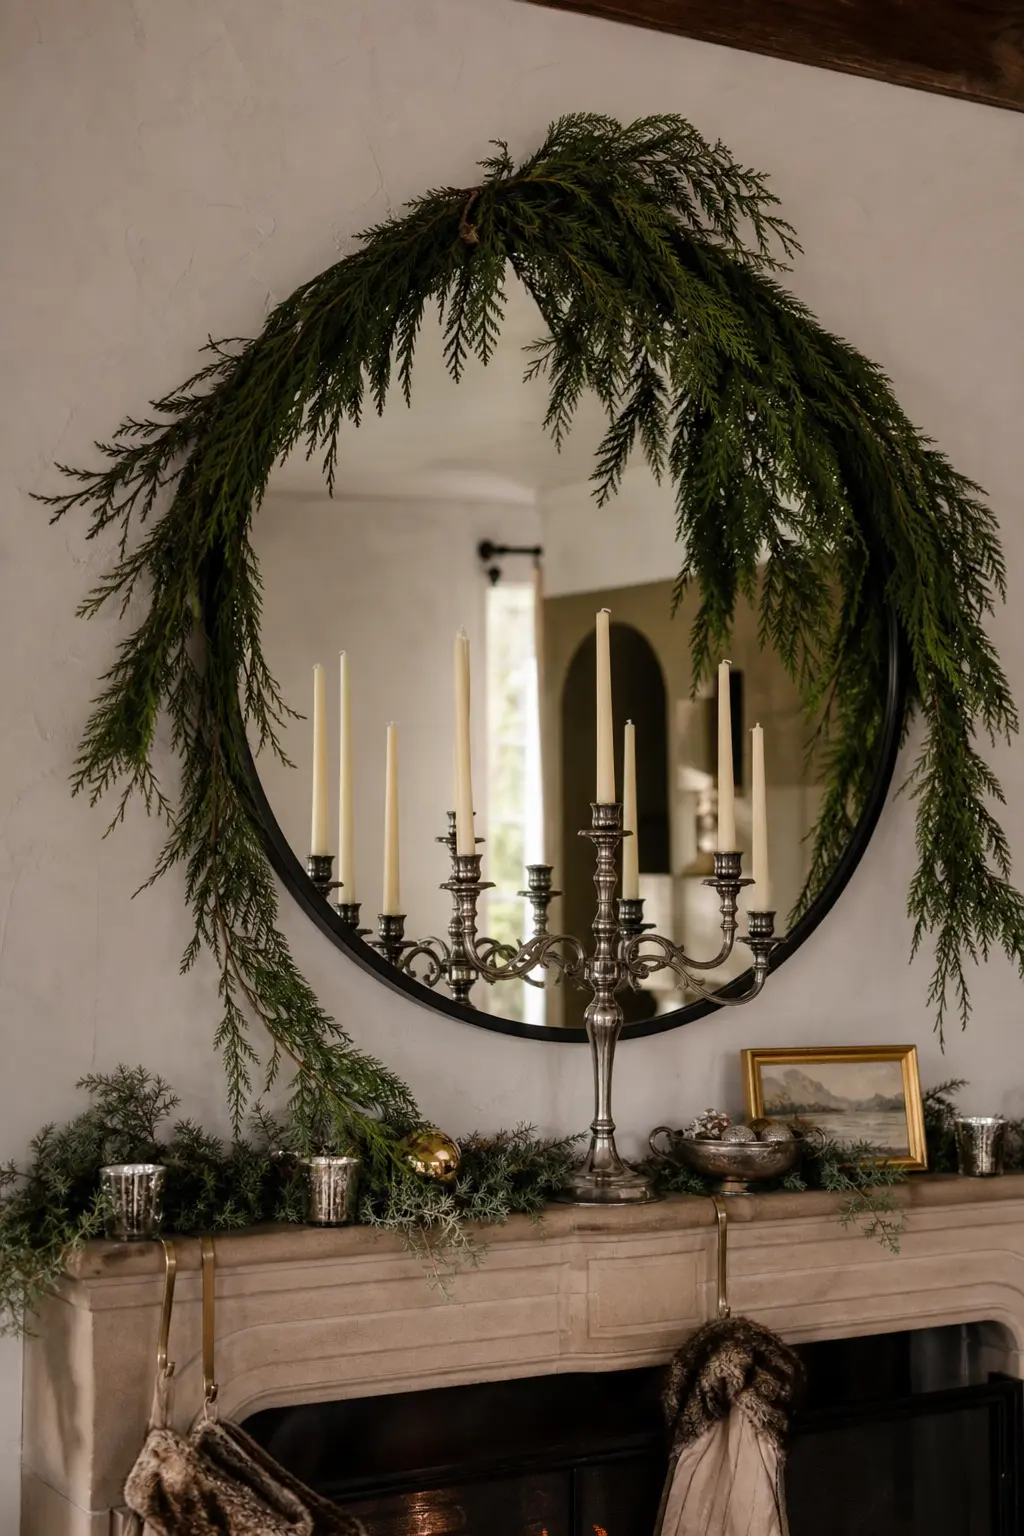
A Bare Metal Candelabra With Foliage on the Wall Behind
A wrought-iron or brass candelabra stands completely clear of any plant material. The greenery goes on the wall behind it: a swag of cedar pinned to the wall, or a mirror hung above the candelabra with a garland draped over the mirror frame. The visual reads as lush and layered. The flame is in the open air.
Keep at least twelve inches between the back of the candelabra arms and the wall swag. That sounds like a lot, and it is enough. The depth of a candelabra arm gives you most of that distance automatically.
🛍 Shopping guide
A Garland Ended Short of the Candlestick
The simplest fix in this list is also the one most photographs get wrong. End the garland six inches before it reaches the candlestick base. The visual reads as intentional negative space. The cedar tucks in, the brass candlestick stands clear, and there is no pathway for ignition.
Wire the garland end so it holds its shape and does not creep forward as the evening goes on. A small brass pin or florist wire through the last stem, hooked around the back of the arrangement, keeps it in place without showing in the photograph.

🛍 Shopping guide
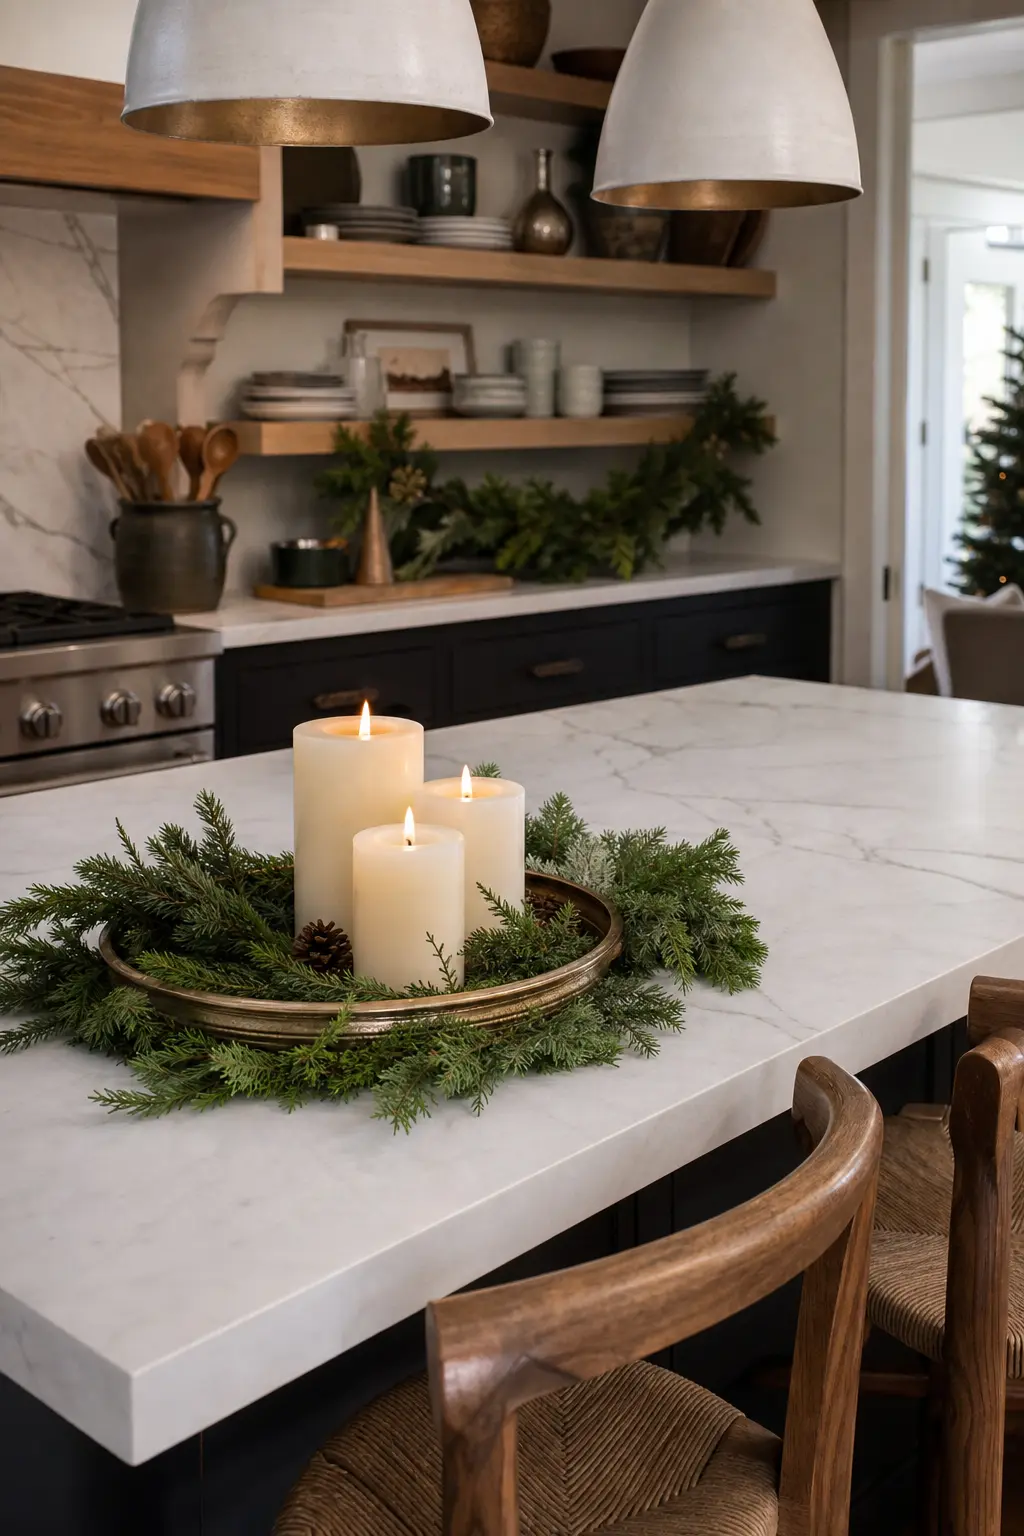
A Candle Plate With a Raised Rim
A candle plate with a half-inch raised rim catches any drips before they reach the surface below, but more usefully it creates a defined boundary. Decorative elements go outside the plate. The candle and any wax stay inside it. The rim makes the rule visible to anyone helping to style the table.
Brass charger plates work perfectly for this. So do shallow ceramic plates with a lip. Set one under every candle grouping, even the ones inside hurricane glass, as a second layer of protection for the surface beneath.
🛍 Shopping guide
Flameless, and You Cannot Tell
Modern flameless pillars and tapers use a moving-flame LED and warm amber light that genuinely reads as candlelight in a photograph. These four entries are for windows with curtains nearby, wreaths, and anywhere a real flame is simply not sensible. A timer is noted on each one, because a candle left on all night is the other risk people forget.
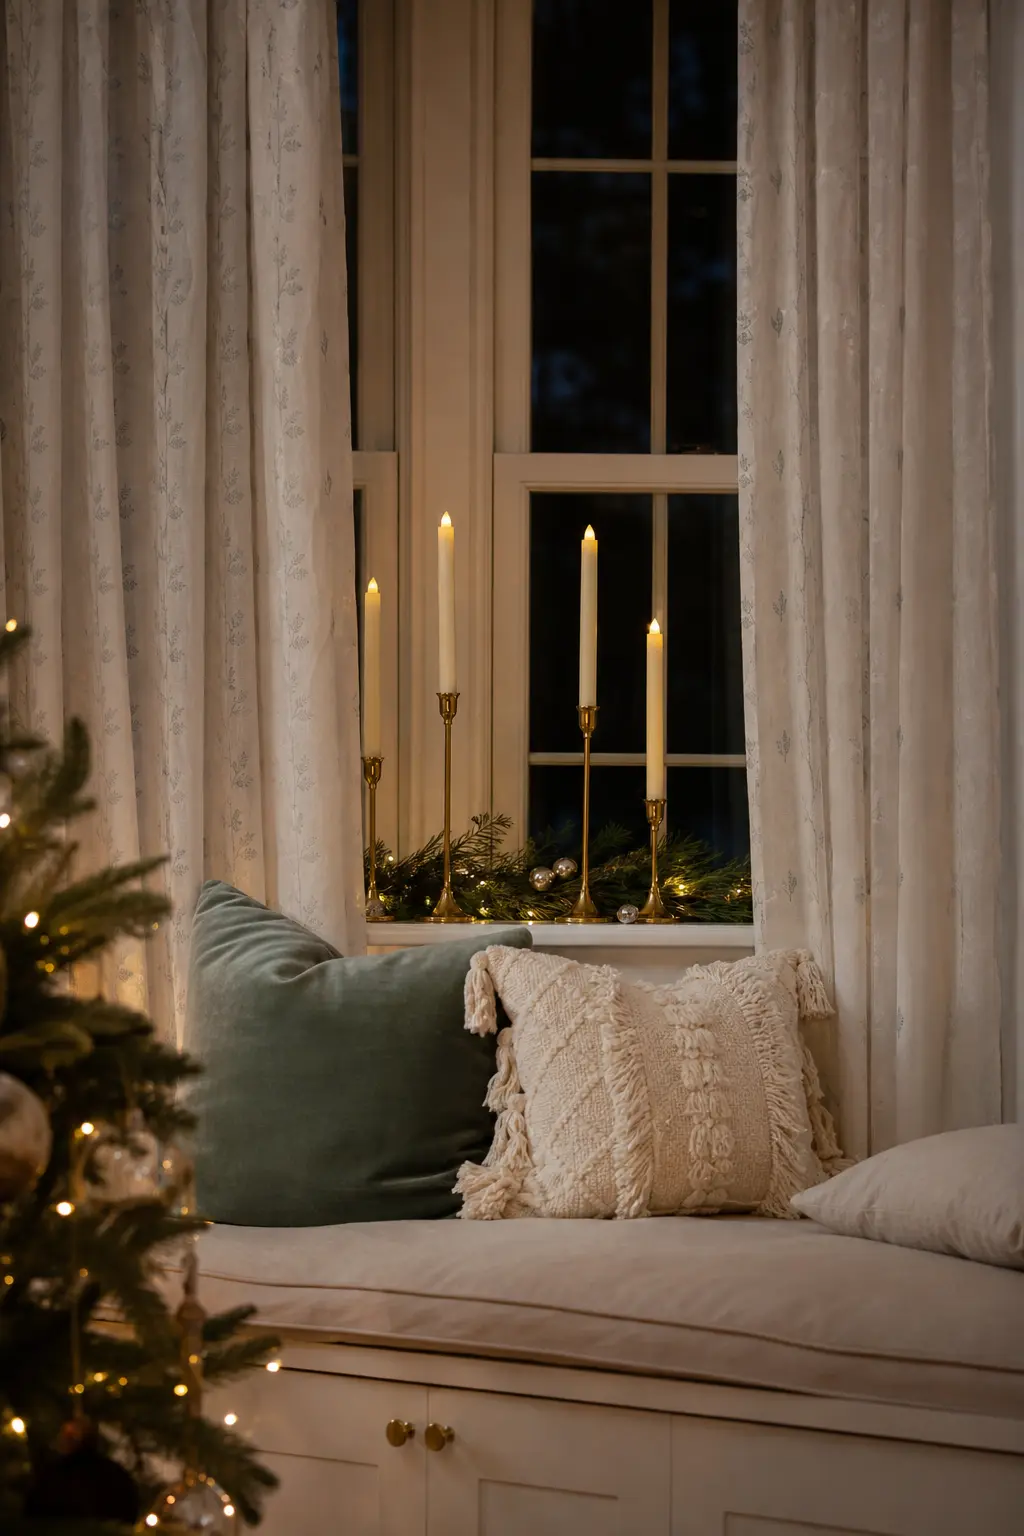
Flameless Tapers in a Window With a Curtain Nearby
A window with a sheer curtain panel is one of the most dangerous spots for a real taper, because curtains billow and wicks stay lit. Flameless tapers with a warm amber moving flame solve this completely. They look identical to the real thing in the dark glass reflection at night.
Set a timer for four hours from dusk so they come on automatically and go off while you are still awake. Battery-operated flameless tapers now come with a remote, which means you can adjust the flicker speed from across the room to match the mood.
🛍 Shopping guide
Flameless Pillars Inside a Closed Lantern
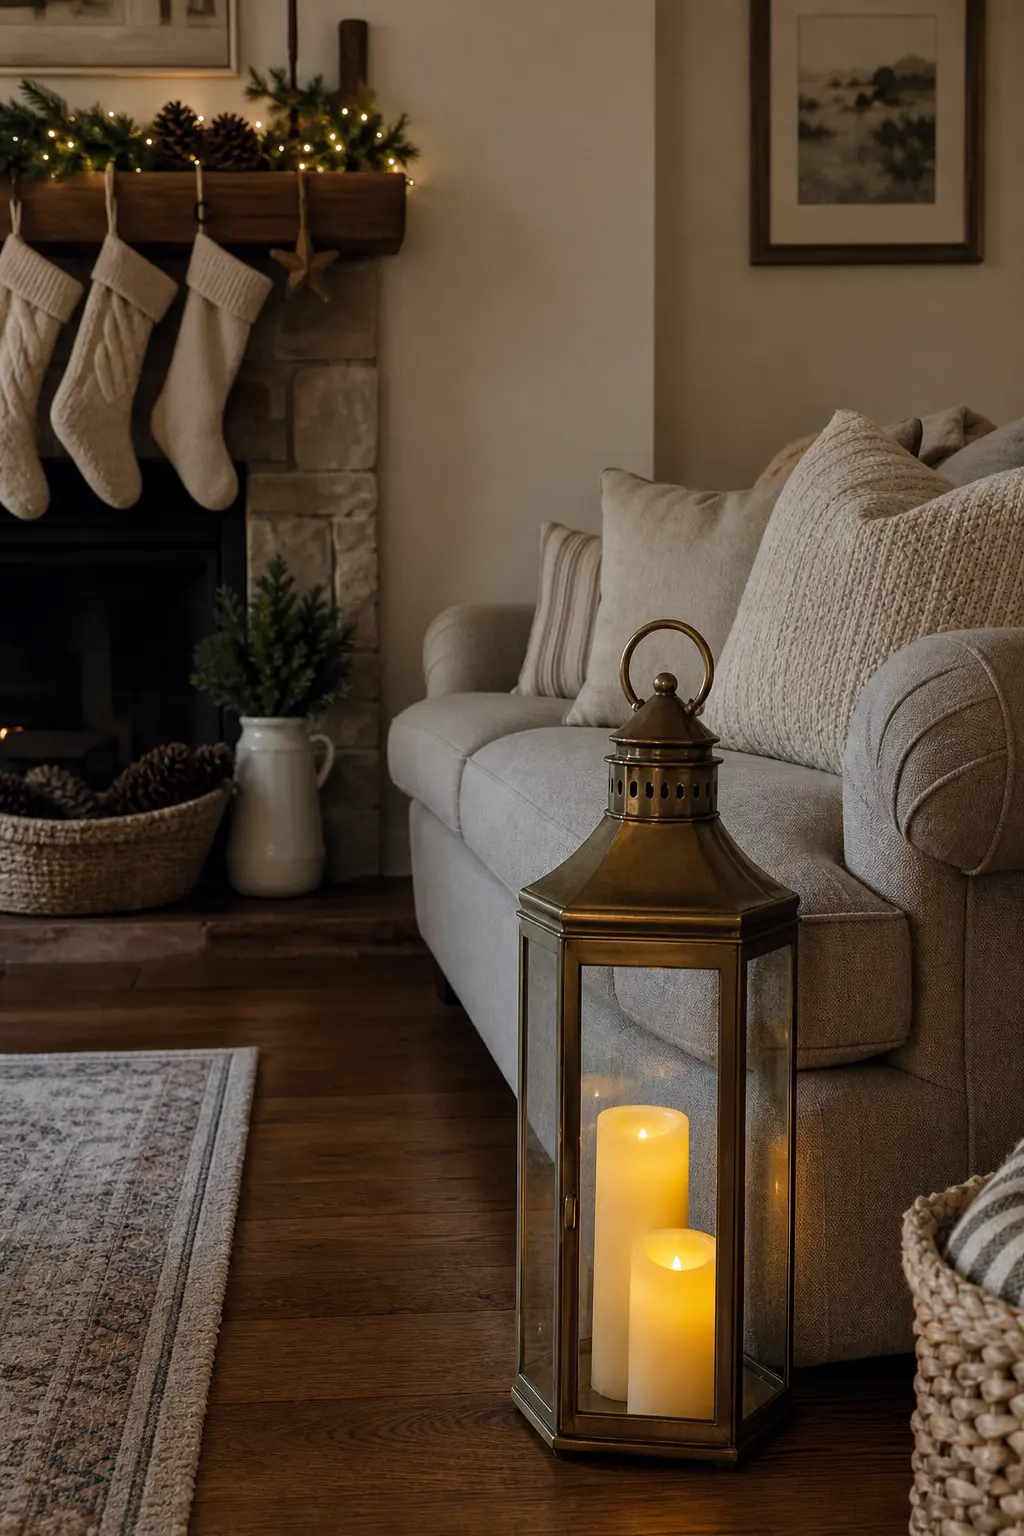
A closed-top lantern with a flameless pillar inside is the arrangement that causes zero anxiety and photographs identically to the real thing. The amber glow through the glass panels looks warm and contained. The closed top means no heat escapes upward toward any garland draped above the lantern handle.
Choose a lantern with glass panels rather than mesh so the light is steady rather than broken. Set the timer for six hours so it shuts off automatically. A large lantern on the floor next to a sofa reads as a fireplace alternative in a room that has none.
🛍 Shopping guide
Flameless in the Wreath, Real on the Table
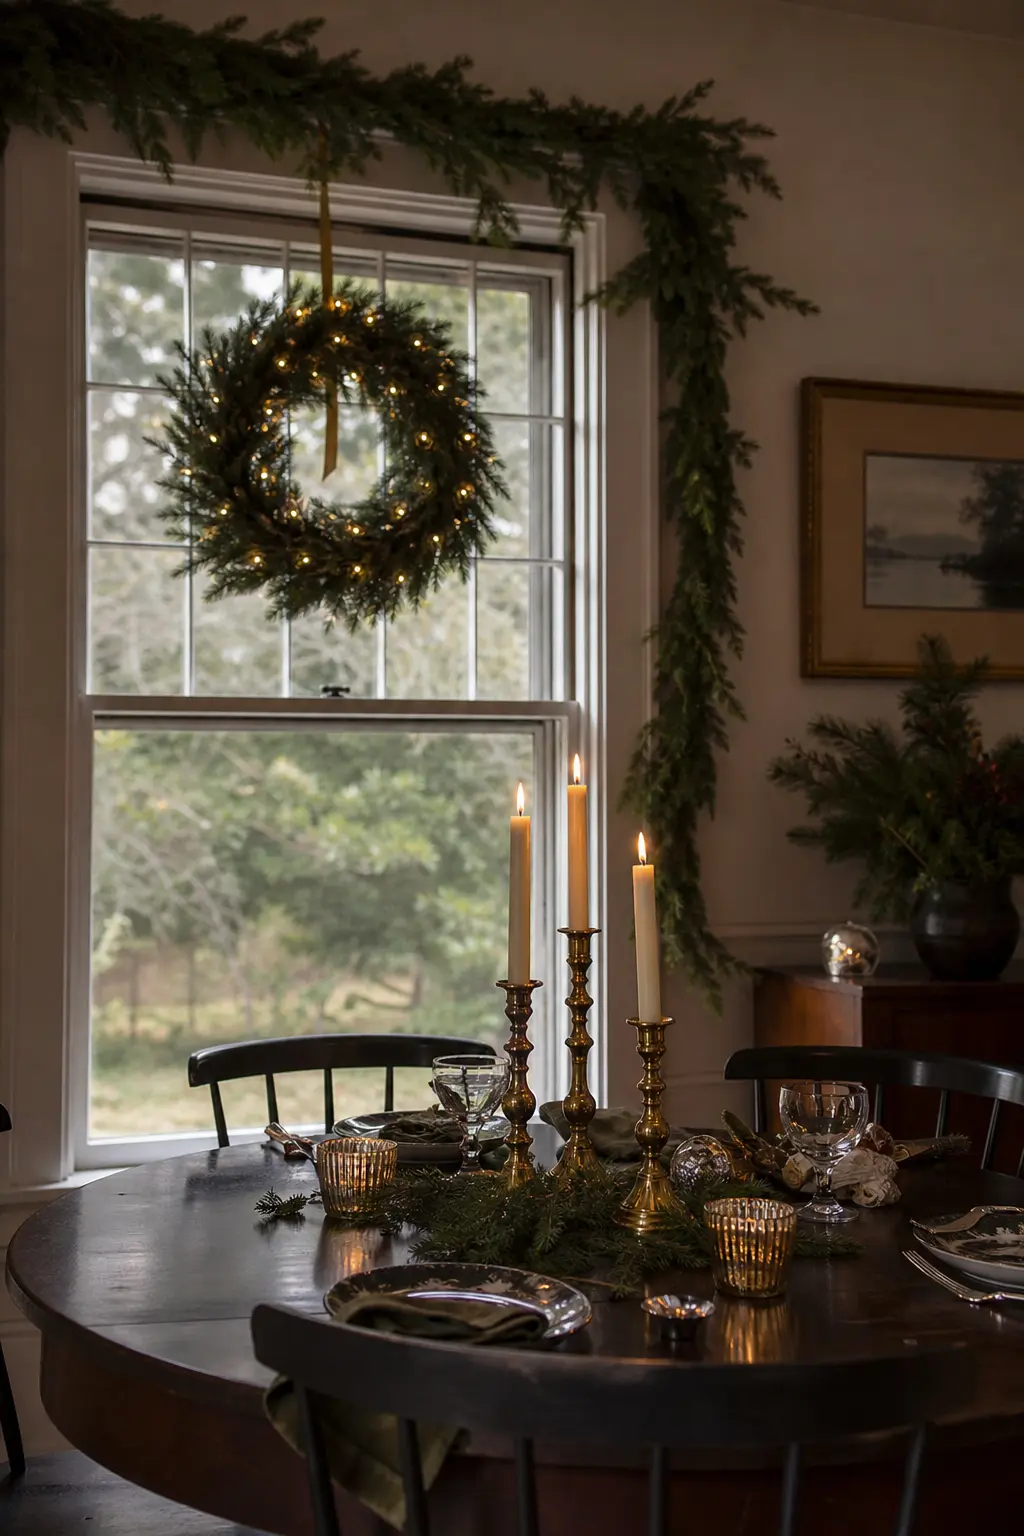
A wreath is the arrangement where flame and greenery are most intimately intertwined, so the rule here is non-negotiable: any candle inside or attached to a wreath is flameless. Real candles belong on the table, where you can manage the geometry. This split approach gives you both textures in the same room without pretending the wreath risk does not exist.
Use flameless tealights wired into the wreath with a shared remote so they match the flicker rhythm of the real tapers on the table. Guests will not notice the difference. The room reads as one cohesive lit scheme.
🛍 Shopping guide
Timers on All Flameless Pieces
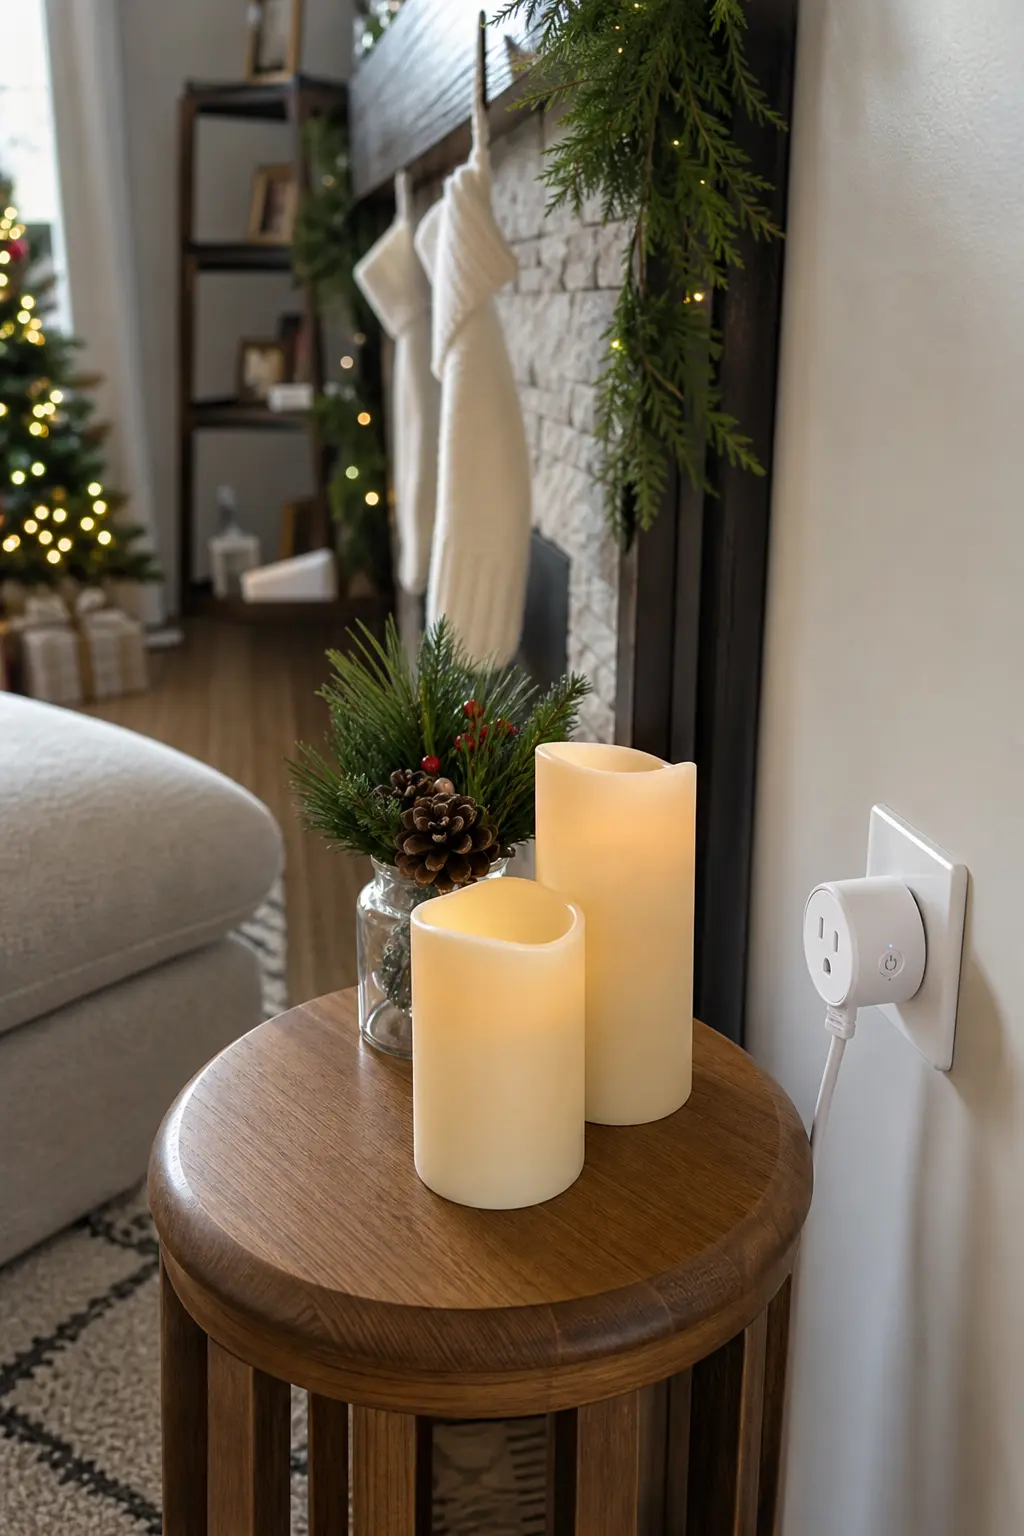
A flameless candle left on overnight is not a fire risk, but it drains batteries, shortens bulb life and looks out of place at breakfast. A built-in timer or a smart plug set to four to six hours from your usual lighting time is the one setup step that makes the whole flameless system work without thinking about it.
Group all flameless pieces onto the same timer circuit if possible. A single smart plug with a schedule covers every piece plugged into a power strip. For battery-operated pieces, choose models with a built-in 4-hour or 8-hour timer, set them all at once on the first day of the season, and leave them.
🛍 Shopping guide
Water, Stone and Metal as the Barrier
Stone slabs, metal trays and bowls of water are non-combustible surfaces that replace the linen table runner or wood tray that usually sits under a candle grouping. These four entries use one of those materials to break the chain between flame and anything flammable beneath it.
A Metal Tray Between the Flame and the Table Runner
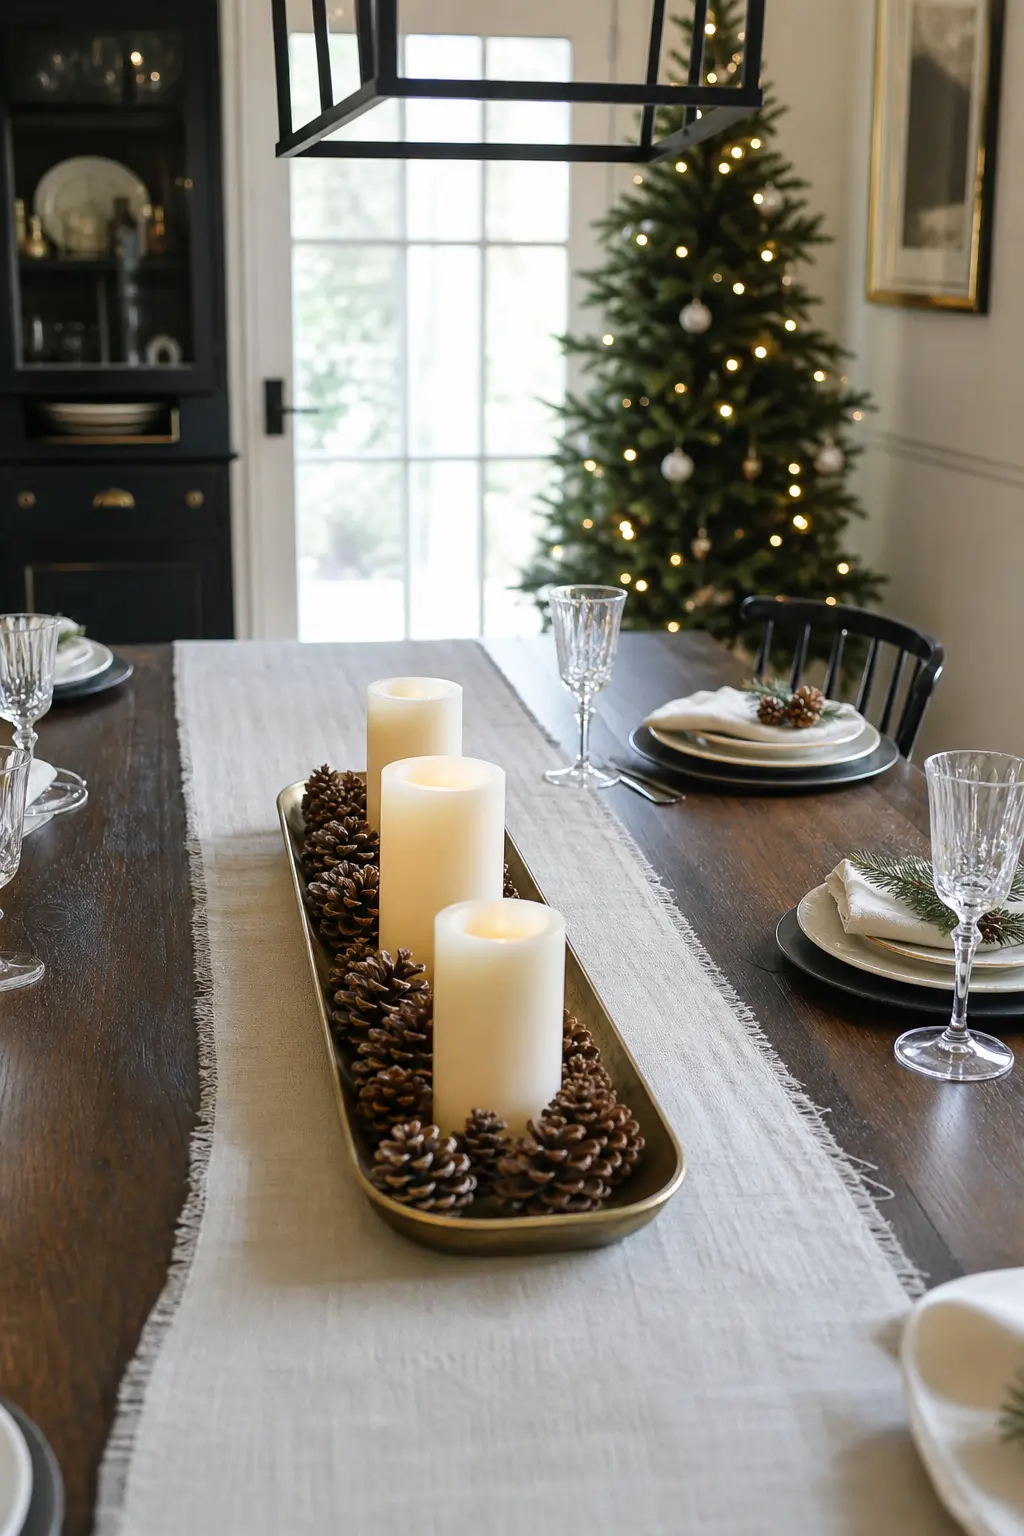
A linen or cotton table runner is one of the most flammable surfaces in a holiday table setting, and it lives directly under the candles in almost every styled photograph. A brass or blackened-steel tray breaks that chain. The candles sit on the tray, the runner goes under the tray, the metal is in between.
A rectangular brass tray also contains the arrangement visually, which makes it easier to style. Everything inside the tray belongs together. The tray lifts the whole centrepiece as one object if you need to move it to serve food.
🛍 Shopping guide
Candles Set on Stone Rather Than Wood
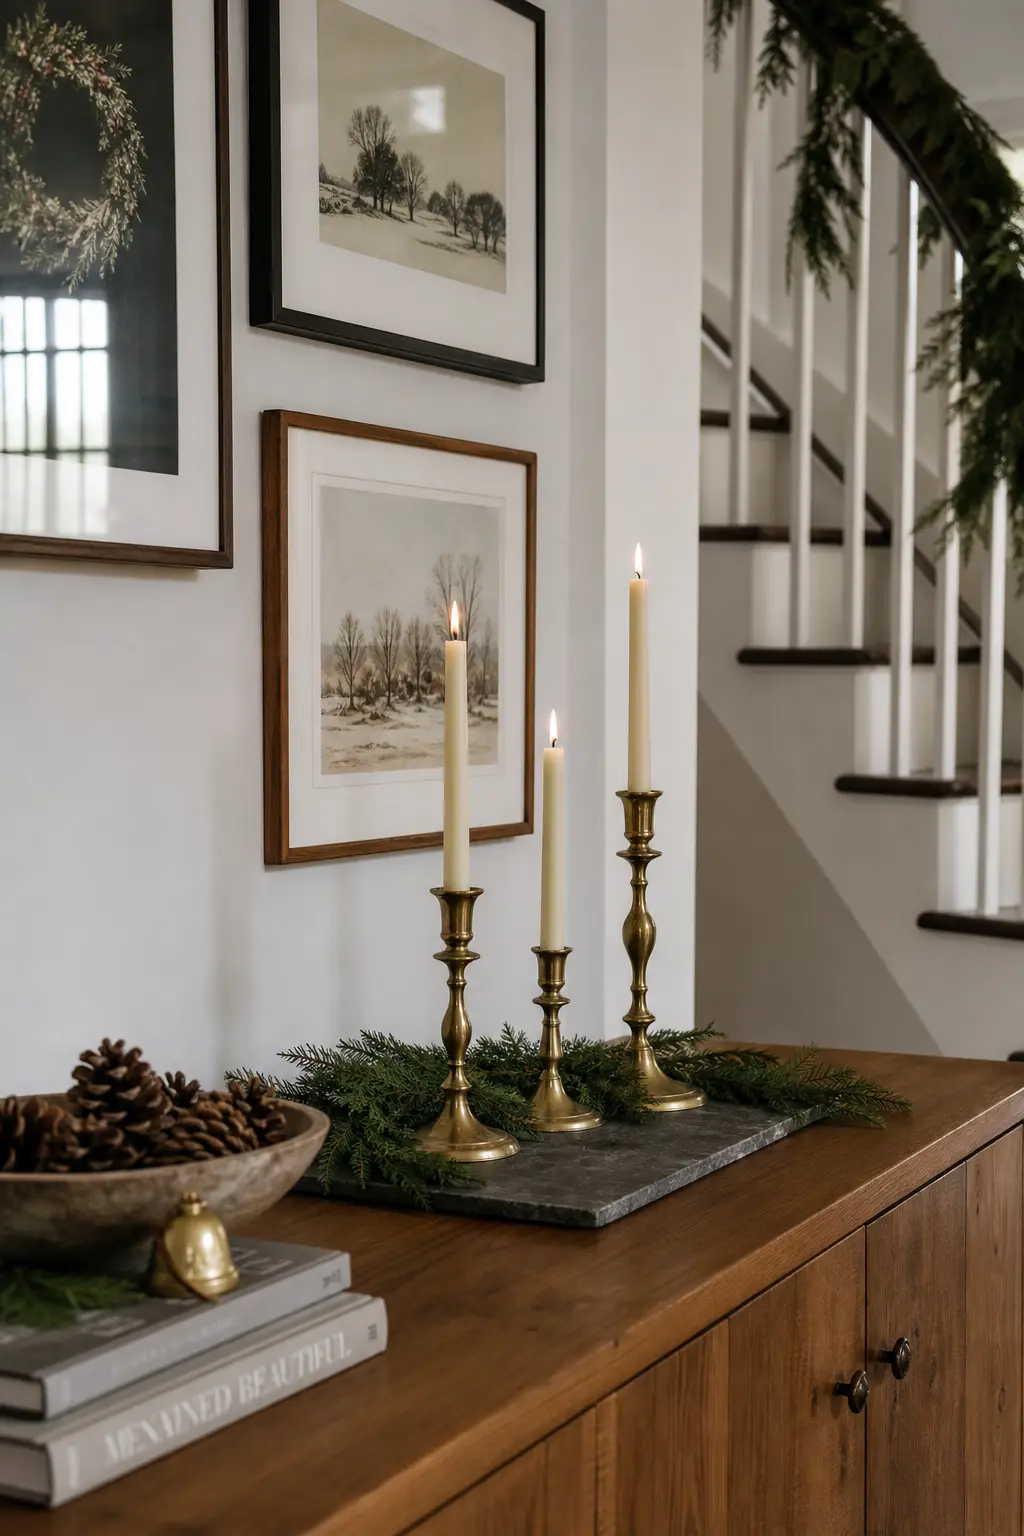
A slab of slate, marble or travertine under a candle grouping is non-combustible regardless of what happens above it. Heat, drips and stray embers all stop at the stone. This matters most on wooden consoles, antique sideboards and any surface you care about.
A 12-by-18-inch piece of honed slate from a tile supplier costs almost nothing and looks deliberately chosen. Set it on a thin felt pad so it does not scratch the surface beneath. Arrange the candles directly on the slate with no tray, which is a cleaner look and lets the stone material read properly.
🛍 Shopping guide
Votives in a Wide Shallow Dish of Water
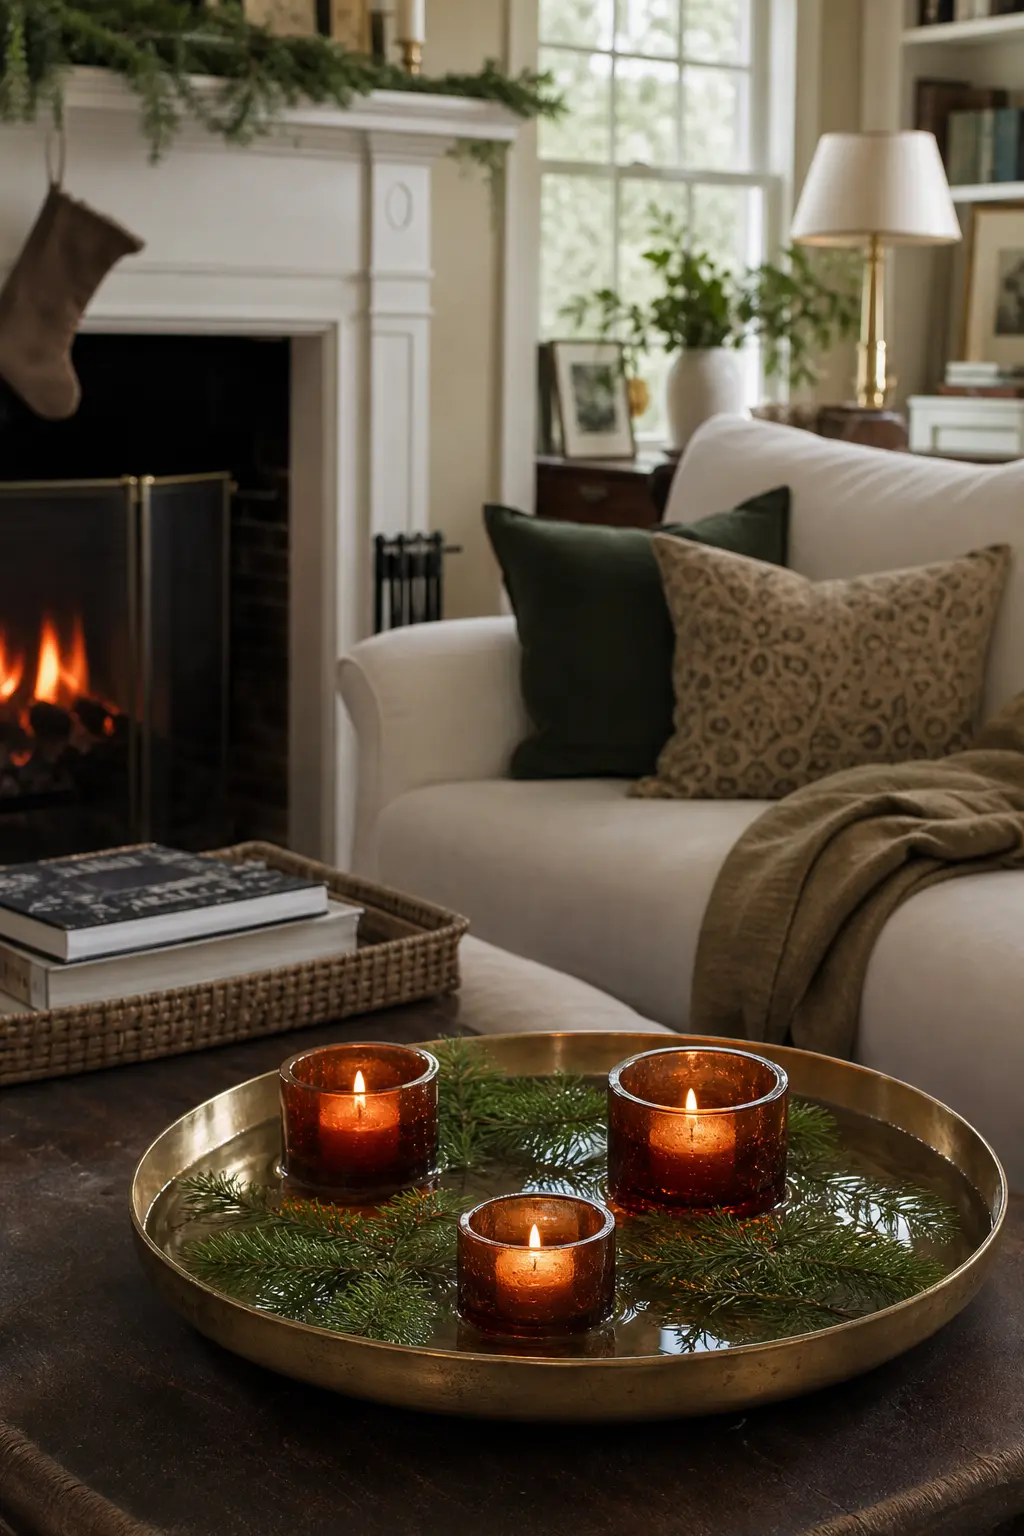
A wide ceramic or brass dish filled with two inches of water, holding amber-glass votives, extinguishes itself if a candle tips over and keeps the surface around the candles wet. This is the arrangement most often used in spa and restaurant settings because the risk management is built into the design.
Float cut cedar or pine sprigs on the water surface between the votives. They will not ignite because they are wet. The water reflects the votive glow upward, which doubles the visual impact. Refresh the water every evening and remove any fallen needles before relighting.
🛍 Shopping guide
A Low Bowl of Water With Floating Candles
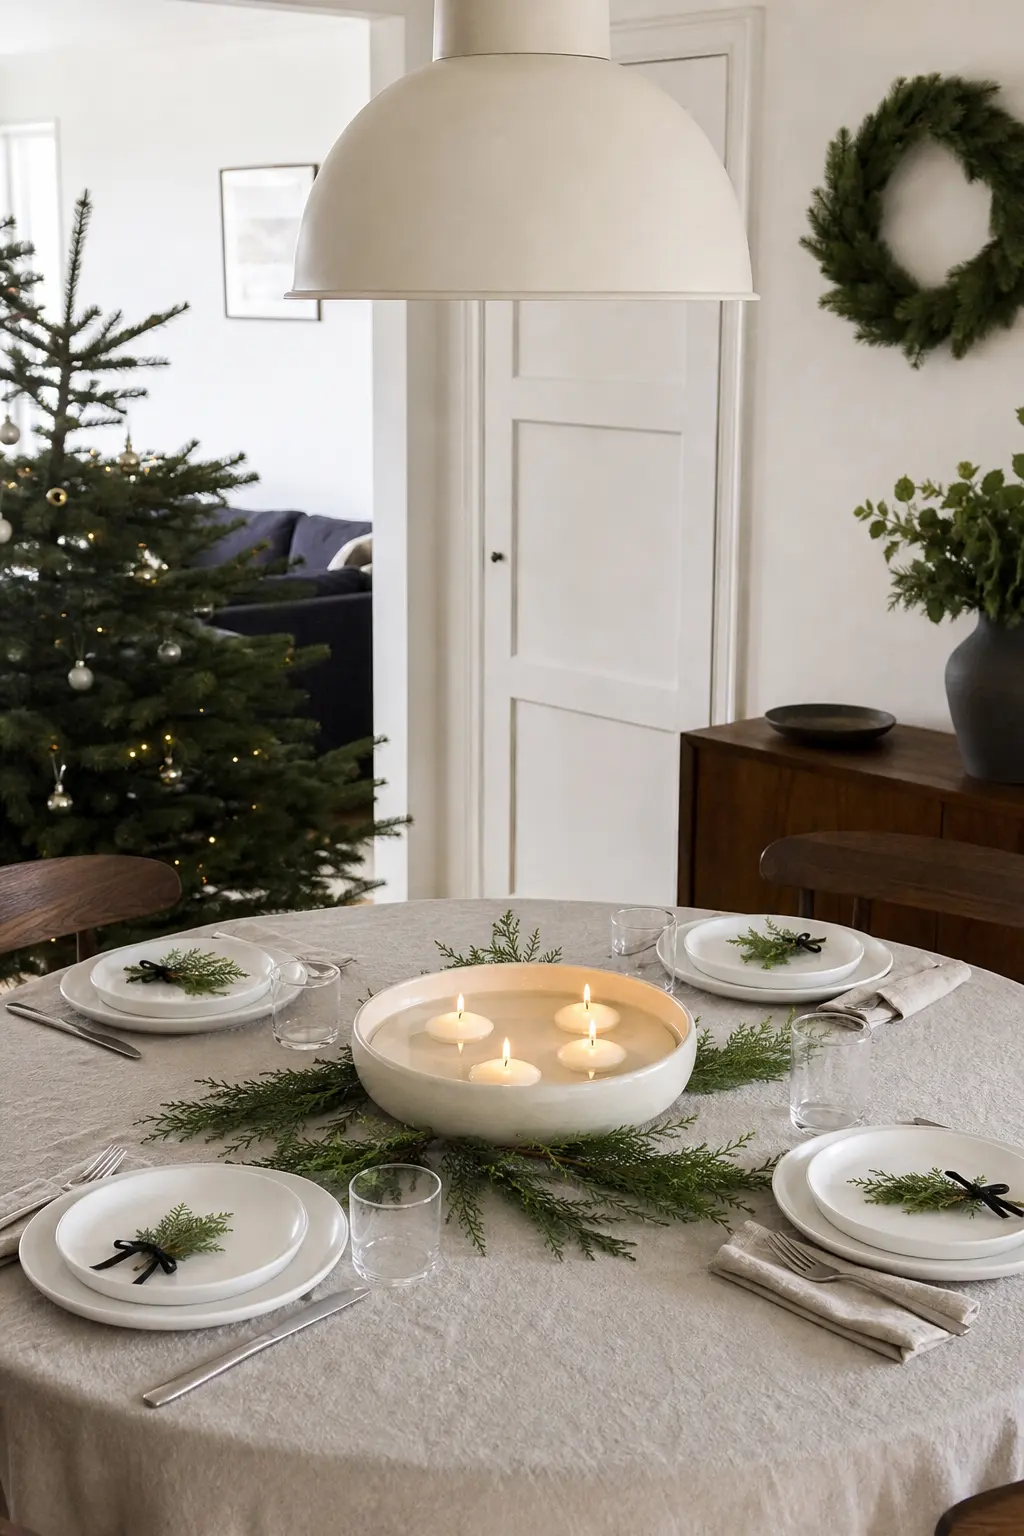
Floating candles in water are one of the oldest safety-by-design arrangements: the water is the extinguisher. A wide low bowl in cream ceramic or amber glass, filled to within an inch of the rim, holds three to five floating disc candles. The greenery stays outside the bowl entirely.
Choose disc candles rather than flower shapes for a cleaner look in the brass and cream palette. They burn for three to four hours, which is enough for a dinner party without monitoring. Cedar stems laid around the outside of the bowl, not in the water, complete the arrangement.
🛍 Shopping guide
Greenery Managed, Not Eliminated
These three entries keep real greenery in the picture but manage its position: ending the garland short of the candlestick, pinning stems back by a hand’s width, or swapping living foliage for glass beads that give the same jewelled look with zero fire risk. The cedar green colour stays. The dried needle problem goes.
Greenery Pinned Back From the Candle by a Hand’s Width
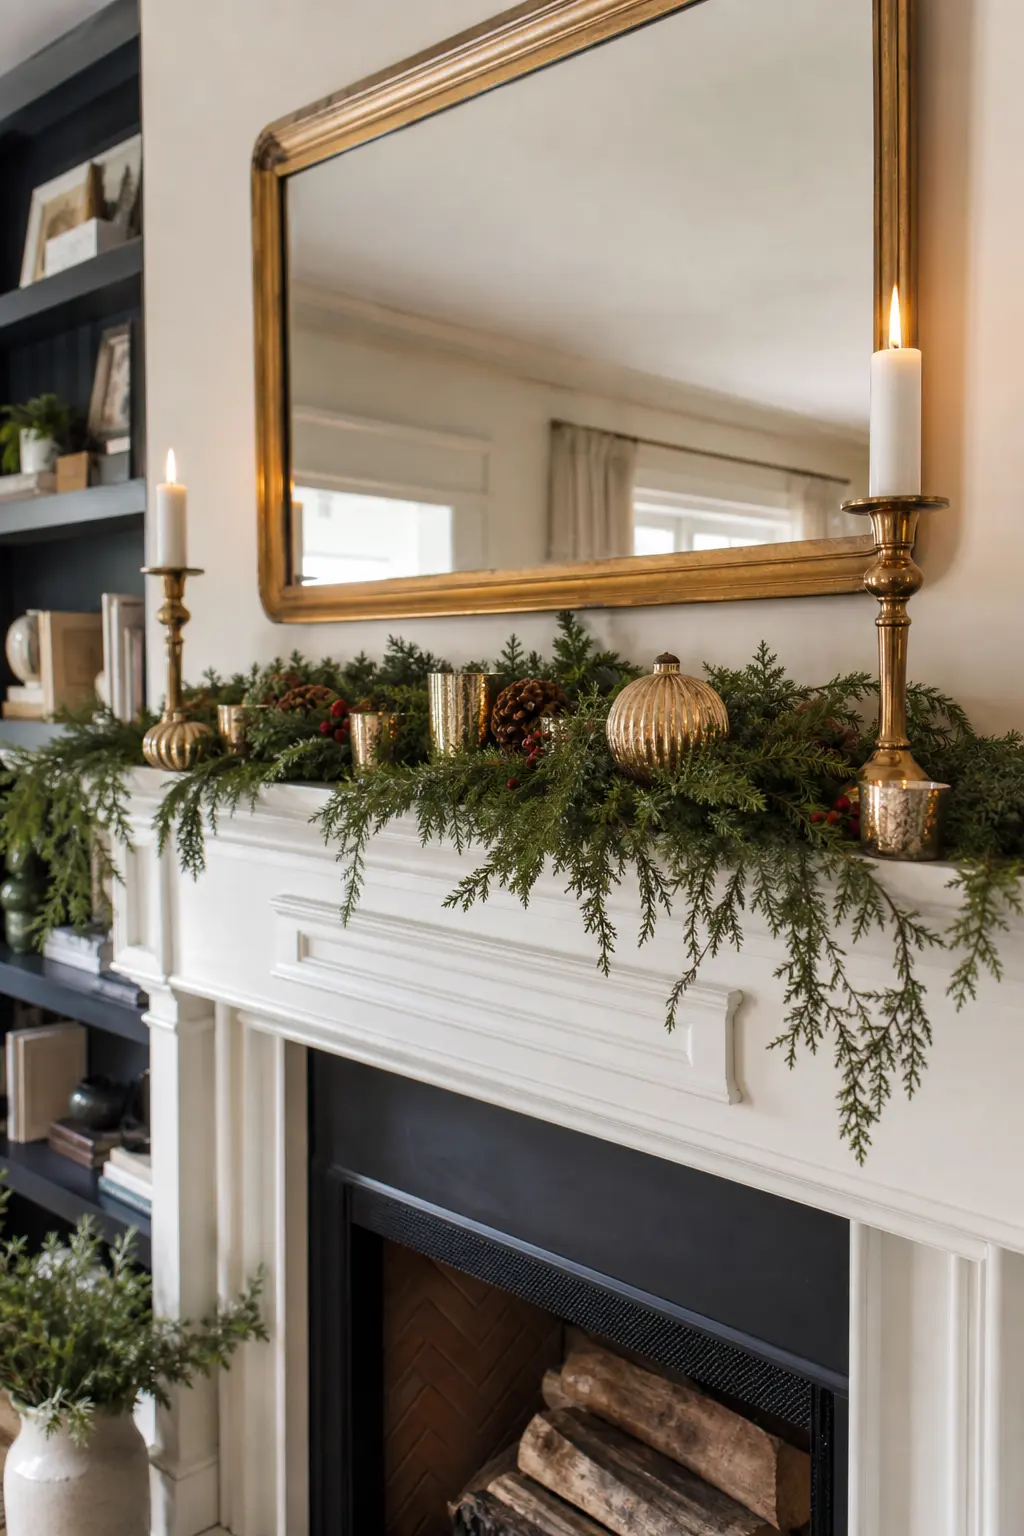
Where a styled garland arrangement needs greenery close to a candle for the photograph, pin the closest stems back and down so they curve away from the flame rather than toward it. A hand’s width, roughly four inches, is the working minimum for slow-burning pillars. For tapers, use six.
Brass floral pins or u-shaped florist pins pushed into the garland and hooked around a stem or wire keep the curve in place all evening. Check the position before each lighting. Garlands settle and shift, especially on a table where people rest their arms.
🛍 Shopping guide
Greenery Swapped for Glass Beads Around a Flame
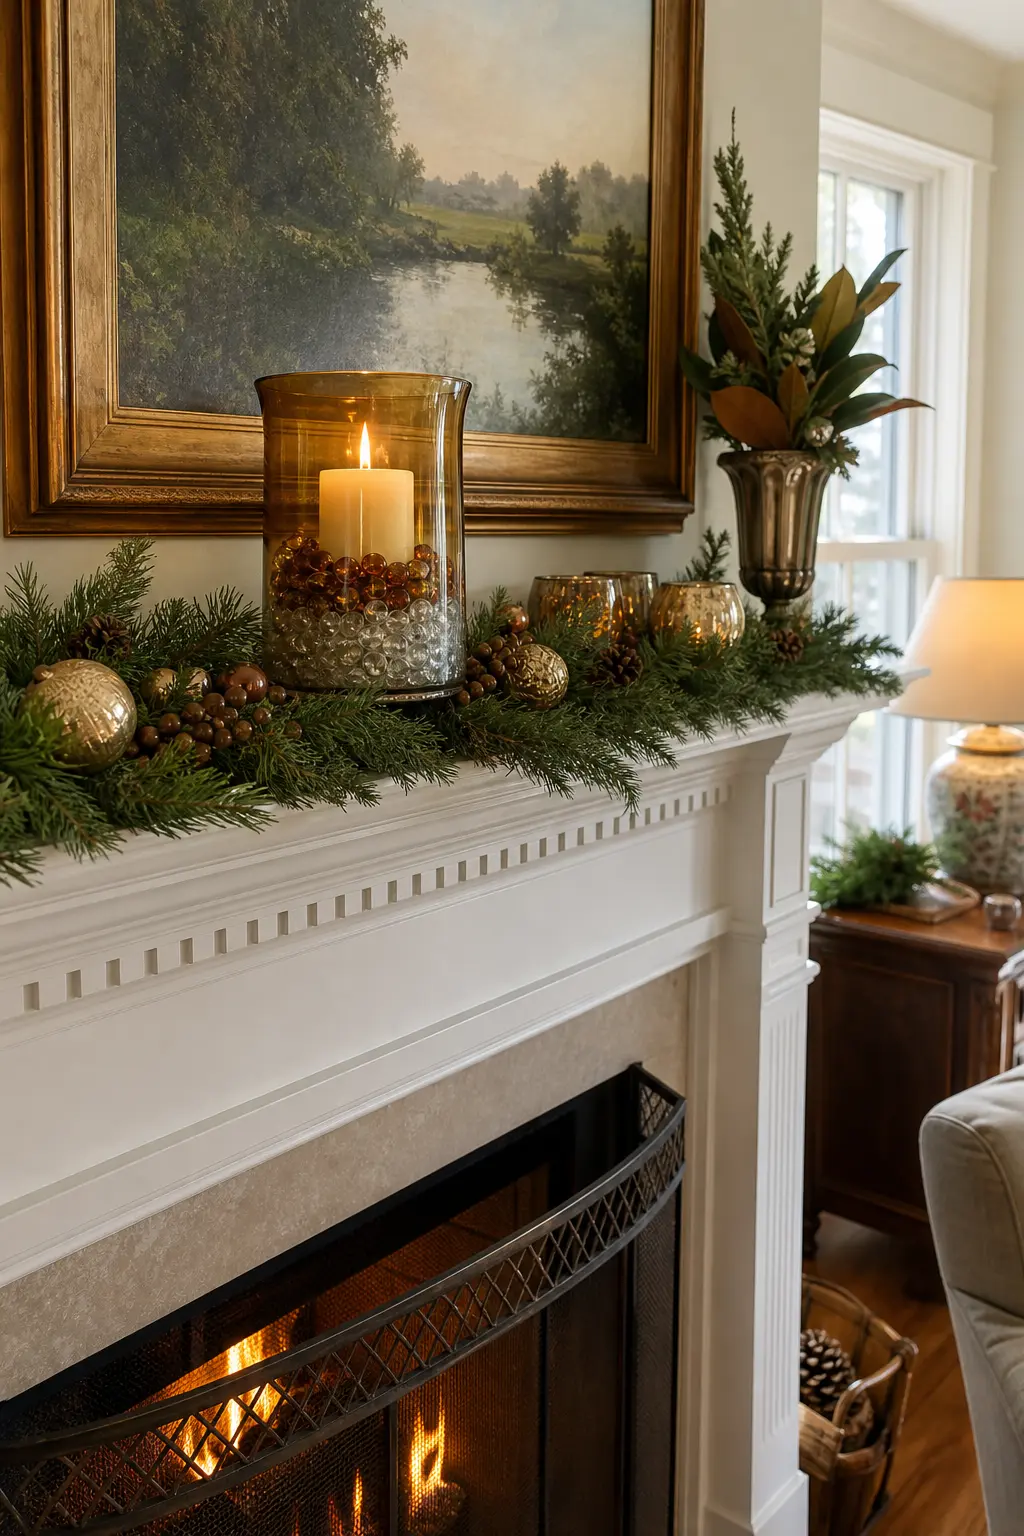
Amber and clear glass beads or stones fill a vase, bowl or lantern base and circle a candle with the same jewelled, layered look as a foliage arrangement, with zero combustion risk. The light refracts through the beads and throws amber and gold reflections onto the surrounding surface.
Use enough beads to surround the candle base fully and hold the candle upright without additional support. Amber sea glass, clear pebbles or brass jingle beads all work. This is the right answer for a mantel where a garland has already been there for weeks and is starting to dry.
🛍 Shopping guide
Lanterns Closed at the Top on the Porch
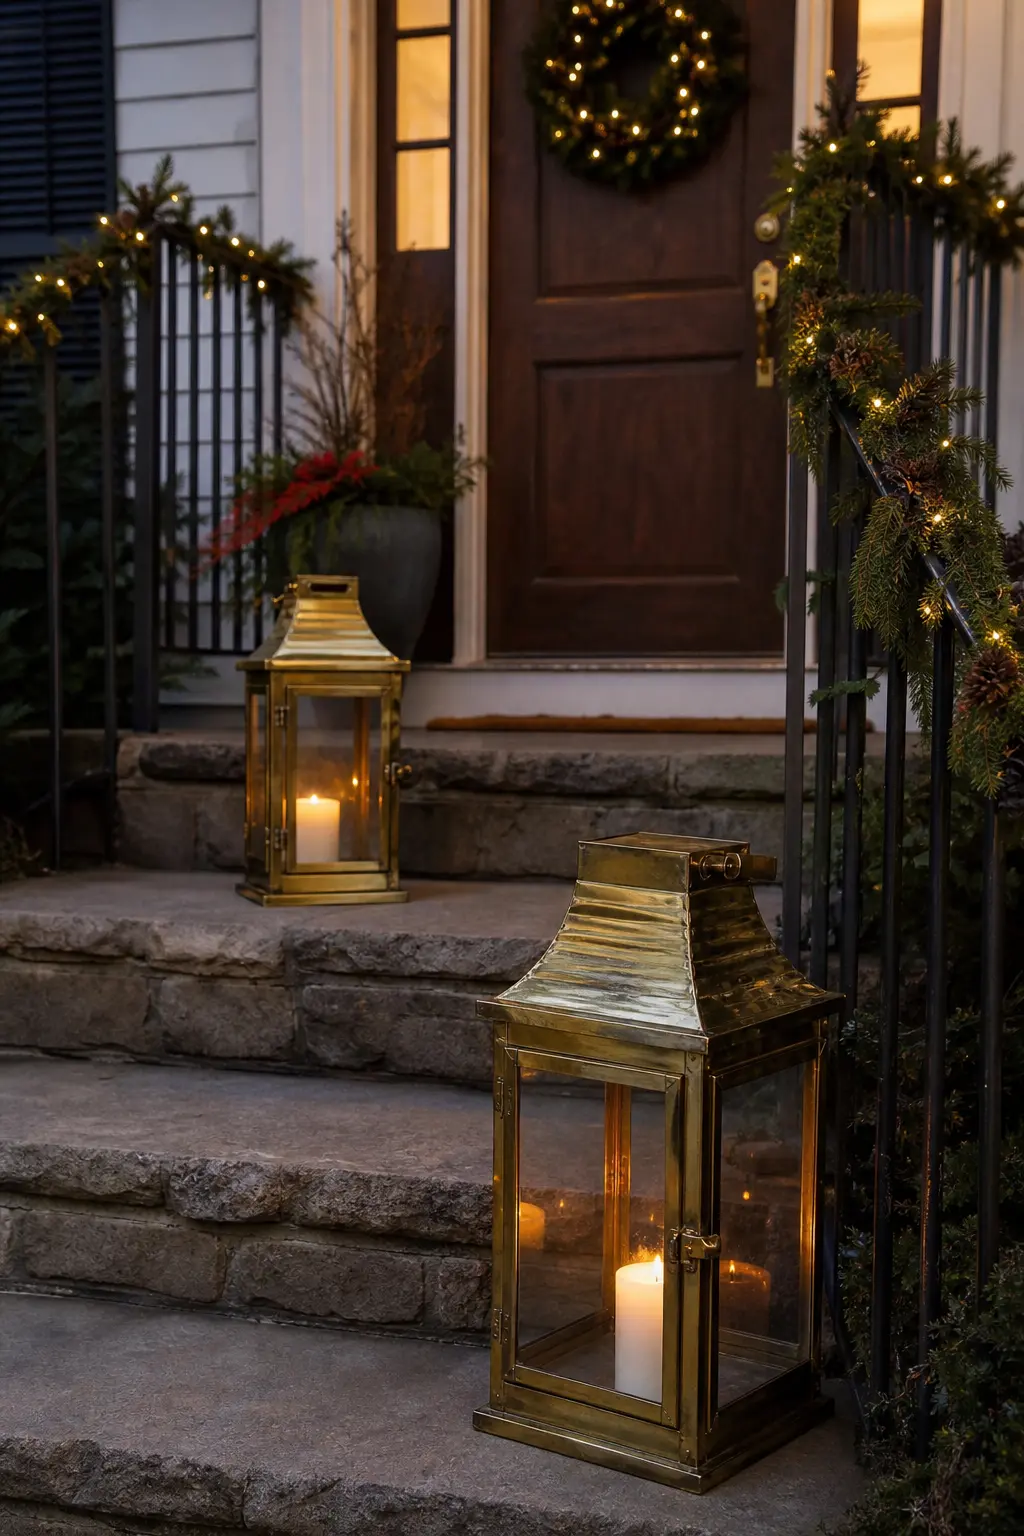
An outdoor porch is where garland, ribbon and real flame most often combine, and where wind makes the risk unpredictable. A closed-top lantern changes the equation: the top keeps the flame sheltered and prevents any burning material from falling upward into decorations overhead.
Use a lantern with a latch rather than a loose-fitting door so it stays closed in wind. Set it on the porch floor or a stone step rather than a wooden railing. Keep the garland on the railing at least two feet from the lantern. This is an arrangement where the drama of scale, a large lantern on a stone step, does the visual work that closeness would otherwise do.
🛍 Shopping guide
Christmas Candles Decorations: the One Rule That Covers All 19
Every arrangement above follows one principle: flame and organic material never share the same horizontal plane. Raise the flame, lower the greenery, or put non-combustible material between them. That single rule produces every look on this page, and it is the rule every fire-safety body recommends when they talk about holiday decorating.
If you want to go deeper into specific candle styling, the guide to christmas candles covers wick trimming, burn times and the best vessels. For the making side, christmas candles diy walks through poured pillars and hand-dipped tapers. If your arrangement sits near the fireplace, christmas fireplace decor has the clearance notes you need. And if any of these groupings will live near an entrance, check christmas door for outdoor-safe options.
One last practical note: check every flameless piece at the start of the season, replace batteries, and set the timer. A dead flameless candle the night of the party is the only version of this decorating approach that genuinely lets you down.
Frequently Asked Questions
Is it safe to put candles in a garland?
No. Placing a lit candle inside or flush against a garland is one of the leading causes of holiday house fires. Greenery, whether fresh or dried, ignites quickly when a flame reaches it. The safe approach is to keep the flame and the nearest greenery at least six inches apart, or to use a flameless candle inside the arrangement and reserve real flame for nearby holders where the geometry can be managed.
How do you decorate with candles safely?
The core rule is to keep flame and flammable material on different horizontal planes. Raise the candle above the garland on a pedestal, cake stand or tall holder, or enclose the flame in a hurricane or closed lantern. Put a metal tray or stone slab between any candle and a wooden or fabric surface. Never leave a burning candle unattended, trim wicks to a quarter inch before each use, and set a timer on all flameless pieces so they go off automatically.
Do flameless candles look real?
Current-generation flameless pillars and tapers use an amber LED with a randomised flicker algorithm that closely mimics a real flame. In low ambient light, and especially viewed through amber or tinted glass, they are difficult to distinguish from the real thing. Look for models with a warm amber bulb (not a cool white one), a moving-flame tip rather than a static LED, and a wax exterior rather than plastic. In photographs, the difference is nearly impossible to detect.
What can I put around a candle instead of greenery?
Amber or clear glass beads, decorative sand, stone pebbles, brass jingle bells, dried orange slices, cinnamon sticks bundled with twine, sea glass or small river stones all provide the layered, textural look of greenery without any combustion risk. Water is another option: votives and floating disc candles in a wide bowl of water are self-extinguishing if a candle tips.

Jump beyond generic presents and discover 15 heartfelt Christmas gifts that will make your grandpare

20 brown Christmas decor ideas carried through a whole house in cocoa, caramel and chocolate velvet,
25 diy christmas decorations crochet projects every beginner can finish in one sitting: flat snowfla
Leave a Reply