

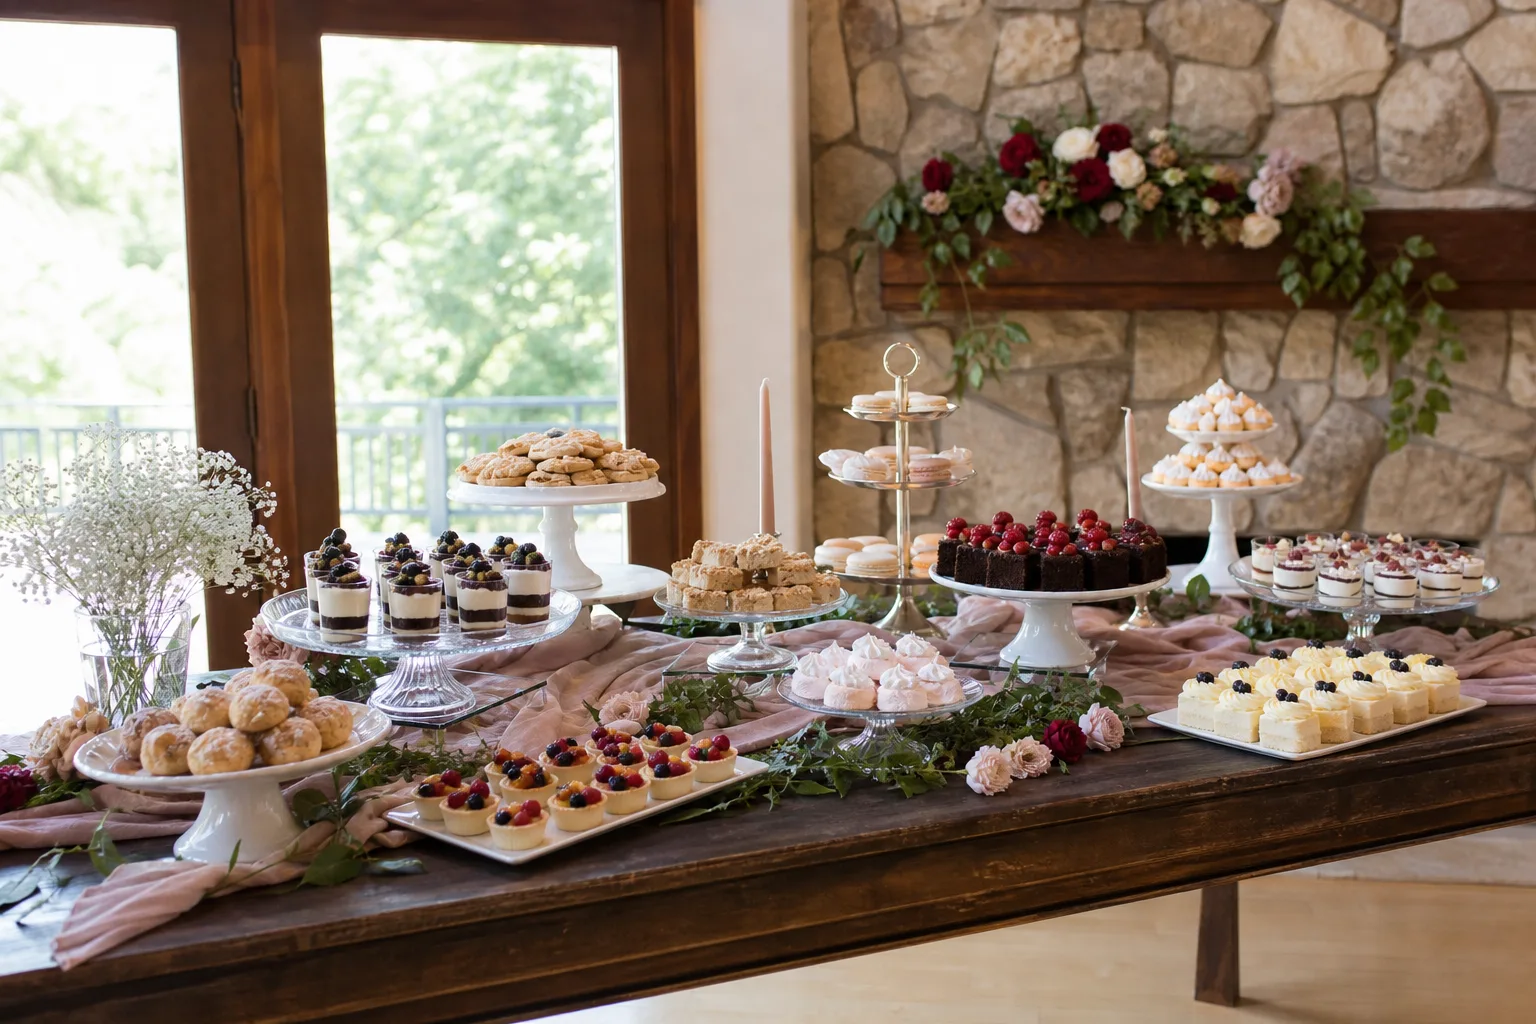
A dessert table says more about the shower than the banner behind it, and it says it before anyone touches a fork. These bridal shower desserts work because most of them come together by hand rather than by oven timer: melt, dip, pipe, chill, stack. The showpieces go first, the small sweets follow, and a cake stand does more heavy lifting than any sign ever will.
Build the table somewhere that already looks lived in, a bit of wallpaper or panelling behind it, a lamp lit nearby, never a bare wall. A patterned runner or a pressed cotton cloth underneath keeps the colour grounded without competing with icing. Where a recipe calls for champagne or a splash of liqueur, that part is for the adults only, poured with a light hand and kept well away from any children’s table.
A few recipes here carry egg, dairy, gluten or almond, so a small card by each tray saves someone an awkward question mid-party. Work backward from the date: most of this chills and keeps far better than it photographs fresh, which means the week before is busier than the morning of.
This post contains affiliate links. If you buy through them, I may earn a small commission at no extra cost to you.
Table of Contents
- Dessert Tower
- Macaron Display
- Cookie Decorating Box
- Chocolate-Dipped Strawberries
- Mini Cheesecakes
- Fruit Tarts
- Cake Pops with Bows
- Lemon Bars
- Cupcakes with Piped Flowers
- Ice Cream Sundae Cups
- Meringue Kisses
- Donut Holes
- Mini Parfaits
- Chocolate Bark with Edible Flowers
- Strawberry Shortcake Skewers
- Mini Pavlovas
- Tiramisu Cups
- White Chocolate Pretzel Bites
- Oreo Truffles
- Mini Key Lime Pie Cups
- Champagne Gummy Bears
- Frequently Asked Questions
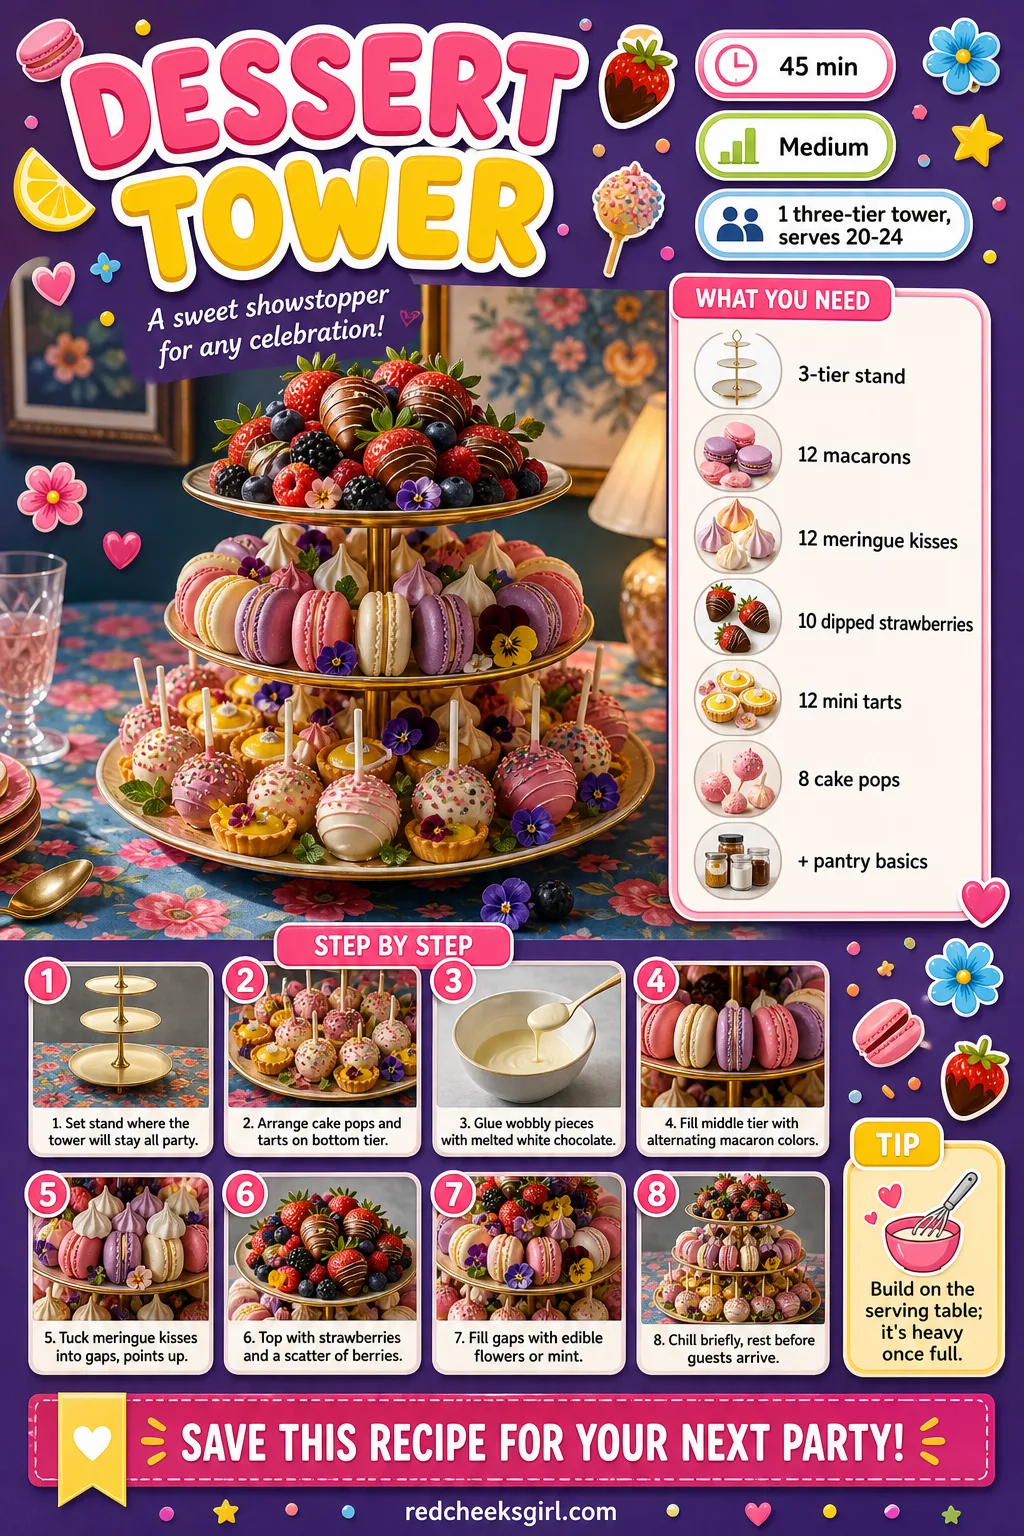
Dessert Tower
A bare cake stand in the middle of the table looks like an afterthought, and everyone can tell. Stack it instead with pieces from everything else on this list, built from the heaviest items up, and the table reads as one composed centrepiece instead of a dozen separate plates.
Nothing here needs its own oven time, the tower simply borrows from what’s already made. If the stand is the one thing still missing from the shopping list, 13 Bridal Shower Ideas for Every Theme and Budget runs through the rest of the setup too.
Ingredients
- 1 three-tier cake stand (metal or glass)
- 12 macarons
- 12 meringue kisses
- 10 chocolate-dipped strawberries
- 1 cup fresh mixed berries
- 12 mini lemon tarts
- 8 cake pops
- fresh edible flowers or mint sprigs, for gaps
- 2 tbsp melted white chocolate, for anchoring
Instructions
- Wash and dry the stand and set it directly on the table where it will stay, since a full tower is heavy to move once built.
- Fill the bottom tier with the biggest pieces first, the cake pops standing upright and the mini lemon tarts arranged in a flat ring.
- Dab melted white chocolate under anything that rolls, strawberries and cake pops especially, and let it set 2 minutes before you touch it again.
- Fill the middle tier with macarons, alternating colours around the ring so no two matching shells sit side by side.
- Tuck meringue kisses into any gap on the middle tier, points up, since they’re light enough to balance right on the edge.
- Reserve the top tier for the most delicate pieces: chocolate-dipped strawberries with a loose scatter of fresh berries around them.
- Fill any visible gap with edible flowers or mint sprigs, tucked in rather than laid flat, so the tower reads full from every angle.
- Chill the finished stand 15 minutes if the room runs warm, then let it sit at room temperature for the last 10 minutes before guests arrive.
🛍 Shopping guide
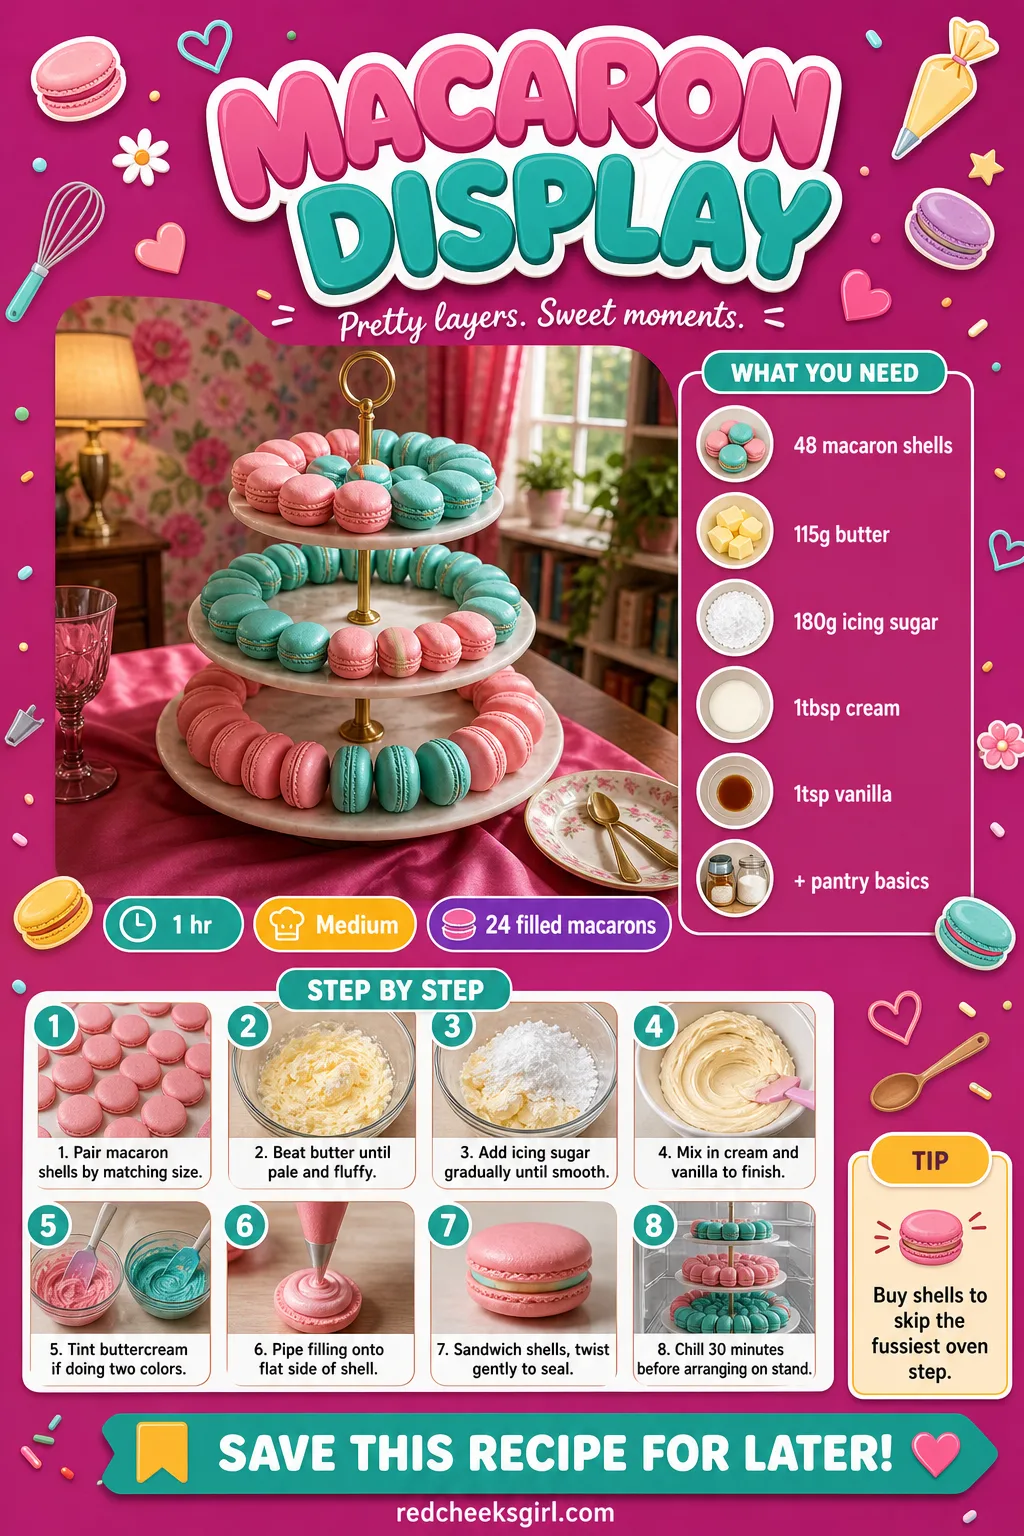
Macaron Display
Macarons have a reputation for cracked feet and wasted egg whites, which is exactly why this version skips the shells and starts from a bakery box. Nobody at the party will know, and the only oven involved belonged to whoever baked them first.
The filling is the one homemade part, and it takes less time than finding parking at a bakery. Tint it in the wedding’s colours, or leave it plain for a stand that reads simply elegant.
Ingredients
- 48 store-bought macaron shells, unfilled
- 115 g unsalted butter, softened
- 180 g icing sugar, sifted
- 1 tbsp heavy cream
- 1 tsp vanilla extract
- gel food colouring, 2 colours (optional)
- edible pearls or luster dust (optional)
Instructions
- Sort shells into matching pairs by size first, since a mismatched pair sits crooked once filled and sandwiched.
- Beat softened butter until pale, about 2 minutes, then add icing sugar in two batches, beating until smooth with no grit left between your fingers.
- Add cream and vanilla and beat again until the buttercream holds a soft peak on the beater when lifted.
- Split the buttercream and tint each half a different colour for a two-tone stand, folding gently rather than overmixing.
- Pipe a small disc of buttercream onto the flat side of one shell from each pair, leaving a clear border so filling doesn’t push out when pressed.
- Sandwich with the matching shell, twisting gently until the filling just reaches the edge.
- Chill filled macarons at least 30 minutes; the shells soften slightly at this stage, which is exactly what should happen.
- Dust with edible pearls or a light brush of luster dust right before arranging on the stand in rings by colour.
🛍 Shopping guide
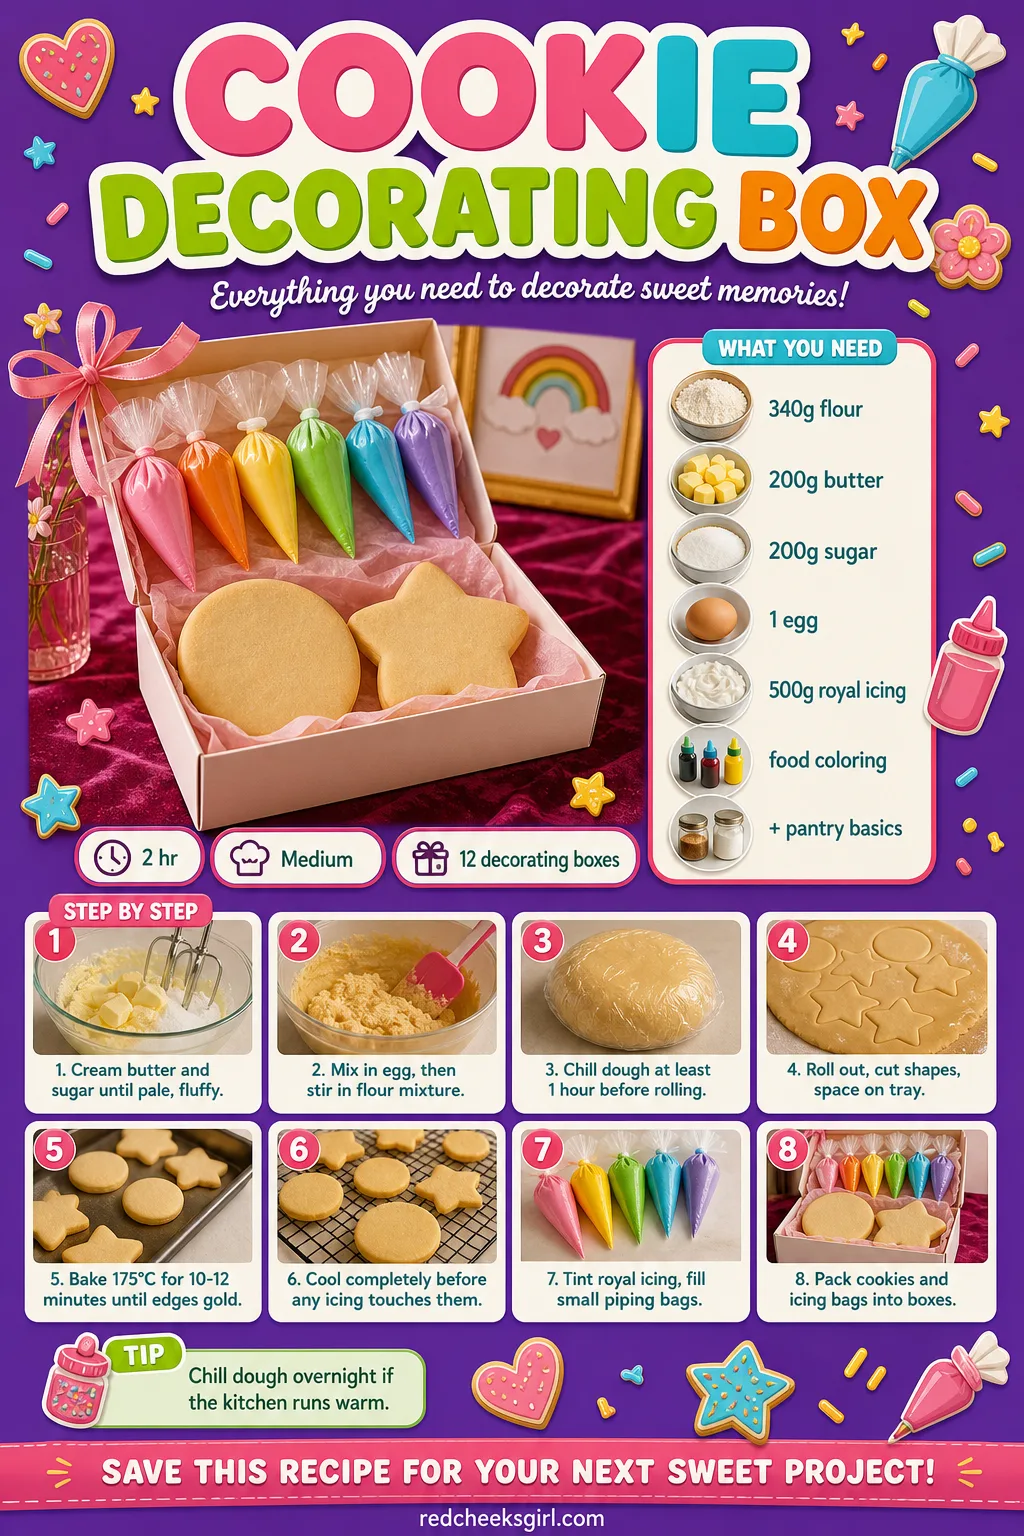
Cookie Decorating Box
Not every shower needs a craft station, but a box of plain cookies and a few piping bags turns the quiet lull after lunch into something to do with her hands. The cookies bake well ahead, so the only thing happening at the party is the icing.
Pair it with a round from 20 Bridal Party Games for a Sweet and Fun Shower and the dessert table doubles as the entertainment, no extra planning required.
Ingredients
- 340 g all-purpose flour
- 200 g unsalted butter, softened
- 200 g granulated sugar
- 1 large egg
- 1 tsp vanilla extract
- 1/2 tsp baking powder
- pinch of salt
- 500 g royal icing (store mix or 3 egg whites with 450 g icing sugar)
- gel food colouring, 3-4 colours
- 12 small decorating boxes or cellophane bags
- 12 small piping bags with fine tips
Instructions
- Cream butter and sugar until pale and fluffy, about 3 minutes, then beat in egg and vanilla until fully combined.
- Sift flour, baking powder and salt together, then mix into the butter mixture just until the dough pulls away clean from the side of the bowl.
- Divide the dough in two, flatten into discs, wrap and chill at least 1 hour; this is the step people skip, and warm dough spreads into puddles instead of holding its shape.
- Roll chilled dough to 1 cm thickness and cut into simple shapes that read clearly once iced, hearts and rings work better than fine detail.
- Space cookies 3 cm apart on a lined baking sheet and bake at 175°C (350°F) on the middle rack for 10-12 minutes, until edges turn pale gold while centres still look slightly underbaked.
- Cool on the sheet 5 minutes, then move to a wire rack and cool completely, at least 30 minutes, before any icing touches them.
- Divide royal icing among bowls and tint each a different colour, keeping one bowl thick for outlining and thinning the rest with a few drops of water for flooding.
- Fill small piping bags with icing, snip a tiny opening, and pack two cooled cookies plus a few bags per colour into each box.
- Seal boxes only once cookies are fully cooled and icing bags are tied off, so nothing cracks or leaks in transit.
🛍 Shopping guide
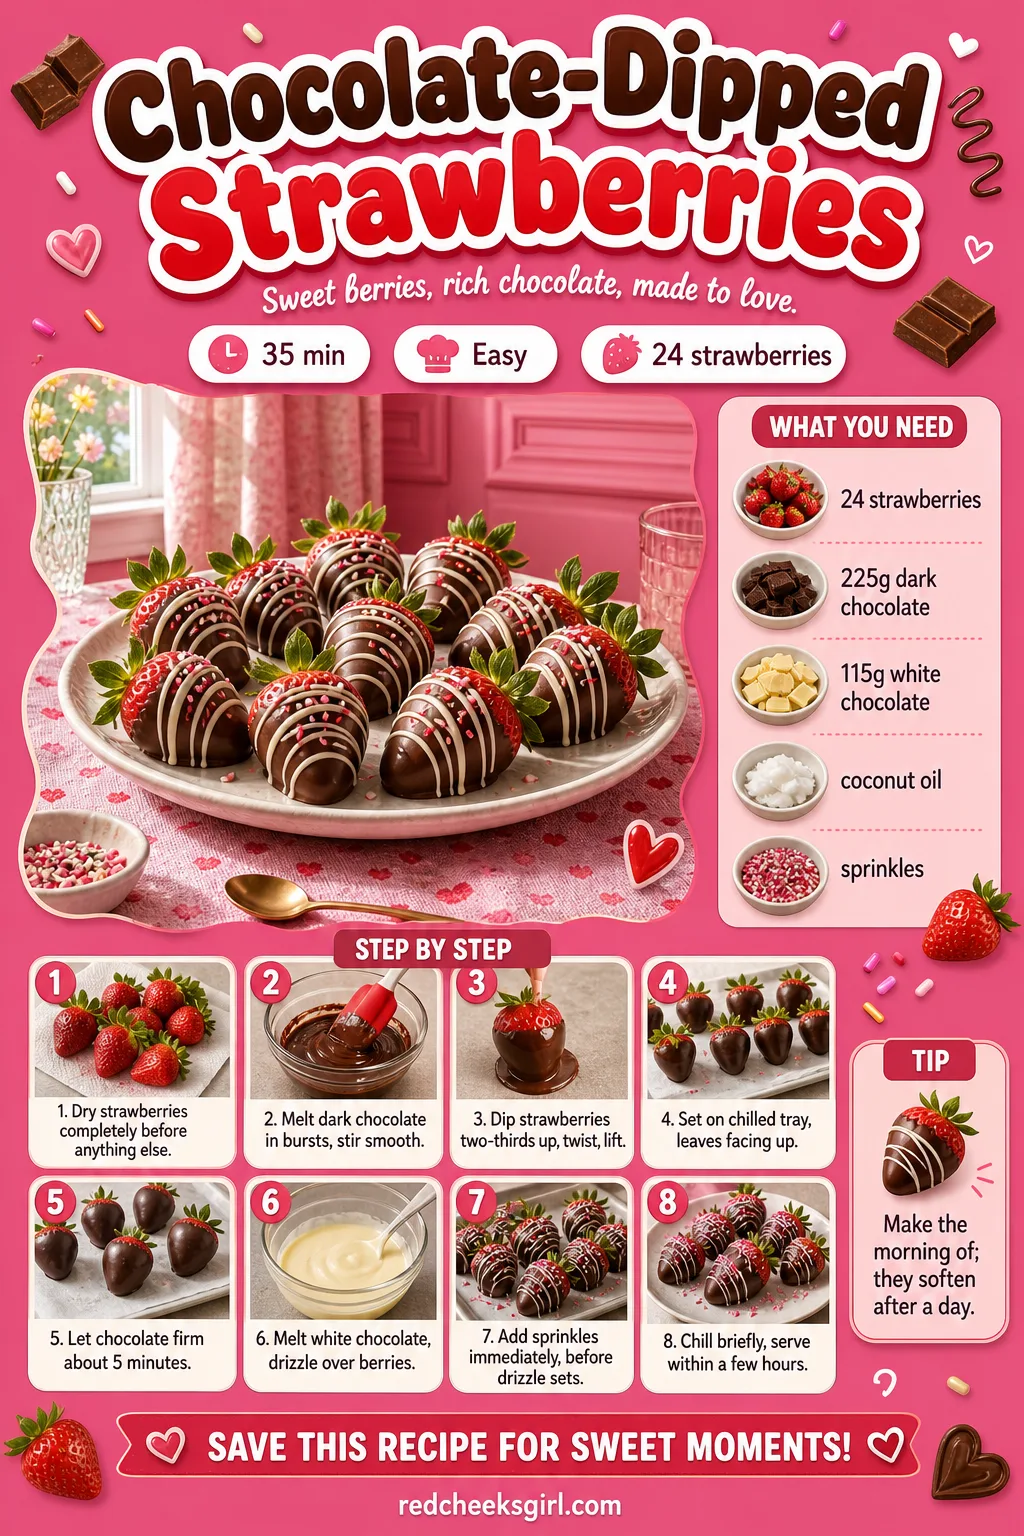
Chocolate-Dipped Strawberries
Few things on a dessert table cost this little and still look this finished. A pint of strawberries and two bars of chocolate turn into something that photographs like it came from a shop window, not a kitchen counter.
The only real rule: dry fruit, dry bowl, dry hands. Any water near melted chocolate seizes it into a grainy mess with no fix but starting over.
Ingredients
- 24 large strawberries, washed and completely dry
- 225 g dark chocolate, chopped
- 115 g white chocolate, chopped
- 1 tsp coconut oil (optional, for shine)
- sprinkles or chopped pistachio, for finishing
Instructions
- Pat strawberries completely dry with paper towel; water is the one thing that makes chocolate seize, so don’t rush this part.
- Line a tray with parchment and chill it in the fridge while the chocolate melts.
- Melt dark chocolate with the coconut oil in 20-second bursts in the microwave, stirring between each, until smooth and glossy with no lumps.
- Hold each strawberry by the leaves and dip two-thirds of the way into the chocolate, twisting gently as you lift it so excess drips back into the bowl.
- Set each dipped berry on the chilled tray, leaves up, and let the chocolate firm about 5 minutes before the next step.
- Melt the white chocolate the same way, then drizzle it back and forth over the set strawberries with a spoon or a piping bag with a tiny tip cut off.
- Scatter sprinkles or chopped pistachio over the wet white chocolate immediately, since it sets fast and nothing sticks once it has.
- Chill 10-15 minutes to set fully, then bring to room temperature about 20 minutes before serving so the chocolate stays glossy rather than cloudy.
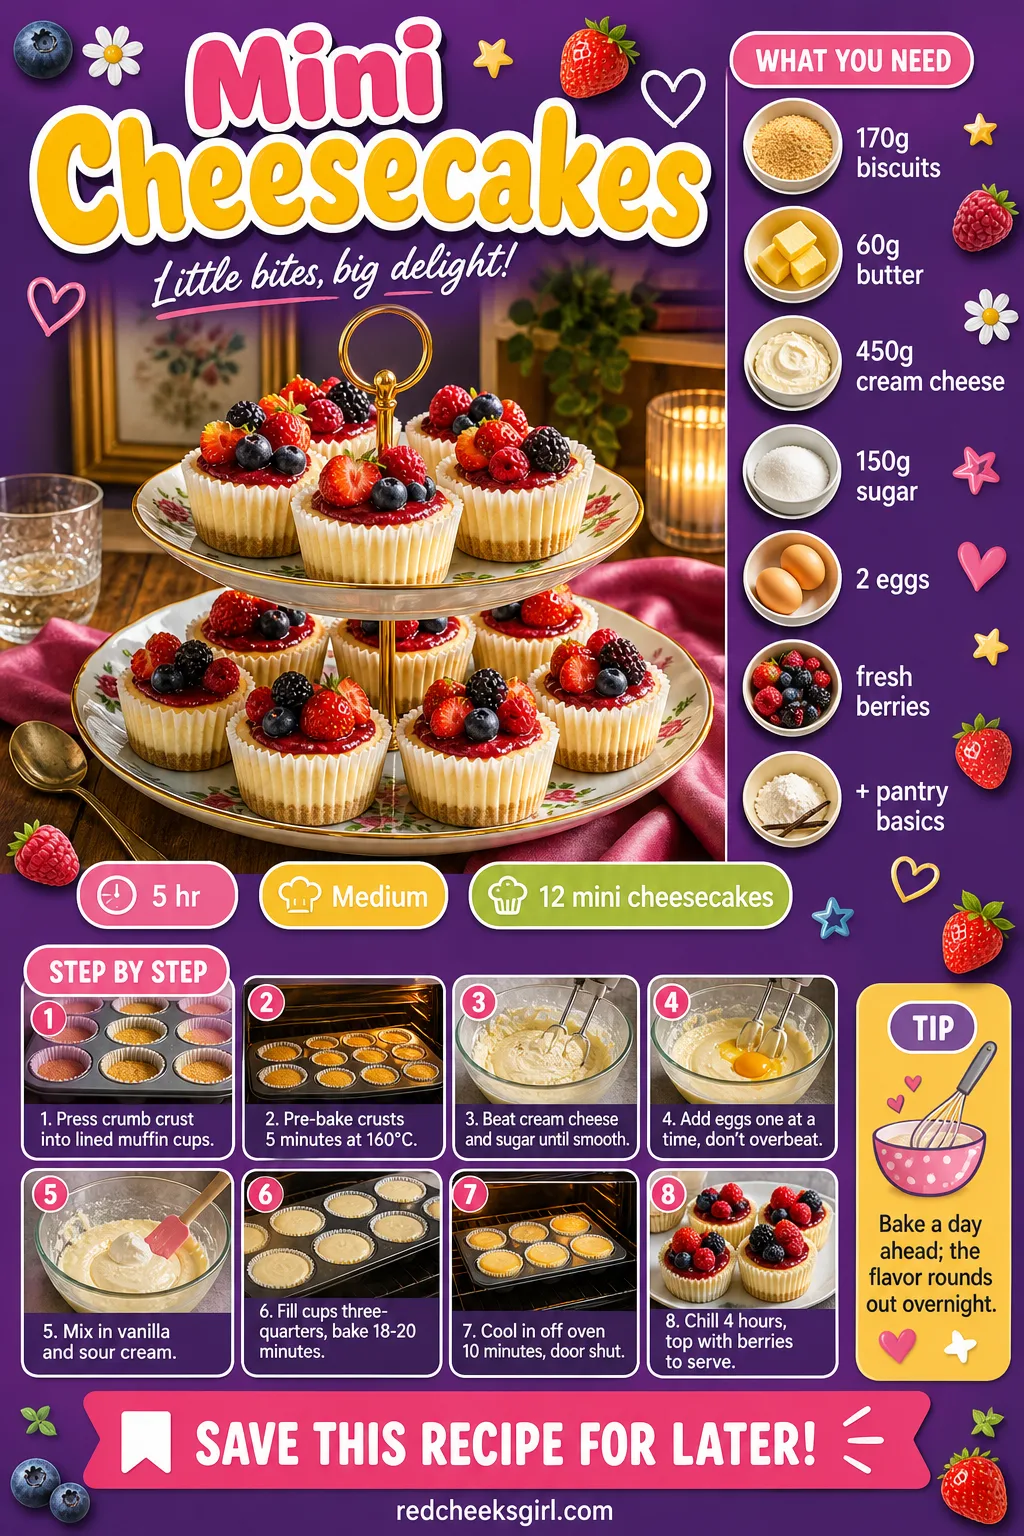
Mini Cheesecakes
A regular cheesecake asks for a water bath and an afternoon of nerves. The muffin-tin version skips both and still gives guests that dense, tangy bite, just sized so nobody has to share a slice or feel greedy taking a second.
Bake these the day before. Cheesecake actually improves overnight in the fridge, which is one less thing standing between you and getting dressed on the day.
Ingredients
- 170 g digestive biscuits or graham crackers, crushed
- 60 g unsalted butter, melted
- 450 g cream cheese, softened
- 150 g granulated sugar
- 2 large eggs
- 1 tsp vanilla extract
- 120 g sour cream
- 1 cup fresh berries, for topping
- 3 tbsp berry jam, warmed, for glaze
Instructions
- Line a 12-cup muffin tin with paper liners; the cheesecakes lift out clean this way instead of sticking to metal.
- Mix crushed biscuits with melted butter until it looks like wet sand, then press about 1 tbsp into the bottom of each liner, firming with the back of a spoon.
- Bake crusts at 160°C (325°F) on the middle rack for 5 minutes to set them, then let cool while making the filling.
- Beat cream cheese and sugar together until completely smooth, scraping the bowl so no lumps hide at the bottom.
- Add eggs one at a time, beating just until combined after each; overbeating here is what cracks the tops later.
- Mix in vanilla and sour cream until the batter looks silky and pours like thick cream.
- Divide batter evenly over the crusts, filling each liner about three-quarters full.
- Bake at 160°C (325°F) for 18-20 minutes, until edges look set and matte while the centre still jiggles slightly when the tin is nudged.
- Turn the oven off and leave cheesecakes inside with the door closed for 10 minutes; this slow cool-down is what keeps the tops from sinking.
- Cool completely on the counter, then chill at least 4 hours before topping each with fresh berries and a brush of warmed jam.
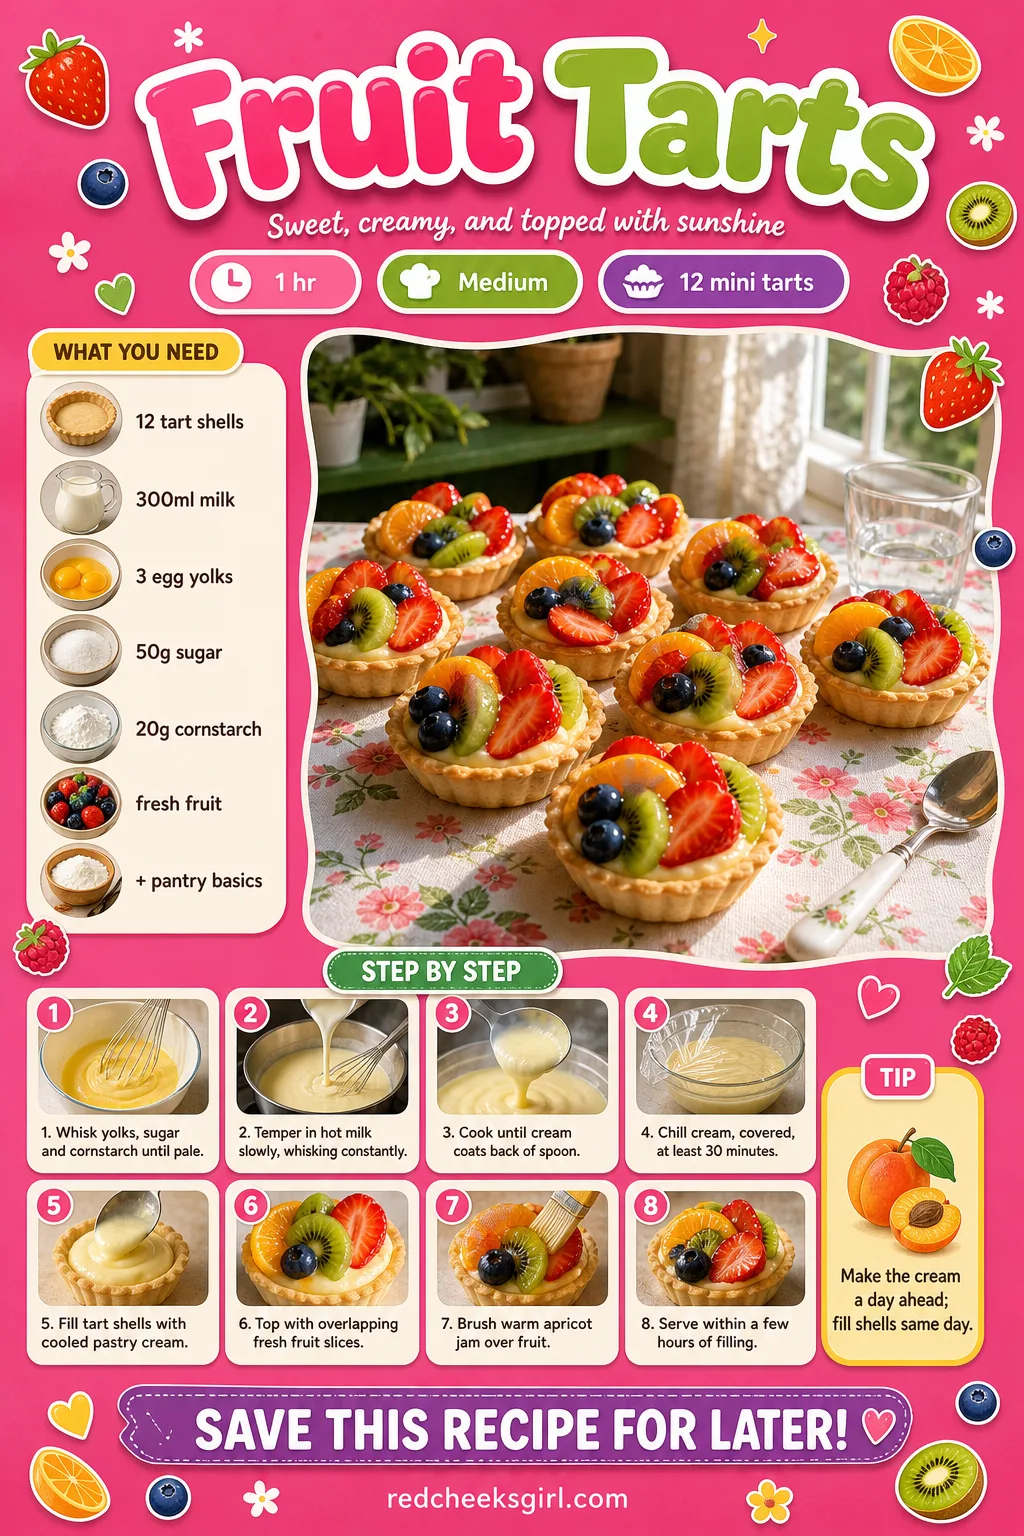
Fruit Tarts
A tart shell filled with pastry cream and fruit looks like it took a pastry course to make, and nobody has to know the shells came from a box. What actually takes time is the cream, and even that just wants a whisk and a warm saucepan.
Lean into whatever fruit is actually in season, the way a 22 Farmers Market Bridal Shower Theme Ideas Brimming With Fresh Charm table would, and the tarts cost less and taste better for it.
Ingredients
- 12 mini sweet pastry tart shells, pre-baked
- 300 ml whole milk
- 3 large egg yolks
- 50 g granulated sugar
- 20 g cornstarch
- 1 tsp vanilla extract
- assorted fresh fruit, sliced thin
- 3 tbsp apricot jam, warmed, for glaze
Instructions
- Whisk egg yolks, sugar and cornstarch in a bowl until pale and smooth, with no visible lumps of cornstarch left.
- Heat milk in a small saucepan until it steams but doesn’t boil, then pour it slowly into the egg mixture while whisking constantly, so the eggs warm gently instead of scrambling.
- Return everything to the saucepan and cook over medium-low heat, stirring constantly, until the cream thickens enough to coat the back of a spoon, about 3-4 minutes.
- Remove from heat, stir in vanilla, then press plastic wrap directly onto the surface of the cream so a skin doesn’t form.
- Chill the pastry cream at least 30 minutes, until fully cool and thick enough to hold a piped line.
- Spoon or pipe the cooled cream into each tart shell, filling to just below the rim.
- Arrange sliced fruit over the cream in a tight overlapping pattern, starting from the outside edge and working in.
- Warm the apricot jam until loose, then brush a thin layer over the fruit; this is what gives tarts their shine and keeps the fruit from drying out.
- Serve within a few hours of glazing, since the pastry shells soften once the cream sits in them overnight.
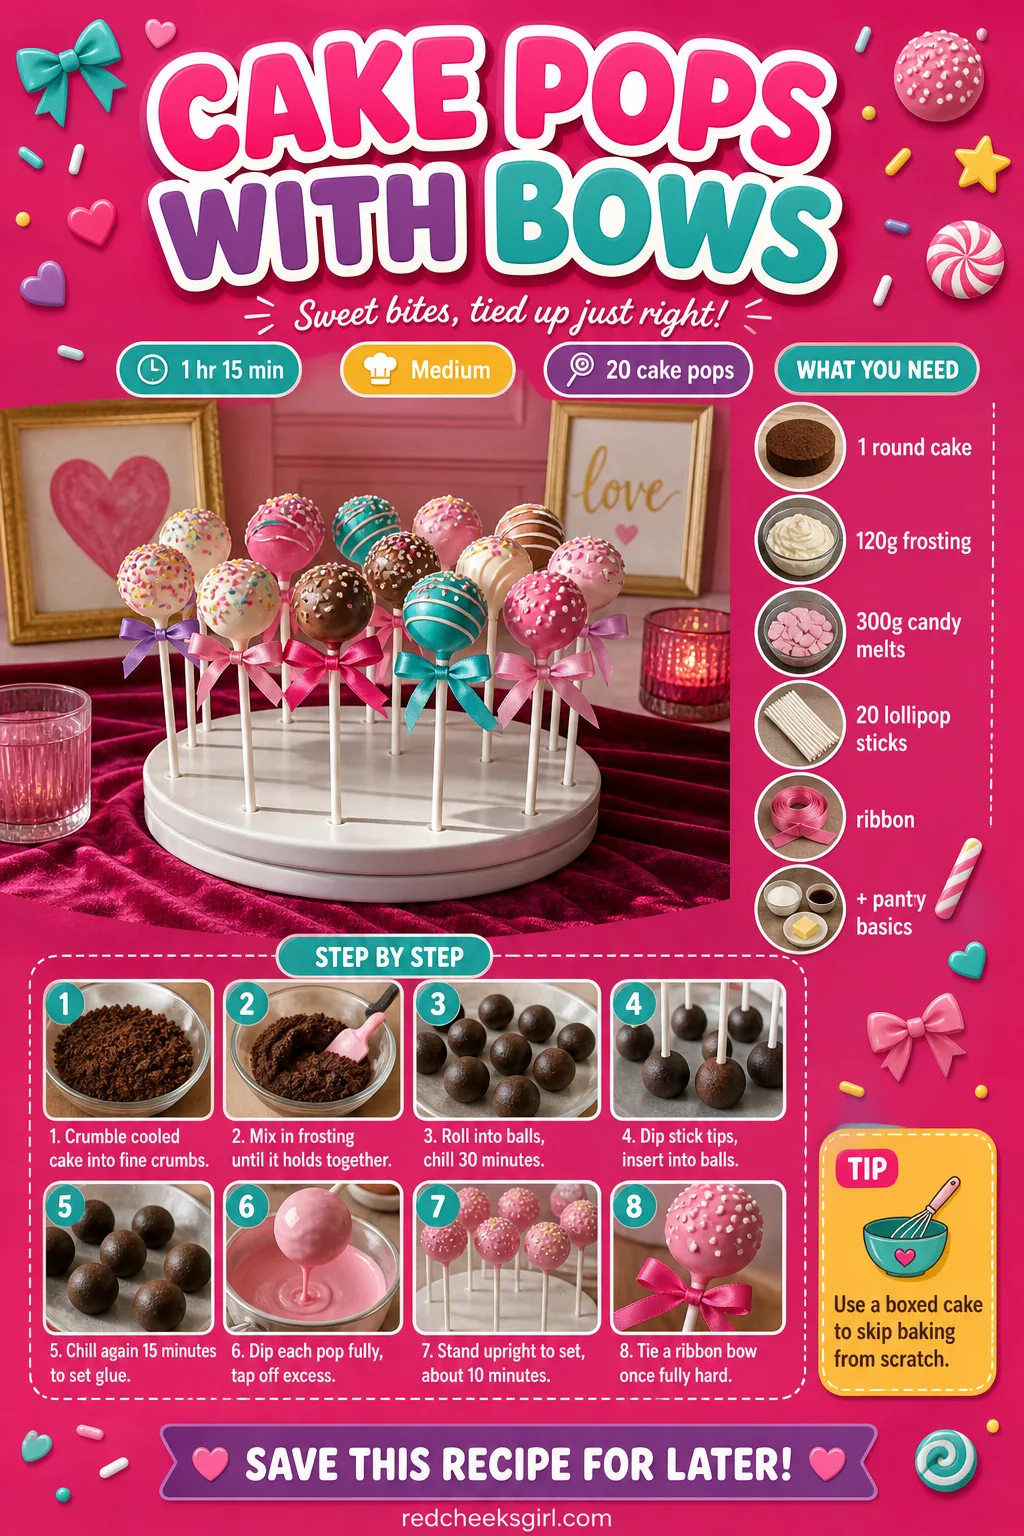
Cake Pops with Bows
A cake pop is a cheaper, cleaner way to serve cake to a crowd standing up with a drink in one hand. No plates, no forks, no crumbs down the front of a dress.
Use a store-bought round cake if baking from scratch isn’t happening this week; it crumbles exactly the same and nobody tastes the difference once frosting’s involved. Tie the ribbon bow on last, once the coating is fully hard, or it smudges.
Ingredients
- 1 baked 20 cm round cake, cooled
- 120 g cream cheese frosting
- 300 g candy melts or white chocolate
- 20 lollipop sticks
- narrow ribbon, cut into 20 lengths
- sprinkles, for finishing
Instructions
- Crumble the cake into fine crumbs in a large bowl using your hands, no chunks bigger than a pea should remain.
- Add frosting a spoonful at a time, mixing with your hands until the mixture holds together when pressed, like firm dough, not wet or sticky.
- Roll into 20 balls about 3 cm across, set on a lined tray, then chill 30 minutes until firm to the touch.
- Dip the tip of each stick into melted candy coating and push it halfway into a chilled ball; this glue step is what keeps the pop from sliding off later.
- Chill the sticked pops another 15 minutes so the glue sets fully before dipping.
- Dip each pop fully into the melted coating, tapping the wrist gently to let excess drip off rather than pooling at the base.
- Stand pops upright in floral foam or a cake pop stand while the coating sets, about 10 minutes, so they don’t develop a flat side.
- Add sprinkles while the coating is still wet, let set completely, then tie a ribbon bow around the base of each stick.
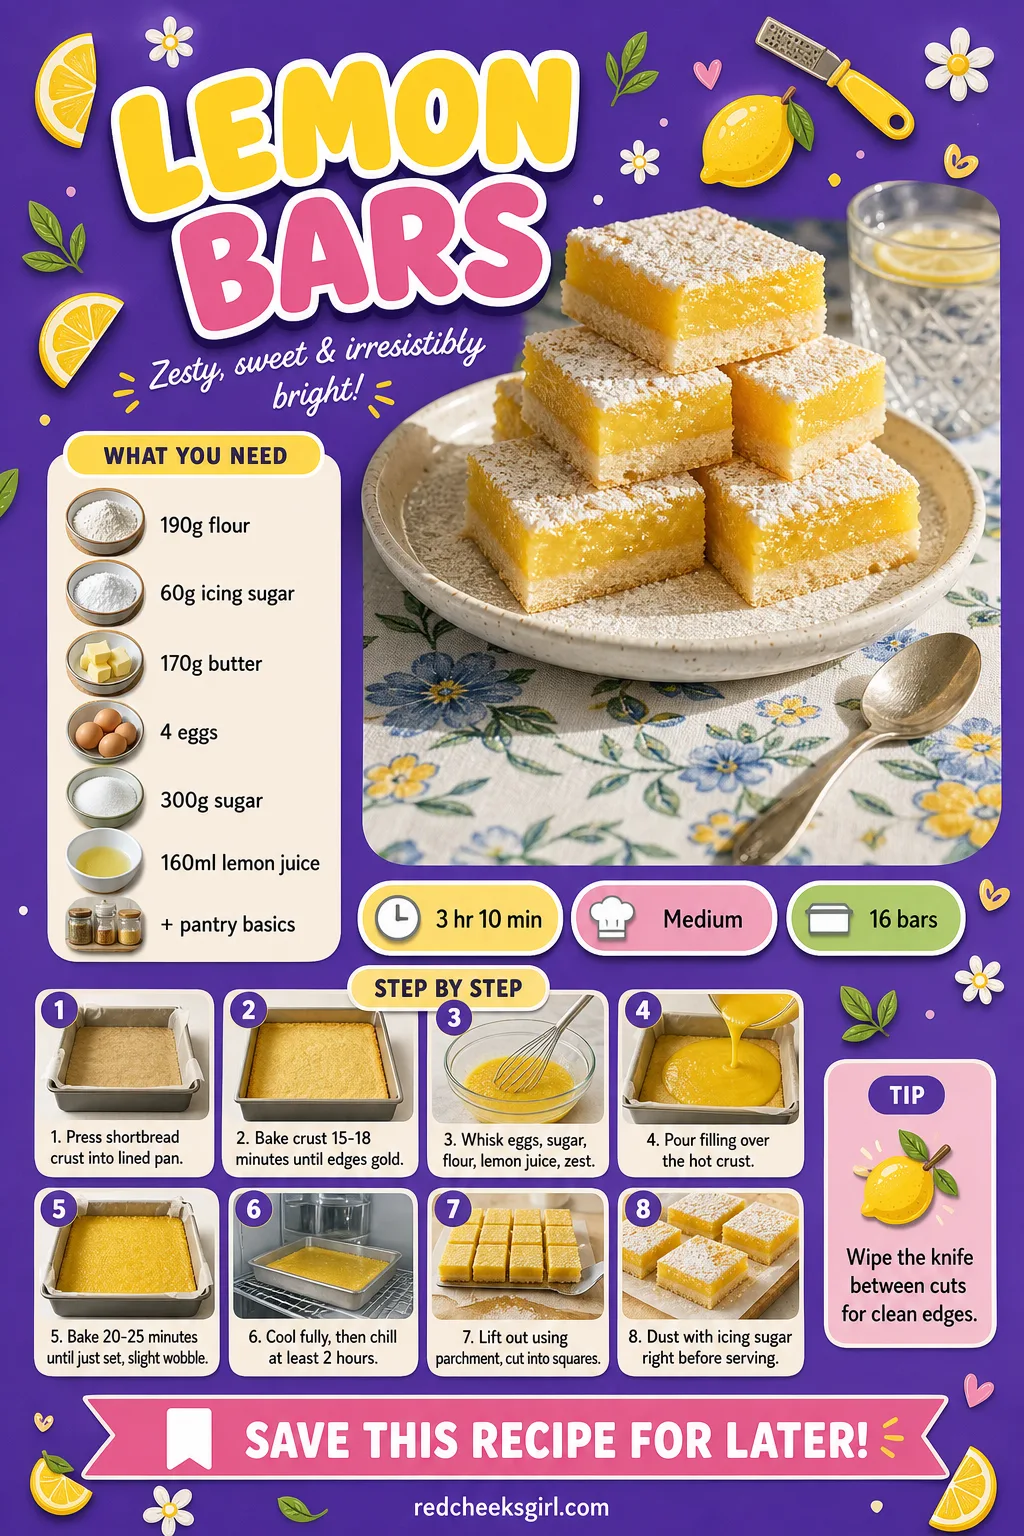
Lemon Bars
Lemon bars earn their place because they cut clean, keep for days, and give the table something sharp against so much sugar. The crust bakes first so it can hold its own once the curd goes on top.
Make them two days ahead if that helps the week; they actually slice better cold, straight from the fridge.
Ingredients
- 190 g all-purpose flour
- 60 g icing sugar, plus extra for dusting
- 170 g unsalted butter, cold, cubed
- 4 large eggs
- 300 g granulated sugar
- 2 tbsp all-purpose flour
- 160 ml fresh lemon juice
- zest of 2 lemons
- pinch of salt
Instructions
- Line a 23 cm square pan with parchment, leaving an overhang on two sides so the whole slab lifts out later.
- Pulse flour, icing sugar and salt in a food processor, add cold butter and pulse until the mixture looks like coarse sand.
- Press the crumbs firmly and evenly into the base of the pan, slightly up the sides, then chill 10 minutes.
- Bake the crust at 175°C (350°F) on the middle rack for 15-18 minutes, until the edges turn light golden.
- While the crust bakes, whisk eggs, sugar and remaining flour together until smooth, then whisk in lemon juice and zest.
- Pour the lemon filling over the hot crust straight from the oven; this keeps the two layers from separating once sliced.
- Lower the oven to 160°C (325°F) and bake 20-25 minutes, until the filling is set at the edges with just a slight wobble in the centre.
- Cool completely in the pan at room temperature, about 1 hour, before moving to the fridge.
- Chill at least 2 hours; this firms the filling enough to cut clean squares instead of smearing the knife.
- Lift the slab out using the parchment overhang, cut into 16 squares with a hot, dry knife, and dust with icing sugar just before serving.
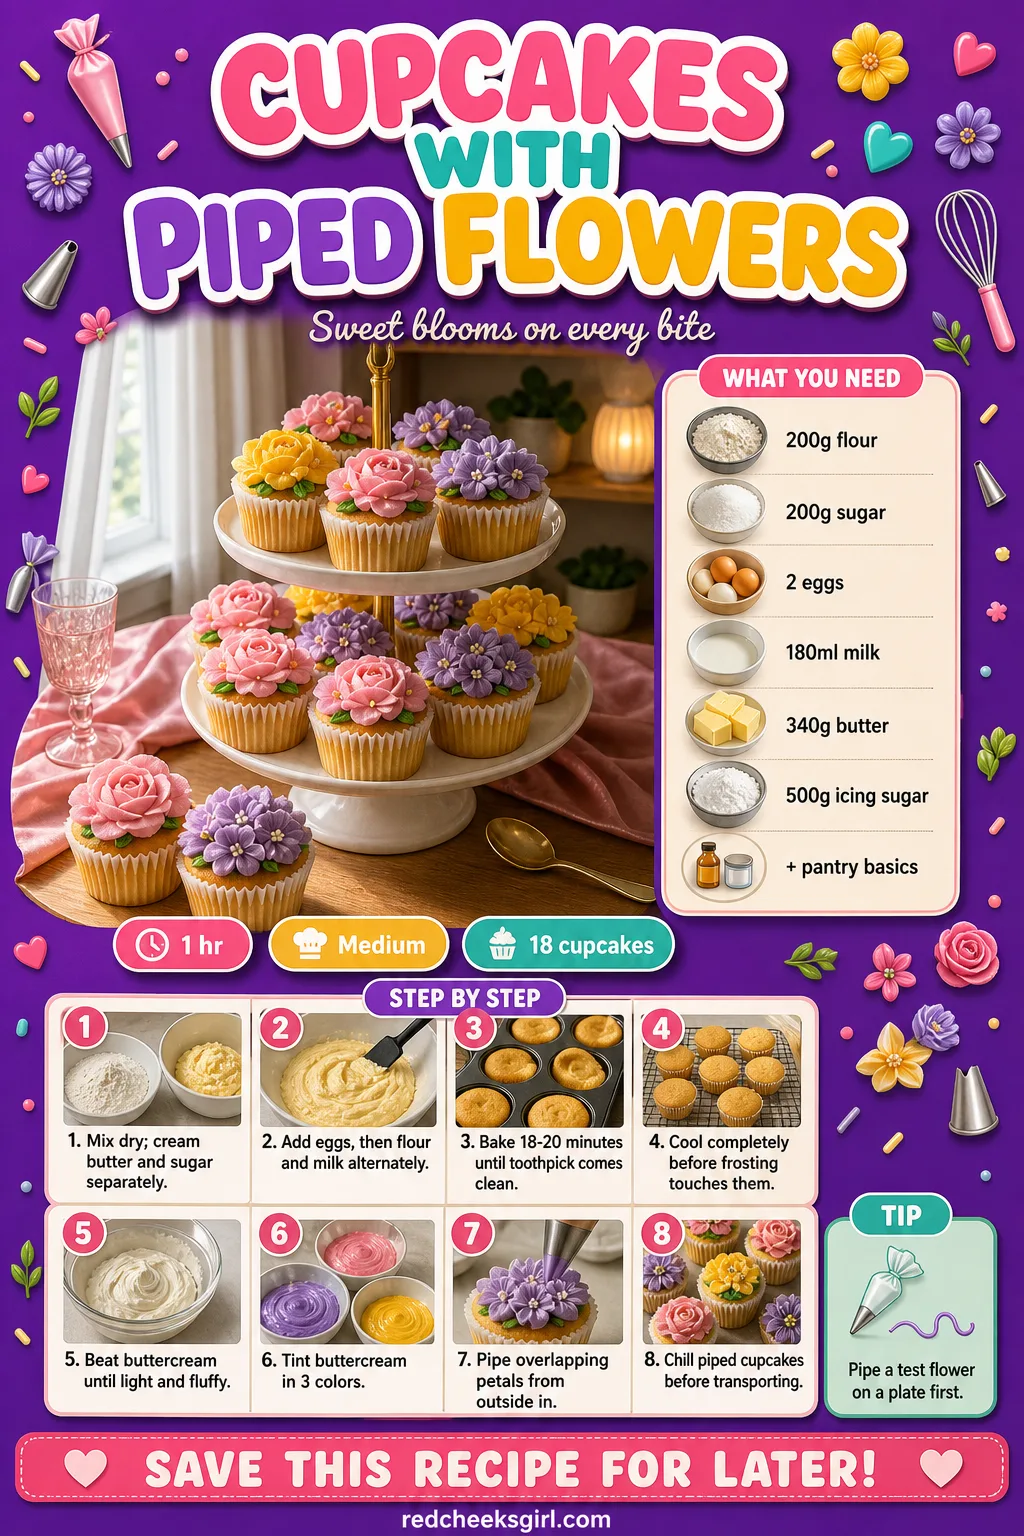
Cupcakes with Piped Flowers
A piped flower turns a plain cupcake into the kind of thing a guest photographs before eating it. It takes a steady hand and a petal tip, nothing more exotic than that.
Practice the first flower on a plate, not the cupcake; it wipes off and tries again. If piping isn’t happening this week, a simple swirl and a fresh flower on top does the same job in under a minute each.
Ingredients
- 200 g all-purpose flour
- 200 g granulated sugar
- 1.5 tsp baking powder
- 1/4 tsp salt
- 115 g unsalted butter, softened
- 2 large eggs
- 180 ml whole milk
- 1 tsp vanilla extract
- 340 g unsalted butter, softened, for buttercream
- 500 g icing sugar
- 2-3 tbsp heavy cream
- gel food colouring, 3 colours
Instructions
- Line a muffin tin with 18 paper cases, in batches if needed, and preheat the oven to 175°C (350°F).
- Whisk flour, baking powder and salt together in one bowl.
- Beat butter and sugar until pale and fluffy, about 3 minutes, then add eggs one at a time, beating well after each.
- Add the flour mixture and milk alternately in three additions, starting and ending with flour, mixing just until smooth; overmixing here makes tough cupcakes.
- Divide batter evenly among the liners, filling each two-thirds full, and bake 18-20 minutes, until a toothpick inserted in the centre comes out clean.
- Cool in the tin 5 minutes, then move to a wire rack and cool completely before frosting goes near them.
- Beat the buttercream butter until very pale, then add icing sugar gradually, alternating with cream, until light and fluffy, about 4 minutes total.
- Divide buttercream into bowls and tint each a different colour, keeping one slightly looser with an extra teaspoon of cream for petals.
- Fit piping bags with petal tips and pipe five overlapping petals in a circle on each cooled cupcake, working from the outside in, then finish with a small centre dot in a contrasting colour.
- Chill piped cupcakes 10 minutes to firm the buttercream before boxing or transporting them.
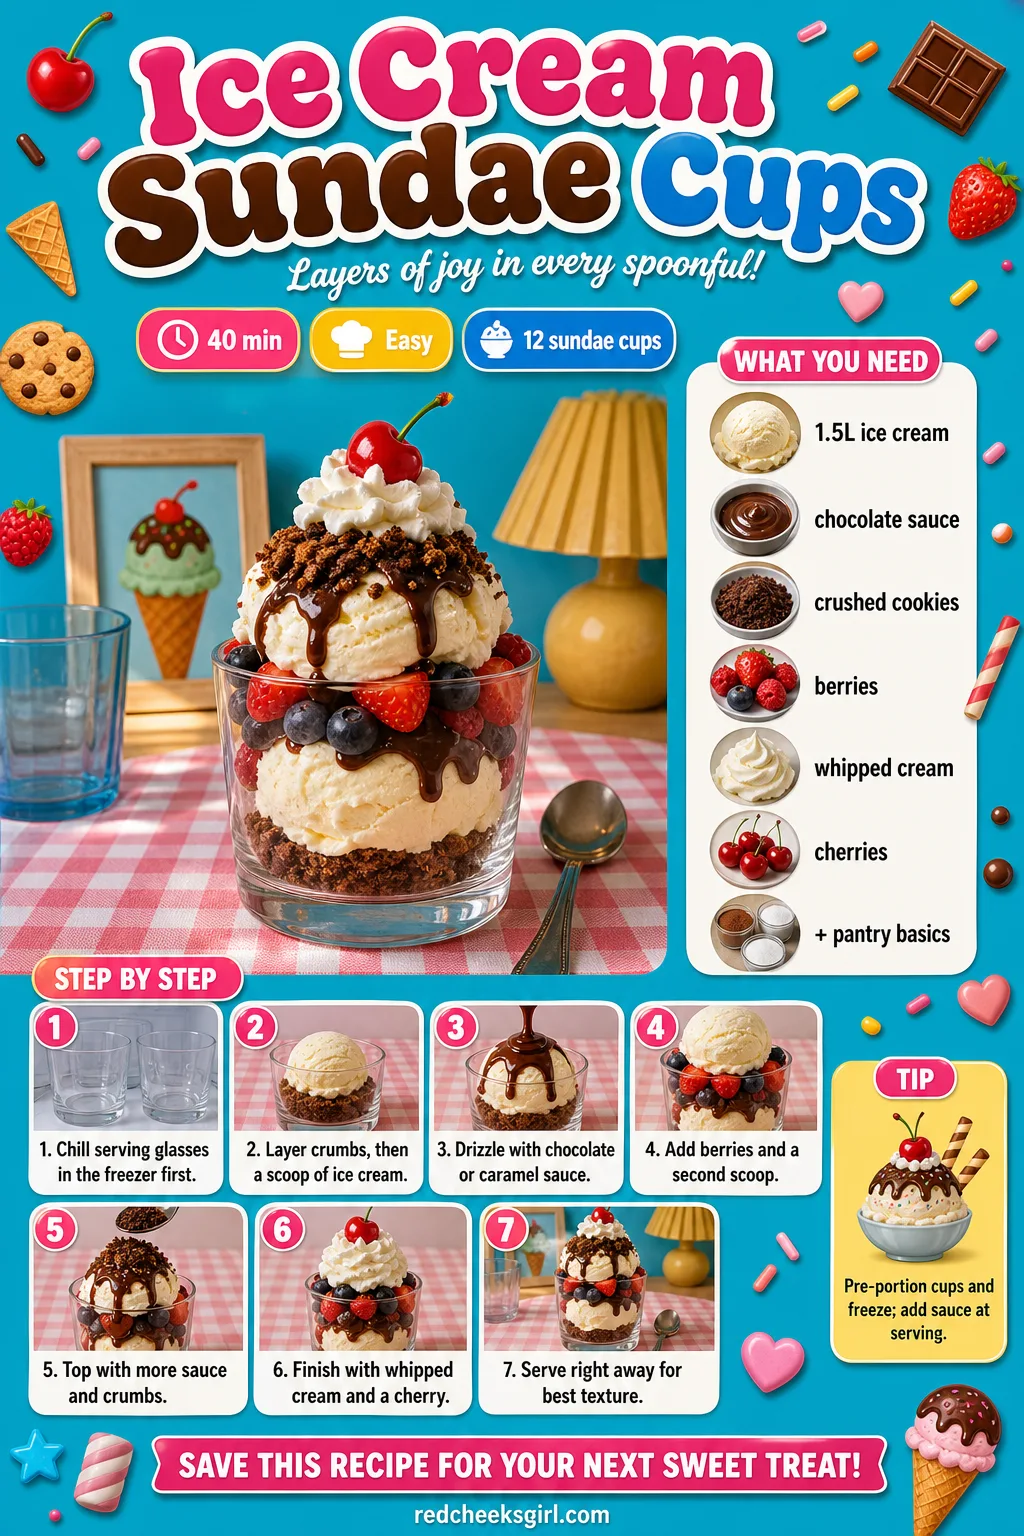
Ice Cream Sundae Cups
For an afternoon shower with no interest in cake, small sundae cups solve dessert in minutes and let everyone build their own. Chill the glasses first, that’s the one step that keeps the ice cream from turning to soup before it reaches the table.
Set the toppings out separately in little bowls if a self-serve station suits the room better than pre-made cups.
Ingredients
- 1.5 L vanilla ice cream, slightly softened
- 200 g chocolate or caramel sauce
- 100 g crushed waffle cones or cookies
- 1 cup fresh berries
- 200 ml whipped cream
- 12 maraschino cherries
- sprinkles
Instructions
- Set 12 small glasses in the freezer for 15 minutes before starting; cold glass keeps the ice cream from melting into soup on the way to the table.
- Spoon a layer of crushed waffle cone or cookie crumbs into the bottom of each cup.
- Add a scoop of softened ice cream on top, pressing gently so there are no air gaps against the glass.
- Drizzle a spoonful of chocolate or caramel sauce over the ice cream, letting it pool slightly at the edges.
- Add a scatter of fresh berries, then a second smaller scoop of ice cream.
- Top with another drizzle of sauce and a small handful of crumbs for crunch.
- Pipe or spoon whipped cream on top, finishing with a maraschino cherry and a few sprinkles.
- Serve immediately, or hold in the freezer up to 20 minutes, no longer, or the cream starts to weep.
🛍 Shopping guide
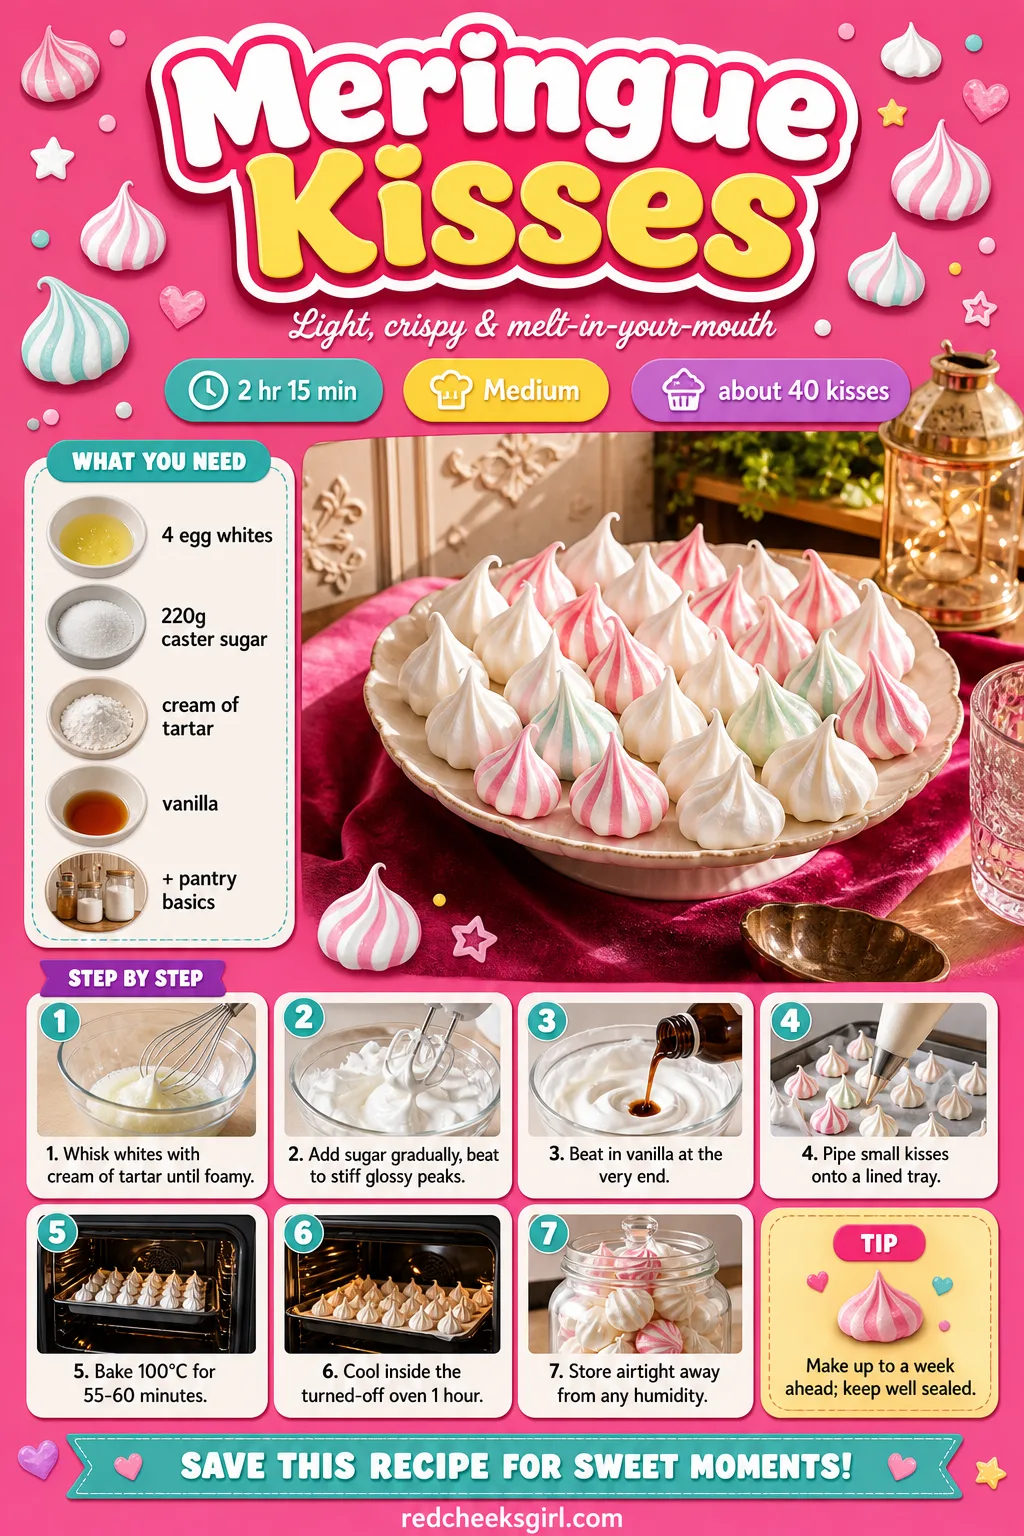
Meringue Kisses
These disappear fast because they weigh almost nothing and taste like crisp sugar air. The oven does most of the work, low and slow, while the kitchen stays free for everything else on the list.
Make them up to a week ahead and keep them sealed; humidity is the only thing that ruins a meringue, not time.
Ingredients
- 4 large egg whites, room temperature
- 220 g caster sugar
- 1/4 tsp cream of tartar
- 1/2 tsp vanilla extract
- gel food colouring (optional, for stripes)
Instructions
- Whisk egg whites and cream of tartar on medium speed until foamy, about 1 minute.
- Increase speed and add sugar one tablespoon at a time, beating well between additions; rushing the sugar is what leaves meringue grainy instead of glossy.
- Keep beating until the mixture holds a stiff, glossy peak that stands straight up when you lift the beater, and feels completely smooth when rubbed between your fingers, not gritty.
- Beat in vanilla for the last few seconds.
- For striped kisses, paint two thin lines of gel colour up the inside of a piping bag before spooning in the meringue.
- Pipe small kisses, about 3 cm wide, onto a parchment-lined tray, spacing them 2 cm apart.
- Bake at 100°C (210°F) on the middle rack for 55-60 minutes, until the kisses lift cleanly off the parchment without sticking.
- Turn the oven off and leave the kisses inside with the door shut for at least 1 hour; this slow cool-down keeps them crisp all the way through instead of chewy in the middle.
- Store in an airtight container at room temperature; they turn sticky within hours of any humidity, so keep the lid on until serving.
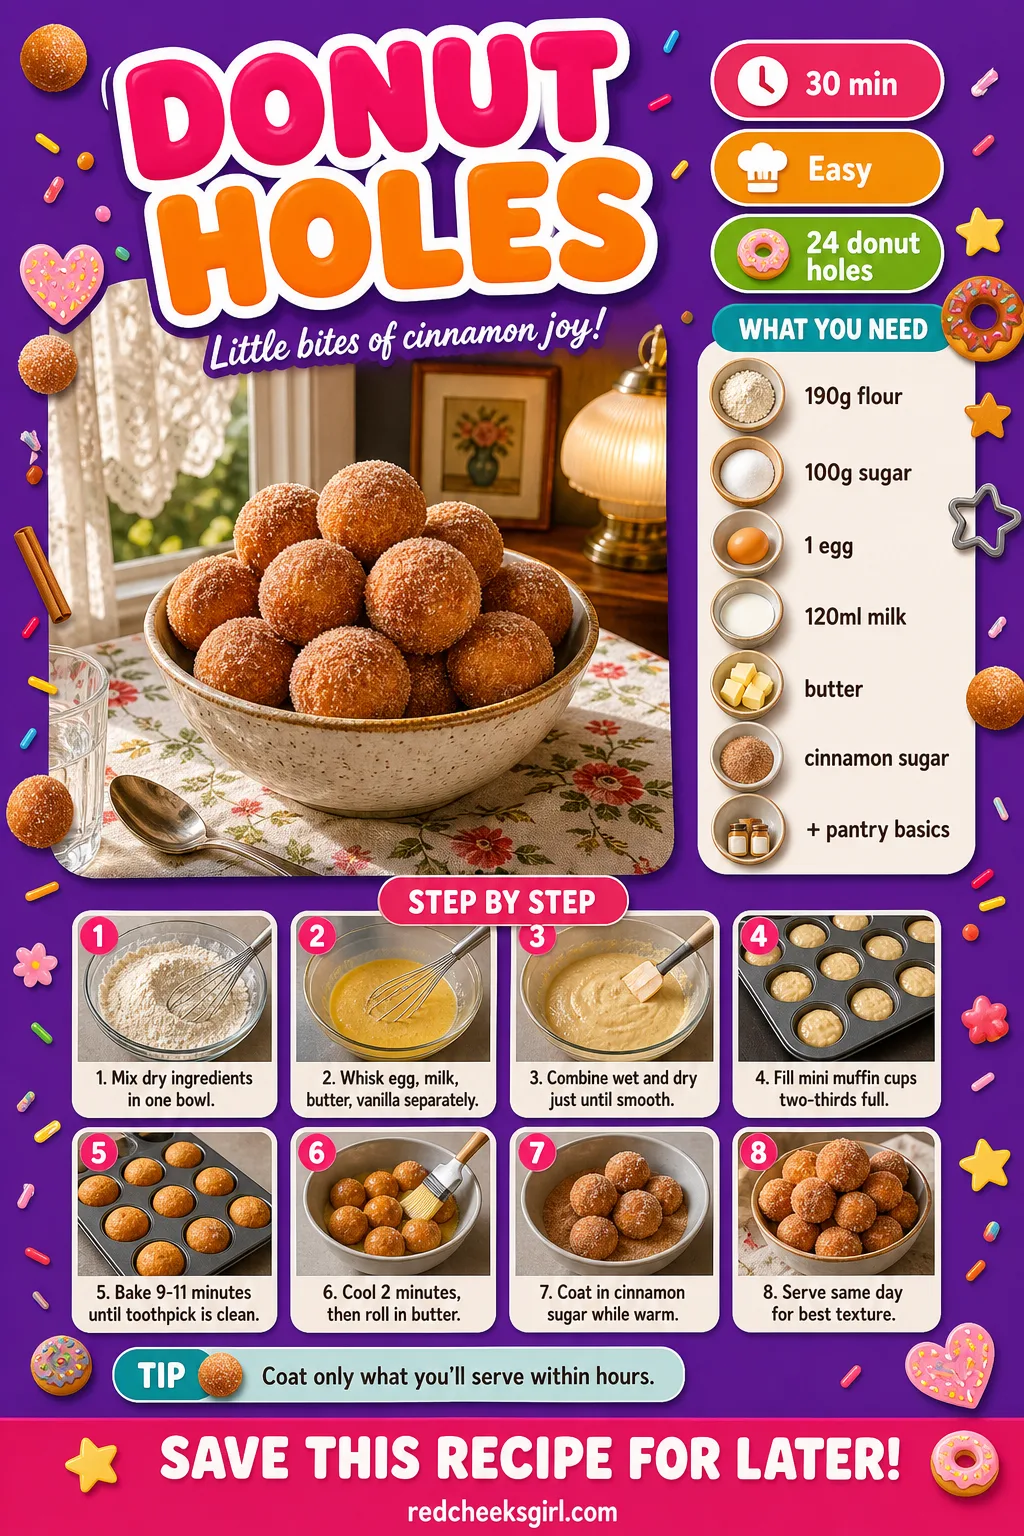
Donut Holes
Baked instead of fried, these come together in one bowl and one mini muffin tin, no oil, no mess, no standing over a pot. Rolling them warm in cinnamon sugar is what makes them taste like the real thing.
Serve the same day; the coating turns damp by morning and loses its crunch.
Ingredients
- 190 g all-purpose flour
- 100 g granulated sugar
- 1.5 tsp baking powder
- 1/4 tsp ground nutmeg
- 1/4 tsp salt
- 1 large egg
- 120 ml whole milk
- 100 g unsalted butter, melted and divided
- 1/2 tsp vanilla extract
- 100 g granulated sugar mixed with 1 tsp cinnamon, for coating
Instructions
- Preheat the oven to 190°C (375°F) and grease a mini muffin tin well; these stick more than a regular cake pan.
- Whisk flour, sugar, baking powder, nutmeg and salt together in a bowl.
- In a separate bowl, whisk the egg, milk, 40 g of the melted butter and vanilla until combined.
- Pour the wet mixture into the dry and stir just until no streaks of flour remain; the batter should look thick but pourable, like pancake batter.
- Fill each mini muffin cup about two-thirds full and bake 9-11 minutes, until a toothpick comes out clean and the tops spring back when pressed lightly.
- Let the donut holes cool in the tin for 2 minutes, just enough to handle without the shape collapsing.
- Roll each warm donut hole in the remaining melted butter, then straight into the cinnamon sugar, coating all sides; this only works while they’re still warm.
- Pile into a bowl or skewer onto small sticks and serve the same day, since the coating turns damp overnight.
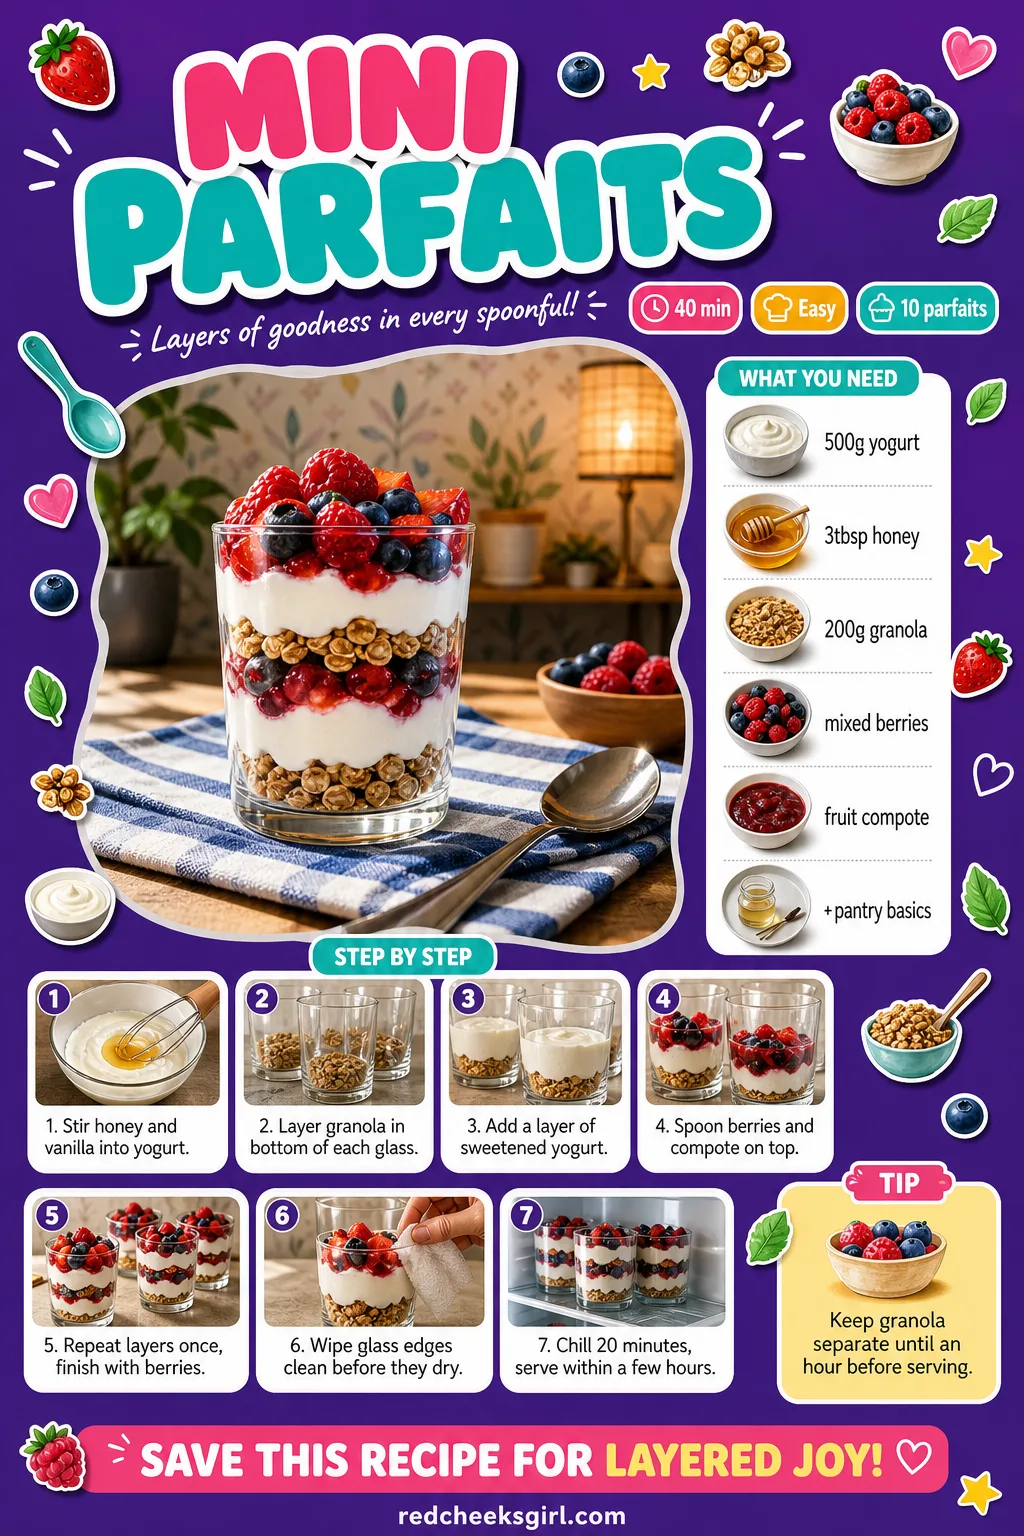
Mini Parfaits
A parfait in a clear glass shows off its own layers, which does half the styling work for free. Yogurt, granola, berries, repeat, and the only real skill needed is a steady spoon.
Keep the granola separate until an hour before serving if the shower runs long, so it never goes soft against the yogurt.
Ingredients
- 500 g Greek yogurt or whipped mascarpone
- 3 tbsp honey
- 1 tsp vanilla extract
- 200 g granola
- 2 cups mixed berries
- 3 tbsp fruit compote or jam, warmed slightly
Instructions
- Stir honey and vanilla into the yogurt or mascarpone until smooth with no streaks remaining.
- Set out 10 small glasses or jars; clear ones show off the layers, which is half the point of a parfait.
- Spoon a layer of granola into the bottom of each glass, pressing gently so it sits flat.
- Add a layer of the sweetened yogurt on top, smoothing it with the back of a spoon so it reaches the glass edge cleanly.
- Spoon a layer of berries over the yogurt, then drizzle with a little fruit compote.
- Repeat the granola, yogurt and berry layers once more, finishing with berries on top so the colour shows.
- Wipe any drips from the inside of the glass with a damp cloth before they dry, since glasses look sloppy once that happens.
- Chill at least 20 minutes so the layers settle, then serve within a few hours or the granola loses its crunch.
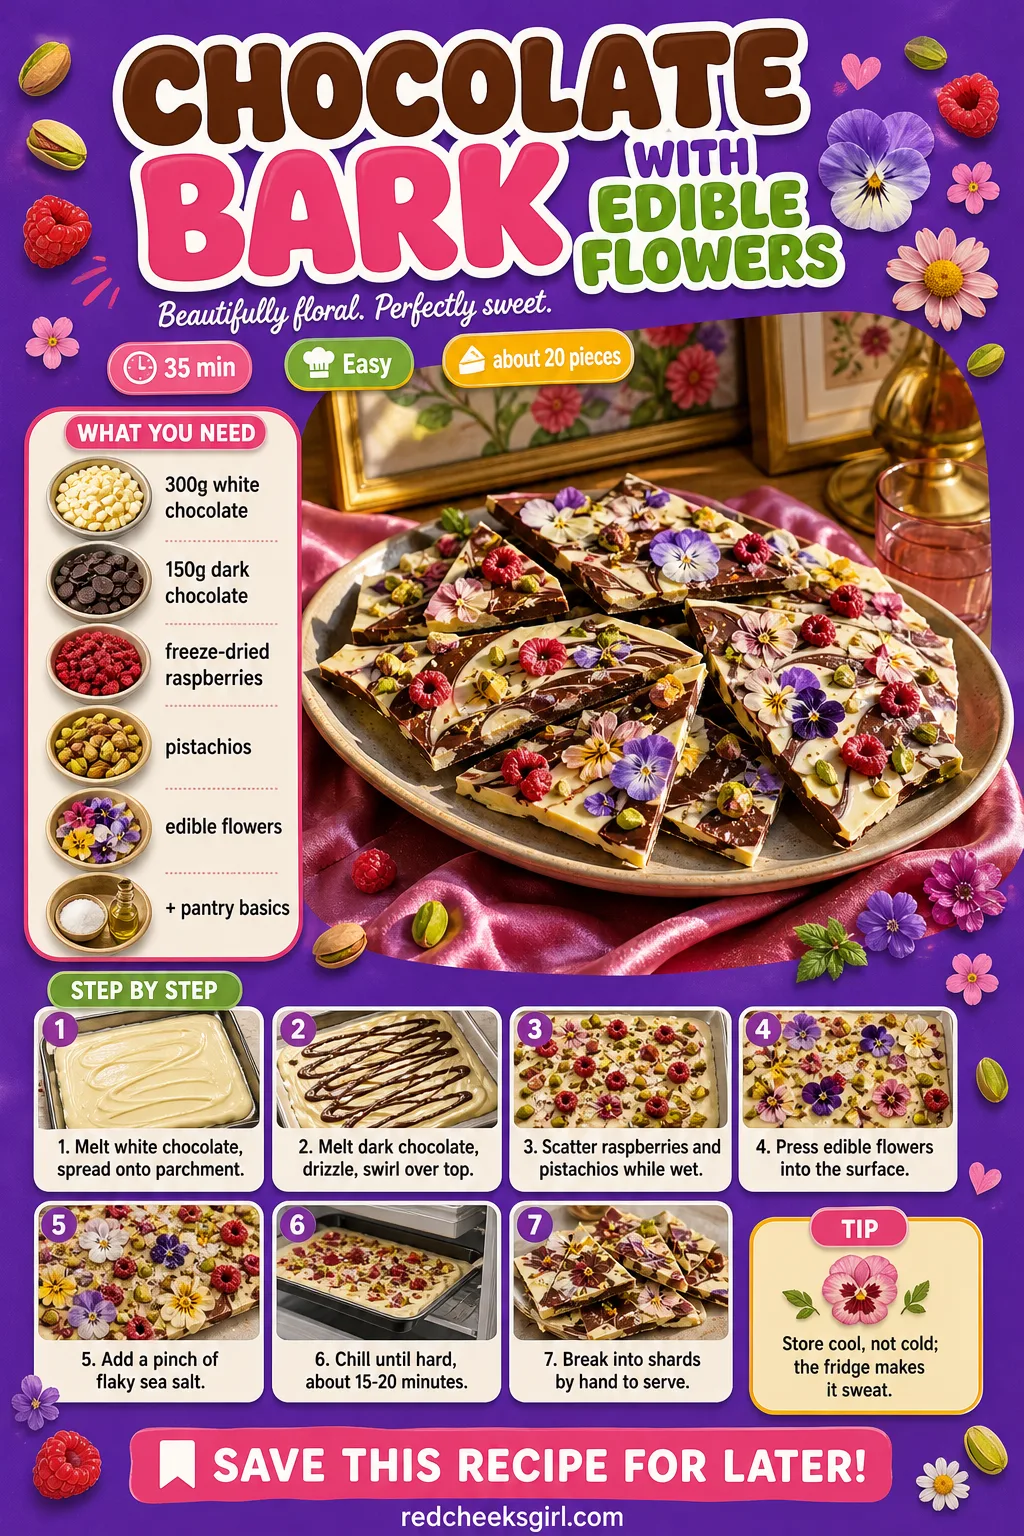
Chocolate Bark with Edible Flowers
Bark asks for nothing but melted chocolate and whatever sits in the pantry: nuts, freeze-dried fruit, a few edible petals pressed in before it sets. Break it by hand into uneven shards and it looks deliberately rustic rather than cheap.
Store it somewhere cool, not the fridge; cold chocolate sweats the moment it meets room air, and the shine goes dull.
Ingredients
- 300 g white chocolate, chopped
- 150 g dark chocolate, chopped
- 2 tbsp freeze-dried raspberries, crushed
- 2 tbsp chopped pistachios
- edible flower petals
- flaky sea salt, a small pinch
Instructions
- Line a baking sheet with parchment and set aside.
- Melt the white chocolate in 20-second bursts in the microwave, stirring between each, until smooth and fully melted.
- Pour the melted white chocolate onto the parchment and spread into an even layer about 5 mm thick with an offset spatula.
- Melt the dark chocolate the same way, then drizzle it over the white chocolate in loose lines, swirling gently with a toothpick for a marbled look.
- Scatter crushed freeze-dried raspberries and chopped pistachios over the surface while the chocolate is still wet, so they stick properly.
- Press edible flower petals gently into the surface, face up, arranging them loosely rather than in a strict pattern.
- Finish with a light pinch of flaky sea salt, then chill 15-20 minutes until the bark is fully hard and snaps cleanly when tapped.
- Break into irregular shards by hand and arrange on a platter; store extra in an airtight container somewhere cool, not the fridge.
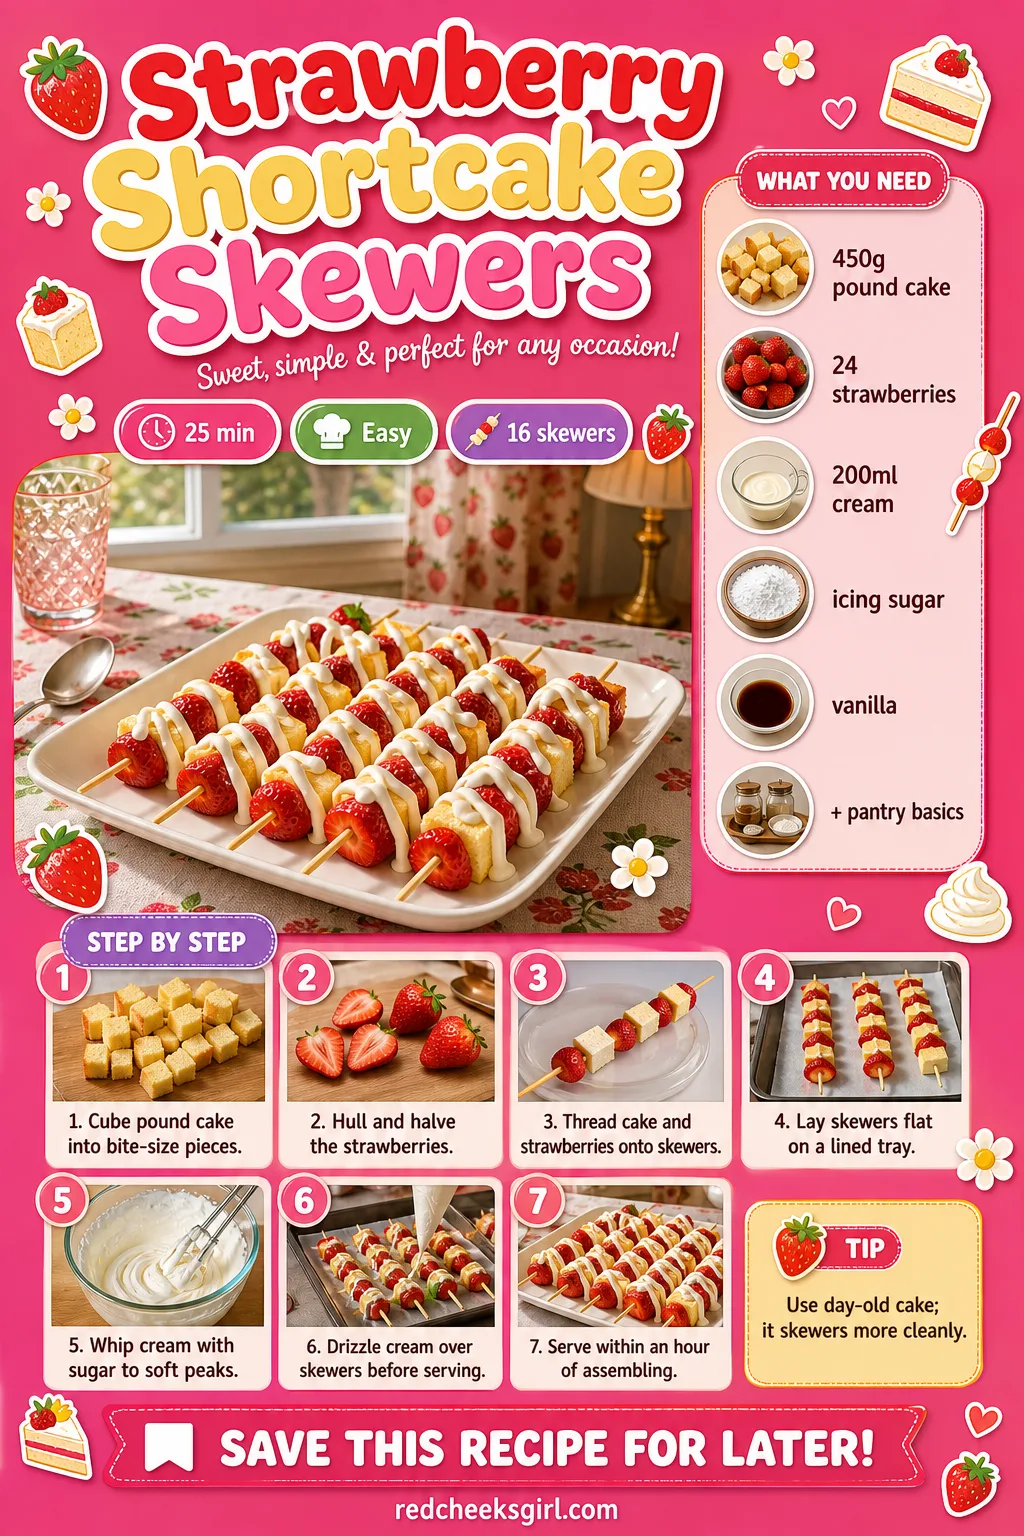
Strawberry Shortcake Skewers
Threaded onto a stick, strawberry shortcake stops being a fork-and-plate dessert and becomes something a guest can eat standing up, mid-conversation, without juggling a napkin. Day-old pound cake actually skewers cleaner than fresh.
Add the whipped cream right before serving, never earlier, or the cake underneath turns soggy before anyone gets to it.
Ingredients
- 1 pound cake (about 450 g), cubed
- 24 large strawberries, hulled and halved
- 200 ml heavy cream
- 2 tbsp icing sugar
- 1/2 tsp vanilla extract
- 16 small skewers or lollipop sticks
Instructions
- Cut the pound cake into 2 cm cubes; a slightly stale cake actually holds its shape better on a skewer than a very fresh one.
- Hull and halve the strawberries so the cut side sits flat against the cake on the skewer.
- Thread each skewer starting with a cube of cake, then a strawberry half, alternating until three-quarters full, leaving a bare handle at one end.
- Lay finished skewers on a parchment-lined tray so fruit juice doesn’t pool against the cake.
- Whip the cream with icing sugar and vanilla to soft peaks; it should hold its shape on the whisk but still look soft, not stiff and grainy.
- Spoon the whipped cream into a piping bag or a small bowl for dipping.
- Drizzle or pipe whipped cream over the arranged skewers just before serving, so the cake doesn’t go soggy underneath it.
- Serve within 1 hour of assembling for the best texture; chill briefly if the room runs warm.
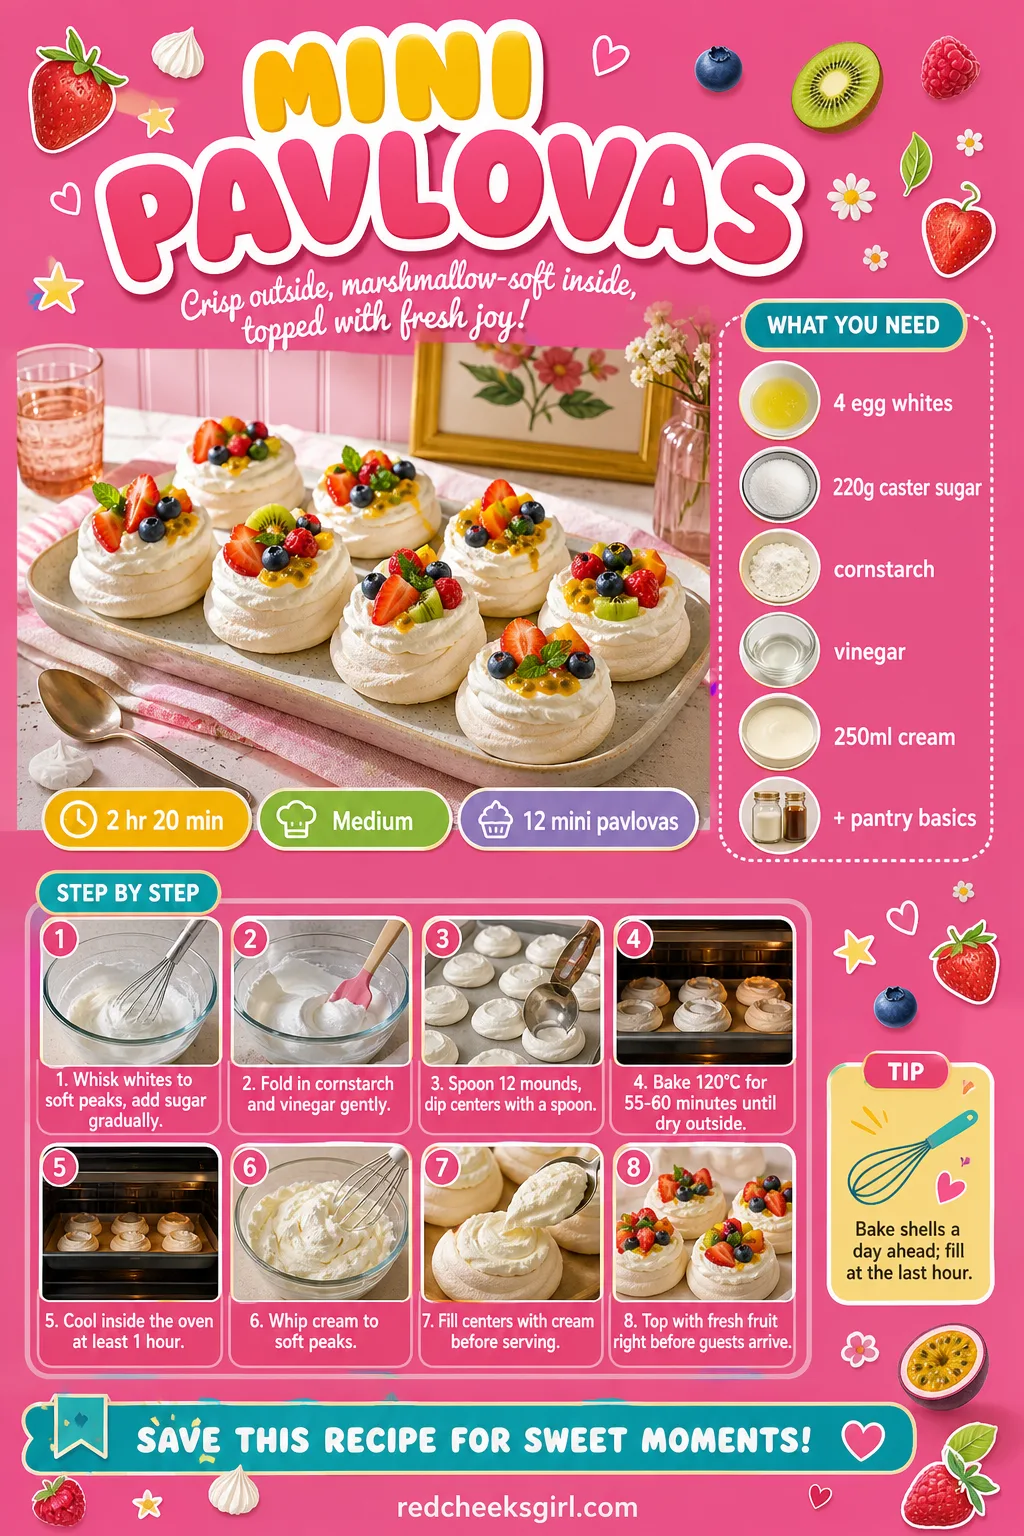
Mini Pavlovas
A pavlova shell looks fragile and precious, which is exactly the point at a shower. The crisp outside and soft marshmallow centre only happen if the oven door stays shut through the whole bake and the long cool-down after.
Bake the shells a day ahead and store somewhere dry; fill with cream and fruit only in the last hour, or they soften.
Ingredients
- 4 large egg whites, room temperature
- 220 g caster sugar
- 1 tsp cornstarch
- 1 tsp white vinegar
- 1/2 tsp vanilla extract
- 250 ml heavy cream, whipped
- 2 cups mixed fresh fruit
Instructions
- Whisk egg whites to soft peaks, then add sugar one tablespoon at a time, beating well between each addition until the mixture turns glossy and very stiff.
- Sprinkle cornstarch and vinegar over the meringue and fold in gently with a spatula, just a few turns; this is what gives the inside its marshmallowy chew.
- Spoon the meringue into 12 mounds on a parchment-lined tray, spacing them well apart.
- Use the back of a spoon to make a shallow dip in the centre of each mound, where the cream and fruit will sit later.
- Bake at 120°C (250°F) on the middle rack for 55-60 minutes, until the outsides feel dry and crisp to a light tap.
- Turn the oven off and let the pavlovas cool inside with the door shut for at least 1 hour; opening the door early is what cracks the shells.
- Once fully cool, the shells should lift cleanly off the parchment; if one sticks, it needed another few minutes of baking.
- Whip the cream to soft peaks, not stiff, so it sits softly rather than looking cakey.
- Spoon whipped cream into the centre of each cooled shell just before serving.
- Top with a loose pile of fresh fruit, letting any juice drip down the sides for shine.
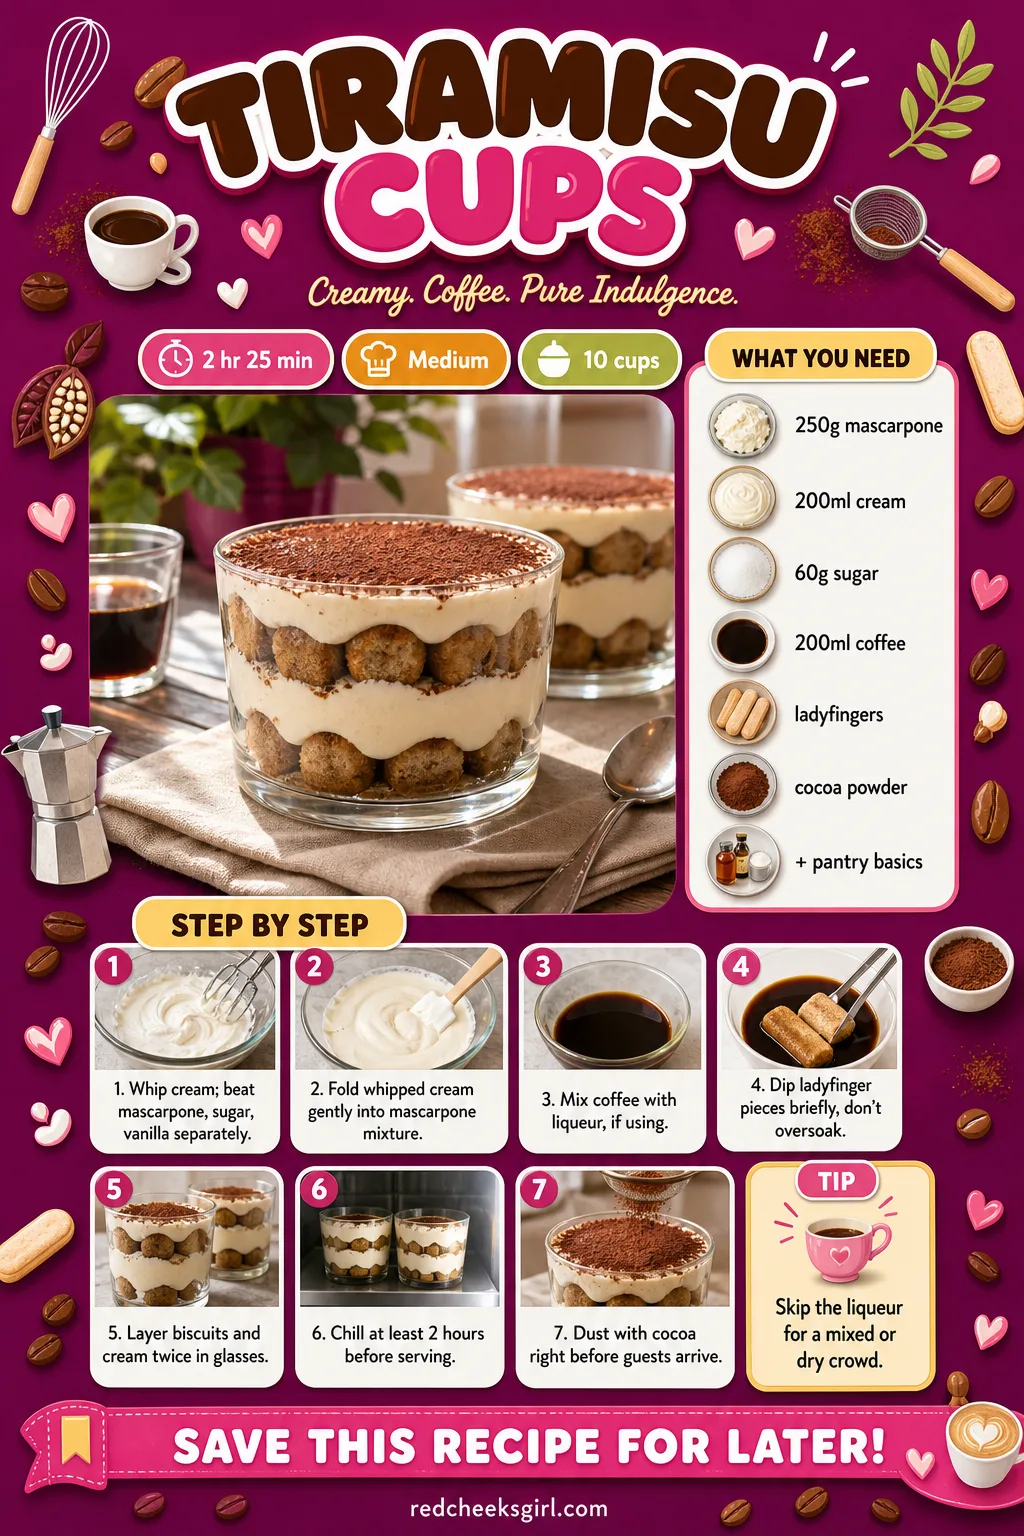
Tiramisu Cups
Tiramisu in individual glasses skips the awkward business of cutting clean squares out of a dish, and it travels better besides. The coffee liqueur is entirely optional; leave it out and nobody at a mixed table notices the difference.
Make these the morning of at the latest, since they need real time in the fridge for the biscuits to soften properly.
Ingredients
- 250 g mascarpone, room temperature
- 200 ml heavy cream
- 60 g granulated sugar
- 1 tsp vanilla extract
- 200 ml strong brewed coffee, cooled
- 2 tbsp coffee liqueur (optional, adults only)
- 20 ladyfinger biscuits
- 2 tbsp cocoa powder, for dusting
Instructions
- Whip the cream to soft peaks in one bowl, then in another, beat the mascarpone, sugar and vanilla together until smooth.
- Fold the whipped cream into the mascarpone mixture gently in two additions, keeping it light and airy rather than stirring it flat.
- Combine the cooled coffee with the liqueur in a shallow dish, if using; for a non-alcoholic version, use coffee alone.
- Break the ladyfingers in half to fit your glasses, then dip each piece in the coffee for no more than 2 seconds per side, since they turn to mush if you linger.
- Layer a few soaked ladyfinger pieces in the bottom of each of the 10 glasses.
- Spoon a layer of the mascarpone cream over the ladyfingers, smoothing it to the edge of the glass.
- Repeat with another layer of soaked ladyfingers, then a final layer of cream on top.
- Chill at least 2 hours; this is what lets the coffee soften the biscuits fully and the layers hold together when spooned.
- Dust each cup generously with cocoa powder just before serving, not earlier, since it sinks into the cream and loses its look.
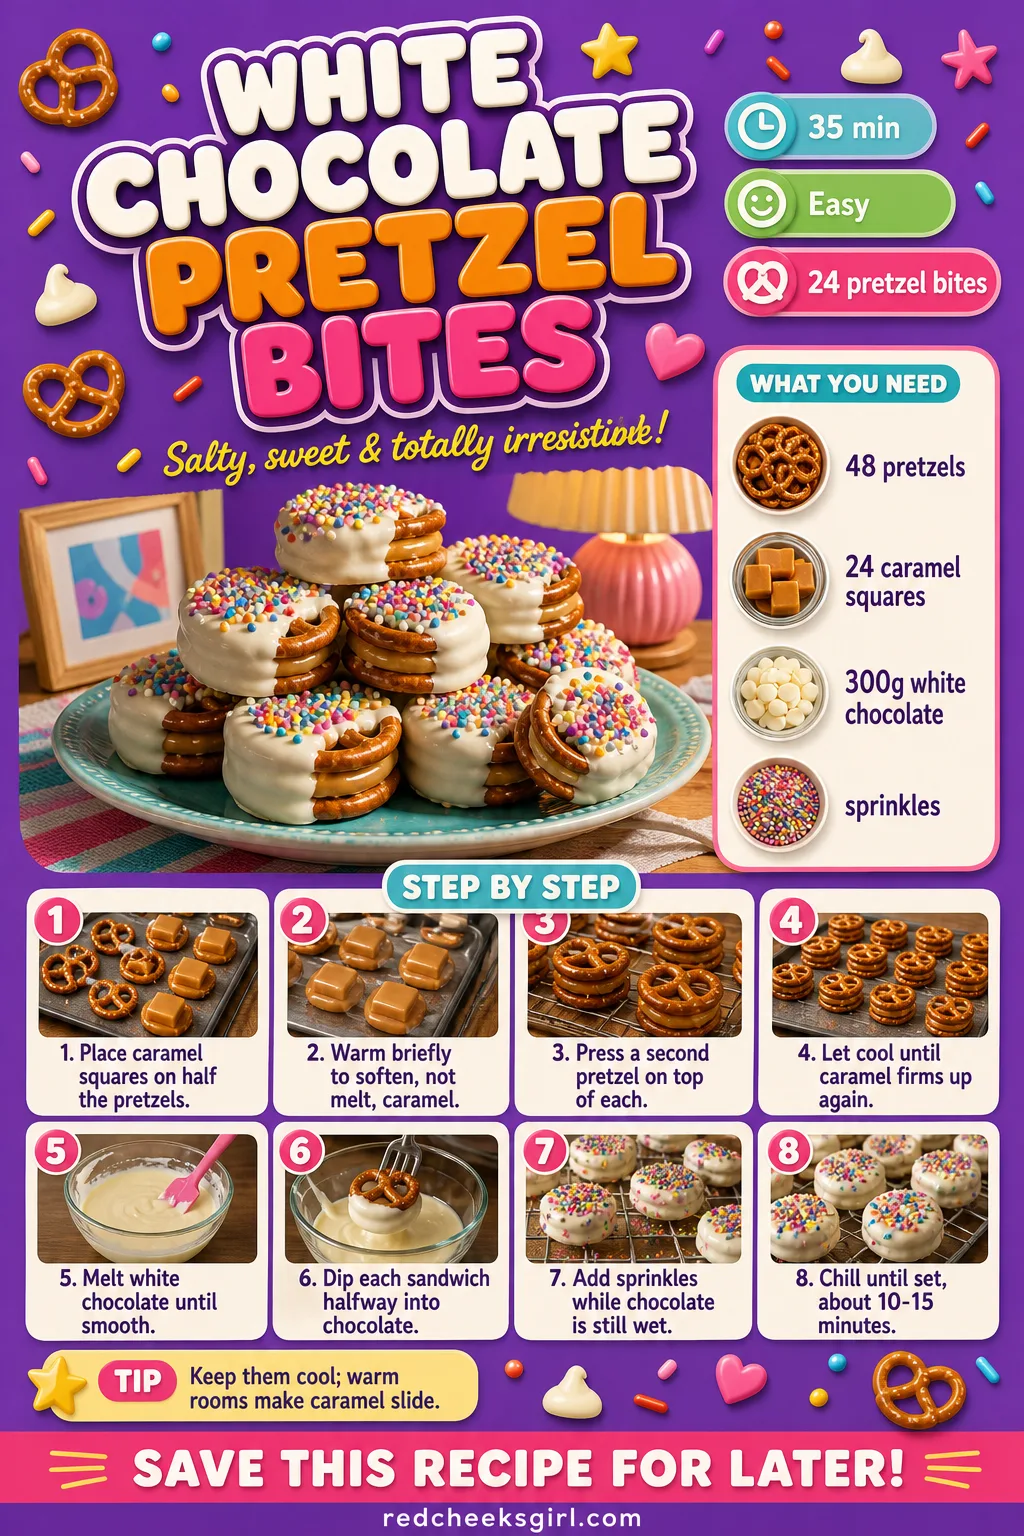
White Chocolate Pretzel Bites
Salty and sweet in one bite, these cost almost nothing and come together faster than anything else on the table. Caramel, a pretzel sandwich, a dip in white chocolate, done.
Keep them somewhere cool once dipped; a warm room is the only thing that makes the caramel slide out of place.
Ingredients
- 48 small pretzel twists
- 24 caramel squares, unwrapped
- 300 g white chocolate, chopped
- sprinkles or crushed pretzels, for topping
Instructions
- Lay half the pretzels flat on a parchment-lined tray; this is your base layer.
- Place one unwrapped caramel square on each pretzel base.
- Warm the tray in a 120°C (250°F) oven for 4-5 minutes, just long enough to soften the caramel, not melt it into a puddle.
- Press a second pretzel on top of each softened caramel, pressing gently until the caramel just peeks out at the edges.
- Let cool completely, about 10 minutes, until the caramel firms back up and holds the sandwich together.
- Melt the white chocolate in 20-second bursts, stirring between each, until smooth.
- Dip each pretzel sandwich halfway into the melted chocolate, letting excess drip off before setting it back on the parchment.
- Top with sprinkles or crushed pretzel while the chocolate is still wet, then chill 10-15 minutes until fully set.
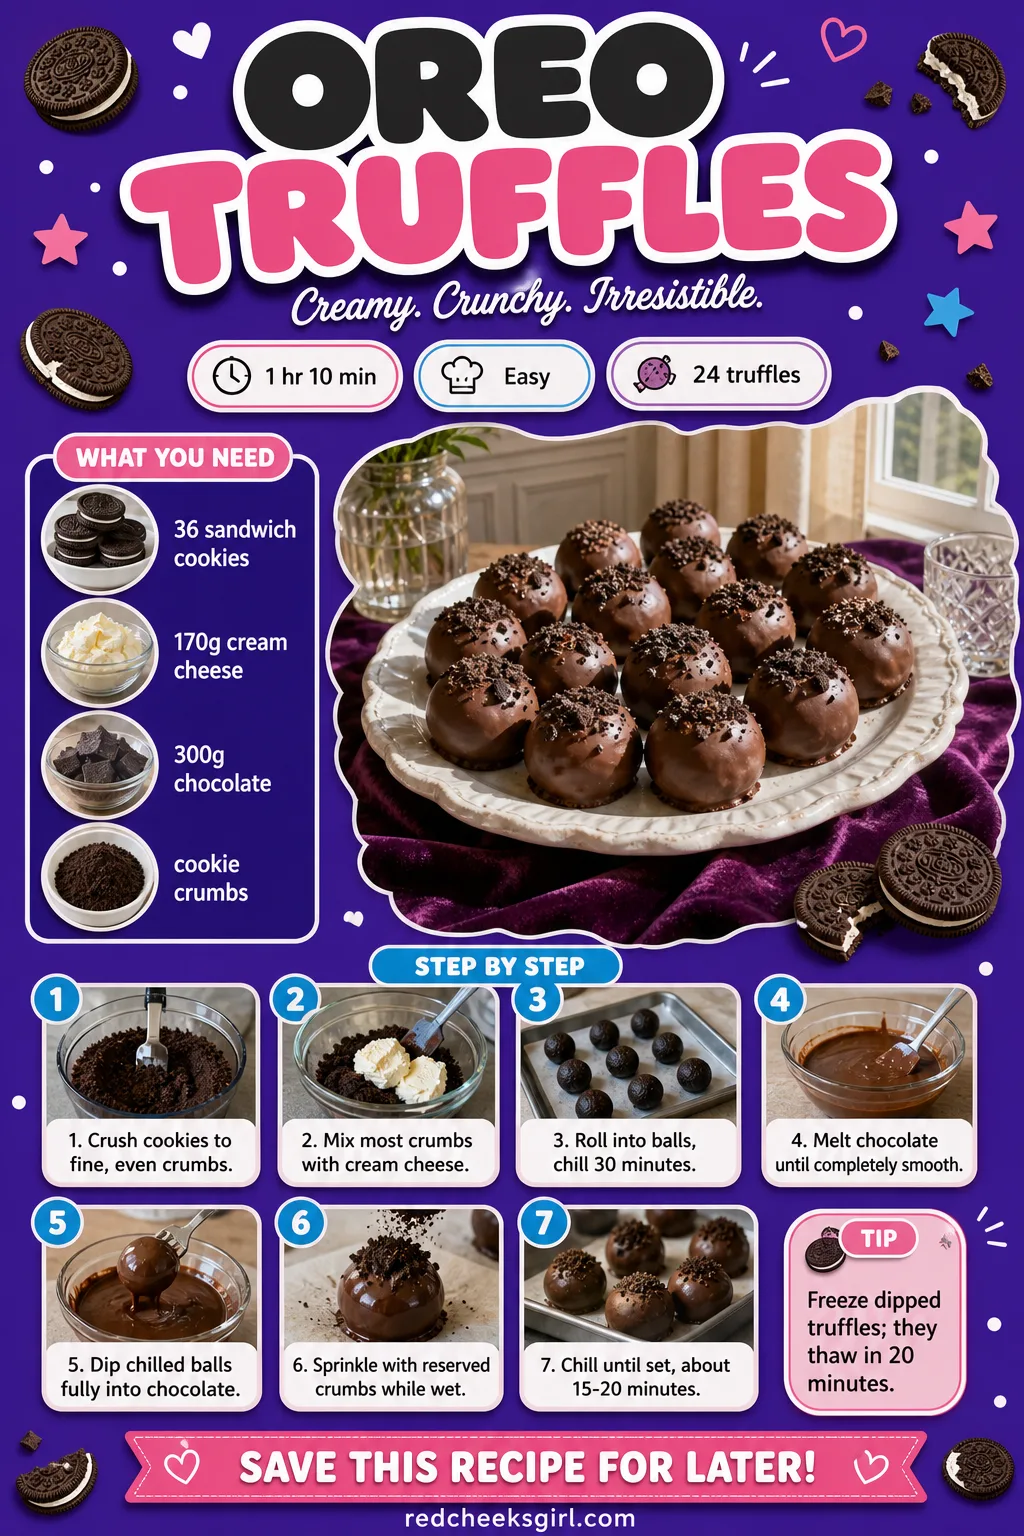
Oreo Truffles
Three ingredients, no oven, and a texture somewhere between fudge and cheesecake. These freeze well, which makes them the easiest thing on this list to get ahead on.
Freeze the dipped truffles whole and let them thaw for 20 minutes before serving; nobody will know they weren’t made that morning.
Ingredients
- 36 chocolate sandwich cookies
- 170 g cream cheese, softened
- 300 g dark or white chocolate, chopped
- crushed cookie crumbs, for topping
Instructions
- Crush the cookies to fine crumbs in a food processor, no chunks bigger than a grain of sand should remain.
- Reserve 2 tablespoons of crumbs for the topping, then mix the rest with the softened cream cheese until it forms a thick, even paste that holds together when pressed.
- Roll the mixture into 24 balls, about 3 cm each, and set on a lined tray.
- Chill the balls at least 30 minutes; firm truffles dip far more cleanly than soft ones.
- Melt the chocolate in 20-second bursts, stirring between each, until completely smooth.
- Dip each chilled ball fully into the melted chocolate using a fork, tapping gently against the bowl to shed the excess.
- Set dipped truffles back on the lined tray and sprinkle with reserved cookie crumbs while the coating is still wet.
- Chill 15-20 minutes until the shell is fully set, then store in the fridge until an hour before serving.
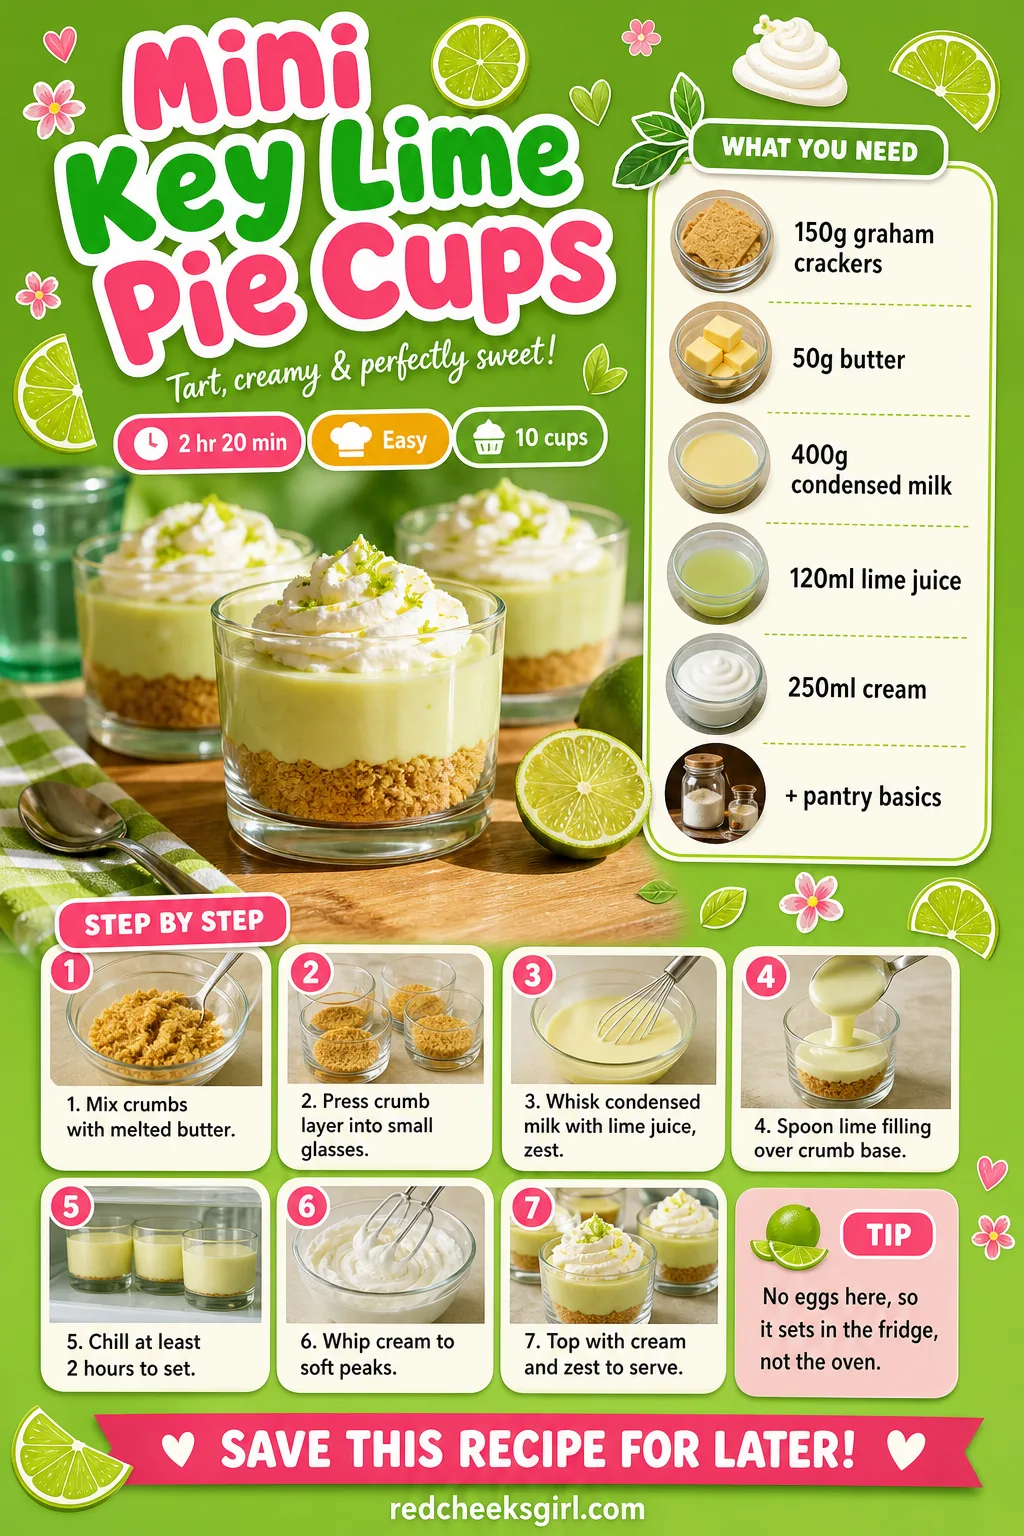
Mini Key Lime Pie Cups
No eggs, no oven, just condensed milk and fresh lime juice thickening quietly in the fridge. The tartness cuts through a table that’s otherwise all sugar.
Swap in regular lime juice if key limes aren’t sitting at the store; the flavour is close enough that nobody will ask.
Ingredients
- 150 g graham crackers, crushed
- 50 g unsalted butter, melted
- 400 g sweetened condensed milk
- 120 ml fresh key lime juice
- 1 tsp lime zest, plus more for garnish
- 250 ml heavy cream, whipped
Instructions
- Mix the crushed graham crackers with melted butter until it looks like wet sand.
- Spoon a layer of crumbs into the bottom of 10 small glasses, pressing down gently with the back of a spoon.
- Whisk the condensed milk, lime juice and zest together until the mixture thickens slightly and looks fully smooth, about 1 minute of whisking.
- Spoon the lime filling over the crumb layer in each glass, filling about two-thirds full.
- Chill at least 2 hours; the filling needs this time to set into a sliceable, custard-like texture without any oven.
- Whip the cream to soft peaks just before serving; it should hold a gentle curl on the whisk.
- Top each cup with a spoonful of whipped cream and a little extra lime zest.
- Serve chilled, within a few hours of topping, since the crumb base softens the longer it sits under the filling.
Champagne Gummy Bears
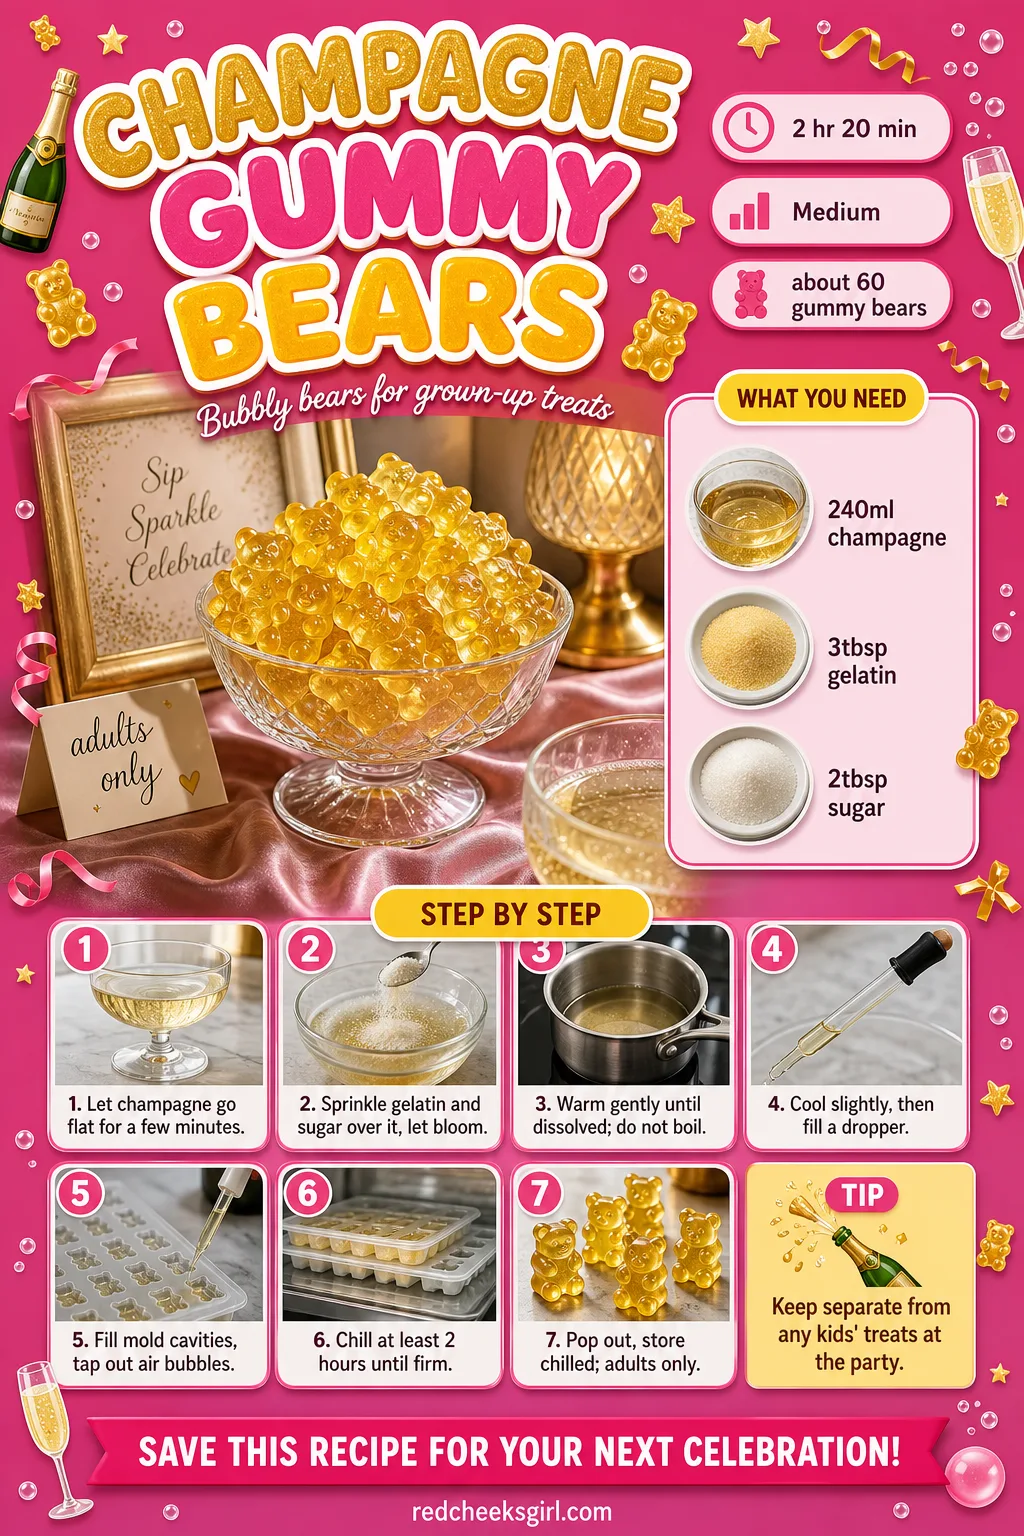
A nod to the toast without another glass in anyone’s hand, these are strictly for the adults at the table and worth keeping well away from a kids’ section of the party. Let the champagne go flat first, or the mixture foams over the measuring cup.
They suit a 17 Petals and Prosecco Bridal Shower Theme Ideas for a Bubbly Celebration table especially well, where the whole party already leans toward bubbles.
Ingredients
- 240 ml champagne or prosecco, gone flat
- 3 tbsp unflavoured gelatin powder
- 2 tbsp granulated sugar
Instructions
- Pour the champagne into a small saucepan and let any fizz settle for a few minutes; bubbles make the mixture foam up and throw off the measurement.
- Sprinkle the gelatin and sugar evenly over the champagne and let it sit untouched for 5 minutes, until it looks wrinkled and fully absorbed, not powdery on top.
- Warm the mixture over low heat, stirring constantly, until the gelatin fully dissolves and the liquid looks completely clear, about 3-4 minutes; do not let it boil, or the alcohol cooks off along with the fizz you wanted.
- Remove from heat and let cool 2-3 minutes, just enough that it’s no longer hot to the touch.
- Fill a dropper or small squeeze bottle with the warm mixture.
- Fill each cavity of a gummy bear mould slowly, tapping the mould on the counter a few times to release any trapped air bubbles.
- Chill the filled moulds at least 2 hours, until the bears are firm and pull away from the mould cleanly.
- Pop the bears out of the mould and store in an airtight container in the fridge; serve to adults only, well away from any children’s table at the party.
🛍 Shopping guide
Frequently Asked Questions
How many desserts do you need for a bridal shower?
Plan on about five different desserts for most showers, enough variety that every guest finds something without turning the table into a buffet. A small showpiece plus a handful of mini treats usually covers it.
How many mini desserts per person should I plan for?
Plan on two to three small bites per guest when the table leans toward mini treats rather than one big cake. That range accounts for people sampling several kinds instead of settling on just one.
What desserts should be on a bridal shower dessert table?
Mix textures and formats rather than sticking to cake alone: pies, doughnuts, ice cream cups and macarons all earn a spot next to the classics. Variety matters more than any single showstopper.
How far in advance can you make bridal shower desserts?
Most of these hold for a day or two in the fridge once chilled or set, parfaits and mini cheesecakes included. Making them ahead frees up the morning of the shower for everything else.
How do you set up a dessert table for a bridal shower?
Accent the table with beautiful platters and on-theme decorations rather than lining everything up flat. A tiered stand for the showpiece, varied-height plates for the rest, and labels nearby for anyone avoiding an allergen.
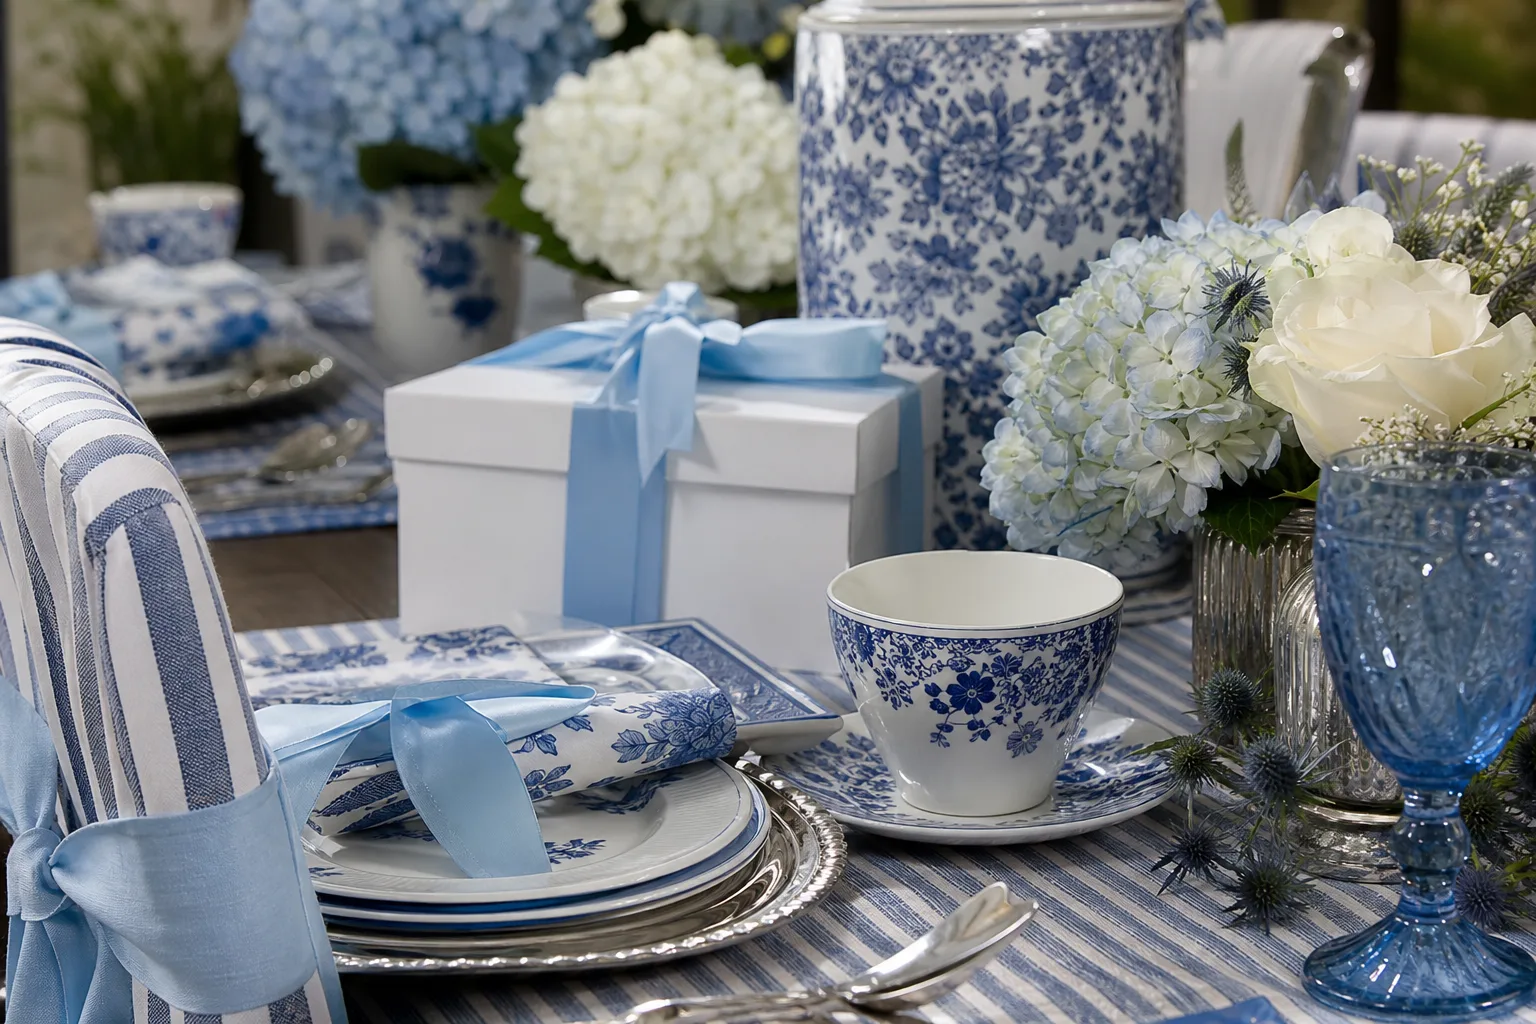
24 something blue bridal shower ideas, from a blue and white porcelain table to favors, built around
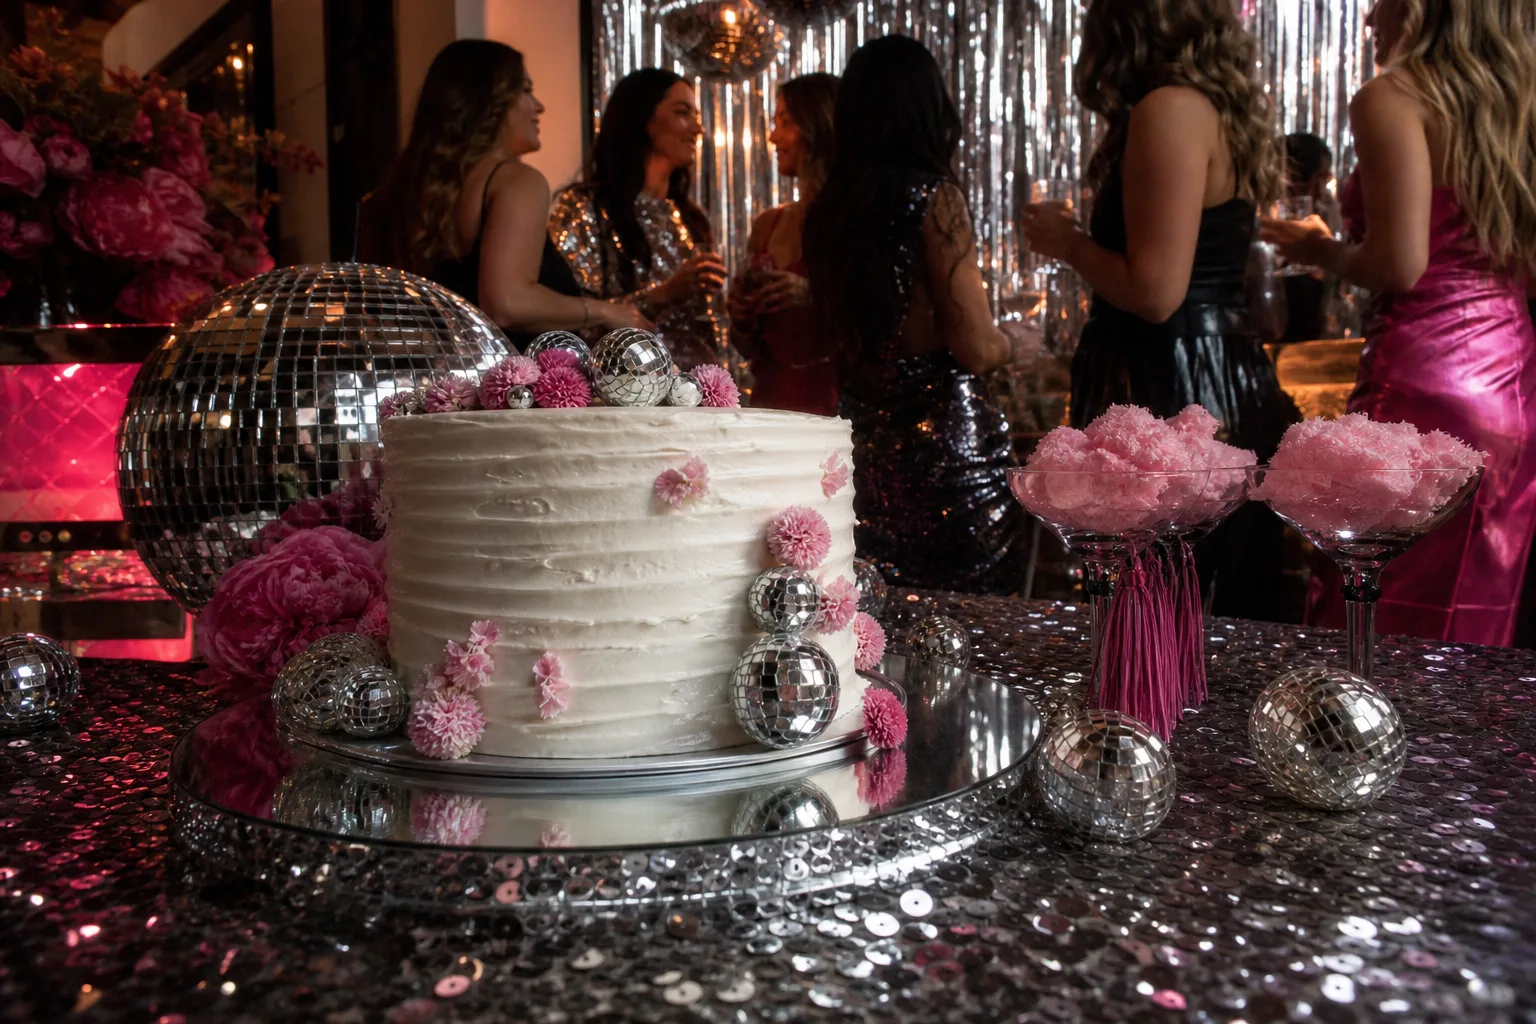
15 last disco bachelorette party ideas: mirror balls, silver fringe, a roller rink night, mirror-fin
28 wedding table decorations that fill every inch of the table, not just the centre: fruit, fabric,
Leave a Reply