

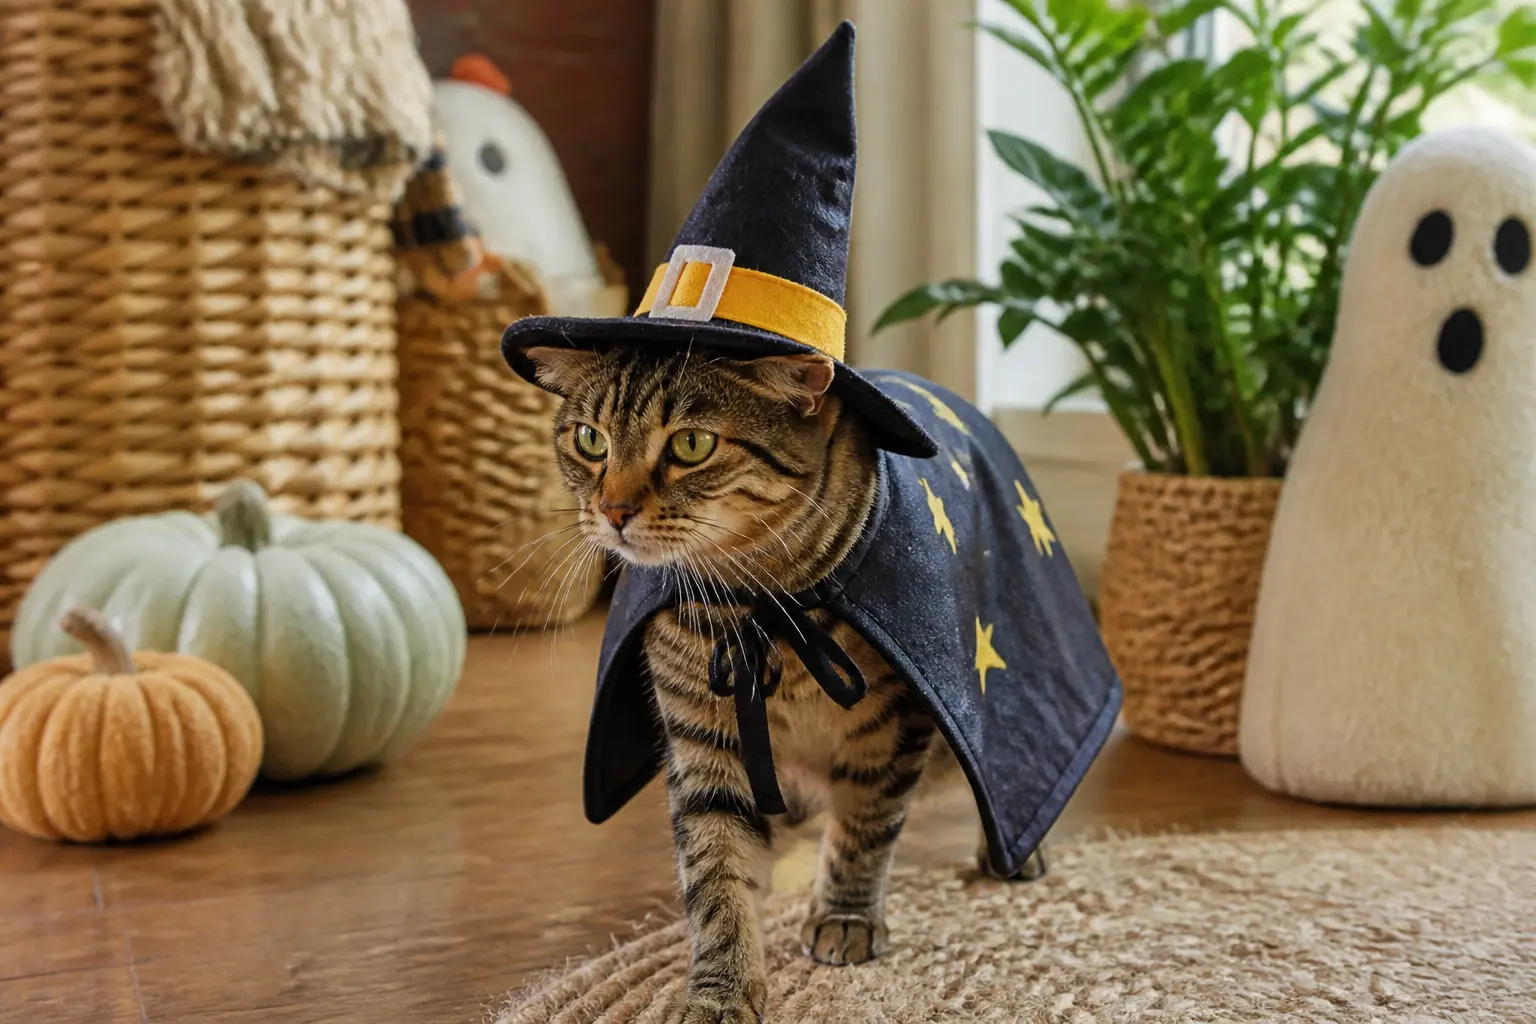
Cats have opinions about costumes, and those opinions are mostly negative. The ones that work share a few things: soft materials, nothing that blocks vision or paws, and a silhouette the cat can read as normal within about thirty seconds of wearing it.
Every idea here is built on that logic. Most need nothing more than a hot glue gun, a ball of yarn, or a piece of felt cut into one simple shape. A few take twenty minutes. None require a sewing machine, and none involve anything strapped under the belly.
For the party itself, pair the photo moment with some of the best Halloween party ideas and games so the humans stay entertained while the cat does what it wants anyway. And if you need last-minute decor to go with the costume reveal, these easy DIY Halloween decorations come together in three steps or fewer.
This post contains affiliate links. If you buy through them, I may earn a small commission at no extra cost to you.
Witch and Wizard Looks
The pointed hat is the single most recognisable Halloween silhouette, and on a cat it reads instantly. Keep the hat small enough to sit just behind the ears without pressing them flat, and attach it with a thin elastic chin strap hidden in the fur.
These costumes photograph best in low, warm light with a candle or lantern nearby. The cat does not need to be still for long: one hat, two seconds, done.
The Crochet Witch Hat
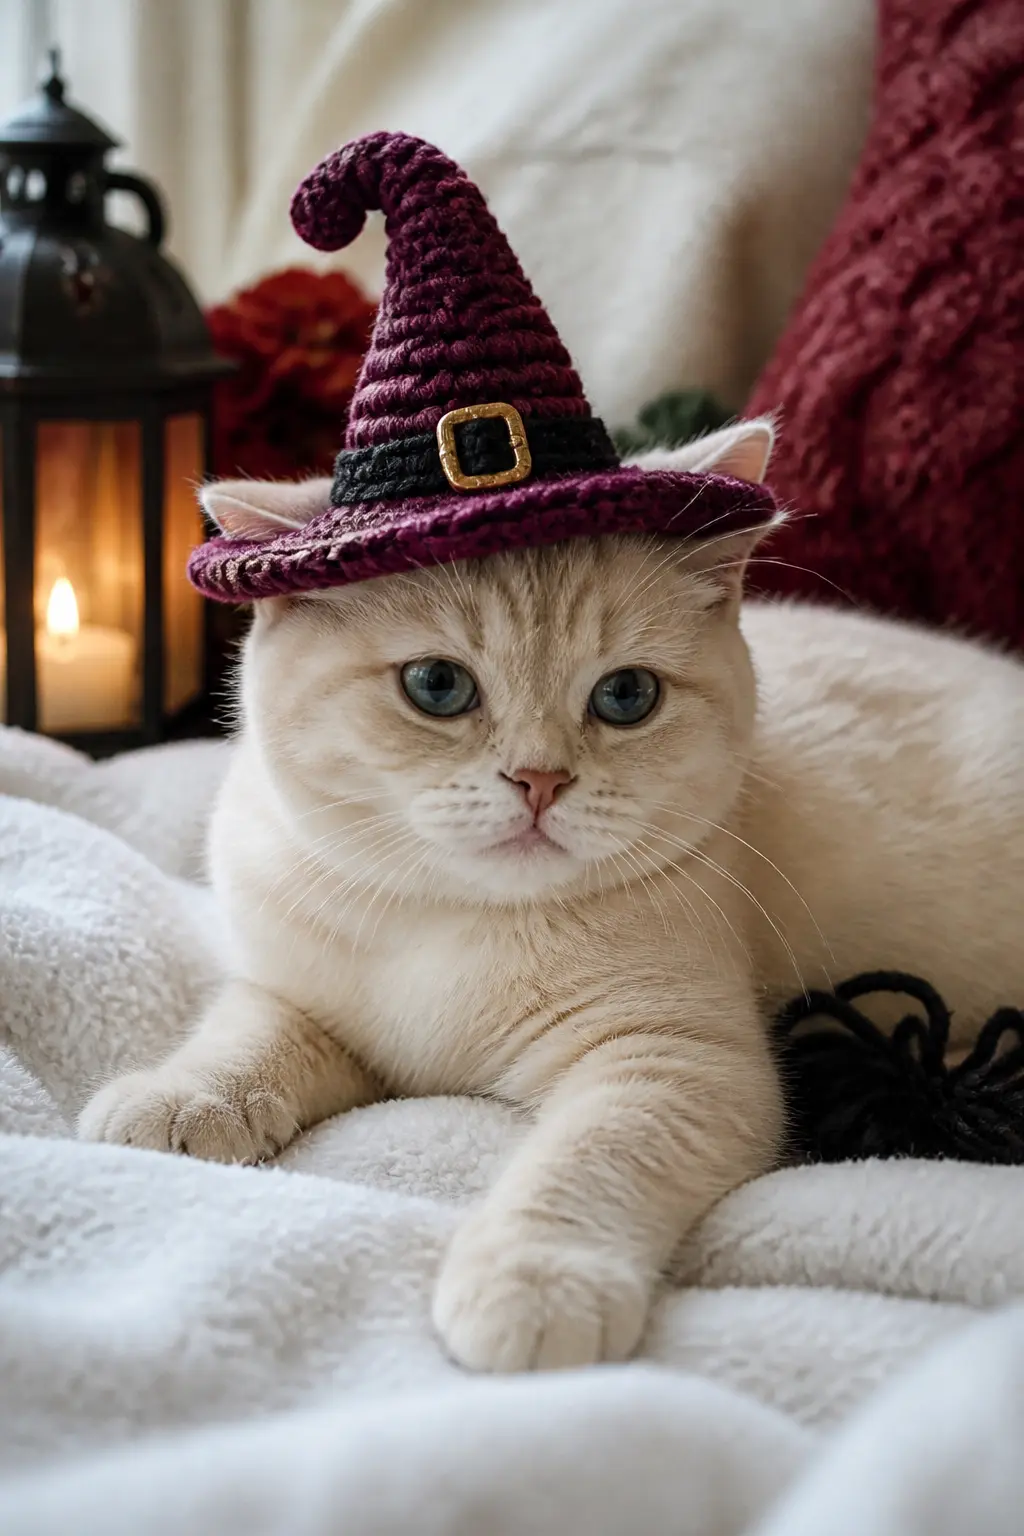
A crocheted witch hat in deep plum with a gold yarn buckle and a green band sits on a kitten like it was made for the specific shape of that head, which is exactly the point of making it yourself. Work in the round from the tip down, increasing gradually so the brim lies flat without stiffening.
Use a soft acrylic or cotton blend: pure wool can irritate skin and sheds when chewed. The finished hat weighs almost nothing, which is why cats tolerate it. Attach a thin round elastic loop at the brim so it rests just behind the ears.
🛍 Shopping guide
The Full Fabric Witch Hat With Drooping Brim
Cut a cone from stiff black felt and a wide circle for the brim, then let the tip curve or droop slightly by not inserting wire. The soft slump reads as intentionally witchy rather than unfinished. Line the inside of the brim with a circle of thin foam so it sits level on the head without pressing down.
Hot glue a strip of narrow velvet ribbon around the base of the cone before attaching the brim. The ribbon hides the seam and adds a tactile detail that photographs well in low light. Size the brim so it clears the cat’s ears completely: ears that poke through the brim look better and feel better to the cat.
🛍 Shopping guide
The Ivory Pom-Pom Sleep Cap
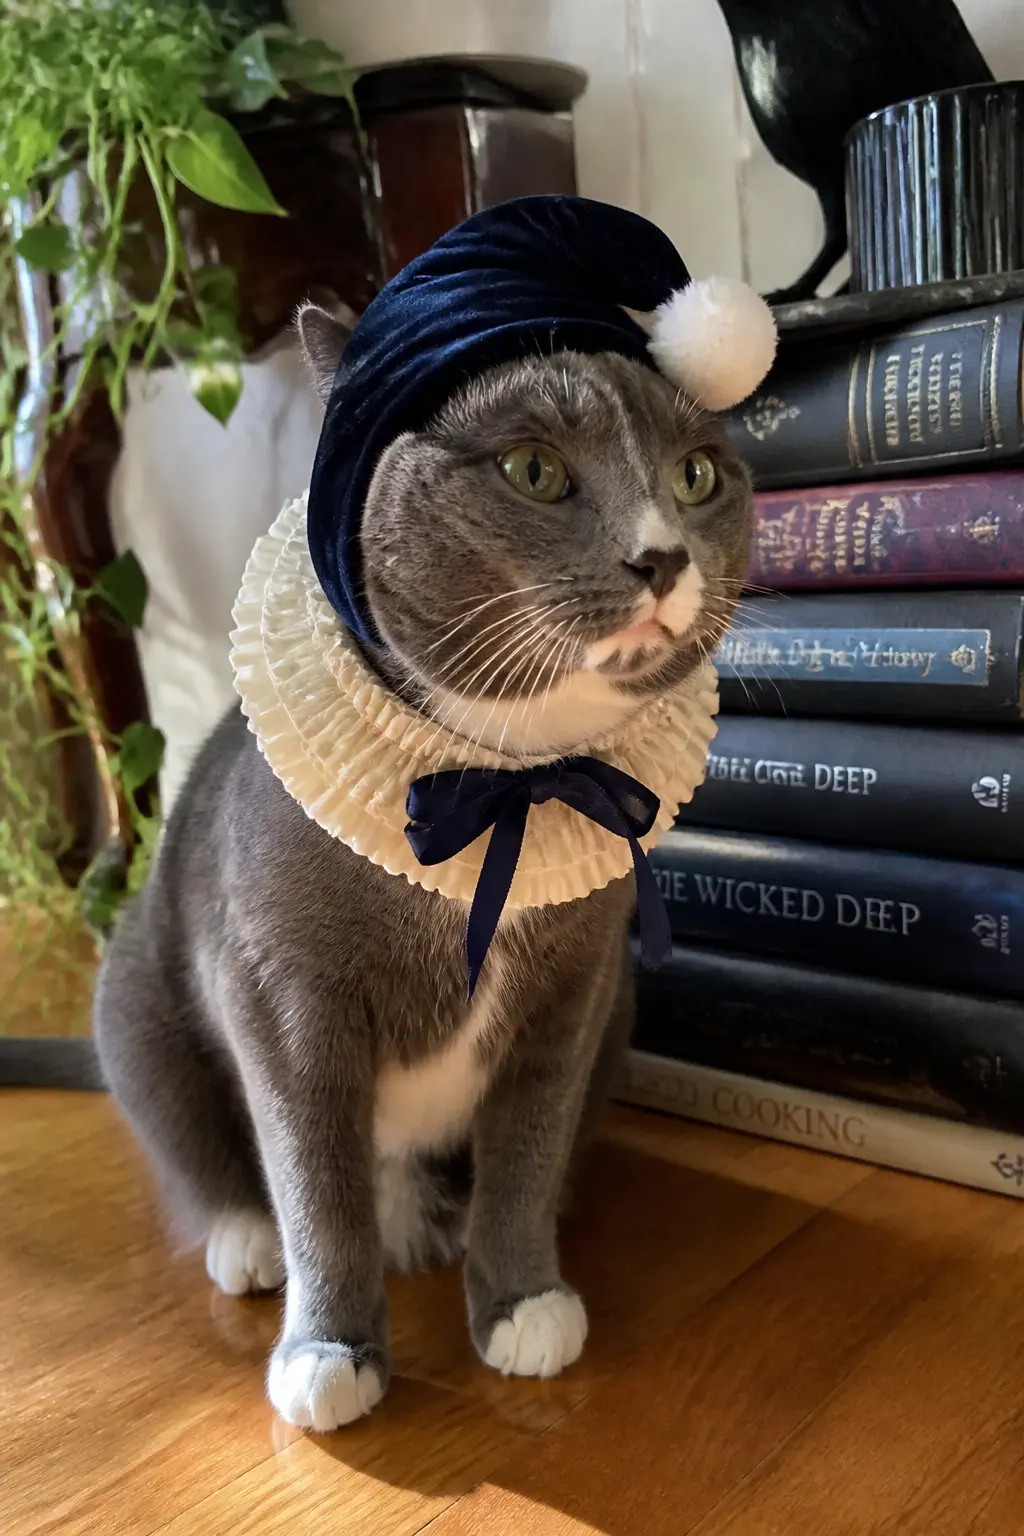
A tiny nightcap in navy velvet with a white pom-pom at the tip reads as a whimsical wizard or storybook character rather than a straight witch, which gives it a slightly more sophisticated quality.
Sew or glue a simple cone of velvet fabric, turn the raw edge under at the base, and finish with the pom-pom. The whole thing weighs about the same as a large grape.
This style works especially well on grey, white, or bi-colour cats where the navy creates contrast. Pair it with an ivory ruffled collar and a navy ribbon bow for a complete look that reads as a deliberate aesthetic rather than a thrown-together costume.
🛍 Shopping guide
The All-Black Witch Cape and Hat Set
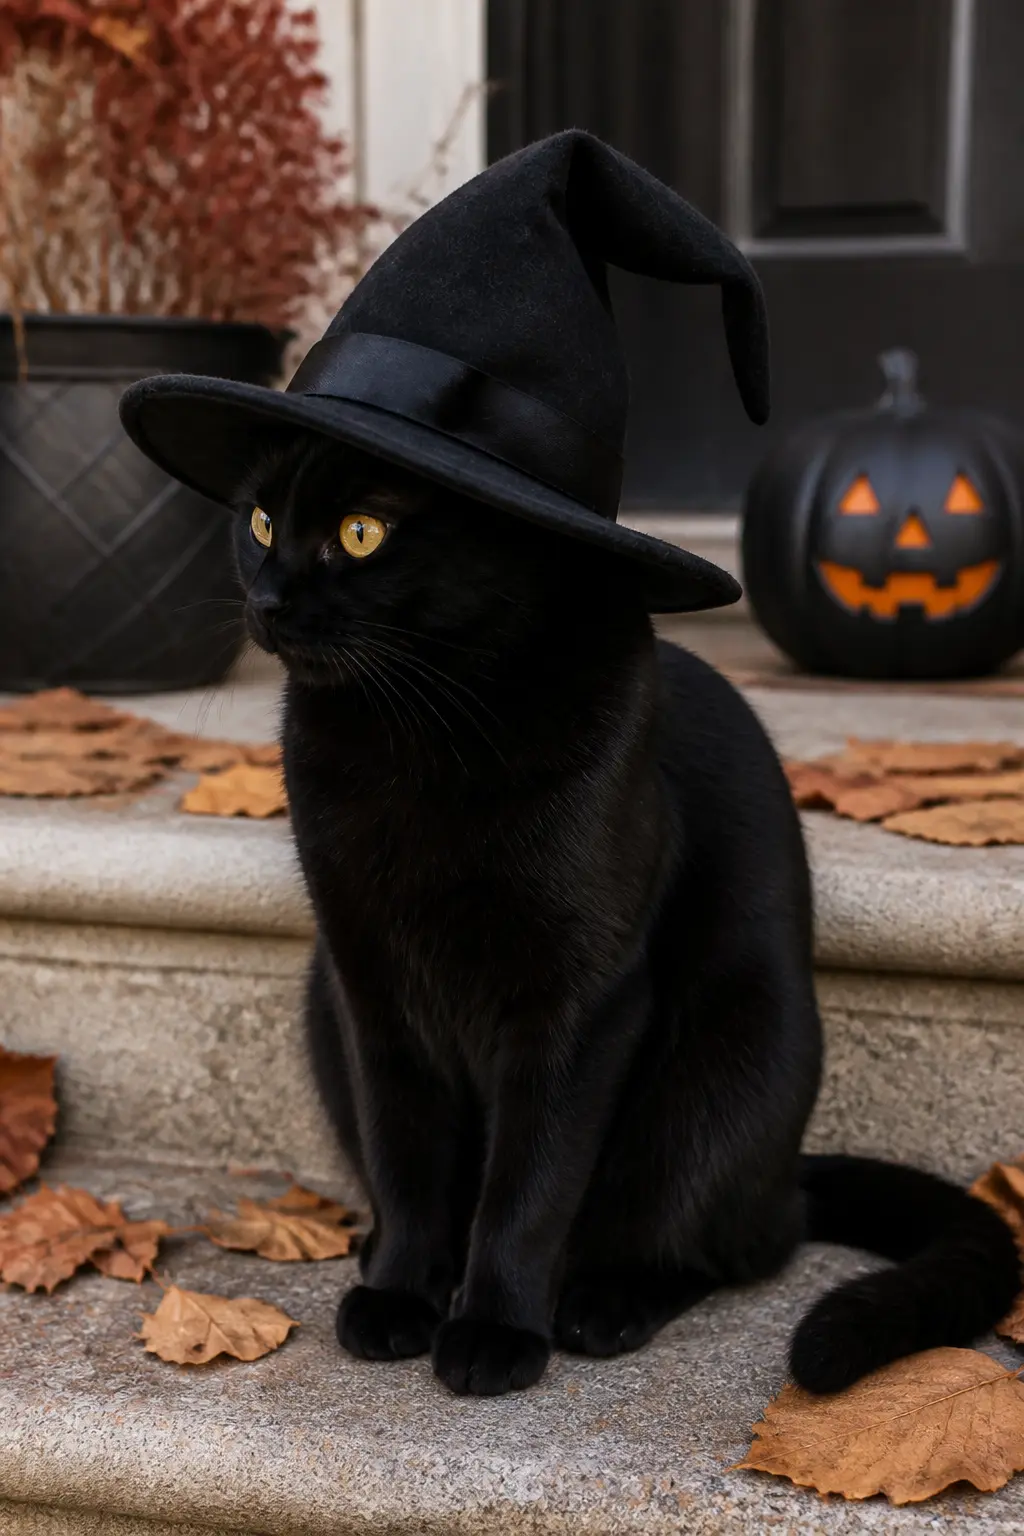
When the cat is already black, the costume works with the animal rather than against it. A structured black felt hat with a full brim and a matching short cape that drapes from the neck creates a look that is more editorial than cute, and the cat’s own colouring does most of the work.
Cut the cape as a simple semicircle with a neck opening. A small jingle bell on the collar clasp adds sound and also alerts the cat when it moves, which helps it adjust to wearing the costume faster. Keep everything in the same flat black so the amber or gold of the eyes becomes the focal point of any photograph.
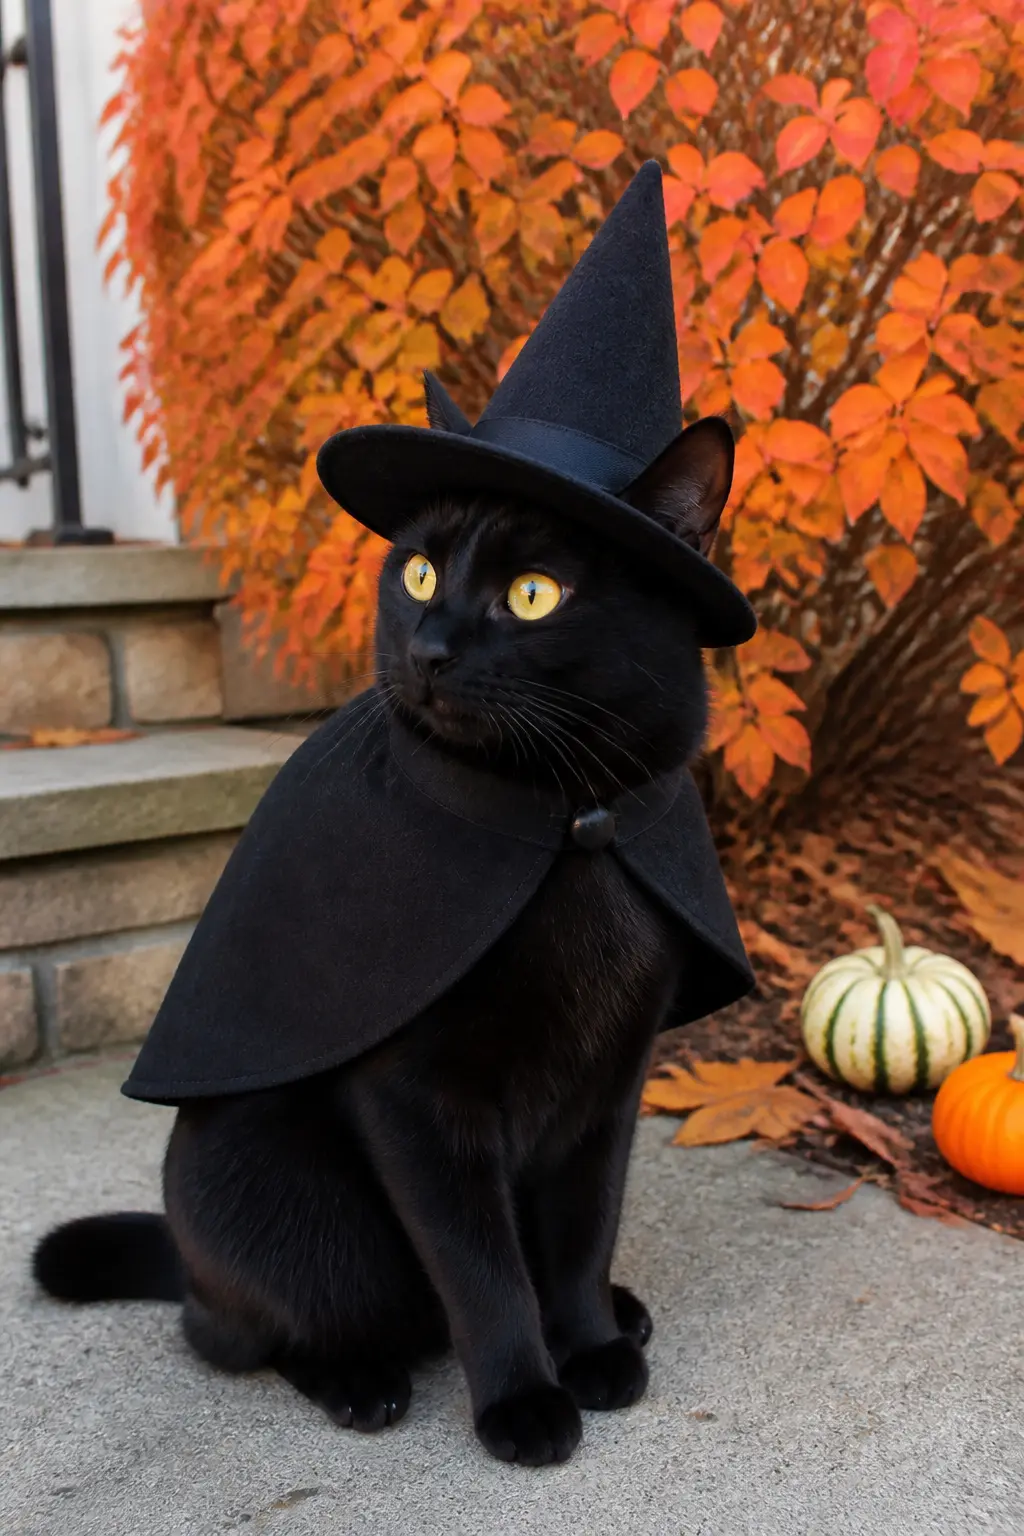
🛍 Shopping guide
Capes and Cloaks
A cape that sits at the neck and drapes over the shoulders is one of the easiest cat costumes to make and one of the easiest for a cat to wear. It does not restrict movement, stays on without straps, and comes off in one tug if the cat decides it is finished.
Crochet and knit versions add texture that photographs beautifully and feels soft against the fur. Felt versions take about ten minutes to cut and are perfectly flat when not in use.
The Dracula Cape in Crochet
A crocheted cape in black with a crimson lining at the collar is the vampire costume done right for a cat. The crochet structure gives it body without weight, and the ribbed collar stands up slightly around the neck the way a Dracula collar should.
Work the body in black and switch to crimson for the final two rounds at the top to create the turned-back lapel effect.
The tie at the front is a simple length of crimson yarn or narrow ribbon. Crochet absorbs light differently from felt or fabric, which makes the costume look more considered in photographs. A cream or ginger cat wearing this reads immediately as a vampire, no further props required.

🛍 Shopping guide
The Felt Bat Cape
Cut the back edge of a black semicircle cape into a scalloped zigzag and it becomes a bat wing silhouette from the top of the cat’s back. No additional prop needed. The scalloped edge is the whole costume.
Use thick craft felt so the scallops hold their shape without stiffening. Trim the neck opening generously so nothing presses against the throat. This one takes about fifteen minutes including drying time on the snap fastener.
It is also one of the few costumes that reads well from above, which matters when the cat is sitting on the floor and the photographer is standing.

🛍 Shopping guide
The Tiny Vampire Count Cape in Velvet
Velvet in deep burgundy or black drapes beautifully at any size, and a cat-sized cape in velvet looks genuinely luxurious rather than crafty. Cut it as a simple rectangle gathered at the neck rather than a semicircle, so the drape falls more formally. A narrow satin ribbon ties at the front.
Velvet does not fray when cut cleanly, so the raw edges can be left as they are if you press them flat with a warm iron. This is a five-ingredient costume: velvet, ribbon, scissors, iron, and a snap fastener at the collar. The result looks like something from a pet boutique.
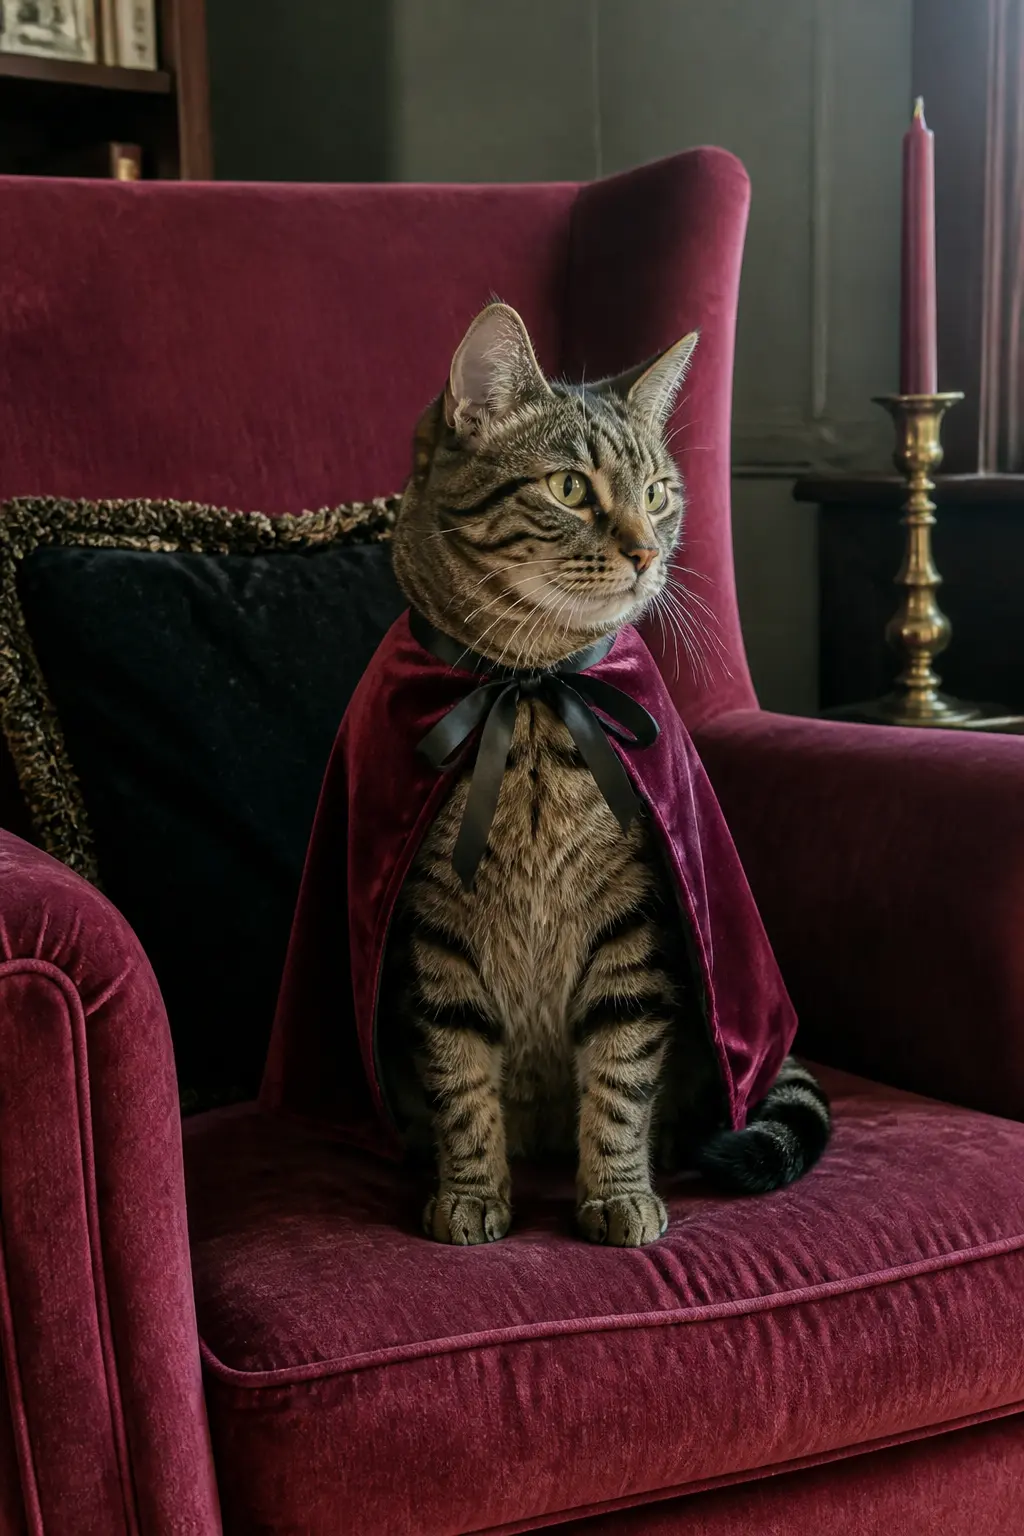
🛍 Shopping guide
Collars and Ruffles
A decorative collar worn over the cat’s existing collar or breakaway collar is about as low-commitment as a costume gets. It frames the face without touching the body, which most cats find acceptable for longer than you’d expect.
Elizabethan ruffs, velvet bow collars, and lace bib collars all fall into this category. The silhouette is dramatic in a photograph and the construction is simple enough to finish while the kettle boils.
The Elizabethan Ruff Collar
A ruff collar made from ivory organza or stiff white tulle gives a cat an instant Shakespearean villain quality, which most cats seem to have earned anyway. Cut a long strip of fabric, pleat it at regular intervals, and stitch or glue the pleats to a ribbon long enough to tie at the back of the neck.
Keep the overall depth of the ruff no more than 5 cm so it does not obstruct the cat’s field of vision downward. The visual effect is enormous for the amount of material used. Organza catches light differently at different angles, which means photographs taken from slightly above look different from those taken at eye level with the cat.

🛍 Shopping guide
The Velvet Bow Collar
A wide navy or black velvet ribbon tied in a generous bow at the throat of a cat’s existing collar is technically a complete costume, and it is the one most likely to stay on for an entire party.
The bow sits at the front, the ribbon is short enough that no loose end dangles into the cat’s paws, and the cat registers it as similar enough to a standard collar to ignore it.
Cut the velvet ribbon to about 30 cm, tie it in a bow directly onto the collar, and trim the tails level. The costume works because the cat’s personality does the heavy lifting. A large bow on a small cat reads as formal and slightly absurd in the best way.

🛍 Shopping guide
The Lace Bib Collar
A bib-shaped piece of white or ecru lace, attached at the back of the neck with a ribbon tie, creates a Victorian ghost or gentle spectre look that suits cats of almost any colouring. The lace sits flat against the chest rather than standing up, which is why most cats accept it within moments.
Use guipure lace or broderie anglaise cut into a teardrop shape. A single scalloped edge at the bottom and a flat edge at the top keeps the shape clean. This costume also works as a base layer under a hat, turning a one-piece look into a coordinated set with minimal extra effort.
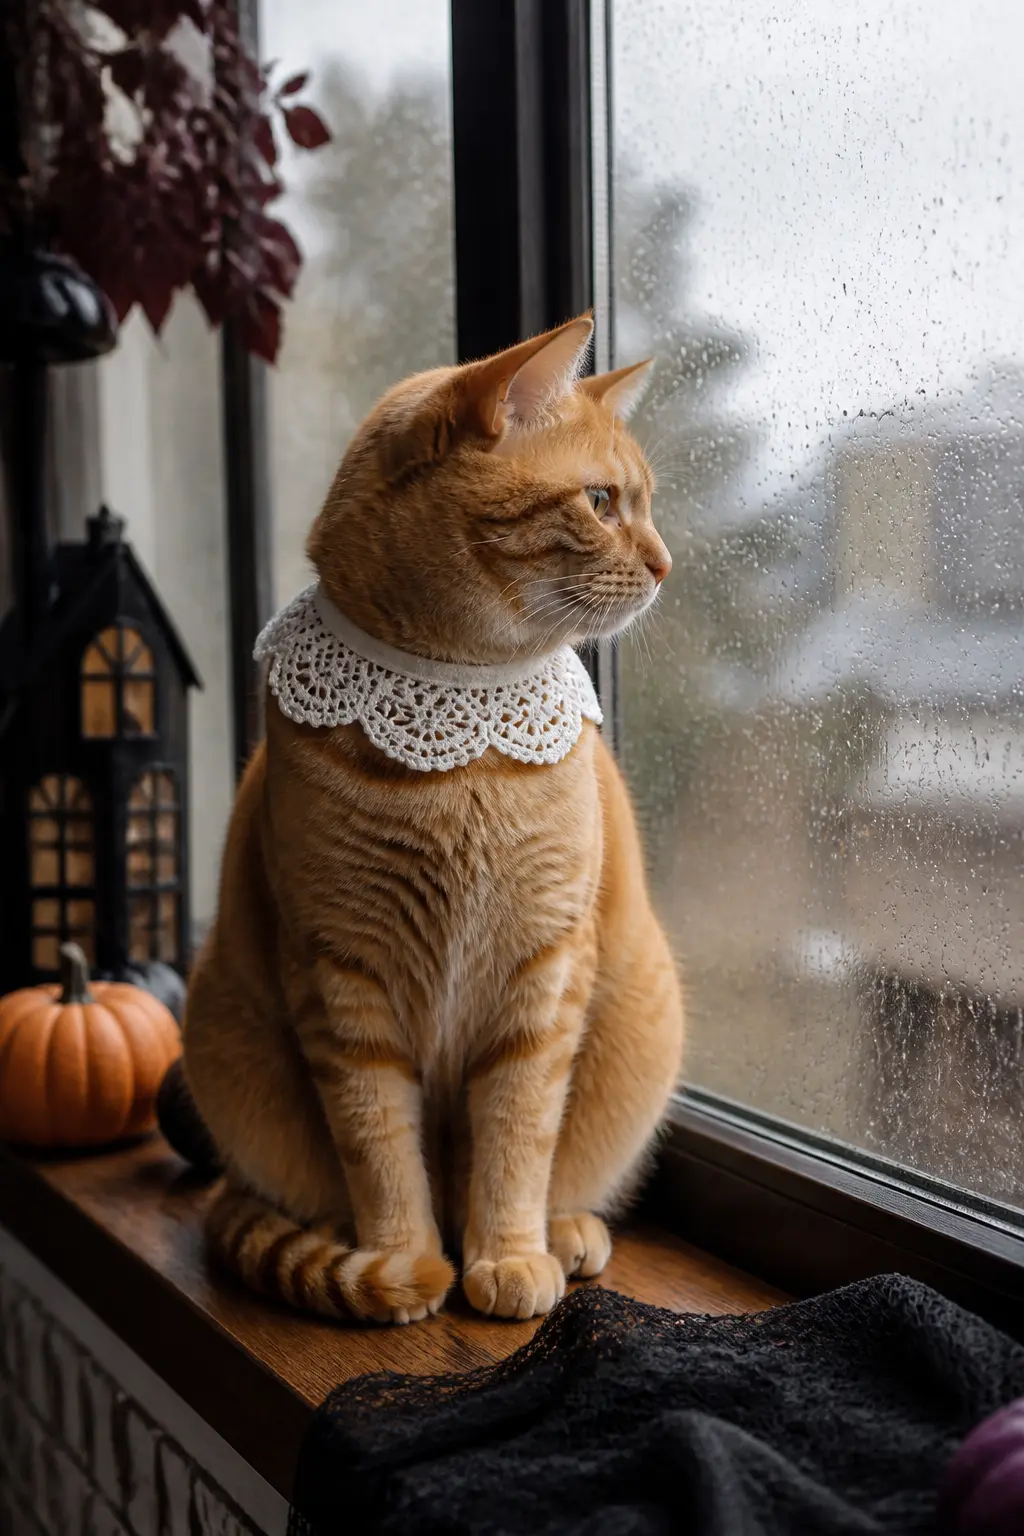
🛍 Shopping guide
Hats Only
Some cats will wear a hat and nothing else, which is fine, because a well-made tiny hat is a complete costume. The key is weight: it must be light enough that the cat forgets it is there within a minute, and the elastic must sit loosely under the chin rather than tight.
Crochet hats hold their shape, felt hats are faster to make, and mini top hats cut from cardboard covered in black felt are genuinely festive for almost no money.
The Crochet Pumpkin Hat
A small orange crochet hat shaped like a pumpkin, with a short brown stem at the top and a few green chain-stitch vines, is one of the most photographed pet costumes for good reason. It communicates the season instantly, it weighs almost nothing, and the texture of crochet makes it look handmade in the best possible sense.
Work in the round, alternating increases and decreases to create the ridged pumpkin-segment surface. Use a burnt orange rather than a traffic-cone orange for a more considered palette. Finish with a 2 cm brown stem and one or two looping green yarn vines. Attach elastic as for any other hat.
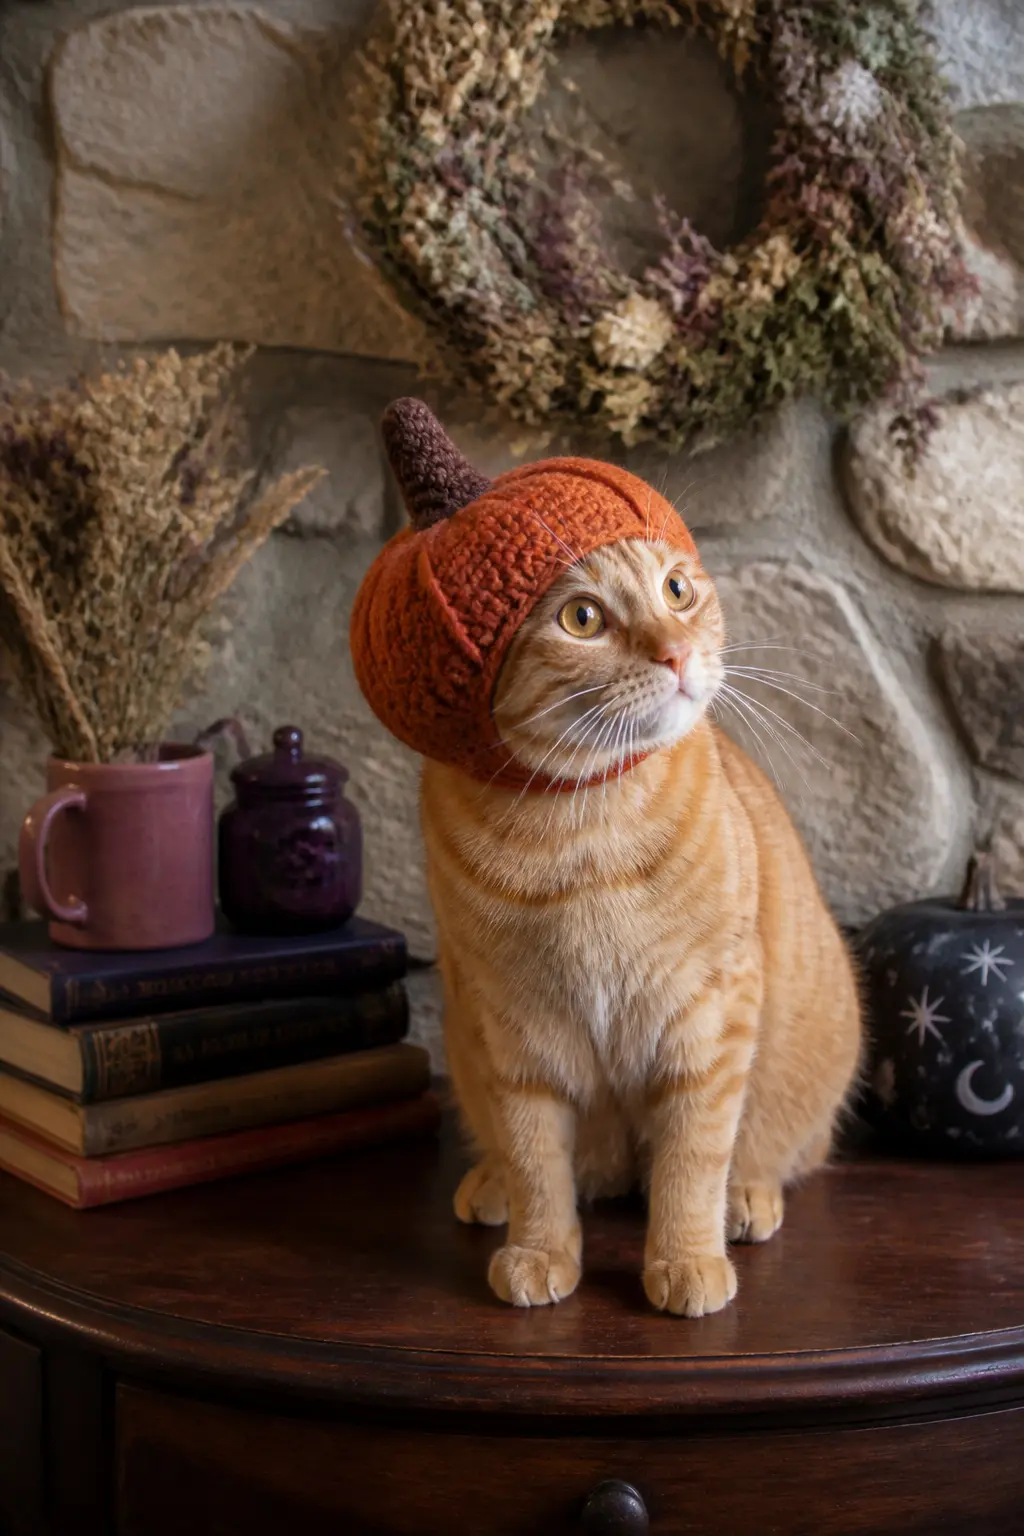
🛍 Shopping guide
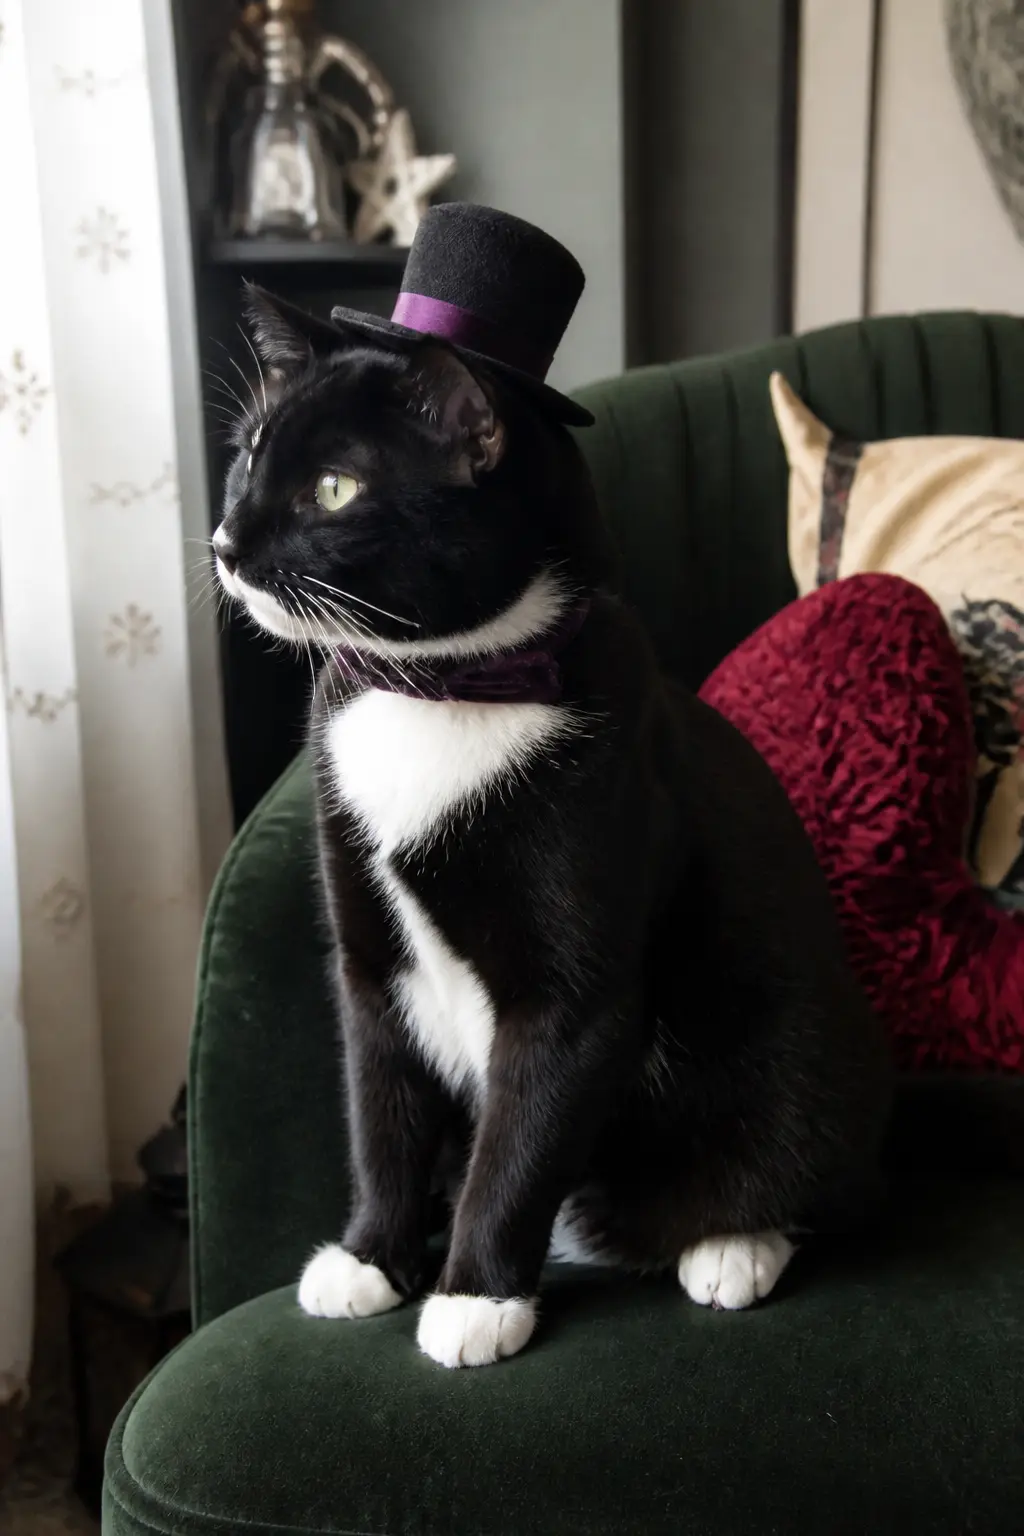
The Tiny Black Top Hat
A miniature top hat made from cardboard covered in black felt takes about twenty minutes and reads as magician, undertaker, or Victorian gentleman depending entirely on the cat wearing it. Cut a cylinder for the crown, two circles for the top and the brim, and a ring of felt for the hatband. Glue everything with hot glue.
The brim should sit flat rather than curve upward, and it should be wide enough to look proportional but not so wide that it droops over the cat’s eyes. A strip of purple or deep red ribbon for the hatband lifts it out of basic.
Attach with a single strand of elastic looped under the chin and secured with a small knot inside the crown.
🛍 Shopping guide
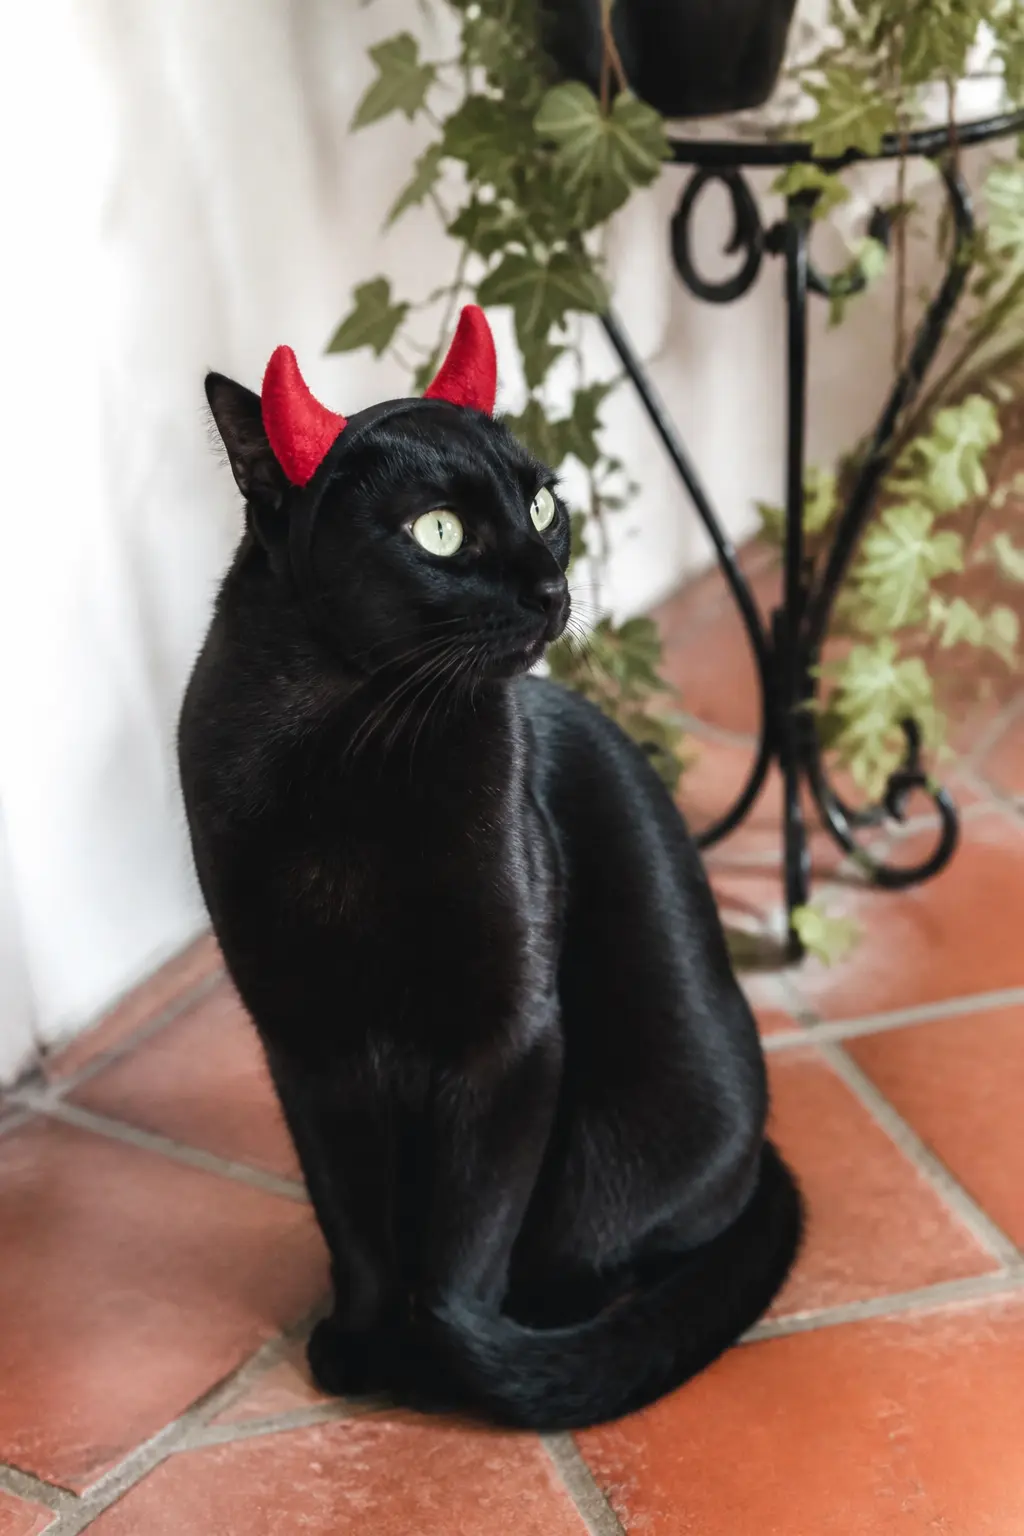
The Devil Horns Headband
Two small red felt cones stuffed with a tiny amount of polyfill, attached to a narrow elastic headband, give a cat devil horns that stay in place without pressing on the ears. Position them just forward of the ear line so the cat’s own ears remain visible and uncompressed behind them.
Use red and add a thin line of gold fabric paint around the base of each horn for detail. The elastic headband should sit across the top of the skull, not around it. Sew the horns to the elastic rather than gluing them: the join will be pulled in multiple directions when the cat shakes its head.
🛍 Shopping guide
The Ghost Sheet Hood
A small square of white or ivory cotton muslin with two eye holes cut into it, gathered at the neck with a loose ribbon, is the simplest costume on this list and one of the most effective. The muslin drapes softly over the head and the cat can see through the eye holes, which means it adjusts quickly.
Cut the muslin into a 20 by 20 cm square. Round the corners. Cut two oval eye holes 3 cm apart. Gather the edges lightly at the neck with a loose ribbon tie. The whole construction costs almost nothing and takes about eight minutes. The result photographs beautifully against any dark background because the white hood creates its own contrast.

🛍 Shopping guide
Spooky Creatures
Bat ears, devil horns, and tiny spider legs attached to a minimal body band give a cat a creature identity without a full costume. The trick is keeping the attachment point at the top of the head, behind the ears, where the cat cannot easily reach to pull it off.
These work especially well on cats with dark or black fur, where the silhouette reads dramatically against any background.
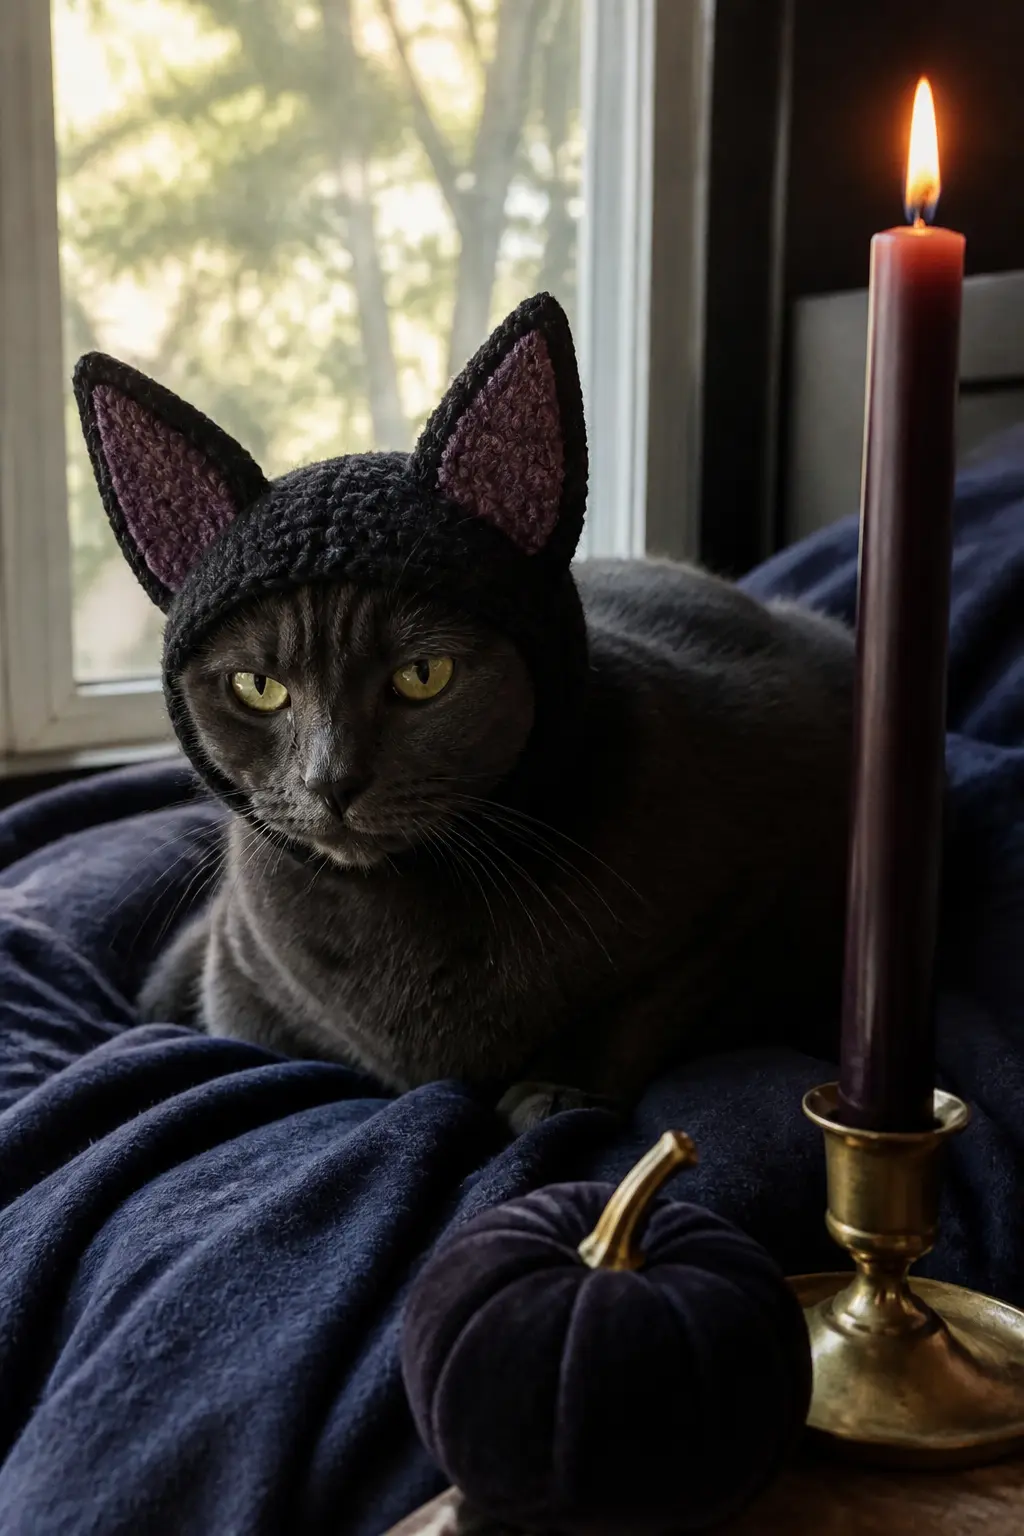
The Crochet Bat Ear Hat
A simple crocheted beanie-style cat hat in dark grey or black with two pointed bat ears worked directly into the top is more wearable than a headband version and looks more finished. The ears are crocheted as flat triangles with a slight curve at the tip, sewn to the crown before the hat is complete.
Use a self-striping dark yarn for the body and a contrast of deep plum or charcoal for the inner ear. Keep the hat sized to rest gently on top of the head, not pulled down over the ears. Cats that dislike headbands often tolerate this version because the weight distribution is more even.
🛍 Shopping guide
The Spider Body Band
A narrow black felt band that fastens around the cat’s back (not the belly) with four pairs of wire-and-yarn spider legs fanning out from the sides turns a cat into a spider from above. The wire legs are covered in black yarn and bent into a gentle curve so they arch upward slightly.
Use millinery wire or thin florist’s wire, which is pliable but holds its shape. Cover each leg in black yarn using a simple wrapping technique. Attach them in pairs to the felt band before fitting.
The band should sit across the back like a saddle, held in place by a simple velcro tab at the chest. The cat can move freely and the legs stay upright because of the wire structure.

🛍 Shopping guide
The Frankenstein Neck Bolts Collar
Two small silver bolt shapes cut from craft foam, painted grey and attached to the sides of a plain dark collar, is the Frankenstein reference done in one prop. The bolts need to be light and rounded at the edges so they do not catch on anything when the cat turns its head.
Use a craft foam sheet, trace a simple bolt shape twice, paint with silver acrylic, let dry completely, and glue onto the existing collar with a dot of E6000 or a similar flexible adhesive. The foam is soft enough that it flexes with the collar.
The costume reads in a half-second glance, which is all you will get from most guests before the cat relocates.

🛍 Shopping guide
Literary and Fictional Characters
A cat already has a natural air of authority, which makes character costumes feel earned rather than ironic. A tiny professor’s mortarboard, a miniature crown, or a small felt detective’s deerstalker all communicate a character with one prop.
Pair any of these with a collar in the character’s signature colour and the reading is instant, even in a photograph taken from across the room.
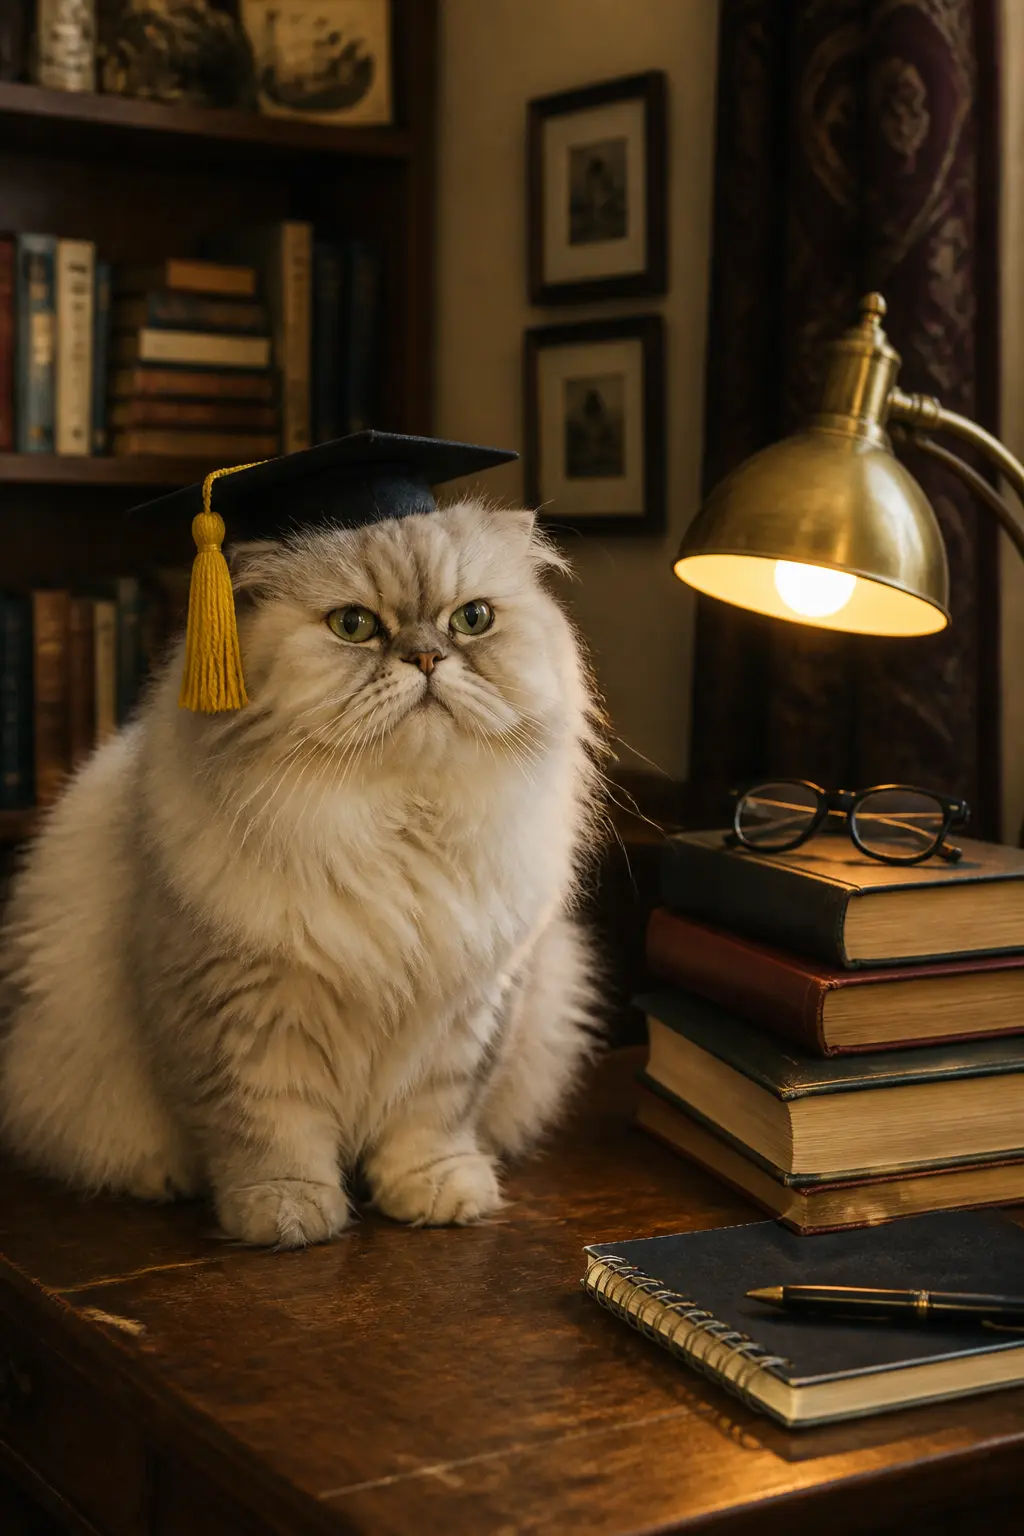
The Professor Mortarboard
A tiny square mortarboard cut from black card and felt, with a thin elastic chin loop, turns a cat into a professor, a wizard graduate, or a very stern librarian.
The square top is the key silhouette: it must be flat and level, not tilted, for the reading to work. Size it so the square overhang is about 1.5 cm on each side beyond the cylindrical cap beneath.
A small yellow yarn tassel hanging from the centre of the square is the finishing detail that sells the costume. Hang the tassel from a short loop of thread so it swings when the cat moves, which adds animation to photographs. This works particularly well on cats with serious expressions, which covers most cats.
🛍 Shopping guide
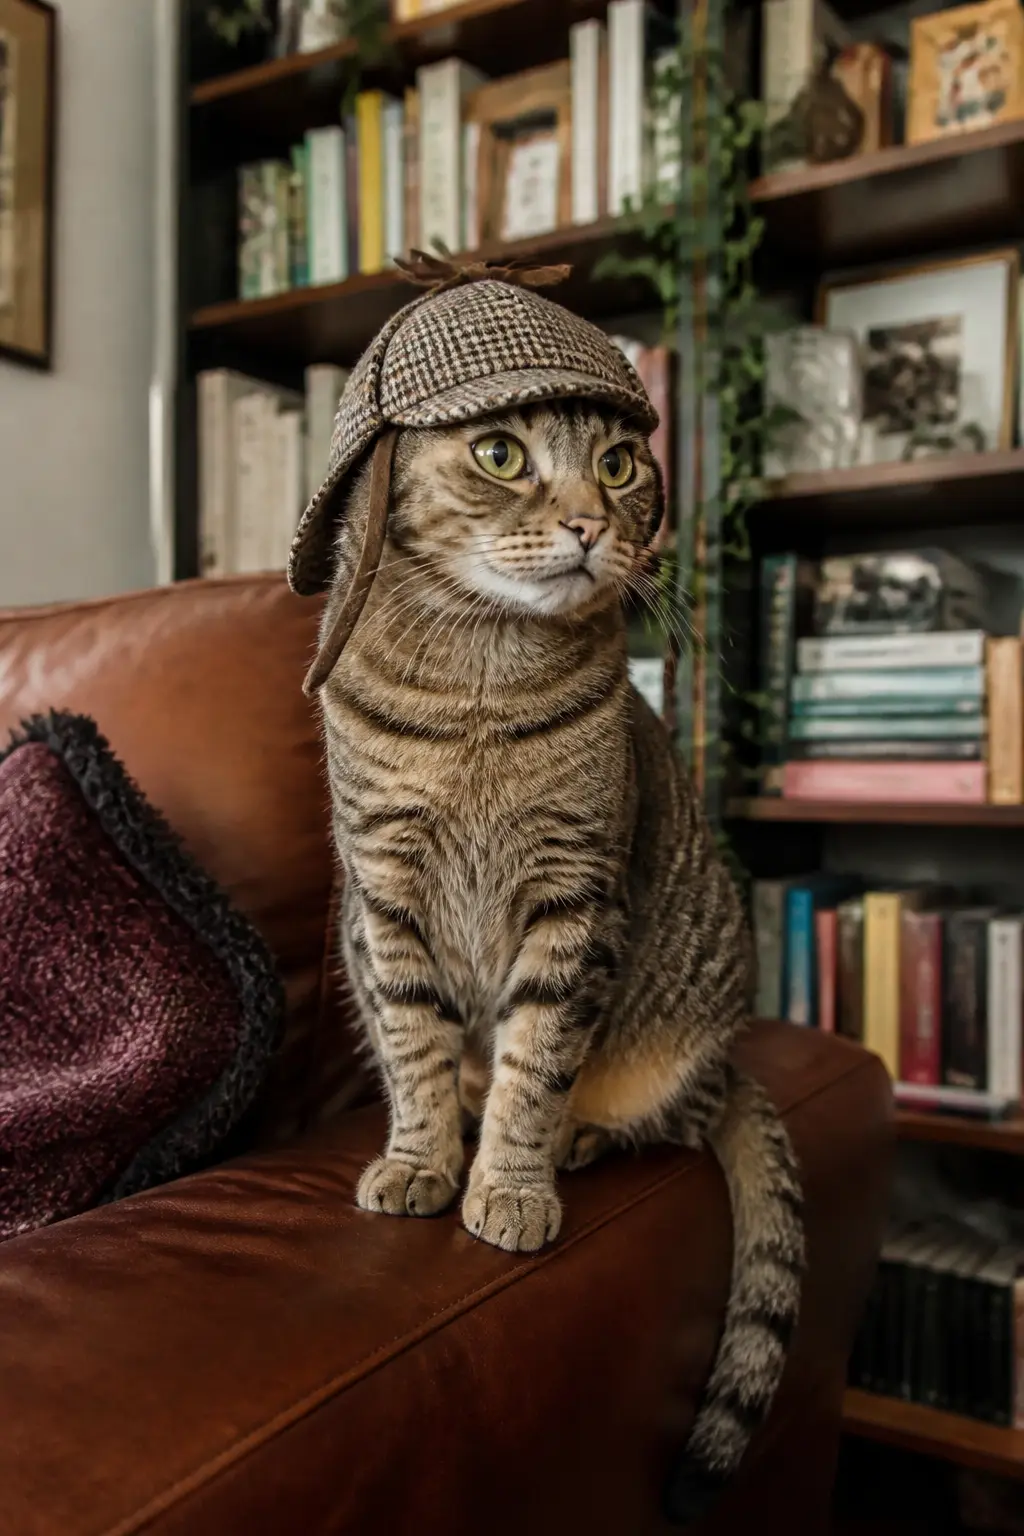
The Tiny Detective Deerstalker
A deerstalker in brown or grey herringbone fabric immediately reads as a fictional detective, and on a cat with an already skeptical expression it reads as absolutely correct casting.
The shape has two brims (front and back) and two ear flaps that tie at the top, and the ear flaps are actually the part that makes it comfortable for a cat because they frame the ears without touching them.
Use a stiff cotton or a thin canvas remnant. Cut two brim pieces, two side panels, and two ear flaps. Hot glue the pieces together in order: side panels first, then brims, then ear flaps. The ties at the top are a short length of ribbon. Elastic at the chin keeps it level on the head.
🛍 Shopping guide
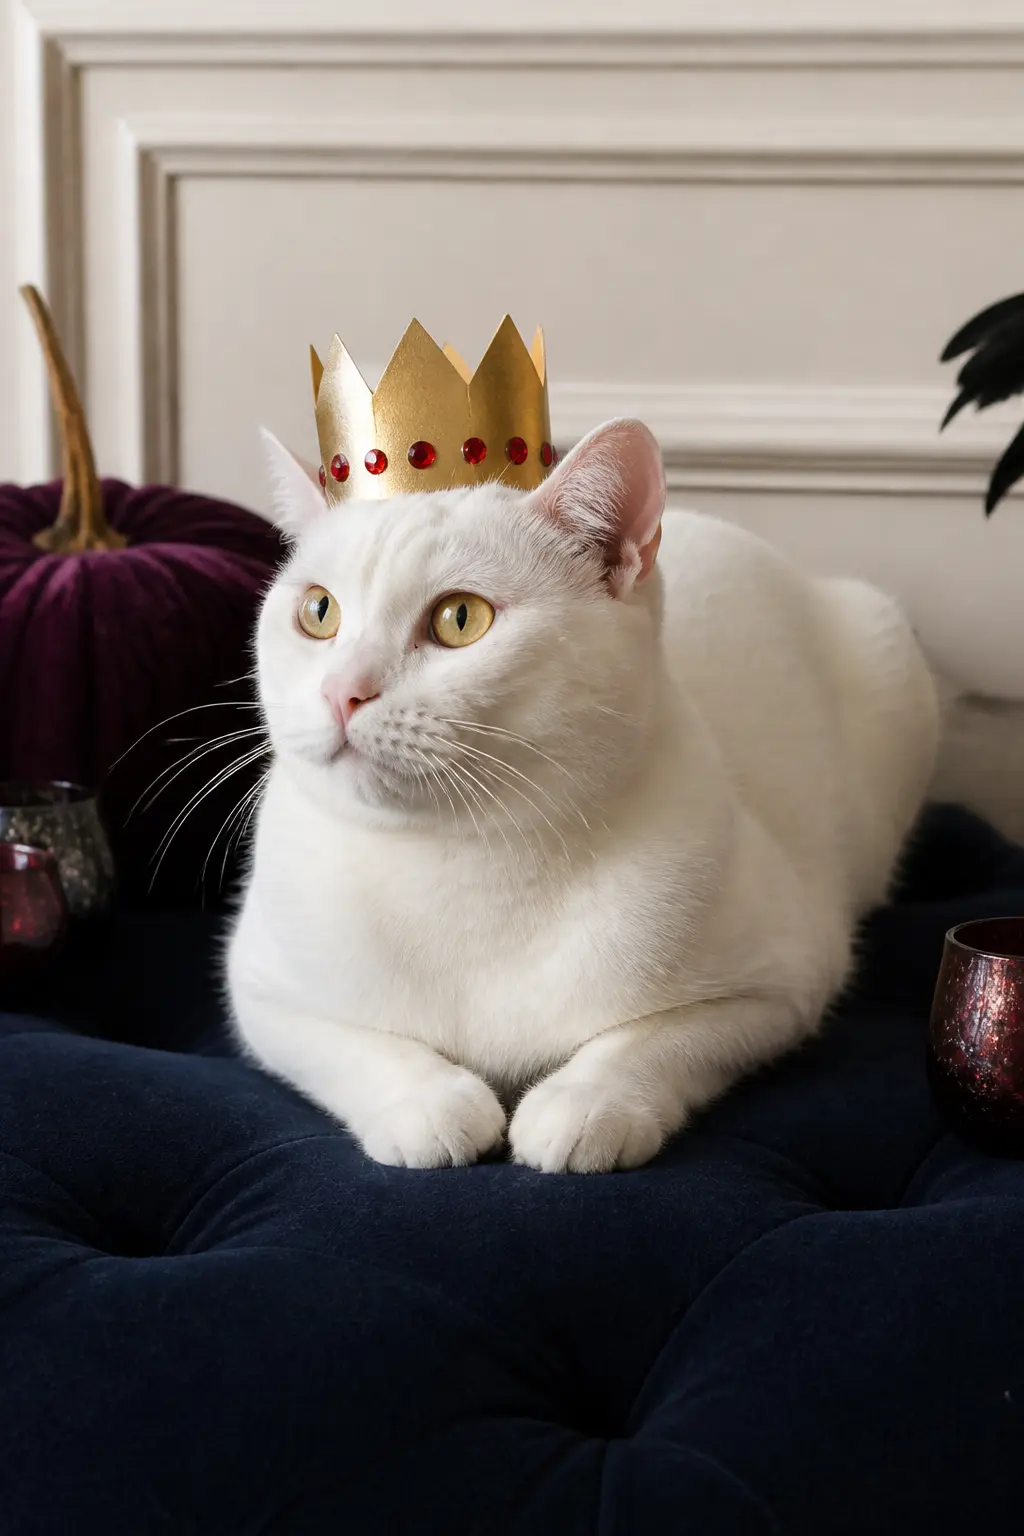
The Tiny Crown
A crown cut from gold card, covered in gold adhesive craft paper, and trimmed with small flat adhesive gems is the monarch costume done in one prop. Cut a zigzag strip long enough to form a ring that sits on top of the head without touching the ears. The points should extend upward about 3 cm above the ring.
This is the only costume on this list that requires no elastic at all: size the ring to fit snugly enough to stay in place on its own, relying on friction with the fur. Test the fit before adding gems so you can adjust.
Cats that resist any neck attachment often tolerate a crown because it sits above everything and does not restrict movement in any direction.
🛍 Shopping guide
The Sherlock Collar With Magnifying Glass Tag
A plain collar with a small flat wooden or laser-cut magnifying glass shape hanging from the ring, painted gold, gives a cat a character costume with zero stress to the animal and a clear enough visual reference that guests will get it immediately. Pair the collar with a plaid bow tie clip-on for the full reading.
The wooden magnifying glass charm can be found as a craft supply or laser-cut blank. Sand it smooth, seal with gold paint, and attach with a small split ring. The charm should be flat and light enough that the cat does not feel its swing.
This is the costume for the cat that will wear nothing on its head under any circumstances.

🛍 Shopping guide
No-Sew, No-Stress Quick Builds
These are the costumes that go from idea to finished in under half an hour, with nothing but scissors, glue, and whatever is already in the craft drawer. They are also the ones most likely to survive contact with an uncooperative cat, because there is nothing complicated to ruin.
When time is short, simple shapes win. A triangle of felt becomes a collar. A circle of velvet ribbon becomes a ruffle. Two loops of wire covered in yarn become ears. The cat provides the rest.
The No-Sew Felt Pumpkin Cape
Cut a semicircle of orange felt with a neck hole and a straight front opening, then use fabric glue to attach a few vertical darker orange stripes for pumpkin segments. Add a small felt stem at the back of the neck opening.
No sewing, no elastic, no straps: the cape rests on the cat’s back and shoulders and is held in place by a velcro tab at the front chest.
Orange is a colour most cats ignore rather than react to, which helps with tolerance. The dark segment lines can be cut from a darker felt or simply drawn with a fabric marker. This cape doubles as a pumpkin costume and a general autumn costume depending on how literally you interpret it.

🛍 Shopping guide
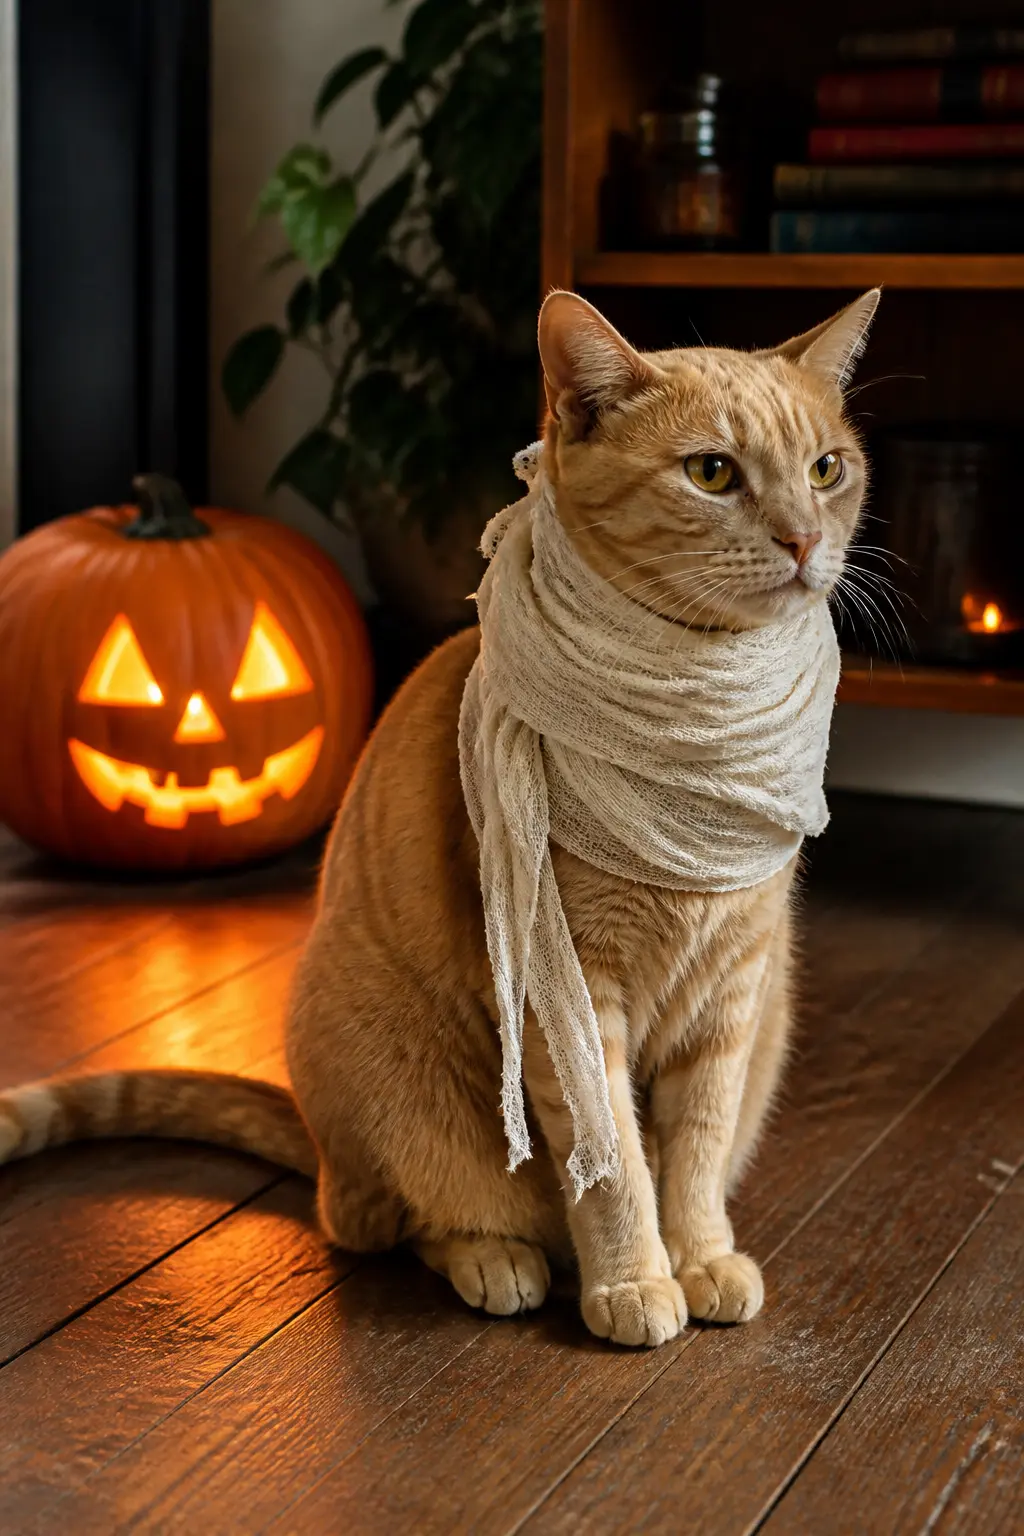
The Mummy Collar Wrap
A few loose wraps of ivory cotton gauze or cheesecloth around the cat’s neck, secured with a single safety pin at the back, creates a mummy effect in under five minutes. The gauze is light, breathable, and does not restrict movement at all. Leave gaps between the wraps so the skin and fur show through, which is more realistic anyway.
This works best on cats that already tolerate a collar, because the sensation is similar but softer. Do not wrap tightly: the effect reads even when the gauze is quite loose. Two googly eyes glued to a small felt scrap and pinned to the gauze add a face detail that lifts it from vague to specific.
🛍 Shopping guide
Frequently Asked Questions
What materials are safest for DIY cat Halloween costumes?
Soft acrylic or cotton yarn, lightweight felt, and thin cotton fabric are all well tolerated by most cats. Avoid anything with small loose pieces that can be chewed off and swallowed, and never use elastic that fits tightly around any part of the body. All fastenings should be breakaway or easy to remove in one pull.
How long should a cat wear a Halloween costume?
Keep sessions short: ten to fifteen minutes is usually enough for a photograph and a brief appearance. Watch for signs of stress such as crouching low, freezing in place, or attempting to remove the costume by rolling. Remove it immediately if the cat shows distress. Never leave a costumed cat unsupervised.
How do you get a hat to stay on a cat without hurting it?
Use a single loop of thin round elastic that sits loosely under the chin, loose enough to fit two fingers underneath it. Position the hat just behind the ears rather than over them. The lighter the hat, the longer the cat will tolerate it: aim for something that weighs less than 20 grams.
Which DIY cat costume is easiest for a first-timer?
The velvet bow collar or the mummy gauze wrap are both genuinely five-minute builds that require nothing except scissors and a safety pin or a ribbon tie. Both are also the easiest for a cat to tolerate because they involve no headwear and no restriction of movement.
Can a cape hurt a cat?
A cape that drapes from the shoulders and fastens loosely at the chest without going under the belly is generally safe. The risk comes from capes that tangle in the back legs or that fasten tightly around the neck.
Use velcro or a snap fastener rather than a tie, and size the neck opening generously so there is no pressure on the throat.
Where should a cat wear its Halloween costume?
Indoors only, in a space the cat knows well. A familiar room reduces baseline stress, which means the cat is more likely to sit still long enough for a photograph. Keep the environment calm, the session brief, and have a treat ready for immediately after the costume comes off.
18 teacher-approved school Halloween party games — low-mess, fast rounds that keep a full class bu
29 printable Halloween cards ready to cut and send tonight. One pack covers every recipient, from ne
25 fun Halloween party games for all ages — viral, classic & printable. Your guests won't stop lau
Leave a Reply