

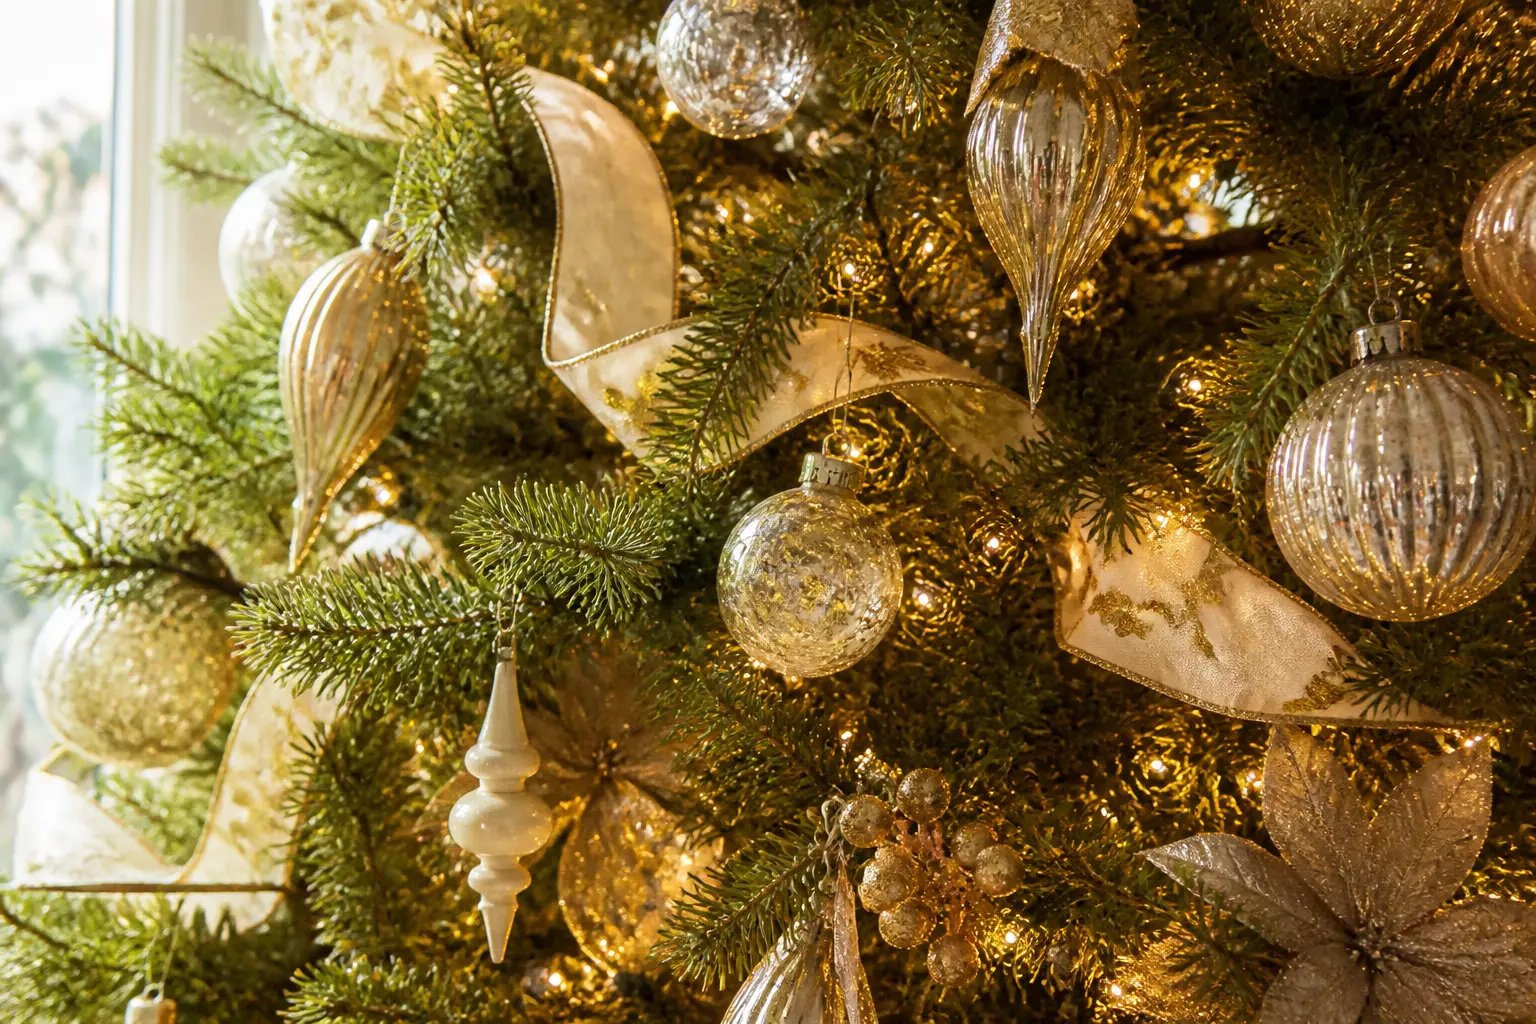
Elegant Christmas tree decorations are not about spending more. They are about editing harder. A tree that looks designed has fewer things on it, not more, and those things share a palette, a finish and a logic.
Every entry below is a single, complete idea: a fabric choice, a light technique, an ornament rule or a whole approach to the tree from crown to floor. None of them require a decorator. All of them require a decision to stop before you think you are finished.
No red. No multicoloured lights. No novelty. Just the kind of restraint that photographs well and lives with you comfortably for the whole season. For more ways to rethink the tree from the base up, the Christmas tree skirt ideas guide is worth a look alongside this one.
This post contains affiliate links. If you buy through them, I may earn a small commission at no extra cost to you.
Crown and Top Treatments
The crown sets the mood for everything below it. Get this one decision right and the rest of the tree follows with very little effort.
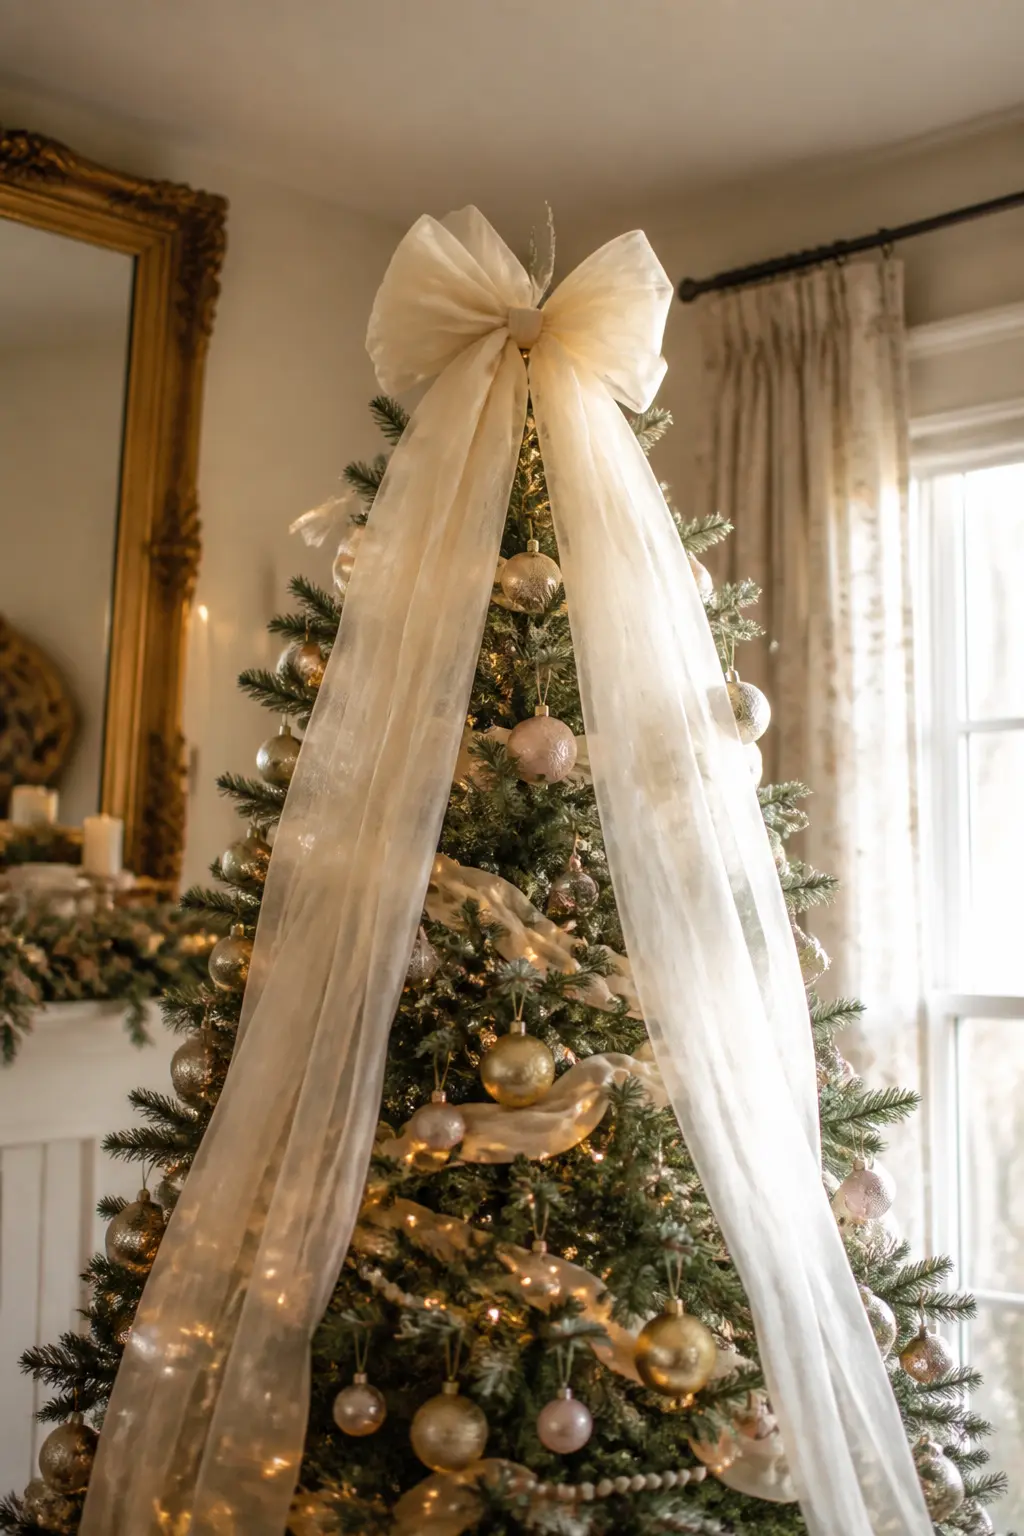
Cream Tulle Bow at the Crown
A wide, structured bow in ivory tulle sits at the very top of the tree. Two long tails fall straight down the front, brushing the floor, so the tree reads as dressed rather than topped.
The tulle should be stiff enough to hold its shape but sheer enough to let the lights behind it glow through. Cut the tails on the bias so they do not fray. No wiring, no picks, no secondary decoration at the crown at all.
🛍 Shopping guide
Ribbon and Fabric Techniques
Ribbon is the fastest way to make a tree look considered rather than assembled. The trick is choosing one ribbon and using it three different ways, not three different ribbons used once each.
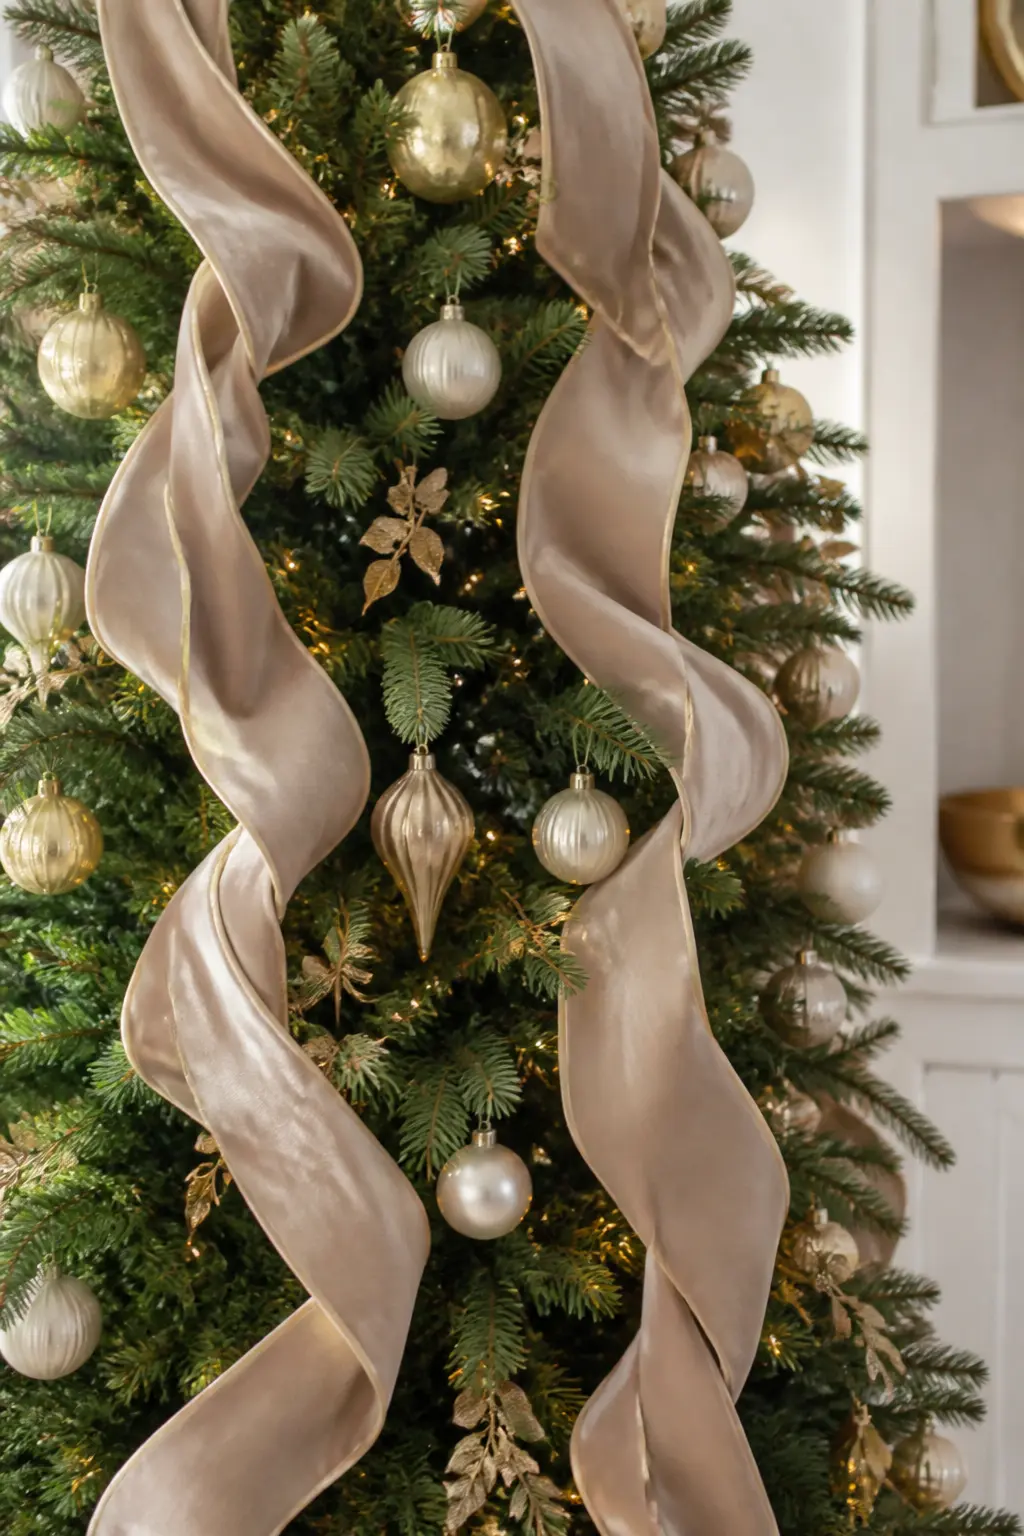
Velvet Ribbon Woven in Three Columns
Take one wide velvet ribbon in champagne or dusty sage and weave it vertically up the tree in three loose columns rather than spiralling it horizontally. The columns create a sense of height and formality that a spiral never achieves.
Start at the base, tuck the ribbon into the inner branches at each pass, and let it emerge at the crown. No bows at the ends. Just the ribbon, vertical, quiet and repeated.
🛍 Shopping guide
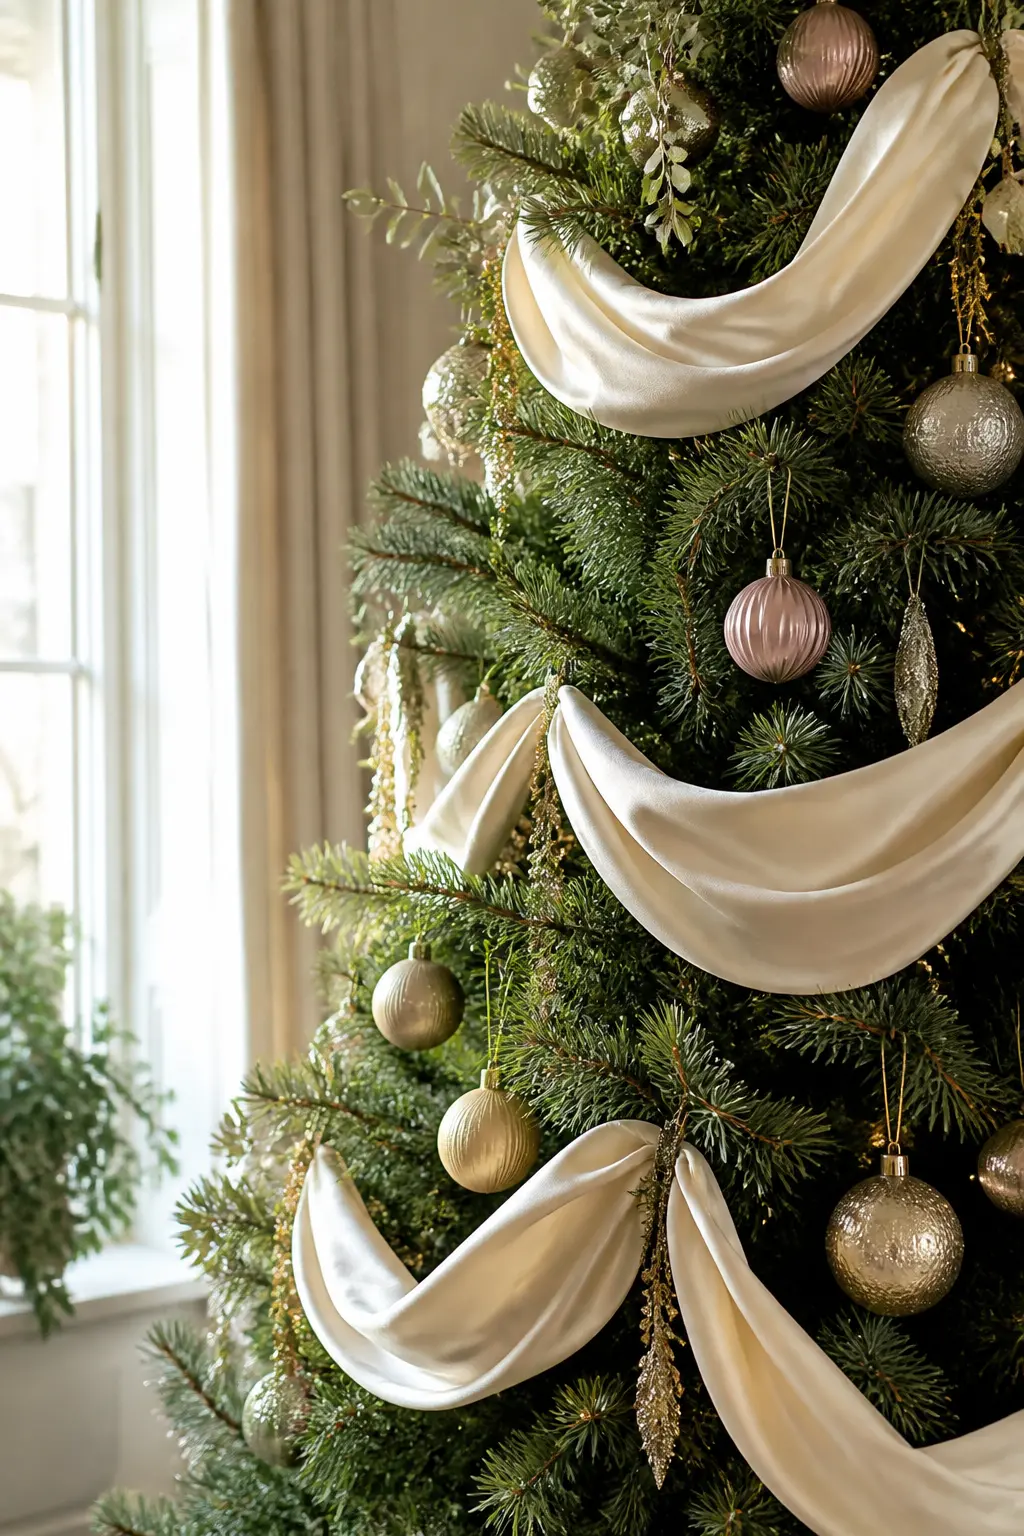
Ribbon Draped in Loose Swags
Instead of spiralling ribbon tightly around the tree, gather it into loose, low swags that hang between branches like a gentle curtain. Each swag drops about 20 cm before rising to the next anchor point.
Use a wide satin or grosgrain ribbon in a single tone. The swags add movement without busy-ness, and the negative space between them matters as much as the ribbon itself.
🛍 Shopping guide
Light as the Main Event
Most trees are lit from the outside in. Reversing that, burying lights deep in the branches first, changes the entire quality of the glow. The tree looks alive rather than decorated.
Warm Fairy Lights Buried Deep
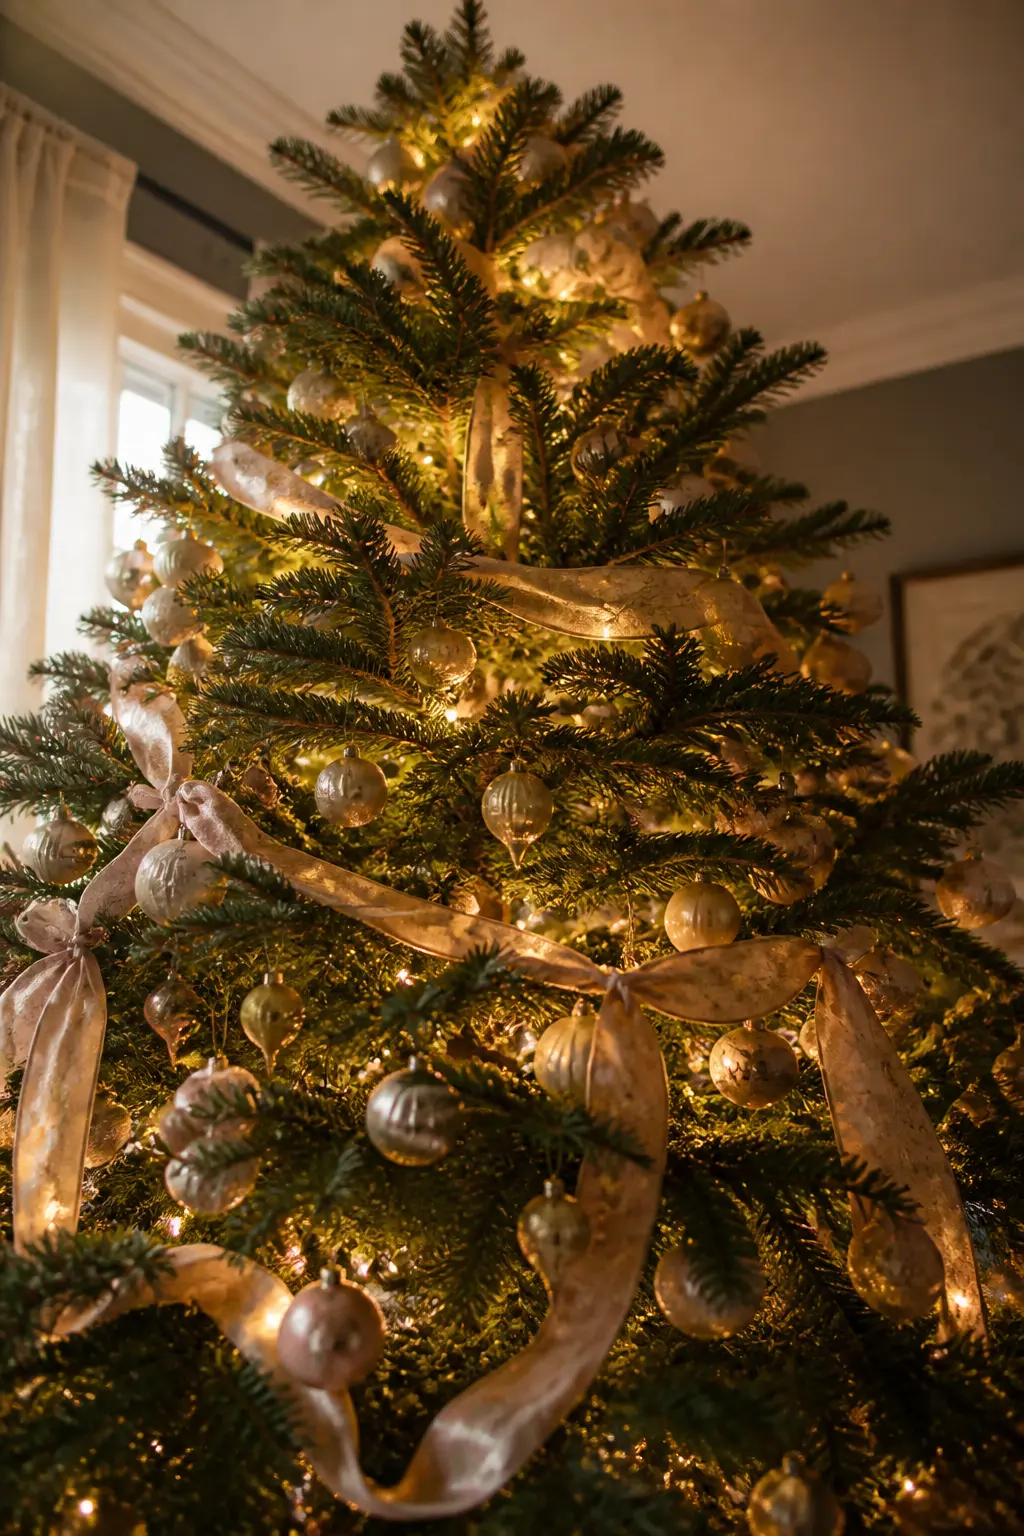
Before any ornament goes on, wind warm white fairy lights in toward the trunk, not along the branch tips. The light source hides and the tree begins to glow from within, the way a lantern does rather than the way a bulb does.
Use two strings this way for every one you use on the tips. The result is a depth that daylight photography rarely captures and that every evening photograph makes unmistakable.
🛍 Shopping guide
Candle Light on the Mantel Beside the Tree
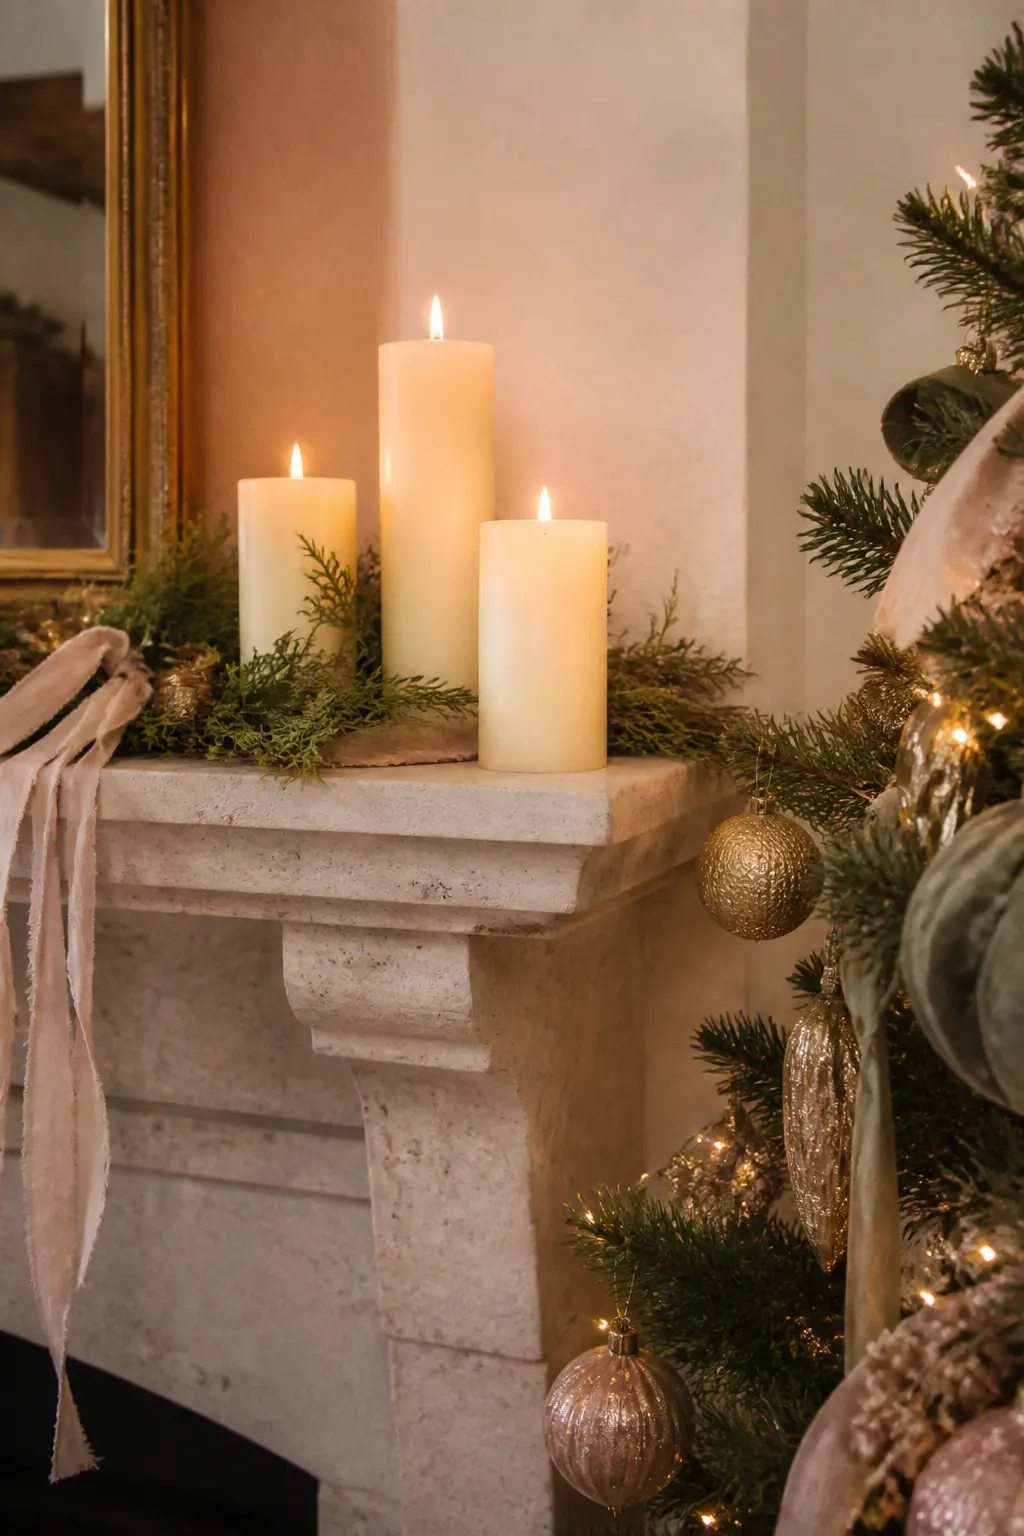
Position the tree close to a fireplace or mantel and light the mantel only with pillar candles in cream or unbleached wax. The tree itself is lit only by its own buried lights. The candle glow from the side creates a warmth that electric-only rooms never quite reach.
Keep the candles in varying heights: three, five and seven. No holders with colour. Just the wax, the flame and the tree beside it.
🛍 Shopping guide
Clip-On Candle Lights at Branch Tips
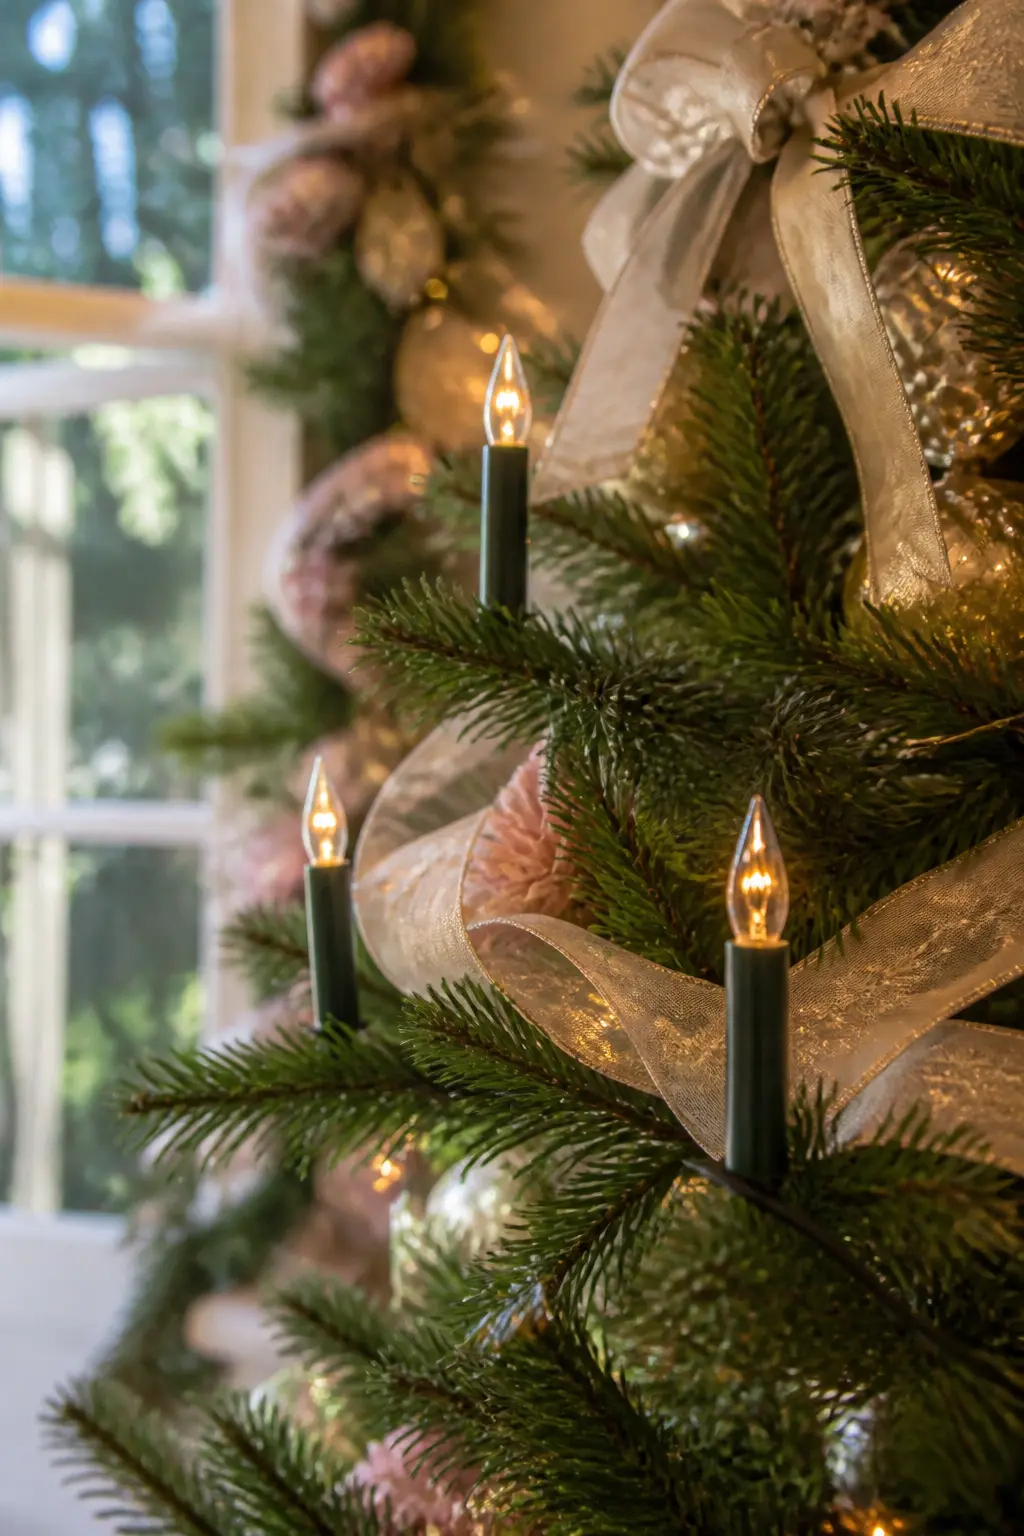
Clip-on candle lights, the kind that stand upright on the branch tip like a real wax taper, add a formality to a tree that round bulbs simply cannot. The flame-shaped bulb in warm amber casts a directional glow that looks old and expensive.
Twelve to sixteen clips on a full tree is enough. Space them so they read as a pattern, not a crowd. Leave most branch tips bare.
🛍 Shopping guide
Ornament Strategy
Ornament strategy means deciding on a rule before you open a single box. Finish, scale and placement are the three levers. Pull them deliberately and even inexpensive baubles read as curated.
If making your own ornaments appeals, the polymer clay Christmas pieces article shows how to achieve pieces that look bought rather than homemade.
Three Finishes Only: Matte, Gloss and Mercury Glass
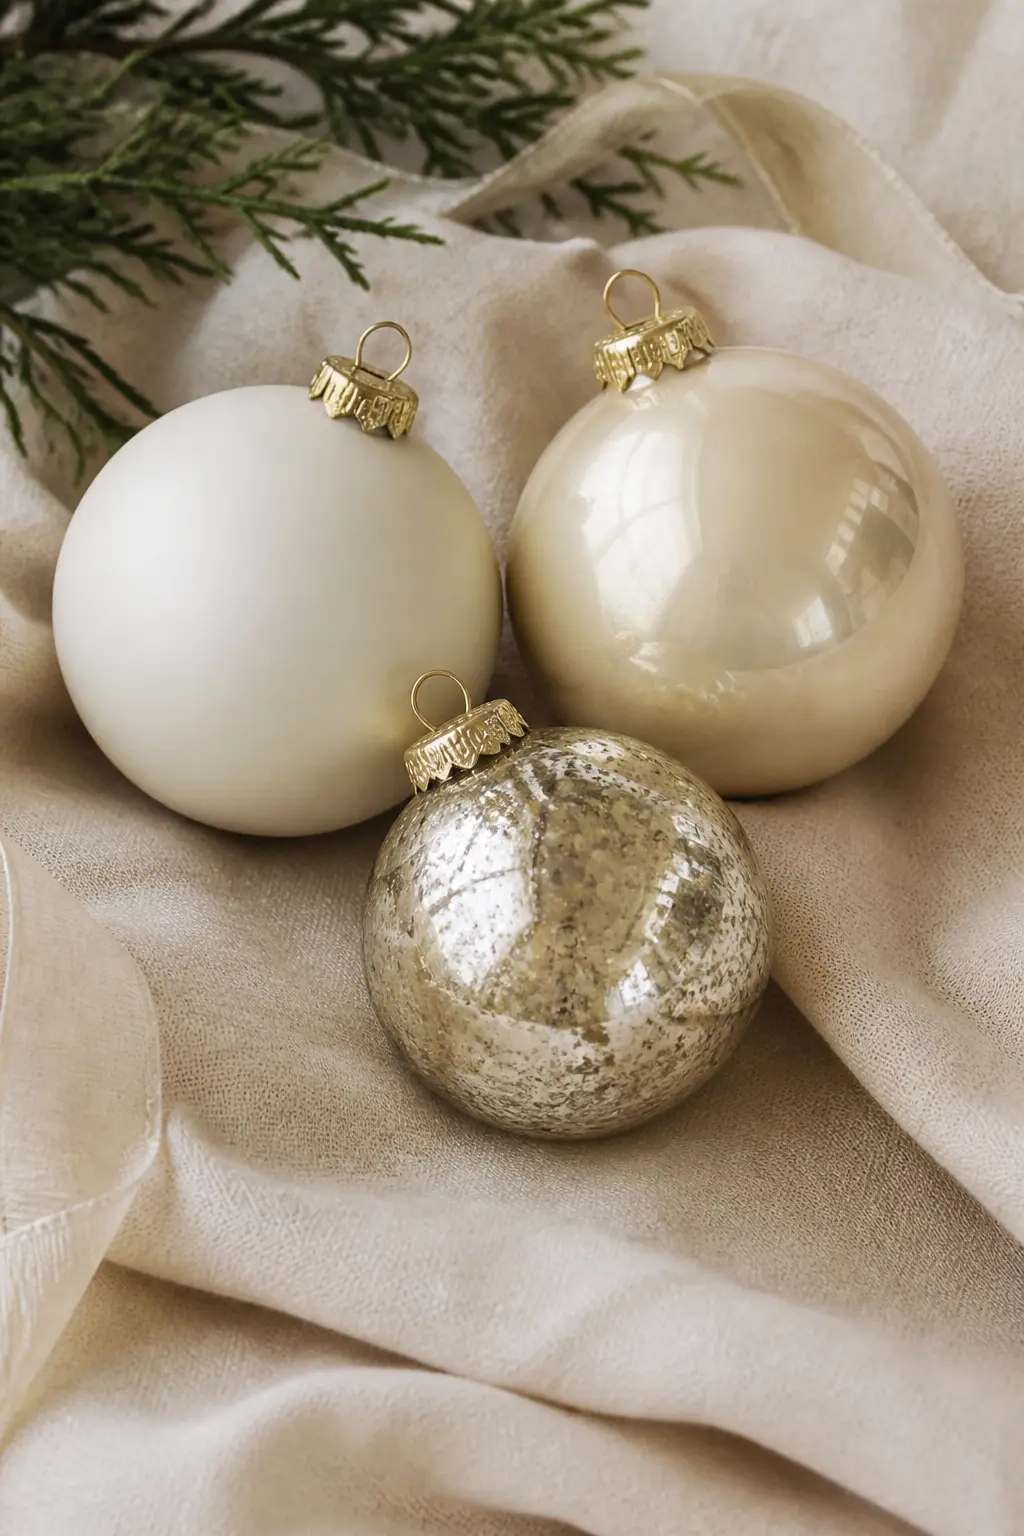
Choose one colour in three finishes: matte, high-gloss and mercury glass. Hang them in no particular order except that no two of the same finish sit directly beside each other. The colour reads as one and the variation keeps the eye moving.
Champagne or warm cream are the easiest colours to find in all three finishes. Aged gold works equally well. Anything else and the mercury glass begins to fight the scheme.
🛍 Shopping guide
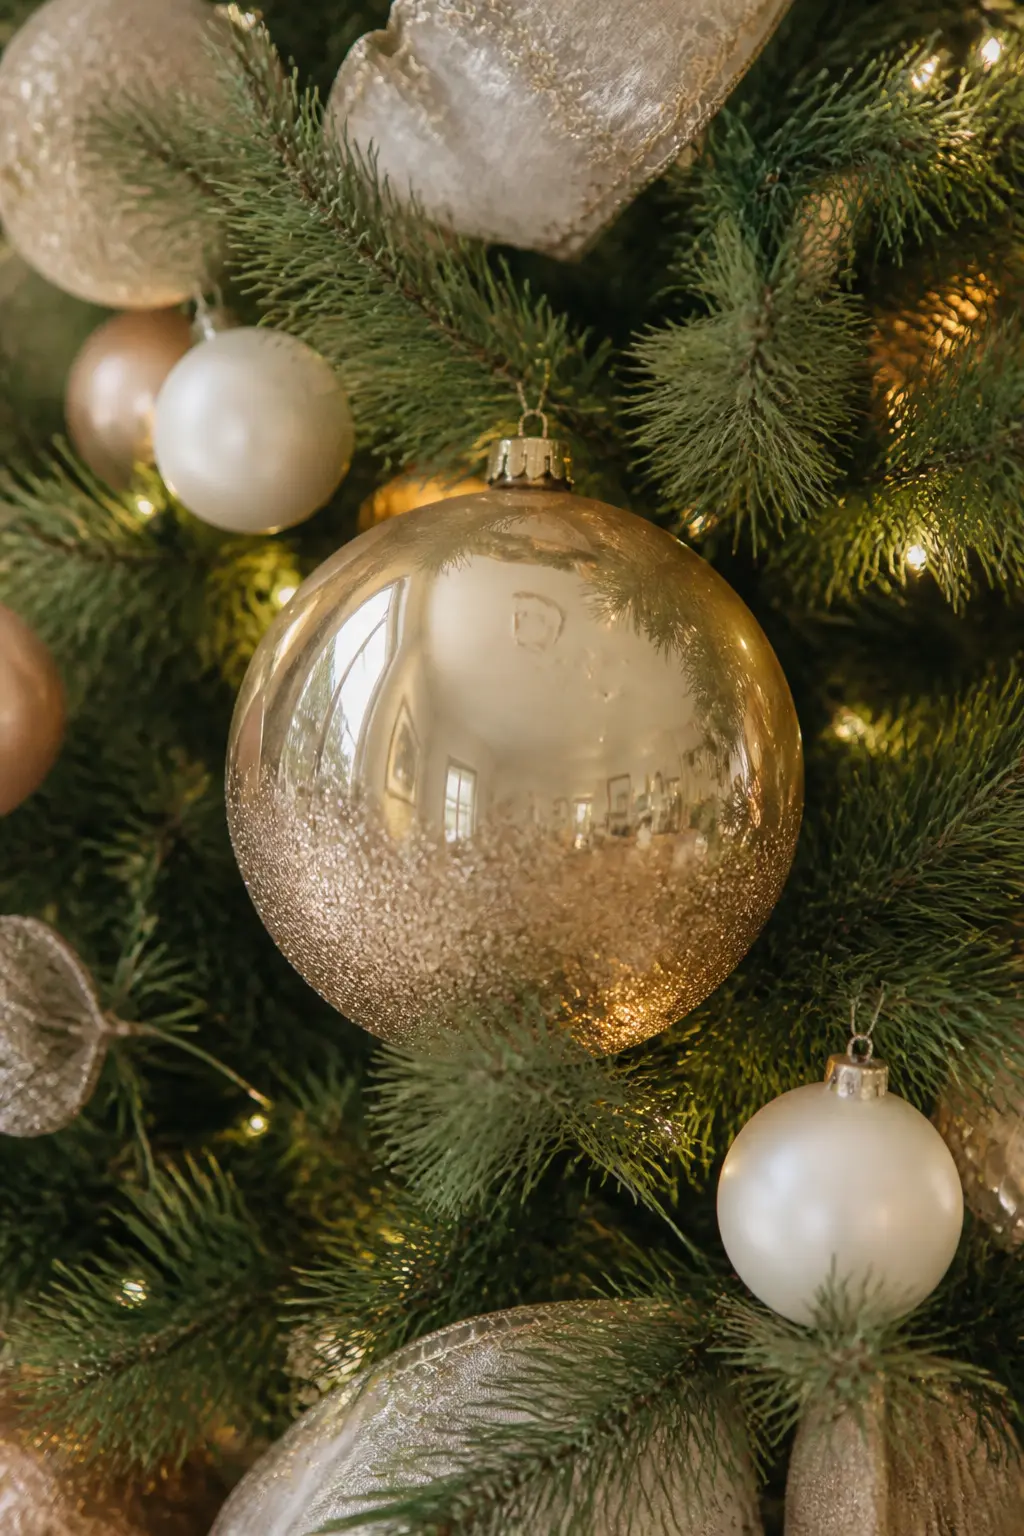
One Oversized Bauble at Four Points
One bauble in a size noticeably larger than everything else, hung at four evenly spaced points around the tree, gives the eye anchor points and makes the rest of the ornaments read as intentional rather than scattered.
The oversized bauble should be in the same palette as the rest but in a finish that differs slightly: if the others are matte, this one goes gloss. Place each one deep enough that it sits inside the branch rather than dangling off the tip.
🛍 Shopping guide
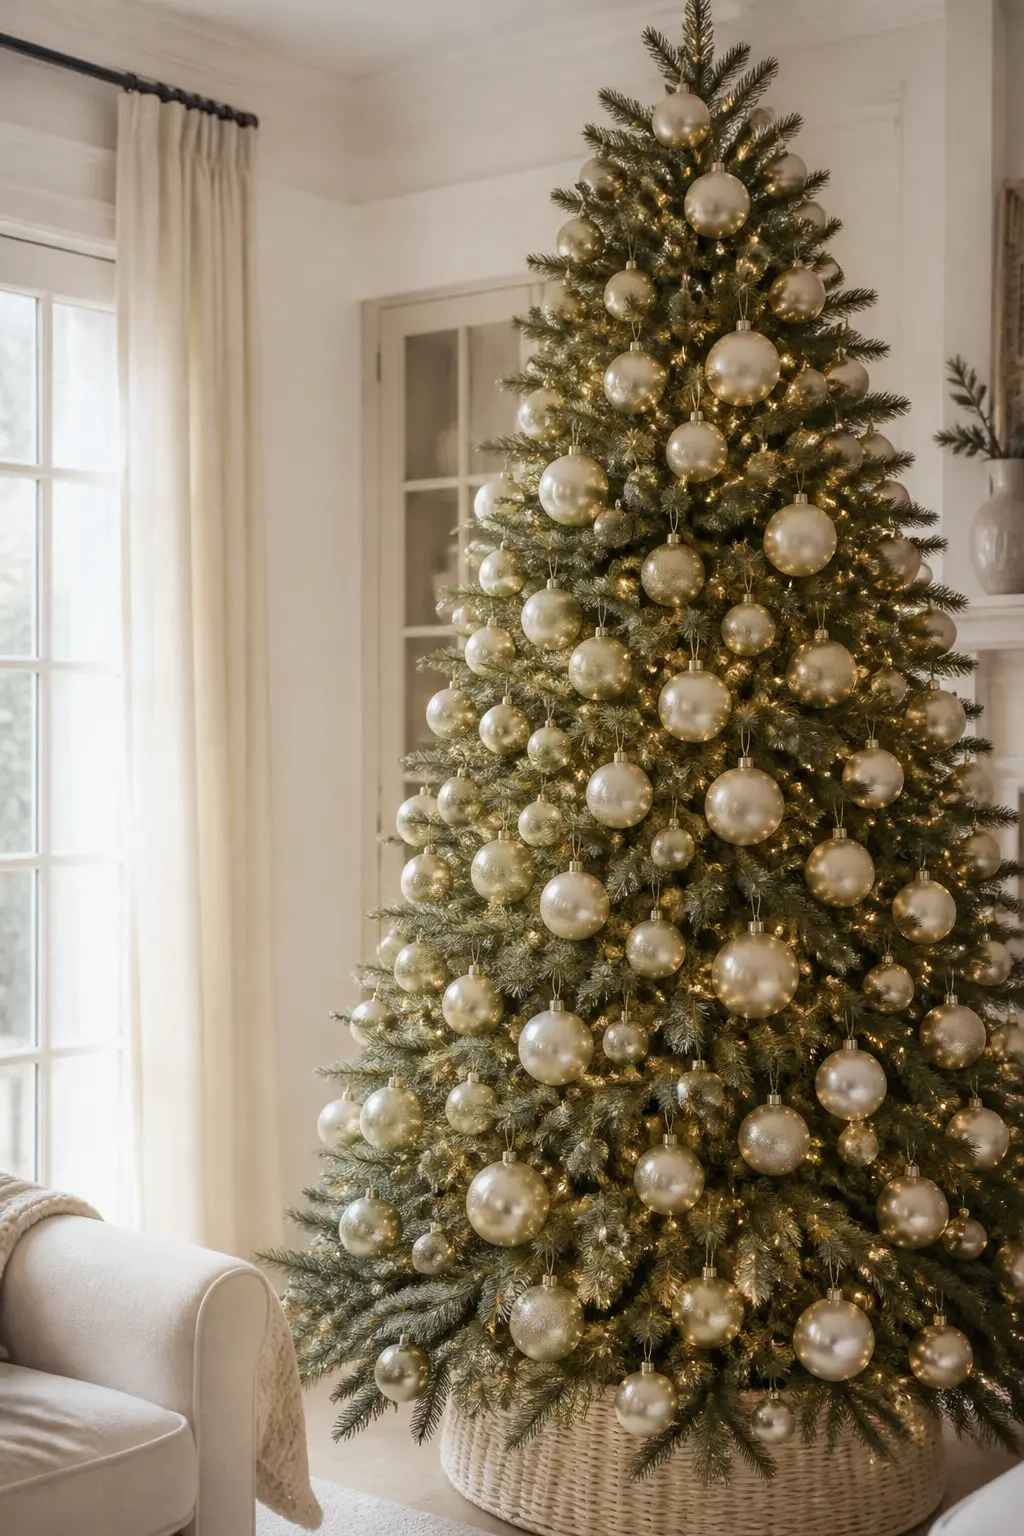
Champagne and Cream Baubles, No Second Colour
A tree hung only in champagne and cream baubles, nothing else, reads as far more expensive than a tree with a complicated colour story. The tonal variation between the two shades does all the work that contrast would otherwise do.
Fill two thirds of the hooks with cream and one third with champagne. Add no ribbon, no picks and no other ornament type. The simplicity is the point.
🛍 Shopping guide
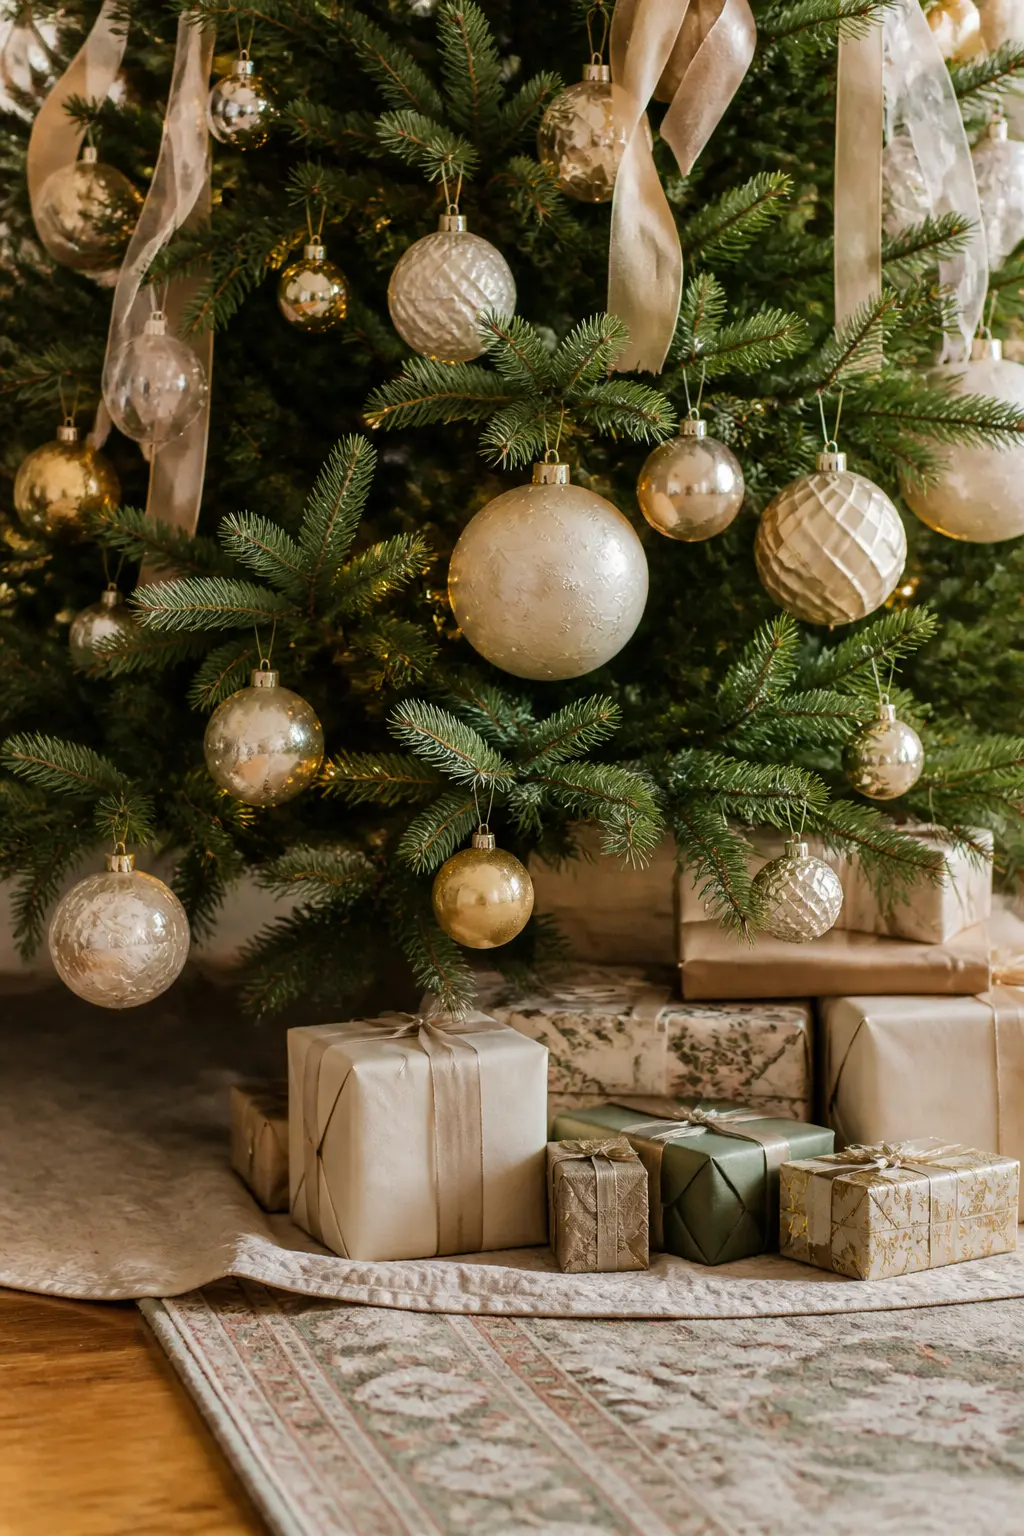
Ornaments Graduated Large to Small
Hang the largest baubles near the base, medium ones in the middle third, and the smallest near the top. The tree then follows the same proportional logic as a well-designed room, with weight at the bottom and lightness above.
This rule alone, applied to a box of mismatched ornaments in a single palette, tidies a tree without buying a single new thing.
🛍 Shopping guide
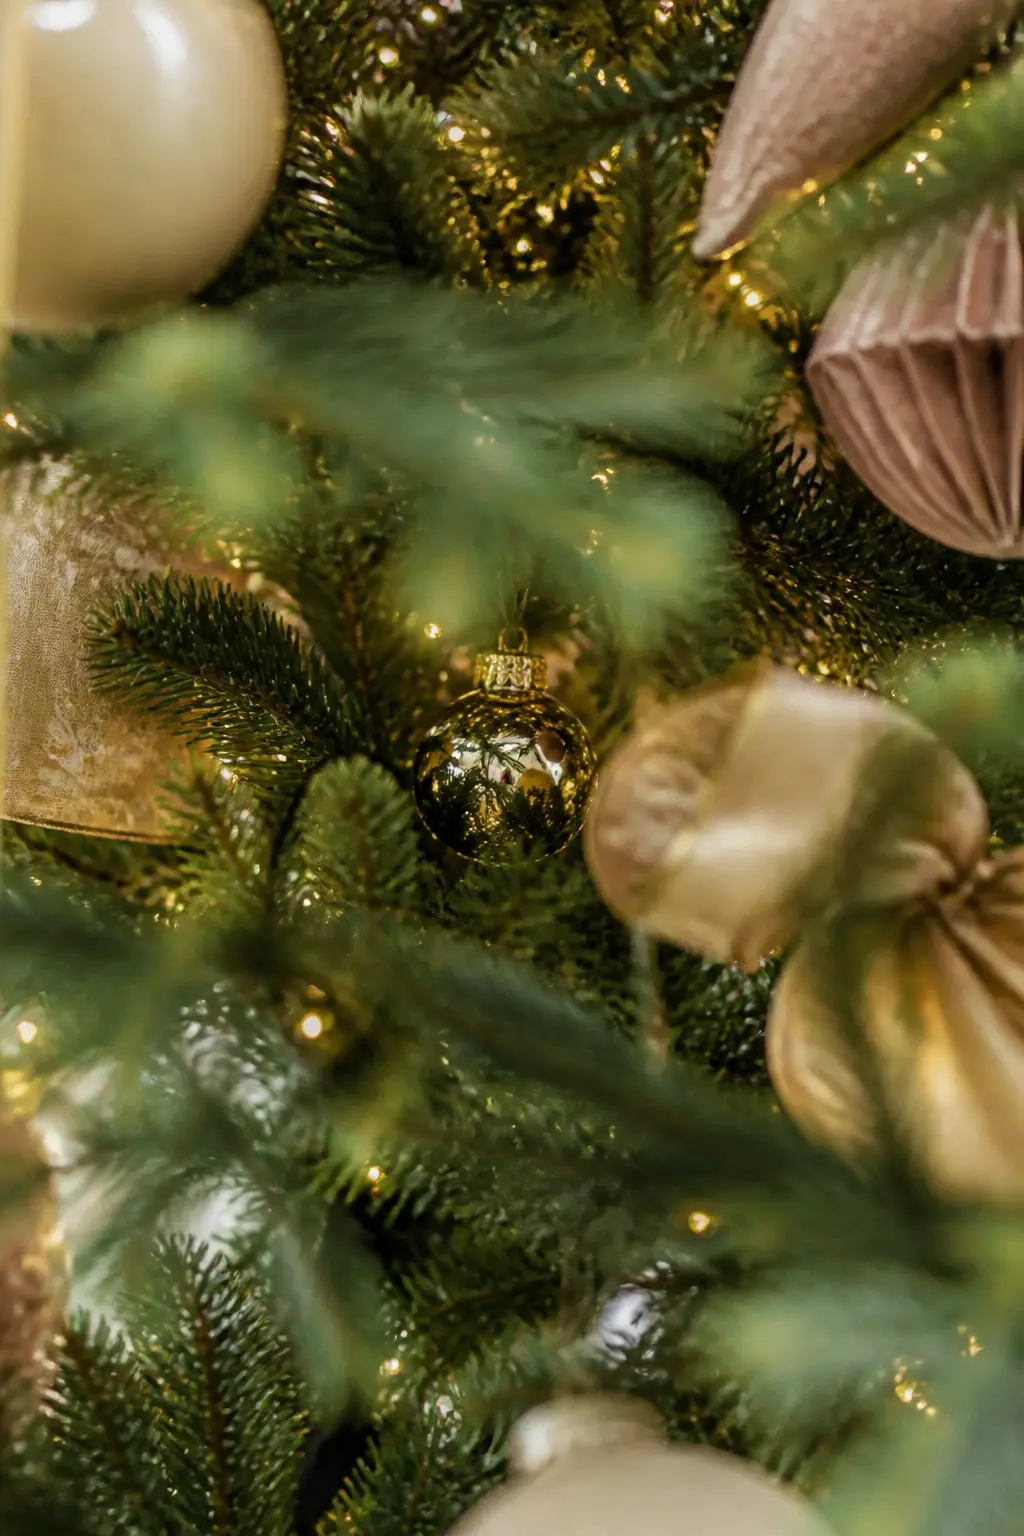
Ornaments Hung Deep Inside for Depth
Hanging ornaments only on the branch tips makes a tree look flat. Push every third ornament 15 to 20 cm into the interior of the tree, near the main branch or even near the trunk. The deep ornaments catch the buried lights and appear to float inside the tree.
This technique costs nothing and takes ten minutes. It is the single change that most separates a styled tree from an assembled one.
🛍 Shopping guide
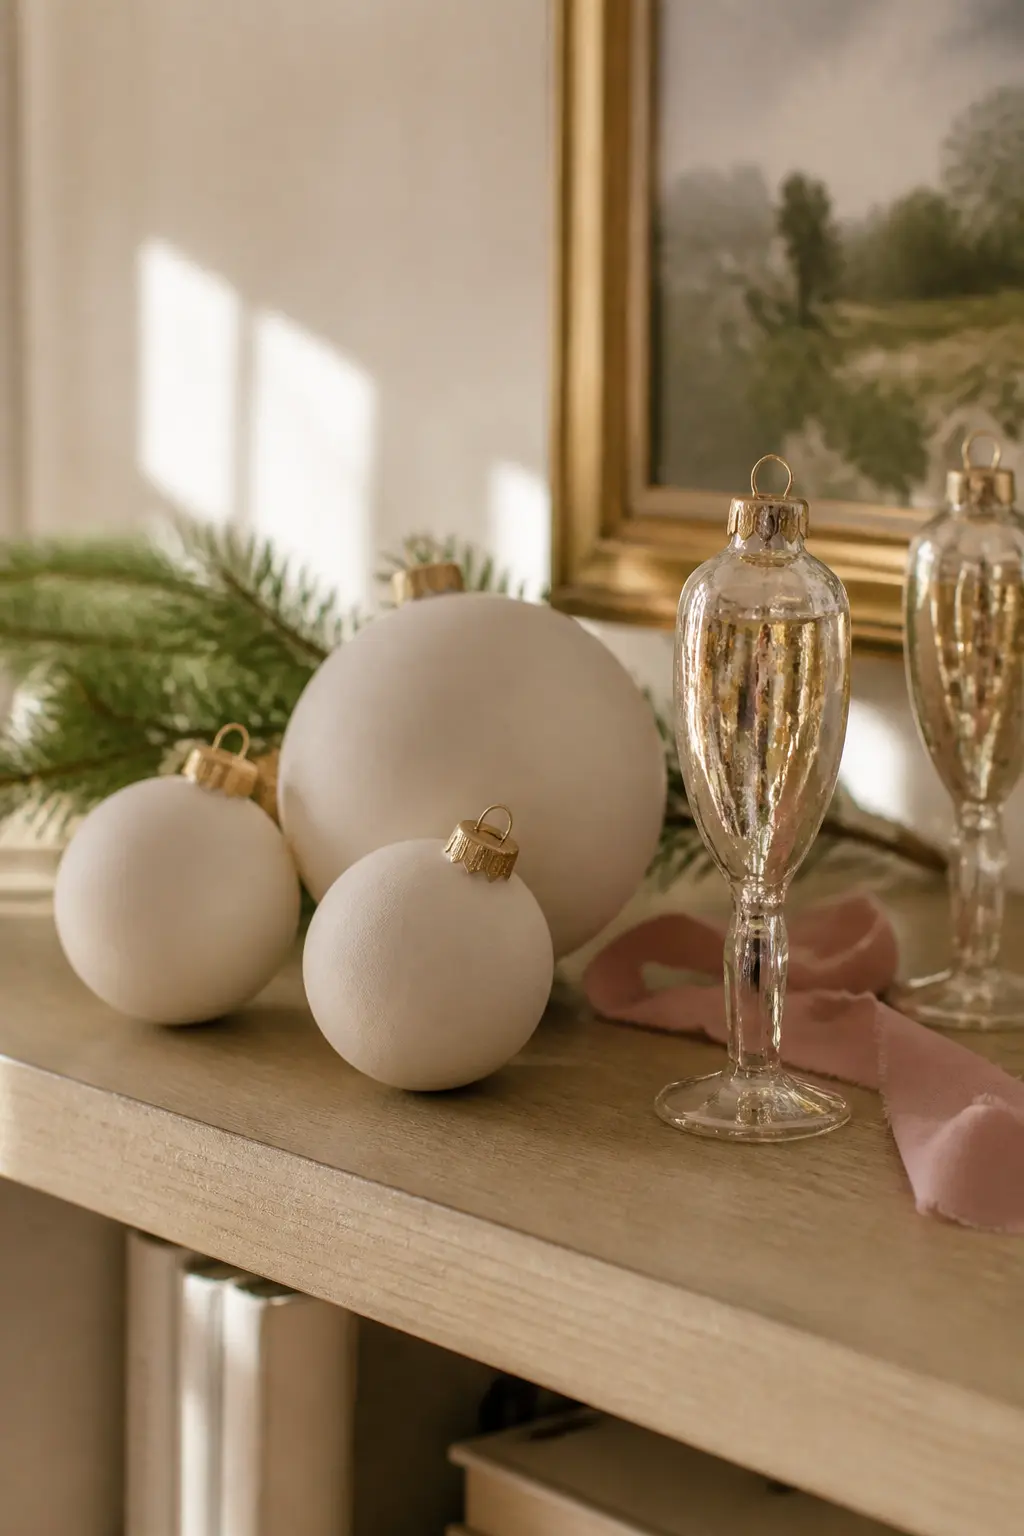
Matte Ceramic Baubles Mixed with Glass
Ceramic baubles have a weight and a surface that glass cannot replicate. Their matte finish absorbs light instead of reflecting it, and that absorption creates the visual quiet that makes a tree feel restful rather than busy.
Mix them with glass ornaments in the same tonal range. The contrast between the two materials is more interesting than any contrast in colour could be.
🛍 Shopping guide
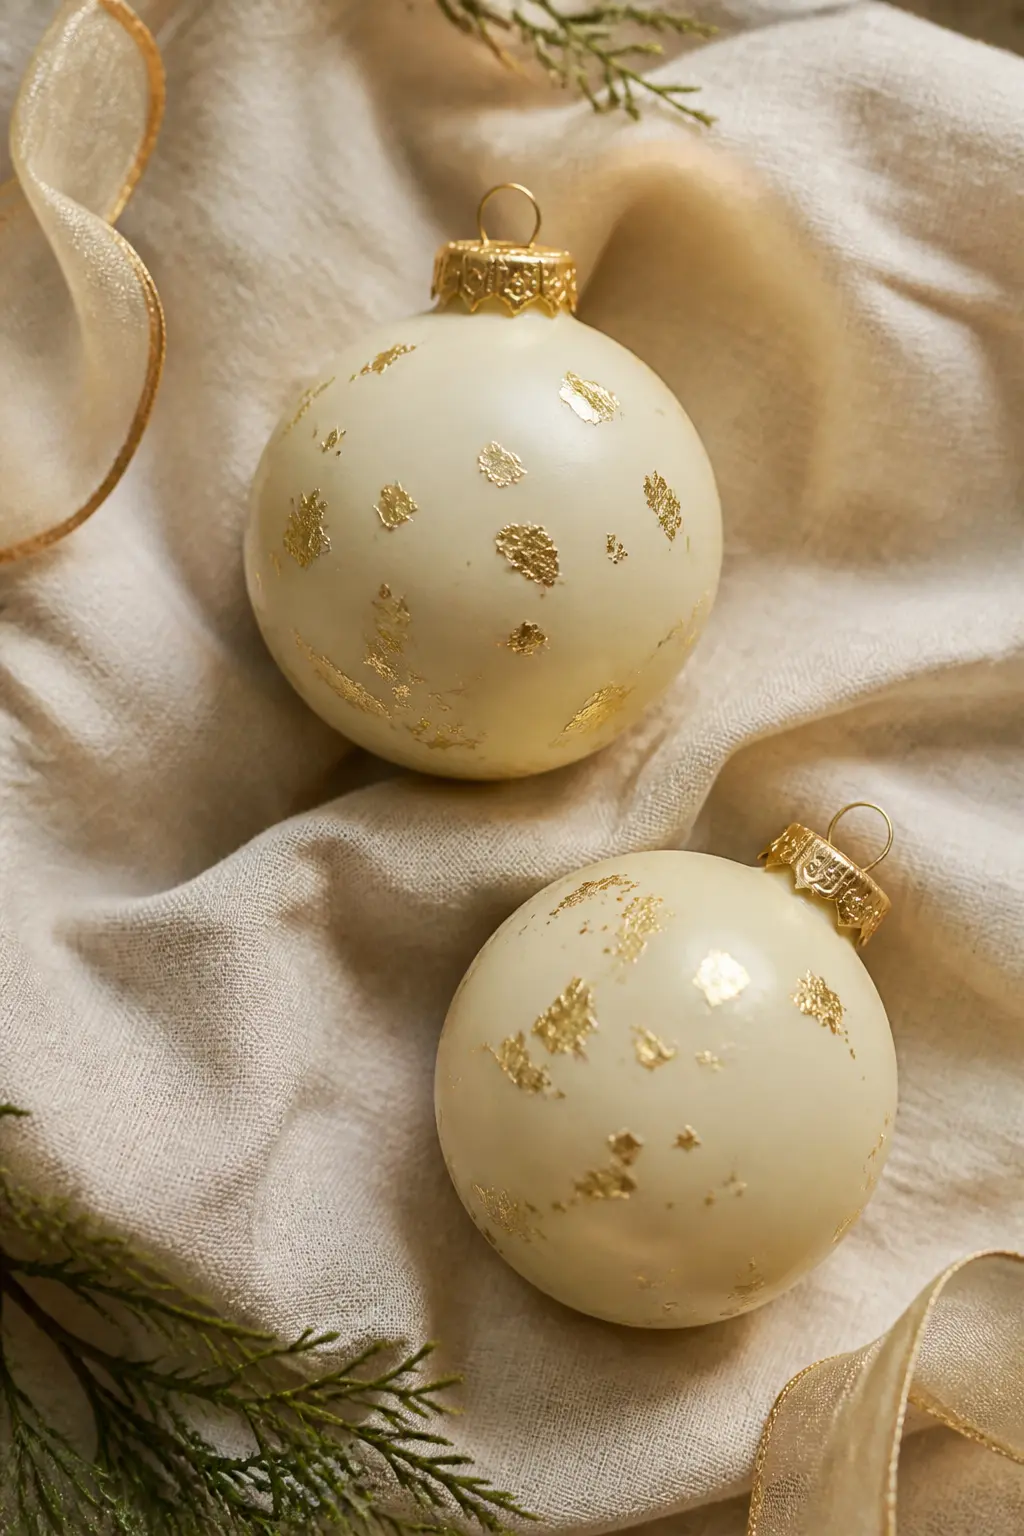
Gold Leaf Flecks on Plain Cream Baubles
Plain cream baubles with irregular gold leaf flecks applied by hand look bespoke. The gold catches the light differently at every angle, so the tree never looks static as you move through the room.
The flecks should be spare and random, not a solid band or a geometric pattern. Three or four per bauble. The imperfection is exactly the point.
🛍 Shopping guide
Botanicals and Naturals
Dried and fresh botanicals bring a softness that no bauble can replicate. They also age gracefully over the season, which a plastic ornament never does.
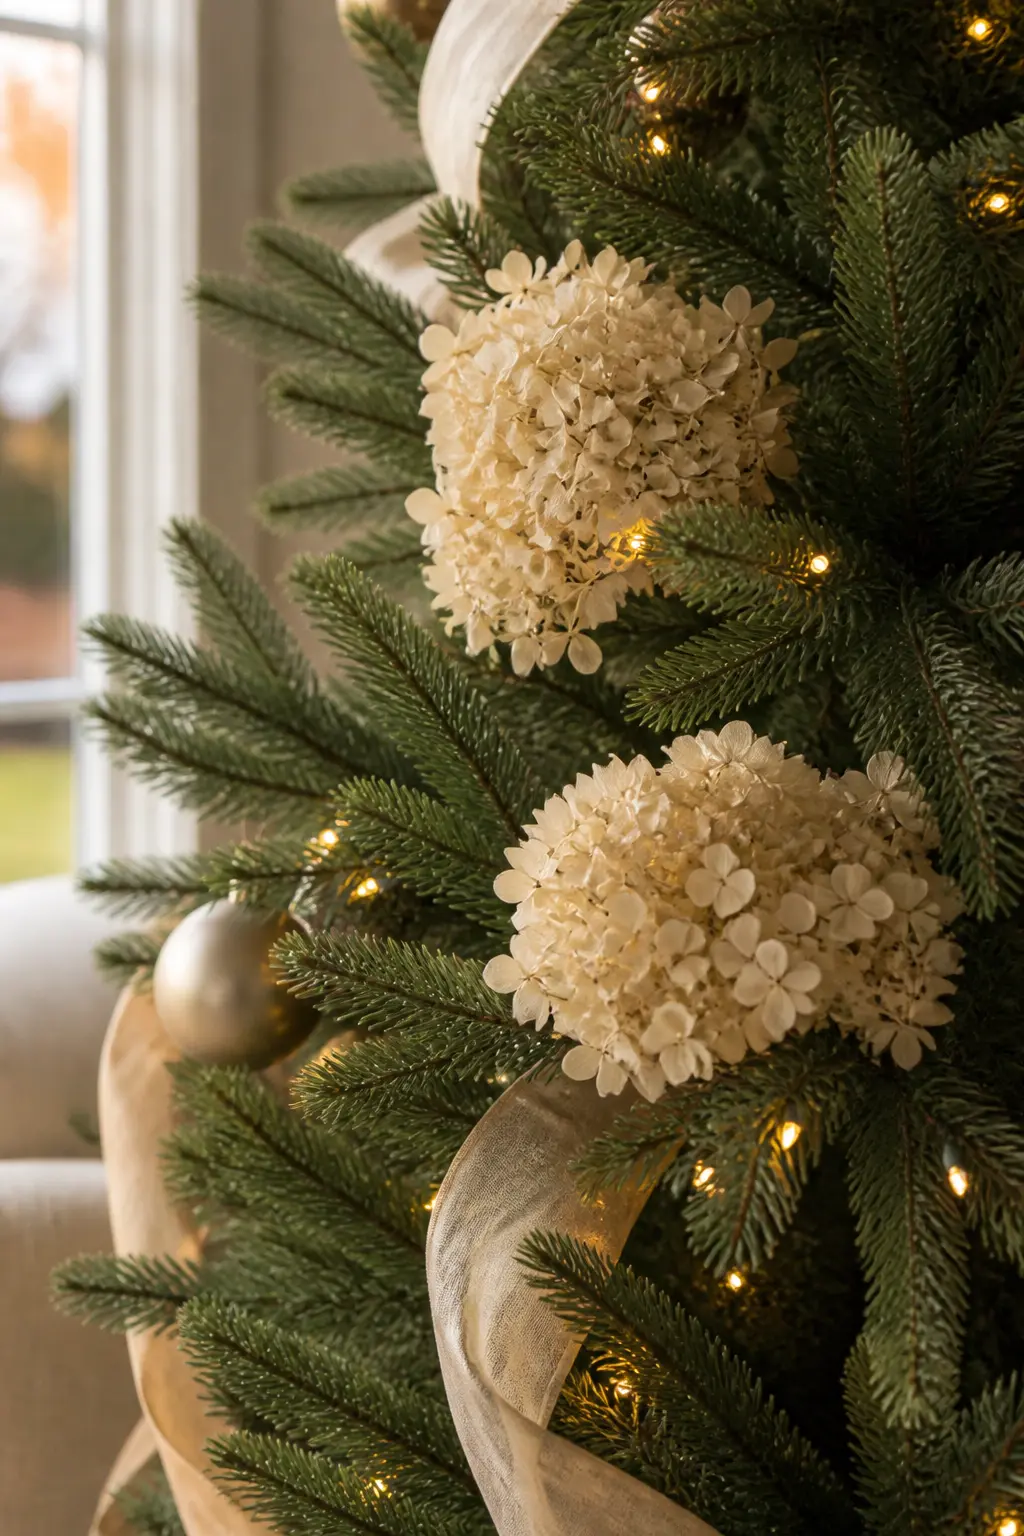
Dried Hydrangea Heads in the Branches
Dried hydrangea heads, in the faded shades they take on naturally, tuck between branches the way no ornament can. Their papery texture and the scale of each bloom fills a gap without adding weight or shine.
Push the stems directly into the branch structure. No picks, no wire.
🛍 Shopping guide
Fresh Eucalyptus Between the Branches
Tuck short stems of fresh silver dollar or seeded eucalyptus between the branches near the front of the tree. The grey-green of the eucalyptus reads as sage against the darker green of the tree, and the scent it releases as the room warms is not nothing.
Replace the stems every ten days or so. They dry in place and the dried stems are still attractive, just slightly more silver than green.
🛍 Shopping guide
Bare Twigs and Pampas Fanning Out
Push bare birch or willow twigs and a few pampas stems out past the outer branch line, so the tree’s silhouette becomes irregular and organic. The twigs extend the form without adding visual weight.
Position them at the top and mid-upper section so they read as part of the crown. Group three or five together, never one alone. The pampas plumes soften the angles the bare twigs introduce.
🛍 Shopping guide
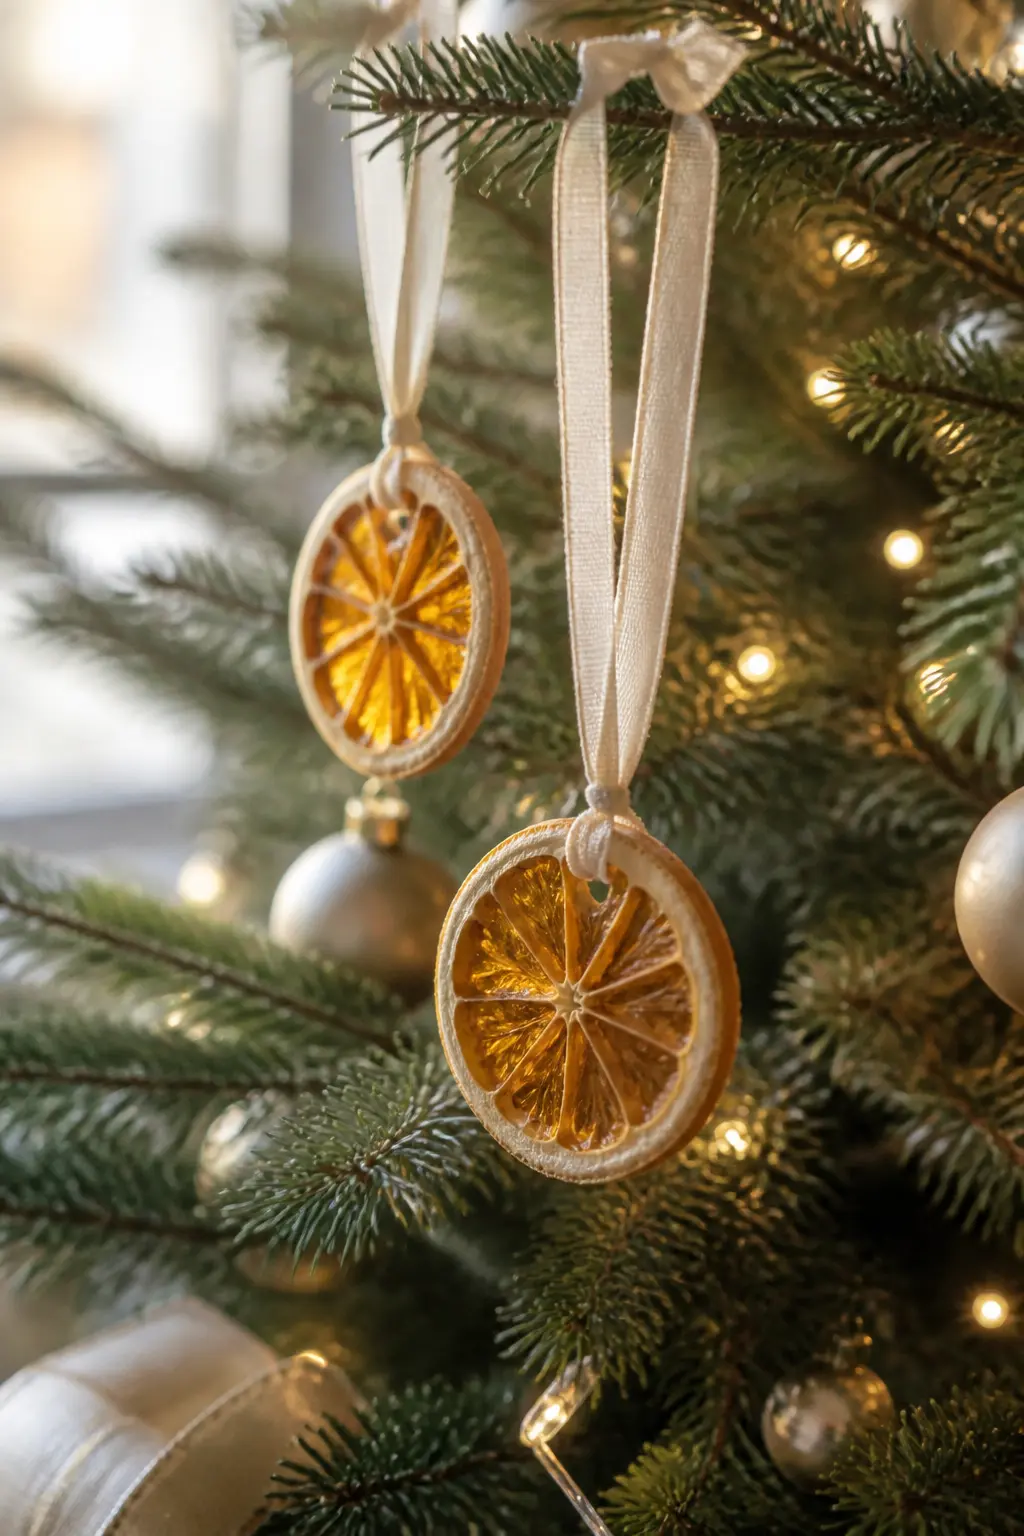
Dried Orange Slices on Cream Ribbon
Thread dried orange slices onto lengths of narrow cream ribbon and hang them from branches as you would a bauble. The amber-gold of a dried orange against the warmth of fairy lights is a combination that earns its place in a champagne and cream palette.
Cut the ribbon so the slices hang at varying heights, not in a uniform row. Three to a branch section is enough. The scent, faint by the time the slices are dry, is a quiet bonus.
🛍 Shopping guide
Unexpected Details
One unexpected element, kept singular and placed with intention, does more for a tree than a whole box of coordinating ornaments. These are the details that make people ask where you bought it.
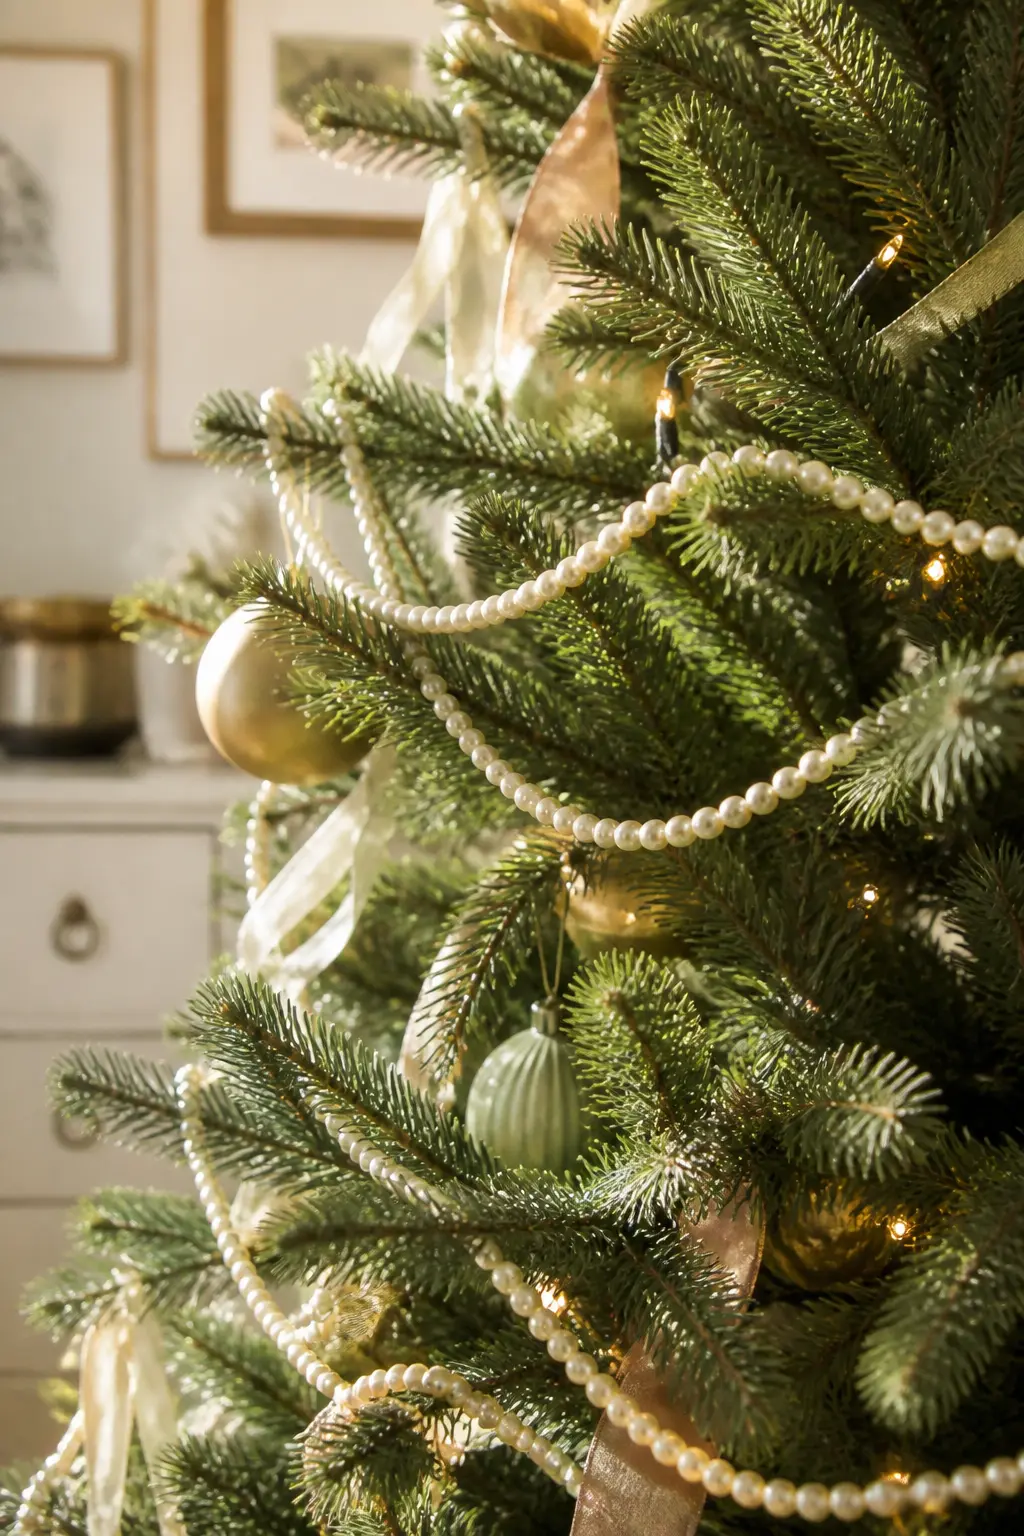
Pearl Strands in Place of Tinsel
Drape pearl bead strands through the branches the way you would a garland: in loose, unhurried loops, not pulled tight. Faux pearl strands in cream or champagne catch the fairy lights with a softness that metallic tinsel never achieves.
Let the strand touch the branches rather than float in front of them. The pearl beads need the dark green as a background to read at their best.
🛍 Shopping guide
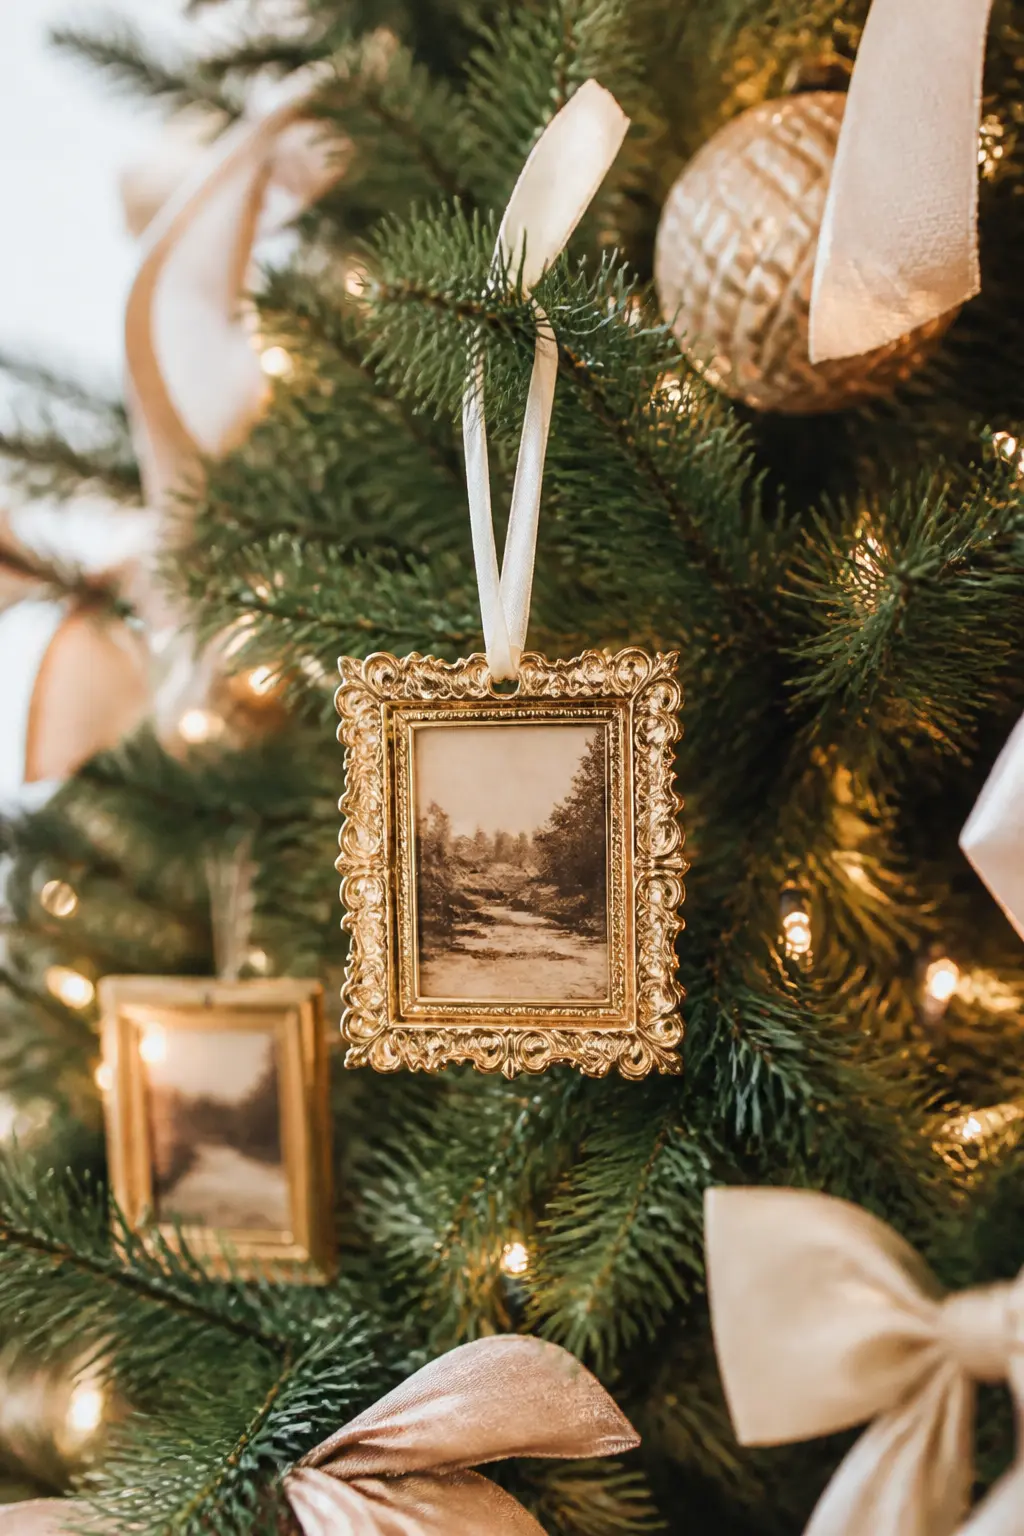
Gilded Picture Frames on the Branches
Small gilded picture frames, 10 by 8 cm or smaller, hung on the branches with ribbon and filled with sepia or black-and-white family photographs. The frames turn the tree into something personal without being sentimental in an obvious way.
Use only frames in the same finish: all gold, or all aged brass. Three frames on a full tree is sufficient. More than five and the tree begins to feel themed rather than personal.
🛍 Shopping guide
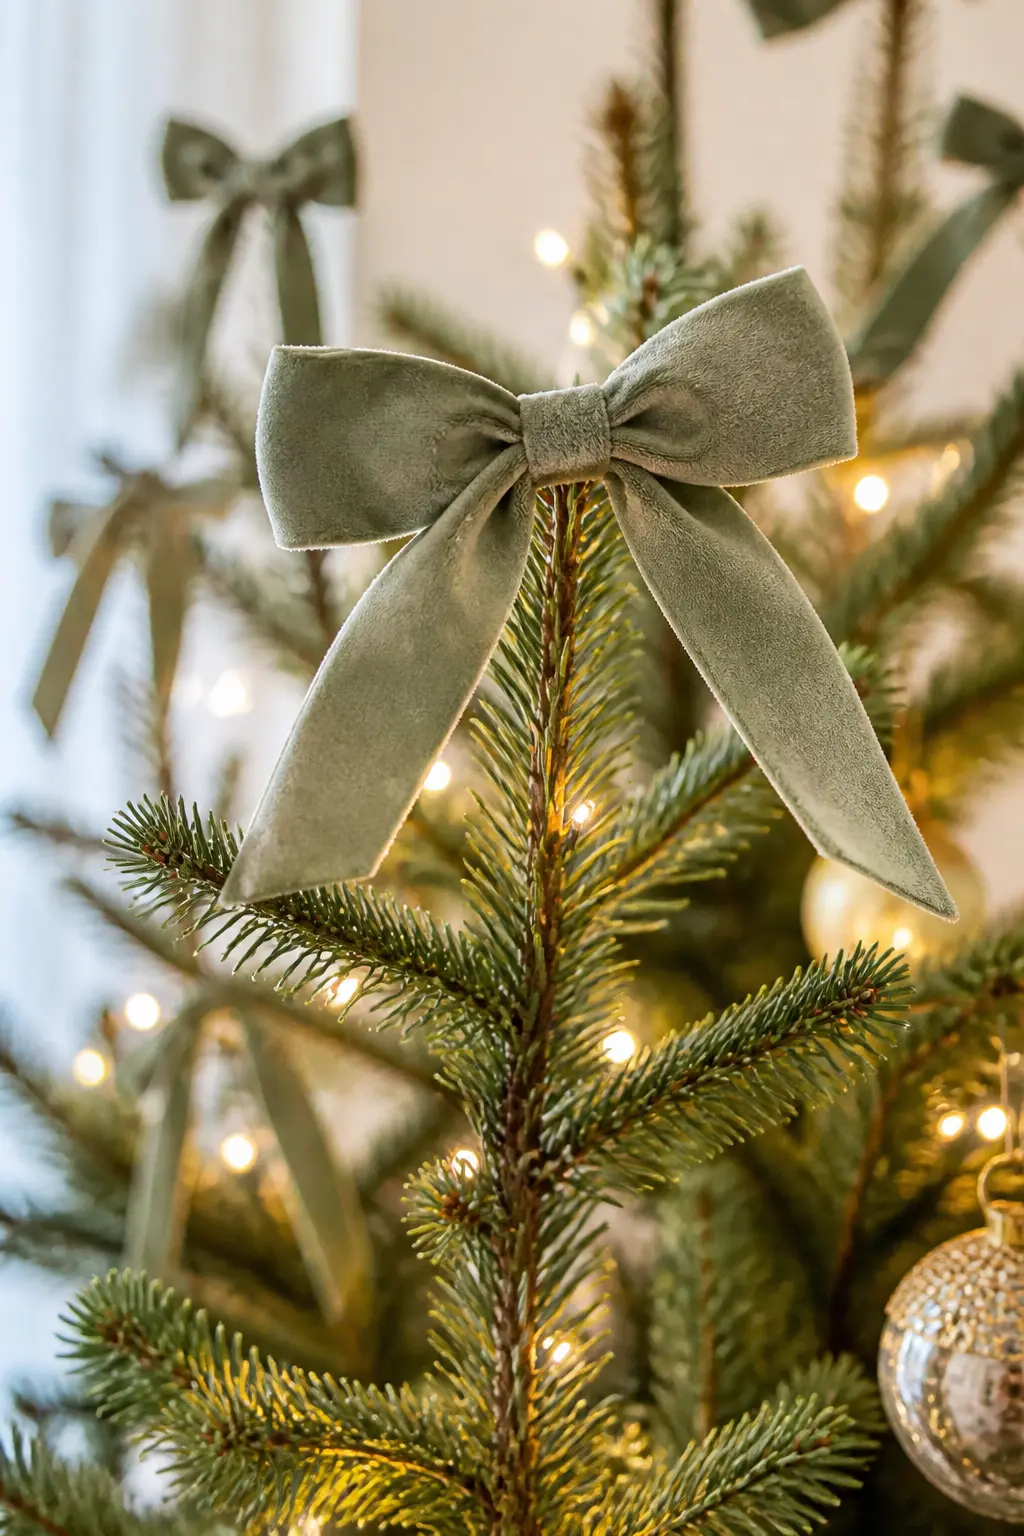
Velvet Bows at the Branch Tips
Tie small velvet bows, 8 to 10 cm across, at the very ends of a dozen branches across the mid and upper sections of the tree. Use velvet in one colour only: dusty sage, aged gold or champagne. The bows replace ornaments at those tips rather than sitting beside them.
Wire the bows before you tie them so the loops hold their shape through the season. Velvet loses its body over time if it is not supported.
🛍 Shopping guide
Silk Ribbon Tails, Not Bows
Cut narrow silk ribbon into 40 cm lengths and loop them single, without tying, over branch tips so both tails hang loose. The movement they make as the room changes temperature is more elegant than any static bow.
Use them in one colour only and scatter ten to fifteen loosely across the tree. The silk should be thin enough to be almost translucent so it catches rather than blocks the light.
🛍 Shopping guide
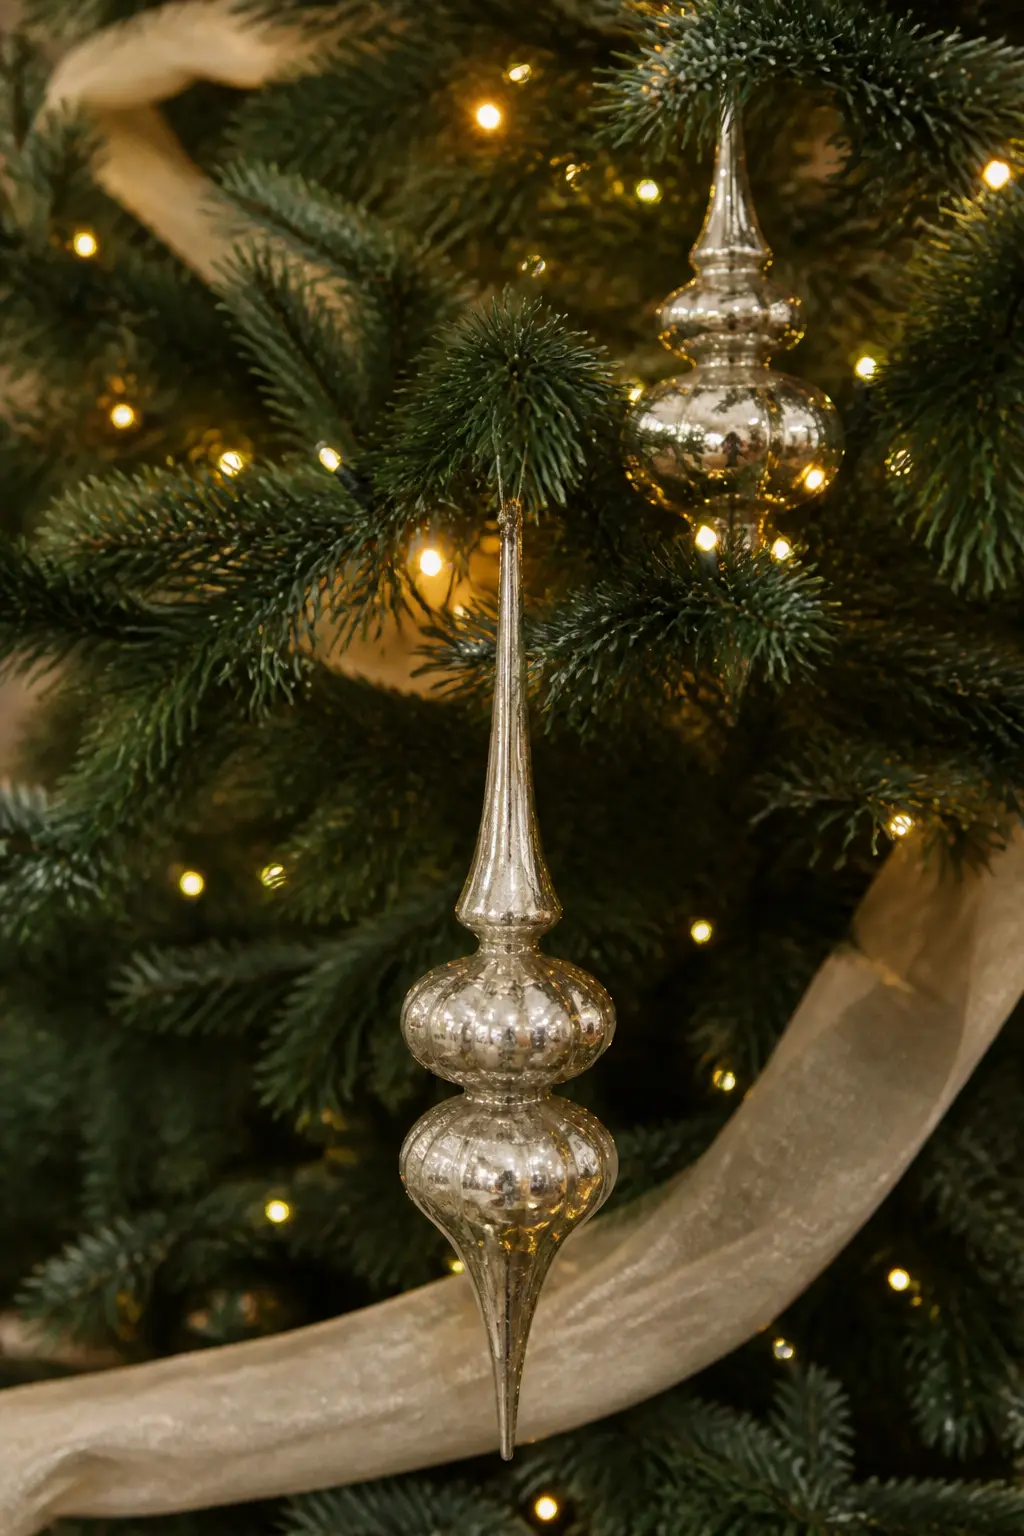
Mercury Glass Finials as the Only Shiny Element
Use mercury glass finials, the long teardrop-shaped ornaments, as the only reflective element on an otherwise matte tree. Their elongated form catches light from a different angle than a round bauble does, and the aged mirror finish adds warmth rather than sparkle.
Five to seven finials on a full tree is enough. Hang them in the middle third of the tree where the fairy lights are densest.
🛍 Shopping guide
The Base and Surroundings
The tree does not end at the lowest branch. The skirt, the floor around it and the piece of furniture nearest to it are all part of the composition. Treat them that way.
A Cream Fabric Skirt, Gathered and Pooled
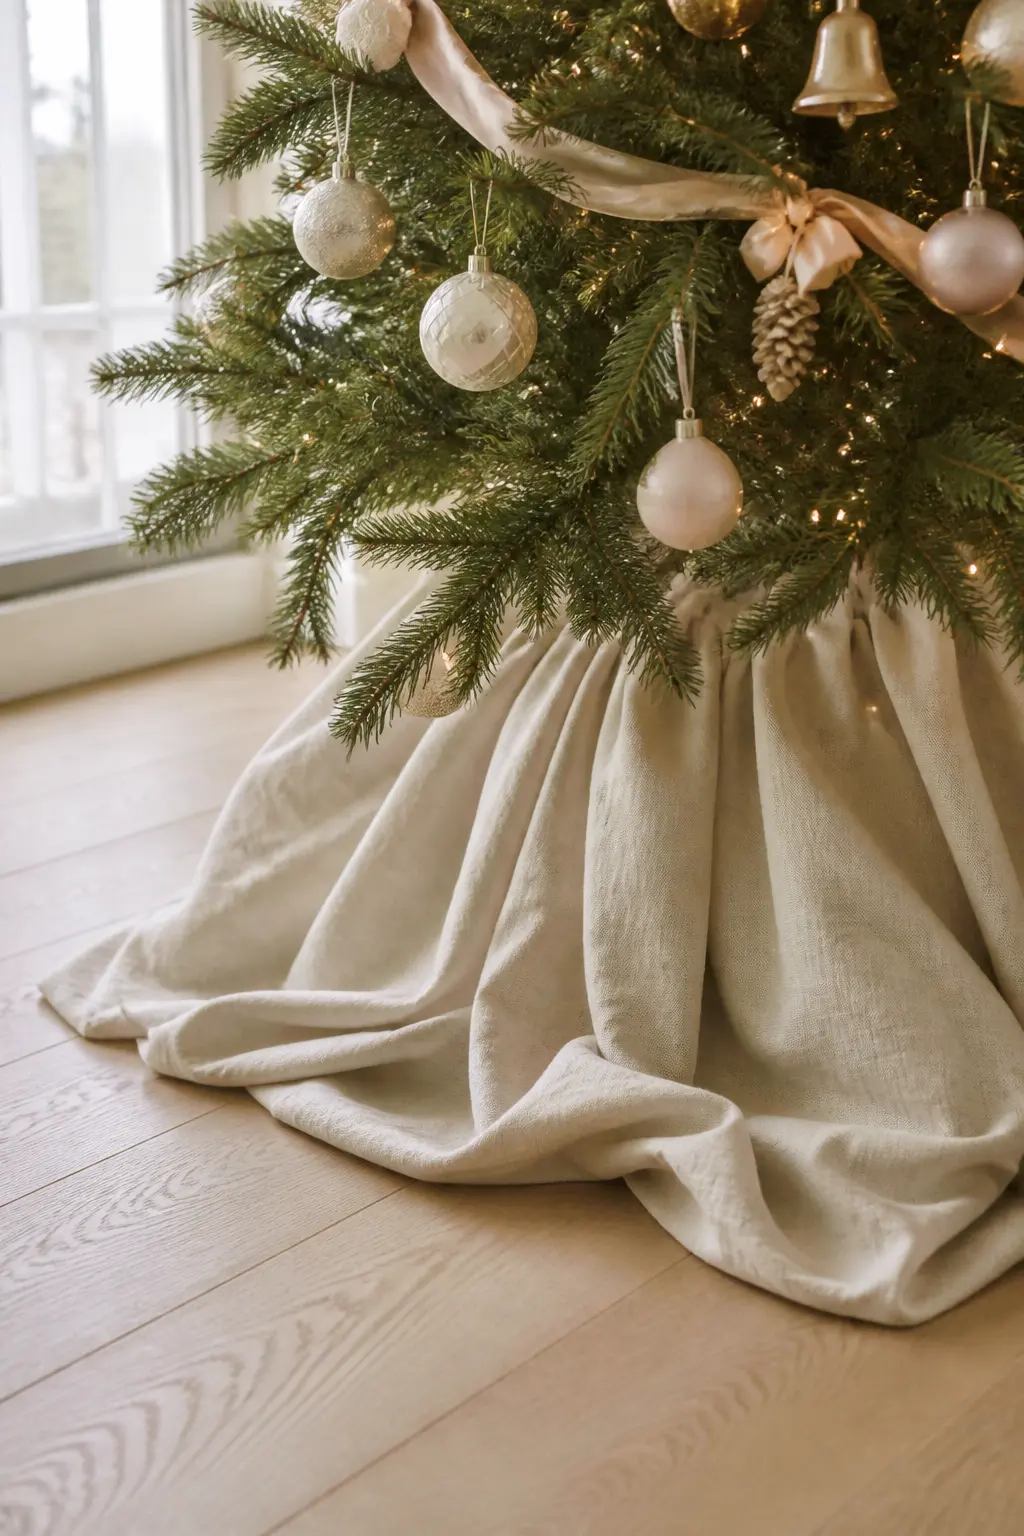
A tree skirt in heavy cream fabric, gathered with extra fullness so it pools slightly on the floor rather than lying flat, changes the proportion of the whole tree. The pool of fabric at the base adds weight that balances a heavily decorated upper half.
Linen, velvet or waffle-weave cotton all work. Avoid anything with a sheen: the base should be quiet so the upper tree can do its work. No decoration on the skirt itself, no trim, no embroidery.
🛍 Shopping guide
A Tall Slim Tree in a Corner with a Floor-Length Skirt
A slim pencil tree in a corner, dressed in cream and champagne with a floor-length fabric skirt, makes the most of a small room without competing with the furniture. The narrow silhouette reads as architectural rather than decorative.
The skirt should reach the floor on all sides with enough fabric to soften the base of the pot. Pair with buried warm lights only: no external illumination that would break the corner’s natural shadow.
🛍 Shopping guide
A Single Ribbon Colour in Bows, Skirt and Garland
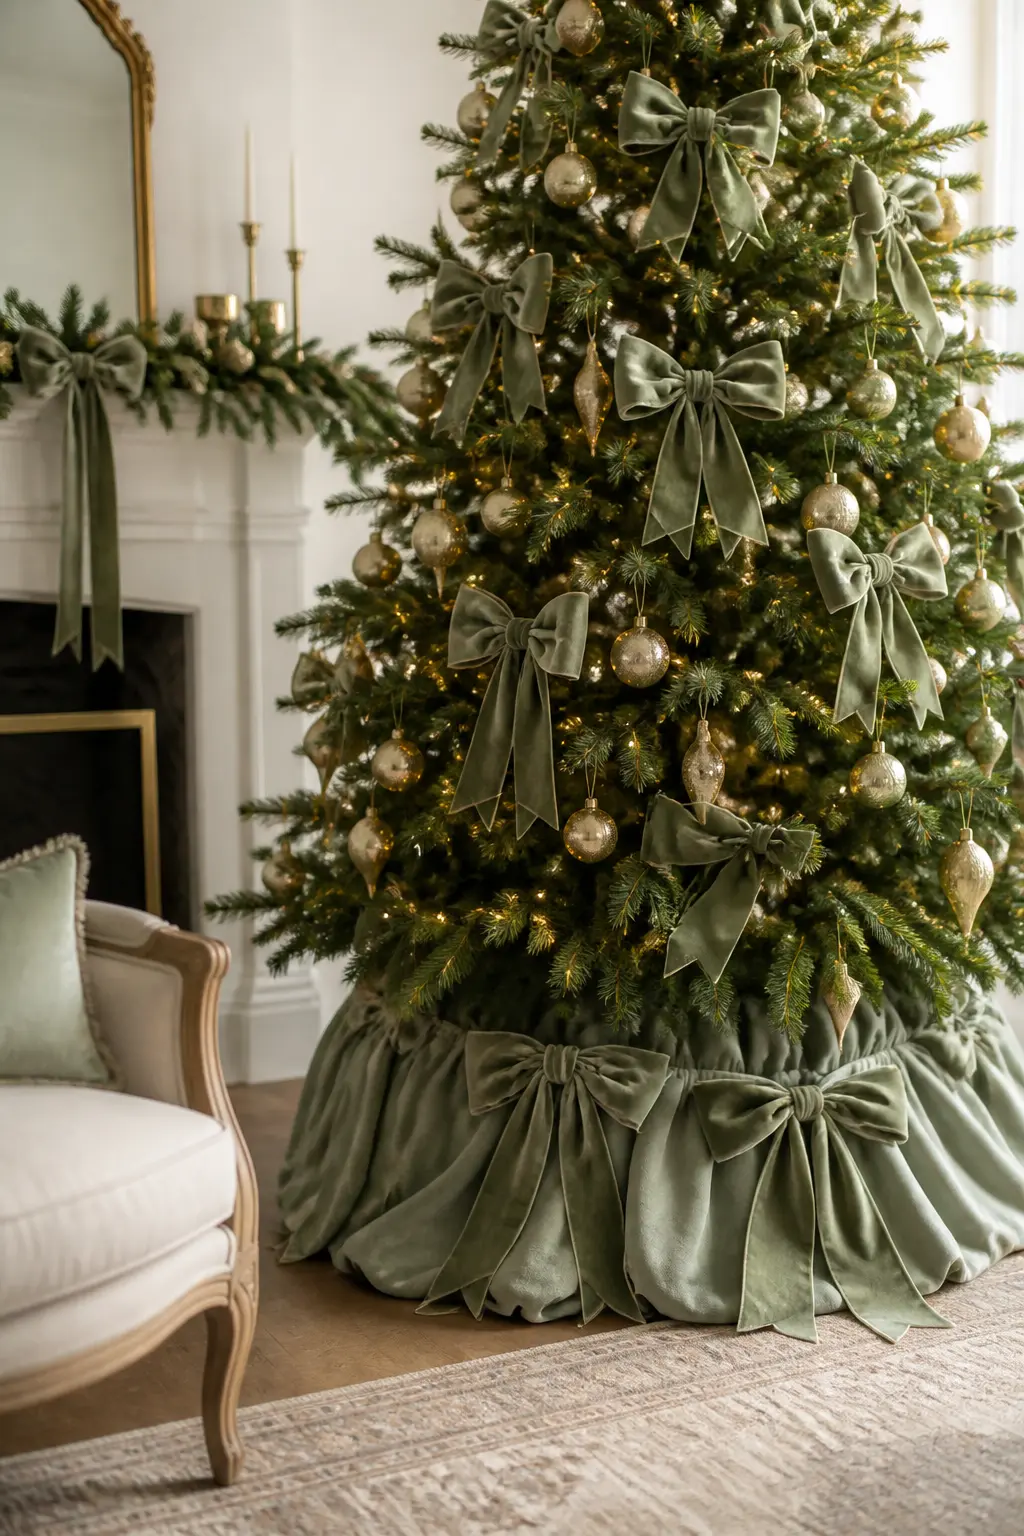
Choose one ribbon colour and use it in three places: tied in bows on the branches, as a detail on the tree skirt, and woven through a garland on the mantel or stair beside the tree. The repetition is what makes the room look designed rather than decorated.
Dusty sage or aged gold work best for this. Both read in daylight and by lamp, and both photograph well at distance and up close.
🛍 Shopping guide
Whole-Tree Approaches
Some trees work as a single coherent concept rather than a collection of techniques. These entries are complete looks, the kind where every element serves the same idea. For more full-tree thinking, the DIY Christmas tree ideas article covers trees built from entirely unexpected starting points.
Blush, Gold and White as the Majority
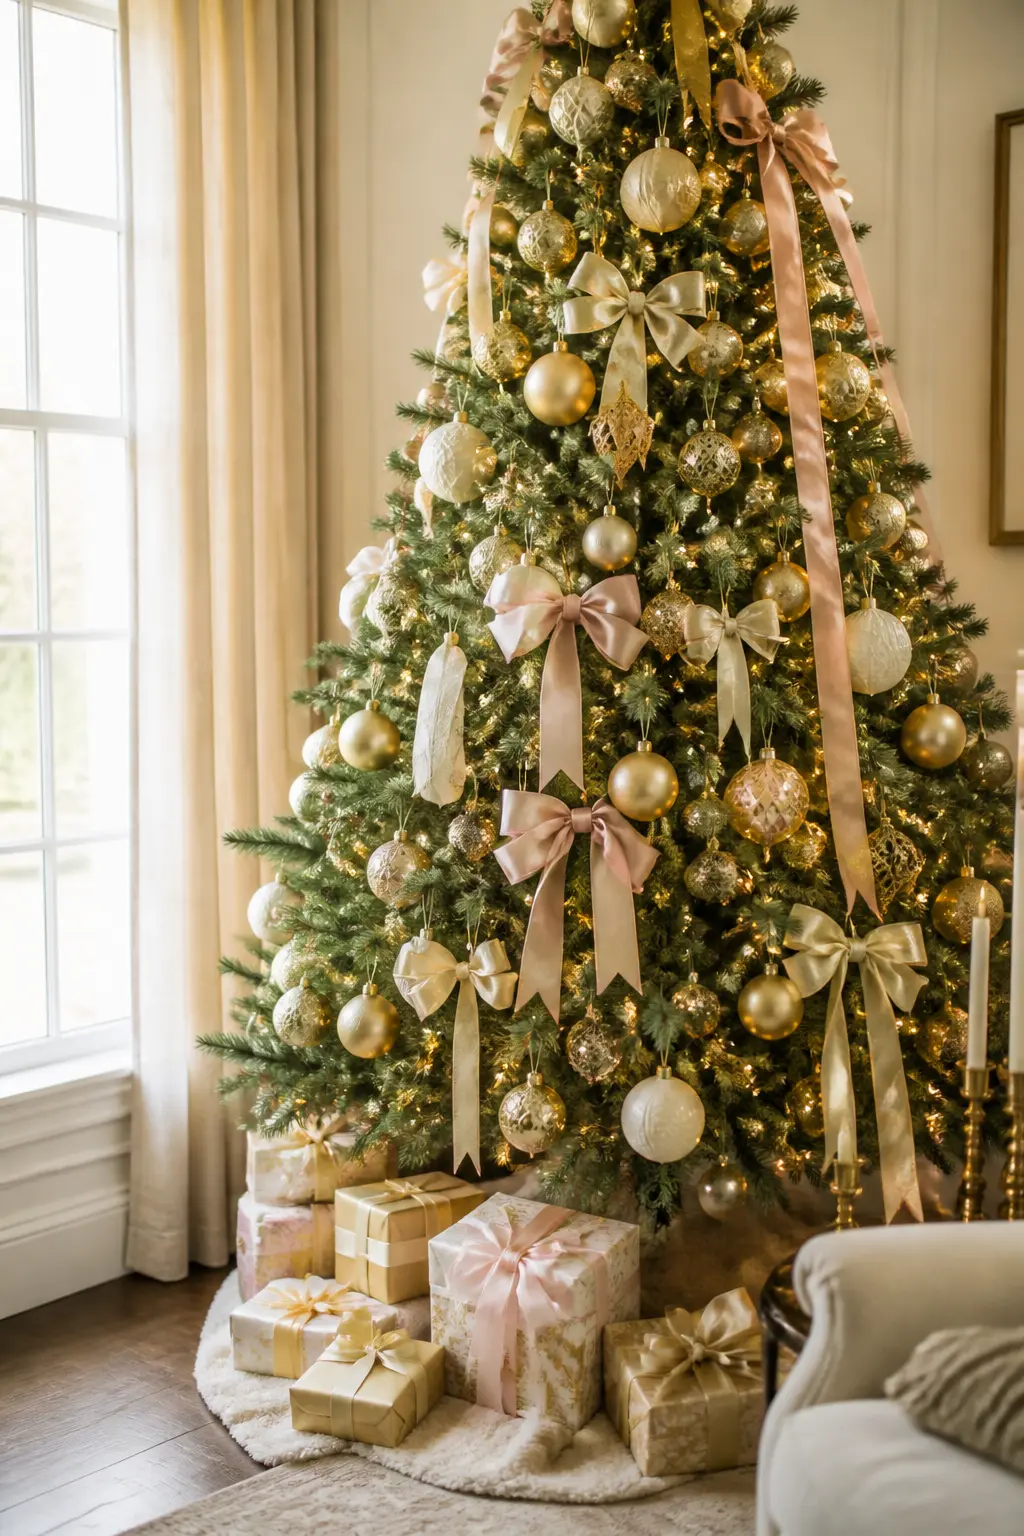
This palette works because blush is quiet enough to read as neutral when white is the dominant tone. The gold bridges the two. Use white for 60 percent of the ornaments, blush for 30 and aged gold for the remaining 10. The gold should appear only in small quantities: finials, a few ribbon details and the fairy light warmth does the rest.
Avoid pink that leans red or gold that leans yellow. Dusty or antique versions of both keep the scheme in the right register.
🛍 Shopping guide
Sage and Champagne with No Red
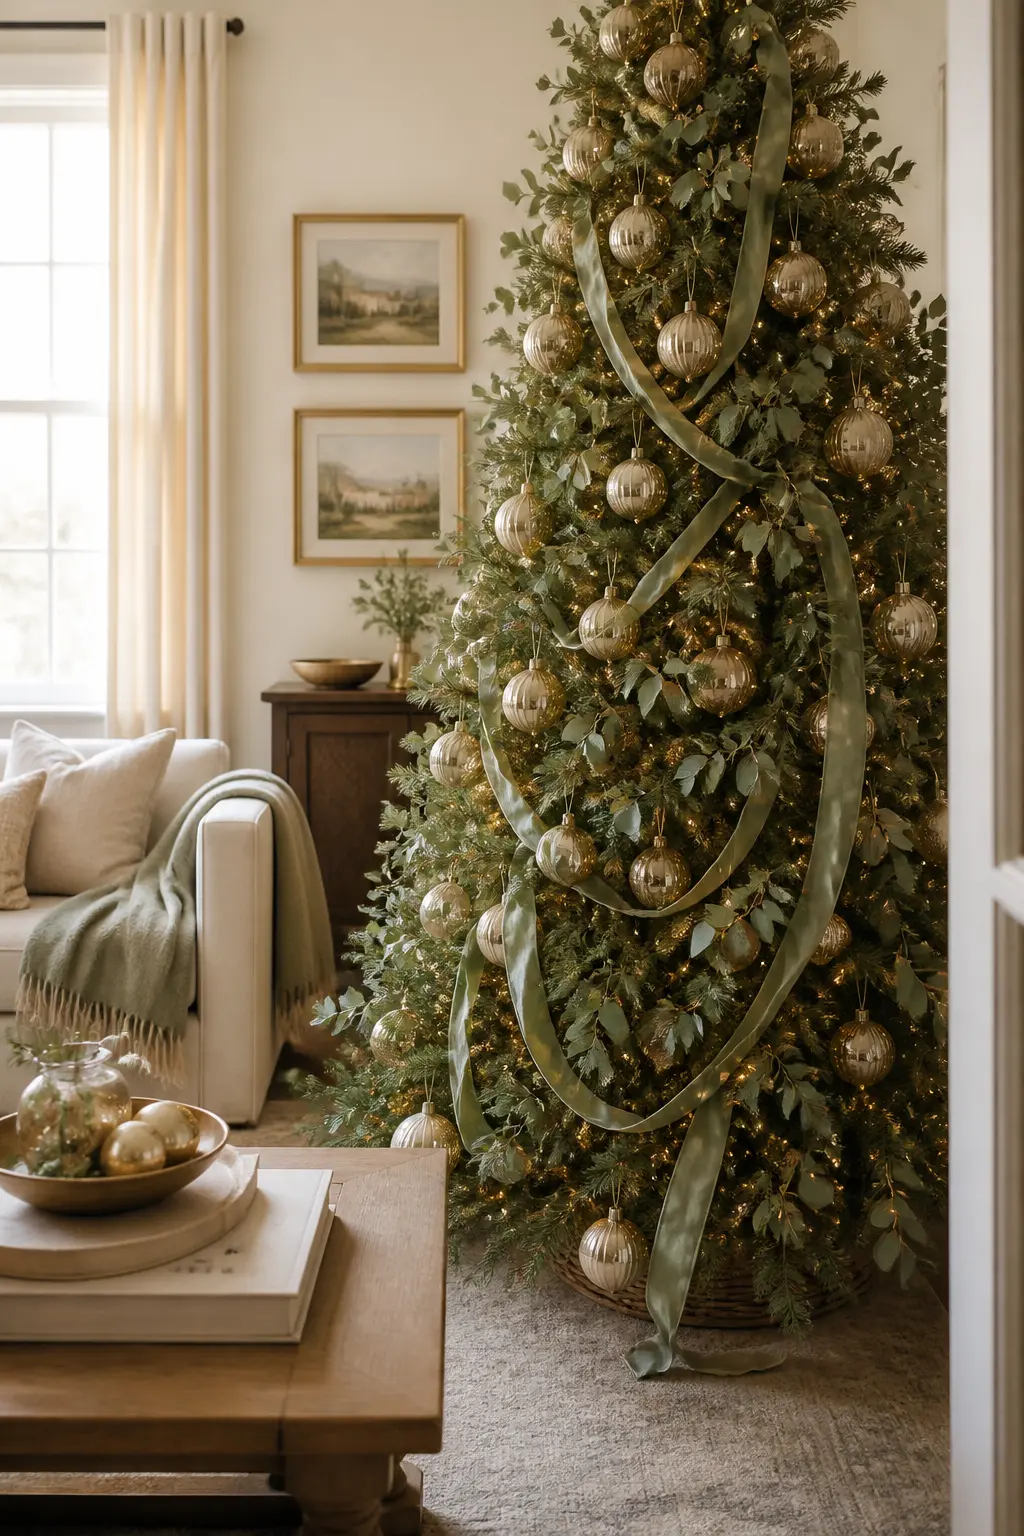
A sage and champagne tree is the one that most people save to a board and then talk themselves out of. Do not talk yourself out of it. The sage reads as festive, the champagne as warm, and the absence of red makes the whole thing feel current and considered.
Use sage for all the botanical elements and for the ribbon. Use champagne for all the ornaments. Warm white fairy lights tie both together. The tree looks expensive because it has nothing on it that did not earn its place.
🛍 Shopping guide
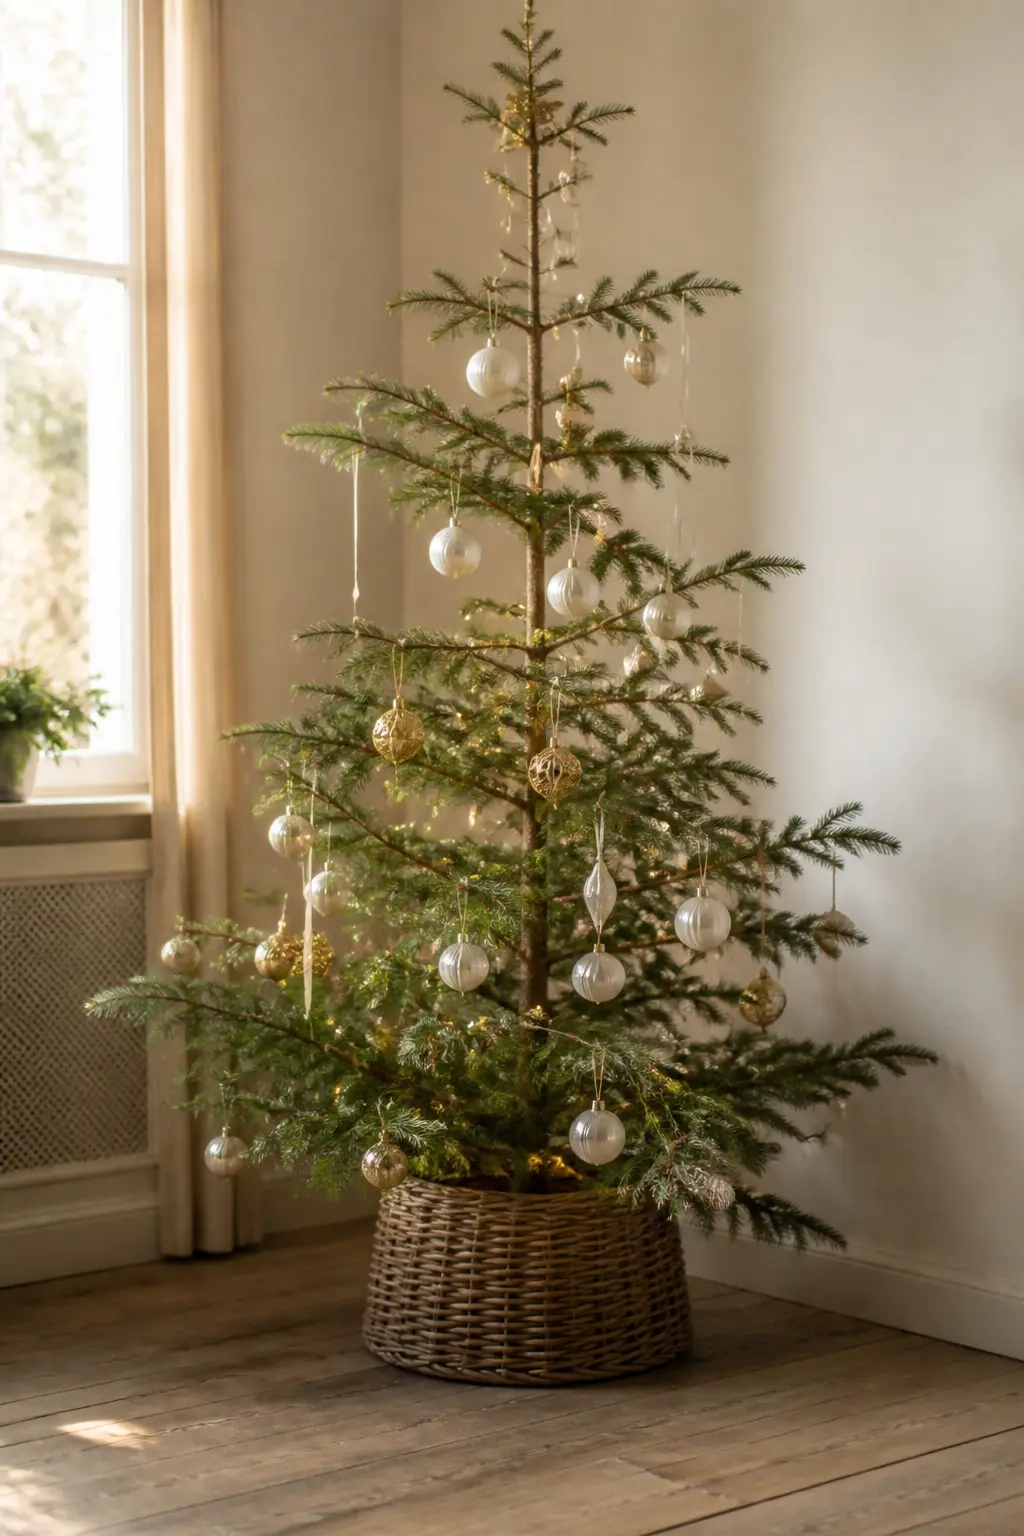
A Deliberately Sparse Tree
Hang only what you would hang if you had to choose twelve things from everything you own. Twelve ornaments, all in the same palette, spread so that each one has room to be seen on its own. The branch shape, the light and the negative space do the rest.
This is the approach that feels most foreign and looks most right once it is done. The tree looks considered from across the room because it is. Every ornament made a cut.
🛍 Shopping guide
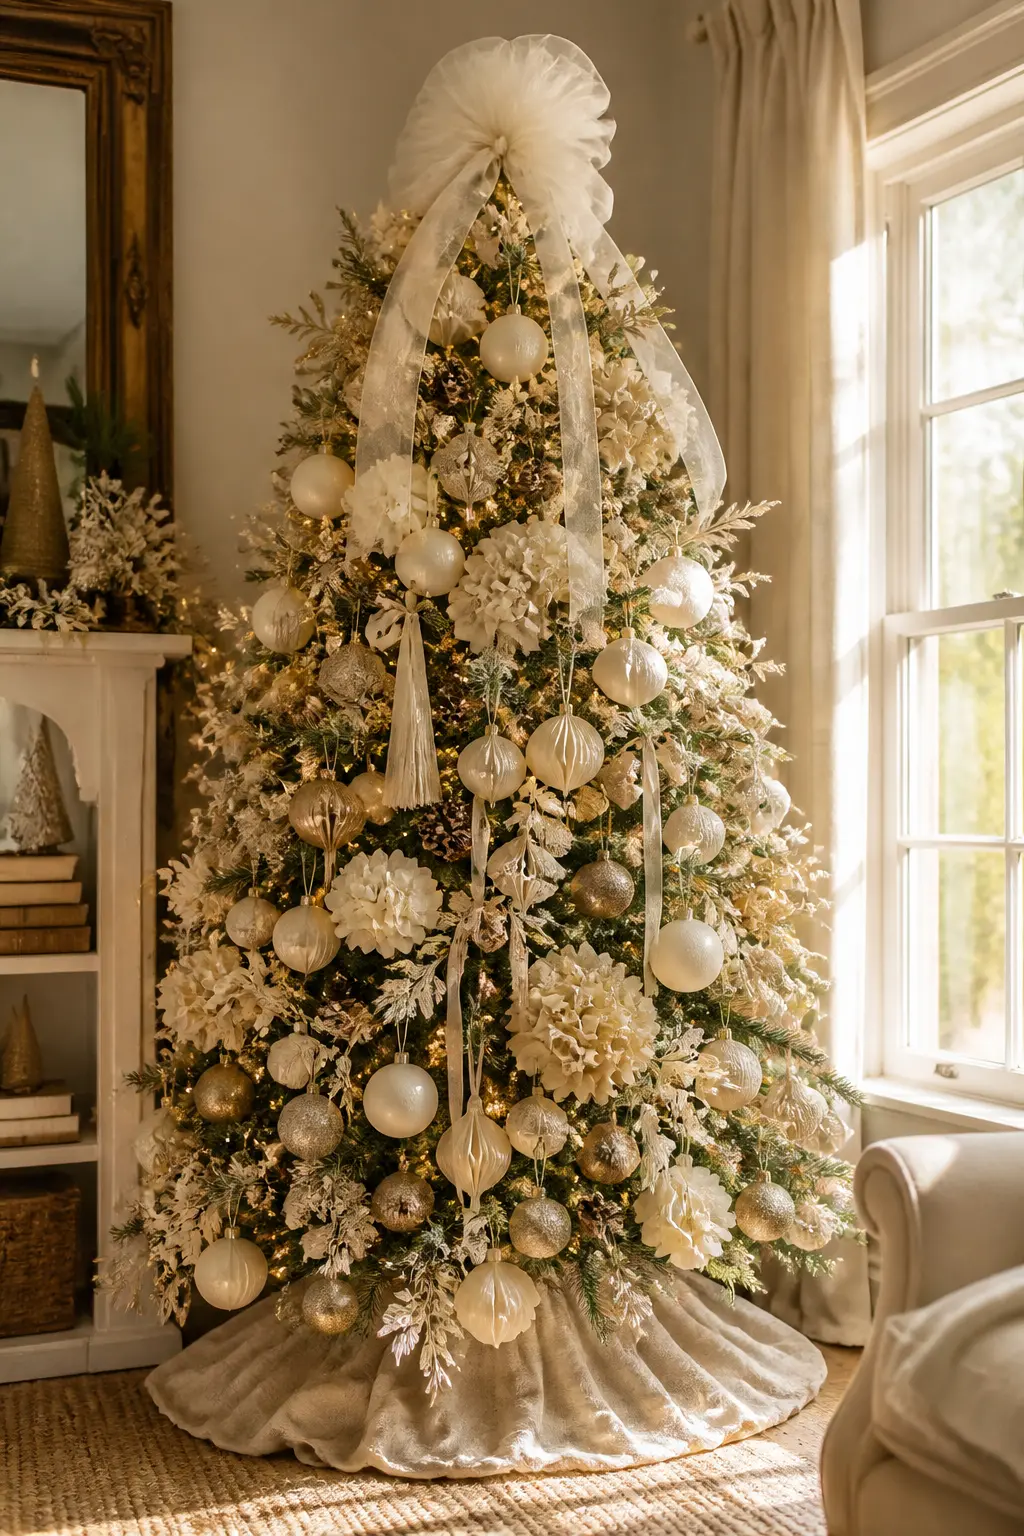
A Monochrome Cream Tree, Texture Only
Every ornament, ribbon, skirt, topper and botanical on this tree is cream. The variation comes entirely from texture: matte ceramic next to watered silk, dried papery hydrangea beside smooth glass, waffle-weave linen on the floor beside a gloss finial above.
The tree reads as monochromatic from a distance and reveals its complexity up close. It is the most demanding scheme to execute and the most rewarding one to live with. Buy nothing in an off-white that leans blue or grey: everything must pull warm.
🛍 Shopping guide
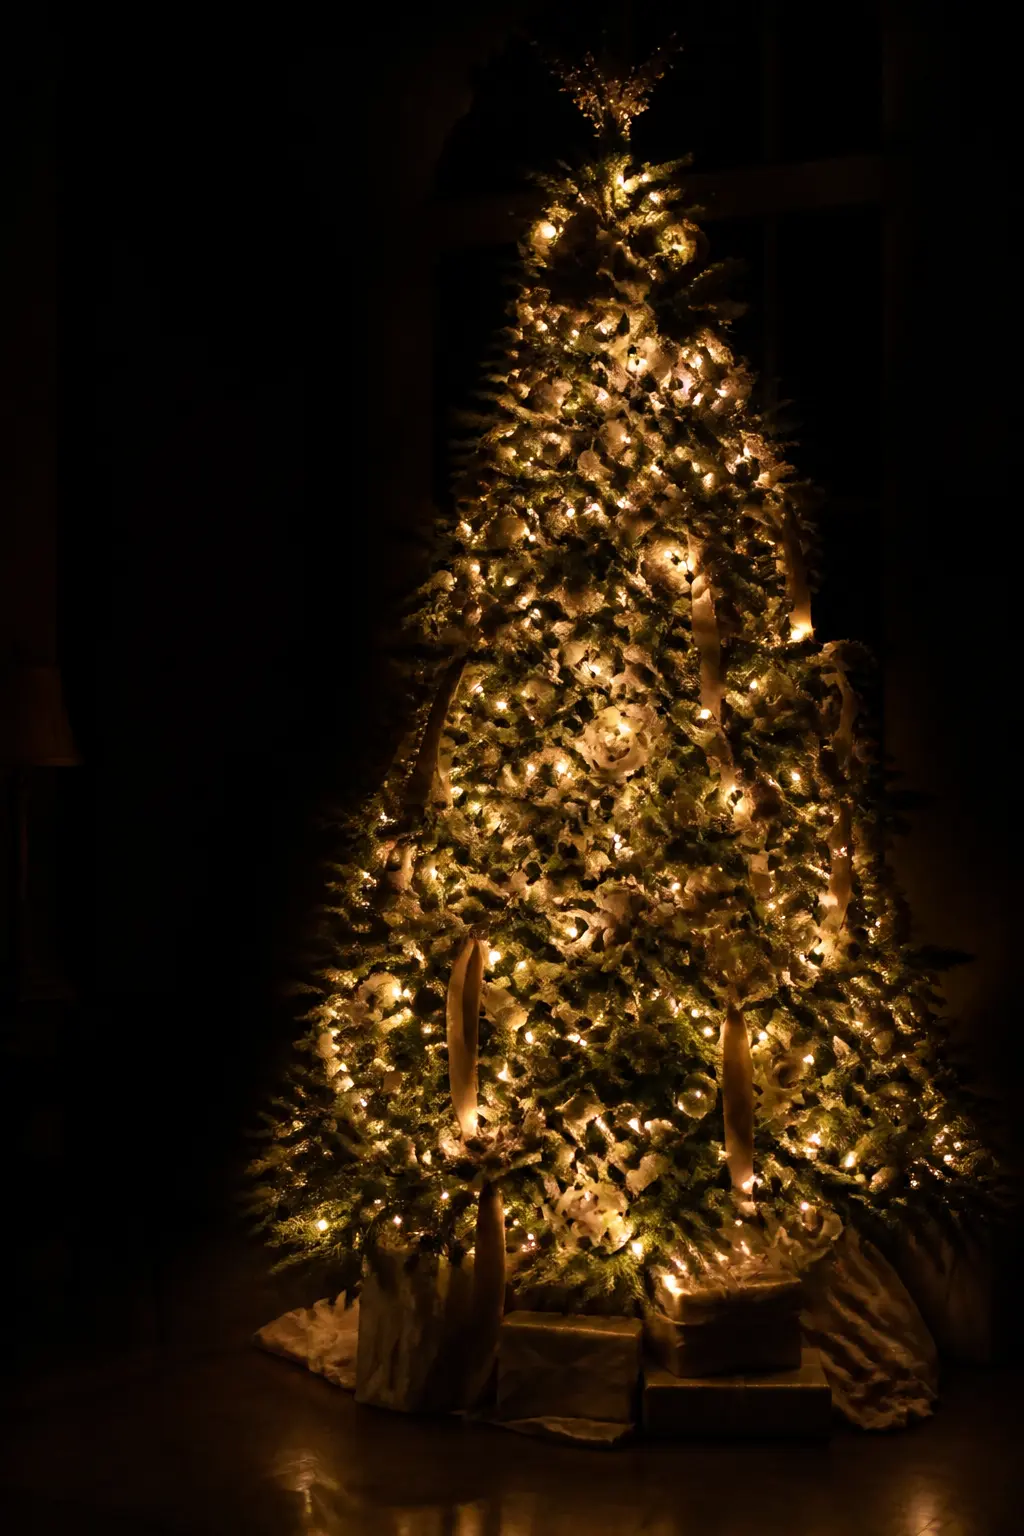
The Tree at Night, Lit Only by Its Own Lights
Turn off every other light source in the room and photograph or simply sit with the tree lit only by its own buried warm fairy lights. The room recedes, the tree advances, and everything that seemed imperfect in daylight either disappears or becomes part of the glow.
This is also the best test of a tree’s decoration. The ornaments that read well at night, reflective, translucent or textured enough to catch the warm light, are the ones worth keeping. The rest can go.
🛍 Shopping guide
One Last Thing Before You Decorate
Buy less than you think you need. Lay everything out before a single hook goes on. Walk away and look from the doorway before you decide you are finished.
If the tree inspires a wider colour direction, the pink Christmas tree ideas article explores what happens when you commit to a single non-traditional tone across the whole scheme.
Frequently Asked Questions
What is the easiest way to make a Christmas tree look more expensive?
Edit before you add. Remove everything that does not fit the palette, then hang what remains in three finishes only: matte, gloss and mercury glass. Bury the fairy lights deep in the branches before any ornament goes on. Those two changes alone make more difference than buying new decorations.
How many ornaments does a 180 cm Christmas tree actually need?
Far fewer than the box count on most ornament sets suggests. A 180 cm tree decorated deliberately needs around 50 to 70 ornaments, placed with intention. A tree hung with 150 ornaments in mismatched sizes and colours needs more of them to hide the chaos. Fewer, better-placed ornaments always reads as more considered.
Can you use fabric instead of a tree topper?
Yes, and it is often more effective. A wide tulle or organza bow sits more naturally at the crown than a rigid star or angel, and the tails give the tree a vertical line that draws the eye all the way down to the floor. Use wired ribbon or stiff fabric so the loops hold their shape.
What colours work for an elegant Christmas tree without using red or green?
Cream, champagne and aged gold read as immediately festive without the traditional palette. Sage green works as an accent rather than a base. Blush or dusty rose with white and gold is a complete scheme on its own. The key is to choose two or three tones and use them throughout the tree from the skirt to the topper, so the palette feels decided rather than accidental.
How do you keep a tree looking styled rather than just decorated?
Use a rule for everything. One ribbon colour. Two or three ornament finishes. One botanical type. One skirt fabric. Repetition is what makes a tree look designed: the eye finds a pattern and reads it as intention. Variety without a rule reads as accumulation.
Are real or artificial trees better for an elegant look?
Neither has an automatic advantage. A real tree with open, irregular branching suits a sparse or botanical approach. A high-quality artificial tree with adjustable branches suits a more controlled, symmetrical scheme. The decoration does more work than the tree type. A slim artificial tree in a corner with a floor-length skirt reads just as well as a full real tree, provided the ornaments are placed carefully.
22 christmas candles diy projects sorted by method: rolling, dipping and pouring. Every craft names
12 Christmas ribbon crafts that turn leftover spools into tree, table and gift details that look bou
11 Grinch wreath ideas, from furry face wreaths to thieving hand wreaths, each with its own room, pa
Leave a Reply