

14 Nativity Activities for Kids With Free Printables for Church or Home
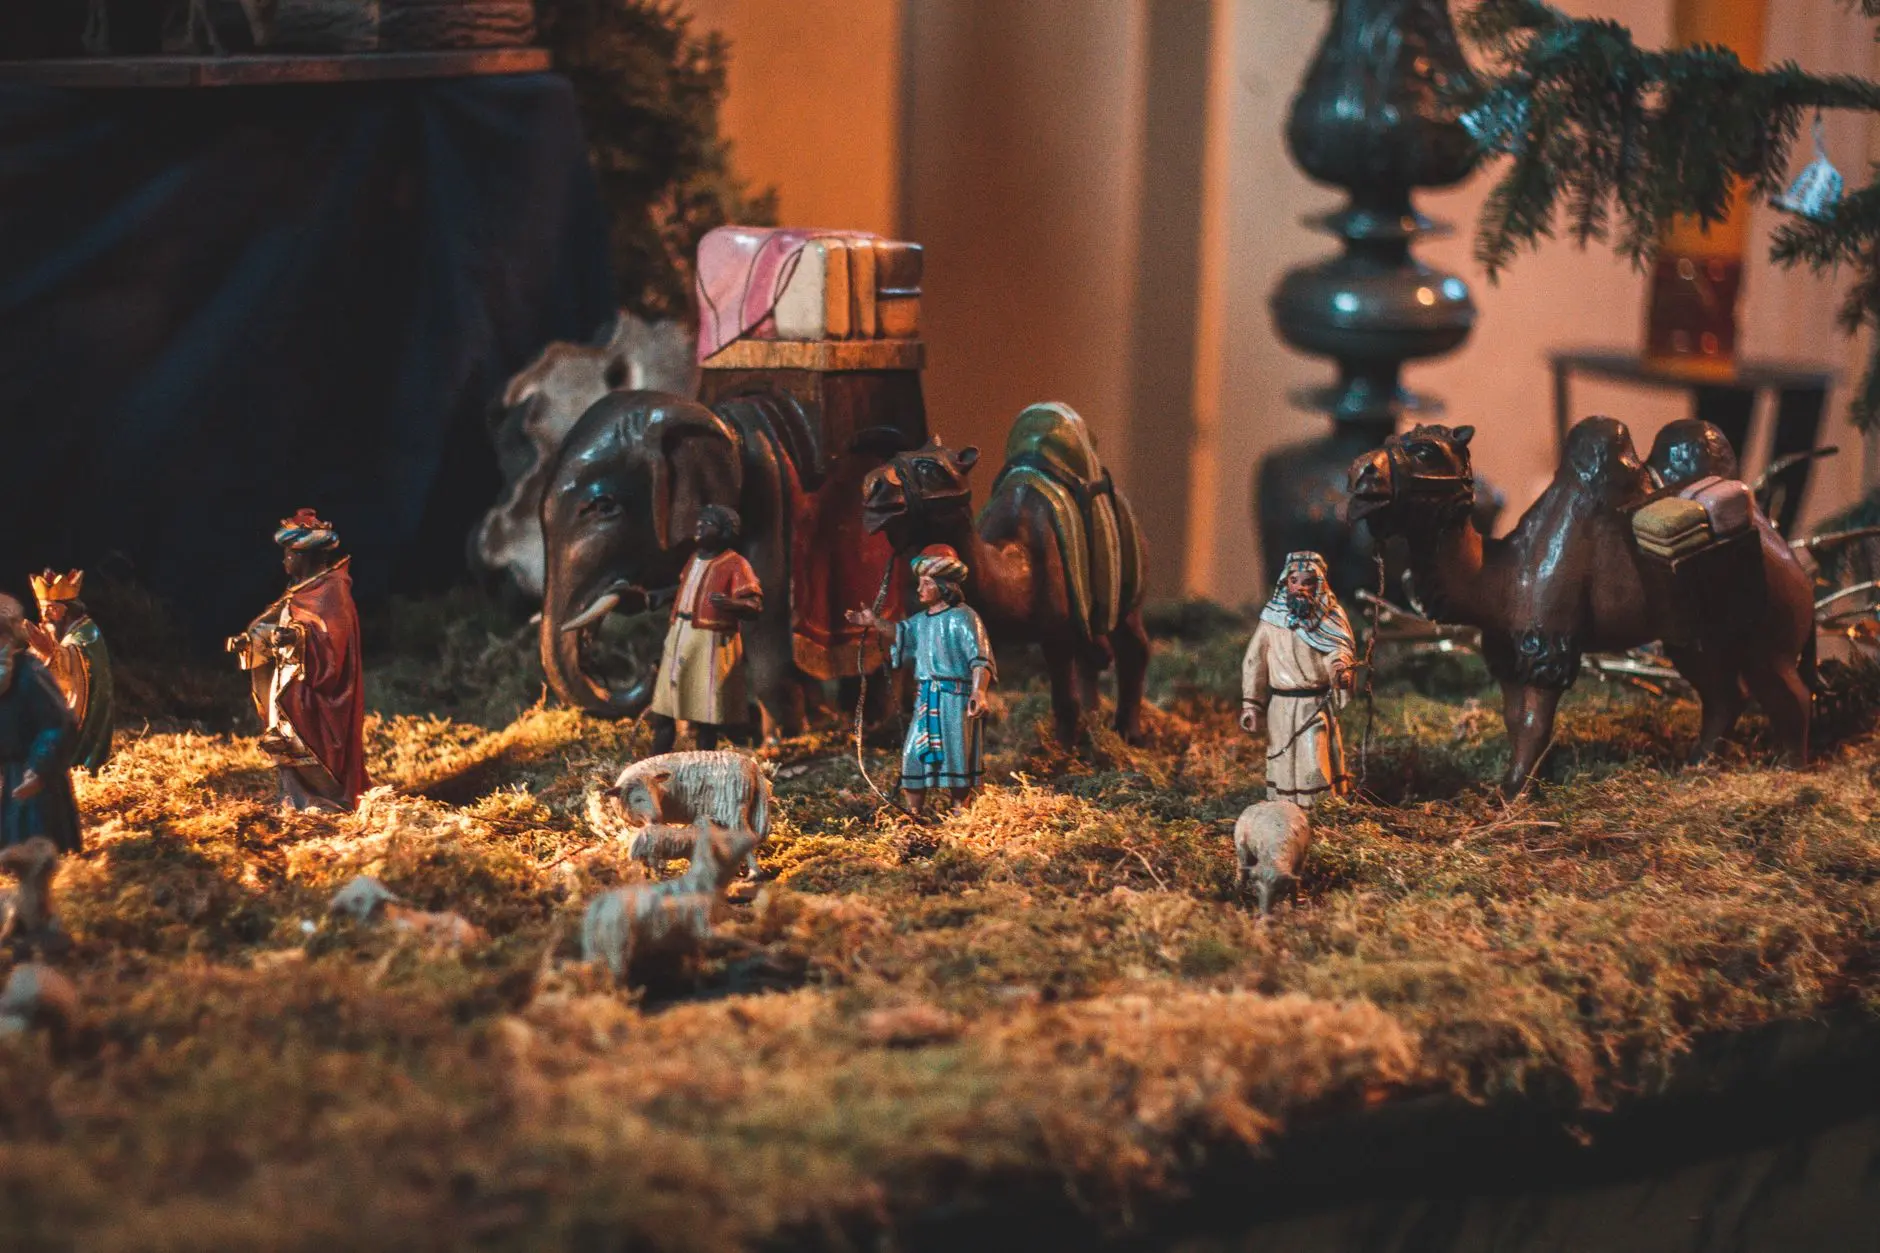
These christian christmas activities for kids tell the whole nativity story through doing, not just listening, so every child in the room stays with you, including the ones who cannot read a word yet.
You get nine printable sheets to download and five hands-on activities that need nothing from a printer, all arranged in the order you would actually run them at a Sunday school class or a home Advent session.
This post contains affiliate links. If you buy through them, I may earn a small commission at no extra cost to you.
- Cut and Build the Nativity Scene
- Acting the Story Out With Costumes (no printing needed)
- The Story Sequencing Cards
- Making a Star From Foil and Card (no printing needed)
- Colour by Number Star (colour by number page, one per child)
- Singing the Carols Together (no printing needed)
- Match the Character to the Description
- Trace the Journey on the Map
- Building the Stable From a Cardboard Box (no printing needed)
- Count the Animals in the Stable
- The Advent Scripture Cards
- Draw What the Shepherds Saw
- The Nativity Six Piece Puzzle
- The Candle Lighting at the End (no printing needed)
- Frequently Asked Questions
1. Cut and Build the Nativity Scene
Each child gets a single sheet printed with every figure from the nativity: Mary, Joseph, baby Jesus in the manger, the shepherds, the wise men, a donkey, a sheep, a camel, the angel, and a stable frame.
The child cuts along the thick outlines, folds the tab on each figure so it stands upright, and arranges the scene however they like on the table in front of them.
Print on cardstock rather than regular paper so the figures do not buckle. Give each child a small square of brown felt or a paper plate as a stable floor to arrange the figures on. Allow about twenty minutes for cutting and building combined.
Very young children will need help with the scissors. Set older children the challenge of assembling the scene in biblical order, stable first, then Mary and Joseph, then the shepherds arriving before the wise men, which quietly teaches the story sequence as they build.
- cardstock (not plain paper)
- child-safe scissors, one pair per child
- small square of felt or a paper plate per child

🛍 Shopping guide
2. Acting the Story Out With Costumes (no printing needed)
The leader reads each scene aloud, one short sentence at a time, and the children act it out in real time. Mary rides the donkey to Bethlehem (one child leads another across the room on an imaginary donkey). The innkeeper shakes his head.
The shepherds hear the angel and shield their eyes from the light. The wise men carry their gifts in slow procession. Every child gets a role, and smaller groups double up on parts so nobody waits long.
No printing needed for this one. Gather a handful of dress-up pieces beforehand: tea-towel headcloths, a dressing-gown bathrobe for Joseph, a blue scarf for Mary, a foil star on a stick for the angel. A doll in a shoebox works as baby Jesus. The whole performance runs ten to fifteen minutes.
If a child freezes on stage, give them a prop instead of a line. Carrying the gift box or holding the star while the leader narrates is just as meaningful and far less frightening than speaking aloud. Pair a shy child with a confident one for the same role so neither stands alone.
- ages 3 and up
- groups of 6-20 children
- 10-15 minutes
🛍 Shopping guide
3. The Story Sequencing Cards
The sheet shows eight scenes from the nativity story as small illustrated panels, printed out of order.
Children cut the panels apart and arrange them in the correct sequence on the table: the angel visits Mary, the journey to Bethlehem, no room at the inn, the stable birth, the angels appear to the shepherds, the shepherds visit, the star rises, the wise men arrive.
Print one sheet per child or one per pair. Cutting takes about five minutes; the sorting discussion is where the learning happens and can run another five to ten. An answer key prints at the bottom of the sheet in small type, numbered 1 through 8.
For children who cannot read the short captions, the illustrations carry the whole story, so the activity still works. If you want a group version, print the panels large (two per A4 sheet), laminate them, and let teams race to lay the sequence on the floor in order.
Laminate a class set to reuse year after year.

4. Making a Star From Foil and Card (no printing needed)
Each child cuts a five-pointed star shape from a piece of thin card, then presses a sheet of kitchen foil tightly over it, folding the edges around the back and smoothing the foil so the star shape shows clearly on the front.
A loop of ribbon glued or taped to the back turns it into a hanging ornament. The finished star goes home as a reminder of the star that led the wise men.
No printing needed. Pre-cut the star shapes for children under five so they can go straight to the foil-pressing, which is the satisfying part. Supply one A4 sheet of card and one 20cm square of foil per child. The whole craft runs ten to fifteen minutes.
If foil tears, the child has likely pressed too hard in one spot. Show them to use the flat of their thumb rather than a fingertip, working from the centre point of each arm outward. A slightly crumpled star is still a star, and imperfection is part of handmade.
- thin card or cereal box card
- kitchen foil, one square per child
- ribbon or string for hanging
- glue stick or tape
🛍 Shopping guide
5. Colour by Number Star (colour by number page, one per child)
A large illustrated nativity scene fills the page, broken into sections each labelled with a number from 1 to 8.
A colour key at the top of the sheet tells children which colour matches each number: 1 is yellow for the star, 2 is blue for Mary’s robe, 3 is brown for the stable wood, 4 is white for the angel’s wings, and so on.
Children colour each section to reveal the full scene.
Print one per child and supply a basic set of eight crayons or coloured pencils. The sheet works for any age: younger children fill in large bold sections, older children enjoy the detail in the smaller ones. Allow fifteen to twenty minutes so nobody rushes.
If you only have a limited colour set, swap the key before printing: reduce the palette to five colours and label the largest sections with the colours you actually have. The scene still reads clearly with five tones as long as the star and the sky are clearly different.
Pre-sort crayon packs by number into small cups so children grab the right colour quickly.

🛍 Shopping guide
6. Singing the Carols Together (no printing needed)
The leader teaches one verse and chorus of three carols linked directly to the nativity: ‘Away in a Manger’, ‘O Little Town of Bethlehem’, and ‘The First Noel’.
For each carol, the leader explains one phrase before singing it, connecting the words to the story the children just acted out or built. ‘The first Noel’ means the first time the good news was announced, and suddenly the word makes sense.
No printing needed. If children cannot read lyrics, the leader sings a line and the children echo it back, phrase by phrase. That call-and-response method works with any age and any reading level, and it is how carols were taught for centuries. Ten minutes is plenty; three carols with a brief explanation each lands comfortably in that window.
Volume is the usual problem with a mixed-age group: younger children stop singing because they feel self-conscious next to loud older ones. Fix it by asking everyone to start at a whisper and build to full voice on the chorus, which levels the room and makes the crescendo feel intentional rather than accidental.
Echo singing needs no literacy at all, so the youngest children lead as confidently as the oldest.
7. Match the Character to the Description
The left column lists eight nativity characters by name: Mary, Joseph, the Angel Gabriel, the Innkeeper, the Shepherds, the Wise Men, baby Jesus, and the donkey.
The right column lists eight short descriptions in scrambled order, each written in plain, simple language a child can follow if read aloud: ‘brought gold, frankincense and myrrh’, ‘said there was no room’, ‘heard the angels sing on the hillside’, and so on.
Children draw a line from each name to the correct description.
Print one per child. Read the descriptions aloud as the children work if reading is not yet independent. The sheet takes about five minutes. An answer key prints in small type at the foot of the page so the leader can check answers quickly without preparing separately.
If a child matches incorrectly, resist correcting immediately. Ask them to tell you what that character did in the story, and let the retelling guide them to the right answer themselves. That conversation does more teaching than the sheet alone.
- Leader reads each description aloud
- Children draw a line from the name to the description
- Check answers together at the end

8. Trace the Journey on the Map
A simple illustrated map of the Holy Land fills the sheet, showing Nazareth in the north, Bethlehem in the south, and a dotted route between them. Children trace over the dotted path with a pencil or crayon, following Mary and Joseph’s journey.
Small illustrated landmarks appear along the route: a well, a hill, a town gate, and finally the stable star at Bethlehem.
Print one per child. Pencils or thick crayons both work. The tracing takes about three minutes, leaving time to talk about how far the journey actually was (roughly 90 miles on foot and by donkey, which takes the detail from abstract to astonishing for children). No answer key is needed: every child’s traced line is correct.
If a child rushes and scribbles rather than traces, ask them to go back and draw the path slowly enough to stop at every landmark and name what it is. That small instruction turns a thirty-second scribble into a three-minute conversation about the journey.
Tell children the journey was about 90 miles, roughly the same as driving from city to city, to make the distance feel real.

9. Building the Stable From a Cardboard Box (no printing needed)
The group works together to turn a large cardboard box into a stable. Children tear strips of brown paper or newspaper and glue them to the outside to look like wooden planks.
Others cut a pointed roof shape from a second piece of card and tape it to the top. One child draws hay lines inside the base with a yellow marker.
The finished stable holds the stand-up figures from the cut-and-build sheet, so this activity is most powerful when run after that one.
No printing needed. Gather one large cardboard delivery box, a roll of brown kraft paper or newspaper, a glue stick, tape, and yellow and brown markers. Budget twenty to twenty-five minutes for a group of six to ten children working together. Assign roles: rippers, painters, tapers, and the one child who draws the hay.
The roof is the part most likely to collapse. Score the card with scissors before folding so the ridge line is sharp, then reinforce the join with two strips of tape rather than one. If the box is too tall for younger children to reach the top easily, set it on the floor rather than on a table.
- large cardboard delivery box
- brown kraft paper or newspaper
- glue sticks and tape
- yellow and brown markers
🛍 Shopping guide
10. Count the Animals in the Stable
A busy illustrated stable scene fills the page with animals hiding at various depths: donkeys, sheep, doves, an ox, a camel visible through the stable door, and one small mouse in the corner.
Children count each type of animal and write the number in a small box beside that animal’s name in a list at the bottom of the sheet.
The totals are not obvious at first glance because some animals overlap or sit behind figures, making it a genuine counting challenge.
Print one per child. Pencils or crayons work. The sheet takes five to eight minutes and suits ages four and up. An answer key prints in small type at the foot: donkeys 2, sheep 4, doves 3, ox 1, camel 1, mouse 1, total 12.
Older children who finish early can try the bonus challenge printed at the base of the sheet: add all the animals together and write the grand total. That single extra step keeps fast finishers busy without needing a separate activity.
- ages 4 and up
- pairs or solo
- 5-8 minutes

11. The Advent Scripture Cards
Six cards print on one sheet, each carrying one short scripture verse about the nativity story, a small matching illustration, and a blank line beneath the verse for a child or leader to write a one-word response or a name.
The six verses move through the story in order: the promise, the announcement, the journey, the birth, the shepherds, and the wise men. Children cut the cards apart and keep them as a small Advent set to take home.
Print one sheet per child, on cardstock for durability. Cutting takes two minutes. The cards can be used at home as a daily reading prompt for six days of Advent, or displayed on a windowsill in order.
No writing is required on the sheet itself unless the leader chooses to use the blank lines, so younger children get a complete set with no frustration.
If you want a shared classroom version instead, print on A4 and laminate without cutting: the sheet becomes a display card that goes on the wall for the duration of Advent. Laminated, it survives the school term and can be packed away for next year.
Children carry the story home in their pocket. Six days, six verses, no reading pressure if the parent reads aloud.

🛍 Shopping guide
12. Draw What the Shepherds Saw
A large ornate blank frame takes up most of the sheet, with a short prompt printed beneath it: ‘The shepherds looked up and saw…’
Children draw whatever they imagine the shepherds saw when the angel appeared: light, wings, a crowd of angels, the star, the stable in the distance. Every drawing is different and every one is correct, because the activity is about imagination and response, not replication.
Print one per child on regular copy paper; the frame prints in charcoal so any crayon or marker shows up clearly inside it. Allow ten to fifteen minutes. Display the finished pictures on a wall or door together so children can see each other’s interpretations.
Some children will stare at a blank page and freeze. Give them a starting point: ‘Draw the brightest light you can imagine first, right in the middle.’ One mark breaks the paralysis, and the rest follows. No answer key exists for this sheet: there is no wrong drawing.
Display all the finished pictures together on a wall so every child sees their work honoured alongside others.

🛍 Shopping guide
13. The Nativity Six Piece Puzzle
A full-page nativity illustration is divided into six large bold puzzle pieces by thick wavy cut lines printed directly on the sheet.
Children colour the illustration first, then cut along the wavy lines to separate the pieces, shuffle them face-down, and assemble the puzzle by fitting the pieces back together. Colouring before cutting means each child ends up with a unique, personalised puzzle.
Print on cardstock for pieces that hold their shape after cutting. The colouring stage takes ten minutes, cutting takes three, and assembling the shuffled puzzle takes another two to five depending on age.
The finished puzzle can be glued onto a piece of dark card to make a keepsake picture, or taken home in a small paper bag to reassemble again.
The wavy cut lines are the tricky part: young children may not follow the curve accurately and end up with pieces that do not fit cleanly. Tell them it does not need to be perfect, because slightly irregular edges still interlock well enough to reassemble, and the character of a handcut puzzle is part of its charm.
Send each child home with their pieces in a small zip bag so the puzzle survives the journey.

🛍 Shopping guide
14. The Candle Lighting at the End (no printing needed)
The session closes with every child holding a small battery tea-light.
The leader lights a single real pillar candle at the front of the room, then passes the light symbolically: each child holds their tea-light toward the leader’s candle as if lighting it, then holds their glowing tea-light up. The room dims if possible.
The leader reads one sentence: ‘Jesus said, I am the light of the world.’ Then silence for ten seconds before a closing prayer or carol.
No printing needed. Battery tea-lights are the safe, practical choice for a room full of children: no wax drips, no fire risk, and they can be reused every year.
One real pillar candle at the front (out of reach of children) provides the visual focal point. The whole closing ritual takes five minutes and lands with surprising weight after a busy session of cutting and building.
If even a real candle is not permitted in your venue, use a battery pillar candle at the front too. The symbolism holds completely: it is the act of gathering the light and holding it that matters, not the flame’s origin.
A quiet physical ritual at the end anchors everything the children made and heard. They leave holding the light, literally.
🛍 Shopping guide
Frequently Asked Questions
What age group do these nativity activities suit?
Most activities work for ages 3 to 10. The cutting and tracing sheets suit ages 4 and up with supervision; the acting, carol singing, and candle lighting work for any age from 3 upward. The matching and sequencing sheets suit ages 5 and up, or younger children if the leader reads aloud.
Can these christian christmas activities for kids work for a mixed-age Sunday school class?
Yes, and the mix actually helps. Older children assist younger ones with cutting and tracing, which reinforces their own understanding of the story. Assign paired roles deliberately: one older, one younger, for the puzzle and the cut-and-build sheets.
How long does the full session take?
Running all 14 activities back to back would take around two hours. A practical Sunday school class of 60 to 75 minutes works best with five or six items: the cut-and-build scene, one sequencing or matching sheet, the stable build or costume drama, carol singing, and the candle closing. Pick the ones that suit your group and time.
Do children need to be able to read for these activities to work?
No. That is the point of leading with cutting, building, tracing, colouring, and acting rather than reading. For any sheet with words, the leader reads the text aloud while children work. The illustrations carry the story for pre-readers throughout.
What is the best way to use the printable sheets at home rather than at church?
Print the sheets you want one evening before Advent and work through one or two per day rather than all at once. The Advent Scripture Cards suit a daily rhythm perfectly. The puzzle and colour-by-number sheets work well as quiet afternoon activities when children need something hands-on and calm.
Which supplies do these christian christmas activities for kids need that I might not already have?
The main purchases are cardstock (for the cut-and-build, puzzle, and Advent cards), child-safe scissors, a pack of crayons, and battery tea-lights for the closing. The stable build needs a cardboard box and brown paper, both usually free from deliveries. Everything else uses paper and basic classroom supplies.

Discover 20 fun and faith-building Bible trivia games perfect for youth group nights, family gatheri
21 fun bible study games for small groups — printable sheets, trivia, discussion starters & more.
100 Bible trivia questions for youth groups split into four escalating rounds with printable questio
Leave a Reply