

This post contains affiliate links. If you buy something through these links, I may earn a small commission at no extra cost to you. I only recommend things I’d actually use.
My friend had been scrolling Pinterest for weeks before she called me. “I want a safari theme,” she said, “but I don’t want it to look like a birthday party for a five-year-old.” I knew exactly what she meant. The plastic giraffe centerpieces. The bright yellow and green everything. The animal crackers in a bag with a cartoon lion on it.
There’s a version of safari that looks like a toy store exploded. And then there’s the version where someone walks into the room and says oh, this is beautiful.
The difference is almost entirely palette. Cream, tan, terracotta, dusty sage. The moment you introduce a bright primary color — even one — this theme loses its magic completely. Keep it earthy, keep it textured, and you end up with something that feels like National Geographic meets cozy nursery.
Here’s everything you need to pull it off.
The Invitation: Watercolor Animal Motifs on Kraft Paper
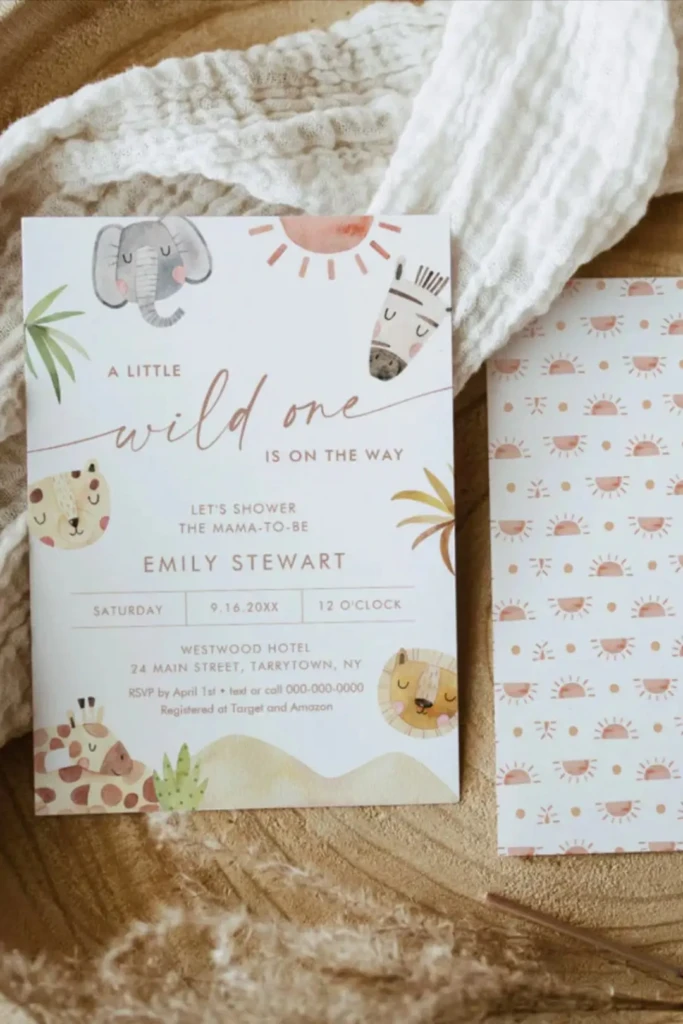
Start here because the invitation sets expectations. If it looks elevated, guests show up dressed for something elevated.
The look you’re going for: muted watercolor illustrations — a giraffe silhouette, an elephant profile, maybe a small sleeping lion — printed on ivory or kraft card stock. No bright outlines. No cartoons. Think field journal, not classroom poster.
DIY option: If you have Canva access, search watercolor safari illustrations in the element library. Look for hand-painted style, not clip art. The good ones are slightly faded at the edges, like the color bled into the paper. Pair them with a serif font for the main text (Cormorant Garamond or Playfair Display look right for this) and a simple handwritten-style font for the details.
Print on kraft paper cardstock and send with a matching terracotta wax seal if you want to go all in.
Printable elements to create at the same time: food labels, favor tags, guest book cards. Make them all at once so everything matches. Consistent typography across all printed pieces is what makes a theme feel intentional rather than assembled.
The Centerpiece: Pampas Grass and Greenery, Step by Step
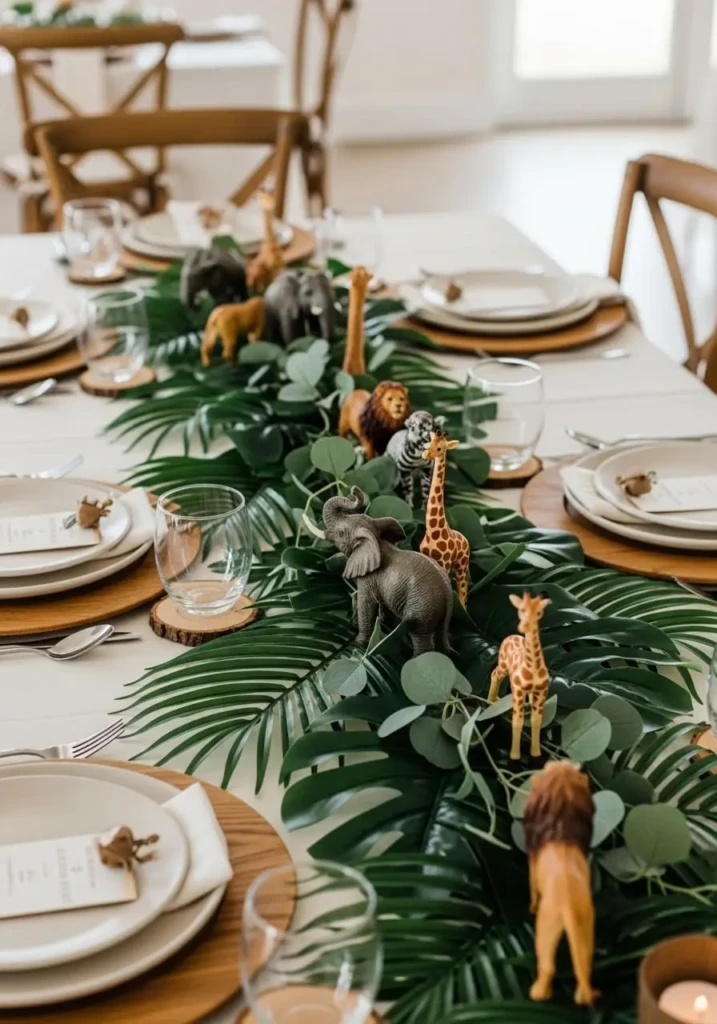
This is the single most impactful thing you can do for this theme. A good centerpiece makes the whole table.
What you need:
- Dried pampas grass stems (3–5 per arrangement, fuller is better)
- Dried or faux eucalyptus branches
- A few stems of dried bunny tail grass or dried wheat
- A terracotta pot, neutral ceramic vase, or woven seagrass basket
- Optional: a small carved wooden animal figure tucked in at the base
How to arrange it:
Start with your tallest element — usually a single dramatic pampas stem positioned slightly off-center. Don’t center it. Slightly off-center looks natural; dead center looks like an arrangement.
Add the eucalyptus next, fanning it outward low around the base. You want it to drape a little, not stand straight up.
Fill gaps with the smaller dried grasses. The goal is loose and slightly wild — like something you’d find on an actual savanna, not something you’d find in a hotel lobby.
If you’re doing multiple tables, do them all at once. Pull all your stems out together, group by type, then move from arrangement to arrangement so they stay consistent without being identical.
A linen table runner underneath pulls the whole table together. Avoid white — ivory or natural is the right call here.
The Table Runner: Kraft Paper Animal Print DIY
This one costs almost nothing and looks genuinely good.
Roll out a length of kraft paper across your table. Using a terracotta or warm brown ink pad, stamp animal print patterns at irregular intervals down the length of the paper — giraffe spots, zebra stripes, leopard dots. You can find foam stamp sets that include all of these.
The key word there is irregular. If the stamps march down the paper at even intervals, it looks manufactured. If you rotate the stamps, vary the pressure slightly, and skip some spaces entirely, it looks like a designer made it.
Leave the ends of the kraft paper slightly ragged. Don’t cut them clean. The rough edge is part of the aesthetic.
The Banner: “Wild About Baby” in Natural Rope Lettering
Skip the pre-made plastic banner. This one takes maybe 45 minutes and costs under $10.
What you need:
- Kraft paper pennant blanks (usually sold in packs)
- Natural twine or jute rope
- Brown or black paint pen or a wide brush and craft paint
- Optional: gold leaf pen for accents
Write one letter per pennant in a slightly imperfect brush lettering style. You don’t need to be a calligrapher — slight wobble makes it look handmade, which is better than computer-perfect for this theme.
String the pennants on the jute twine and hang it above the dessert table or the gift table. If you want, add a few small dried pampas sprigs tied onto the string between pennants.
The Food Table: Names That Make People Smile
Honestly, themed food names are one of those details guests remember. They’re easy and the labels do the heavy lifting.
Here’s what works with this theme:
Jungle Juice — a sparkling punch with ginger ale, pineapple juice, and mango juice. Make it in a clear glass drink dispenser so guests can see the color. Label it in your matching font.
Elephant Ear Pastries — puff pastry spirals dusted with cinnamon sugar. These look impressive, come together in under 30 minutes, and the name lands every time.
Safari Snack Mix — a bowl of mixed nuts, dried mango, yogurt-covered raisins, and goldfish crackers. More interesting than a chip bowl, still completely low-effort.
“On the Savanna” Cheese Board — lean into neutral, earthy colors. Think aged cheddar, brie, dried apricots, cashews, fig jam, sliced pears. No bright red strawberries on this one — they’re a pop of color that breaks the palette. Use your kraft paper labels to name each item.
Watering Hole Lemonade — just regular lemonade, but the name is good.
The food labels matter as much as the food itself here. Print them in the same font you used for the invitation. Stack them in little terracotta pots or lean them against small wooden animal figures.
The Favors: Animal Cracker Bags with Printable Tags
Simple, on-theme, and actually useful — which is more than most baby shower favors achieve.
Get the individual animal cracker bags and attach a kraft paper tag printed with “Wild About You” and the date. Tie it with natural twine.
If you want to upgrade it slightly: transfer the crackers into small kraft paper favor bags and fold the top down. Stamp a small animal print on the front, attach the tag on twine. Takes about 20 minutes to assemble a batch of 20.
The tags are part of your printable set — make them the same size and font as your food labels so the whole table is cohesive.
The Photo Prop: Safari Hat Station
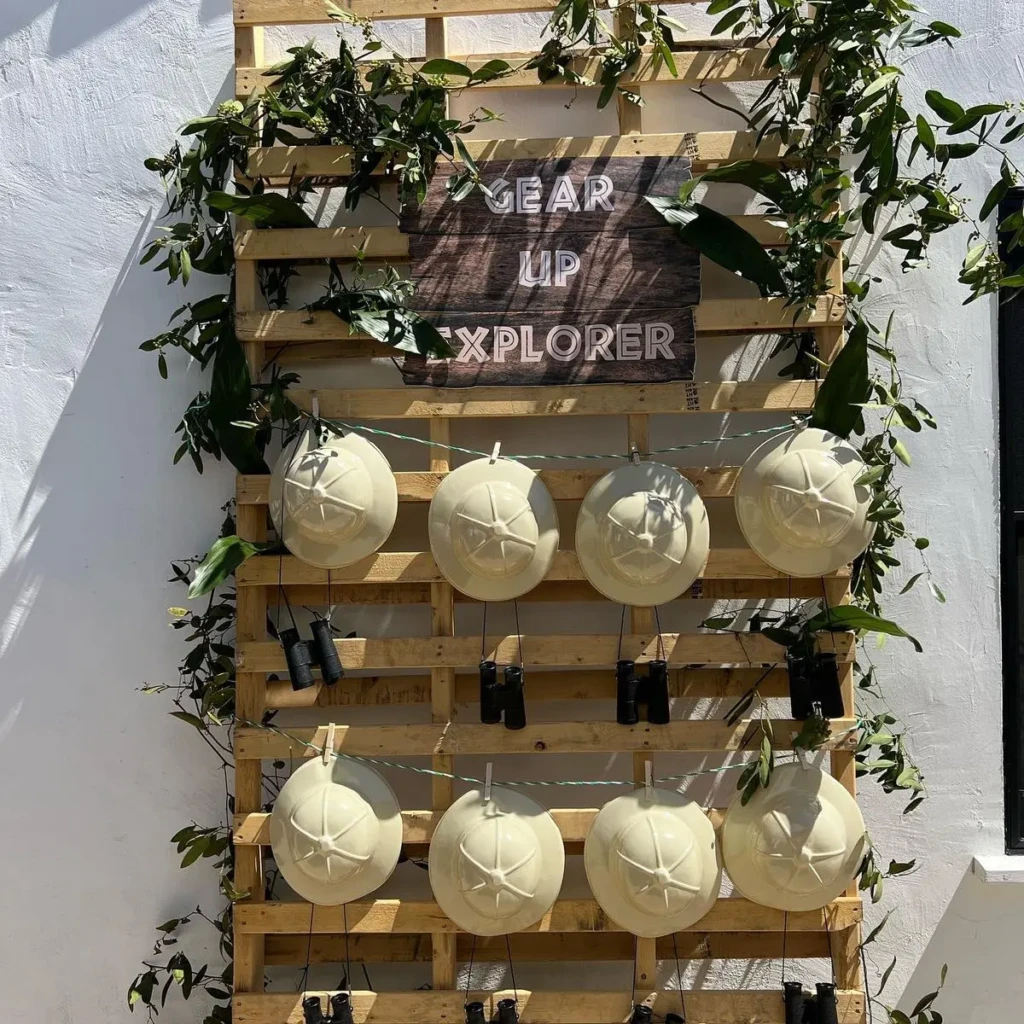
Set up a small corner with a few khaki safari hats hung on a wooden peg rack, a small sign that says “On Safari,” and a spot for guests to take photos. Add a dried pampas arrangement in the corner.
This one’s optional if you’re tight on space, but it gets used. People always want something to do at baby showers, and a prop station gives them an excuse to take pictures together.
The Guest Book: Animal Footprint Ink Stamps on Kraft Paper
Instead of a traditional guest book, roll out a large piece of kraft paper on a table and set out ink pads in terracotta, tan, and dusty green. Guests stamp an animal footprint and write their name and a message beside it.
Animal footprint foam stamps are cheap and easy to find. Elephant, giraffe, lion. The page fills up over the course of the shower and ends up being genuinely beautiful — the kind of thing the new mom will actually frame.
Pair it with a small sign explaining the idea and a few thin markers for writing. Set it up near the entrance so guests find it first thing.
If you’d rather do something more structured, printed guest book cards in your matching fonts — with prompts like “My wish for the little explorer:” — work just as well and are easier to keep organized afterward.
The Styling Rule That Makes Everything Work
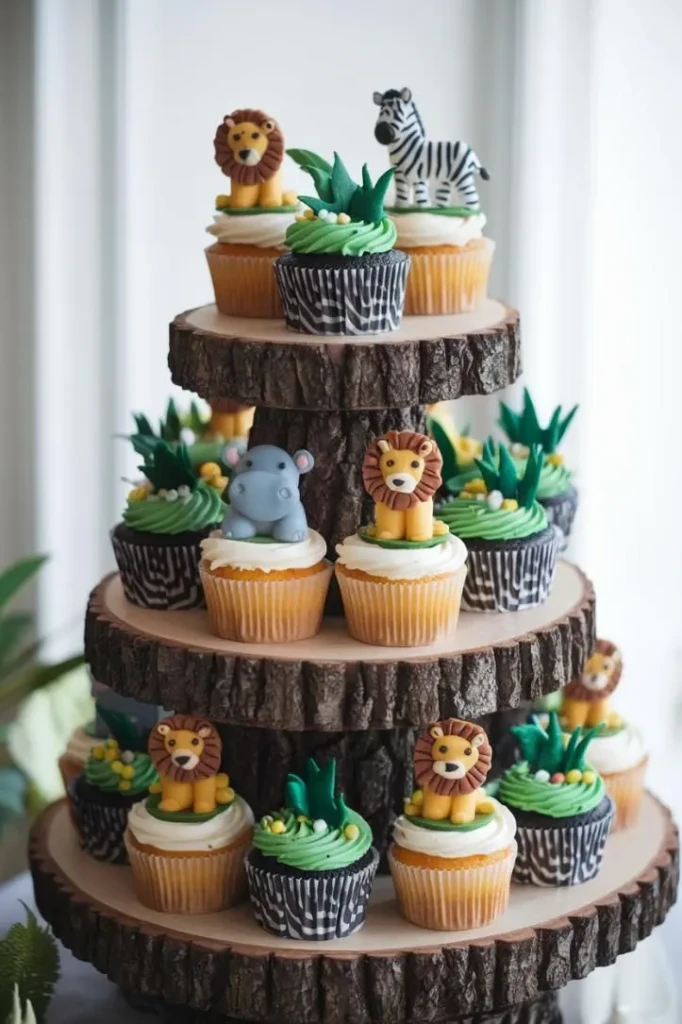
One more time, because it’s that important: cream, tan, terracotta, dusty sage. That’s the whole palette. Every element you add should fit within those four tones.
The second you bring in bright green balloons or a yellow tablecloth, you’re back in five-year-old birthday party territory. Stick to your palette ruthlessly and even the simplest DIY elements look intentional.
If you’re planning other celebrations around this time, this DIY Mother’s Day gift basket guide has some good ideas for pairing handmade elements with purchased ones in a way that doesn’t look thrown together. Same principle applies here: the combination of DIY and styled purchased items is what makes a party table look curated.
And once the baby arrives and you’re in full new-mom mode, these self-care ideas for busy moms are worth bookmarking — because the person you’re throwing this shower for is going to need them.
FAQ
Can I do this theme for a boy or girl specifically, or is it really gender-neutral?
It’s genuinely gender-neutral, which is why it’s so popular right now. You can lean slightly warmer (more terracotta) or slightly cooler (more dusty sage and cream) if you know the gender, but you don’t need to. The palette works either way.
How far in advance should I make the pampas centerpieces?
You can make them weeks in advance — dried pampas doesn’t wilt. In fact, I’d do them early. It removes one thing from your party-week to-do list and dried arrangements only look better as they settle in.
Where do I find watercolor safari animal illustrations without buying expensive design files?
Canva’s free element library has quite a few. Search “watercolor giraffe” or “watercolor elephant” and filter by style. For something more polished, Etsy has affordable digital illustration packs specifically for safari nursery themes — most run $5–10 and include multiple animals and coordinating graphics.
Can I skip the pampas if I can’t find it locally?
Yes. Dried bunny tail grass, dried wheat stalks, and dried eucalyptus create the same earthy, textured effect. The pampas is beautiful, but it’s the combination of dried textures that matters — not any single element specifically.
What if my budget is tight?
Invest in the centerpieces and the printed paper goods — those are the two things guests notice most. The kraft paper table runner DIY costs under $5. The favor bags can be kept very simple. The food labels cost nothing if you print at home. You can do a genuinely beautiful version of this theme for well under $150 for a medium-sized shower.
The second you hand a kid a flashlight and tell them they’re going on a real adventure, someth
Eighteen fun Fourth of July games for kids aged 4–10, including water games, printable activities,
My sister called me in a mild panic three weeks before her gender reveal. “Everyone’s do
Leave a Reply