

Berry Sweet Birthday Party: Strawberry and Berry Theme Ideas That Look Expensive for Less
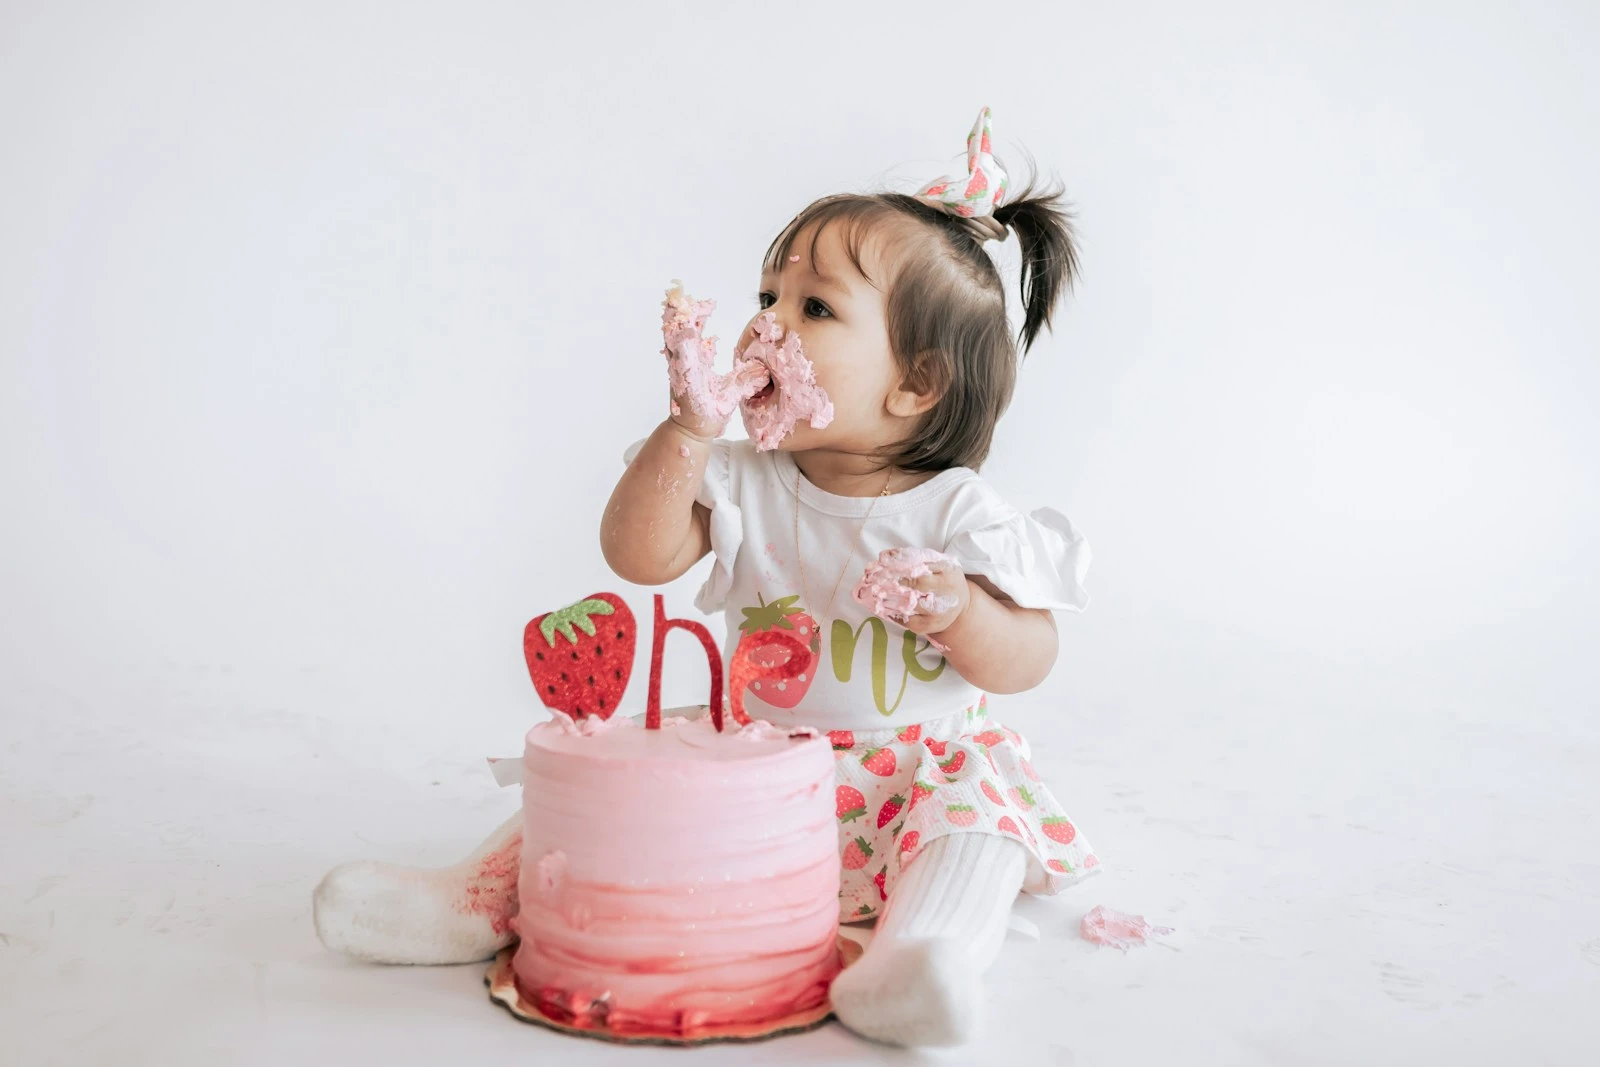
Every few years a party aesthetic takes over Pinterest so completely that you start seeing it everywhere — in birthday reels, in Etsy shop fronts, in the “save” folders of moms who are planning a party nine months away. The strawberry theme is having that moment. And I get it. Red, cream, and leaf green is one of the most naturally beautiful color combinations out there.
The part that doesn’t get talked about enough? A lot of what makes this theme look expensive is literally just fruit. Fresh strawberries at the grocery store. That’s the whole secret. I’ll say it more throughout this post because it keeps being true: real strawberries as decor photograph ten times better than the plastic craft-store ones, they cost about the same, and your guests can eat them.
Here’s how to pull off a berry sweet birthday party that looks like you spent $400 when you actually spent closer to $80.
This post contains affiliate links. If you buy something through these links, I may earn a small commission at no extra cost to you. I only recommend things I’d actually use.
The Color Story First (Everything Else Follows From This)
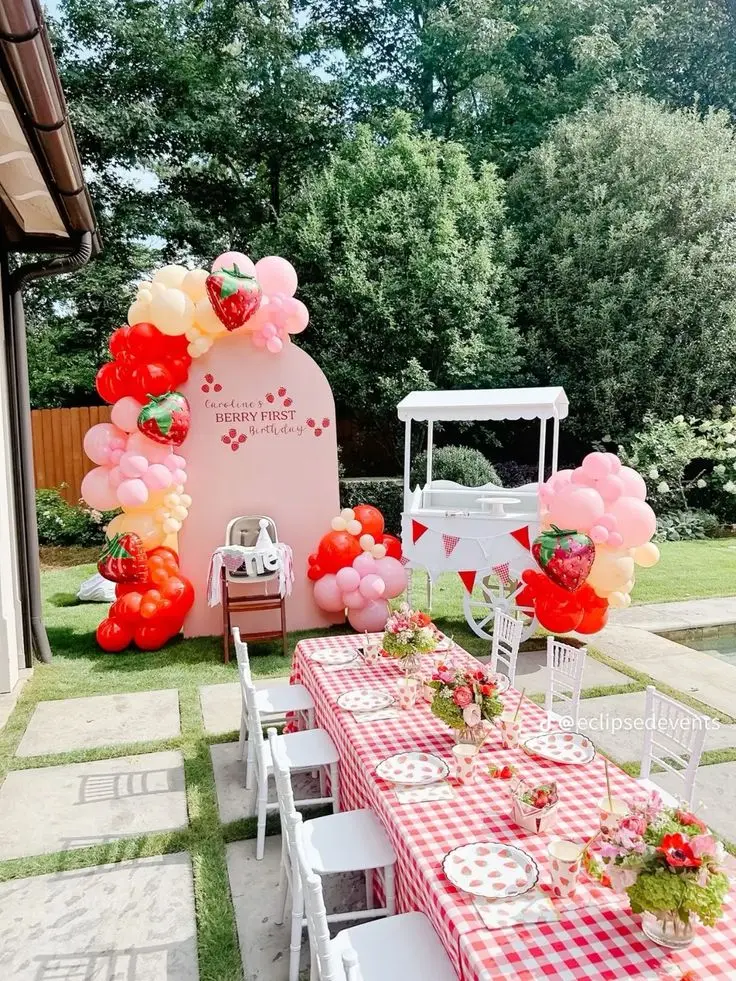
Strawberry red. Leaf green. Cream white. That’s it. Three colors. Stick to them and the whole party looks intentional even if half of it came from Dollar Tree.
Where people go wrong is adding blush pink or gold because they’re “party colors.” Don’t. The moment you add blush, you’ve got a different party. The sharpness of red against cream is what makes this theme look elevated. Keep it tight.
For balloons, you want:
- Ivory or cream latex (not white — white reads as sterile)
- Deep red latex
- A few leaf green latex if you can find them
- One or two oversized clear balloons filled with red and green confetti
If you can only find white balloons, cream ribbon tied around them warms them up more than you’d think.
The Strawberry Balloon Cluster (DIY, Takes About 20 Minutes)
You don’t need a balloon arch frame. A cluster tied to a weight looks just as good in photos and takes a fraction of the time.
Get yourself a balloon hand pump — blowing up 40 balloons by mouth is not the vibe you want the morning of a party.
What you need:
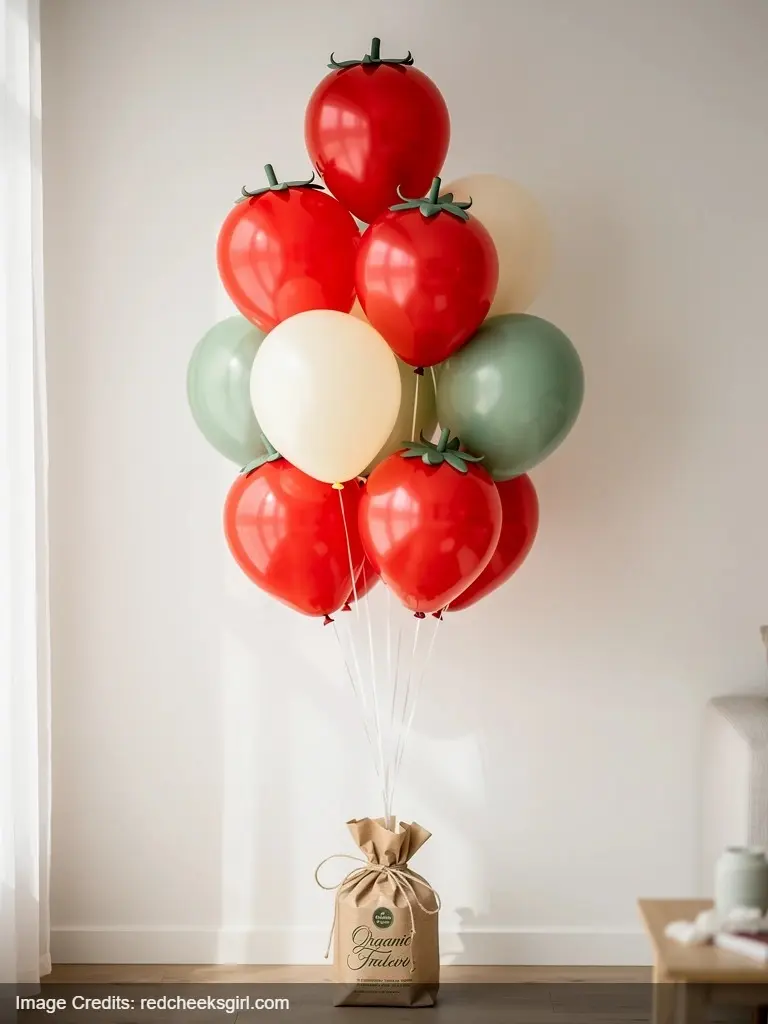
- 20–25 balloons in your three colors (varied sizes if possible — 5-inch, 11-inch, and one or two 16-inch)
- A balloon weight or a heavy vase filled with sand
- Curling ribbon in red and green
Blow up your balloons in batches. Tie them in groups of 4–5 (one large, a couple medium, one small), then attach those mini clusters to your weight ribbon. Stuff the green balloons down lower so they look like leaves peeking up. Takes about 20 minutes once you have all the balloons inflated.
The cluster should be loose and organic, not perfectly round. Perfectly round clusters look like they came from a party supply store in 2012.
Berry Patch Centerpiece: Real Strawberries in Mason Jars
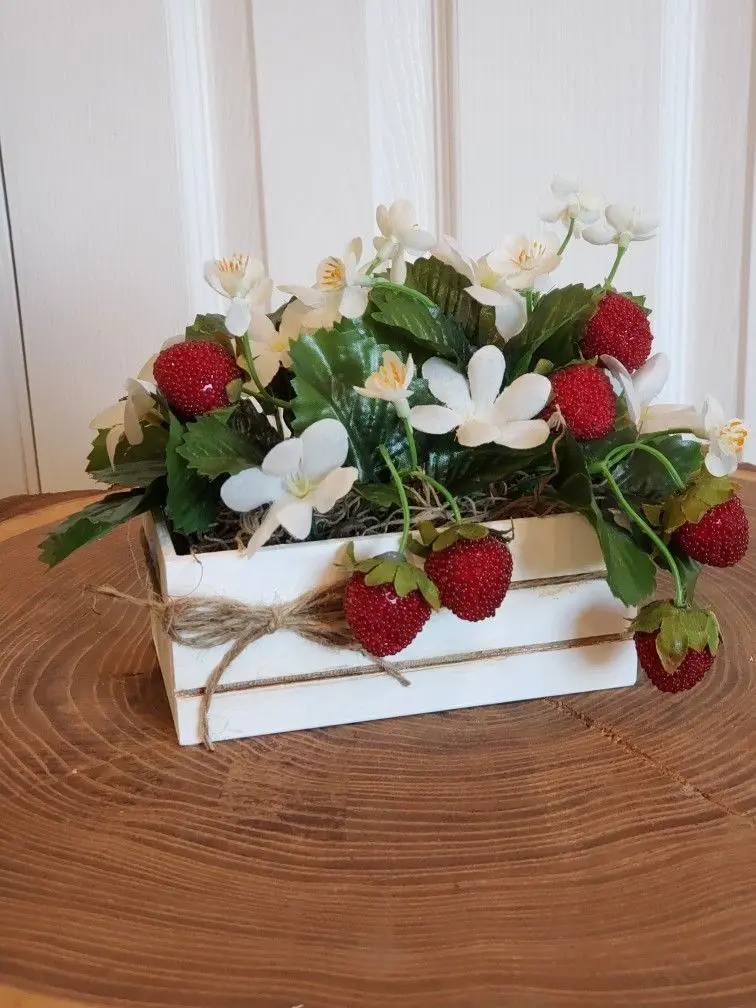
This is my favorite idea in the whole post because it does three things at once: it’s beautiful, it photographs like a magazine spread, and your guests eat it.
The setup:
- Wide-mouth mason jars (quart size or pint size, depending on your table)
- 1–2 pints of fresh strawberries per jar
- A few sprigs of fresh mint or basil tucked in
- A kraft label tied around the neck with twine that says something like “berry sweet” or “picked with love”
That’s it. Honestly. You can add a small wooden spoon or a little lemon wedge on the rim if you want, but you don’t need to.
The trick with using real strawberries as decor is to buy them the day before (not a week ahead, obviously), and keep them in the fridge until a couple hours before setup. They hold up fine for the length of a birthday party. After the party, guests take them home or you make jam.
For a long rectangular table, alternate tall jars with shorter ones. Scatter a few loose strawberries between them. Takes five minutes and looks like a Pinterest board.
One practical note: put a small card next to the centerpiece jars that says guests can help themselves. Otherwise people spend the whole party wondering if they’re allowed to touch the decor.
Strawberry Patch Invitation DIY
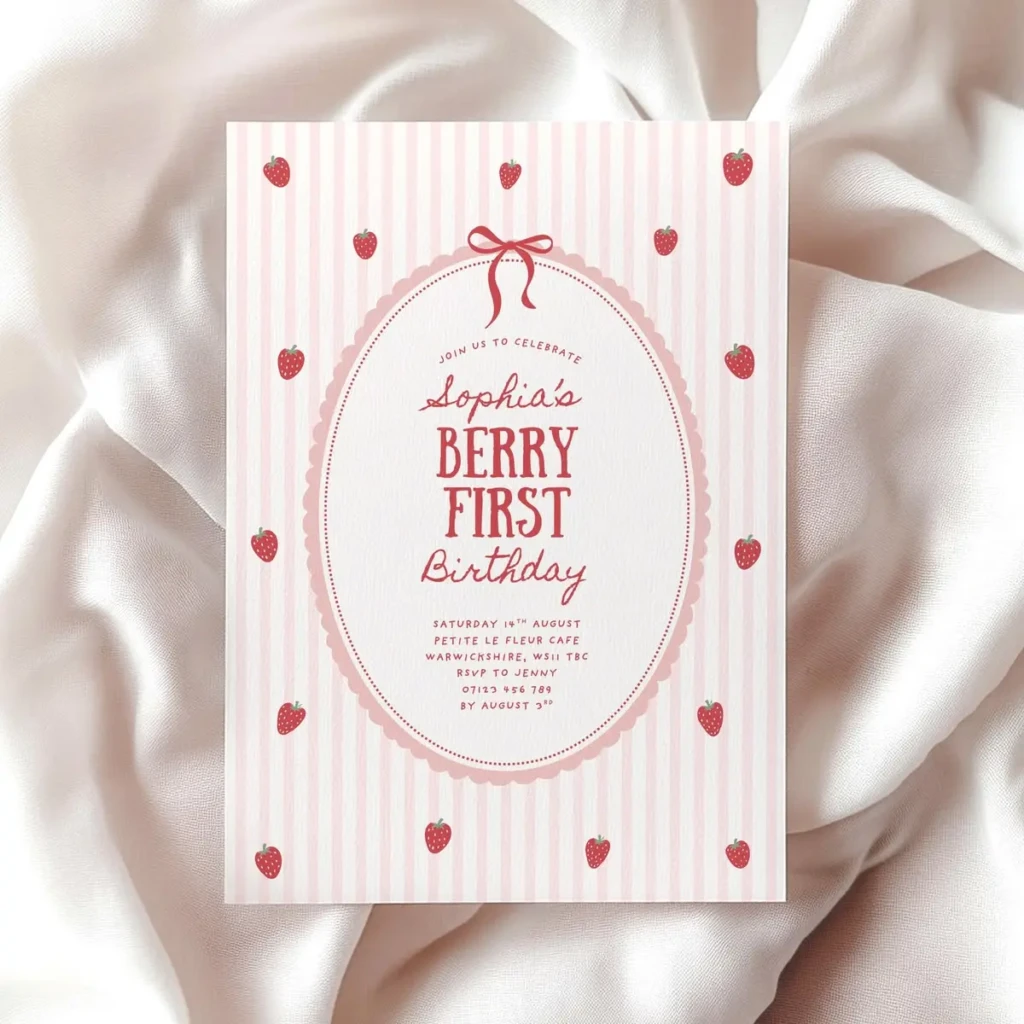
You have two options here depending on how much time you have.
Option 1 — Canva printable: Canva has free strawberry and fruit clipart you can use. Set your card to 5×7 inches. Use a cream or ivory background, red and green text, and a simple strawberry illustration in the corner. Print at home on cardstock or upload the PDF to a local print shop (usually $0.25–0.50 per card). Tie a small piece of twine around each one before mailing or handing out.
Option 2 — Buy a template: Search Etsy for “strawberry birthday party invitation.” You’ll find editable templates for $4–8. You download, edit the details in Canva or Adobe, print. Easy. Check out the post on 21 Super Profitable Printable Invitations That Sell Fast if you’re curious about the whole printable world — it’ll give you a better sense of what’s out there and what to look for quality-wise.
What to include on the invite:
- “You’re berry invited!” as the header (yes, it’s corny, and yes, you should still do it)
- Name, date, time, location
- RSVP info
- “Dress code: wear your cutest garden vibes” if you want to lean into the aesthetic
Berry-Themed Food Names (The Easy Win)
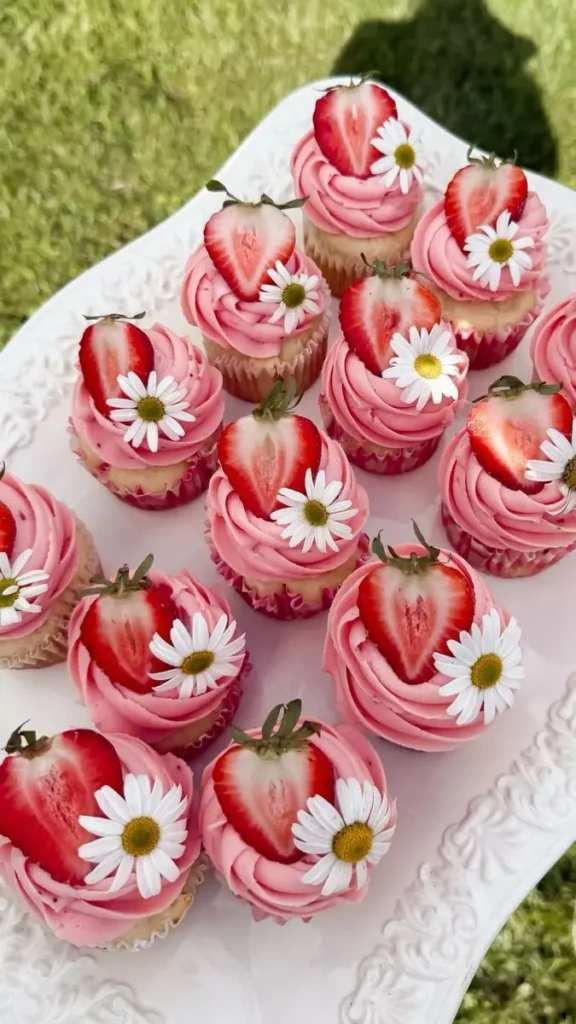
Renaming your food for the theme costs exactly nothing and makes the party feel so much more intentional. A little table tent card in front of each dish does all the work.
Some options:
- Strawberry lemonade → “Berry Patch Punch”
- Caprese skewers → “Strawberry Basil Bites”
- Pink frosted sugar cookies → “Sweet Berries”
- Watermelon slices → “Berry Adjacent” (guests find this funny)
- Cheese and crackers → “Field Snacks”
- Strawberry jam on mini biscuits → “Jam Session”
You can make these table tent cards in Canva in about 15 minutes. Cream background, red or dark green font, small strawberry graphic. Print, fold in half, done.
The Strawberry Shortcake Dessert Table
The dessert table is where the whole party comes together visually, so I’d spend your time and budget here before anywhere else.
The base layer: Cover your table with a cream or white tablecloth. Layer a red gingham table runner down the center — this single item does more for the strawberry theme than almost anything else and costs about $8.
The height variation: Use cake stands, wooden boxes, or even stacked books under a cloth to create different levels. You want tall, medium, and low. Flat tables are boring in photos.
What goes on it:
- Your main birthday cake, obviously — strawberry shortcake if you’re going themed, or any cake with cream frosting and fresh strawberries on top
- A tiered stand with strawberry macarons, strawberry cake pops, or strawberry shortcake cups (individual servings in clear plastic cups look great and are easy to grab)
- A jar of homemade or store-bought strawberry jam with a small spreading knife, just as a decorative element
- Fresh strawberries — again, just scattered loose on the table, clustered around the base of the cake stand
- A small “Happy Birthday” sign or berry happy birthday banner as a backdrop
What NOT to do: Don’t buy a bunch of cheap red plastic stuff to fill space. One good fabric element plus real fruit always wins over a table full of plastic decorations.
“Berry Happy Birthday” Banner DIY
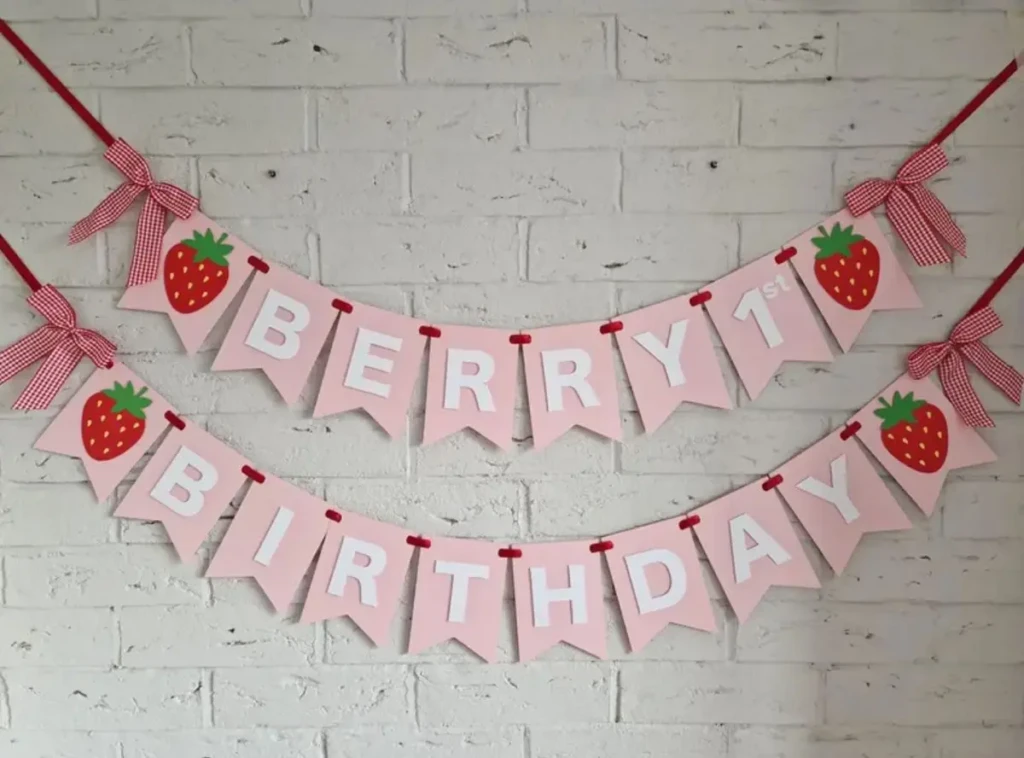
This one takes maybe 30 minutes total and photographs beautifully.
What you need:
- Cardstock in cream and red (or kraft paper for a more rustic look)
- A hole punch
- Twine or thin red ribbon
- Printer and scissors, or a cutting machine if you have one
Print or hand-letter each letter on a separate card. Add little strawberry illustrations between some of the letters — they don’t have to be perfect, slightly imperfect hand-drawn ones actually look better. Punch two holes at the top of each card, thread twine through, and hang.
You can also do this with a letter banner kit and just stamp or write the letters yourself. Faster if you’re short on time.
The banner looks especially good draped across the front of the dessert table or hung behind it on the wall with a few balloon clusters on either side.
Optional: Outdoor Picnic Setup Version
If the party is outside in summer, the strawberry theme gets even easier because the natural green backdrop does half the work for you.
Lay out a big cream or red gingham blanket as your main seating area. Add a few throw pillows in red and cream. Set your mason jar centerpieces on a low wooden crate or cutting board in the center.
For food, a picnic-style spread works perfectly: strawberry lemonade in a big glass dispenser, strawberry shortcake in individual jars, a cheese and fruit board with — surprise — fresh strawberries as the star.
String lights overhead if you have them and the party goes into early evening. That’s genuinely it. You don’t need much when the setting is already beautiful.
One thing that photographs really well outdoors: lay a few loose strawberry stems (with the green tops still on) directly on the picnic blanket around the food. It looks intentional and takes thirty seconds.
Strawberry Favor Bags: Two Easy Options
Option 1 — Seed packet favors: Get small kraft paper bags and tie them with red ribbon. Inside, put a packet of strawberry seeds or mixed berry seeds. Print a little tag that says something like “Watch something sweet grow” or “Thanks for being berry sweet.” Seed packets run about $1–2 each at garden centers or in bulk online. The whole favor lands under $3 per guest.
Option 2 — Mini jam jars: This one is slightly more effort but people absolutely love it. Fill small 4-oz mason jars with strawberry jam — either homemade if you have time (strawberry jam is genuinely one of the easier ones to make) or store-bought Bonne Maman, which comes in a beautiful jar already. Add a printed label and a square of fabric tied with twine over the lid. The result looks like something from a $200 party favor table. It’s not. You can find printable label templates on Etsy for about $4 for a whole set — search “strawberry jam jar labels printable.”
Both favors tie back to the theme without being cheap or forgettable. Guests actually use them.
The Printable Elements That Hold It All Together
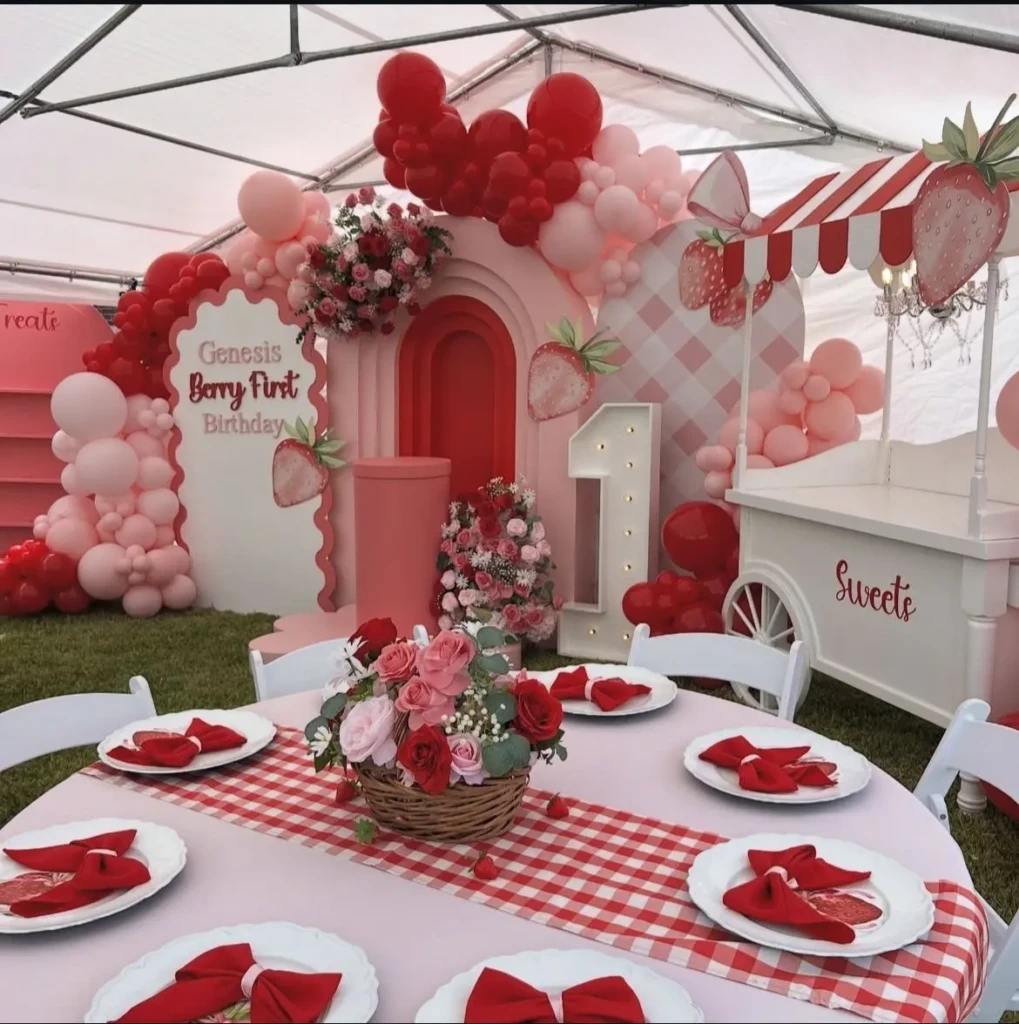
You don’t need to design everything from scratch. Between Canva and Etsy, you can get a cohesive set of printable elements for under $20 total:
- Favor tags (Etsy, usually $3–5 for a set of editable tags)
- Berry labels for your jam jars or snack bowls
- Table tent food cards (Canva, free)
- “Berry Happy Birthday” banner (Canva or Etsy)
- Thank you cards to send after
The key is to keep the same fonts and color palette across everything. If you buy a template set from one Etsy shop, it’s usually already cohesive. If you’re making your own in Canva, pick one serif font and one simple script, and stick with cream, red, and dark green.
Check out this post on 14 Super Easy Printable Wall Art That Makes Serious Money — not because you’re selling anything, but because it’ll show you how professional Canva-made printables can look when you’re browsing for templates.
If budget is a concern for the party overall, the post on 12 Cheap Thanksgiving Appetizers That Look Expensive has solid general logic on making food look elevated without spending more — the same principles apply to any celebration spread.
A Quick Note on the Real Strawberry Thing
I’ve mentioned it a few times now and I’ll say it once more because it genuinely makes a difference: fresh strawberries as a decor element are not a compromise. They are the upgrade.
The craft store has plastic strawberries for $4–6 a bunch. They look like plastic. A pint of fresh strawberries at the grocery store is $3–5, they look incredible, and after the party there are no decorations to store. No bin of plastic fruit in your garage. Just photos that look amazing and guests who got to eat strawberries.
That math wins every time.
FAQ
How far in advance can I buy the strawberries? One to two days ahead is ideal. Rinse them gently right before you set out the decor — not days ahead. Wet strawberries stored in the fridge get mushy faster than dry ones.
What if fresh strawberries aren’t in season where I live? Frozen strawberries are fine for the food parts (smoothies, jam, shortcake filling) but not for centerpieces — they’ll weep everywhere. Out of season, a good alternative for decor is red apples, which have a similar color story and also look beautiful in mason jars. Or order from a specialty grocery store.
How do I make strawberry jam if I’ve never done it before? The easiest version: 2 cups hulled strawberries + 1 cup sugar + 1 tablespoon lemon juice in a saucepan over medium heat. Stir until it thickens, about 20–30 minutes. Let it cool, put it in jars. That’s genuinely a complete recipe. It’s not shelf-stable (no canning process), but it keeps in the fridge for 2–3 weeks, which is plenty for party favors.
Can the strawberry theme work for adults too? 100%. Swap the “berry sweet” language for something drier (“berry well-aged” if it’s a milestone birthday) and keep the decor minimal and sophisticated — cream tablecloths, elegant mason jars, champagne next to the strawberries. It’s actually a really stunning aesthetic for a bridal shower or a 40th.
Where do I find the strawberry print bags for favors? Search Amazon for strawberry print party bags — there are a lot of options under $10 for a set of 25. Or get plain kraft bags and stamp them with a strawberry stamp from the craft store. Either works.
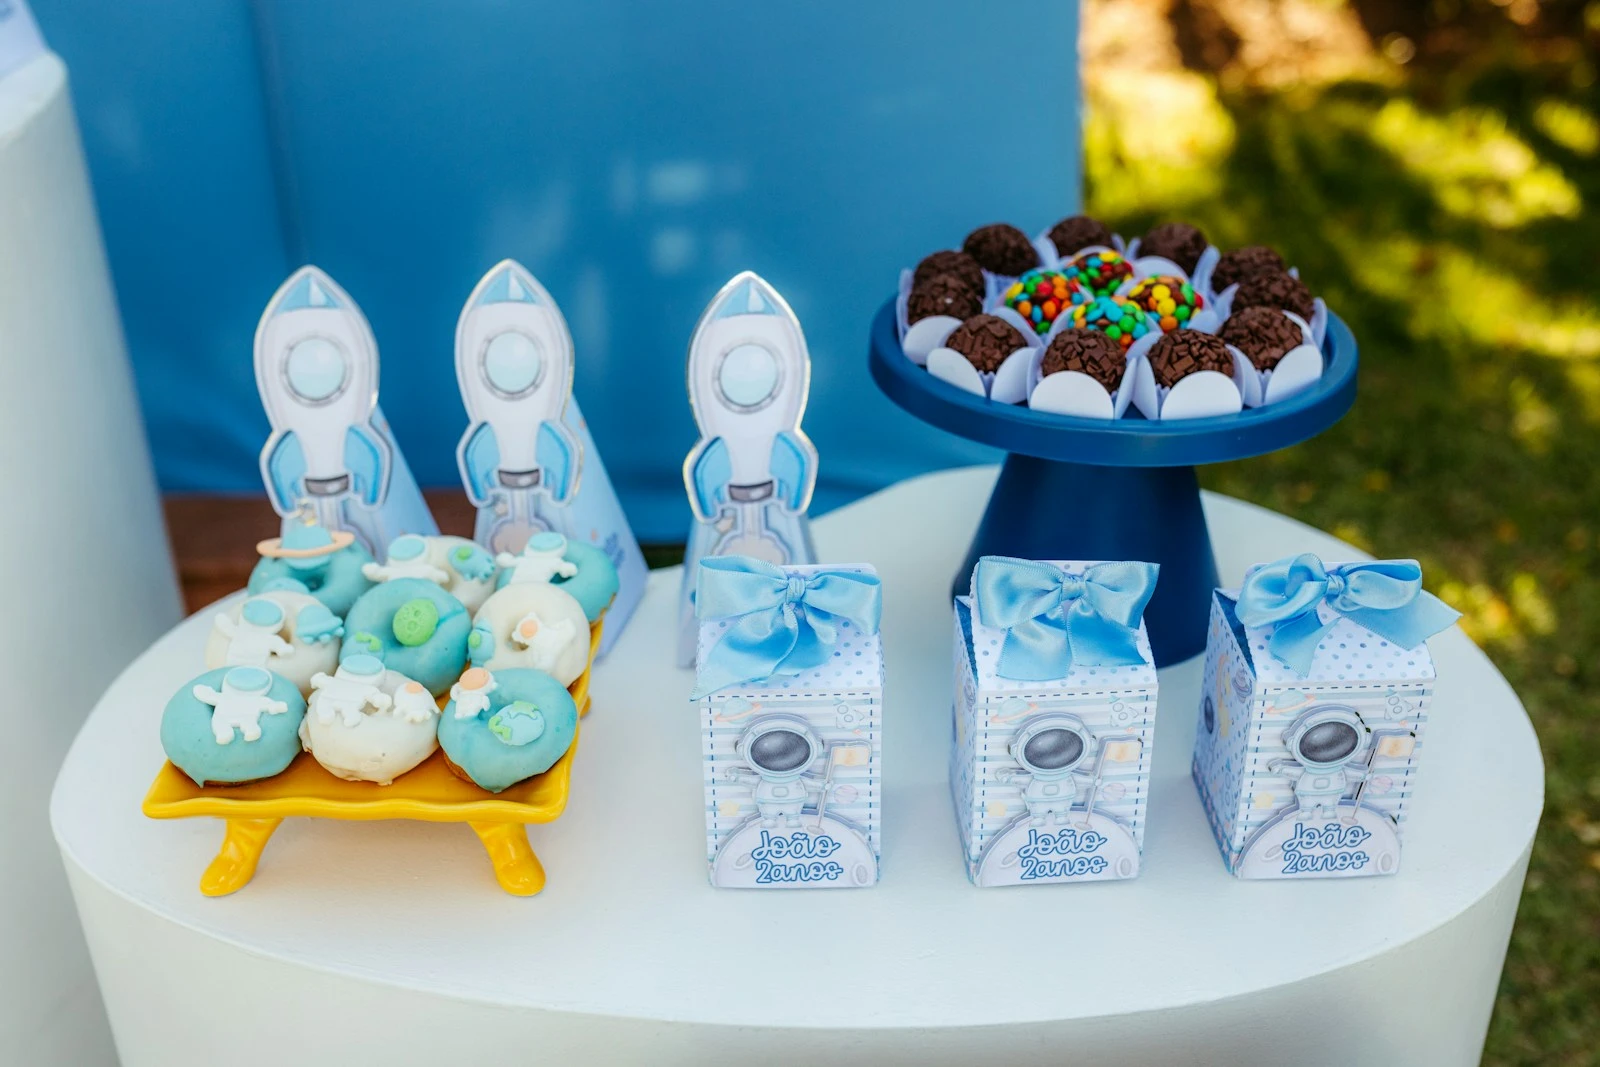
My son turned four last spring and I spent two weeks convinced I was going to do a dinosaur party. T
My son turned two in October, and for about four months before that, every single morning started th
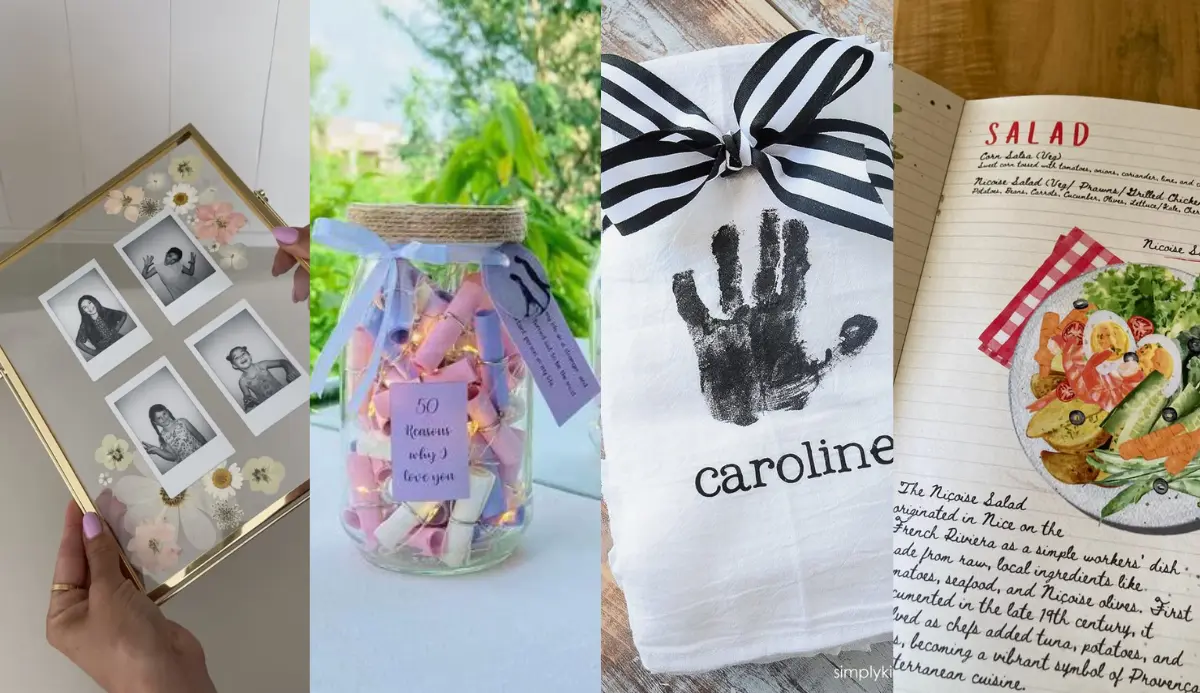
Easy Mother's Day craft ideas for kids ages 2-11. From fingerprint art to clay flower mirrors, these
Leave a Reply