

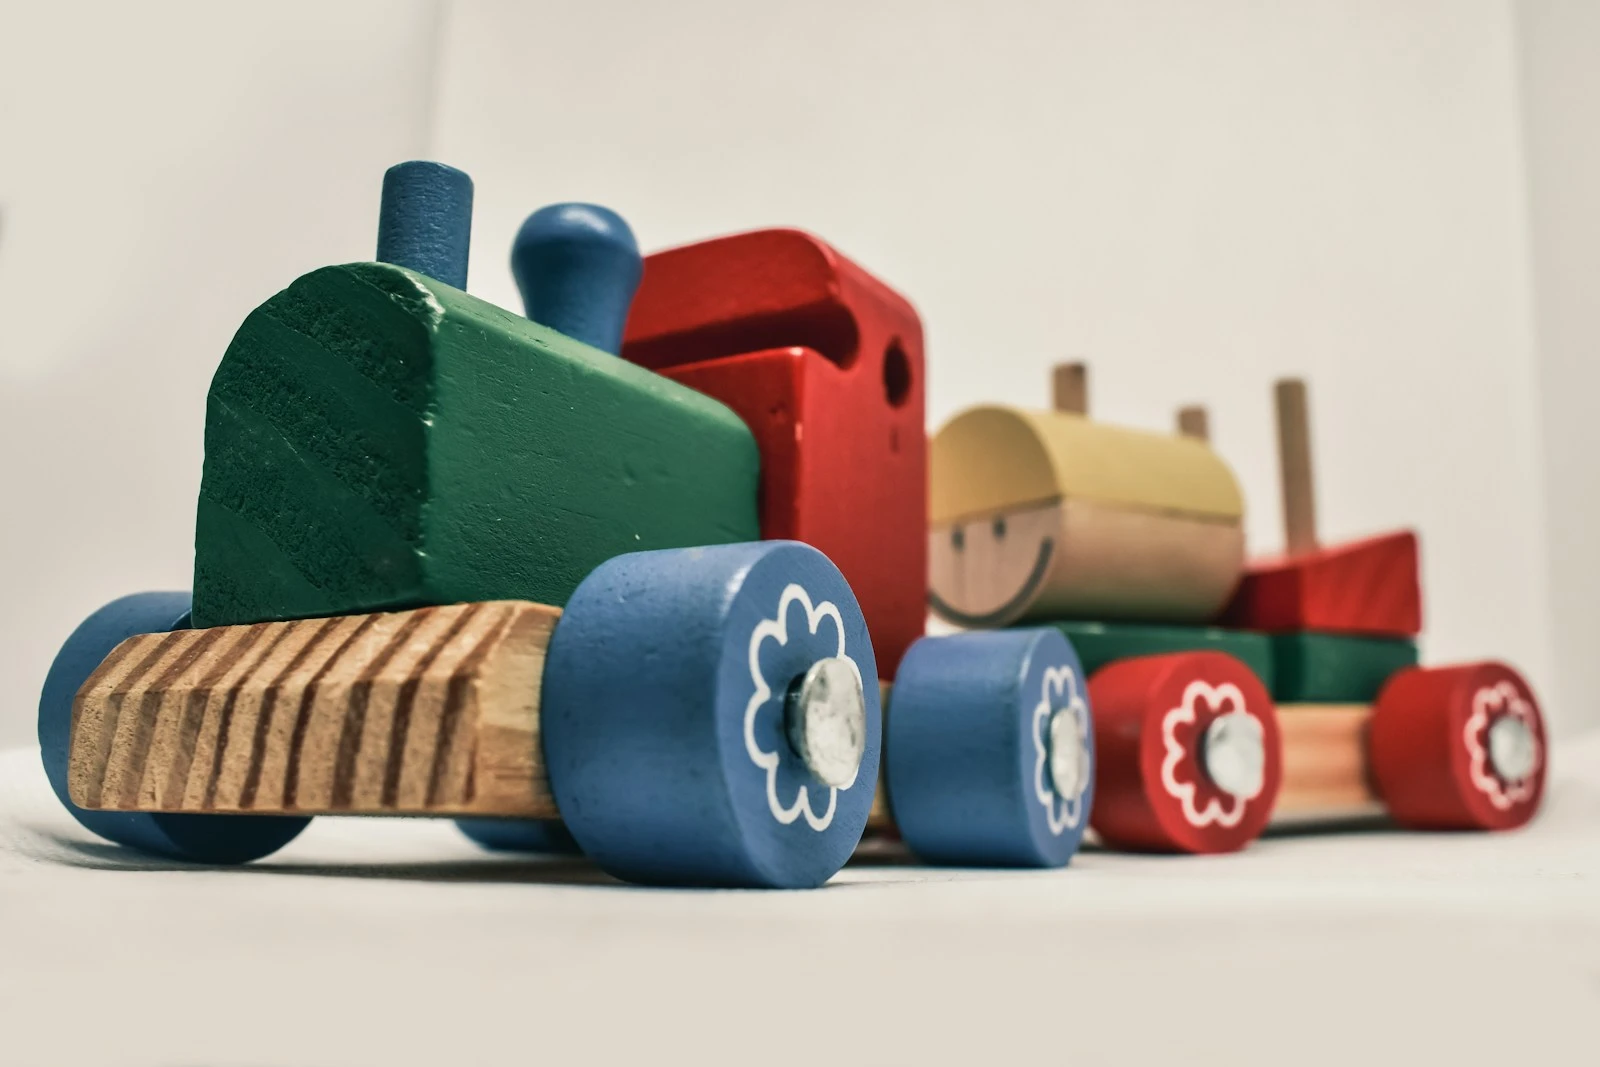
My son turned two in October, and for about four months before that, every single morning started the same way: him running to the window to watch the garbage truck, then immediately demanding I say “choo choo” approximately 47 times in a row. The obsession was real. The birthday theme picked itself.
If you’ve got a train-obsessed toddler heading toward their second birthday, this is your sign. A choo choo train birthday party is genuinely one of the easiest themes to pull off on a budget, because trains are structured — they have cars, tracks, colors, a whole visual language — and almost all of it can be replicated with cardboard boxes and a can of paint. The big stuff costs almost nothing. The details are where it gets fun.
Here’s everything I did, plus a few things I wish I’d thought of.
This post contains affiliate links. If you buy something through these links, I may earn a small commission at no extra cost to you. I only recommend things I’d actually use.
The Train Ticket Invitations (Vintage Style, Very Easy)
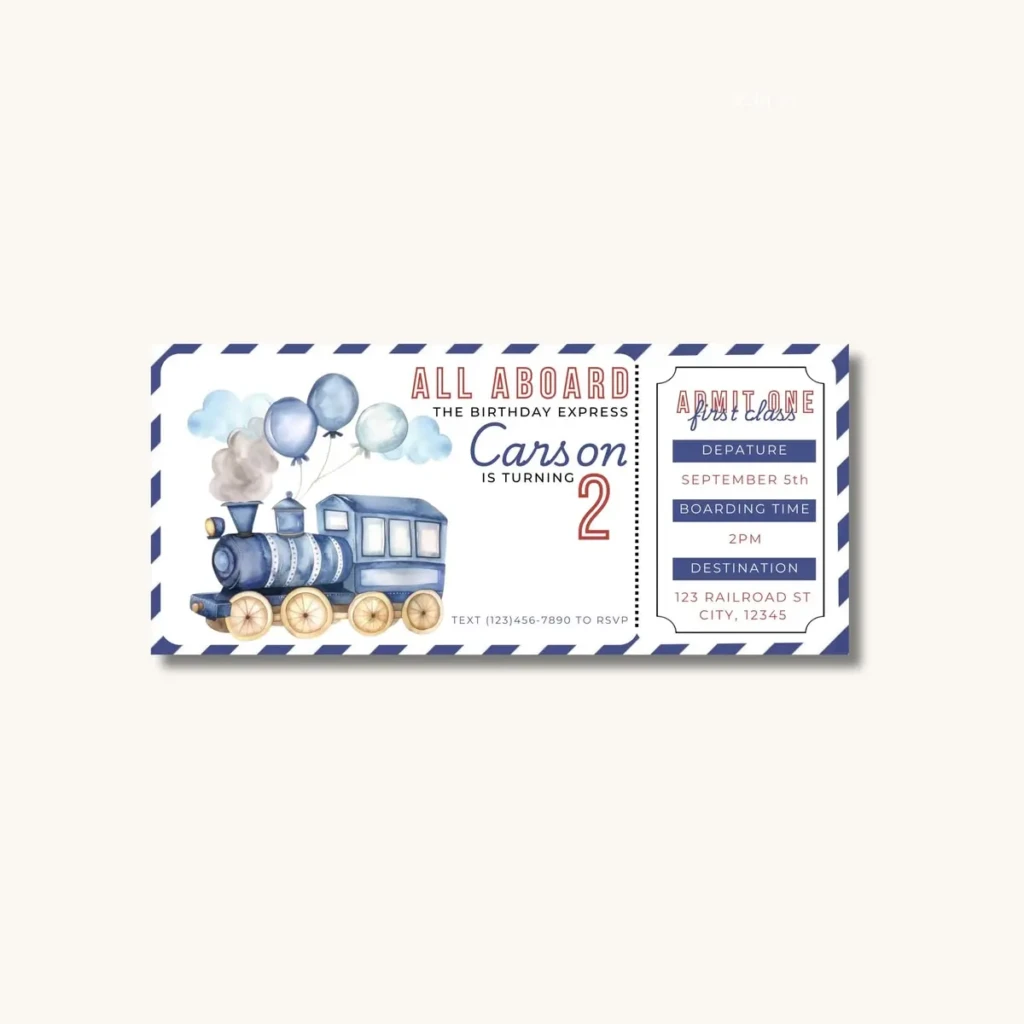
Skip the Etsy download. This one’s actually fun to make yourself — and it costs almost nothing.
The format is a classic horizontal ticket, roughly 4″ x 8″. You want it to look a little old-fashioned, like something from a real station.
What to include on the ticket:
- “ADMIT ONE PASSENGER” at the top in a small vintage font
- Child’s name as the passenger (e.g., Passenger: OLIVER, Age 2)
- Date, time, and address listed as “DEPARTURE,” “PLATFORM,” and “DESTINATION”
- A dashed tear-off line on one side (just decorative — print it as part of the design)
- Ticket number = the child’s age (so, ticket #2)
- “CONDUCTOR: [Parent’s name]” at the bottom
Design it free in Canva using any vintage or ticket template. Print on cardstock at home or at your local print shop — I did 30 at Office Depot for about $8. Tuck them in small kraft envelopes and you’re done.
The kids don’t care. The parents will save them forever.
The Cardboard Box Train: Best Photo Backdrop You’ll Ever Build for $0
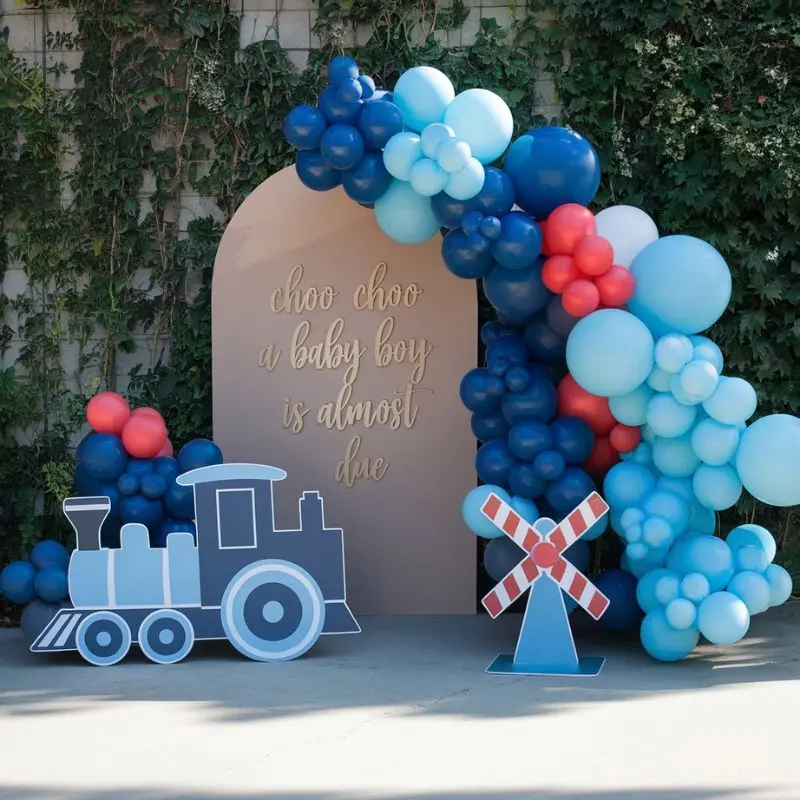
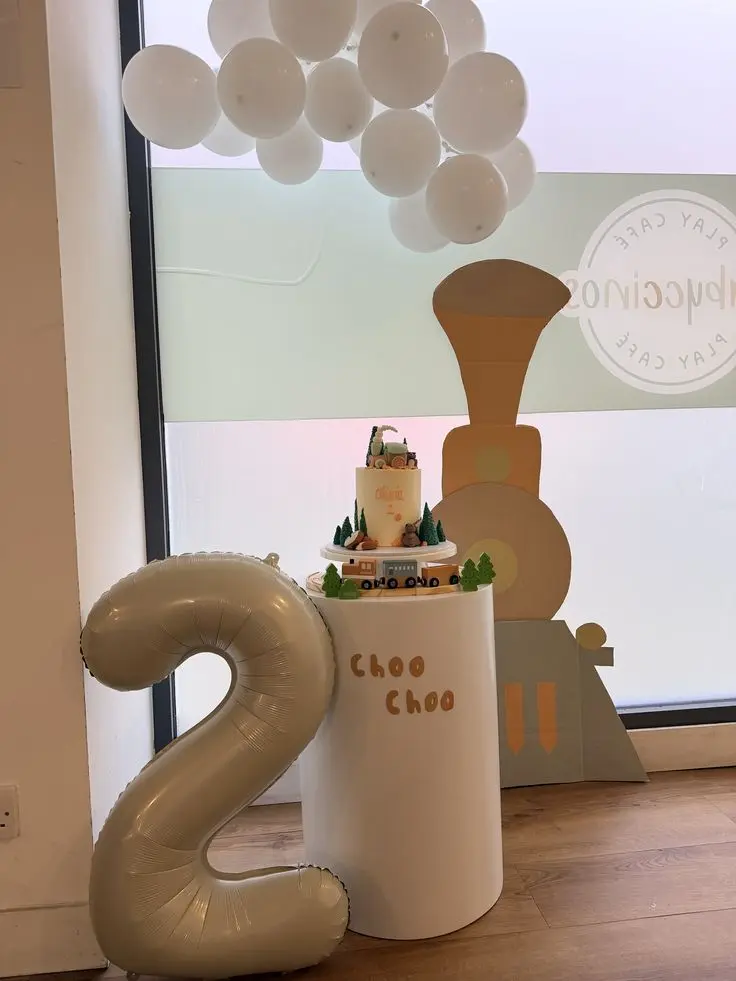
Here’s the thing nobody tells you: a row of cardboard boxes painted as train cars is the single best photo backdrop at any toddler party. It’s tall, colorful, and the kids will try to climb into it, which is adorable and actually fine if you build it sturdy enough.
What you need:
- 3–4 large cardboard boxes (appliance boxes are ideal — ask your local hardware store or Best Buy, they usually have them)
- Red, black, and yellow craft paint (or whatever colors you want your train to be)
- Black poster board or craft foam for wheels
- A paper plate for the front circle detail on the engine
- Duct tape to reinforce seams
- An hour and a half
Step by step:
- Decide your layout. One engine + 2–3 passenger or cargo cars. Line them up to check sizing — you want them roughly toddler-height, so if your boxes are taller, cut them down.
- Paint the engine first. Red or black base coat on the biggest box. Let it dry completely (usually 45 minutes). Add a yellow stripe around the middle or near the top. Paint a large black circle on the front face for the “boiler.”
- Paint the cars. Each car can be a different color or all match — I did one red, one blue, one yellow. The birthday child’s name goes on one car in white paint or black marker.
- Cut and attach wheels. Trace a dinner plate onto black cardstock 4 times per car, cut them out, and tape them to the sides. They don’t need to be perfect. Nobody at a toddler party is inspecting your wheel geometry.
- Add windows. Rectangular windows cut into the upper half of each car let little faces pop through for photos. Reinforce the cut edges with duct tape so they don’t tear.
- Line them up. Tape boxes together at the sides or use heavy-duty duct tape along the back to keep the train from spreading apart.
Set it up outside or against a wall. Put a strip of black electrical tape on the floor in front of it in a wavy line — that’s your “track.” Done.
Every single photo from the party will be in front of this. Worth every minute.
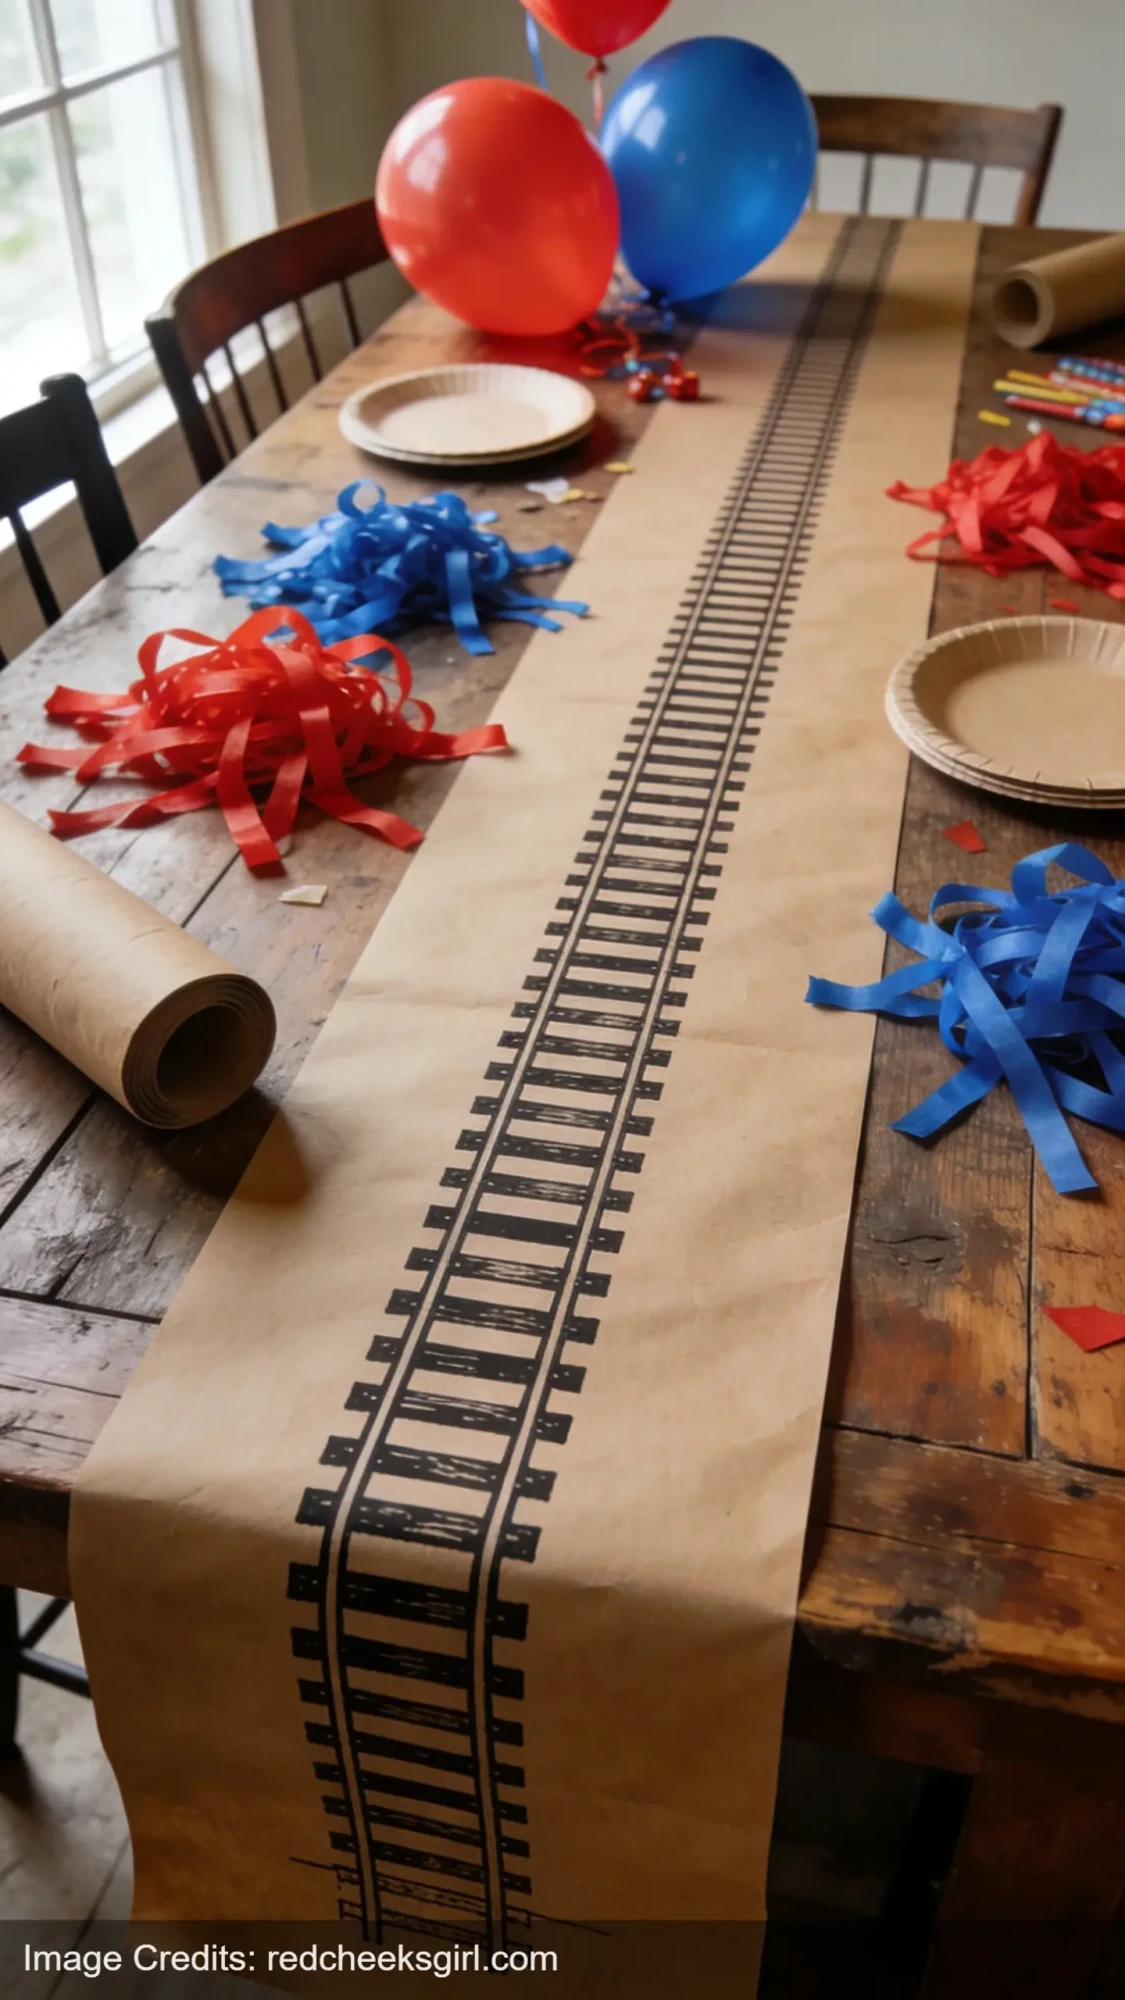
Railroad Track Table Runner
This one takes about 20 minutes and looks incredibly intentional.
Cut a long strip of brown kraft paper or butcher paper. Use black paint or a wide black marker to draw two parallel lines down the length of it. Add crossties (the horizontal bars between the rails) every few inches. Let it dry flat.
Lay it down the center of your food table and arrange everything along the “tracks.”
That’s it. That’s the whole thing.
Conductor Hat Favor Bags
Buy plain black paper bags — the small lunch-size ones. Cut a small conductor hat shape out of white cardstock (just a rectangle brim and a rounded top) and glue it to the front of each bag. Write each child’s name on the hat.
Fill the bags with: train whistles, a small pack of gummy bears, a few stickers, maybe a mini Play-Doh. Tie the top closed with a strip of black and white ribbon.
Total cost per bag: around $1.50–$2 if you buy supplies in bulk. The train whistle favors are the hero item — every kid blew theirs the second it came out of the bag. Chaos. Beautiful chaos.
Station Signs for the Food Table
Every food item gets a chalkboard-style sign styled as a train station stop.
Print small rectangular signs (I did 3″ x 5″) with a station name at the top and the food name below. Examples:
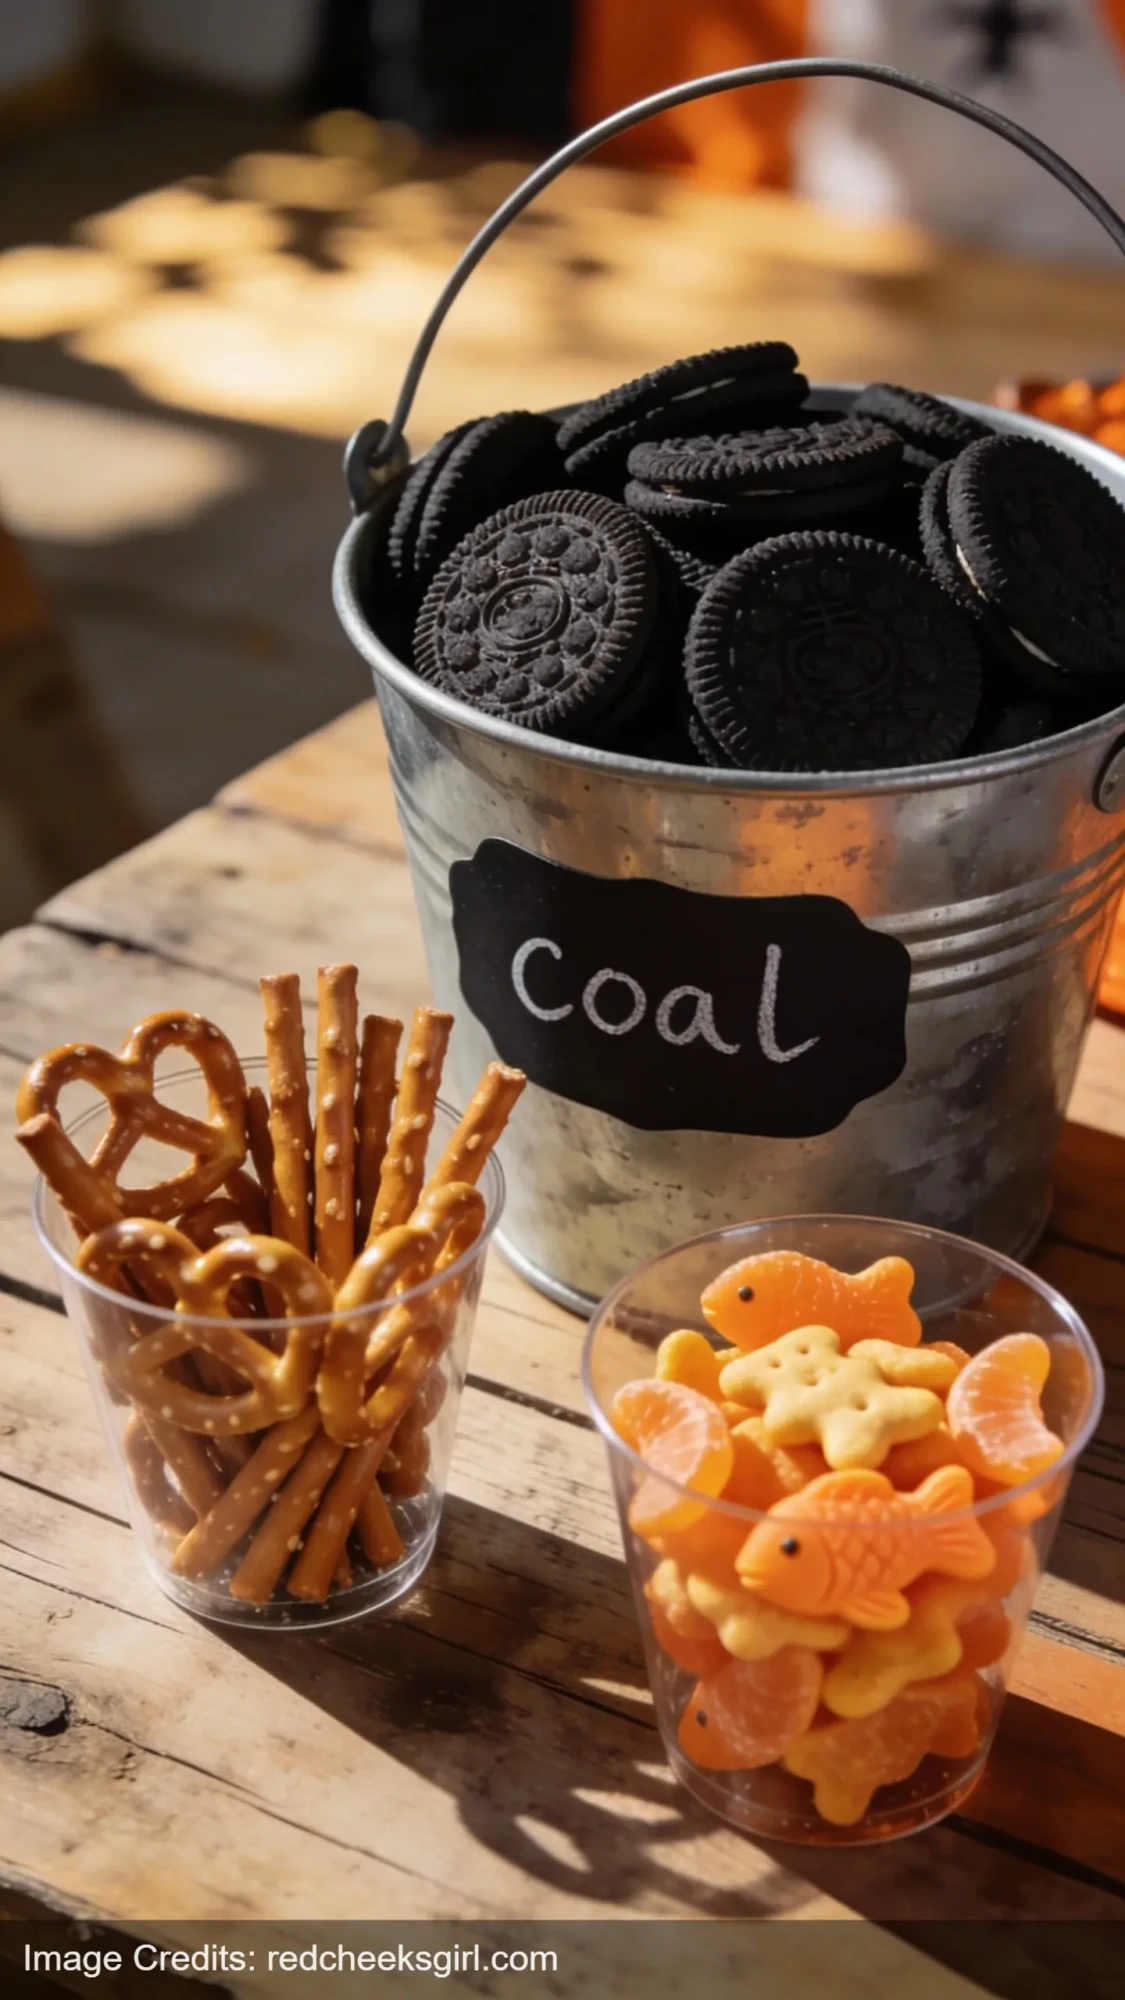
- COAL YARD STATION — Oreo cookies (the “coal”)
- CARGO DEPOT — trail mix in mini cups (“mixed cargo”)
- STEAM ENGINE STOP — hot dogs cut into coins (“engine fuel”)
- BIRTHDAY EXPRESS BUFFET — sandwich tray
- WATER TOWER — lemonade or juice boxes
- CABOOSE CORNER — birthday cake
You can make all of these in Canva for free. Print, trim, and tape to craft sticks or fold them into tent cards. The station naming makes the whole food table feel like a theme, not just a table with food on it.
Coal and Cargo Snack Display
The coal display is genuinely the most complimented thing at a train party. Here’s how to do it:
Fill a small wooden crate or galvanized bucket with Oreo cookies. Add a little handwritten sign: COAL — DO NOT EAT (just kidding, please eat it). Kids think it’s hilarious. Adults eat most of it.
For the cargo display: fill small clear cups with different snacks — pretzel sticks, goldfish crackers, peanut-free trail mix, raisins — and label each cup with a “cargo manifest” tag. You can tie the tags on with twine or just tape them to the front.
A galvanized metal bucket makes the whole setup look more polished. I found mine at Michaels for $4 and it’s been used at three parties since.
Pin the Caboose on the Train Game
Same concept as pin the tail on the donkey, but the toddler version is extremely low-pressure and adorably chaotic.
Print or draw a large train on poster board — engine and a few cars, but no caboose. Print separate caboose cutouts on red cardstock, one per child. Put a loop of tape on the back of each caboose.
Spin the kids around once (gently — these are two-year-olds), point them in roughly the right direction, and let them stick the caboose wherever. Write their name on the spot where it landed.
No one wins. No one loses. Everyone gets a sticker. This is how toddler party games work and it’s wonderful.
Train Whistle Favors (Warning: Very Loud)
Every child leaves with a plastic train whistle. You buy them in bulk — usually 24 for around $8–10 — and they go in the conductor hat favor bags.
I want to be honest with you: the last 15 minutes of the party, when kids were waiting for their parents to gather their things, was just whistles. Nonstop. The toddlers were thrilled. The adults were running.
Put the whistles at the bottom of the bag under everything else. Delay the inevitable.
Printable Elements You’ll Actually Use
Three printables cover almost everything for this theme:
Train ticket invitations — Described above. Canva, print yourself, done.
Station signs — Food table labels styled as train stops. Print 3×5 on cardstock.
Cargo labels — Small rectangular tags for snack cups, favor bags, or anything you want to “brand” as train cargo. Add a little train car icon and a dotted border and they look intentional.
All three are free to make in Canva. If you want to skip the design time entirely, search Etsy for “choo choo train party printables” — there are whole sets for $5–8 that include all of these plus more.
A Few Things That Made the Day Easier
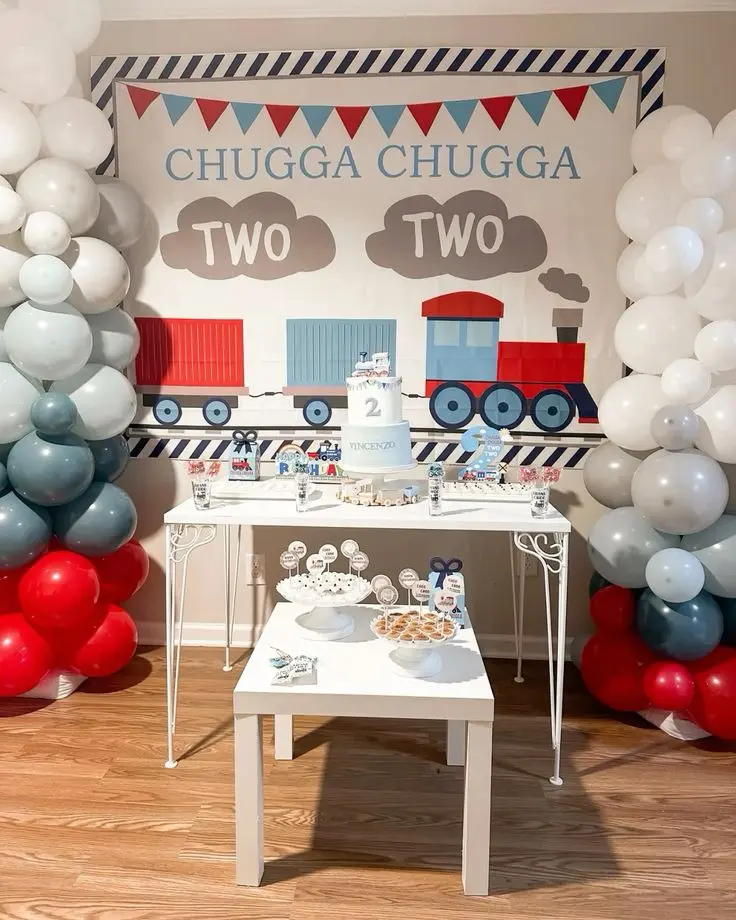
Decorating the cake with a plastic train set instead of fondant figures. The Thomas train set sitting on top of a sheet cake looks great and my son immediately took it off and played with it — bonus gift.
Blue and red balloons in clusters, not arches. Arches are beautiful but they take time. Balloon clusters tied to chairs and the mailbox take five minutes and still look festive.
A “Welcome to the Birthday Express” banner over the front door. You can order a custom party banner for under $12 or make one from card stock letters strung on twine.
The train table (if you have one) pulled out into the party space. We set ours up near the food area and it kept three kids occupied for most of the party. Worth the trip up from the basement.
What I’d Skip
Matching tablecloths. I spent $14 on a train-print plastic tablecloth that nobody noticed because the railroad track paper runner was more interesting.
Fancy centerpieces. The cardboard train in the corner was the centerpiece. I didn’t need anything else.
Coordinating plates and napkins in the exact same print. Solid red plates and solid blue napkins look intentional and cost half as much as themed paper goods.
For more party ideas that don’t require a budget or a craft degree, the 15 Non-Scary Halloween Activities for Toddlers guide has the same energy — fun, manageable, actually doable on a weeknight. And if you’ve got older kids joining in, 20 Simple Halloween Games for Kids’ Parties is worth a bookmark for fall.
The cardboard train stayed up in our living room for two weeks after the party. My son climbed into it every single morning. Honestly, it cost me $3 in paint and a Saturday afternoon, and it made that whole birthday feel like something.
All aboard.
FAQ
How far in advance should I make the cardboard train? At least three days. Paint takes time to dry properly, and you want to test that the boxes are sturdy before the day of the party. Build it, let it sit, push on it once to check the structure.
What age is the choo choo train party best for? One and two are the sweet spot. Train obsession typically peaks around 18 months to 3 years. By age 4, many kids have moved on to dinosaurs or superheroes — though if your kid is still deep in trains at 4, go for it.
Can I do this party at a park instead of at home? Yes, but leave the cardboard train at home — it won’t survive outdoor conditions well. Do the conductor hat bags, station signs, snack display, and whistle favors. Use a blanket as your “track” for the pin-the-caboose game.
Do I need a real cake or can I do a smash cake? Do both. A small smash cake for the birthday child (undecorated or with a single candle) and a sheet cake or cupcakes for guests. It’s a toddler party — the smash cake photos are worth it.
Where do I find bulk train whistles? Amazon is the easiest — search “train whistle party favors bulk” and you’ll find packs of 24 for $8–10. Party City usually has them too if you need them last minute.
The living room looked like a NASCAR fever dream. Black and white checkered streamers twisted across
My son handed me a folded piece of notebook paper about three months before his seventh birthday. On
My daughter turned two in a world absolutely drowning in bright Disney character plates and plastic
Leave a Reply