

My son handed me a folded piece of notebook paper about three months before his seventh birthday. On it, in his very serious crayon handwriting: “Mario party. Every part Mario.” No further notes. Just the assignment.
I’ve thrown birthday parties before. I know the drill. But “Mario” is massive — there’s classic 8-bit everything, the colorful modern Nintendo Switch world, and then six different characters each with their own fan base. I needed a plan before I ended up buying a $40 Luigi balloon for a kid who is firmly Team Yoshi.
Here’s what I figured out, including the decorations that cost almost nothing and looked genuinely great.
This post contains affiliate links. If you buy something through these links, I may earn a small commission at no extra cost to you. I only recommend things I’d actually use.
First: Pick Your Mario World
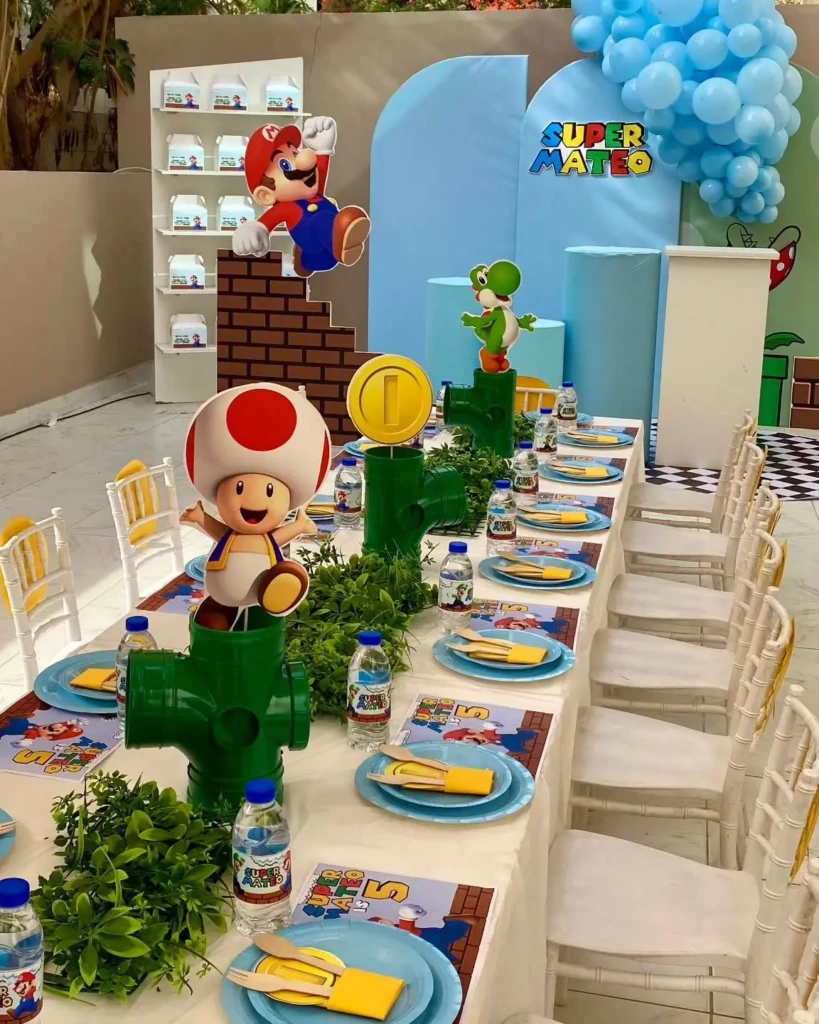
This sounds small but it matters. Before you buy a single thing, ask your kid ONE question: classic pixelated Mario or colorful modern Mario?
Classic 8-bit is red, blue, black, and tan. It’s blocky, retro, and honestly easier to DIY because pixel art is just squares. Everything is printable. Most of your decorations can be made from craft paper and a ruler.
Modern Mario (think Mario Kart, Mario Odyssey, New Super Mario Bros.) is brighter — primary reds and blues and greens, big round shapes, more polished. It photographs well. You’ll find more licensed party supplies for this version.
Single character focus works really well for younger kids who have one specific obsession. A full-on Yoshi party. A Princess Peach party in pink and yellow. A Luigi party (honestly underrated — the green and purple combo is beautiful). It’s actually easier to decorate when you’re not trying to fit every character on the table.
My son went classic 8-bit. So that’s mostly what I’m working with here, but I’ll note where ideas cross over.
Level 1: Invitations
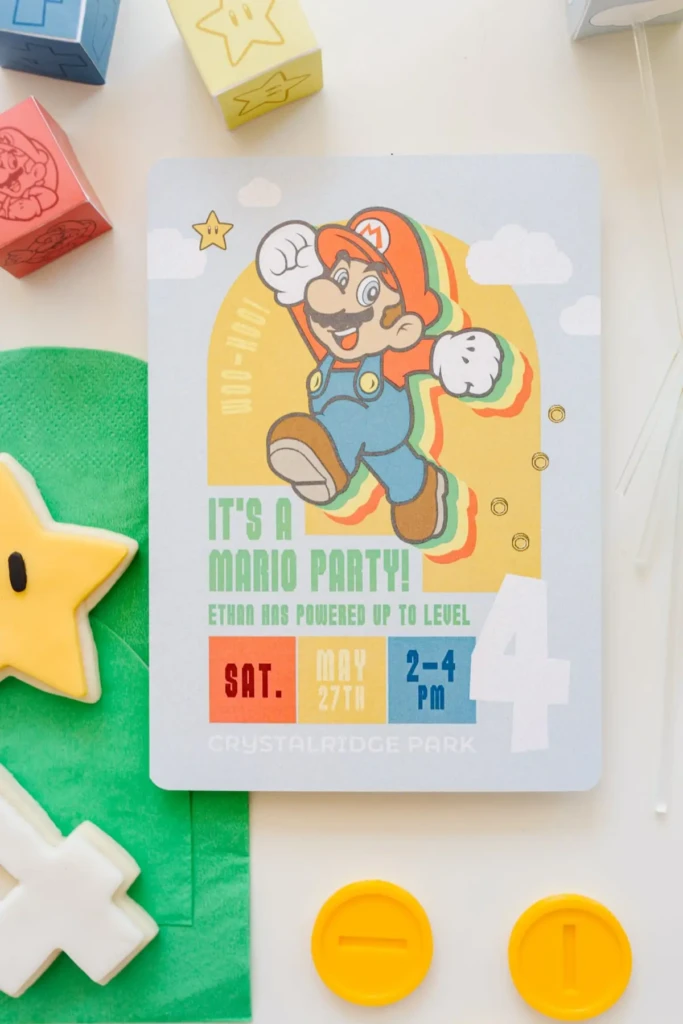
Pixel art invitations are fully achievable with free tools like Canva or Google Slides, and most people just have these printed at Walgreens or CVS for a few dollars.
The classic 8-bit Mario sprite is just colored squares on a grid — if you search “Mario pixel art template free printable,” you’ll find dozens. Drop one on the invitation, add party details in a blocky 8-bit style font (Press Start 2P is free on Google Fonts), and you’re done.
What to include on the invite: the “level” (party date), the “player select” (RSVP by date and how to respond), and the “world map location” (address). Framing the details as game terms makes even the invite feel like part of the party.
If you’d rather buy a template, Etsy has tons of editable Mario invitation files for $4–8. You download, edit in Canva, print yourself.
For a physical touch: print on cardstock and slip into an envelope with a single gold coin (chocolate foil coins are cheap on Amazon and kids go absolutely nuts for them as a little “sneak peek” of the party).
Level 2: Question Block Decorations
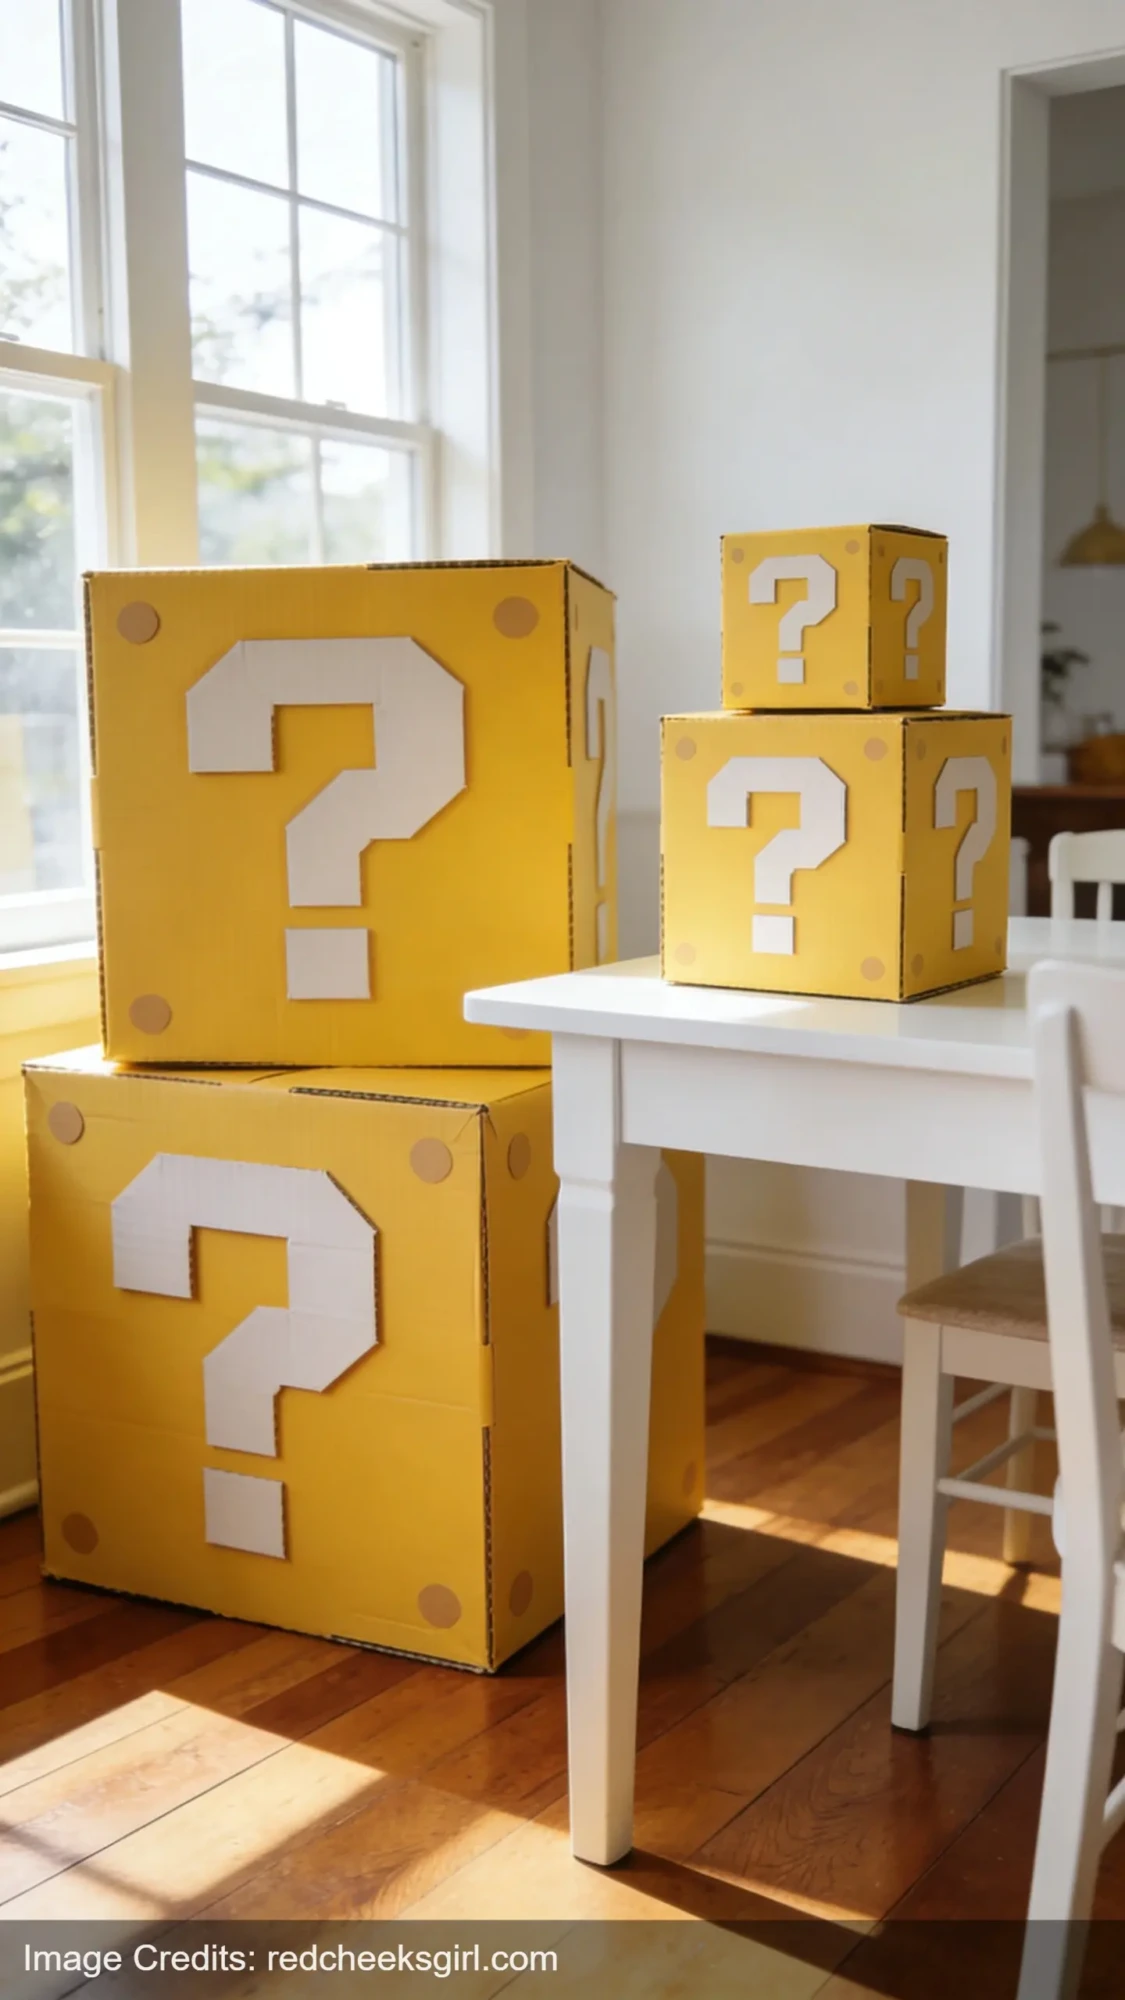
These are the star of any DIY Mario party and they’re made from cardboard boxes.
What you need:
- Medium cardboard boxes (Amazon boxes work perfectly)
- Yellow craft paint or yellow wrapping paper
- Black paint or a thick black marker
- A ruler
How to make them:
- Seal your box on all sides with packing tape so it holds its cube shape.
- Cover it in yellow — either paint all sides or wrap it like a gift in yellow wrapping paper. Wrapping paper is faster and gives a cleaner finish.
- Once dry (or wrapped), use black paint or marker to draw a thick border around each face of the box, and add a simple black question mark centered on each face.
- That’s it.
The 8-bit question mark is just a stylized “?”, maybe slightly blocky if you want to be precise. But honestly, nobody at a kids’ birthday party is grading your pixel accuracy. If it’s yellow with a question mark, the kids will know immediately what it is and immediately want to punch it.
Make three or four different sizes. Stack the largest on the floor, medium on the table, small on shelves or windowsills. They’re the anchor decoration for the whole party and they cost almost nothing.
Level 3: Warp Pipe Centerpieces
Green warp pipes look complicated. They’re not. These take about 20 minutes each.
What you need:
- Green poster board or cardstock
- Tape
- Scissors
- Something to stuff inside (flowers, balloons, tissue paper puffs, or just candy)
How to make them:
Roll the poster board into a cylinder. Tape the seam. For the lip at the top (that classic warp pipe rim), cut a wider strip, roll that into a slightly larger cylinder, and tape it around the top of the first one. Stuff the inside with whatever — green or white tissue paper puffs look great and cost nothing.
For the table: cluster three warp pipes of different heights in the center surrounded by gold coin scatter (more on that in Level 4). This takes maybe 45 minutes to make the full centerpiece and costs under $5 in supplies.
Level 4: Gold Coin Scatter
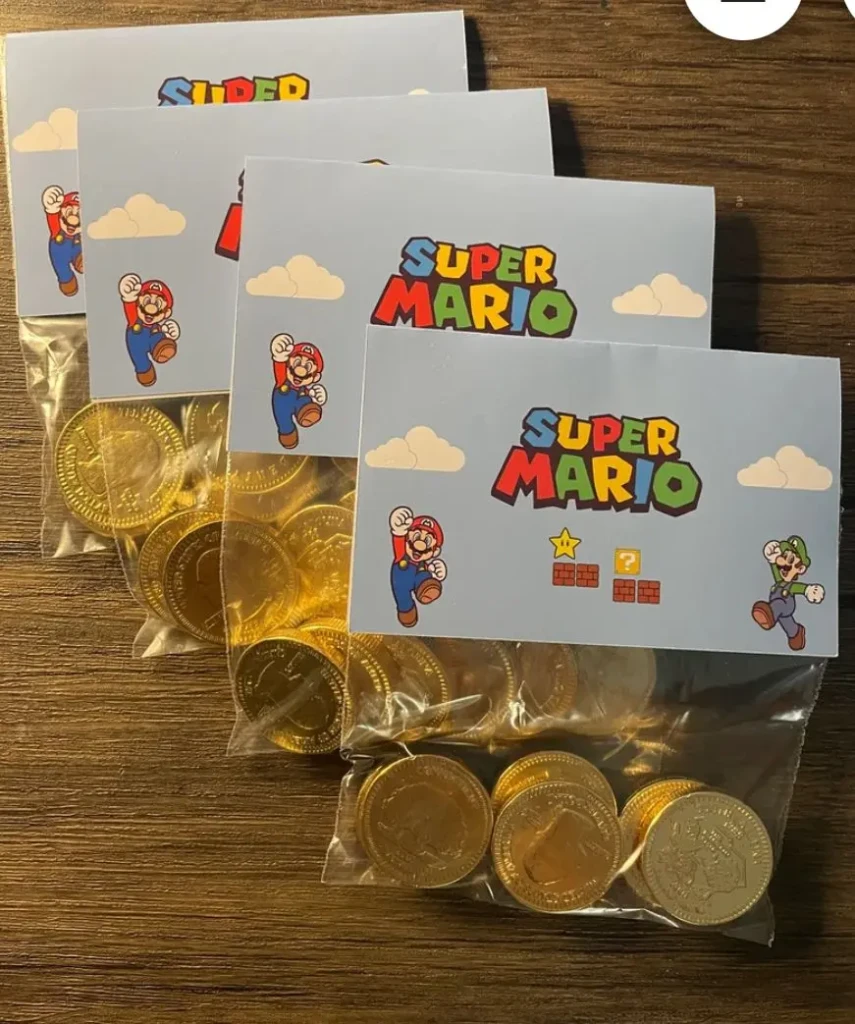
Buy a bag of gold metallic craft coins and scatter them down the middle of the table like a trail. You can also use chocolate gold foil coins — they double as a snack.
Mix in small plastic Super Mario figurines if you have them, or just fold small printable Mario sprites and prop them up between the coins.
The gold coin thing sounds almost too simple but it completely transforms the table. It’s bright, it’s immediately recognizable, and kids start grabbing coins the second they sit down, which keeps them busy for a solid two minutes while you’re trying to get everyone settled.
Level 5: The Food Menu (This Is the Fun Part)
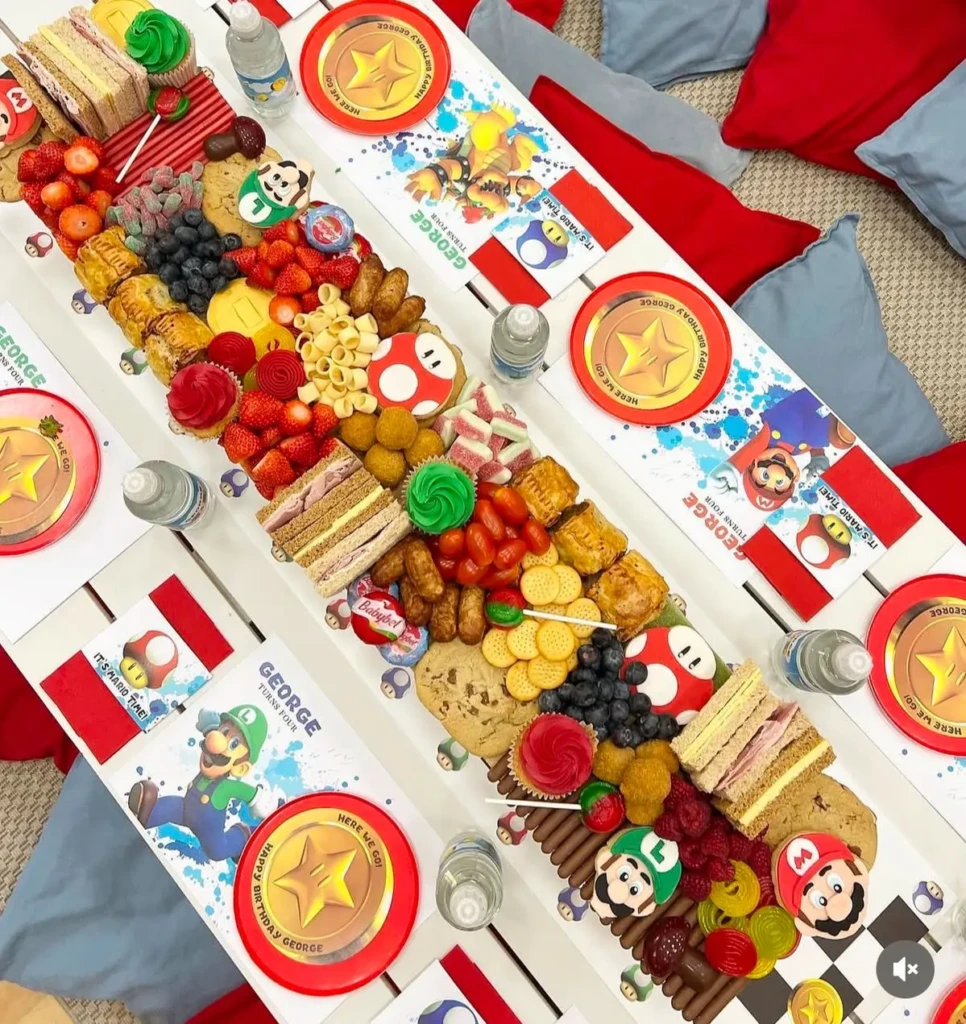
The food itself doesn’t have to be complicated. Just rename everything.
1-Up Mushroom Sandwiches Cut sandwiches with a round cookie cutter. Use a small circle of cheese or a dab of cream cheese to make the white spots on top. Red tomato slices can frame the base if you want to go the extra mile, but really — just call them 1-Up sandwiches and the kids will accept them.
Star Power Punch Yellow lemonade in a big clear dispenser with a star-shaped ice mold or star stickers on the outside of the cups. Star power. Done.
Koopa Shell Pasta Shell pasta. Literally just shell pasta. With whatever sauce you’d normally make. Call it Koopa Shell Pasta and watch the kids eat it enthusiastically. My son ate two bowls. He never eats two bowls.
Fire Flower Veggie Cups Individual cups with carrots and celery arranged so the orange carrots fan out at the top like a fire flower. Red pepper strips in the mix make it even better. Ranch dip on the side.
Super Mushroom Caprese Skewers Alternate cherry tomatoes and mozzarella balls on a skewer. The red and white reads as the classic red mushroom. A drizzle of balsamic and some basil and you have something the adults will actually want to eat.
Princess Peach Cupcakes Peach-frosted cupcakes with a small edible crown topper. Or just yellow frosting with a little pink rosette. If you have a Peach fan in the group, these make them feel extremely seen.
Coin Cookies Round sugar cookies with yellow frosting and a black “?” on top in icing. Question block coins. They take a little decorating time but you can make them two days ahead and they keep fine.
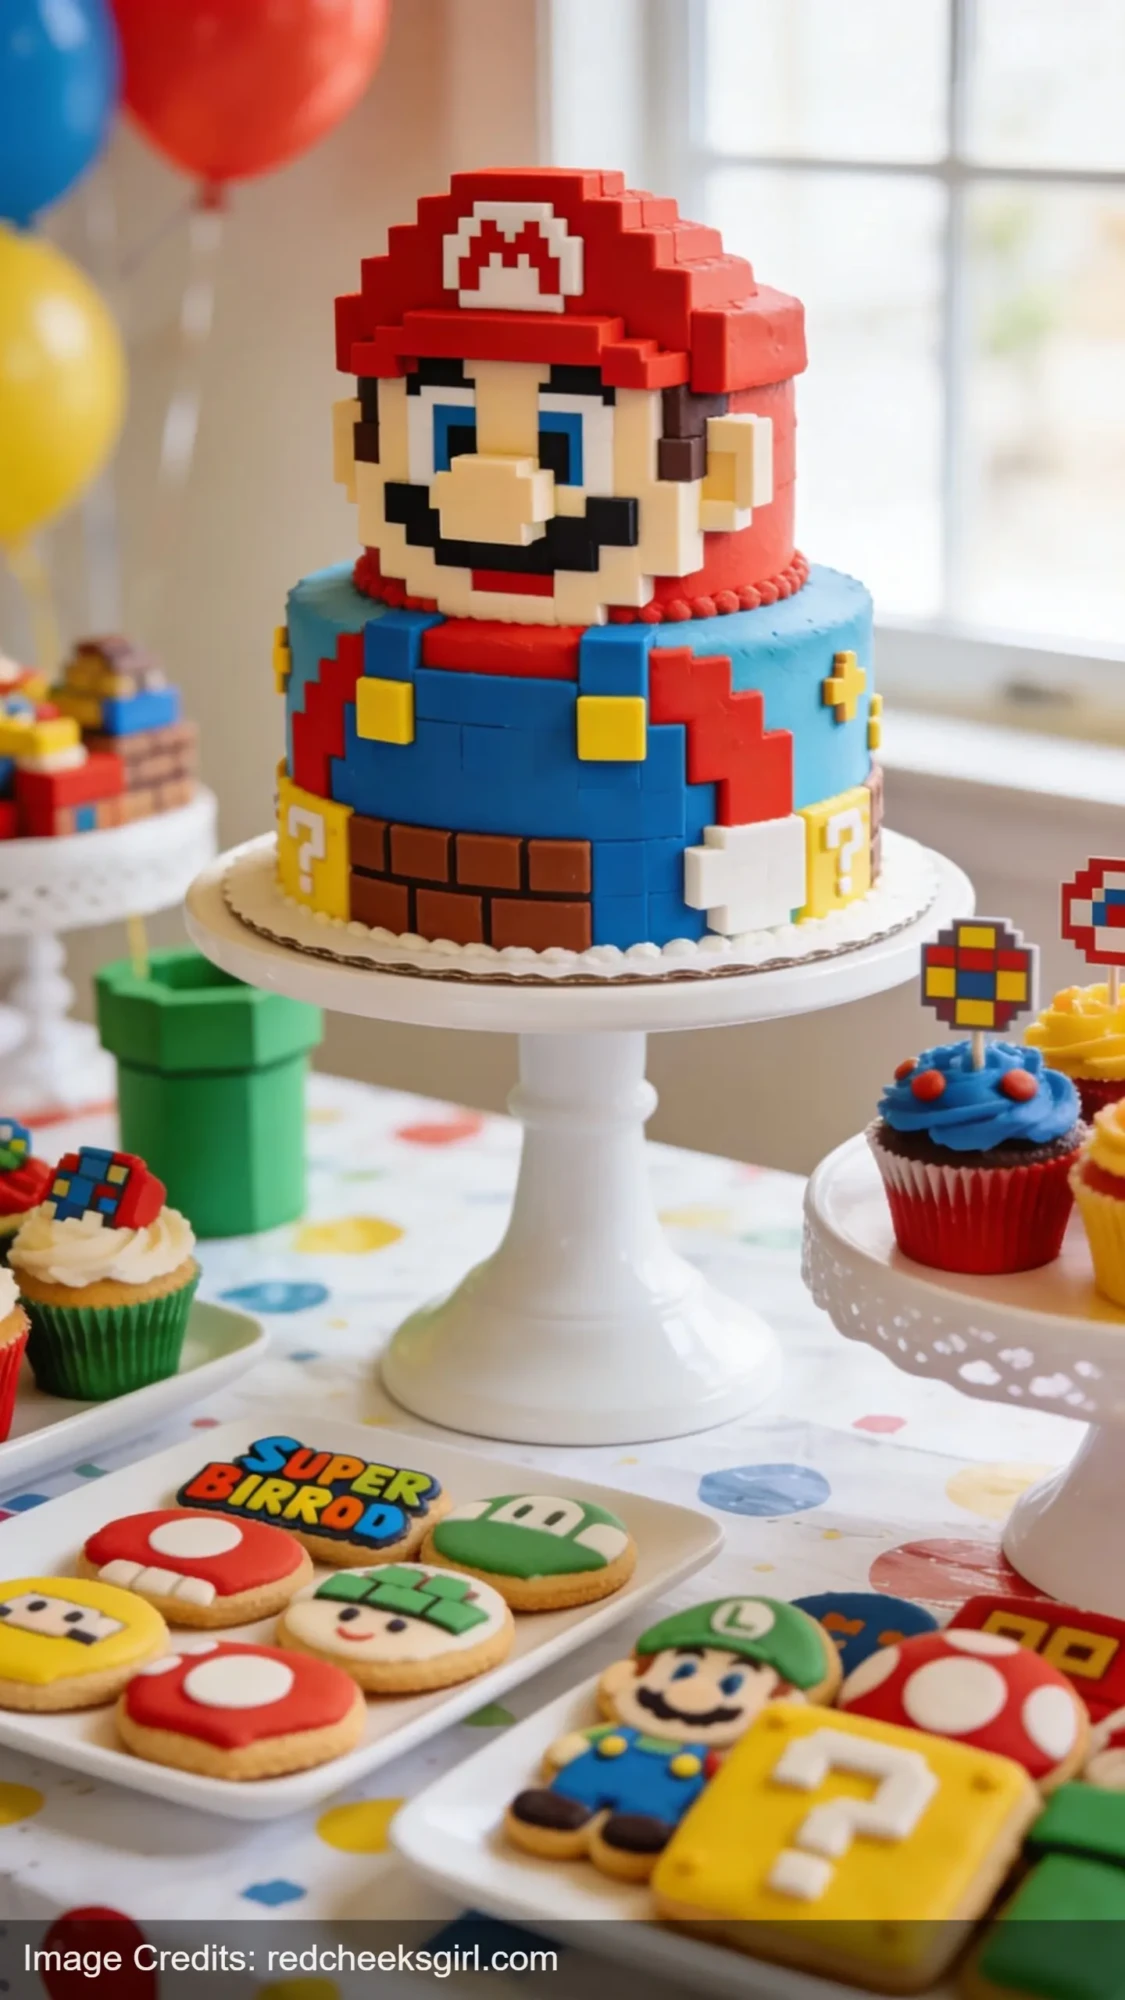
For the birthday cake, search Pinterest for “Super Mario pixel art cake” — there are simple designs that even a non-professional decorator can execute with rectangular frosting squares. Or order a sheet cake and just add printed toppers. Nobody is judging the cake at a seven-year-old’s party. (Well, the seven-year-old is, a little. But they’ll forgive you.)
Level 6: Party Games
Pin the Tail on Yoshi
Print a large Yoshi outline (free on any coloring page website), tape it to the wall, and cut out small paper tails. Blindfold the kids and have them try to pin the tail. Classic, no supplies required, works for any age range.
Cardboard Coin Toss
Cut coin-sized circles out of yellow cardstock. Set up three cardboard boxes painted with different point values (100 coins, 50 coins, the Bowser box at 0). Kids toss coins and tally their score. You can use this as a competition or just as a free-play activity while you’re managing the chaos of cake and presents.
Mario Kart Balloon Race
Blow up balloons in red, green, yellow, and blue — one color per “racer.” Kids have to carry their balloon between their knees and race to a finish line without using their hands. If the balloon drops, they go back to start. Absolute chaos. Kids love it.
Question Block Relay Race
Line up four question block boxes (the ones you already made for decorations). Put a small prize or treat inside one of them. Kids take turns running up, tapping the box, and checking inside. The kid who finds the prize wins. Refill with a different prize and play again. This one uses your decorations double-duty.
If you want more ideas, the Halloween party games for kids post here has a bunch of adaptable formats that work at any theme party.
Level 7: Favor Bags
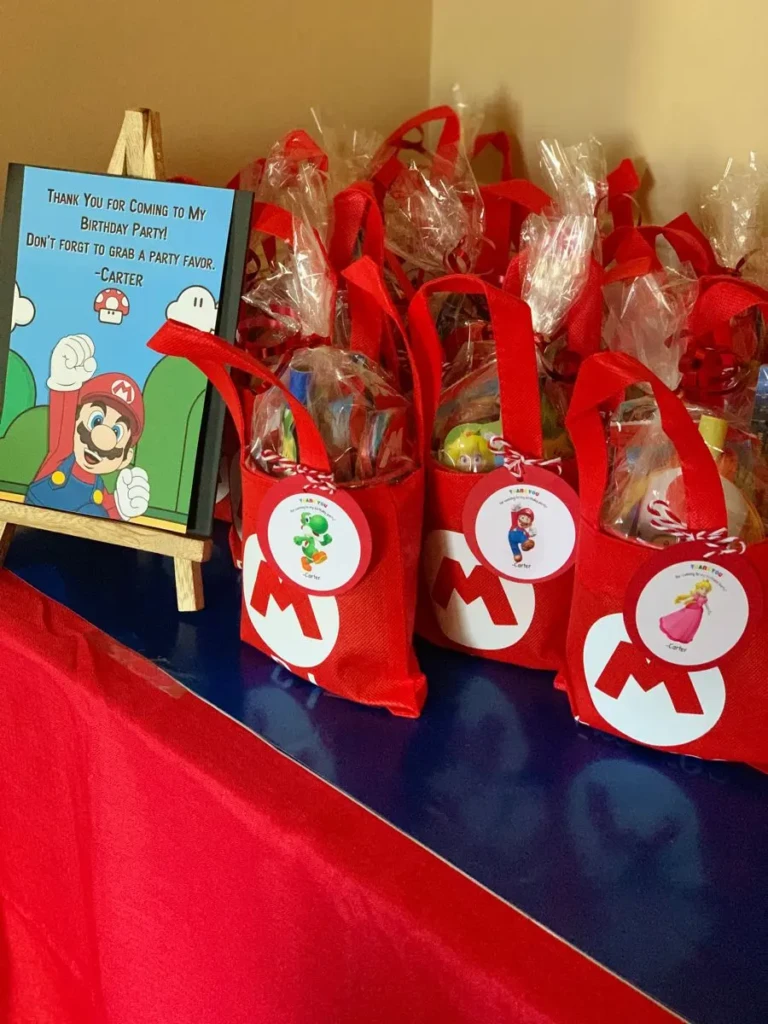
Plain brown kraft paper bags work perfectly with the 8-bit theme, but any solid color (red, green, yellow) works.
What to put inside:
- A handful of gold foil chocolate coins
- A small Super Mario sticker sheet
- A small figurine or foam character
- A piece of candy or small game-related toy
For the tag, print a small label that says “GAME OVER — Thanks for Playing!” with the child’s name on the back. Free font: Press Start 2P (the 8-bit Google Font). Print on cardstock, hole punch, tie with a ribbon.
If you’re looking for more printable-based DIY ideas, this Mother’s Day gift crafts with kids post has a great walkthrough of the same kind of template-cut-print approach that works well for party supplies too.
The Budget Breakdown (What This Actually Cost Me)
Cardboard boxes: $0 (Amazon and grocery store boxes) Yellow paint and wrapping paper: ~$8 Green poster board: ~$4 Gold coins (bag of 100): ~$7 Printables (invitation, tags, game pieces): ~$0–8 depending on if you use Etsy or free sites Figurines/small toys for favors: ~$15 for a set Chocolate foil coins for favors and table: ~$10 Balloons: ~$5
Total for decorations, games, and favors: around $50–60, plus food costs.
The food was mostly just renaming things we’d serve anyway. The sandwiches and pasta were the same as always. The coin cookies were maybe $10 in supplies total.
FAQ
What age is a Mario party best for? Honestly 5–10 is the sweet spot. Kids under 4 might not connect with the theme yet. Over 10 and they might have moved on to a different game. But I’ve seen Mario parties work beautifully for adults too — nostalgia is powerful.
Do I need licensed Mario party supplies? Nope. The DIY approach actually photographs better in a lot of cases, and it’s dramatically cheaper. If you want licensed plates and cups, they’re available at most party supply stores, but you can skip them entirely and not lose anything.
How do I handle kids who don’t know Mario? This has never once been a problem in my experience. Even kids who don’t play games recognize the characters immediately. The coins, the colors, the mushrooms — it’s cultural. They’ll catch on within ten minutes.
Can I do this theme for a girl? Absolutely. Princess Peach and Rosalina are fully developed characters with their own color palettes. A Peach party in pink and gold with crown details is genuinely beautiful and still totally Mario. You could also do a mixed party where one section of the table is Peach-themed and the rest is classic Mario.
What if my kid wants a specific character, not “general Mario”? Go with it. A full Yoshi party is actually easier to style — it’s all green and pastel eggs. A Luigi party in green and purple feels fresh. A Bowser party in green and orange with spiky details is genuinely cool and very different from what every other kid is doing.
If you’re planning other activity-based parties or family weekends, the fun things to do on weekends list here has a lot of overlap with what works for kid-focused activity days.
My son’s party ended with him trying to drag the question block boxes inside to keep forever. He wants them in his room. We compromised on one medium-sized one on his shelf. It’s still there.
This post contains affiliate links. If you buy something through these links, I may earn a small com
My daughter turned five in April, and I spent two weeks going down every party Pinterest rabbit hole
My daughter turned two in a world absolutely drowning in bright Disney character plates and plastic
Leave a Reply