

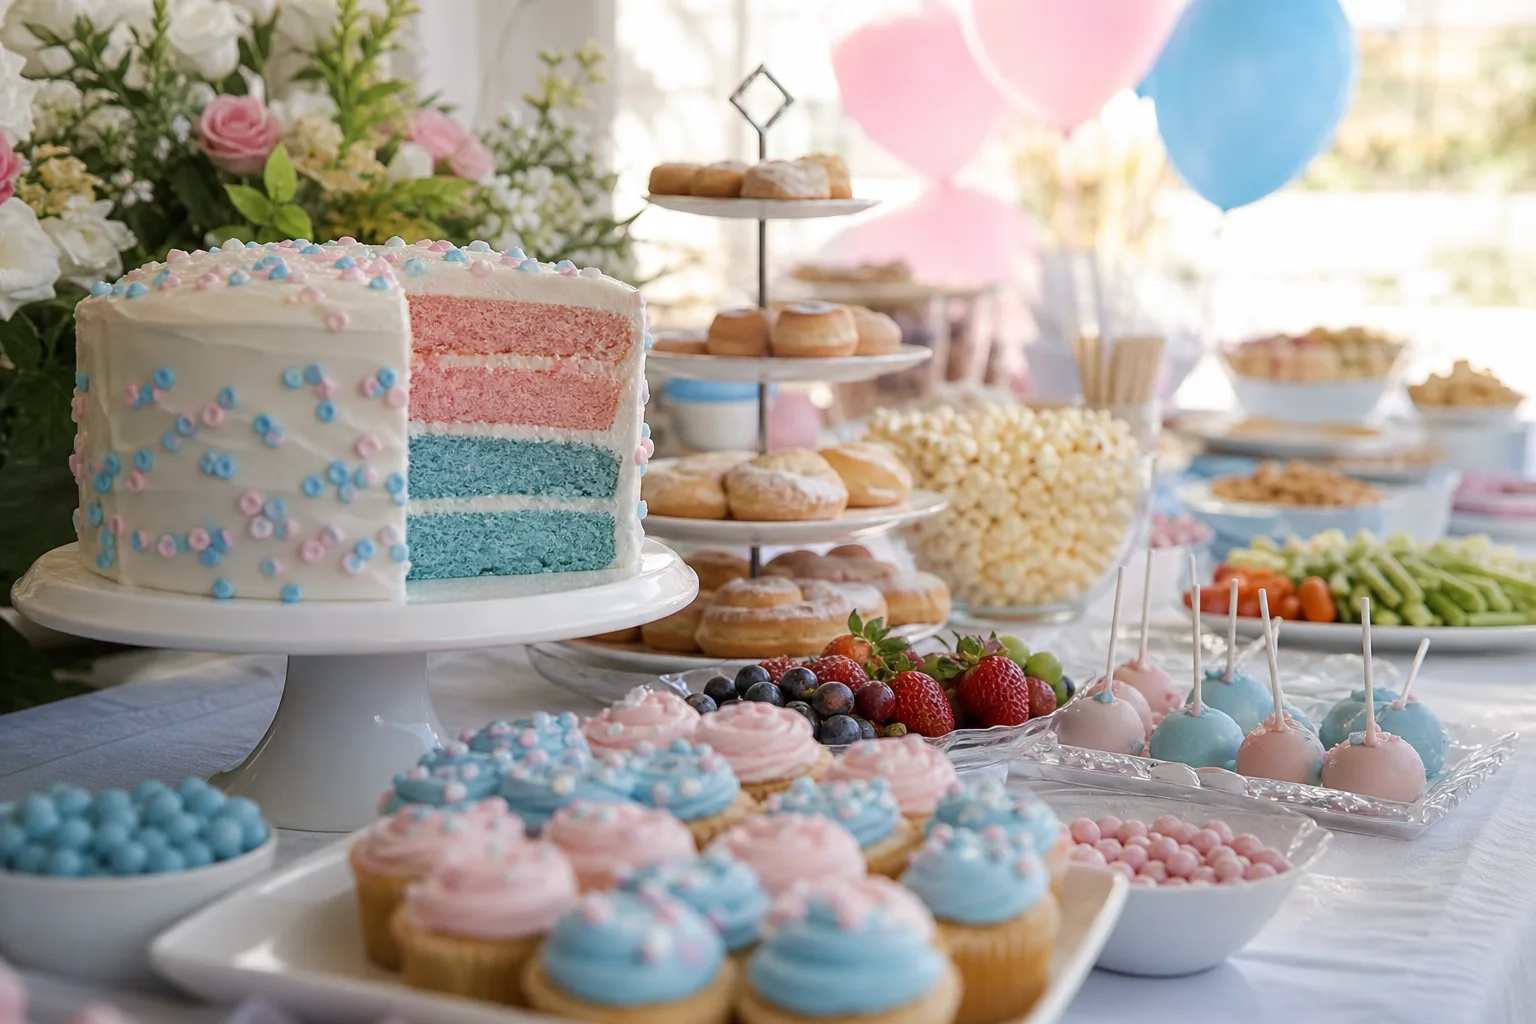
Two teams, one table, and a guest list that will absolutely pick a favourite before dessert is even served. The trick to a gender reveal spread is not more pink and more blue, it is a clear order: one showpiece that holds the room, then a run of small bites people can carry while they wait for the real moment.
Everything below runs that way, from a two-sided grazing table down to the little jars guests take home on the way out. Every drink here is non-alcoholic, so the parent-to-be gets to toast too, and a few trays lean on cream cheese, eggs, almonds and peanuts, worth flagging to anyone with allergies before the first guest arrives.
This post contains affiliate links. If you buy through them, I may earn a small commission at no extra cost to you.
- Two-Sided Grazing Table
- He or She Labeled Dessert Cart
- Ice Cream "What’s the Scoop" Bar
- Loaded Nacho Bar
- Color-Reveal Cupcakes with Hidden Filling
- Crack-Open Reveal Cookies
- Cake Pops with Team Tags
- Pink and Blue French Macarons
- Team Color Rice Crispy Treats
- Honey Cake Bites
- Team Sugar Cookies
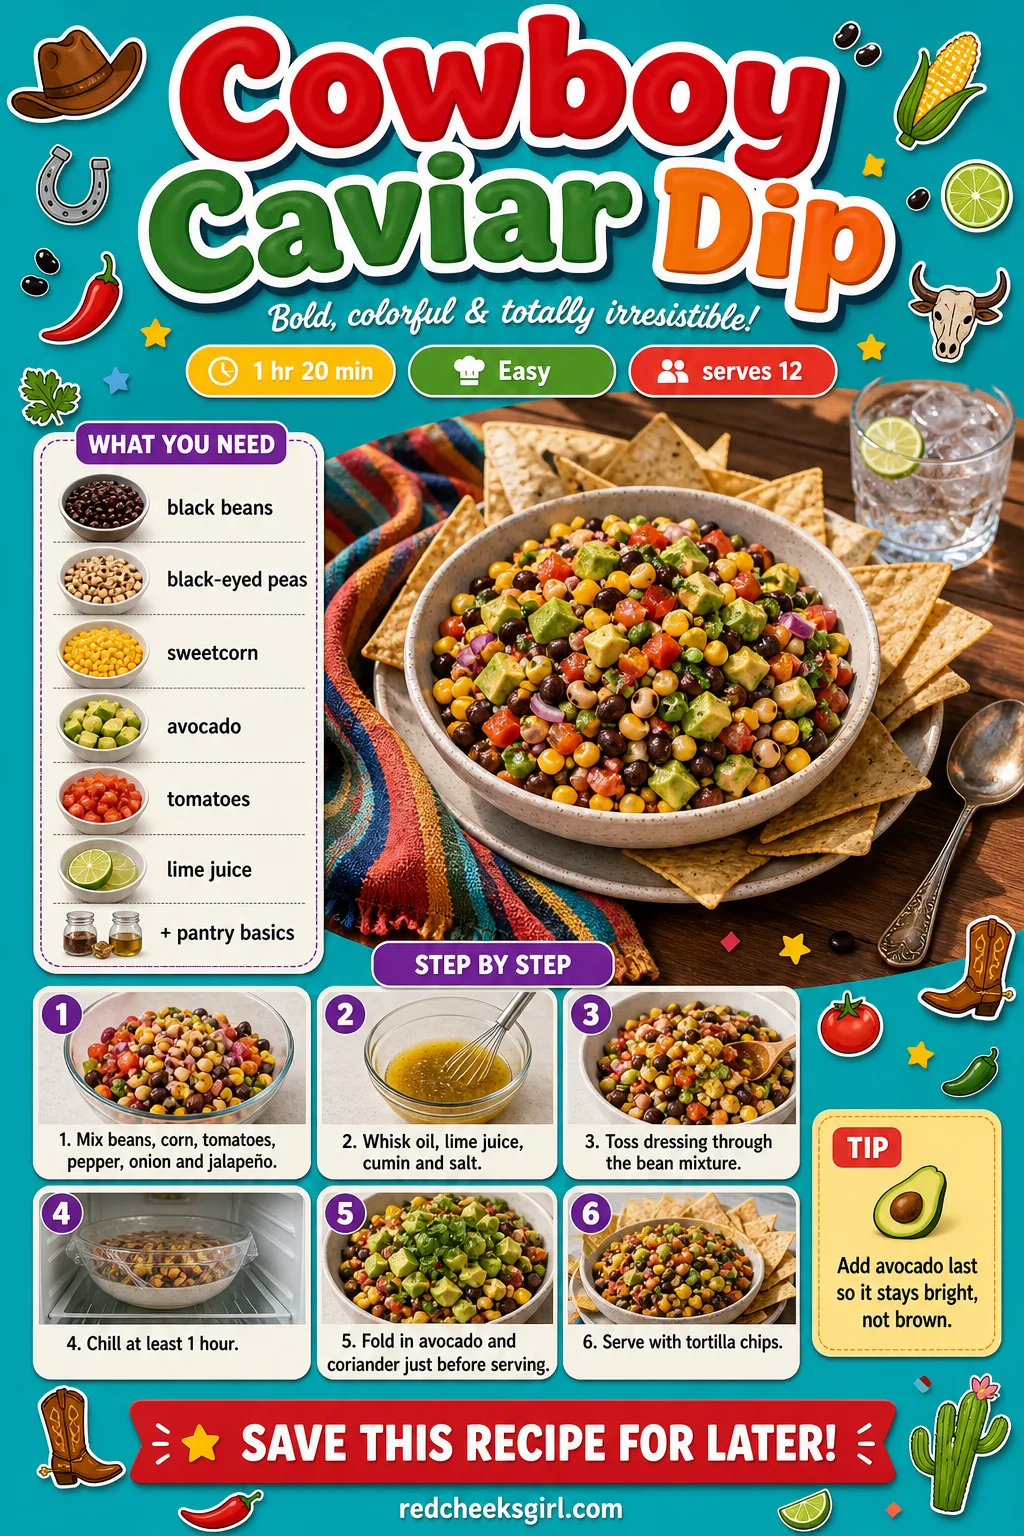
- Cowboy Caviar Dip
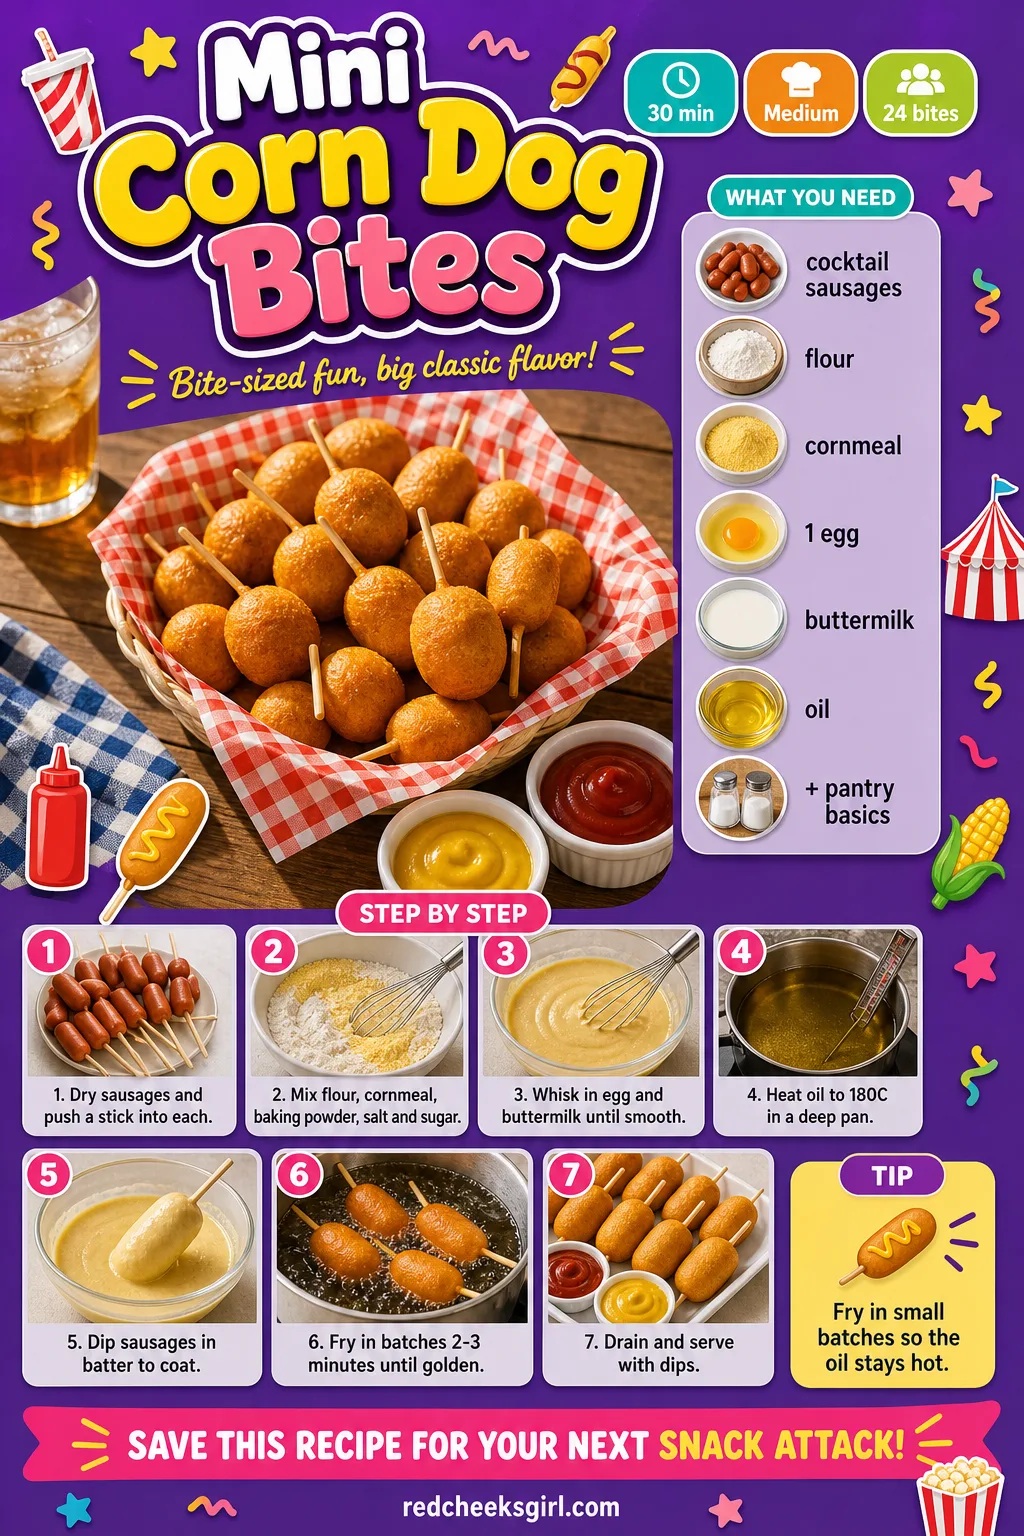
- Mini Corn Dog Bites
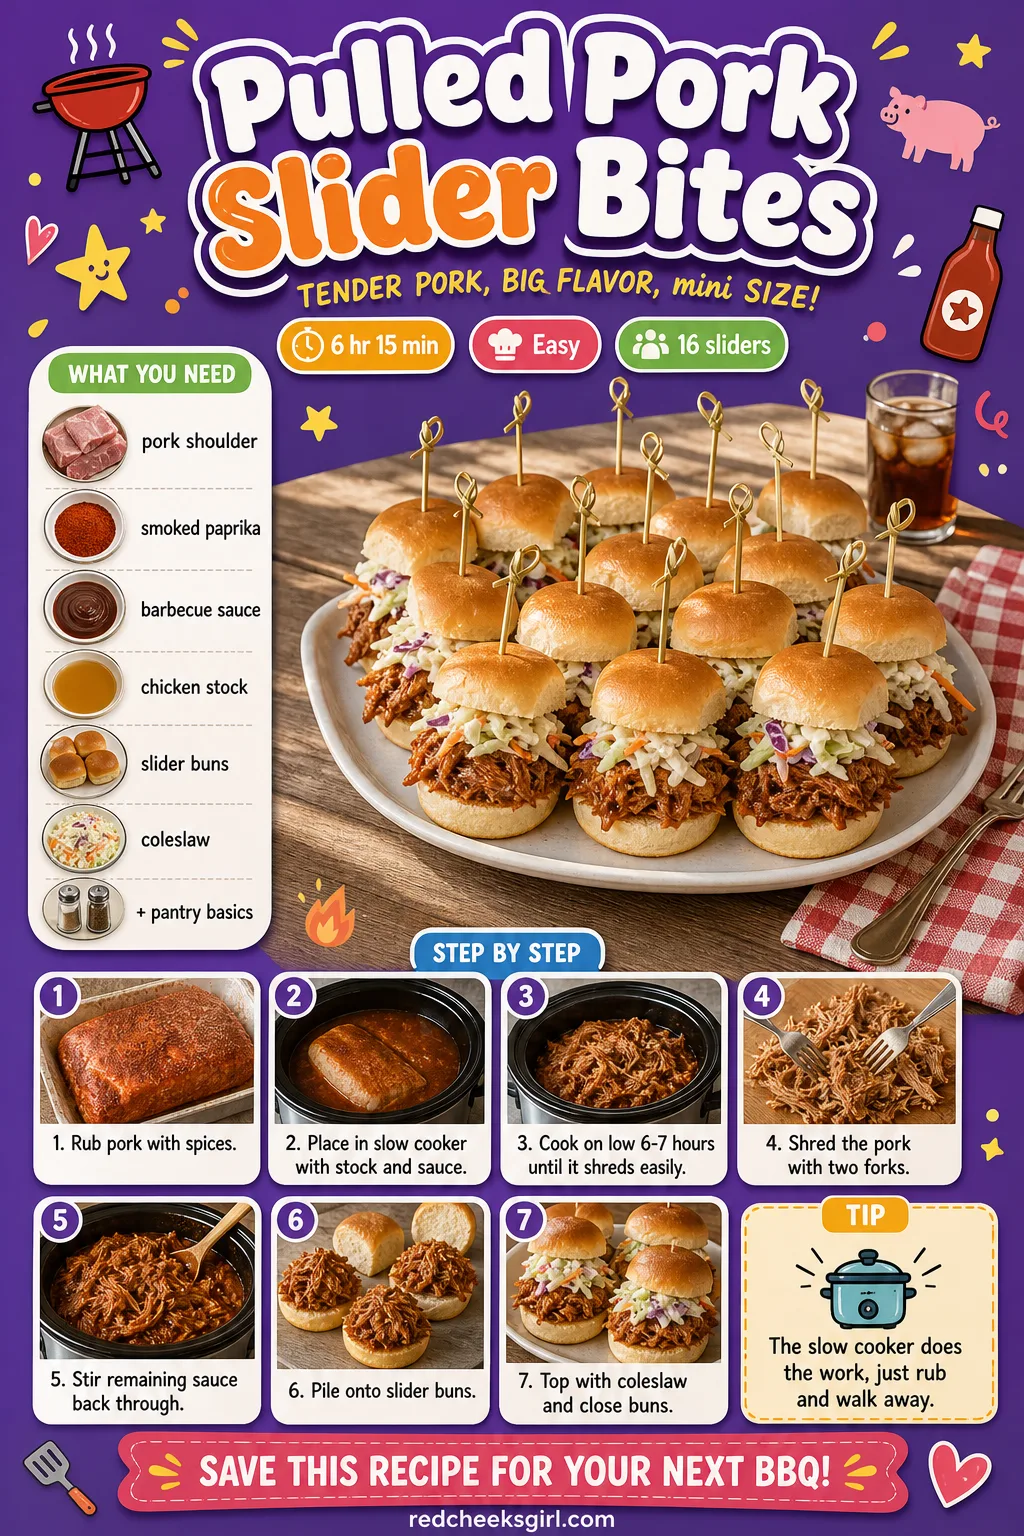
- Pulled Pork Slider Bites
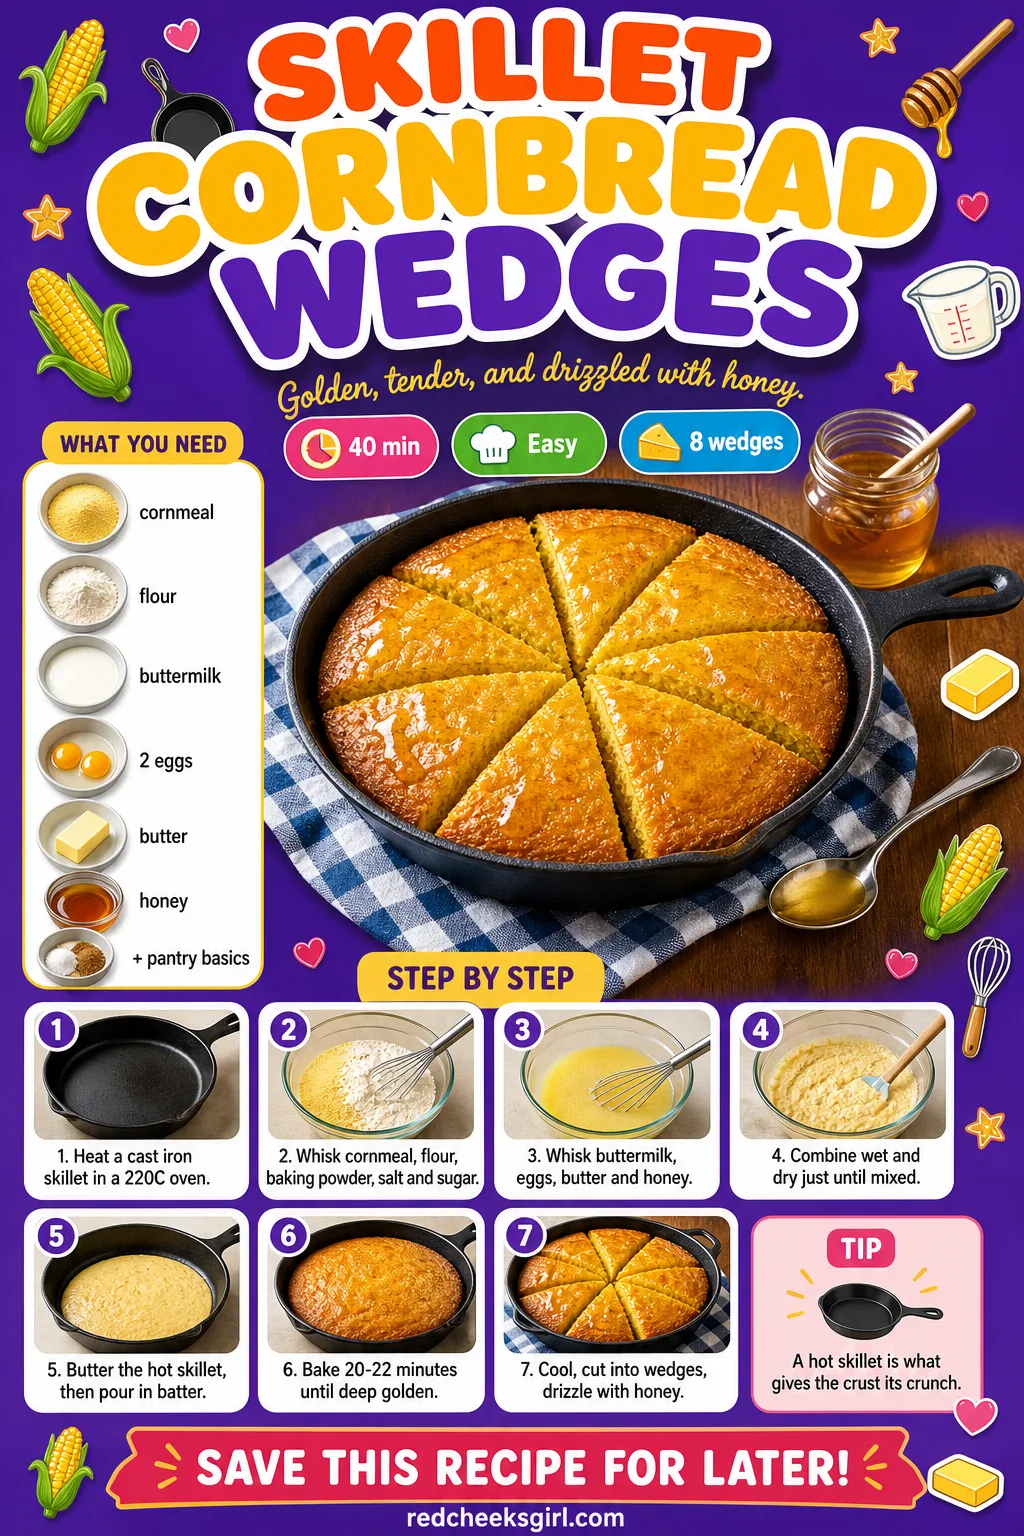
- Skillet Cornbread Wedges
- Jalapeño Popper Bites
- Campfire Trail Mix
- Salted Caramel Popcorn Cones
- Team Pink Sparkle Mocktail
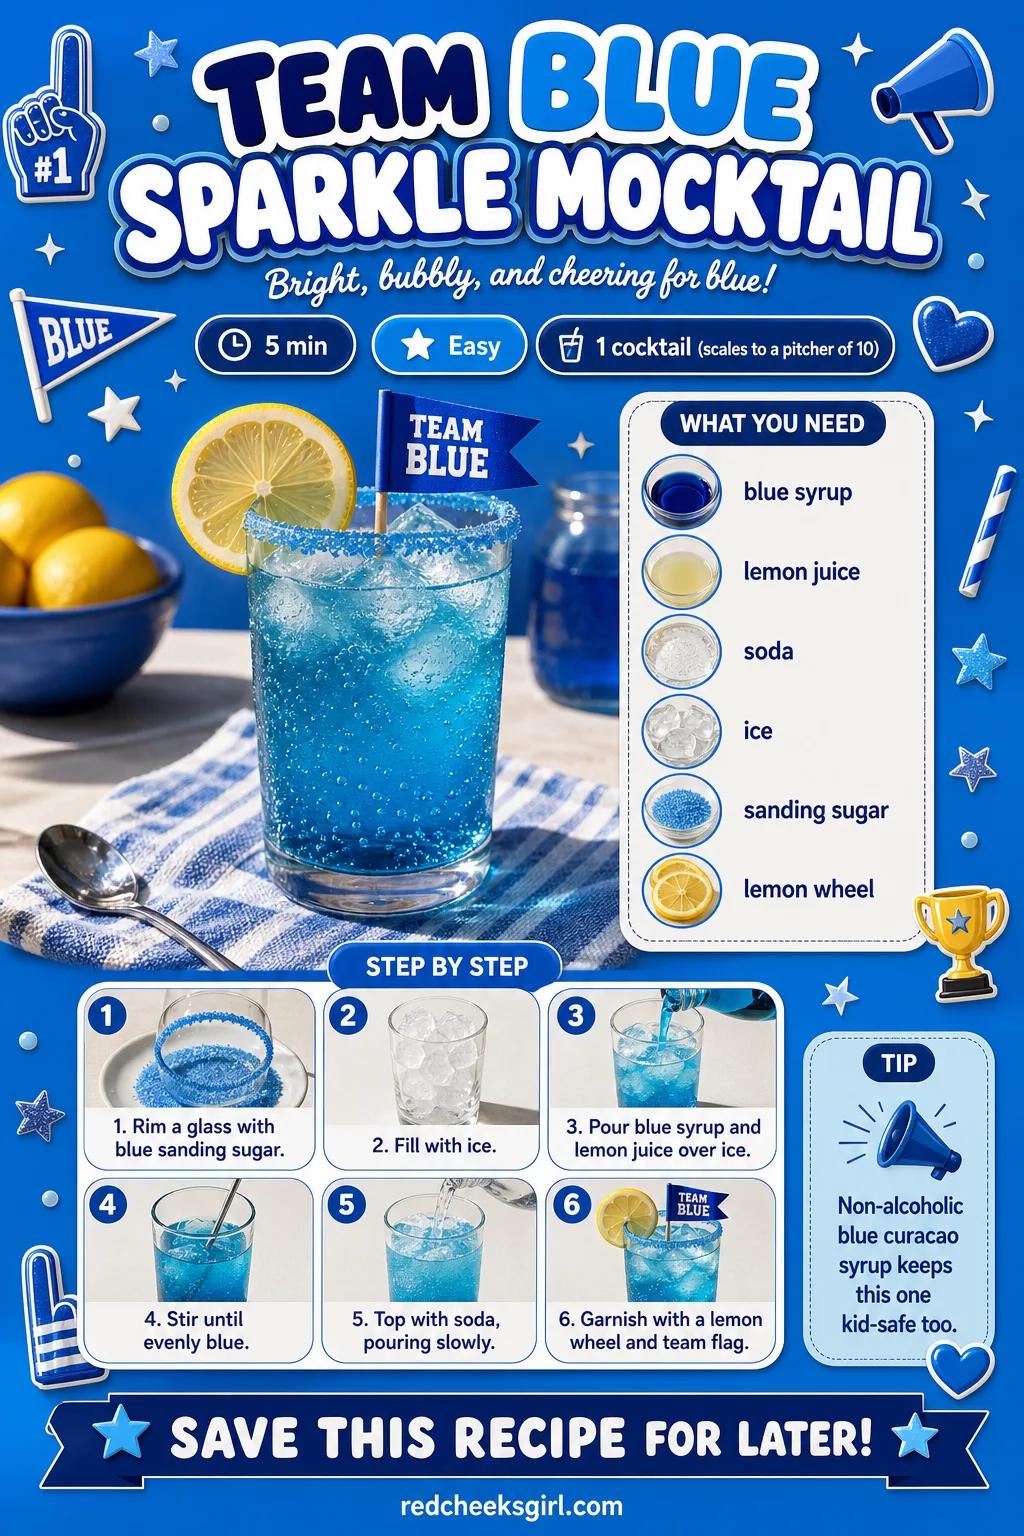
- Team Blue Sparkle Mocktail
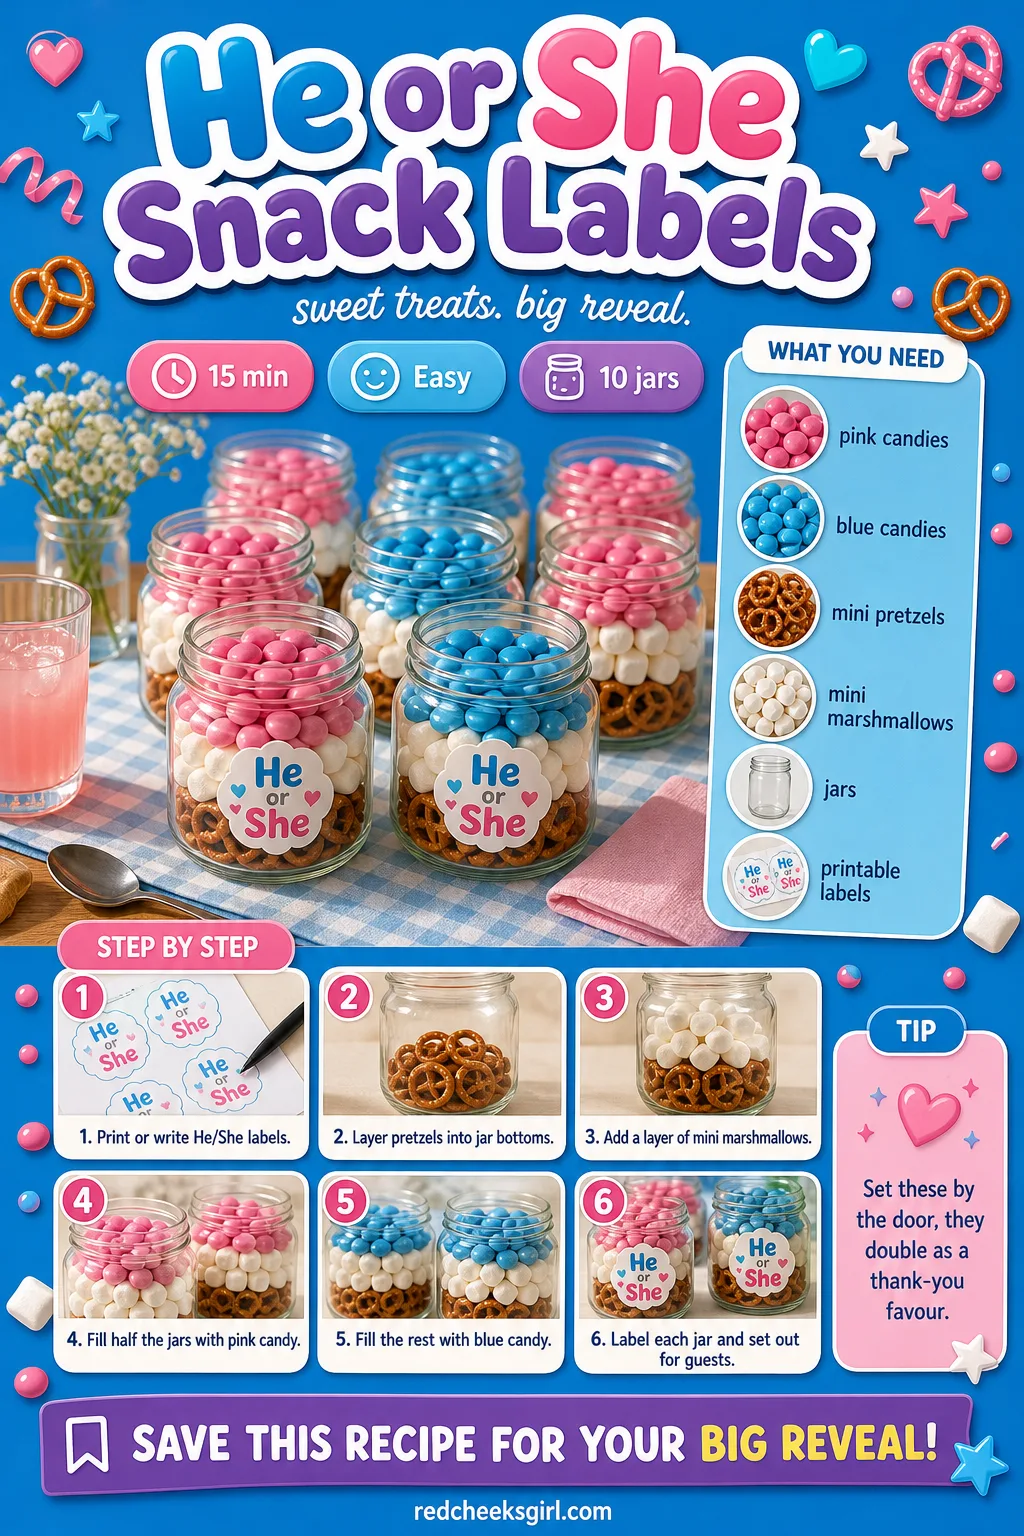
- He or She Snack Labels
- Frequently Asked Questions
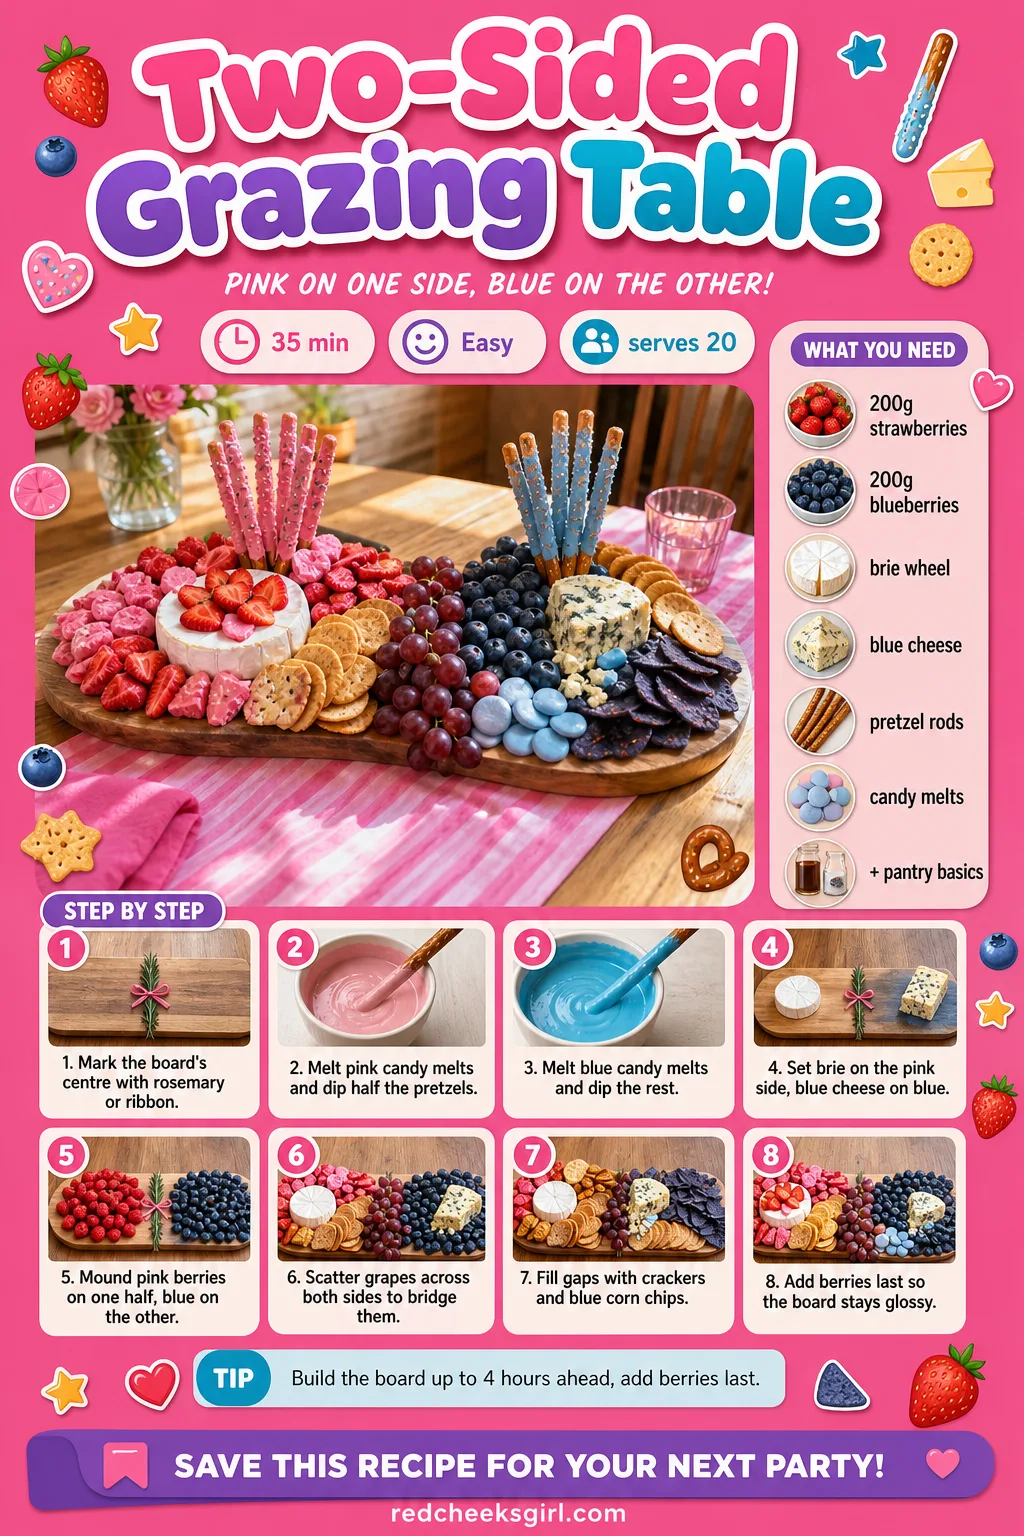
Two-Sided Grazing Table
A dessert table alone looks like an afterthought, and a full sit-down spread is the opposite problem: too much washing up before anyone even hears the news. A single long board, split straight down the middle, solves both. One side leans pink with berries and crackers, the other leans blue with blueberries and a real wedge of blue cheese, and grapes wander across both so the board reads as one table, not two buffets pushed together.
Stand it in front of whatever backdrop is already doing the work, a 17 Gender Reveal Balloon Garland Layouts That Keep the Surprise Until the Reveal arch needs no extra prop behind it. Build everything except the berries up to four hours ahead, add those last so the board stays glossy instead of weeping.
Ingredients
- 200 g strawberries, hulled and halved
- 200 g blueberries
- 150 g raspberries
- 150 g blackberries
- 1 wheel (200 g) brie cheese
- 100 g blue cheese crumbles
- 250 g seedless red grapes
- 30 water crackers
- 20 blue corn tortilla chips
- 100 g pink candy melts, melted
- 100 g blue candy melts, melted
- 20 pretzel rods
- 2 sprigs fresh rosemary, for the dividing line
Instructions
- Lay a long wooden board or two trays end to end on the table and set a line of rosemary sprigs or a ribbon down the centre to mark where pink meets blue.
- Melt the pink candy melts in a bowl in 20-second bursts in the microwave, stirring between each, until smooth and pourable.
- Dip half the pretzel rods into the pink melts, let the excess drip off, and lay them on parchment to set for 10 minutes while you melt the blue.
- Repeat with the blue candy melts on the remaining pretzel rods and let those set too.
- Place the brie wheel on the pink side of the board and the blue cheese crumbles in a small bowl on the blue side.
- Build soft mounds of strawberries and raspberries on the pink half, and blueberries and blackberries on the blue half, tucking small bowls in as you go so nothing rolls.
- Fan the grapes between both sides, they belong to neither team and keep the board from looking like two separate buffets stitched together.
- Fill the gaps with water crackers on the pink side and blue corn chips on the blue side, standing a few upright for height.
- Stand the set pretzel rods in short glasses on each side, pink with pink and blue with blue, and tuck the rosemary spine back in before guests arrive.
- Serve the same day, or build everything except the fruit up to 4 hours ahead and add the berries just before guests arrive so they stay glossy, not weeping.
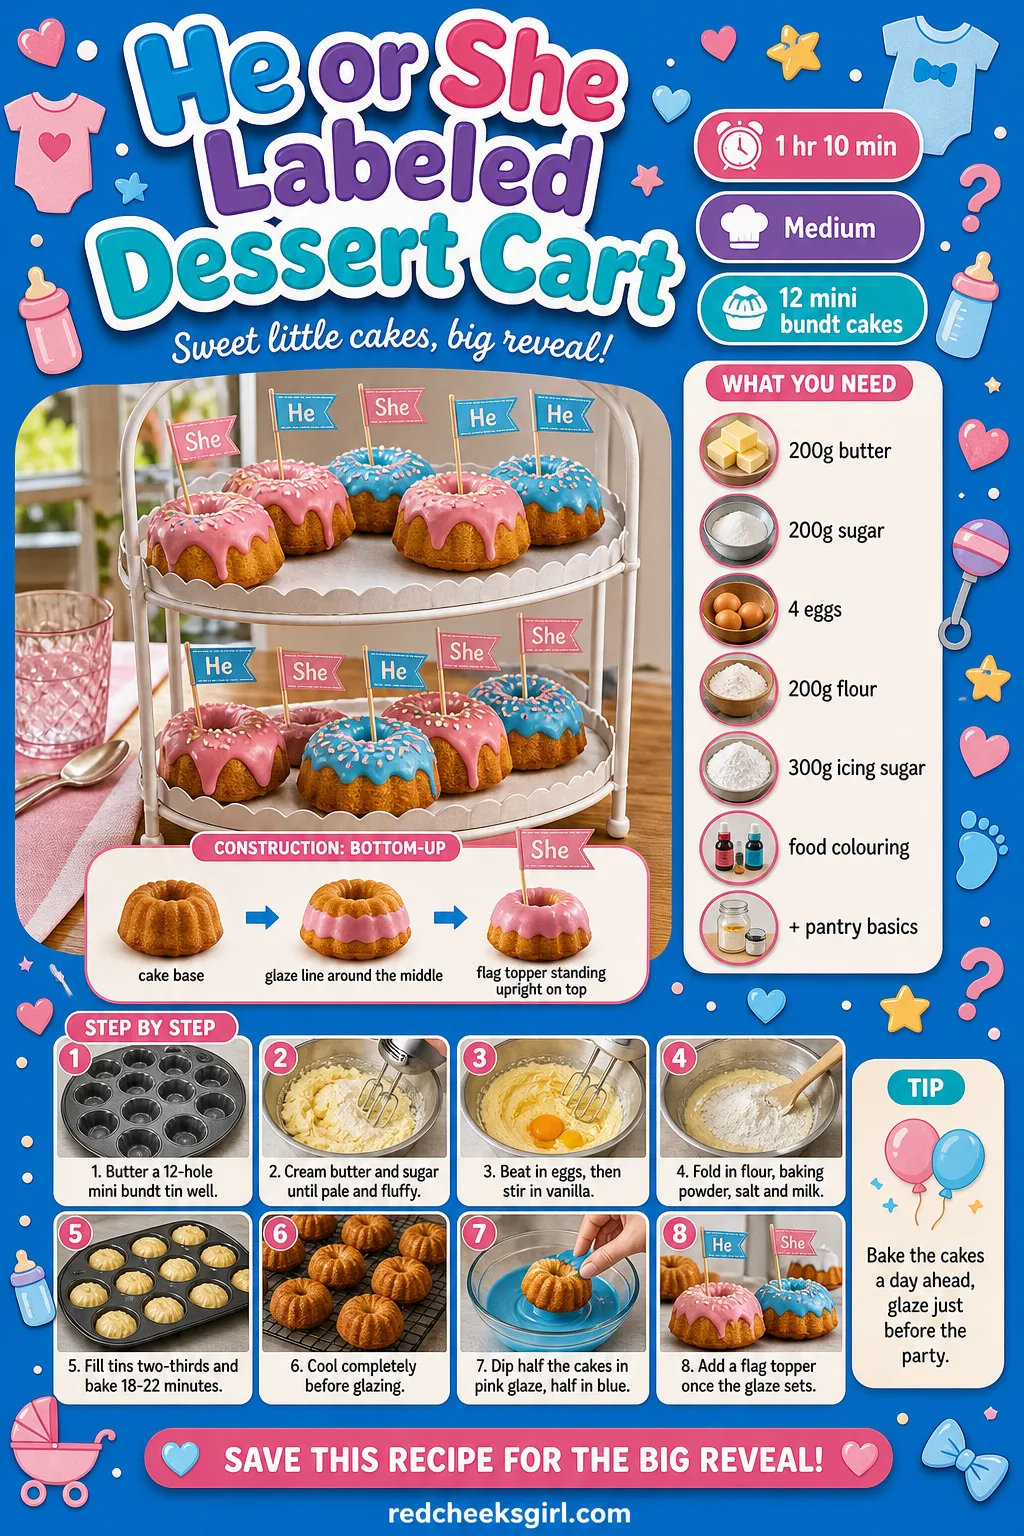
He or She Labeled Dessert Cart
The dessert table photographs flat when everything sits on one plane. A cart fixes that instantly, because height does half the styling for you. The centrepiece here is a batch of mini bundt cakes, dipped halfway in pink and halfway in blue glaze, so even stacked three tiers up they still read as two teams from across the room.
No cart on hand, a tiered stand or even two side tables pushed close works the same trick. For a decor base that holds its shape before you know a single colour, borrow from 12 Gender Reveal Ideas for Party Decoration That Work Before the Colour Is Known. Bake the cakes a day ahead, they only need glazing on the day itself.
Ingredients
- 200 g unsalted butter, softened
- 200 g caster sugar
- 4 large eggs
- 200 g plain flour
- 2 tsp baking powder
- 0.25 tsp salt
- 2 tbsp milk
- 1 tsp vanilla extract
- 300 g icing sugar
- 3 tbsp water or milk, for the glaze
- pink and blue gel food colouring
- 12 small flag toppers
Instructions
- Heat the oven to 180C (350F) and butter a 12-hole mini bundt tin well, right into the grooves, so the ridges turn out clean.
- Beat the butter and caster sugar together for 3 to 4 minutes until pale and fluffy, this is what keeps the crumb light so do not rush it.
- Add the eggs one at a time, beating well after each, then stir in the vanilla.
- Sift the flour, baking powder and salt over the bowl and fold in gently with the milk until just combined and no dry flour shows; the batter should fall off a spoon in a slow ribbon.
- Divide the batter between the bundt holes, filling each two-thirds full, and bake for 18 to 22 minutes until a skewer comes out clean and the top springs back when pressed.
- Cool the cakes in the tin for 10 minutes, then turn them out onto a rack and let them cool completely before glazing, a warm cake will melt the icing straight off.
- Whisk the icing sugar with the water or milk until it runs in a thick ribbon off the whisk, then split it into two bowls.
- Tint one bowl pink and the other blue with a toothpick’s worth of gel colour at a time, stirring until even.
- Dip six cooled bundts halfway into the pink glaze and six halfway into the blue, turning each one upright on the rack so the glaze sets in a clean line rather than a puddle.
- Let the glaze firm for 15 minutes, then push a small flag into the top of each cake, pink flags on the pink cakes and blue on the blue.
- Arrange on the top tier of a cart or stand with the two colours split left and right, keeping the bottom tier for the other desserts on this list.
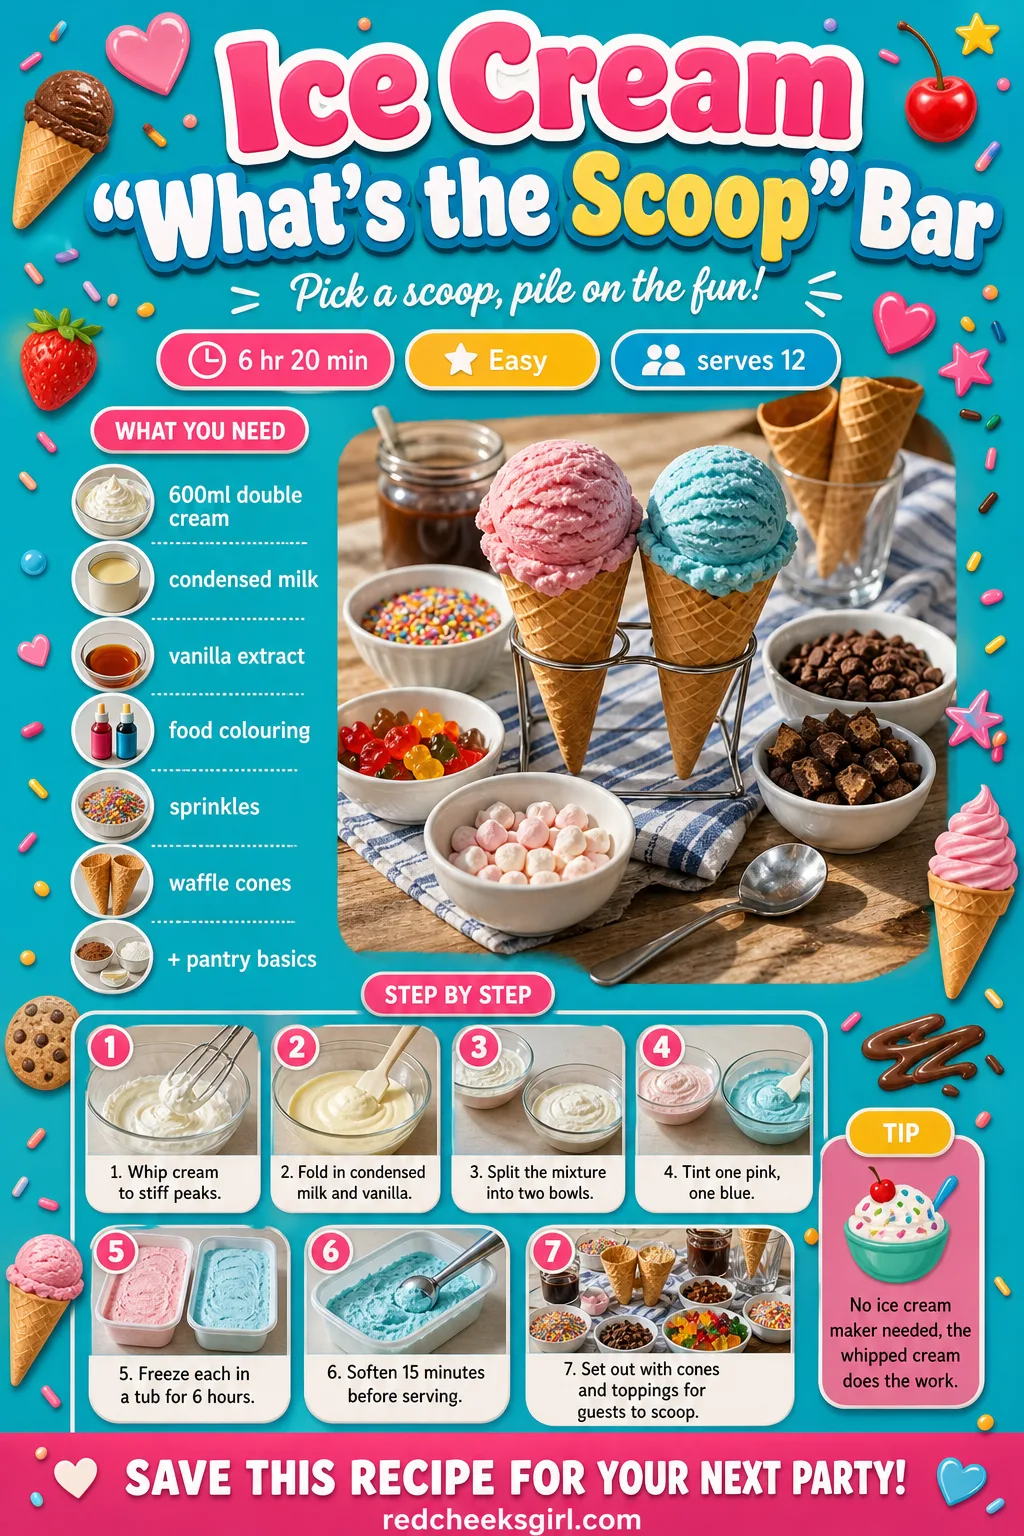
Ice Cream "What’s the Scoop" Bar
Nobody wants to run a churn mid-party, and nobody needs to. This base is whipped cream and condensed milk, split and tinted two ways, frozen solid enough to scoop clean but soft enough that cold fingers never fight the tub. Dairy is the only allergen here, swap in a coconut cream version for anyone who needs it.
Set the two tubs either side of a hand-lettered “What’s the Scoop” sign and let people build their own, that small bit of choice is what keeps a queue moving instead of bottlenecking at one bowl.
Ingredients
- 600 ml double cream
- 1 can (397 g) sweetened condensed milk
- 1 tsp vanilla extract
- pink and blue gel food colouring
- 100 g rainbow sprinkles
- 100 g mini marshmallows
- 200 g pink and blue candy-coated chocolates
- 300 ml chocolate sauce
- 300 ml strawberry sauce
- 12 waffle cones or cups
Instructions
- Whip the double cream in a large bowl with an electric mixer for 3 to 4 minutes until it holds a stiff peak and a trail from the whisk sits on top without sinking.
- Fold in the condensed milk and vanilla with a spatula, working gently from the bottom up so you keep the air you just whipped in; stop once no white streaks remain.
- Split the mixture evenly between two bowls.
- Tint one bowl pink and the other blue with a little gel colour at a time, folding until the colour is even all the way through with no paler streaks.
- Spoon each colour into its own freezer-safe tub, smooth the top, and cover with a lid or cling film pressed right onto the surface to stop ice crystals forming.
- Freeze for at least 6 hours, or overnight, until both are firm enough to hold a scoop shape when you drag a spoon across.
- About 15 minutes before guests arrive, pull both tubs from the freezer and let them sit at room temperature so the ice cream softens just enough to scoop cleanly.
- Set the tubs either side of a “What’s the Scoop” sign, with waffle cones or cups stacked in the middle and each topping in its own small bowl with its own spoon.
- Let guests build their own bowl or cone, scooping straight from the pink or blue side, then finishing with sauce, sprinkles and a cherry on top.
🛍 Shopping guide
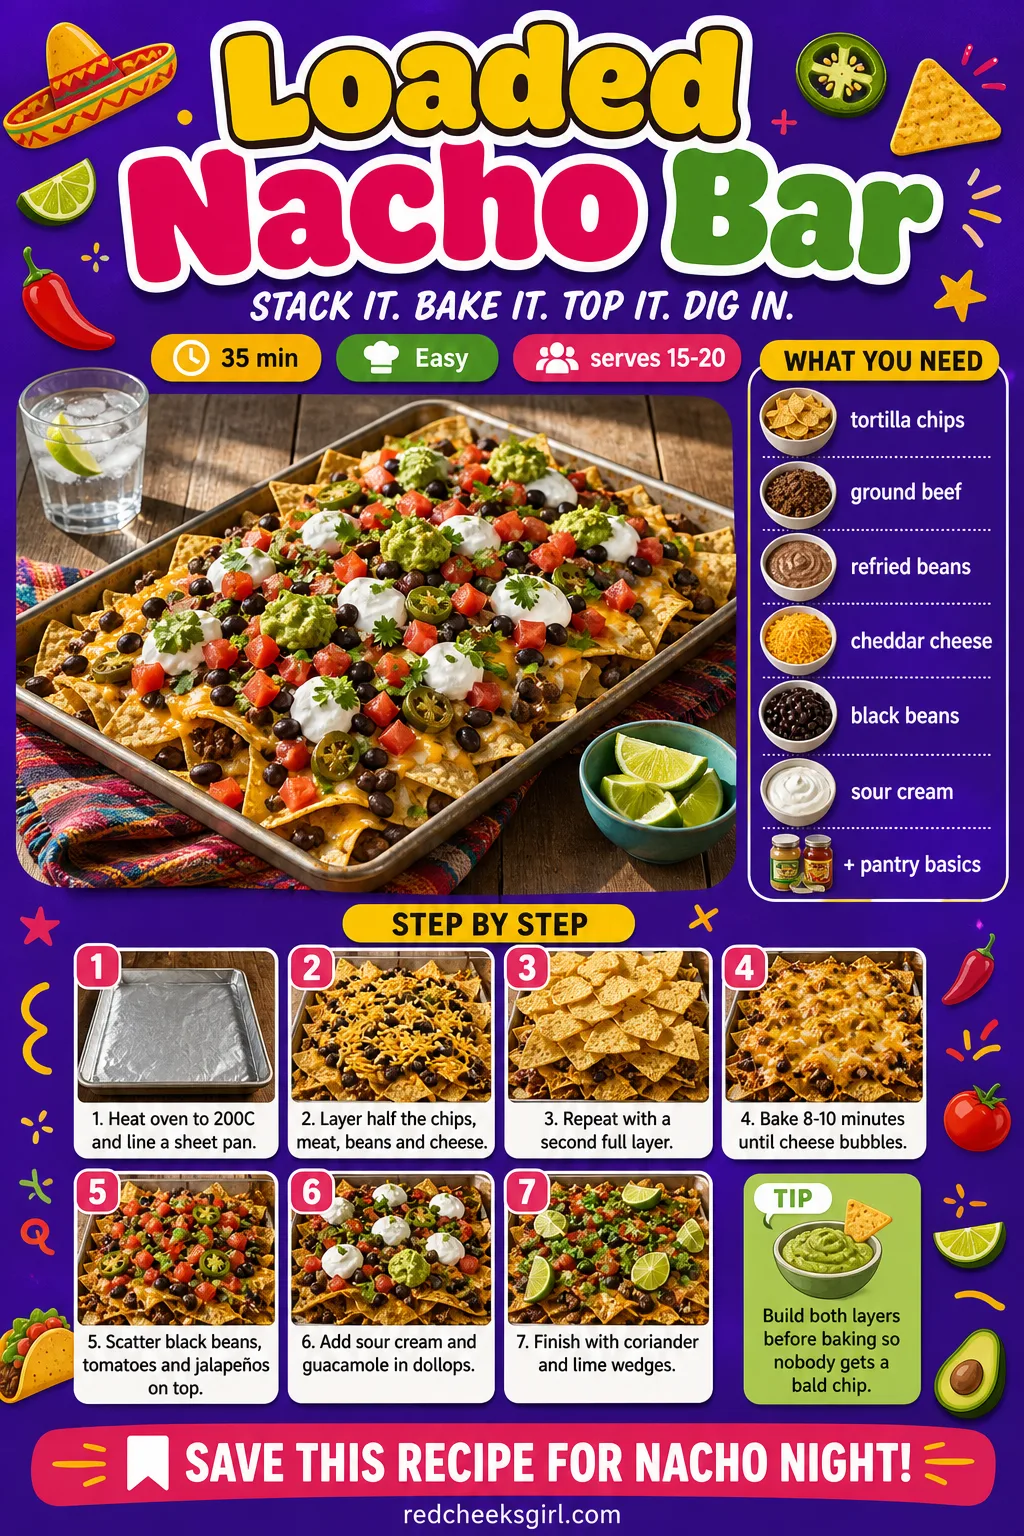
Loaded Nacho Bar
Sugar is lovely, but guests who arrive straight from work need something to actually eat before the reveal, not just something to photograph. A double-layered nacho tray, built in two rounds of chips, meat, beans and cheese, means nobody digs down to a sad pile of bare chips at the bottom.
Swap the beef for black beans and extra cheese for a vegetarian tray, and build one end spicier than the other if you want the teams arguing over more than just a colour.
Ingredients
- 500 g tortilla chips
- 400 g cooked, seasoned ground beef or shredded chicken
- 400 g refried beans, warmed
- 300 g shredded cheddar cheese
- 300 g shredded Monterey Jack cheese
- 1 can (400 g) black beans, drained and rinsed
- 2 jalapeños, sliced
- 2 tomatoes, diced
- 1 small red onion, diced
- 200 g sour cream
- 200 g guacamole
- 150 g pickled jalapeños or pink pickled onions
- 1 small bunch fresh coriander, chopped
- 2 limes, cut into wedges
Instructions
- Heat the oven to 200C (400F) and line a large sheet pan with foil or parchment so the cleanup is one sheet, not a scrubbed pan.
- Spread half the tortilla chips in a single layer across the pan, overlapping slightly so there is no bare pan showing through.
- Scatter half the beef or chicken, half the refried beans in small spoonfuls, and half of each cheese over that first layer so every chip gets some.
- Repeat with a second layer of chips, meat, beans and cheese, this second layer is what stops you getting a sad pile of plain chips at the bottom.
- Bake for 8 to 10 minutes, until the cheese is fully melted and just starting to bubble and colour at the edges.
- While the pan is in the oven, set out the black beans, jalapeños, tomatoes, onion and pickled onions in small bowls so people are not queuing behind the hot tray.
- Pull the nachos out and scatter the black beans, tomatoes, onion and jalapeños over the top while the cheese is still molten, so everything sticks rather than rolling off.
- Add spoonfuls of sour cream and guacamole in dollops rather than one big pool, so every corner of the pan gets some.
- Finish with chopped coriander and a scatter of lime wedges around the edge, and serve straight from the pan while it is still hot.
- For a team twist, label one end “Team He” with the spicier pickled jalapeños piled on, and the other “Team She” with the milder pink pickled onions.
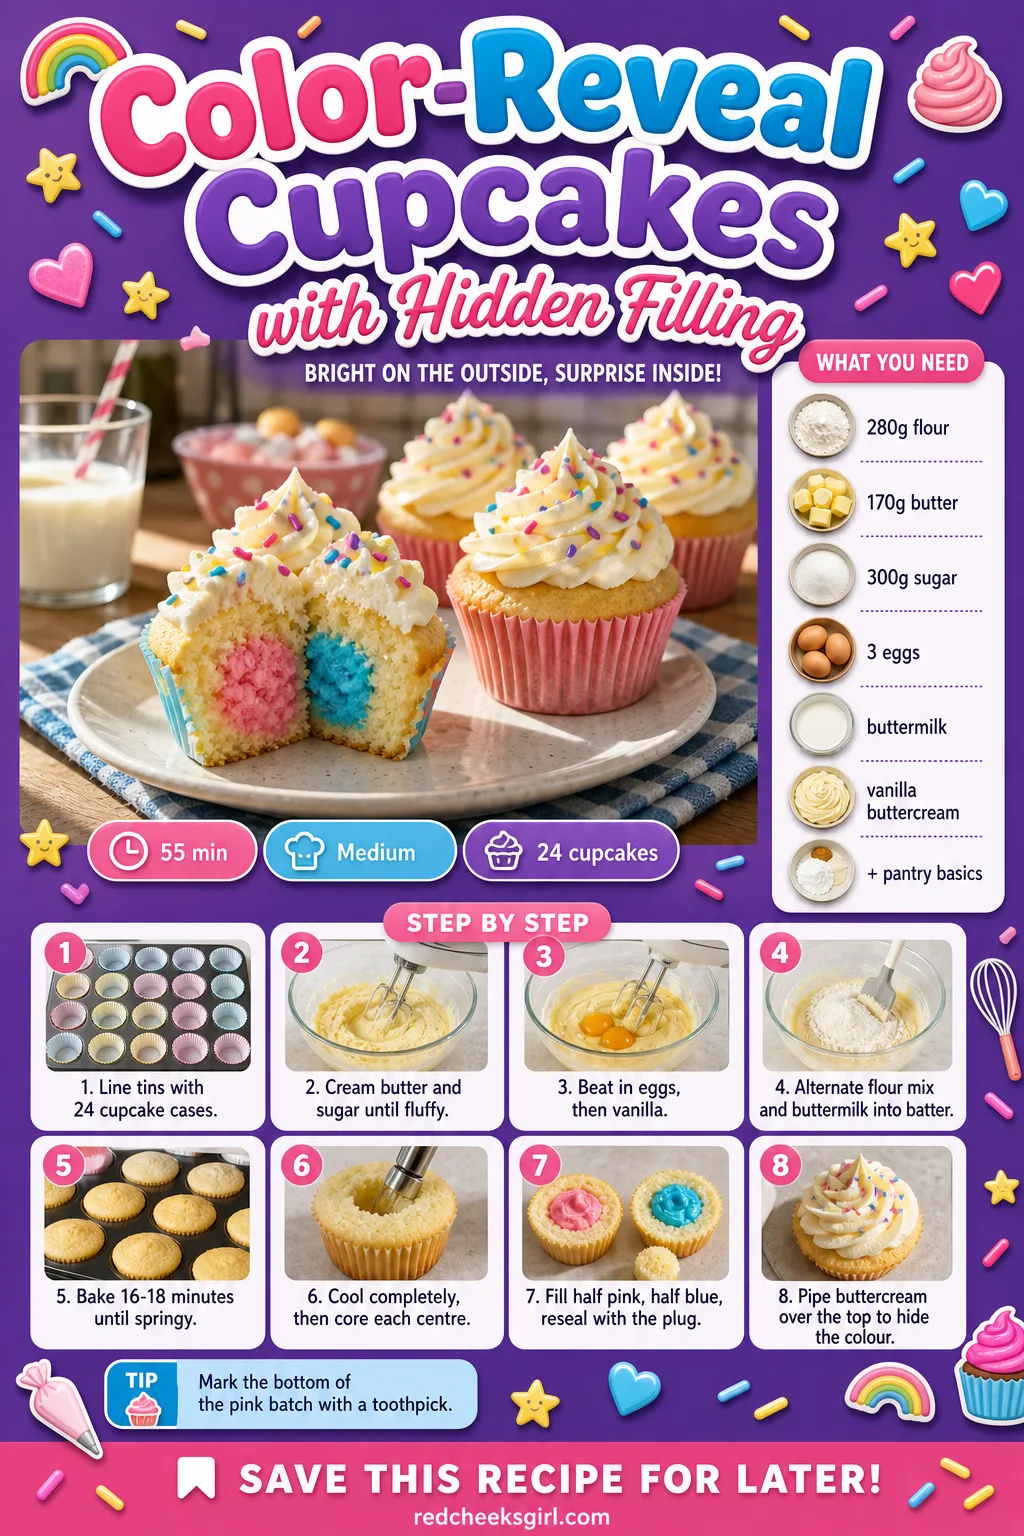
Color-Reveal Cupcakes with Hidden Filling
This is the cupcake everyone already pictures when you say gender reveal, and it earns the reputation: identical from the outside, a flash of pink or blue the second someone bites in. Contains eggs, dairy and gluten.
Core the cupcakes once they are fully cool, a warm one crumbles and gives the colour away before anyone takes a bite. Frost all 24 the same so the only tell is a tiny sprinkle marking which batch is which for whoever is serving.
Ingredients
- 280 g plain flour
- 1.5 tsp baking powder
- 0.5 tsp salt
- 170 g unsalted butter, softened
- 300 g caster sugar
- 3 large eggs
- 2 tsp vanilla extract
- 240 ml buttermilk
- 200 g pink-tinted buttercream, for filling
- 200 g blue-tinted buttercream, for filling
- 400 g vanilla buttercream, for topping
- pink and blue sprinkles, for finishing
Instructions
- Heat the oven to 180C (350F) and line two muffin tins with 24 cupcake cases.
- Whisk the flour, baking powder and salt together in a bowl and set aside.
- Beat the butter and sugar for 3 minutes until pale and fluffy, then add the eggs one at a time, beating well between each.
- Stir in the vanilla, then add the flour mixture and buttermilk alternately in three additions, starting and ending with flour, mixing just until smooth; overmixing here is what makes a tough cupcake.
- Divide the batter between the cases, filling each two-thirds full, and bake for 16 to 18 minutes until a toothpick comes out clean and the tops spring back when touched.
- Cool in the tin for 5 minutes, then move to a rack and cool completely, at least 30 minutes, before you cut into them.
- Use a small paring knife or apple corer to cut a plug from the centre of each cupcake, about 2 cm wide and 2 cm deep, and set the plugs aside.
- Spoon the pink filling into the hollows of 12 cupcakes and the blue filling into the other 12, filling right to the top of the hole.
- Trim the bottom off each plug so it sits flush, and press it back on top of its cupcake to seal the colour inside; nobody should see a hint of it from outside.
- Pipe the vanilla buttercream over the top of every cupcake so they all look identical from the outside, that sameness is the whole point of the trick.
- Finish with a scatter of pink sprinkles on the pink-filled batch and blue on the blue-filled batch, just enough that whoever serves them can tell which is which without giving it away to guests.
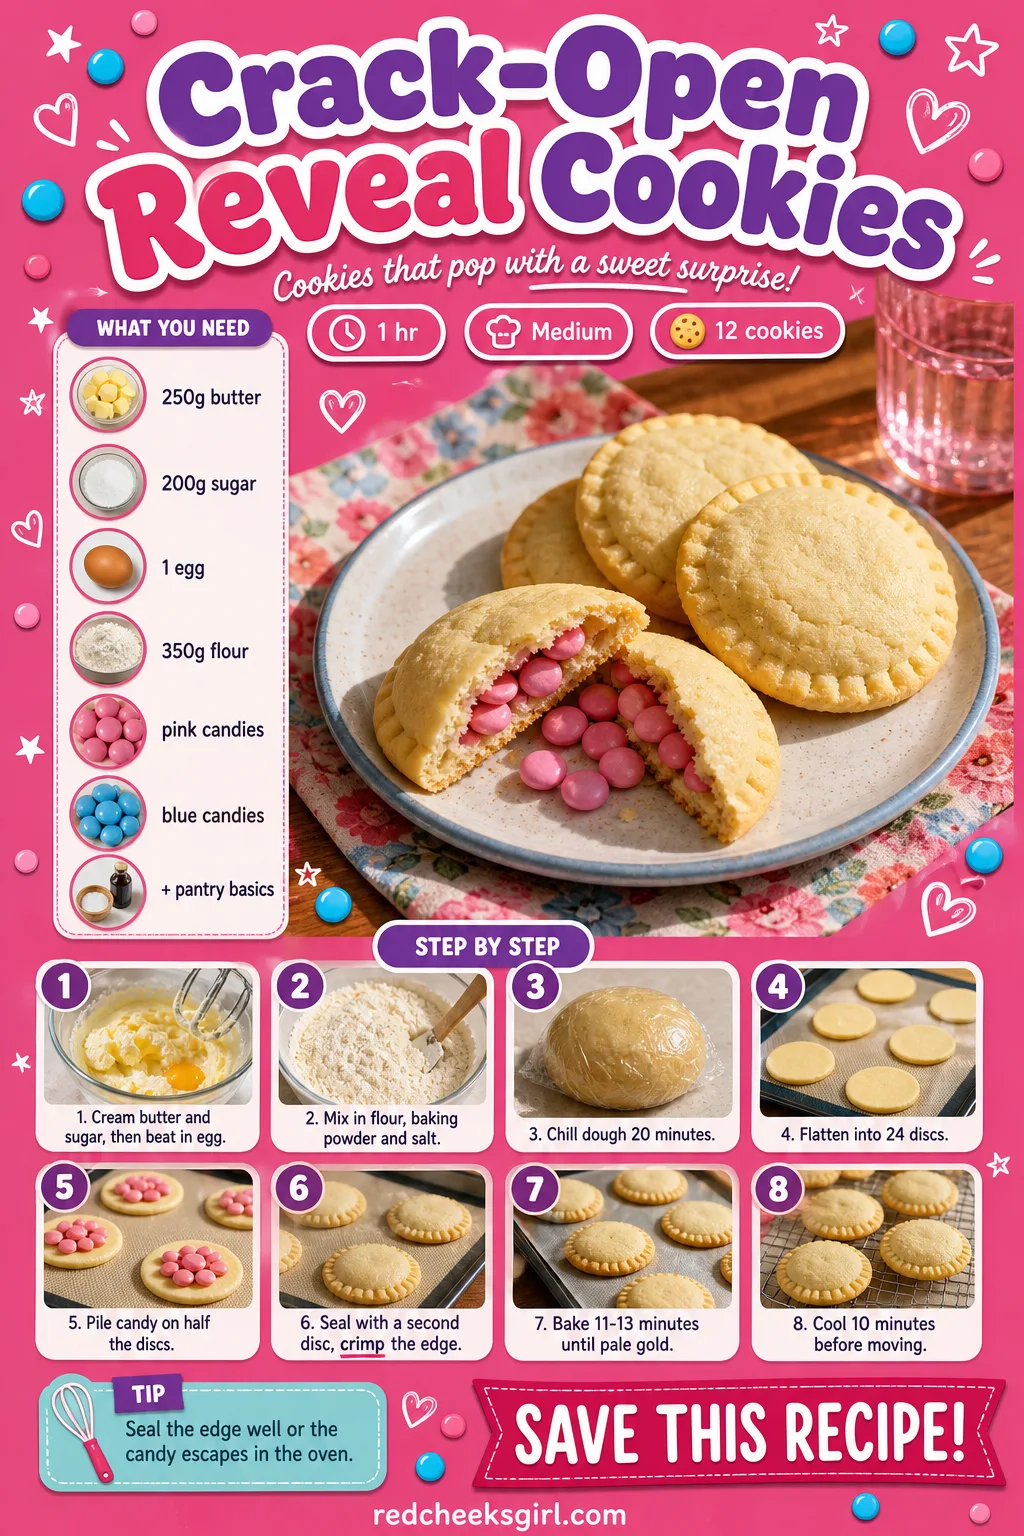
Crack-Open Reveal Cookies
Some guests want to hear the reveal, not just see it. A sealed sugar cookie, packed with candy and snapped in half at the table, gives them that crack. Contains eggs, dairy and gluten, and the small candies inside are a choking risk for anyone bringing young children.
Seal the edges firmly before baking, a thin seam is the one thing that goes wrong here and leaves candy scattered across the tray instead of inside the cookie.
Ingredients
- 250 g unsalted butter, softened
- 200 g caster sugar
- 1 large egg
- 1 tsp vanilla extract
- 350 g plain flour
- 0.5 tsp baking powder
- 0.25 tsp salt
- 100 g pink mini candy-coated chocolates
- 100 g blue mini candy-coated chocolates
- 1 egg, beaten, for sealing
Instructions
- Beat the butter and sugar together for 2 to 3 minutes until light and creamy, then beat in the egg and vanilla.
- Sift in the flour, baking powder and salt and mix on low until the dough comes together in a ball and pulls cleanly away from the side of the bowl.
- Wrap the dough and chill for 20 minutes, this stops it spreading into a puddle in the oven.
- Heat the oven to 180C (350F) and line two baking sheets with parchment.
- Divide the dough into 24 equal balls, then flatten each into a disc about 7 cm wide and 4 mm thick.
- Lay out 12 discs, pile a heaped teaspoon of pink candies in the centre of 6 and blue candies in the centre of the other 6, leaving a bare rim of dough around the edge.
- Brush the bare rim with a little beaten egg, then lay a second disc over each pile and press the edges together firmly all the way round to seal in the candy.
- Crimp the sealed edge with a fork so it holds under the oven’s heat, and prick the top once with a toothpick so steam has somewhere to go.
- Bake for 11 to 13 minutes until the edges turn pale gold; the centre will look slightly soft, that is correct, it firms as it cools.
- Cool on the tray for 10 minutes before moving the cookies to a rack, moving them too soon risks cracking the seal in the wrong place.
- Serve each cookie whole and let guests crack it in half or bite straight in to find out which colour was hiding inside.
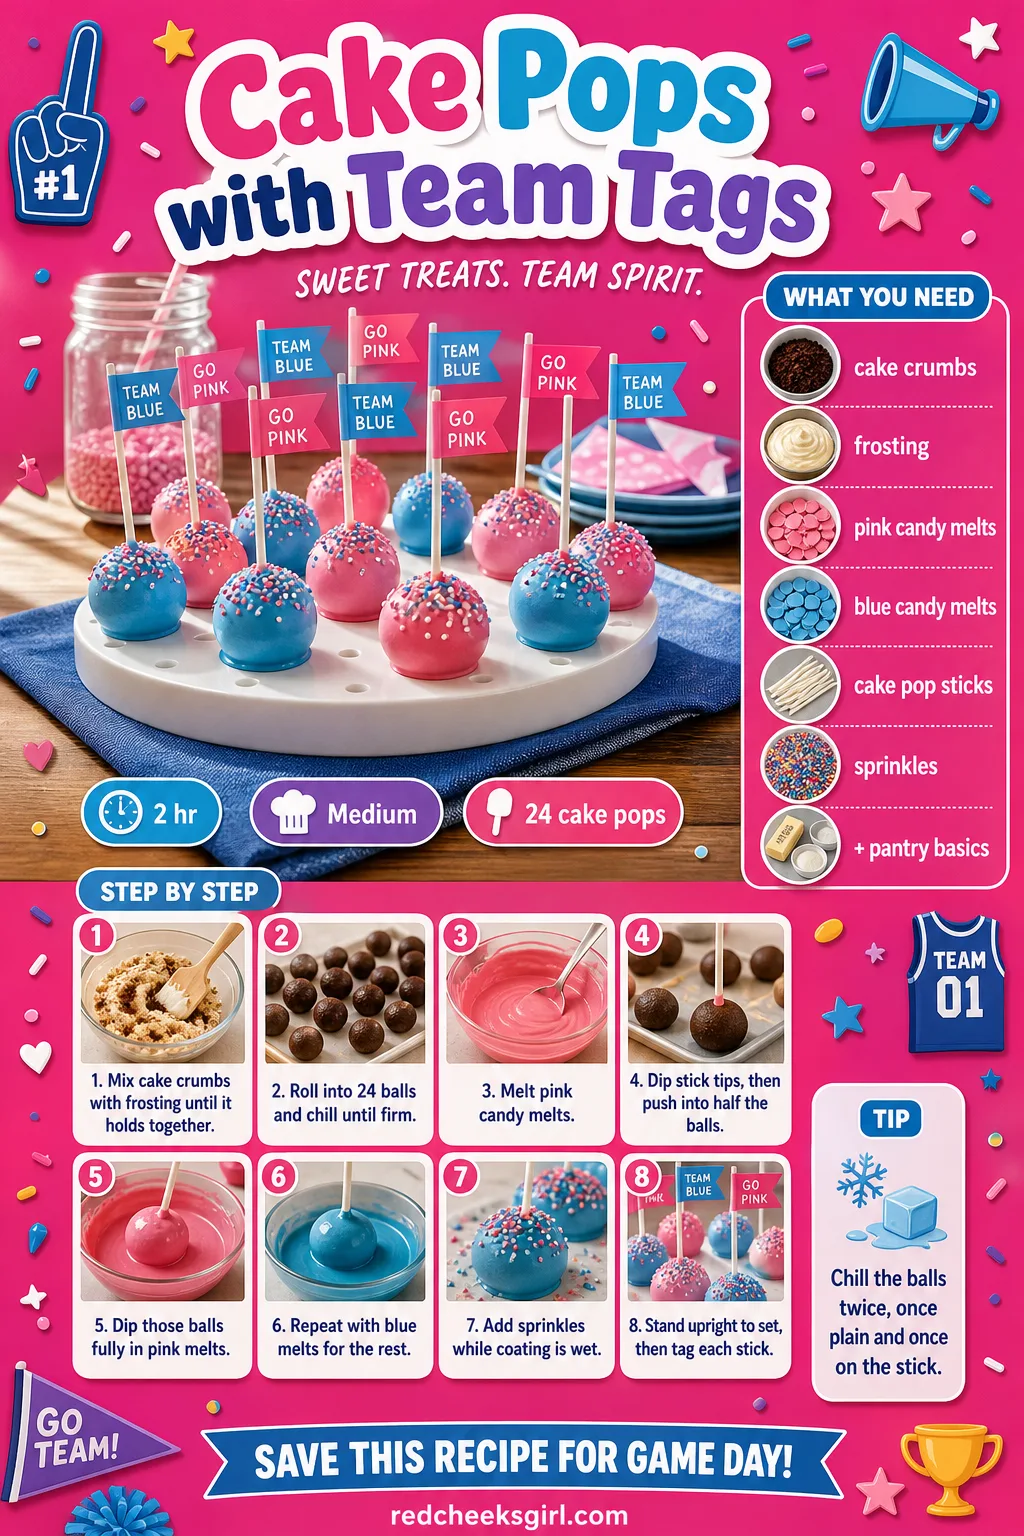
Cake Pops with Team Tags
Cake pops solve the one problem the dessert cart cannot: something guests can eat on the move, standing, holding a drink in the other hand. Dip half the batch pink, half blue, and tie on a tiny paper tag reading “Team He” or “Team She” so people can grab their own side without asking.
Chill the cake balls twice, once plain and again after the stick goes in, a soft ball slides straight off and lands in the candy melt otherwise.
Ingredients
- 1 baked 20 cm cake, cooled and crumbled (about 500 g)
- 150 g buttercream or cream cheese frosting
- 300 g pink candy melts
- 300 g blue candy melts
- 24 cake pop sticks
- pink and blue sprinkles, for finishing
- 24 small paper tags, “Team He” / “Team She”
Instructions
- Crumble the cooled cake into fine crumbs in a large bowl, breaking up any big lumps with your fingers.
- Add the frosting a few spoonfuls at a time, mixing with a spatula until the mixture holds together when you squeeze a small handful, like wet sand; you may not need the whole amount.
- Roll the mixture into 24 balls, about the size of a golf ball, and place them on a lined tray.
- Chill the balls in the fridge for 30 minutes, or the freezer for 15, until firm; a soft ball will slide straight off the stick later.
- Melt the pink candy melts in a tall narrow cup in the microwave in 20-second bursts, stirring between each, until smooth.
- Dip the tip of a stick into the melted candy and push it halfway into a chilled cake ball, this tiny dab of melted candy is the glue that stops the pop spinning loose.
- Repeat for 12 balls with pink melts, chilling them again for 5 minutes once the sticks are in.
- Dip each stick-set ball fully into the pink candy melts, turning slowly and letting the excess drip back into the cup rather than pooling at the base.
- Melt the blue candy melts and repeat the whole process for the remaining 12 balls.
- Scatter sprinkles over each pop while the coating is still wet, pink sprinkles on pink, blue on blue, so they set in place.
- Stand every pop upright in a block of styrofoam or a cake pop stand to set for at least 20 minutes, laying them flat will give you a flat side, not a sphere.
- Tie or tape a small paper tag to each stick, “Team He” on the blue pops and “Team She” on the pink, so guests can grab their side at a glance.
🛍 Shopping guide
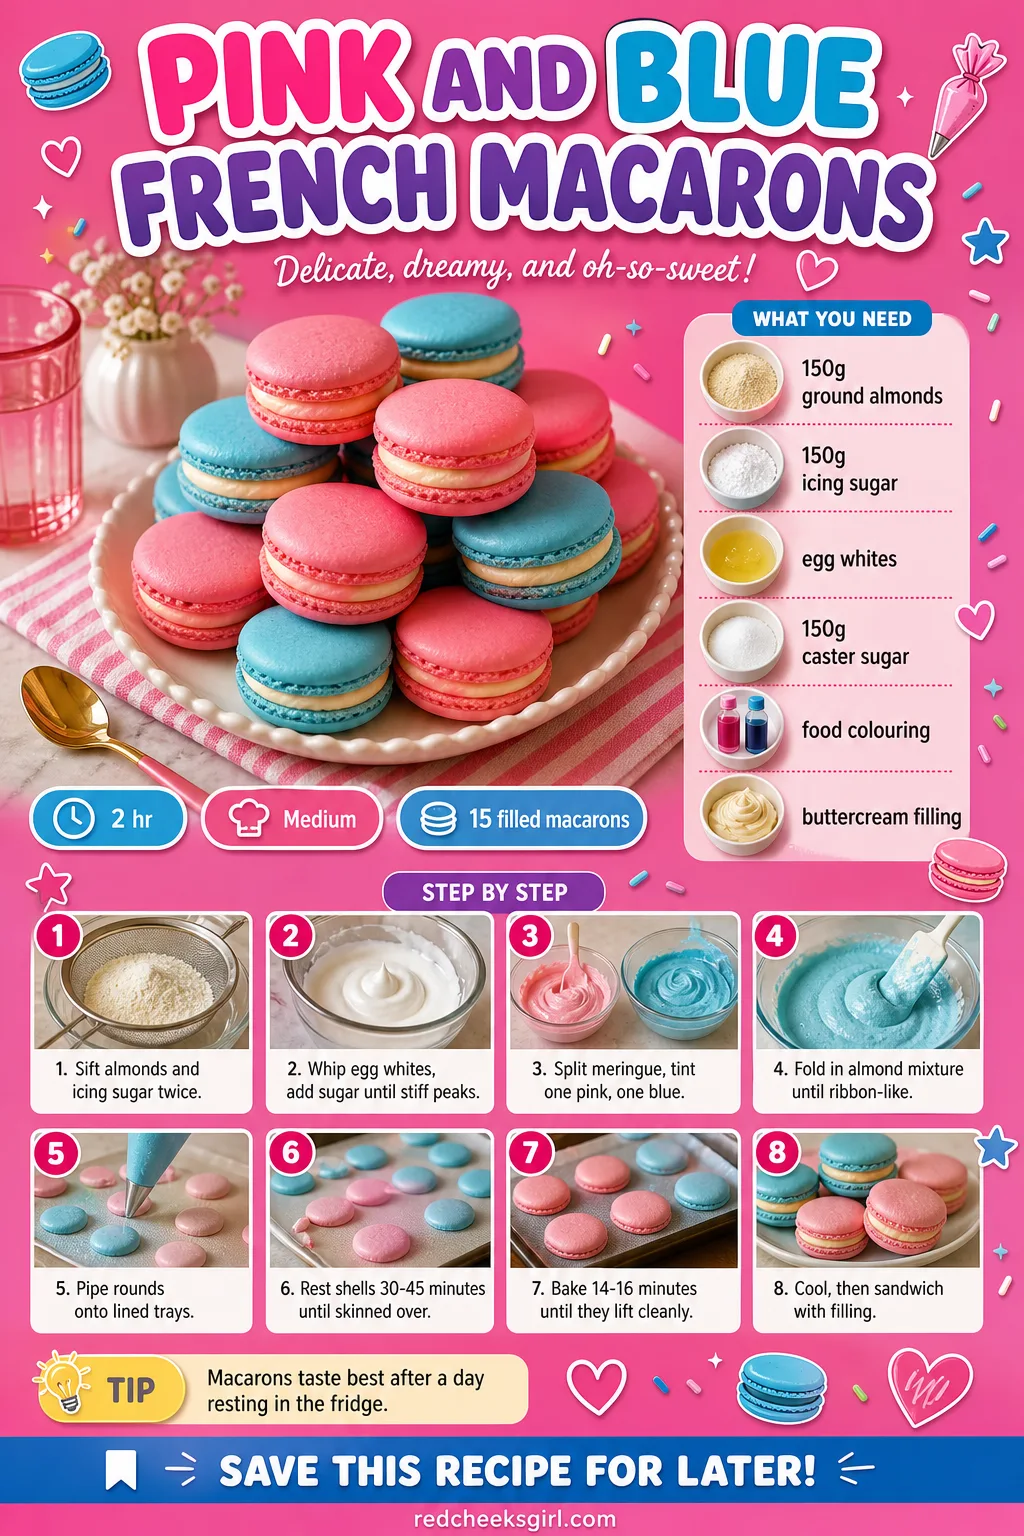
Pink and Blue French Macarons
Macarons look like the one thing on this list that needs a pastry diploma. They do not, they need patience and a rest. Made with almond flour, so keep them off any tray near a guest with a nut allergy and label the bowl clearly.
Make them two days ahead if that is easier on your week, they actually taste better and sit flatter after a day resting in the fridge, which is one less thing to do on the morning of the party.
Ingredients
- 150 g ground almonds
- 150 g icing sugar
- 110 g egg whites (about 3 large eggs), room temperature
- 150 g caster sugar
- pink and blue gel food colouring
- 150 g buttercream or ganache, for filling
Instructions
- Sift the ground almonds and icing sugar together twice into a bowl, pressing through any lumps, this keeps the shells smooth instead of pitted.
- Whisk the egg whites in a clean, grease-free bowl on medium speed until foamy, then add the caster sugar a tablespoon at a time, whisking until the meringue holds a stiff, glossy peak that does not slump when you lift the whisk.
- Split the meringue between two bowls and tint one pink and one blue with gel colour, folding until the colour is even.
- Fold the almond mixture into each meringue in three additions, using a spatula to cut down the middle and scrape up the sides; stop folding once the batter falls off the spatula in a slow ribbon that disappears into itself within 10 seconds.
- Spoon each colour into its own piping bag fitted with a plain round tip.
- Pipe 4 cm rounds onto parchment-lined trays, spacing them 2 cm apart, pink on one tray and blue on another.
- Tap each tray firmly on the counter 3 or 4 times to knock out air bubbles, any stubborn bubble on the surface can be popped with a toothpick.
- Let the piped shells sit uncovered at room temperature for 30 to 45 minutes, until a finger pressed gently on top leaves no wet mark; this skin is what gives macarons their signature foot.
- Heat the oven to 150C (300F) and bake one tray at a time for 14 to 16 minutes, until the shells lift cleanly off the parchment without sticking.
- Cool the shells completely on the tray, at least 20 minutes, before you try to fill them; warm shells will crack when handled.
- Match shells into pairs by size, then pipe a small dot of buttercream or ganache onto the flat side of one shell in each pink pair, and onto one shell in each blue pair.
- Sandwich with the matching shell, pressing gently until the filling just reaches the edge.
- Keep the finished macarons in the fridge in a sealed container for at least 24 hours before serving; they taste better and sit more evenly after a day’s rest, so build this into your prep schedule rather than treating it as optional.
🛍 Shopping guide
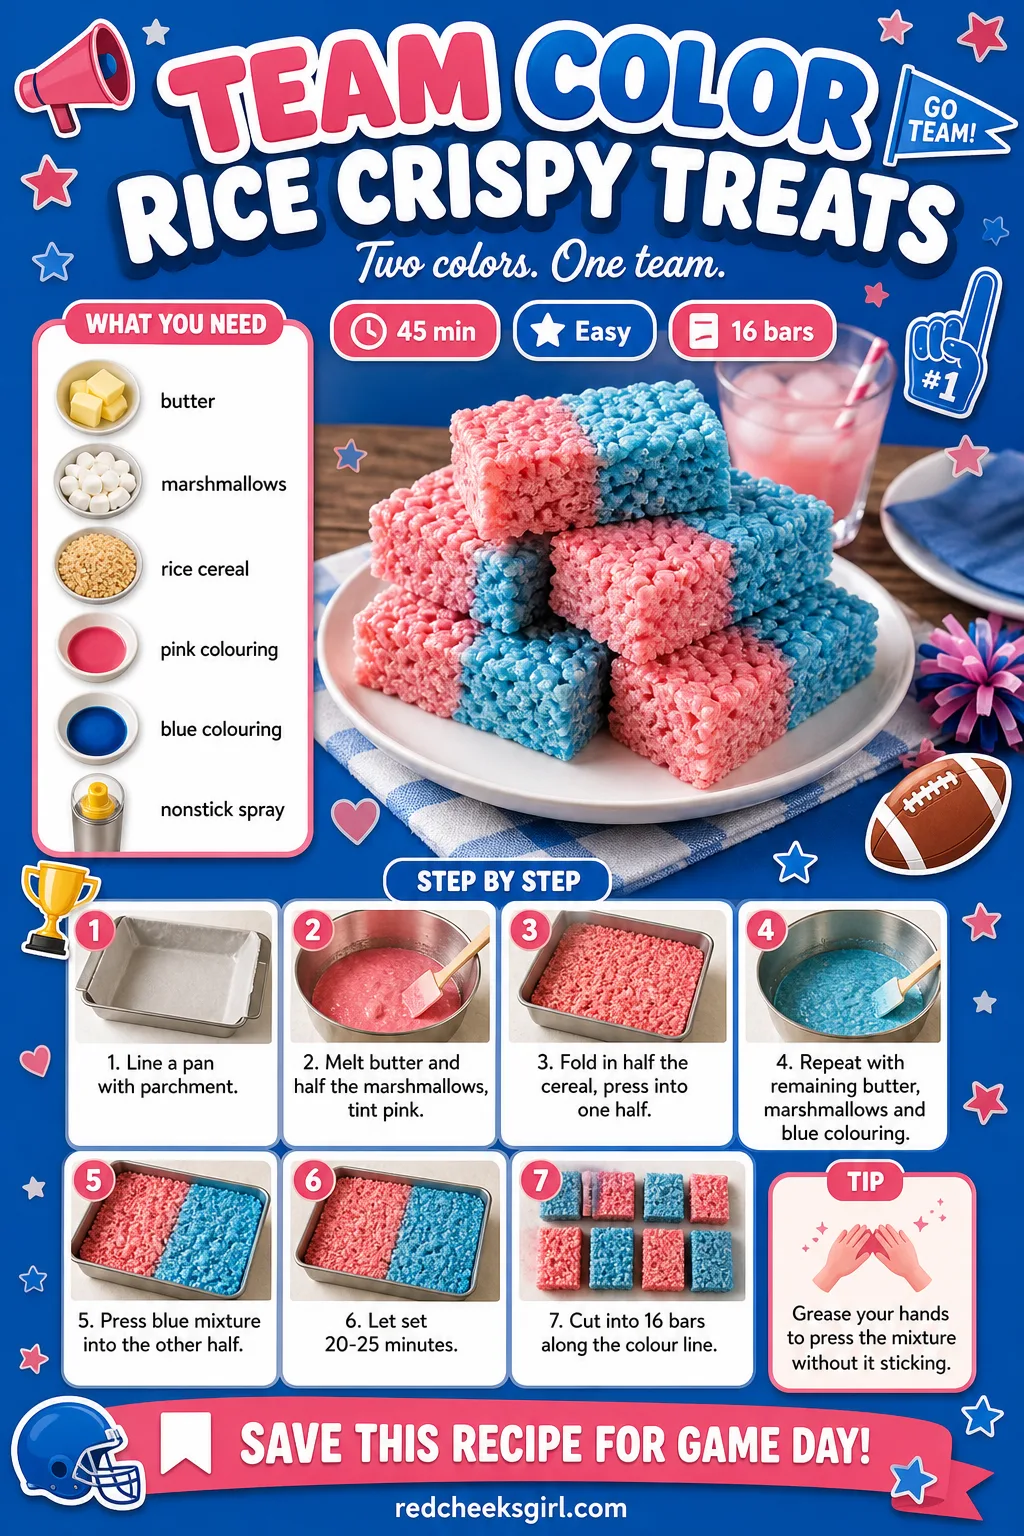
Team Color Rice Crispy Treats
No oven needed, no real skill either, just a saucepan and a pan to press into. Rice crispy treats are the one item on this list you can hand to a teenager and walk away from, and the half-pink, half-blue bar still looks deliberate once it is cut.
Grease your hands before pressing the mixture in, bare fingers stick to warm marshmallow, greased ones glide straight through it.
Ingredients
- 170 g unsalted butter, divided
- 600 g mini marshmallows, divided
- 340 g crisp rice cereal, divided
- pink gel food colouring
- blue gel food colouring
- nonstick spray, for the pan
Instructions
- Line a 23×33 cm pan with parchment, leaving an overhang on two sides, and spray lightly with nonstick spray.
- Melt 85 g of the butter in a large saucepan over low heat, then add 300 g of the marshmallows and stir until fully melted and smooth, this takes about 4 minutes.
- Stir in a few drops of pink gel colour until the melted marshmallow is an even, solid shade with no streaks.
- Remove from the heat and fold in 170 g of the cereal quickly with a greased spatula, before the mixture starts to set.
- Press the pink mixture evenly into one half of the lined pan using a greased spatula or the back of a spoon, pressing firmly but not hard enough to crush the cereal flat.
- Wipe out the saucepan and repeat the whole process with the remaining butter, marshmallows, blue colouring and cereal.
- Press the blue mixture into the other half of the pan, pushing it right up against the pink so the two meet in a clean line down the middle.
- Let the slab cool and set at room temperature for 20 to 25 minutes before lifting it out by the parchment overhang.
- Cut into 16 bars with a sharp knife run under hot water and wiped dry between cuts, so each bar shows a clean half-pink, half-blue face.
Honey Cake Bites
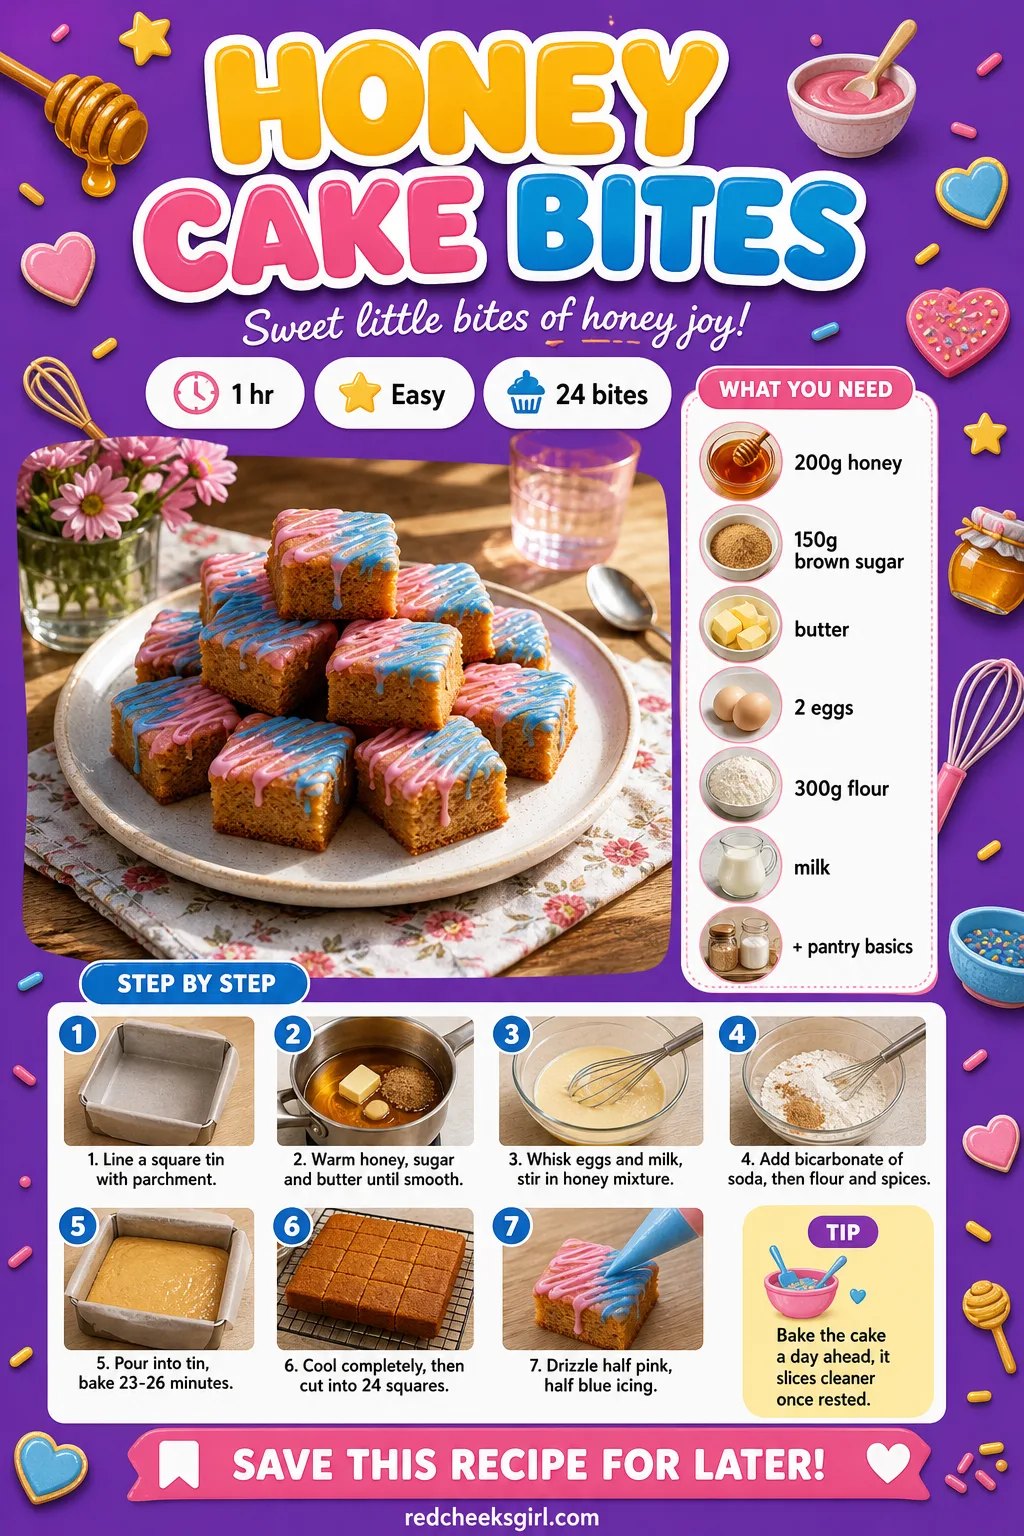
Honey cake reads a touch more grown up than another frosted square, warm with cinnamon and ginger instead of straight sugar. Cut it small and it slots in neatly between the sweeter desserts without competing with them.
A thin pink or blue drizzle is all it needs, this cake does not want to be hidden under icing the way the cupcakes do.
Ingredients
- 200 g runny honey
- 150 g light brown sugar
- 115 g unsalted butter
- 2 large eggs
- 240 ml milk
- 1 tsp bicarbonate of soda
- 300 g plain flour
- 1 tsp ground cinnamon
- 0.5 tsp ground ginger
- 100 g pink icing, for drizzling
- 100 g blue icing, for drizzling
Instructions
- Heat the oven to 170C (340F) and line a 20×20 cm square tin with parchment.
- Warm the honey, brown sugar and butter together in a small saucepan over low heat, stirring until melted and smooth, then set aside to cool slightly.
- Whisk the eggs and milk together in a large bowl, then stir in the cooled honey mixture.
- Dissolve the bicarbonate of soda into the wet mixture, it will fizz slightly, that reaction is what lifts the cake.
- Sift in the flour, cinnamon and ginger and fold until smooth with no dry streaks; the batter should pour like a thick pancake batter.
- Pour into the tin and bake for 23 to 26 minutes, until a skewer comes out clean and the top springs back when pressed gently.
- Cool in the tin for 15 minutes, then lift out using the parchment and cool completely on a rack, at least 20 minutes, before cutting.
- Cut the cooled cake into 24 small squares.
- Drizzle half the squares with pink icing and half with blue, using a spoon or a piping bag snipped at the tip for a fine, even line.
- Let the icing set for 10 minutes before stacking the bites on a plate or tiered stand.
Team Sugar Cookies
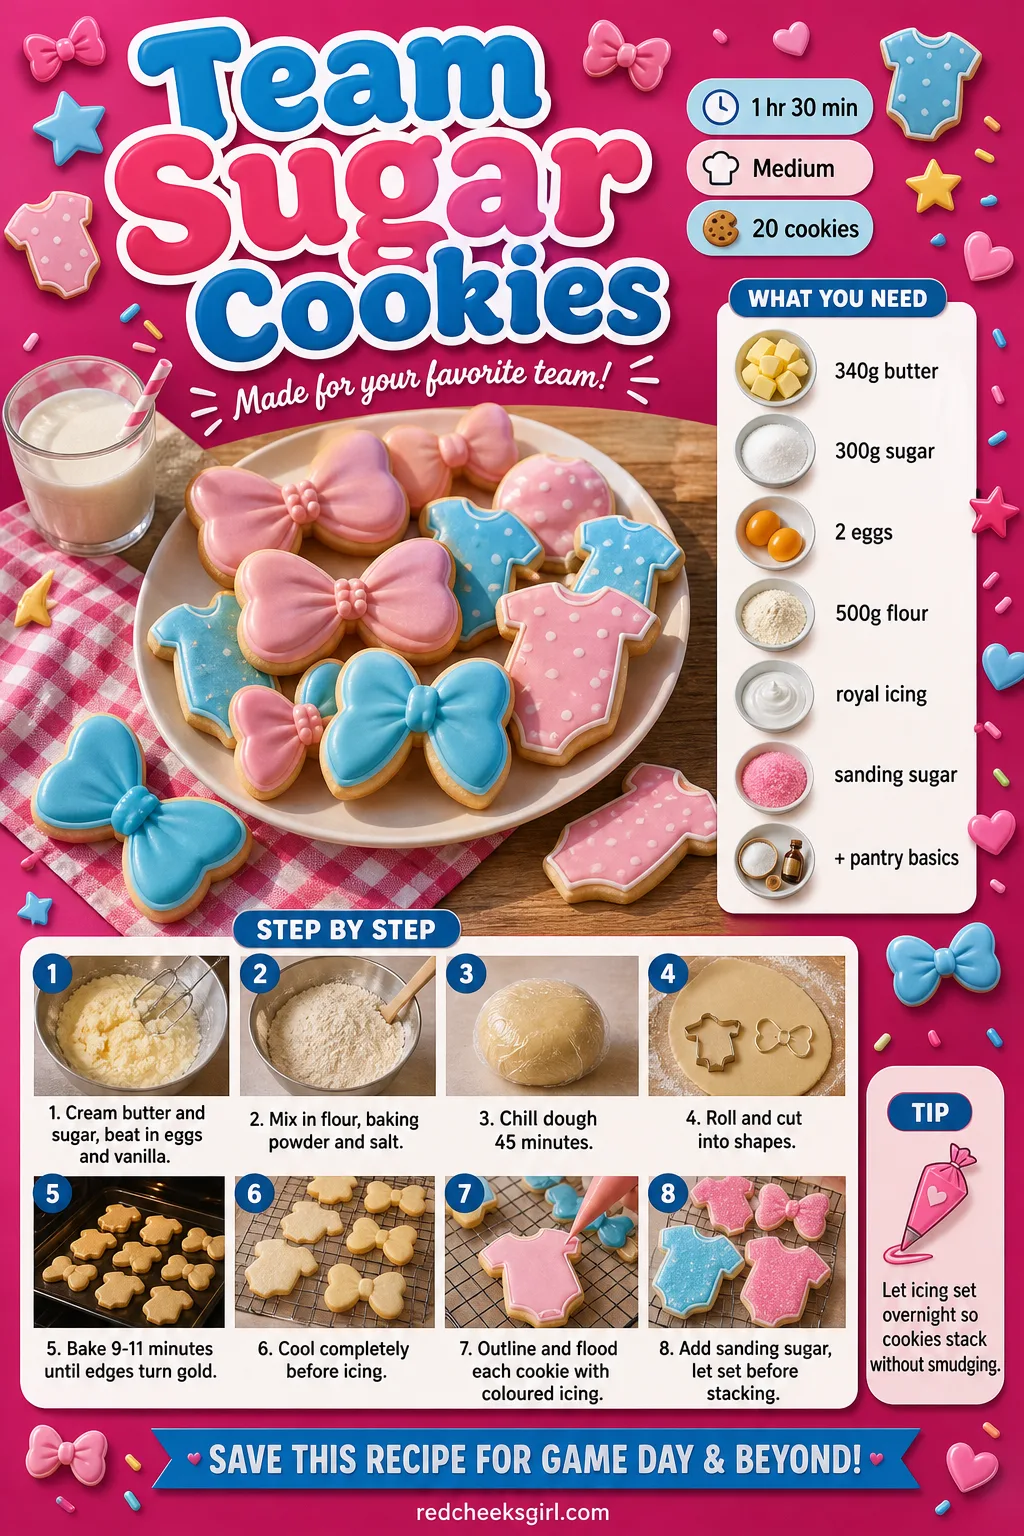
Cut these into onesies, bows or bowties and they do double duty as both food and decor. The dough itself is nothing unusual, the payoff is in the royal icing, outlined then flooded so each shape sets with a glossy, unbroken shell.
Let them set overnight if you can, icing that is still soft smudges the second you stack cookies on top of each other for a tray.
Ingredients
- 340 g unsalted butter, softened
- 300 g caster sugar
- 2 large eggs
- 1 tsp vanilla extract
- 500 g plain flour
- 1 tsp baking powder
- 0.5 tsp salt
- 400 g royal icing, split and tinted pink and blue
- pink and blue sanding sugar, for finishing
Instructions
- Beat the butter and sugar together for 3 minutes until pale and fluffy, then beat in the eggs one at a time and the vanilla.
- Sift in the flour, baking powder and salt and mix on low until the dough comes together and pulls cleanly away from the side of the bowl.
- Divide the dough in two, flatten each into a disc, wrap and chill for 45 minutes, or until firm enough to roll without sticking to the pin.
- Heat the oven to 180C (350F) and line two baking sheets with parchment.
- Roll one disc out on a lightly floured surface to 5 mm thick and cut out shapes, onesies, bows or bowties work well for this theme, re-rolling scraps once.
- Repeat with the second disc, then transfer all the cut shapes to the lined sheets, leaving 3 cm between each.
- Bake for 9 to 11 minutes, until the edges are just turning gold but the centres still look pale and slightly soft; they firm up fully as they cool.
- Cool on the tray for 5 minutes, then move to a rack and cool completely, about 30 minutes, before icing.
- Split the royal icing into two bowls and tint one pink and one blue, then thin each with a few drops of water until it runs off a spoon in a slow ribbon.
- Outline each cookie with the matching colour using a piping bag, let it firm for 2 minutes, then flood the centre and tilt gently to fill right to the outline.
- Scatter sanding sugar over the wet icing on each colour and leave the cookies flat for at least 2 hours, or overnight, until the icing sets hard enough to stack.
Cowboy Caviar Dip
If the party leans western, start the savory run here. Cowboy caviar is a bean and corn salsa, bright with lime and cumin, that holds up next to a nacho bar without duplicating it. For more of this theme beyond the table, 23 Boots or Bows Gender Reveal Ideas Everyone Will Cheer For covers the rest of it.
Add the avocado at the very last minute, any earlier and it browns before guests even reach the bowl.
Ingredients
- 1 can (400 g) black beans, drained and rinsed
- 1 can (400 g) black-eyed peas, drained and rinsed
- 300 g sweetcorn kernels
- 2 avocados, diced
- 2 tomatoes, diced
- 1 red bell pepper, diced
- 0.5 red onion, finely diced
- 1 jalapeño, finely diced
- 1 small bunch coriander, chopped
- 80 ml olive oil
- 60 ml lime juice
- 1 tsp ground cumin
- 0.5 tsp salt
- tortilla chips, to serve
Instructions
- Combine the black beans, black-eyed peas, sweetcorn, tomatoes, bell pepper, onion and jalapeño in a large bowl.
- Whisk the olive oil, lime juice, cumin and salt together in a small bowl or jar until it looks emulsified rather than separated.
- Pour the dressing over the bean mixture and stir to coat everything evenly.
- Cover and chill for at least 1 hour, this gives the beans time to actually take on the lime and cumin instead of tasting raw.
- Fold in the diced avocado and coriander just before serving, adding them any earlier turns the avocado brown and mushy.
- Taste and add a touch more salt or lime if the flavour feels flat; the dip should taste bright, not heavy.
- Serve in a large bowl with tortilla chips alongside, or split into two smaller bowls and ring one with pink pickled onions and the other with extra jalapeño for a team twist.
Mini Corn Dog Bites
Western snacks need something fried, and this is the bite-sized version nobody has to eat off a full-length stick at a standing party. The batter is thick cornbread batter, really, just dressed up with a cocktail sausage inside.
Fry in small batches, crowd the pan and the oil temperature drops, leaving you with pale, greasy coating instead of a crisp one.
Ingredients
- 24 cocktail sausages or mini hot dogs
- 130 g plain flour
- 100 g fine cornmeal
- 1.5 tsp baking powder
- 0.5 tsp salt
- 1 tbsp sugar
- 1 large egg
- 240 ml buttermilk
- 24 small lollipop sticks
- oil, for frying (about 1 L)
Instructions
- Pat the sausages dry with a paper towel, this helps the batter cling instead of sliding off in the oil.
- Push a stick into one end of each sausage, leaving enough exposed to hold onto.
- Whisk the flour, cornmeal, baking powder, salt and sugar together in a bowl.
- Whisk the egg and buttermilk together, then pour into the dry ingredients and stir just until smooth; the batter should be thick enough to coat the back of a spoon.
- Pour the batter into a tall glass so you can dip the sausages vertically without needing a huge bowl of batter.
- Heat the oil in a deep saucepan to 180C (350F); a cube of bread dropped in should turn golden in about 20 seconds.
- Dip each sausage into the batter, turning to coat evenly, then lower it carefully into the hot oil.
- Fry 4 or 5 at a time for 2 to 3 minutes, turning once, until deep golden brown all over; overcrowding the pan drops the oil temperature and leaves them pale and greasy.
- Drain on a rack or paper towels for a minute, then serve warm with dips on the side.
Pulled Pork Slider Bites
This is the one you start in the morning and forget about. A slow cooker does the actual work, you just rub the pork and walk away, which leaves your afternoon free for the decorating that actually needs your hands.
No slow cooker, a covered dutch oven at 150C for the same stretch of time gets you there too.
Ingredients
- 1.5 kg pork shoulder, trimmed
- 1 tsp smoked paprika
- 1 tsp garlic powder
- 1 tsp onion powder
- 1 tsp salt
- 0.5 tsp black pepper
- 240 ml barbecue sauce, plus extra for serving
- 120 ml chicken stock
- 16 slider buns
- 200 g coleslaw, for topping
Instructions
- Mix the smoked paprika, garlic powder, onion powder, salt and pepper together and rub it all over the pork shoulder.
- Place the pork in a slow cooker and pour the stock and half the barbecue sauce around it, not over the rub you just pressed on.
- Cover and cook on low for 6 to 7 hours, until the pork pulls apart easily with two forks and no longer holds its shape; that total collapse is exactly what you want.
- Lift the pork onto a board and shred it with two forks, discarding any large pieces of fat.
- Return the shredded meat to the slow cooker, stir through the remaining barbecue sauce, and let it sit on warm for 10 minutes to soak the sauce back in.
- Split the slider buns and pile a spoonful of pulled pork onto the bottom half of each.
- Top each with a small forkful of coleslaw for crunch against the soft meat.
- Close each slider with its top bun and secure with a cocktail stick if you are stacking them on a tray.
- Serve warm with extra barbecue sauce on the side for anyone who wants more.
Skillet Cornbread Wedges
A cast iron skillet earns its crust here, the batter sizzles the second it hits the hot buttered pan and that sizzle is what gives cornbread its edge. Warm honey poured over the wedges ties this straight back to the honey cake earlier on the table.
No skillet, a well-buttered 23 cm round cake tin preheated in the oven for 5 minutes gets you close.
Ingredients
- 170 g fine cornmeal
- 130 g plain flour
- 1 tbsp baking powder
- 0.5 tsp salt
- 60 g sugar
- 240 ml buttermilk
- 2 large eggs
- 60 g unsalted butter, melted, plus extra for the pan
- 60 g honey, plus extra for drizzling
Instructions
- Heat the oven to 220C (425F) and place a 25 cm cast iron skillet inside to heat up while you mix the batter.
- Whisk the cornmeal, flour, baking powder, salt and sugar together in a large bowl.
- Whisk the buttermilk, eggs, melted butter and honey together in a separate bowl until smooth.
- Pour the wet mixture into the dry and stir just until combined; a few small lumps are fine, overmixing makes the cornbread tough.
- Carefully pull the hot skillet from the oven, add a knob of butter and swirl it around so it coats the bottom and sides and sizzles on contact.
- Pour the batter into the hot skillet, it should sizzle at the edges the moment it hits the pan, that sizzle is what gives the crust its crunch.
- Bake for 20 to 22 minutes, until the top is deep golden and a skewer in the centre comes out clean.
- Cool in the pan for 8 minutes, then cut into 8 wedges and drizzle with extra honey before serving warm.
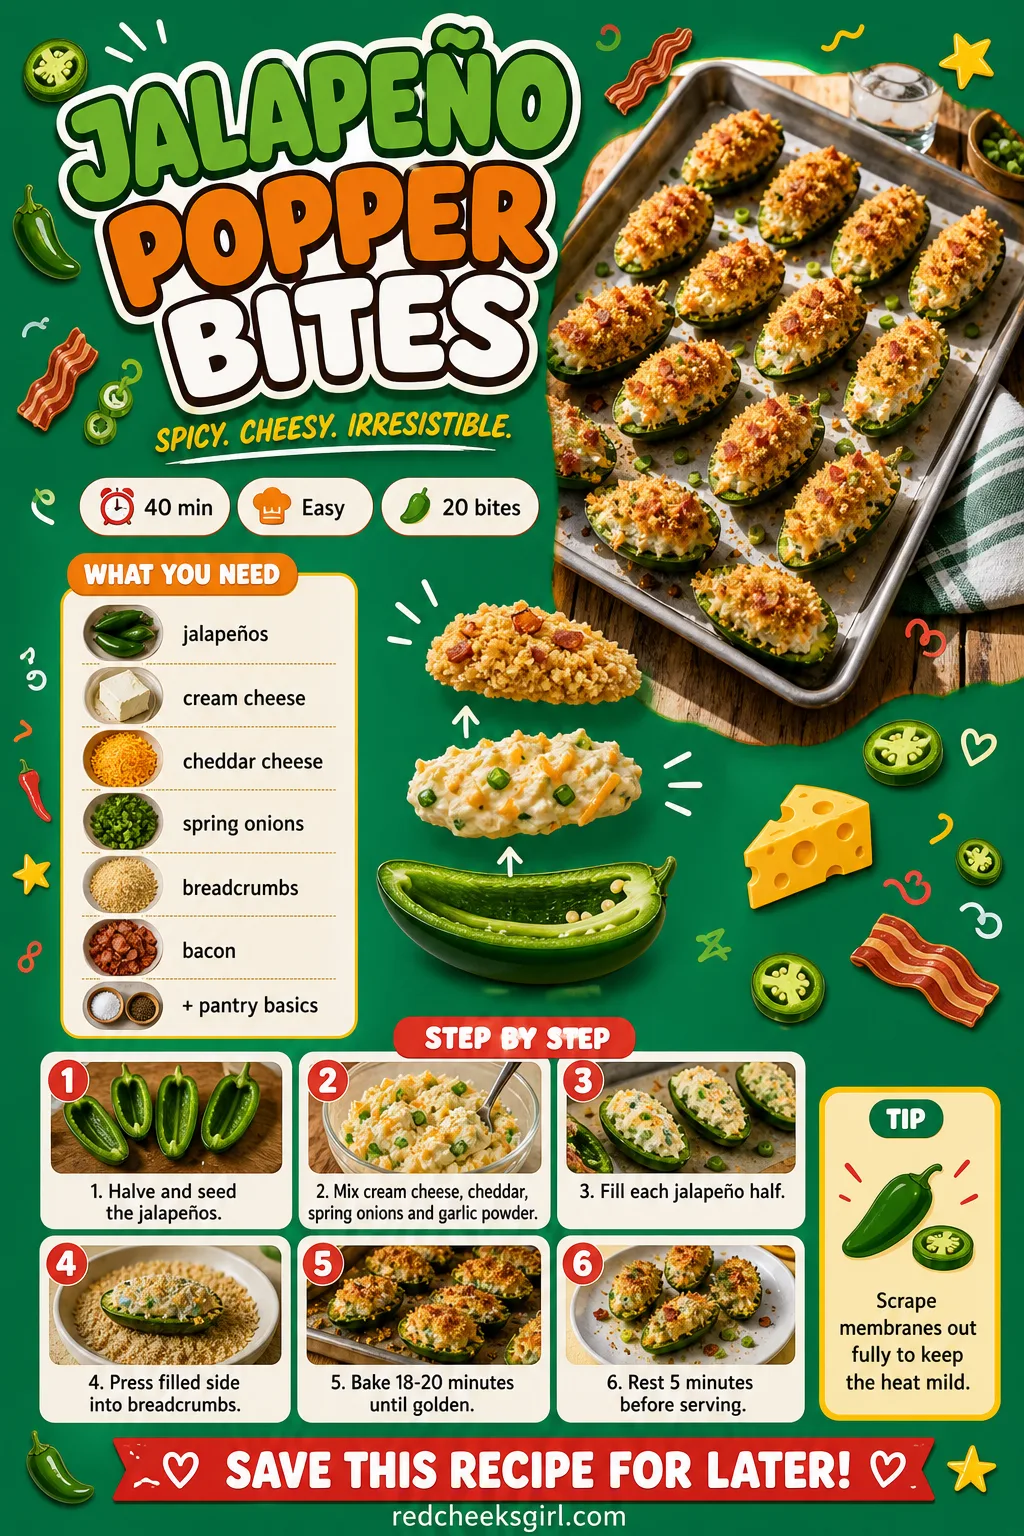
Jalapeño Popper Bites
Something has to balance all this sugar, and a tray of poppers does it without feeling like a detour from the theme. Scrape the membranes out fully if you want these genuinely mild, that white pith holds most of the heat, not the seeds.
Contains dairy, and the bacon is easy to leave out for a meat-free tray without changing the method.
Ingredients
- 10 jalapeños, halved lengthwise and seeded
- 225 g cream cheese, softened
- 100 g shredded cheddar cheese
- 2 spring onions, finely chopped
- 0.5 tsp garlic powder
- 100 g breadcrumbs
- 50 g cooked, crumbled bacon (optional)
Instructions
- Heat the oven to 200C (400F) and line a baking sheet with parchment.
- Wearing gloves if you have them, halve the jalapeños lengthwise and scrape out the seeds and white membrane with a small spoon, this is where most of the heat lives.
- Beat the cream cheese until smooth, then mix in the cheddar, spring onions, garlic powder and bacon if using.
- Spoon the filling into each jalapeño half, mounding it slightly above the rim.
- Press the filled side into the breadcrumbs so a light, even crust sticks to the top.
- Arrange the poppers filling-side up on the baking sheet.
- Bake for 18 to 20 minutes, until the peppers have softened and the crumb topping is golden brown.
- Let them sit for 5 minutes before serving, the filling is scalding straight out of the oven.
Campfire Trail Mix
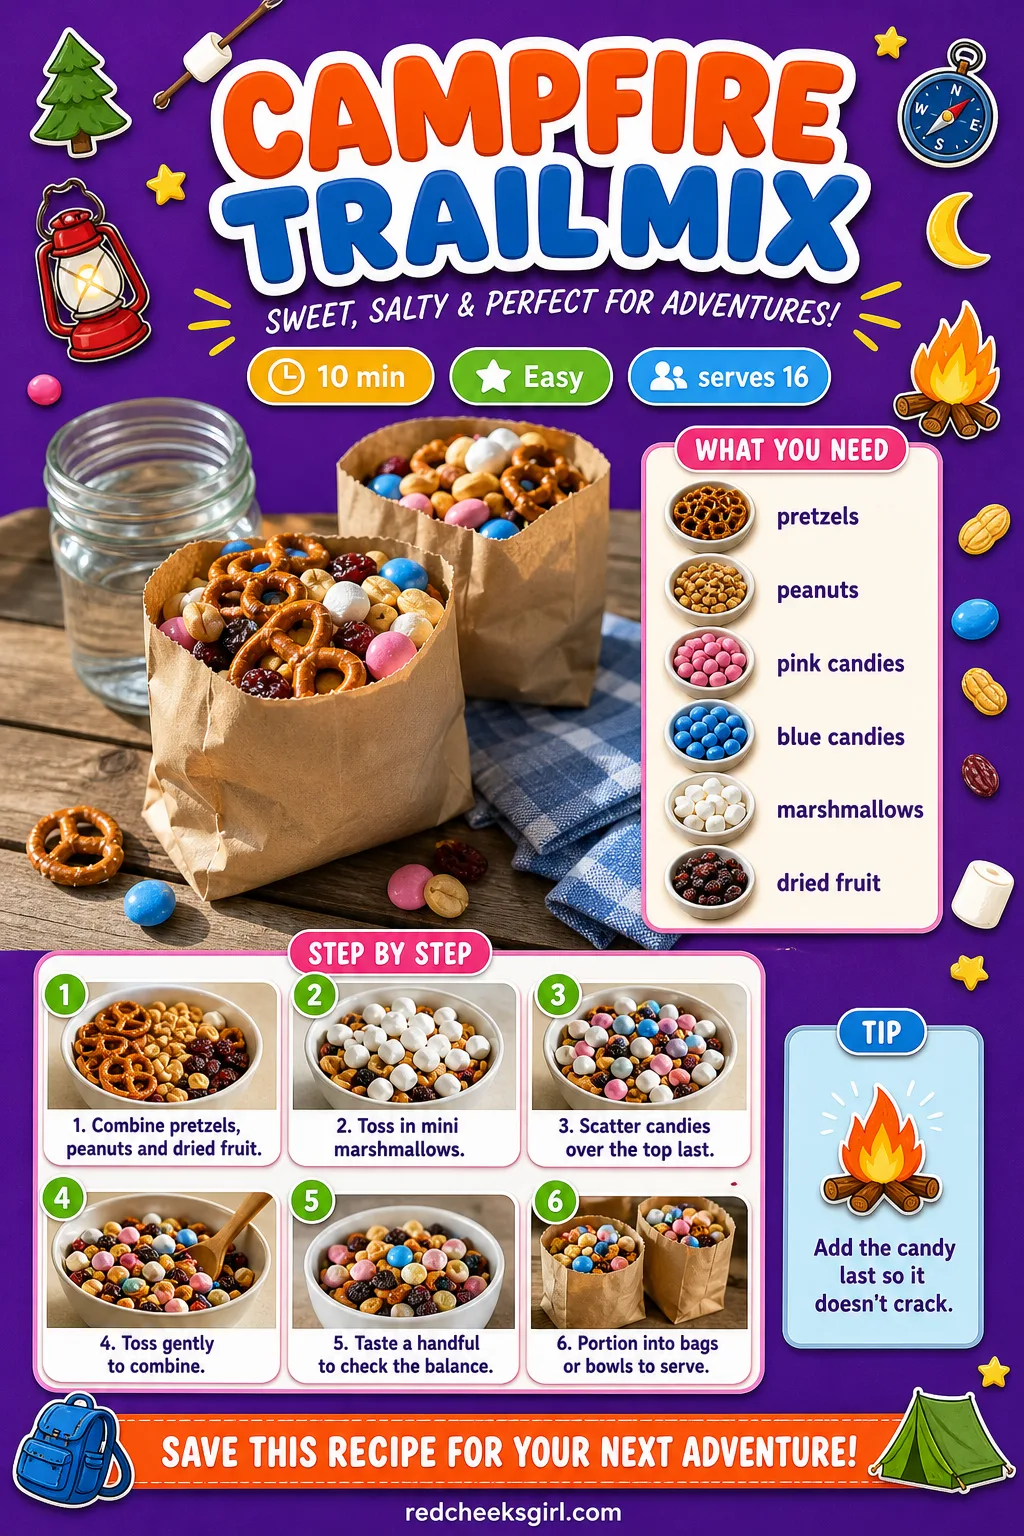
The one item here that needs no oven, no stove and no real prep window, just a big bowl and two bags of candy sorted by colour. It costs almost nothing per guest and fills the gaps on the table between the heavier trays.
Add the candy last, it cracks and bleeds colour if it sits under the weight of pretzels for too long.
Ingredients
- 200 g pretzel sticks, broken in half
- 150 g roasted peanuts
- 150 g pink candy-coated chocolates, sorted
- 150 g blue candy-coated chocolates, sorted
- 100 g mini marshmallows
- 100 g dried cranberries or banana chips
Instructions
- Tip the pretzels, peanuts and dried fruit into a very large bowl.
- Add the mini marshmallows and toss everything together with your hands so nothing clumps.
- Scatter the pink and blue candy-coated chocolates over the top last, saving them until the end keeps them from cracking under the weight of the pretzels.
- Give the bowl one final gentle toss, then taste a handful, it should be a mix of salty, sweet and crunchy in every scoop, not one note taking over.
- Divide into small paper bags or jars, or pile into two separate bowls, pink chocolates on top of one and blue on top of the other, for guests to grab as they walk past.
Salted Caramel Popcorn Cones
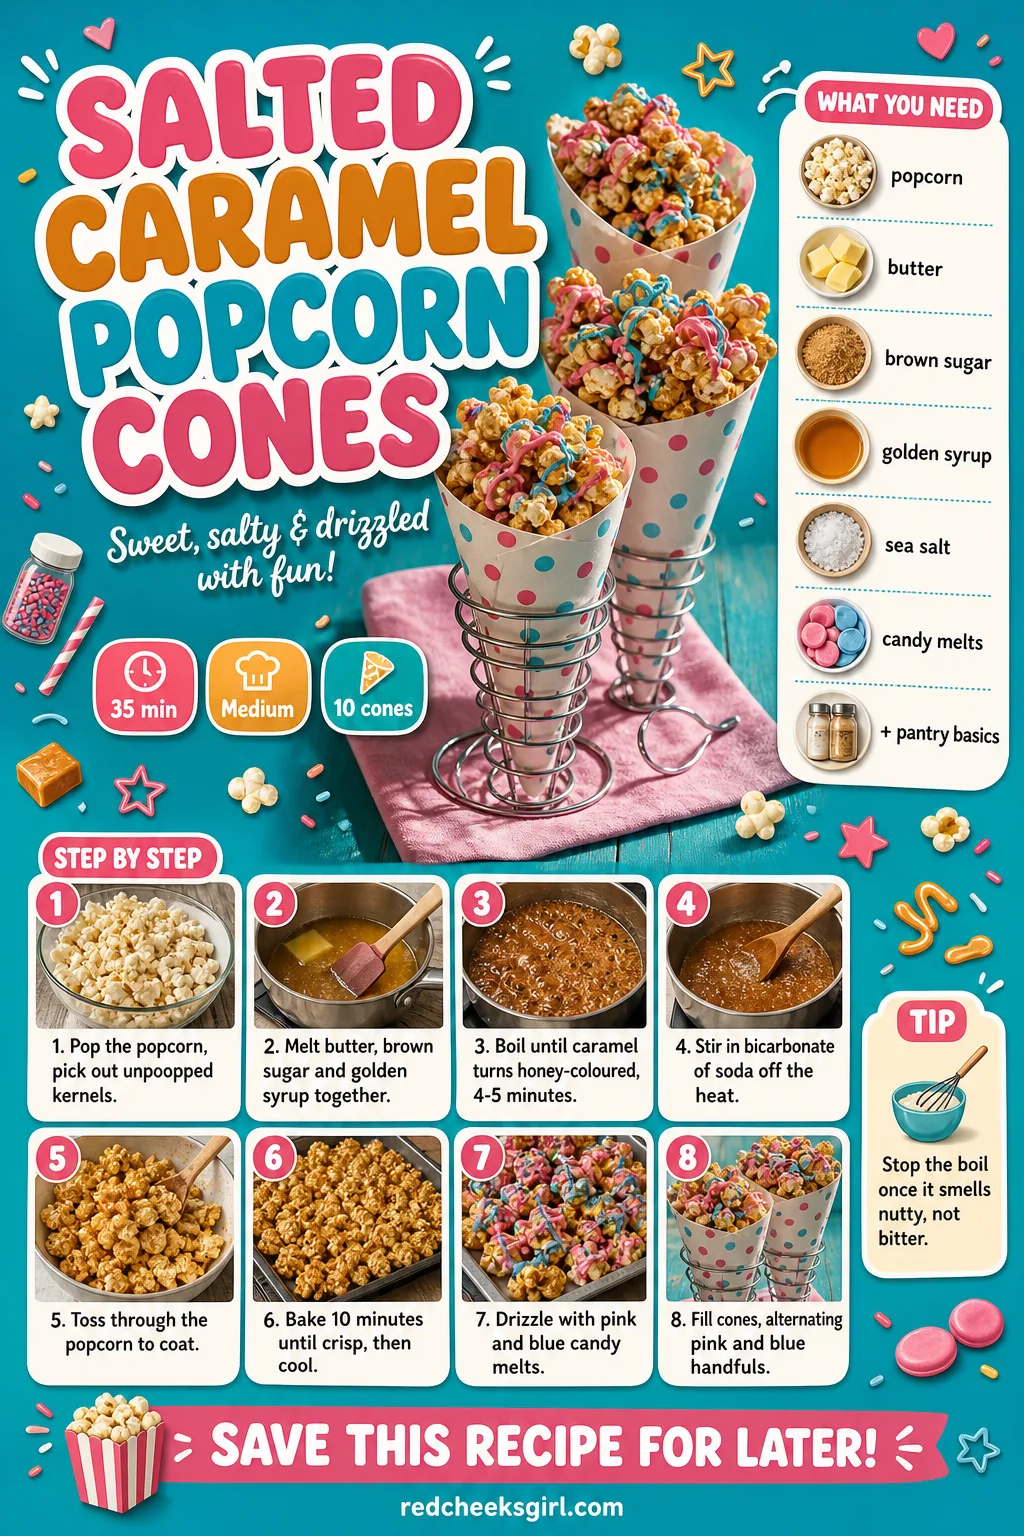
This is the handheld finale before the drinks, a proper homemade caramel, not a drizzle from a bottle, poured over fresh popcorn and baked until the coating turns crisp instead of sticky. Watch the caramel closely in the pan, it turns the colour of honey right before it is ready and burns fast after that.
Fill each cone with both colours mixed, so it looks like one team’s snack from across the room and reads as two the second someone looks down.
Ingredients
- 200 g popcorn kernels, popped (about 16 cups popped)
- 200 g unsalted butter
- 300 g light brown sugar
- 120 ml golden syrup
- 0.5 tsp bicarbonate of soda
- 1 tsp flaky sea salt
- 100 g pink candy melts, for drizzling
- 100 g blue candy melts, for drizzling
- 10 paper cones or cups
Instructions
- Pop the popcorn and spread it across a large baking sheet, picking out any unpopped kernels so nobody bites down on one.
- Heat the oven to 150C (300F).
- Melt the butter, brown sugar and golden syrup together in a saucepan over medium heat, stirring until smooth.
- Bring to a gentle boil without stirring and let it bubble for 4 to 5 minutes, until the caramel turns the colour of honey and smells faintly nutty, not burnt.
- Remove from the heat and stir in the bicarbonate of soda, the caramel will foam up suddenly, that is normal and is what keeps the coating light rather than sticky-hard.
- Pour the caramel over the popcorn and toss quickly with two spoons until every piece is coated.
- Spread the coated popcorn back out on the sheet and bake for 10 minutes, stirring once halfway, until the caramel sets into a crisp shell rather than a sticky glaze.
- Cool completely on the tray, about 10 minutes, then scatter with flaky sea salt.
- Melt the pink and blue candy melts separately and drizzle each over half the popcorn in thin lines, letting it set for 5 minutes before scooping.
- Fill paper cones with the popcorn, alternating pink-drizzled and blue-drizzled handfuls so each cone shows both teams.
🛍 Shopping guide
Team Pink Sparkle Mocktail
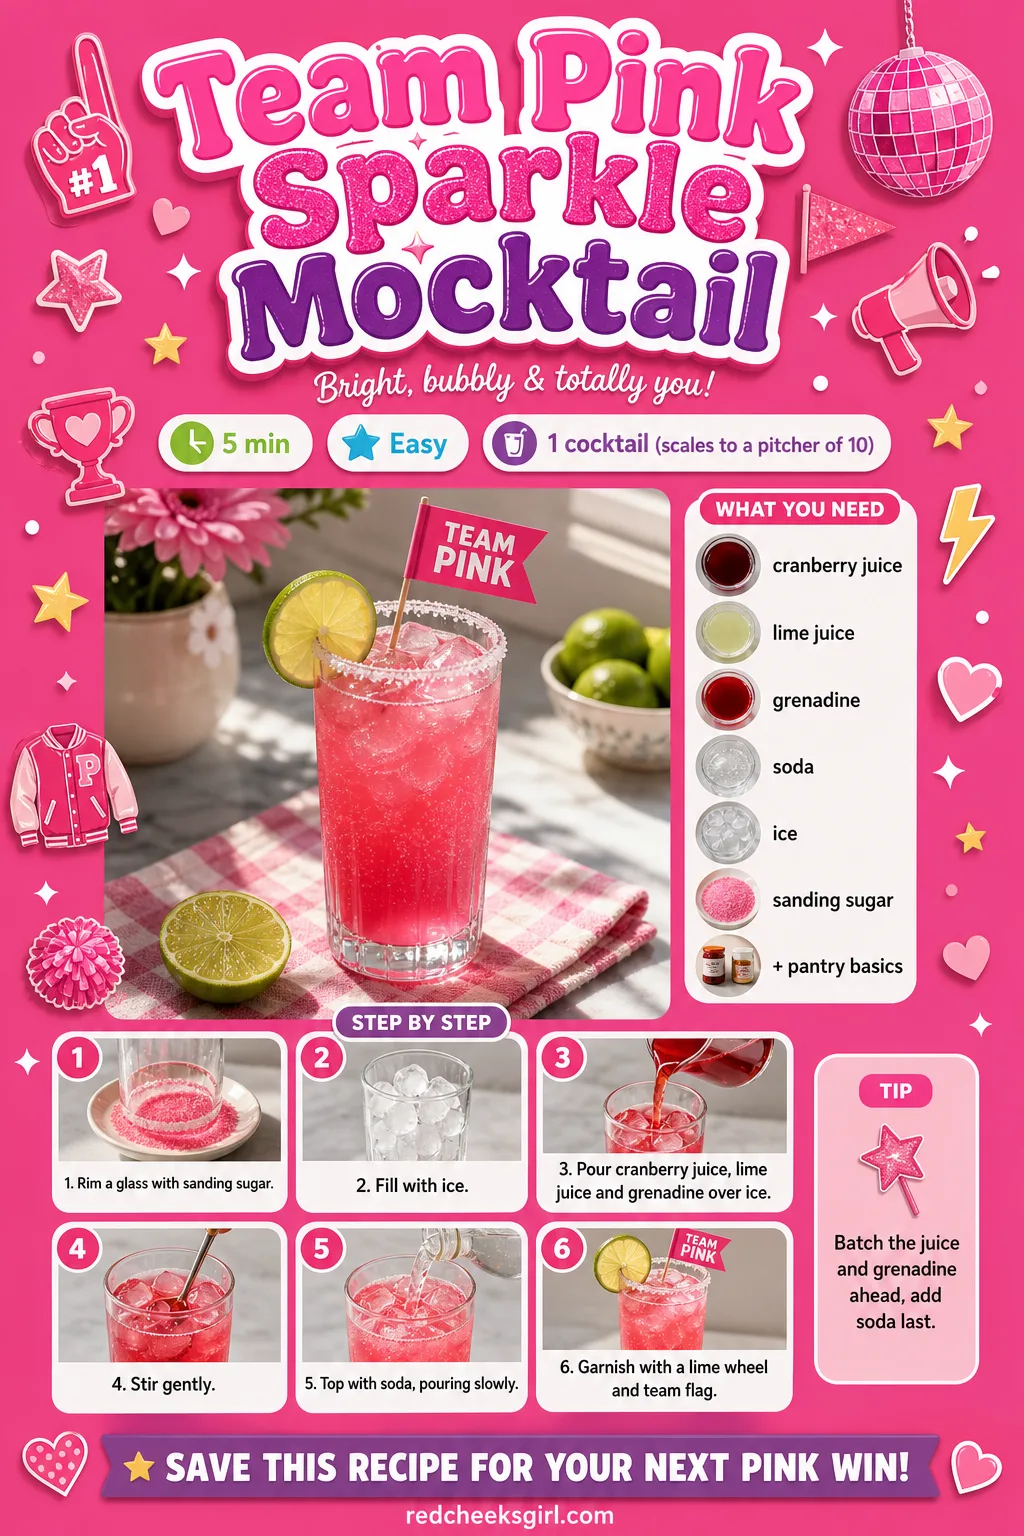
Labeled drinks finish the room better than any extra sign, and this one is bright cranberry and lime over ice, topped with soda so it stays fizzy right up to the toast. Entirely alcohol-free, so the parent-to-be drinks the same glass as everyone else.
Batch the juice and grenadine in a jug ahead of time, pour over ice and top with soda glass by glass as people arrive, so nobody is handed a flat drink.
Ingredients
- 60 ml cranberry juice
- 30 ml fresh lime juice
- 15 ml grenadine
- 90 ml lemon-lime soda or sparkling water
- ice cubes
- 1 lime wheel, for garnish
- pink sanding sugar, for the rim (optional)
Instructions
- Run a lime wedge around the rim of a glass and dip it in pink sanding sugar, if using, then fill the glass with ice.
- Pour the cranberry juice, lime juice and grenadine over the ice and give it a quick stir.
- Top with the lemon-lime soda or sparkling water, pouring slowly down the side of the glass so it stays fizzy rather than flat.
- Garnish with a lime wheel and a small flag reading “Team She”, and serve in a highball glass right away while it is still cold and bubbling.
🛍 Shopping guide
Team Blue Sparkle Mocktail
The pink drink’s other half, bright blue and just as fizzy, lemon instead of lime so the two taste distinct, not just dyed versions of each other. Alcohol-free like its partner, so pour it for every guest without separating a special jug for anyone.
Non-alcoholic blue curacao syrup is the easiest route to the colour, it pours exactly like the real thing without any of the proof.
Ingredients
- 60 ml non-alcoholic blue curacao syrup or blue raspberry syrup
- 30 ml fresh lemon juice
- 90 ml lemon-lime soda or sparkling water
- ice cubes
- 1 lemon wheel, for garnish
- blue sanding sugar, for the rim (optional)
Instructions
- Run a lemon wedge around the rim of a glass and dip it into blue sanding sugar, if using, then fill with ice.
- Pour the blue syrup and lemon juice over the ice and stir to combine, the mixture should turn an even, bright blue with no streaks of clear syrup left pooling at the bottom.
- Top slowly with the soda or sparkling water so the fizz holds rather than flattening out.
- Garnish with a lemon wheel and a small flag reading “Team He”, and serve immediately in a highball glass while it is still bubbling.
He or She Snack Labels
The very last thing on the table, and it is not a tray, it is a take-home: small candy jars labeled by team so the party has an ending guests actually carry out the door with them. Layer pretzels and marshmallows underneath so the candy on top is not the only thing in the jar.
Set these by the door rather than the main table, they double as a thank-you favour as much as a snack. For more ideas guests actually keep, 12 Gender Reveal Party Favors Guests Actually Use After the Reveal rounds up the rest.
Ingredients
- 200 g pink candy-coated chocolates or jelly beans
- 200 g blue candy-coated chocolates or jelly beans
- 100 g mini pretzels
- 100 g mini marshmallows
- 10 small mason jars or favour bags
- printable “He” and “She” labels, or blank tags and a pen
Instructions
- Print or write out “He” and “She” labels, sizing them to fit around the front of your jars or bags.
- Layer a small handful of mini pretzels into the bottom of each jar, this gives the candy something to sit on rather than sinking straight to the glass.
- Spoon in a layer of mini marshmallows over the pretzels.
- Top five jars with the pink candy and the other five with the blue, filling each almost to the rim.
- Seal the lids or fold over the bags.
- Stick or tie a “She” label to each pink jar and a “He” label to each blue jar, lining the label up straight so it reads cleanly in photos.
- Set the finished jars out near the exit or on the snack table as a last grab for guests heading home.
Frequently Asked Questions
What food is good for a gender reveal party?
Interactive desserts with a hidden pink or blue centre, like filled cupcakes or crack-open cookies, work best alongside grazing boards and a nacho bar so guests have more than sugar to eat.
Can you do a savory reveal instead of a sweet one?
Yes, a savory reveal works just as well: hide pink or blue cheese inside sliders, tint a dip’s garnish, or split a nacho bar into two differently seasoned halves for each team.
What should you serve to drink at a gender reveal?
Two colour-coded mocktails, one pink and one blue, labeled by team, let every guest toast without anyone needing alcohol, including the parent-to-be.
How far ahead can you make gender reveal party food?
Macarons and iced sugar cookies keep well for two to three days, cake pops and rice crispy treats a day ahead, while filled cupcakes are best cored and filled the morning of the party.
What are the cheapest gender reveal food ideas?
No-bake options like trail mix, rice crispy treats and a candy-jar favour table cost the least and need no oven, just bowls, colour-coded candy and a few labels.
How do gender reveal cupcakes work?
Bake plain cupcakes, core out the centre once they’ve cooled, spoon in pink or blue filling, then reseal with the cut-out plug and frost the tops identically so nothing shows until guests bite in.
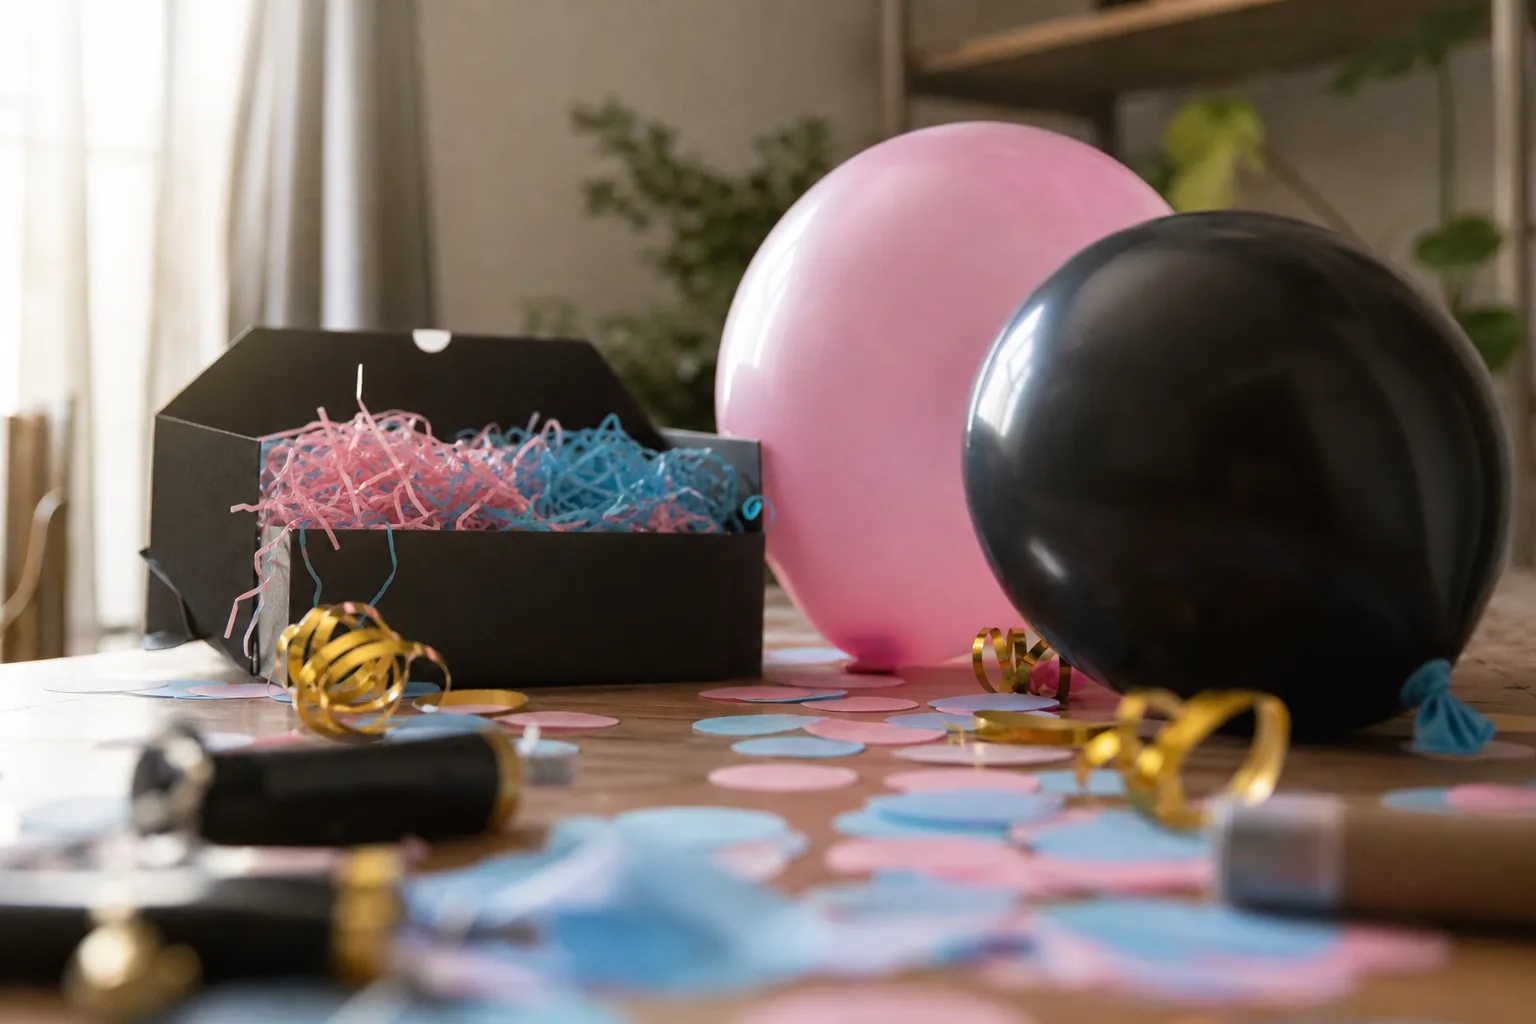
30 simple gender reveal ideas for home, no big party needed: balloon boxes, colored cake, scratch ca
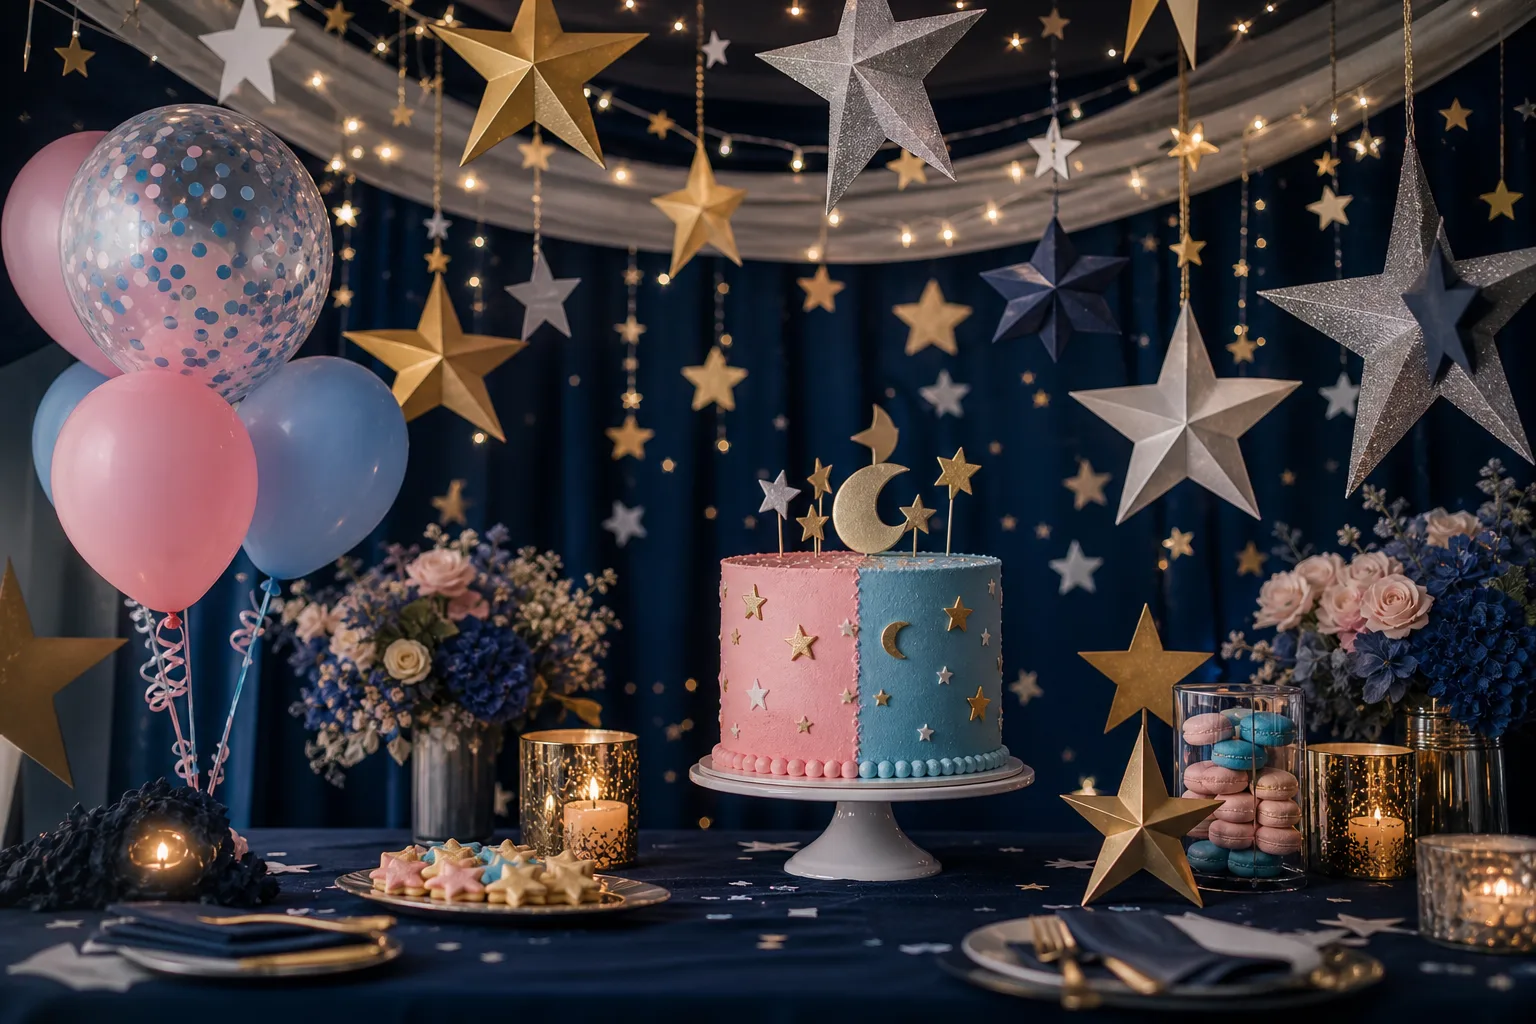
18 twinkle twinkle gender reveal ideas, from the night sky backdrop and giant star balloon to the mo
26 gender reveal cake ideas ordered from the tallest slice-to-reveal showstopper down to the smalles
Leave a Reply