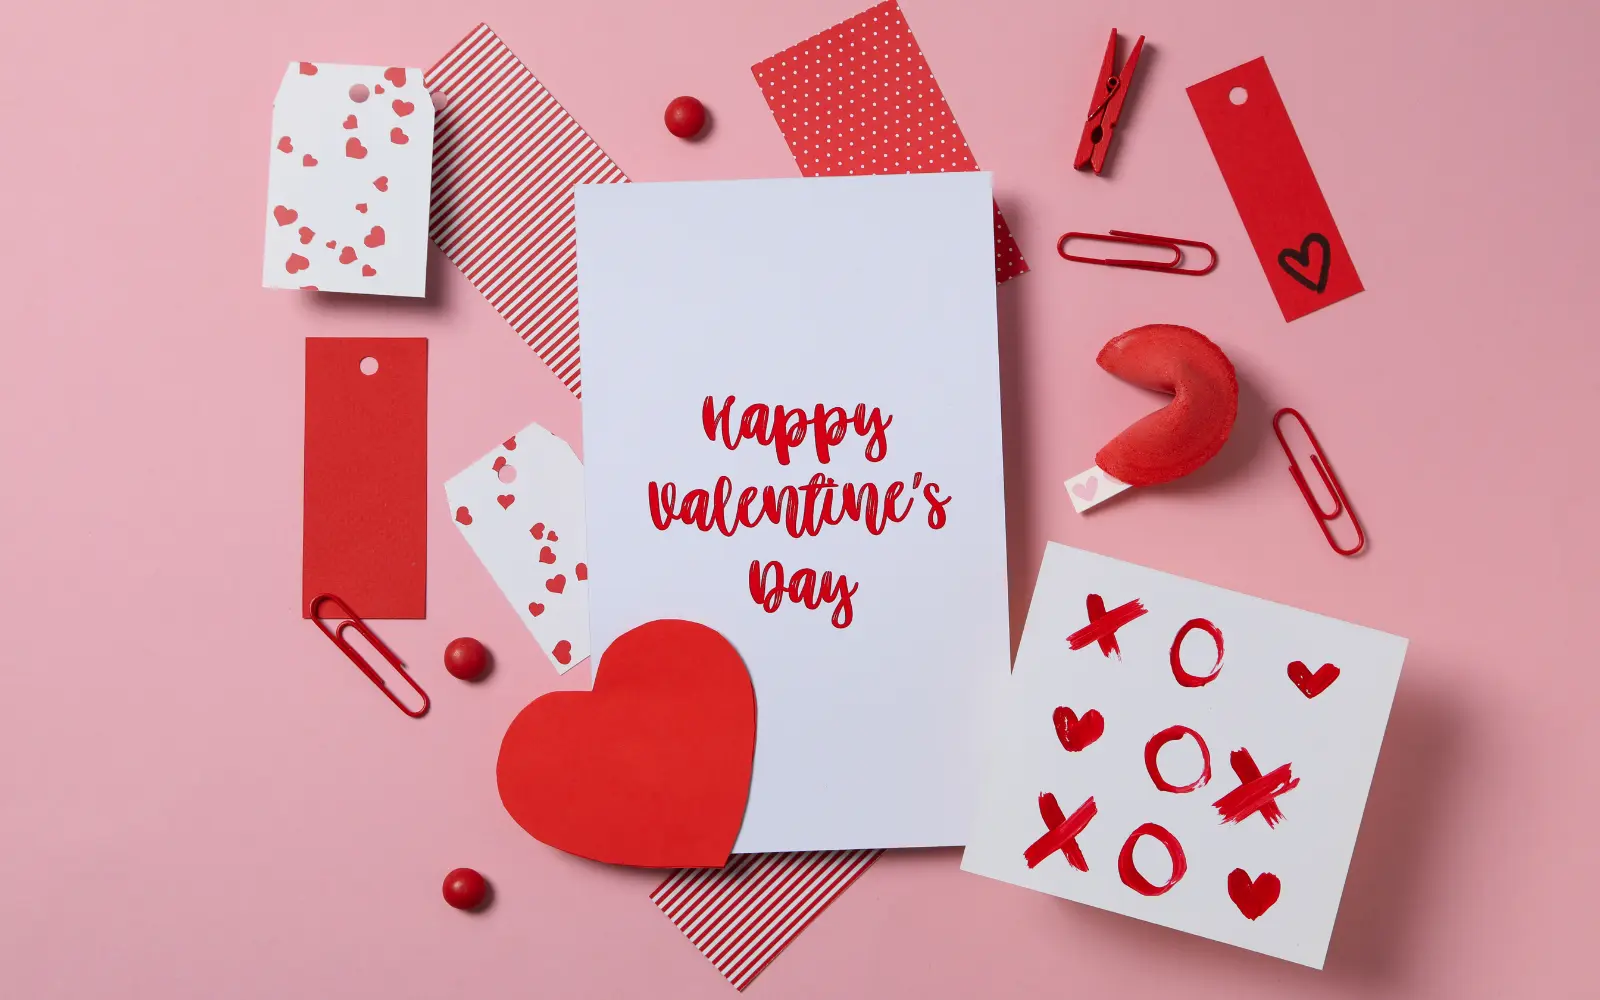
Did you know that handmade cards trigger 40% more emotional response than store-bought ones? That’s because they show real effort and thought. This Valentine’s Day, you don’t need fancy crafting skills to create something your boyfriend will treasure forever. We’ve gathered eight creative DIY card ideas that range from simple to impressive, each designed to celebrate your unique relationship. Whether he’s into sports, humor, or heartfelt romance, you’ll find the perfect project that speaks directly to him.
Key Takeaways
- Pop-up heart cards with hidden pockets combine 3D visual impact with space for personalized love notes and scrapbook decorations.
- Photo strip cards displaying relationship timeline moments create meaningful keepsakes showing how your love has grown over time.
- Playing card valentines decorated with inside jokes and embellishments transform simple cards into intimate, personalized gifts.
- Accordion fold cards featuring illustrated shared memories and private jokes celebrate your unique relationship through connected visual panels.
- Sports ticket stub cards designed around his favorite team merge personal interests with romantic sentiment for creative expression.
Pop-Up Heart Card With Hidden Love Note Pocket

If you’re looking for a Valentine’s Day card that’ll truly wow someone special, this pop-up heart design delivers the perfect mix of charm and surprise. When your boyfriend opens it, a three-dimensional heart springs to life, creating an impressive visual effect he won’t expect.
The real magic happens with the hidden pocket tucked inside, where you can slip a heartfelt love note that stays secret until he discovers it.
You can personalize this card with scrapbooking materials like patterned paper, glitter, or ribbon to match his style. The pop-up mechanism adds dimension while keeping your message private and meaningful.
This creative project combines hands-on fun with genuine sentiment, making it more memorable than any store-bought option. It’s an interactive gift that shows you put real thought into celebrating your relationship.
Materials You’ll Need:
- Red or pink cardstock (8.5″ x 11″)
- White or cream cardstock for the base
- Scissors or craft knife
- Glue stick or double-sided tape
- Pencil for marking
- Decorative materials (glitter, ribbon, stickers)
- Small envelope or paper for the hidden pocket
Step-by-Step Instructions:
Step 1: Create the Card Base Fold your white cardstock in half to create a standard card size (5.5″ x 8.5″). Make sure the fold is crisp by running your fingernail along it.
Step 2: Make the Pop-Up Heart Draw a heart shape (about 3″ wide) on red cardstock. Cut two parallel slits about 2 inches apart in the center of your folded card base. These slits should be about 1 inch long. Fold the section between the slits forward to create a tab that will hold your heart.
Step 3: Attach the Heart Glue your cut-out heart to the tab you created. When you open and close the card, the heart should pop up. Test it a few times to ensure smooth movement.
Step 4: Create the Hidden Pocket Cut a small rectangle (3″ x 2″) from cardstock. Fold it in half and glue three sides to the inside back of your card, leaving the top open. This creates a secret pocket for your love note.
Step 5: Decorate Add glitter around the heart edges, attach ribbon bows, or use decorative stickers. Write your message on a small piece of paper and tuck it into the hidden pocket.
Pro Tip: Practice the pop-up mechanism on scrap paper first to get the measurements right.
For a video tutorial on pop-up card techniques, check out this helpful guide on YouTube.
Photo Strip Card Featuring Your Relationship Timeline

While pop-up cards bring dimensional surprise, a photo strip card tells your love story through captured memories. Print small photos from your relationship’s key moments—your first date, vacation adventures, everyday happiness. Arrange them chronologically on card stock to show how your love has grown. This timeline creates a visual journey he’ll love revisiting.
Materials You’ll Need:
- Cardstock in your chosen color (8.5″ x 11″)
- 4-6 printed photos (2″ x 2″ or 2″ x 3″)
- Photo-safe adhesive or double-sided tape
- Decorative markers or pens
- Washi tape or decorative borders (optional)
- Ruler and pencil
Step-by-Step Instructions:
Step 1: Select and Print Your Photos Choose 4-6 meaningful photos that tell your story. Use a photo editing app to resize them to uniform dimensions (2″ x 2″ works great). Print them on photo paper for best quality.
Step 2: Plan Your Layout Fold your cardstock in half. Using a pencil and ruler, lightly mark where each photo will go. Leave about 0.5″ between photos and 1″ margins on all sides.
Step 3: Arrange Your Timeline Lay out your photos in chronological order before gluing. You can arrange them vertically down the center, horizontally across, or in a diagonal pattern for visual interest.
Step 4: Attach Photos Use photo-safe adhesive to mount each picture. Press firmly and smooth out any air bubbles. Let the glue dry for a few minutes.
Step 5: Add Captions and Details Write small captions under each photo with dates or brief descriptions like “Our First Date – June 2023” or “That Amazing Road Trip.” Use decorative markers for a personal touch.
Step 6: Frame with Decorative Elements Add washi tape borders around photos or draw small hearts and doodles between images. Write a heartfelt message on the opposite page explaining what these moments mean to you.
Design Variation: Create a film strip effect by cutting black cardstock into strips and punching small squares along the edges to mimic film perforations. Mount your photos between these strips.
Playing Card Valentine With Custom Love Messages
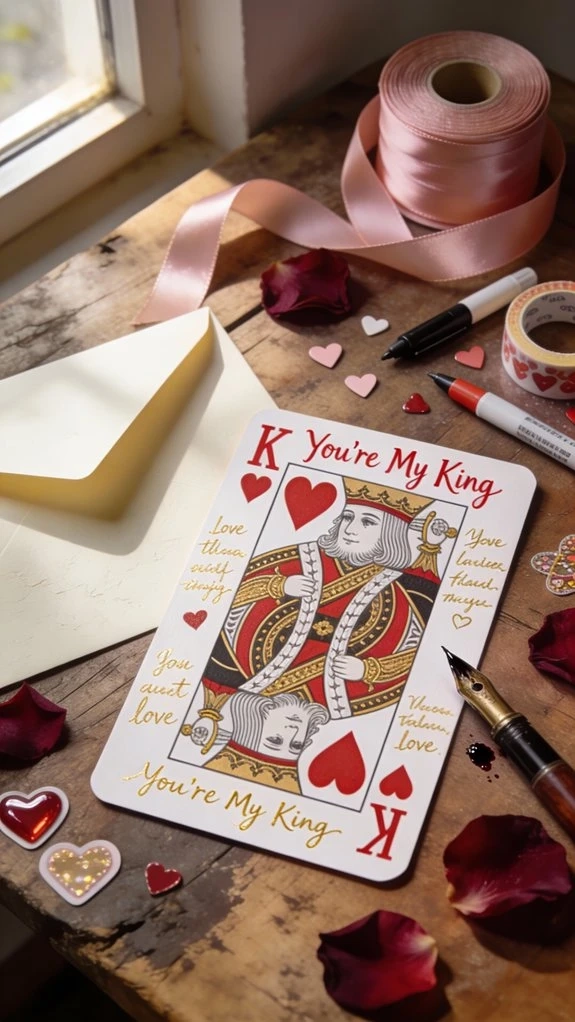
Sometimes the smallest gestures carry the biggest meaning, and a playing card valentine does exactly that. Grab a standard playing card and transform it into something extraordinary by writing custom love messages or inside jokes that only you two understand. Decorate the card with stickers, glitter, or other embellishments to make it visually special. The compact format means you can easily slip it into an envelope and mail it without extra postage costs.
This DIY project costs just a few dollars but delivers maximum impact. The beauty lies in incorporating private details and memories that capture your unique relationship. Whether you reference your first date or a funny moment you shared, these personal touches create a one-of-a-kind gift he’ll treasure forever.
Materials You’ll Need:
- One playing card (King, Queen, or Ace of Hearts works perfectly)
- Fine-tip permanent markers (red, black, pink)
- Small stickers or rhinestones
- Glitter glue or paint markers
- Clear sealant spray (optional)
- Small envelope
Step-by-Step Instructions:
Step 1: Choose Your Card Select a card with meaning—perhaps the Ace of Hearts for “you’re number one” or the King of Hearts to call him your king. The card’s existing design becomes part of your artistic base.
Step 2: Plan Your Message Write your message lightly in pencil first. You can write around the existing card design, on the white borders, or even on the back. Ideas include:
- “You’re my Ace!”
- “King of my heart”
- “We’re the perfect match”
- Inside jokes only you two understand
Step 3: Add Your Permanent Design Trace over your pencil marks with permanent markers. Use different colors for emphasis. Write small love notes in the corners or along the borders.
Step 4: Embellish Add small rhinestones at corners, outline hearts with glitter glue, or use metallic markers to highlight certain words. Keep decorations minimal so the card doesn’t become too bulky for mailing.
Step 5: Seal and Protect If you’re worried about smudging, spray the finished card lightly with clear sealant. Let it dry completely before handling.
Step 6: Package Thoughtfully Slip the card into a small envelope. You can even create a custom envelope from decorative paper that fits the card’s small size.
Creative Twist: Create a whole deck of love cards with different messages on each card, then bundle them with a rubber band and a tag that says “52 Reasons I Love You.”
This project costs just a few dollars but delivers maximum impact. The beauty lies in incorporating private details and memories that capture your unique relationship.
Accordion Fold Card With Illustrated Inside Jokes
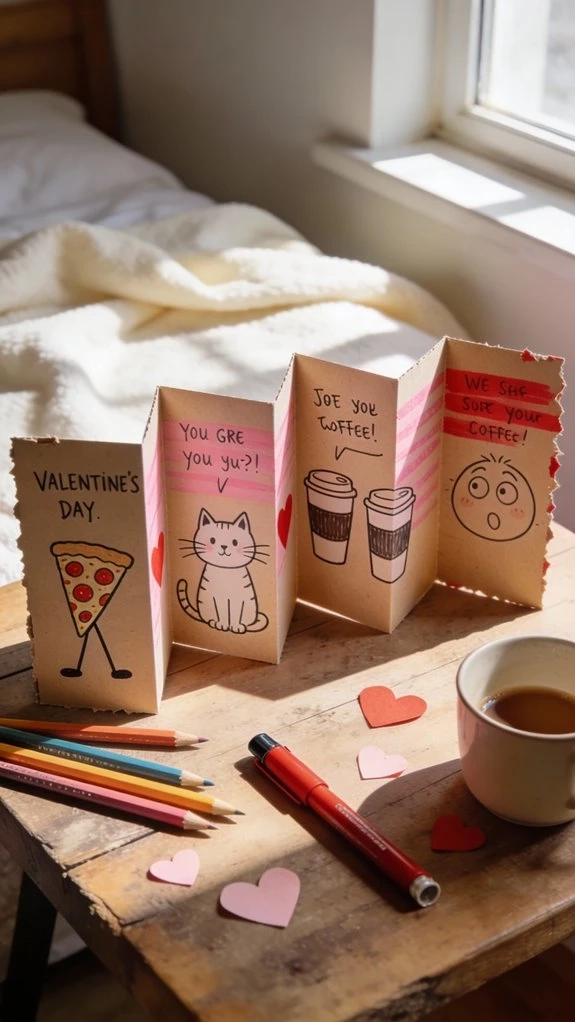
Taking the personalization up a notch, an accordion-fold card gives you multiple panels to tell your love story through illustrations. You’ll fold a long strip of cardstock back and forth to create connected sections that unfold into a visual timeline.
Fill each panel with doodles and drawings that reference your special moments together. That embarrassing first date mishap? Draw it. The coffee shop where you always meet? Sketch it out. Include those inside jokes only you two understand, making him smile as he unfolds each section.
You don’t need artistic skills—simple stick figures and basic shapes work perfectly. The effort you put into recalling these shared experiences shows how much you value your relationship. It’s a thoughtful gift that he’ll treasure.
Materials You’ll Need:
- Long cardstock strip (4″ x 24″ or longer)
- Colored pencils, markers, or pens
- Ruler for measuring folds
- Pencil for sketching
- Decorative tape or stickers
- Ribbon or string to tie it closed
Step-by-Step Instructions:
Step 1: Create Your Accordion Base Measure and mark your cardstock strip into equal sections (4″ x 4″ squares work well for 6 panels). Fold along each mark, alternating the fold direction to create an accordion effect. Crease each fold firmly.
Step 2: Plan Your Story Before drawing, list 5-6 moments or inside jokes you want to illustrate. Number them in order so your story flows logically from first panel to last.
Step 3: Sketch in Pencil First Lightly sketch your illustrations on each panel. Don’t worry about artistic perfection—stick figures and simple shapes convey emotion beautifully. Focus on recognizable details (his favorite hat, your coffee mugs, the car you drove on that road trip).
Step 4: Add Color and Details Trace over your sketches with markers or colored pencils. Add small captions like “Remember when…” or “That time we…” Use speech bubbles for dialogue or thought bubbles for funny commentary.
Step 5: Decorate the Exterior The first panel (cover) should say “Our Story” or “Reasons I Love You” with decorative lettering. The final panel can have a sweet closing message.
Step 6: Add a Closure Punch a small hole in the center of the folded card and thread ribbon through it. Tie a bow to keep it closed until he’s ready to unfold your story.
Panel Ideas:
- Panel 1: The day you met
- Panel 2: Your first date mishap
- Panel 3: That inside joke about pizza
- Panel 4: His terrible singing in the car
- Panel 5: Your favorite shared activity
- Panel 6: “And many more memories to come…”
Fill each panel with doodles and drawings that reference your special moments together. You don’t need artistic skills—simple stick figures and basic shapes work perfectly. The effort you put into recalling these shared experiences shows how much you value your relationship.
For accordion fold inspiration, watch this tutorial on YouTube.
Sports Ticket Stub Card Using His Favorite Team
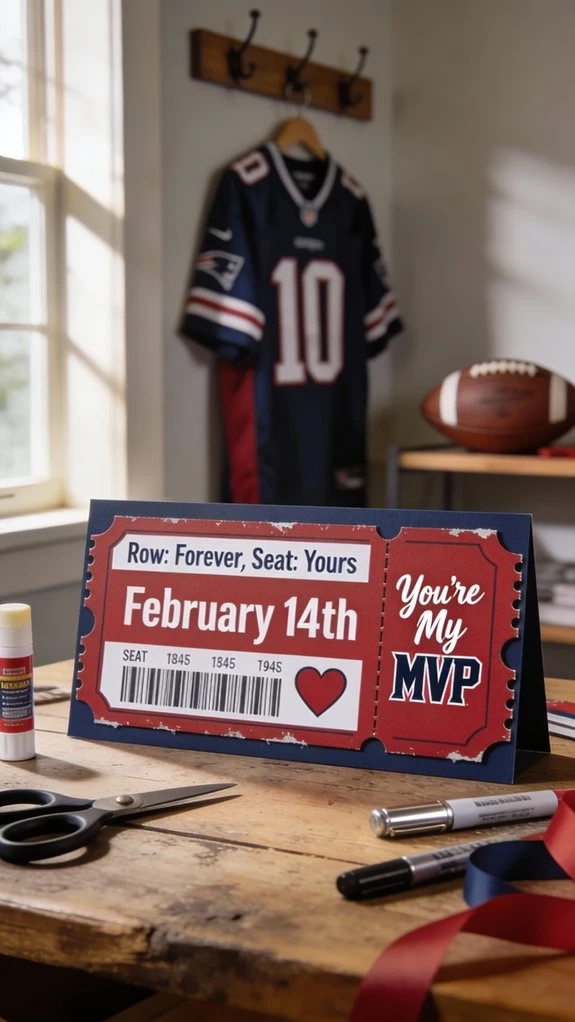
Make it look official by adding barcode lines and seat numbers. The attention to detail shows you care about what matters to him.
Pair your card with small team-themed gifts like keychains, pins, or game-day snacks. This thoughtful approach celebrates his interests while expressing your feelings. It’s personal, creative, and totally unique!
Materials You’ll Need:
- Cardstock in team colors
- Printer and computer for design
- Team logo (downloaded from official sources)
- Black marker for details
- Scissors or paper cutter
- Hole punch
- String or ribbon in team colors
Step-by-Step Instructions:
Step 1: Research Authentic Ticket Design Look up images of real tickets from his favorite team. Note the layout, fonts, and typical elements like barcodes, seat numbers, and dates.
Step 2: Design Your Ticket Using a word processor or design program like Canva, create a ticket-shaped template (about 6″ x 2.5″). Include:
- Team logo at the top
- “ADMIT ONE” or “VIP ACCESS”
- Event: “Date Night with [Your Names]”
- Date: Valentine’s Day
- Seat: “Next to My Heart”
- Section: “Romance Zone”
Step 3: Add Authentic Details Include barcode lines (draw them with a ruler), a perforated edge line, and a ticket number. Make it look official with fine print at the bottom.
Step 4: Print and Cut Print on cardstock in team colors. Cut carefully along the edges. For extra authenticity, use a perforating tool or sewing machine with no thread to create a tear-off stub.
Step 5: Create the Card Backing Fold a larger piece of matching cardstock to create a card. Mount your ticket stub on the front. Inside, write your message about how he’s your MVP or team captain.
Step 6: Add Team-Themed Extras Punch a hole in the corner and thread team-colored ribbon through. Attach a small bag of stadium snacks (peanuts, Cracker Jacks) or include a gift card to watch a game together.
Personalization Ideas:
- Replace “Home Team” with “Team [Your Last Names]”
- Use the date of your first date as the “game date”
- List the “opponent” as “Being Apart” (Score: Love Wins)
Make it look official by adding barcode lines and seat numbers. Pair your card with small team-themed gifts like keychains, pins, or game-day snacks. This thoughtful approach celebrates his interests while expressing your feelings.
Check out Canva’s ticket templates for design inspiration.
Fabric Heart Card With Punny “You’re Sew Perfect” Message
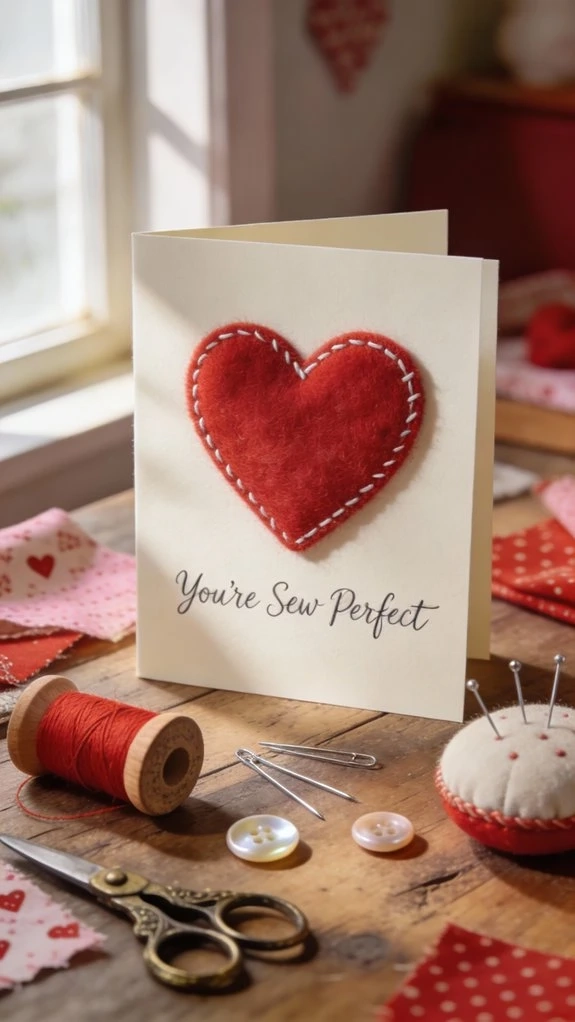
If you love crafty projects and clever wordplay, this fabric heart card brings both together beautifully. Cut a heart shape from patterned fabric that matches his style, then stitch it onto cardstock using simple running stitches. You don’t need advanced sewing skills for this project.
Write “You’re Sew Perfect” inside the card to complete the pun. The combination of texture and humor makes this card memorable and shows you put real effort into creating something special. This project takes about 20 minutes and costs under $5 for supplies.
Pick fabric in his favorite colors or patterns that remind you of him. The tactile element adds a sweet, personal touch that store-bought cards simply can’t match.
Materials You’ll Need:
- Cardstock base (any color)
- Fabric scrap (4″ x 4″ minimum)
- Embroidery needle and thread
- Scissors (fabric and paper)
- Fabric glue or hot glue gun
- Pencil for tracing
- Heart template (printed or drawn)
- Buttons or small embellishments (optional)
Step-by-Step Instructions:
Step 1: Prepare Your Card Base Fold cardstock in half to create your card (5″ x 7″ is ideal). Choose a color that complements your fabric choice.
Step 2: Cut Your Fabric Heart Draw or print a heart template (about 3″ wide). Pin it to your fabric and carefully cut around it. For a clean edge, use sharp fabric scissors.
Step 3: Position the Heart Center your fabric heart on the card front. Use a few dots of fabric glue to hold it temporarily in place while you stitch.
Step 4: Stitch the Heart Thread your embroidery needle with coordinating thread (or use contrasting color for impact). Use a simple running stitch about 1/4″ from the edge of the heart. Push the needle from inside the card through both the cardstock and fabric, then back down. Space stitches about 1/4″ apart. Knot thread on the inside when finished.
Step 5: Add the Punny Message Inside the card, write in decorative lettering: “You’re Sew Perfect!” or “We’re the Perfect Stitch!” You can also use:
- “Sew in Love with You”
- “You Have Me in Stitches”
- “We’re Sewn Together”
Step 6: Final Embellishments Add a small button to the heart’s center with a dab of hot glue. Draw small stitching marks with a marker around the message for continuity.
Fabric Selection Tips:
- Plaid or flannel for a masculine look
- His favorite color or pattern
- Fabric from a meaningful item (an old shirt, a tie)
- Sports team fabric
You don’t need advanced sewing skills for this project. The combination of texture and humor makes this card memorable and shows you put real effort into creating something special. This project takes about 20 minutes and costs under $5 for supplies.
Scratch-Off Card Revealing Date Night Ideas

This interactive scratch-off card transforms Valentine’s Day into months of exciting adventures you’ll share together. Start by creating a grid of squares on metallic or patterned scrapbooking paper to make your card eye-catching. Behind each square, write romantic date ideas like catching a comedy show, hiking a scenic trail, or cooking dinner together. Cover these suggestions with scratch-off material so your boyfriend can reveal one surprise at a time.
The beauty of this DIY card lies in its personalization—you’re crafting experiences tailored to what he loves. He’ll scratch off a square whenever you’re ready for your next adventure, building anticipation between dates. This thoughtful gift keeps giving long after Valentine’s Day ends, creating meaningful moments that strengthen your connection throughout the year.
Materials You’ll Need:
- Cardstock for card base
- Metallic or decorative paper for squares
- Acrylic paint (silver or gold)
- Dish soap
- Small bowl for mixing
- Paintbrush or sponge brush
- Clear packing tape
- Scissors and ruler
- Markers for writing date ideas
Step-by-Step Instructions:
Step 1: Create Your Card Base Use a large card base (8″ x 10″ works well) to fit multiple scratch-off squares. Design a title at the top: “Our Year of Adventures” or “Date Night Roulette.”
Step 2: Write Your Date Ideas Create a grid of 12 squares (2″ x 2″ each). In each square, write one date idea:
- “Movie Marathon Night”
- “Cook His Favorite Meal Together”
- “Hiking at Sunrise”
- “Concert or Live Music”
- “Game Night Tournament”
- “Beach Day (or Indoor Picnic)”
- “Cooking Class”
- “Bookstore Date & Coffee”
- “Stargazing with Blankets”
- “Mini Golf Challenge”
- “Museum Adventure”
- “Your Choice Date!”
Step 3: Cover with Tape Place clear packing tape over each written square, smoothing out bubbles. This protects your writing from the paint.
Step 4: Make Scratch-Off Paint Mix 2 parts acrylic paint with 1 part dish soap in a small bowl. Stir gently to avoid bubbles. The soap makes the paint scratchable when dry.
Step 5: Apply Scratch-Off Coating Using a paintbrush or sponge, apply 2-3 thin coats of your paint mixture over each taped square. Let each coat dry completely (about 15 minutes) before adding the next. The coating should be opaque.
Step 6: Add Instructions At the bottom of the card, write: “Scratch one square for our next adventure! Let’s make memories together all year long.”
Step 7: Create a Coin Holder Attach a small envelope to the inside of the card with a penny inside for scratching. Write “Use this to reveal our next date!”
Pro Tips:
- Test your scratch-off mixture on scrap paper first
- Make sure tape is completely smooth to prevent paint seepage
- Include a variety of date types (active, relaxing, indoor, outdoor)
- Add one “wild card” square that says “Your Choice!”
Behind each square, write romantic date ideas like catching a comedy show, hiking a scenic trail, or cooking dinner together. The beauty of this DIY card lies in its personalization—you’re crafting experiences tailored to what he loves. He’ll scratch off a square whenever you’re ready for your next adventure, building anticipation between dates.
Learn to make scratch-off coating with this YouTube tutorial.
Shaker Card With Moving Confetti Hearts and Wishes
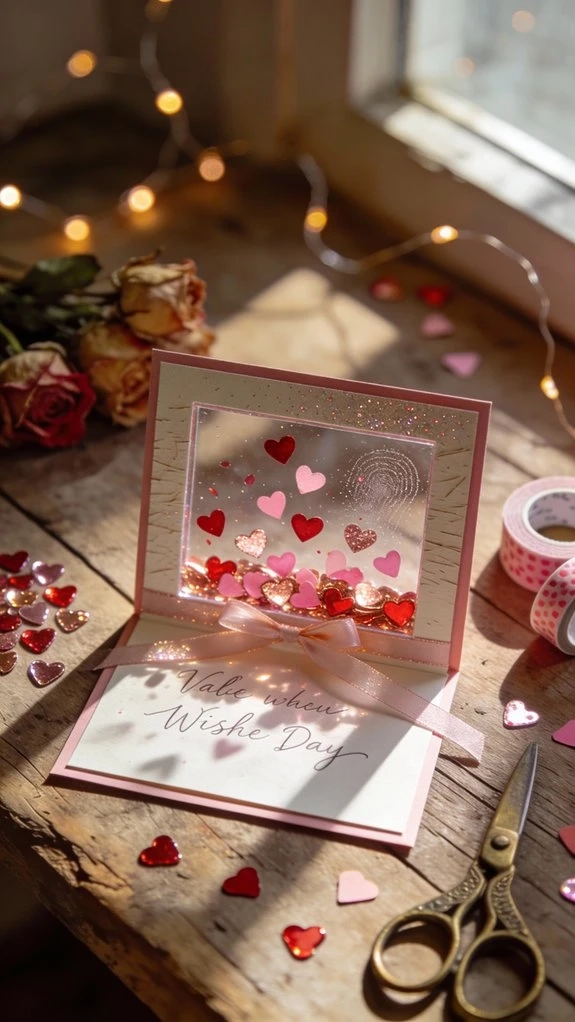
While scratch-off cards create ongoing excitement, shaker cards deliver instant visual delight that captures attention the moment your boyfriend picks it up. The clear window showcases confetti hearts suspended in liquid that move and shake with every tilt. This interactive element transforms a simple card into an engaging keepsake he’ll want to display.
You’ll create a liquid-filled compartment that keeps the hearts dancing inside. The movement adds a playful touch that perfectly captures Valentine’s Day romance. Inside, write a heartfelt message expressing your genuine feelings and wishes for him.
This DIY project lets you showcase your creativity and attention to detail. The shaker design makes your card stand out from store-bought options, proving you invested time and thought into something truly special for him.
Materials You’ll Need:
- Heavy cardstock (2 sheets)
- Clear plastic sheet (acetate, transparency film, or page protector)
- Foam adhesive squares or foam tape (1/4″ thick)
- Small confetti hearts (store-bought or hand-punched)
- Micro beads or glitter (optional)
- Clear-drying liquid glue
- Scissors or craft knife
- Heart-shaped cookie cutter or template
- Distilled water or clear hair gel (for liquid shaker effect)
Step-by-Step Instructions:
Step 1: Create the Card Base Fold one piece of cardstock in half (5″ x 7″). This will be your outer card.
Step 2: Cut the Window On the card front, draw a heart shape (about 3″ wide) in the center. Carefully cut it out using scissors or a craft knife to create a window opening.
Step 3: Prepare the Clear Window Cut clear plastic sheet slightly larger than your heart opening (about 4″ x 4″). This will be the viewing window.
Step 4: Create the Frame Cut foam adhesive squares and arrange them in a heart shape on the inside of your card front, surrounding the window opening. Don’t remove the backing yet. This creates the chamber walls for your shaker.
Step 5: Build Your Shaker Remove the backing from foam squares. Place your clear plastic over the foam, pressing edges firmly to create a sealed chamber. The foam creates a space between the plastic and the card base.
Step 6: Add Confetti and Elements Before sealing completely, leave one small section of foam unattached. Through this opening, add your confetti hearts, micro beads, or small sequins. Don’t overfill—items should have room to move.
Step 7: Seal the Chamber (Choose One Method)
Dry Shaker: Simply seal the final foam edge. The confetti will move freely in the air space.
Liquid Shaker: Before sealing, add 2-3 drops of clear hair gel or distilled water with glycerin to create slow-motion movement. Seal quickly with the final foam piece.
Step 8: Create the Back Layer Cut a second piece of cardstock the same size as your front piece. Write your heartfelt message on this piece. This will back your shaker element.
Frequently Asked Questions
What Type of Paper Works Best for Handmade Valentine’s Day Cards?
Cardstock works best for your handmade Valentine’s card since it’s sturdy and holds embellishments beautifully. You’ll love how construction paper and scrapbooking paper add durability, while vellum and textured options create romantic, artistic touches he’ll cherish.
How Far in Advance Should I Start Making a DIY Card?
Picture yourself buried under glitter and paper scraps the night before Valentine’s! You’ll want to start your DIY card at least three weeks ahead—ideally four to six weeks for intricate designs, ensuring you’re relaxed and creative.
What Should I Write Inside a Handmade Valentine’s Card for My Boyfriend?
Write something deeply personal that captures your unique relationship. Express your love sincerely, recall a cherished moment together, compliment what you adore about him, and include an inside joke or sweet nickname that’s special between you two.
Can I Make a DIY Valentine’s Card if I’m Not Artistic?
You don’t need artistic skills to create something meaningful. Simple designs like hearts, folded paper, or collages with photos work beautifully. Your boyfriend will cherish the effort and personal touch you’ve put into it.
Where Can I Find Affordable Supplies for Making Homemade Cards?
Want to save money while crafting? You’ll find affordable card-making supplies at dollar stores, craft chains like Michaels, and online retailers. Don’t overlook thrift shops or repurpose magazines and wrapping paper you’ve already got at home!
Conclusion
You’re creating a handmade card in a world of instant texts and emojis. While everyone else sends digital hearts in three seconds, you’ll spend hours cutting, gluing, and decorating. Your boyfriend will probably cherish this imperfect, crafty creation more than any store-bought option, though. These DIY cards prove that sometimes the “old-fashioned” route creates the most memorable moments. So grab your supplies and start crafting something truly special!
Craft profitable polymer clay items with these 20 simple projects that consistently sell for $15-50
If you’re a ceramic artist dreaming of turning your passion into a thriving business, you&rsqu
Picture this: there I was, surrounded by expensive bath bombs and scented candles, trying desperatel
Leave a Reply