

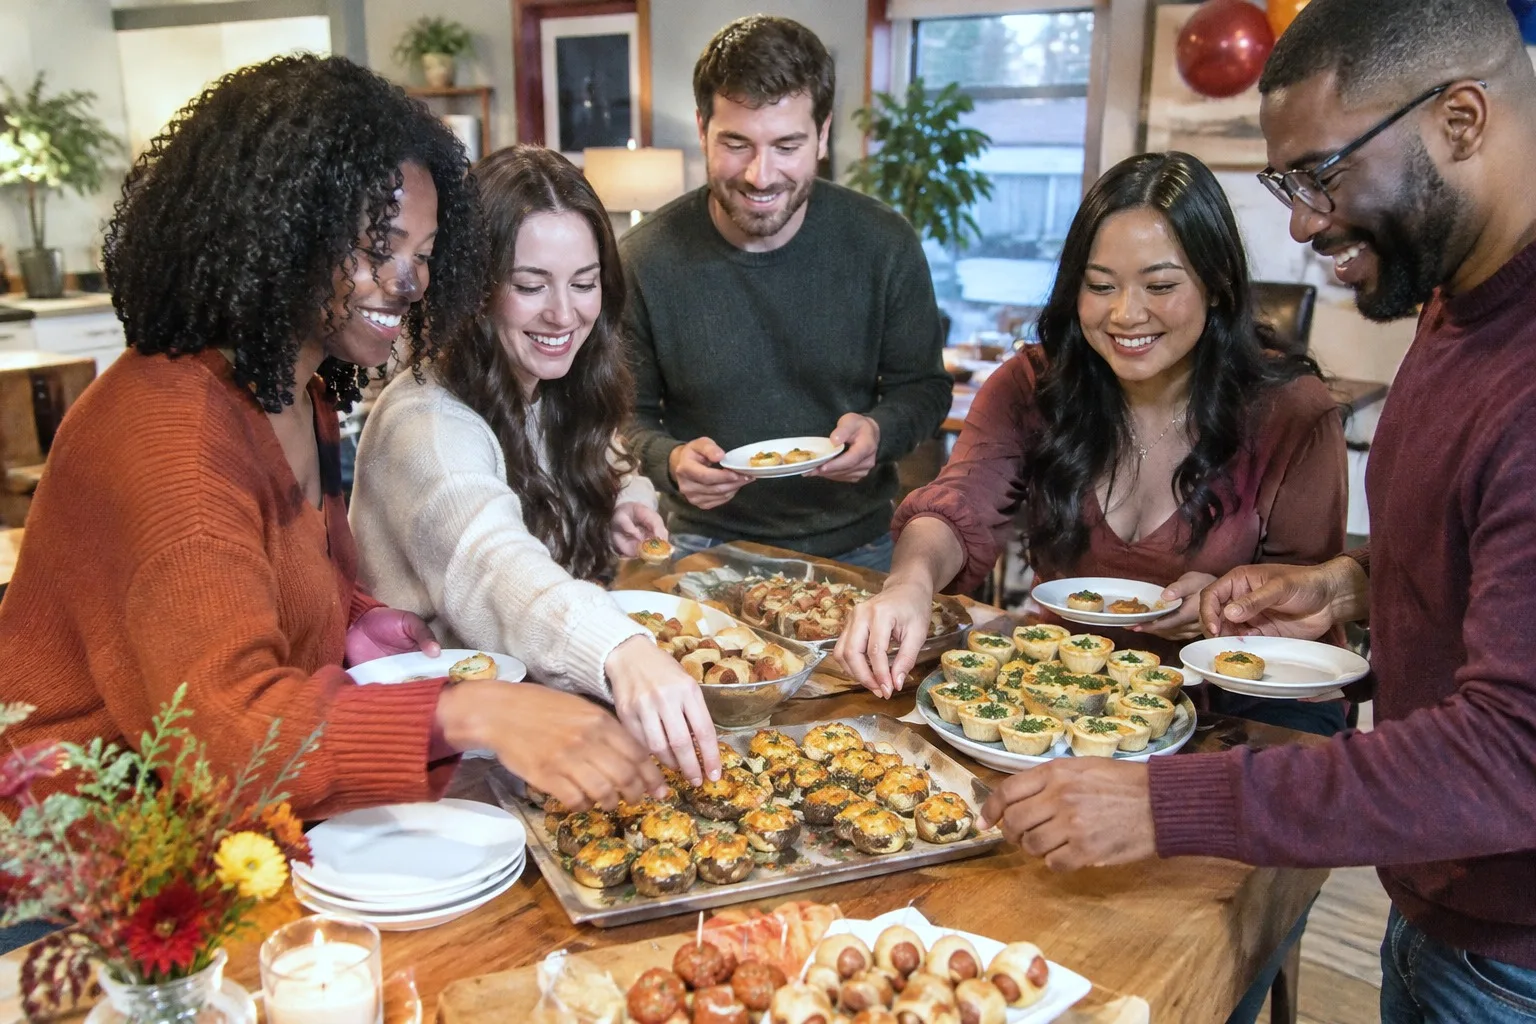
Cold platters hold a party together for the first twenty minutes. After that, people want something that just came out of an oven, still a little too hot to eat in one bite.
That shift from room temperature to warm is what makes a table feel hosted rather than assembled, and it costs you almost nothing beyond a sheet pan and a bit of timing.
Everything below bakes, so there is no stovetop juggling while the doorbell rings. Several of these assemble a day ahead and sit covered in the fridge until the oven does the rest, which is noted at each one.
If the evening runs more as a sit-down cocktail hour, 19 Christmas Cocktail Party Ideas covers the rest of the room, and 16 Holiday Open House Ideas is built for exactly this kind of grazing evening at the front door.
Pour something alongside from 20 Party Drinks Everyone Will Ask You to Make Again, and if the table needs a cold counterpoint, 16 Cold Appetizers for a Party You Can Make Ahead the Night Before fills that gap without touching the oven at all.
Between the sixteen recipes here, expect dairy, gluten, shellfish, tree nuts and pork, so flag ingredients to any guest who asks. This is an adult spread with no alcohol in the food itself, so serve it alongside whatever you are pouring, responsibly and with something non-alcoholic on the table too.
This post contains affiliate links. If you buy through them, I may earn a small commission at no extra cost to you.
Table of Contents
- Baked Brie With Honey and Walnuts
- Italian Steak Bruschetta
- Spanakopita Triangles
- Crab Puffs
- Chicken Satay Skewers
- Philly Cheesesteak Wonton Cups
- Mini Quiche Lorraine Bites
- Bacon Wrapped Dates With Goat Cheese
- Buffalo Chicken Meatballs
- Bacon Wrapped Asparagus
- Stuffed Mushrooms With Garlic and Parmesan
- Loaded Potato Skins
- Bacon Wrapped Water Chestnuts
- Mini Pigs in a Blanket With Honey Mustard
- Cocktail Sausages in a Sweet and Spicy Glaze
- Sausage Balls With Cheddar
- Frequently Asked Questions
Baked Brie With Honey and Walnuts
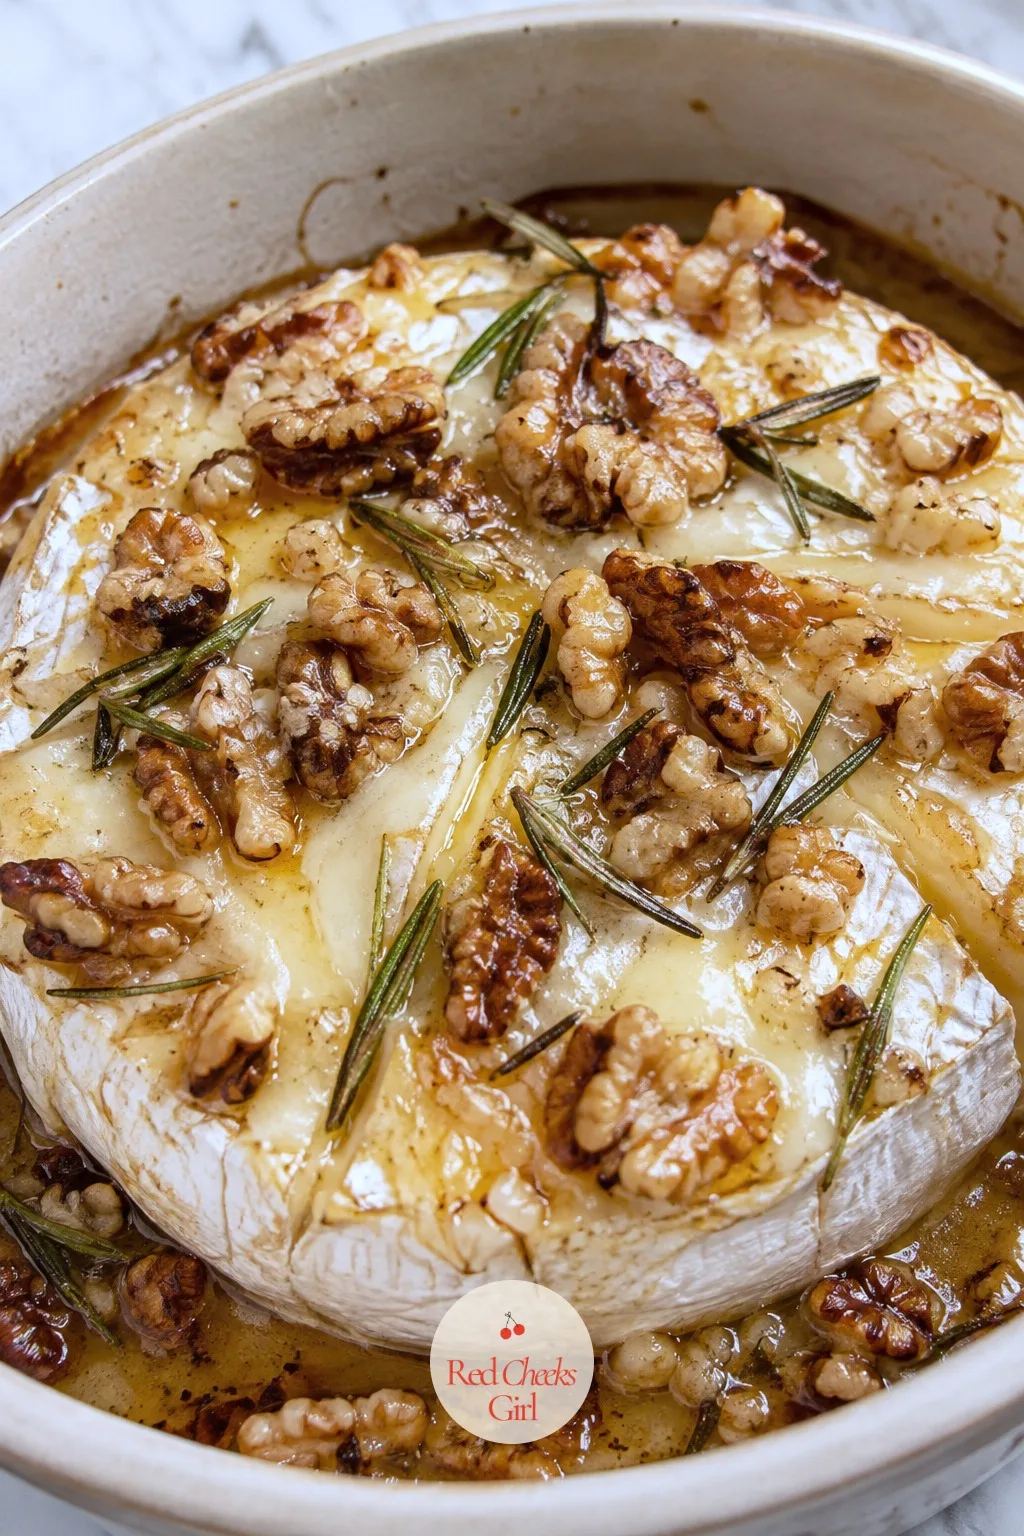
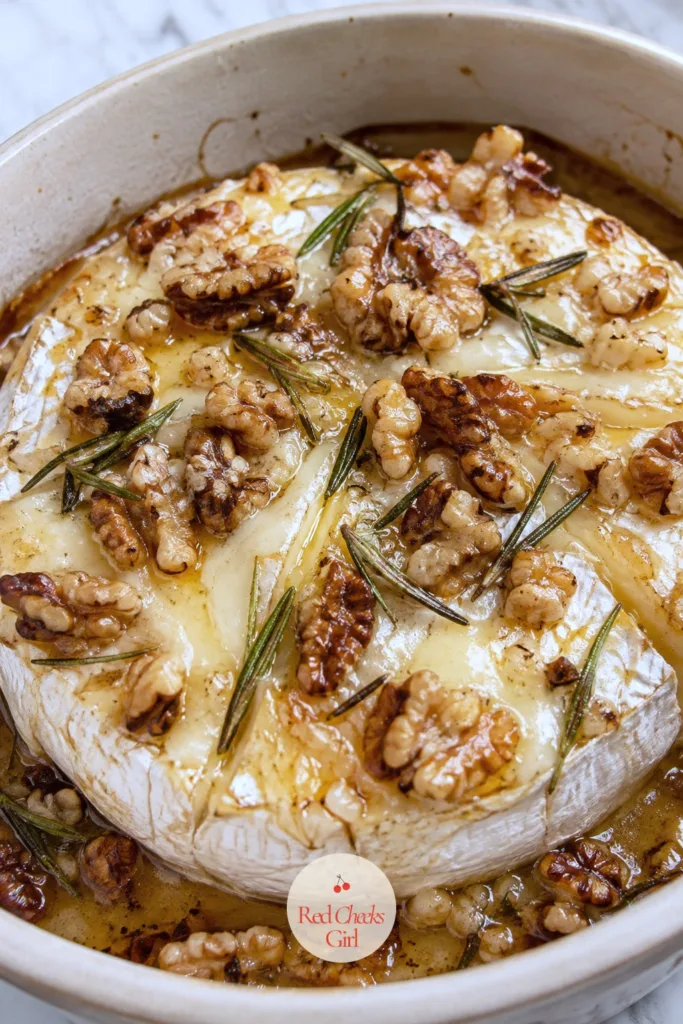
This is the dish people photograph before they taste it. A whole wheel going soft under a crosshatch of melted rind, honey pooling into the cuts, looks far more complicated than it is, and that gap between effort and effect is exactly why it opens the table.
The only real risk is pulling it too early or too late: underbaked, the center stays chalky; overbaked, it collapses into a puddle with nothing left to spoon onto bread. Watch the wobble, not the clock.
Score it the morning of the party and keep it chilled, then bake it the moment guests start arriving so it reaches the table still warm at the center.
Baked Brie With Honey and Walnuts
Ingredients
- 1 wheel brie 8 ounces
- 1/4 cup honey
- 1/3 cup walnuts chopped
- 1 tablespoon fresh rosemary chopped (optional)
- 1/4 teaspoon flaky sea salt
- Baguette slices or crackers for serving
Instructions
- Preheat the oven to 350°F and line a small baking sheet or ovenproof dish with parchment.
- Score the top rind of the brie wheel in a crosshatch pattern with a paring knife, cutting about 1/8 inch deep.
- Set the brie scored side up in the dish and bake for 12 to 15 minutes, until the center gives like warm custard when pressed gently with a spoon.
- Toast the walnuts in a dry skillet over medium heat for 3 minutes, stirring, until fragrant, then set aside.
- Pull the brie from the oven once the edges start to bulge; it should wobble at the center but hold its shape at the sides.
- Drizzle the warm wheel with honey while it is still soft enough to pool.
- Scatter the toasted walnuts and rosemary over the top and finish with a pinch of flaky salt.
- Serve immediately with baguette slices or crackers, before the cheese firms back up.
Good to Know
Italian Steak Bruschetta
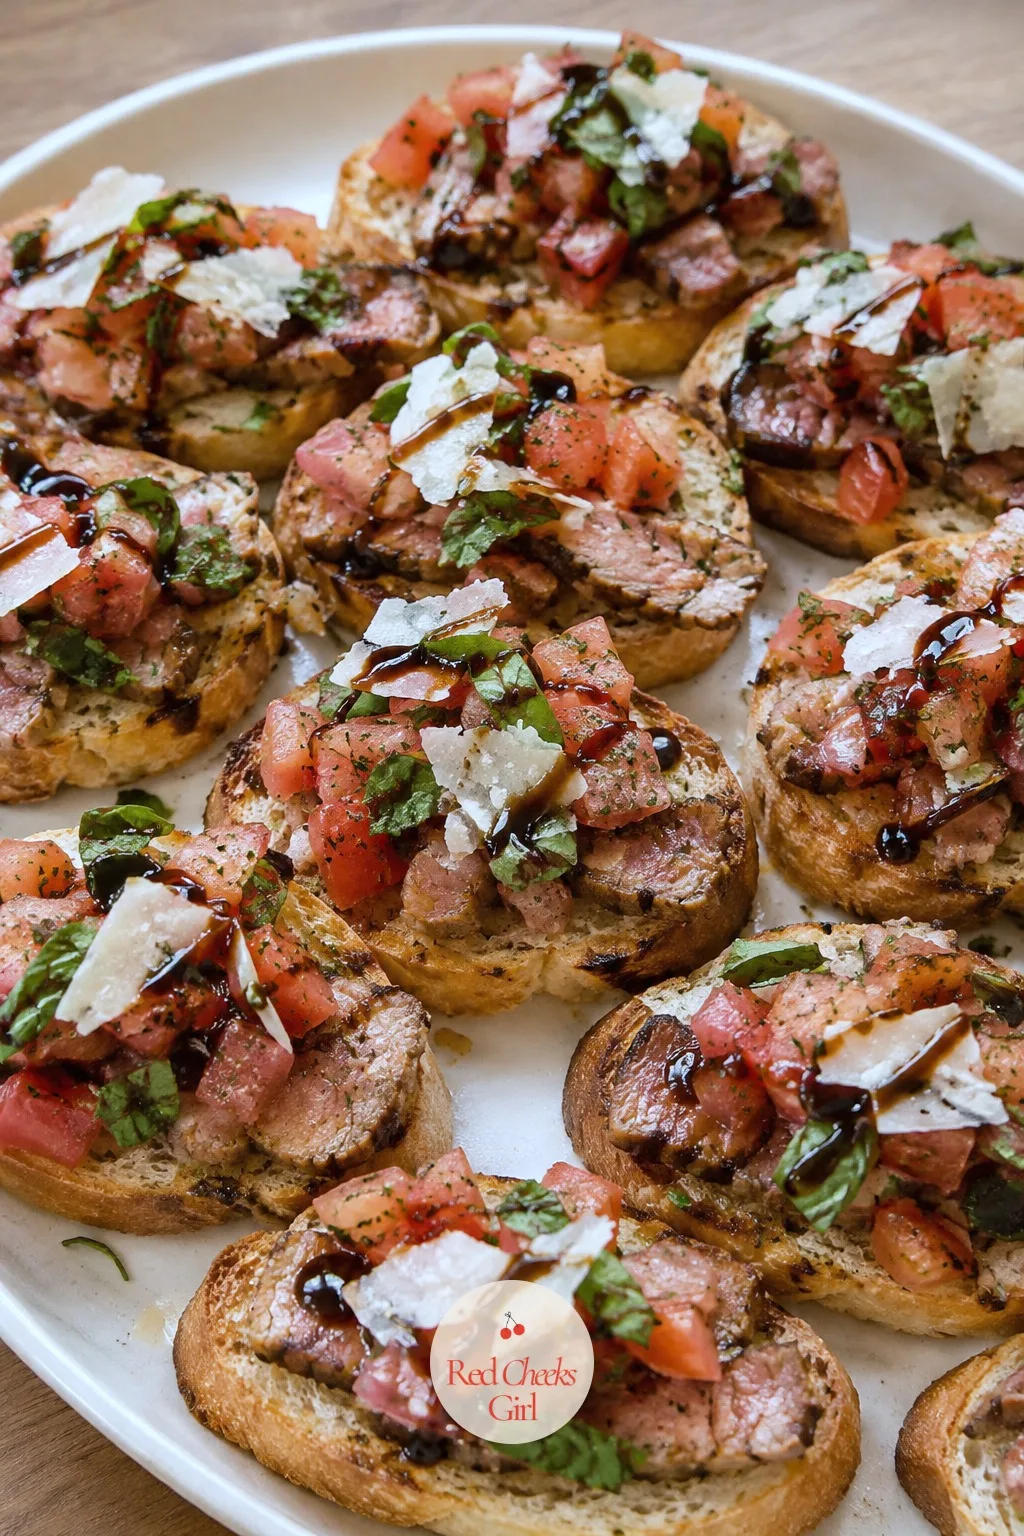
Say the words “steak appetizer” and most guests assume you spent all afternoon on it. In reality this is a seared piece of meat sliced thin and set on toast, and the whole thing comes together in half an hour.
The one step worth respecting is the rest. Slice the steak too soon and the juice ends up on the board instead of in the meat, and the bruschetta turns watery underneath the tomatoes.
Build these close to serving time; the toast stays crisp for about thirty minutes once topped, and after that the tomato juice starts to soften it.
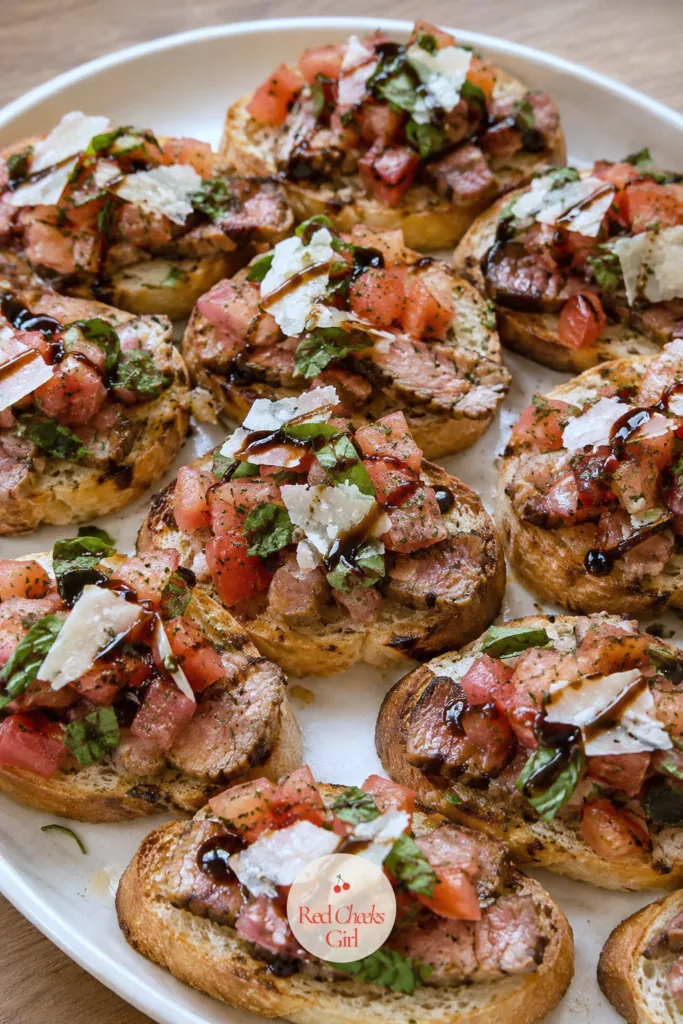
Italian Steak Bruschetta
Ingredients
- 1 pound flank or sirloin steak
- Salt and black pepper
- 2 tablespoons olive oil
- 1 baguette sliced into 24 rounds
- 2 cloves garlic halved
- 1 cup cherry tomatoes diced
- 2 tablespoons balsamic glaze
- 1/4 cup shaved parmesan
- Fresh basil leaves torn
Instructions
- Pat the steak dry and season both sides generously with salt and pepper.
- Heat olive oil in a skillet over high heat until it shimmers, then sear the steak 3 to 4 minutes per side for medium-rare, until a deep crust forms.
- Rest the steak on a cutting board for 10 minutes before slicing thin against the grain; resting keeps the juice in the meat, not on the board.
- While the steak rests, arrange the baguette rounds on a baking sheet and toast at 400°F for 5 to 6 minutes, until the edges turn golden.
- Rub the warm toasts with the cut side of a garlic clove.
- Toss the diced cherry tomatoes with a pinch of salt and let sit 5 minutes to release their juice, then drain.
- Top each toast with a few slices of steak and a spoonful of tomatoes.
- Finish with shaved parmesan, torn basil, and a thin zigzag of balsamic glaze.
- Serve within 30 minutes, while the bread is still crisp underneath.
Good to Know
🛍 Shopping guide
Spanakopita Triangles
Phyllo intimidates people who have never touched it, and the dough deserves a little respect: it dries out and cracks within minutes of leaving the package. Keep the sheets you are not using under a damp towel and the rest is just folding.
The filling is forgiving. Squeeze the spinach hard enough and nothing inside turns soggy, no matter how long the triangles sit on the tray before baking.
These are one of the easiest things on this table to get ahead of: fold them, freeze them flat on a sheet, and bake straight from frozen the night of the party.
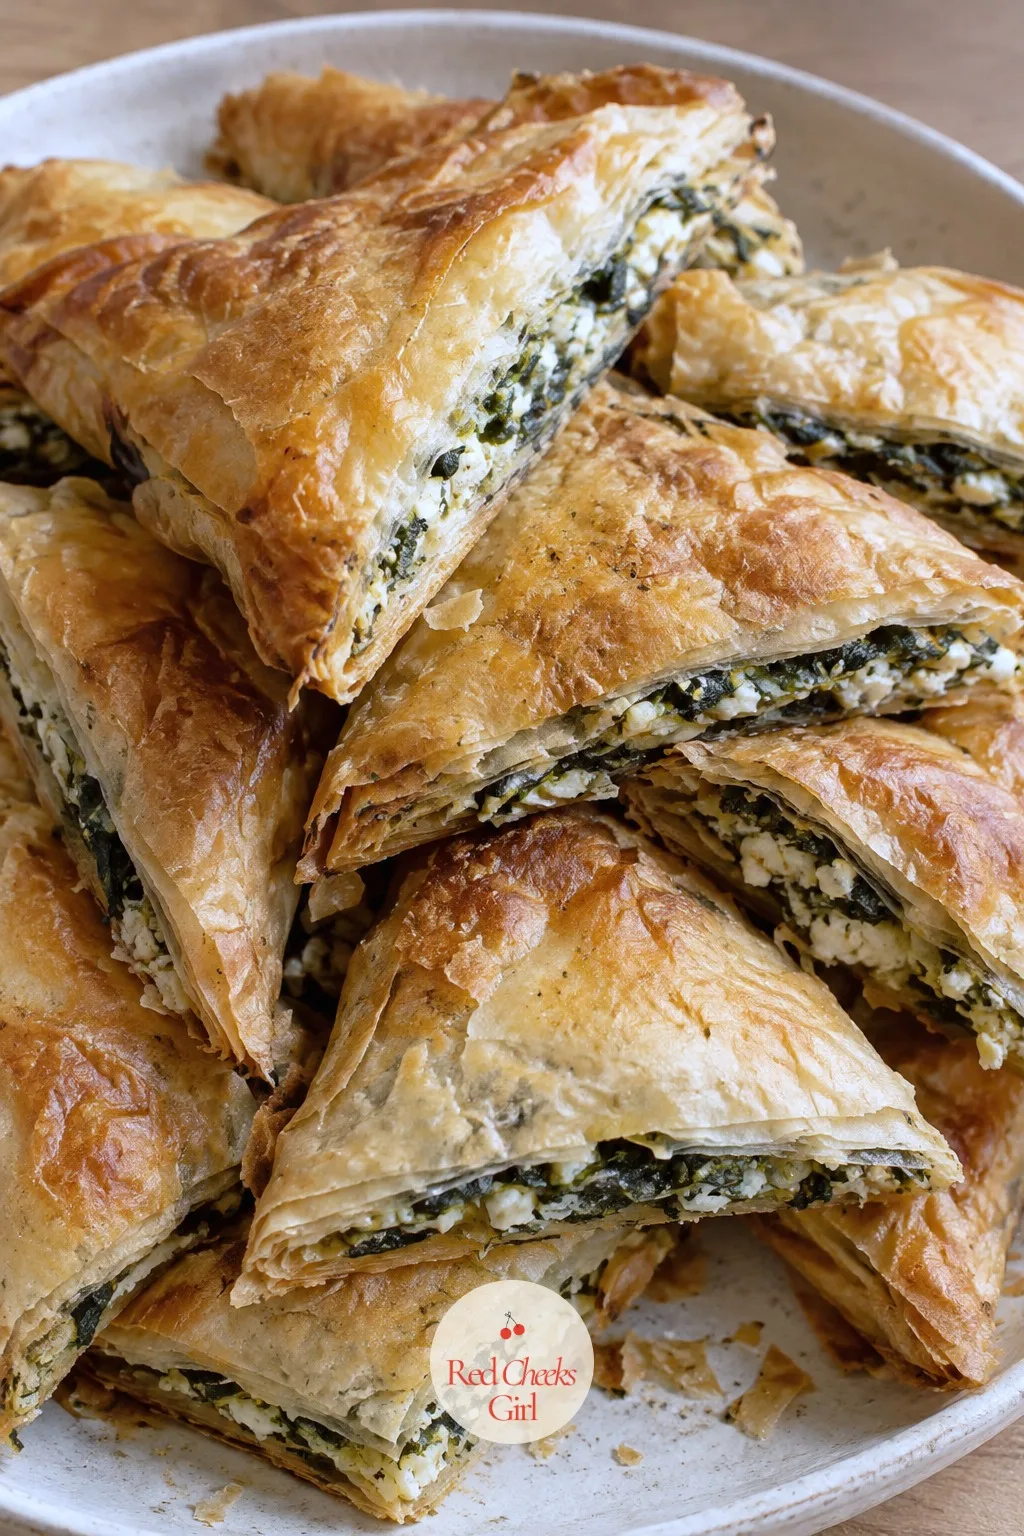
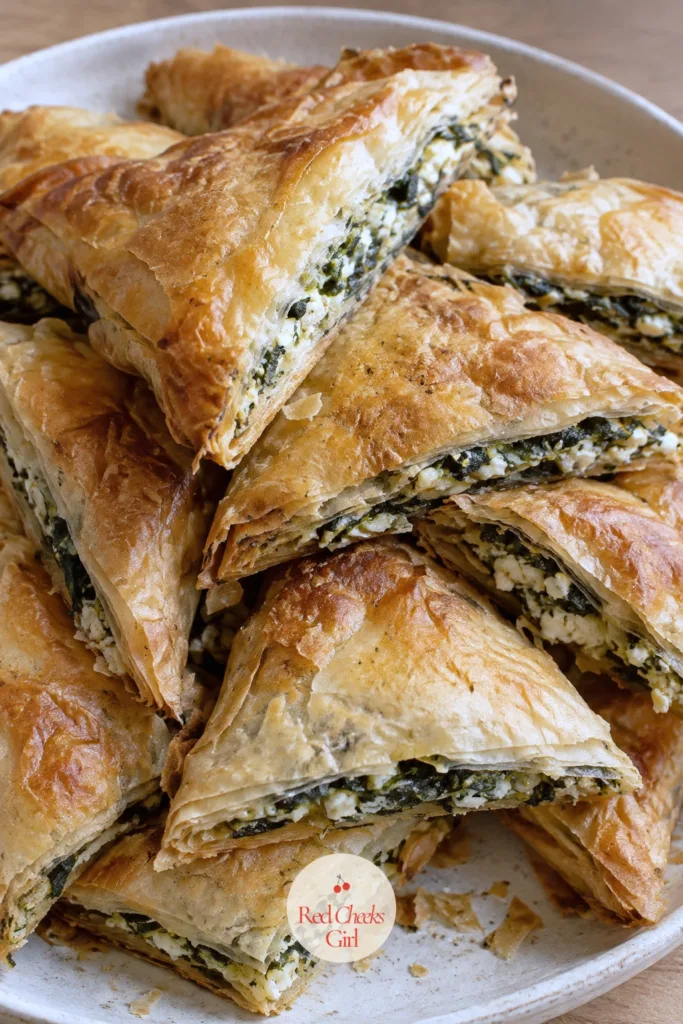
Spanakopita Triangles
Ingredients
- 10 ounces frozen chopped spinach thawed and squeezed dry
- 1 cup crumbled feta
- 2 ounces cream cheese softened
- 2 green onions chopped
- 1 egg
- 1/4 teaspoon nutmeg
- Salt and black pepper
- 10 sheets phyllo dough thawed
- 1/2 cup butter melted
Instructions
- Preheat the oven to 375°F and line two baking sheets with parchment.
- Squeeze the thawed spinach hard in a clean towel until no more water drips out; this keeps the filling from turning the phyllo soggy.
- Stir together the spinach, feta, cream cheese, green onions, egg, nutmeg, salt, and pepper in a bowl until the mixture holds together.
- Lay one sheet of phyllo on the counter and brush lightly with melted butter, keeping the remaining sheets covered with a damp towel so they don't dry out and crack.
- Cut the buttered sheet lengthwise into 3 strips.
- Spoon a tablespoon of filling near the bottom of each strip and fold the corner over to form a triangle, continuing the fold flag-style to the end of the strip.
- Place each triangle seam side down on the baking sheet and brush the top with more butter.
- Repeat with the remaining phyllo and filling.
- Bake for 20 to 25 minutes, until the triangles are deep golden and crisp enough to shatter slightly when tapped.
- Cool for 5 minutes on the pan before serving; the filling stays molten longer than the crust suggests.
Good to Know
🛍 Shopping guide
Crab Puffs
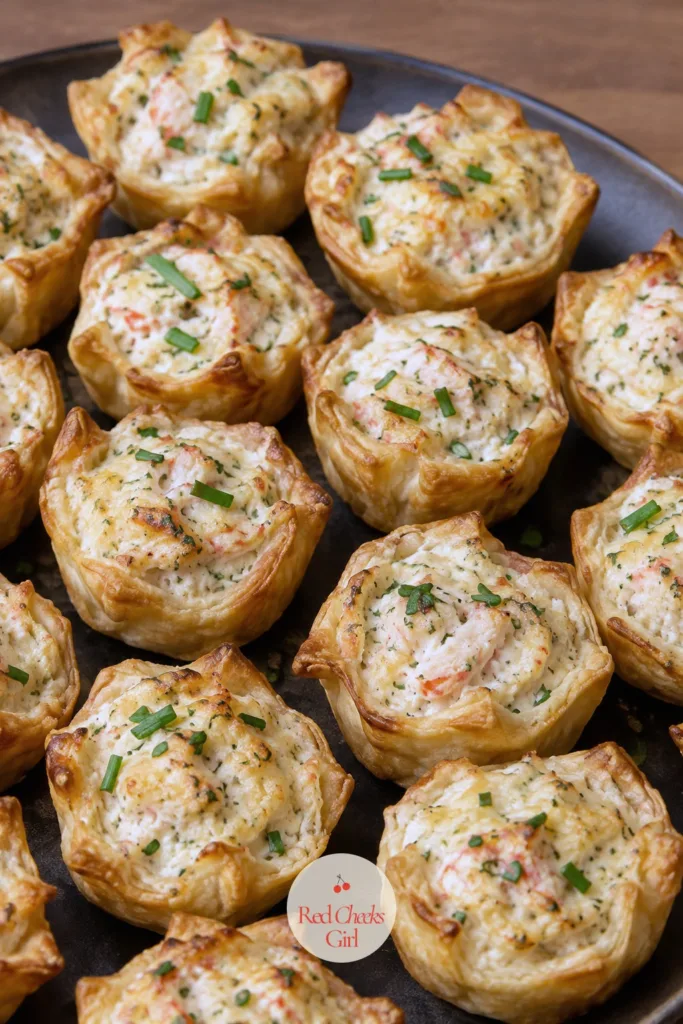
These look like a restaurant appetizer and need almost no cooking skill, just a mini muffin tin and a filling you mix in one bowl. That gap is worth knowing about if you want something that reads as elegant without a long ingredient list.
Crab meat is the one place not to cut corners; pick through it for shell fragments even if the package says pre-cleaned, and leave some lumps whole so the filling doesn’t turn into paste.
Fill and bake these within the last half hour before guests arrive; the wonton edges go from golden to burnt fast once they pass their window.
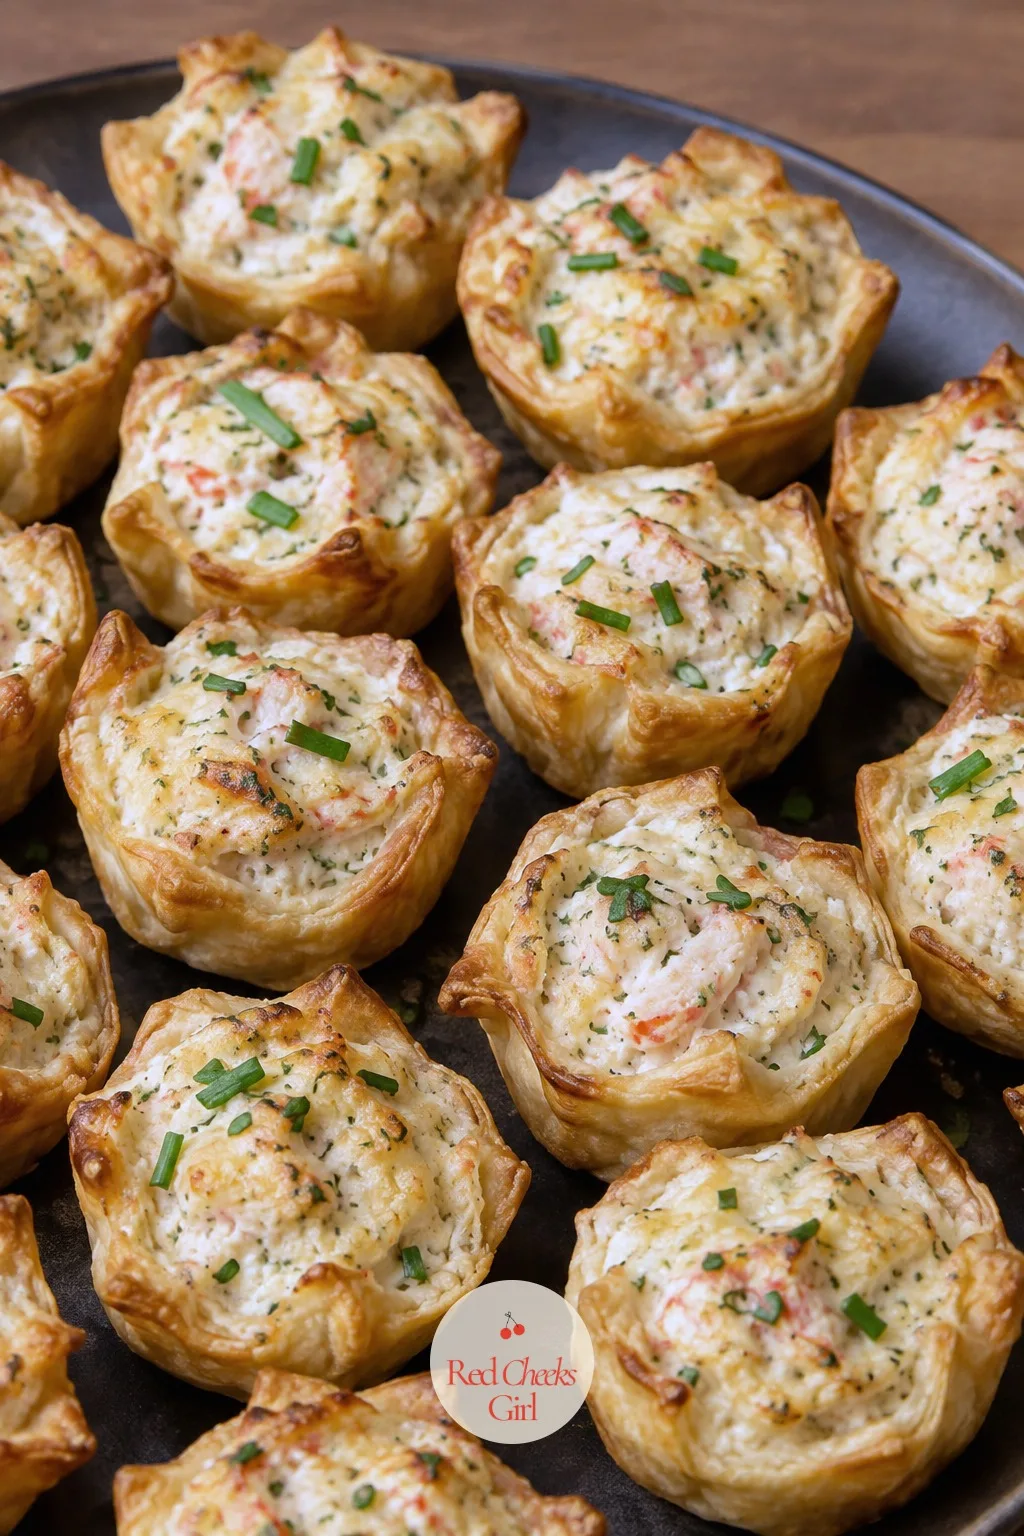
Crab Puffs
Ingredients
- 8 ounces lump crab meat picked over
- 4 ounces cream cheese softened
- 1/4 cup mayonnaise
- 1 teaspoon Worcestershire sauce
- 1/2 teaspoon Old Bay seasoning
- 2 green onions finely chopped
- 24 wonton wrappers or mini phyllo shells
- 1 tablespoon chopped chives for garnish
Instructions
- Preheat the oven to 375°F and lightly coat a mini muffin tin with cooking spray (skip this step if using pre-baked mini phyllo shells).
- Stir the cream cheese until smooth, then fold in the mayonnaise, Worcestershire sauce, and Old Bay until the mixture is loose enough to spread.
- Gently fold in the crab meat and green onions, keeping some lumps of crab visible for texture.
- Press the wonton wrappers into the muffin cups to form shallow cups, or set the mini phyllo shells on a baking sheet.
- Fill each cup with about a tablespoon of the crab mixture, mounding it slightly.
- Bake for 12 to 15 minutes, until the wrapper edges turn golden brown and the filling puffs and turns pale gold on top.
- Watch closely in the last 2 minutes; wonton edges can go from golden to burnt quickly.
- Scatter chopped chives over the puffs and serve warm, within 20 minutes of coming out of the oven.
Good to Know
🛍 Shopping guide
Chicken Satay Skewers
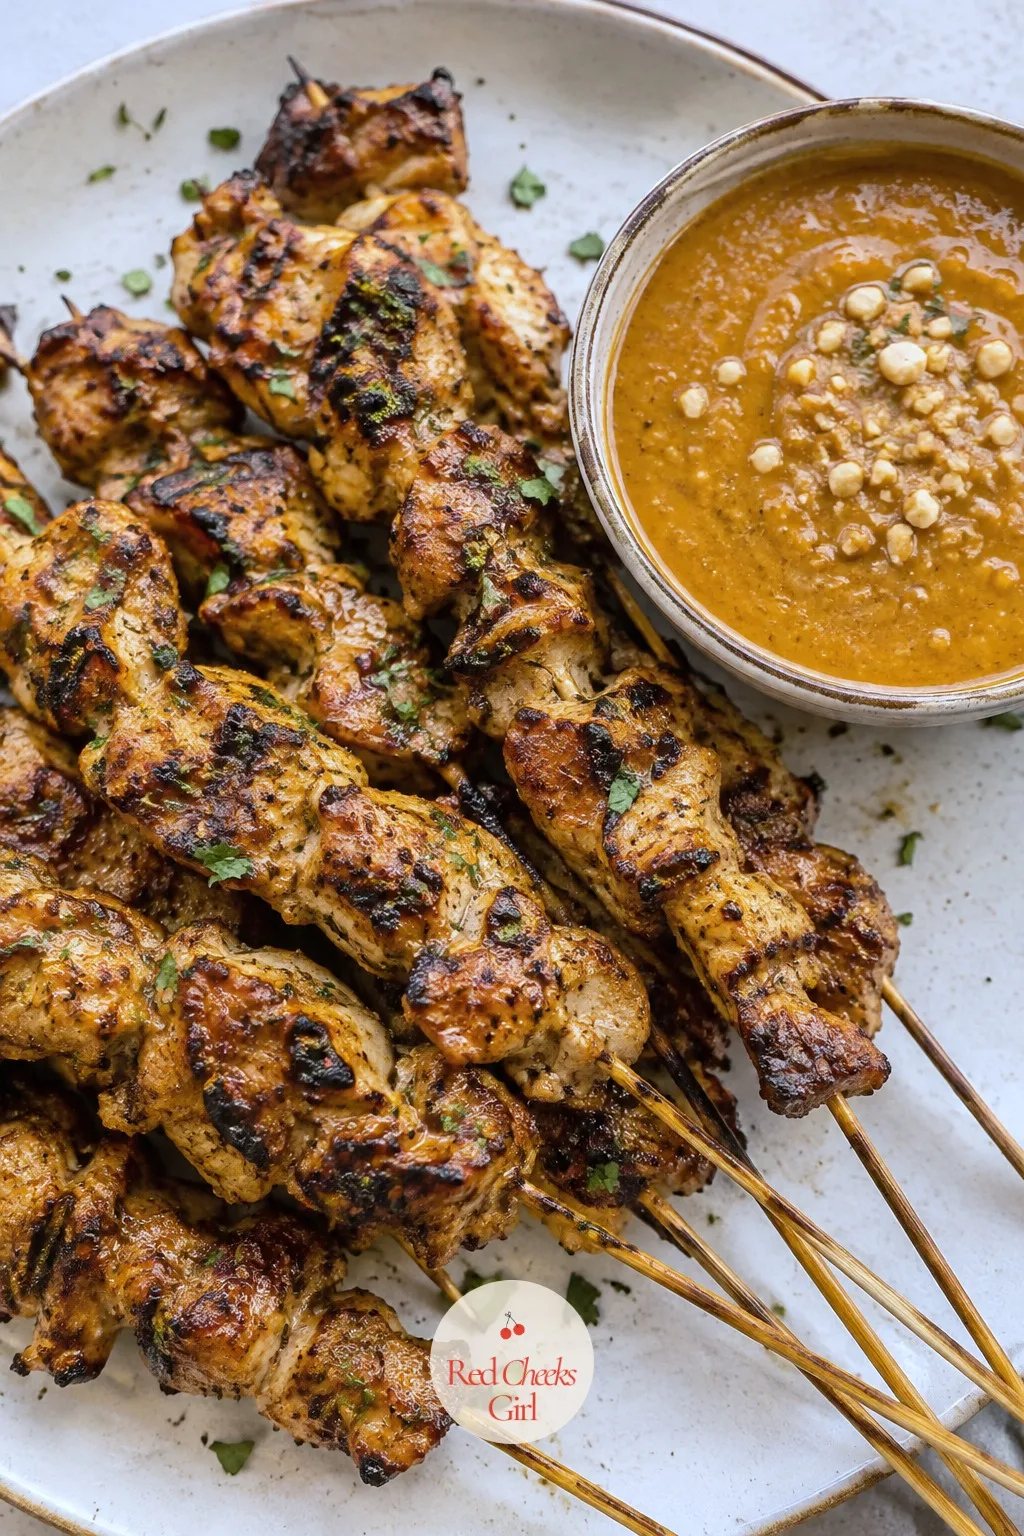
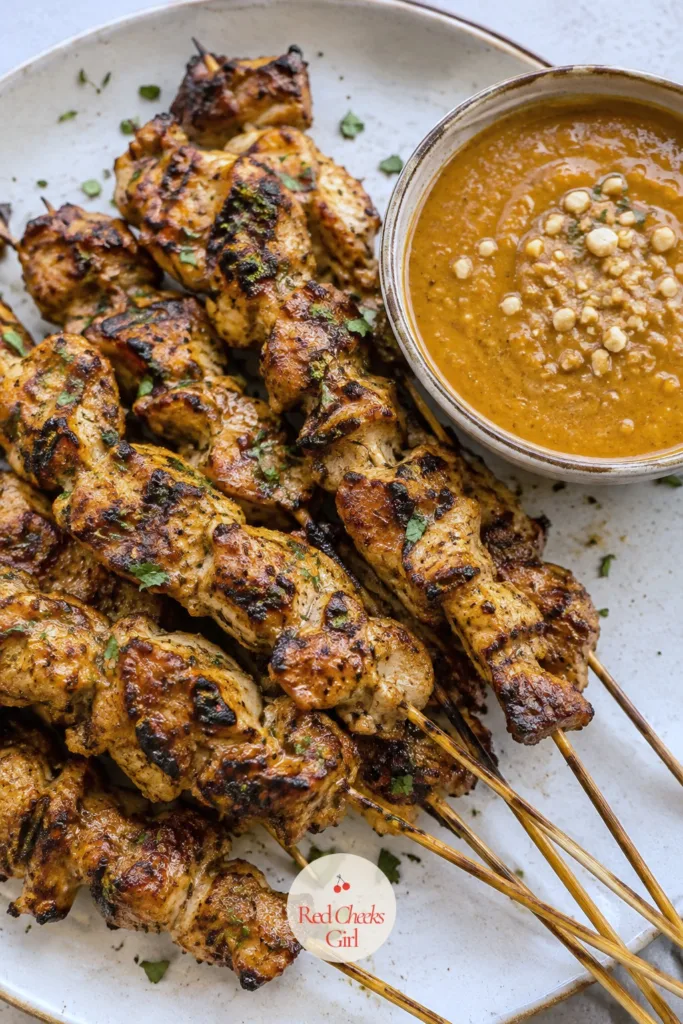
Skewers make a table feel like a proper spread without any extra platters: everyone picks one up, dips, and keeps talking. These bake in the oven rather than on a grill, so you can make them any time of year.
The marinade does the real work, and it wants time. An hour is the minimum, but overnight gets you a deeper flavor with no extra effort on the night itself.
Marinate up to a day ahead, thread the skewers that morning, and keep them covered in the fridge until it is time to roast.
Chicken Satay Skewers
Ingredients
- 1.5 pounds boneless skinless chicken thighs, cut into strips
- 1/4 cup coconut milk
- 1 tablespoon soy sauce
- 1 tablespoon brown sugar
- 1 teaspoon curry powder
- 1 clove garlic minced
- 12 wooden skewers soaked in water 30 minutes
- 1/2 cup peanut butter
- 1 tablespoon lime juice
- 1 teaspoon sriracha
- 2 tablespoons warm water
Instructions
- Whisk together the coconut milk, soy sauce, brown sugar, curry powder, and garlic in a bowl to make the marinade.
- Add the chicken strips and toss to coat, then cover and refrigerate for at least 1 hour or up to overnight.
- Soak the wooden skewers in water for 30 minutes so they don't scorch in the oven.
- Thread the marinated chicken onto the skewers in a ribbon pattern, leaving the bottom 2 inches bare to hold.
- Preheat the oven to 425°F and set a wire rack over a foil-lined baking sheet.
- Arrange the skewers on the rack and roast for 8 to 10 minutes, turning once, until the chicken is opaque throughout and the edges char slightly.
- While the chicken roasts, whisk the peanut butter, lime juice, sriracha, and warm water into a smooth dipping sauce, adding water a teaspoon at a time until it ribbons off a spoon.
- Check doneness by cutting into the thickest piece; it should show no pink and run clear.
- Serve the skewers warm with the peanut sauce alongside for dipping.
Good to Know
🛍 Shopping guide
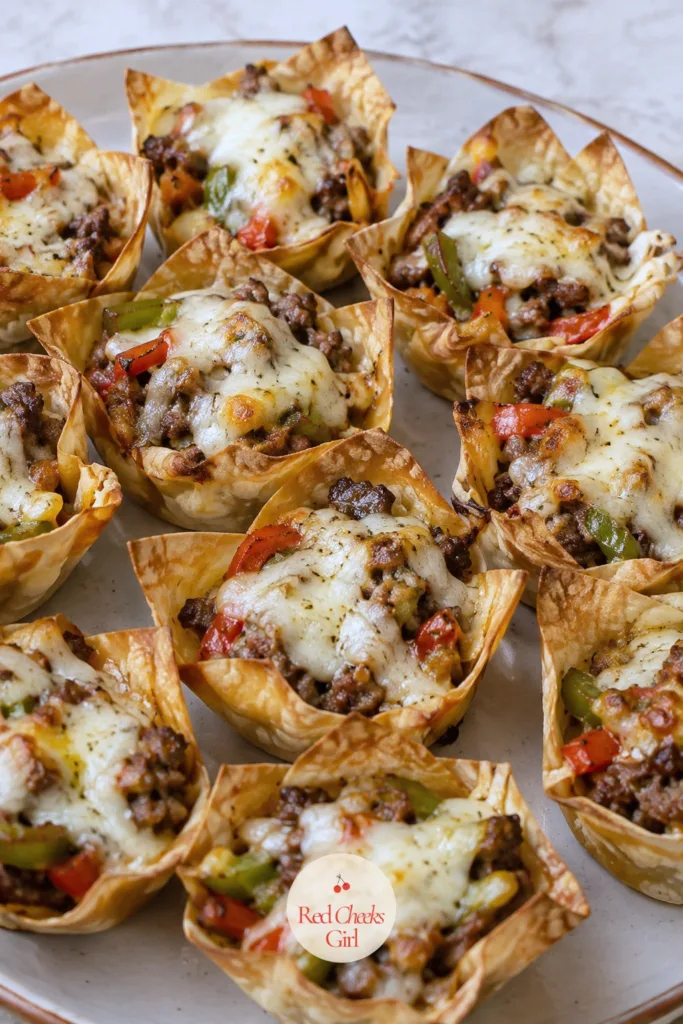
Philly Cheesesteak Wonton Cups
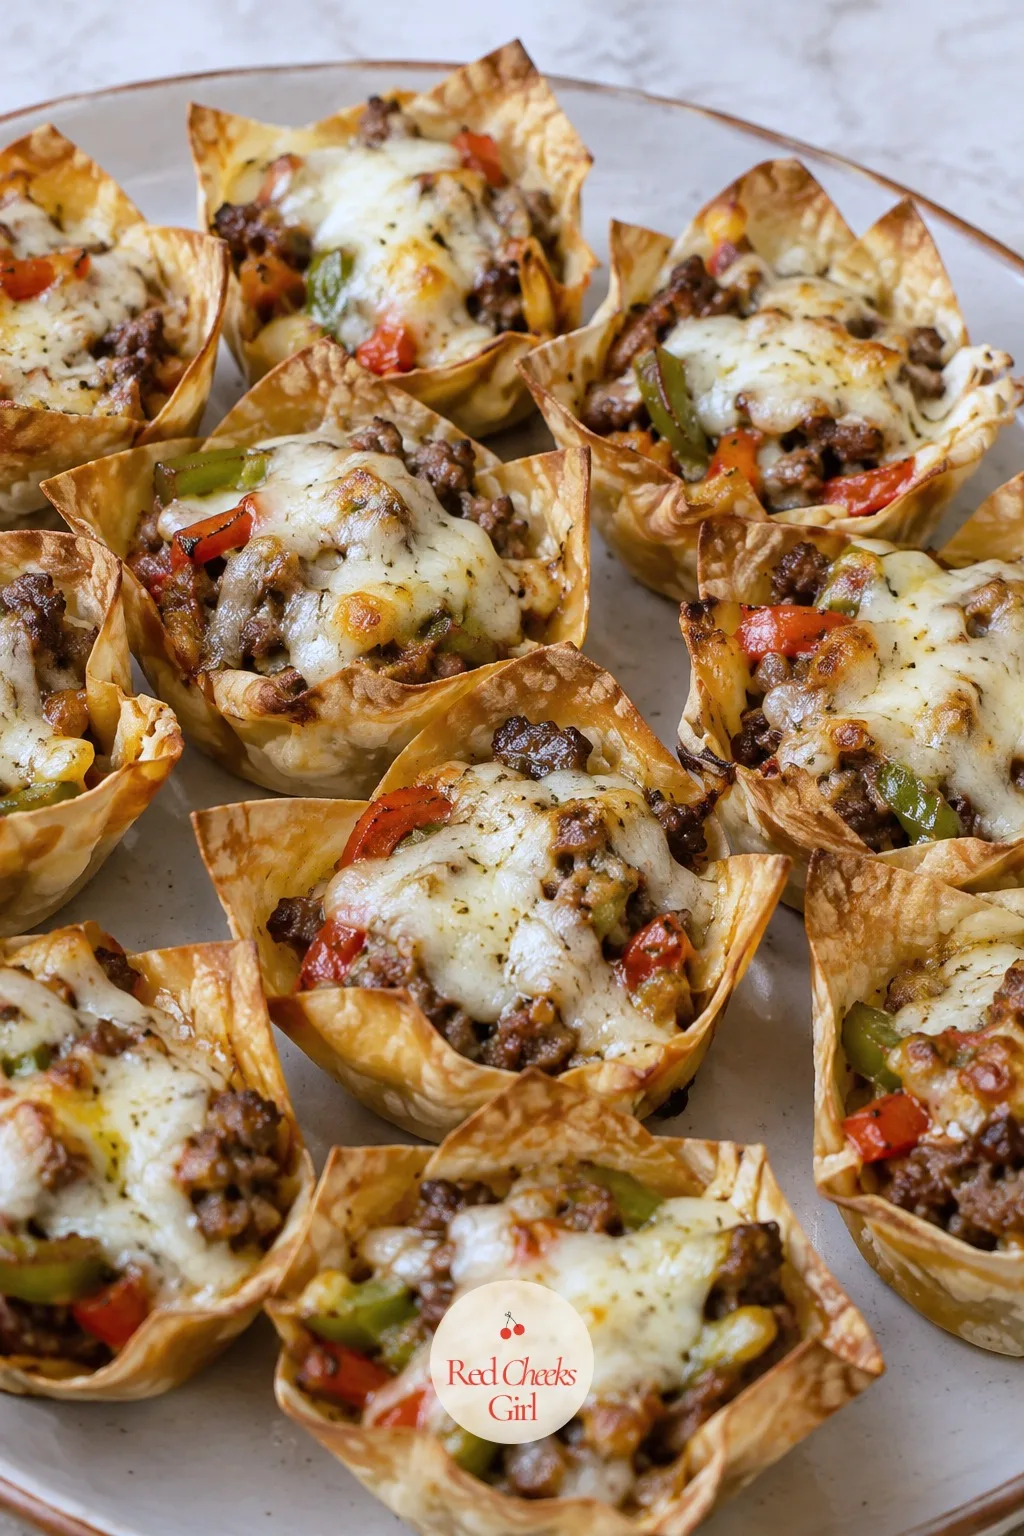
Everything people love about a cheesesteak, scaled down to a single bite with a shell that holds instead of falling apart in your hand. The wonton wrapper crisps into something closer to a cracker than bread, which is the whole trick.
Keep the steak chopped fine rather than sliced; bigger pieces fight with the small cup and the filling tips over before anyone takes a bite.
Bake the empty cups ahead and hold them at room temperature, then fill and finish just before the party starts so the cheese is still pulling when it hits the plate.
Philly Cheesesteak Wonton Cups
Ingredients
- 24 wonton wrappers
- Cooking spray
- 1/2 pound thinly sliced ribeye or deli roast beef chopped
- 1 tablespoon butter
- 1/2 green bell pepper diced
- 1/2 small onion diced
- Salt and black pepper
- 1 cup shredded provolone
Instructions
- Preheat the oven to 375°F and press the wonton wrappers into a mini muffin tin coated with cooking spray, pressing the center down and letting the corners stand up like little cups.
- Bake the empty cups for 5 minutes, until just starting to turn golden at the tips, then set aside.
- Melt the butter in a skillet over medium-high heat and cook the onion and bell pepper for 4 minutes, until softened.
- Add the chopped steak and cook for 3 to 4 minutes, stirring, until no pink remains and the edges catch a little color.
- Season with salt and pepper and remove from heat.
- Spoon the steak and pepper mixture into the baked wonton cups, filling each almost to the top.
- Top each cup with shredded provolone.
- Return to the oven for 5 minutes, until the cheese melts completely and turns glossy.
- Let the cups sit for 2 minutes before lifting from the tin; the cheese needs a moment to set or it will slide off.
Good to Know
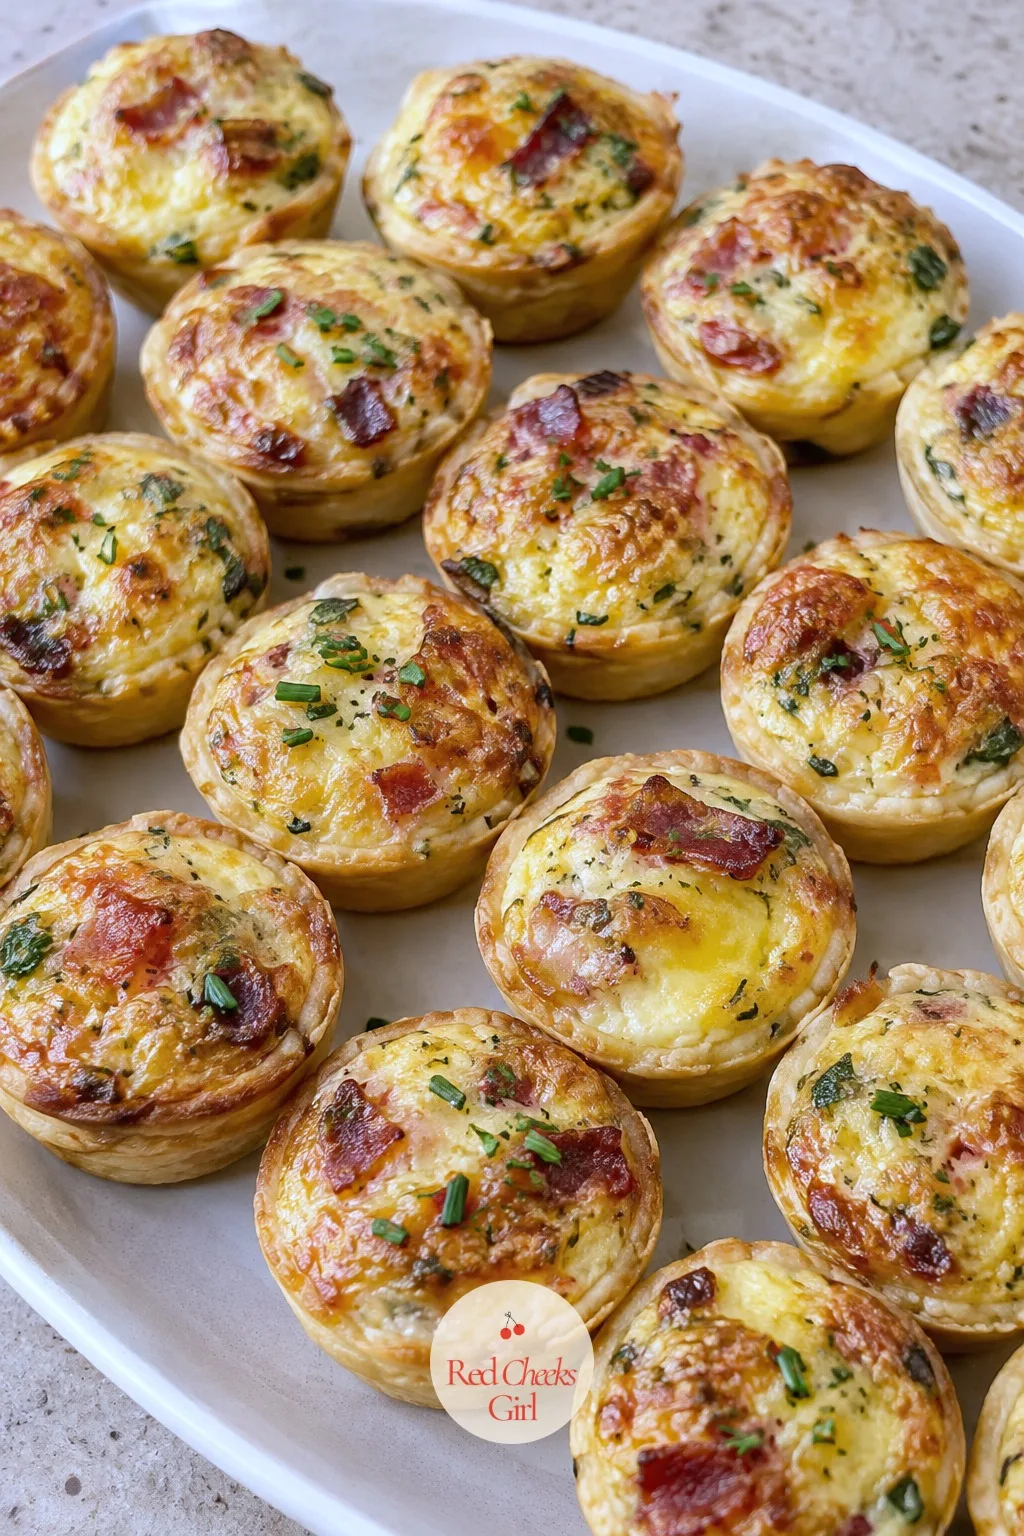
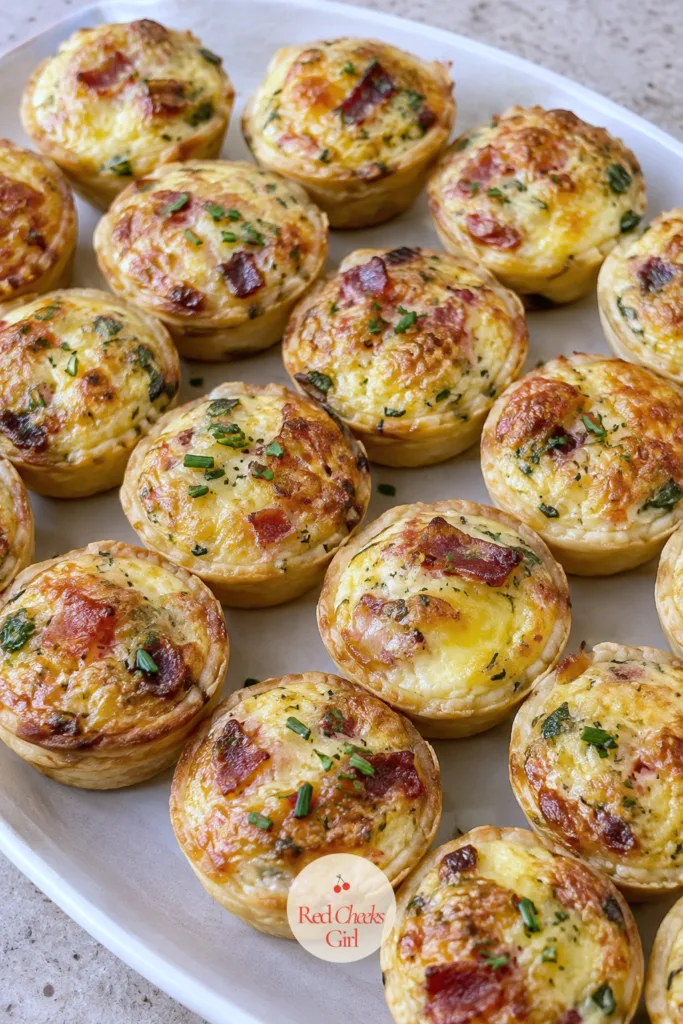
Mini Quiche Lorraine Bites
These are the one thing on the table that works equally well cold, warm, or room temperature, which makes them the safest bet if timing slips. Nobody notices a quiche sat out for twenty minutes.
The custard sets gently; pull it too late and the edges turn rubbery instead of silky, so check at the low end of the bake time first.
If you would rather skip rolling pastry, mini phyllo shells do the same job in a fraction of the time, with a lighter, flakier bite.
Mini Quiche Lorraine Bites
Ingredients
- 4 slices bacon chopped
- 1 sheet refrigerated pie crust or 24 mini phyllo shells
- 3 eggs
- 1/2 cup heavy cream
- 1/2 cup shredded Gruyere or Swiss
- 2 tablespoons chopped chives
- 1/4 teaspoon salt
- Pinch of nutmeg
Instructions
- Preheat the oven to 350°F and lightly grease a mini muffin tin (skip if using pre-baked phyllo shells).
- Cook the chopped bacon in a skillet over medium heat for 5 to 6 minutes, until crisp, then drain on paper towels.
- If using pie crust, roll it out and cut into 24 small rounds, pressing each into the muffin tin to form a shell.
- Whisk the eggs, cream, salt, and nutmeg together in a bowl until no streaks of egg white remain.
- Divide the bacon and shredded cheese evenly among the shells.
- Pour the egg mixture over the filling, filling each cup about three-quarters full to leave room for puffing.
- Bake for 18 to 20 minutes, until the centers are just set and no longer jiggle when the pan is nudged.
- Cool in the tin for 5 minutes; the quiches deflate slightly as they cool, which is normal.
- Scatter chives over the top and serve warm or at room temperature.
Good to Know
🛍 Shopping guide
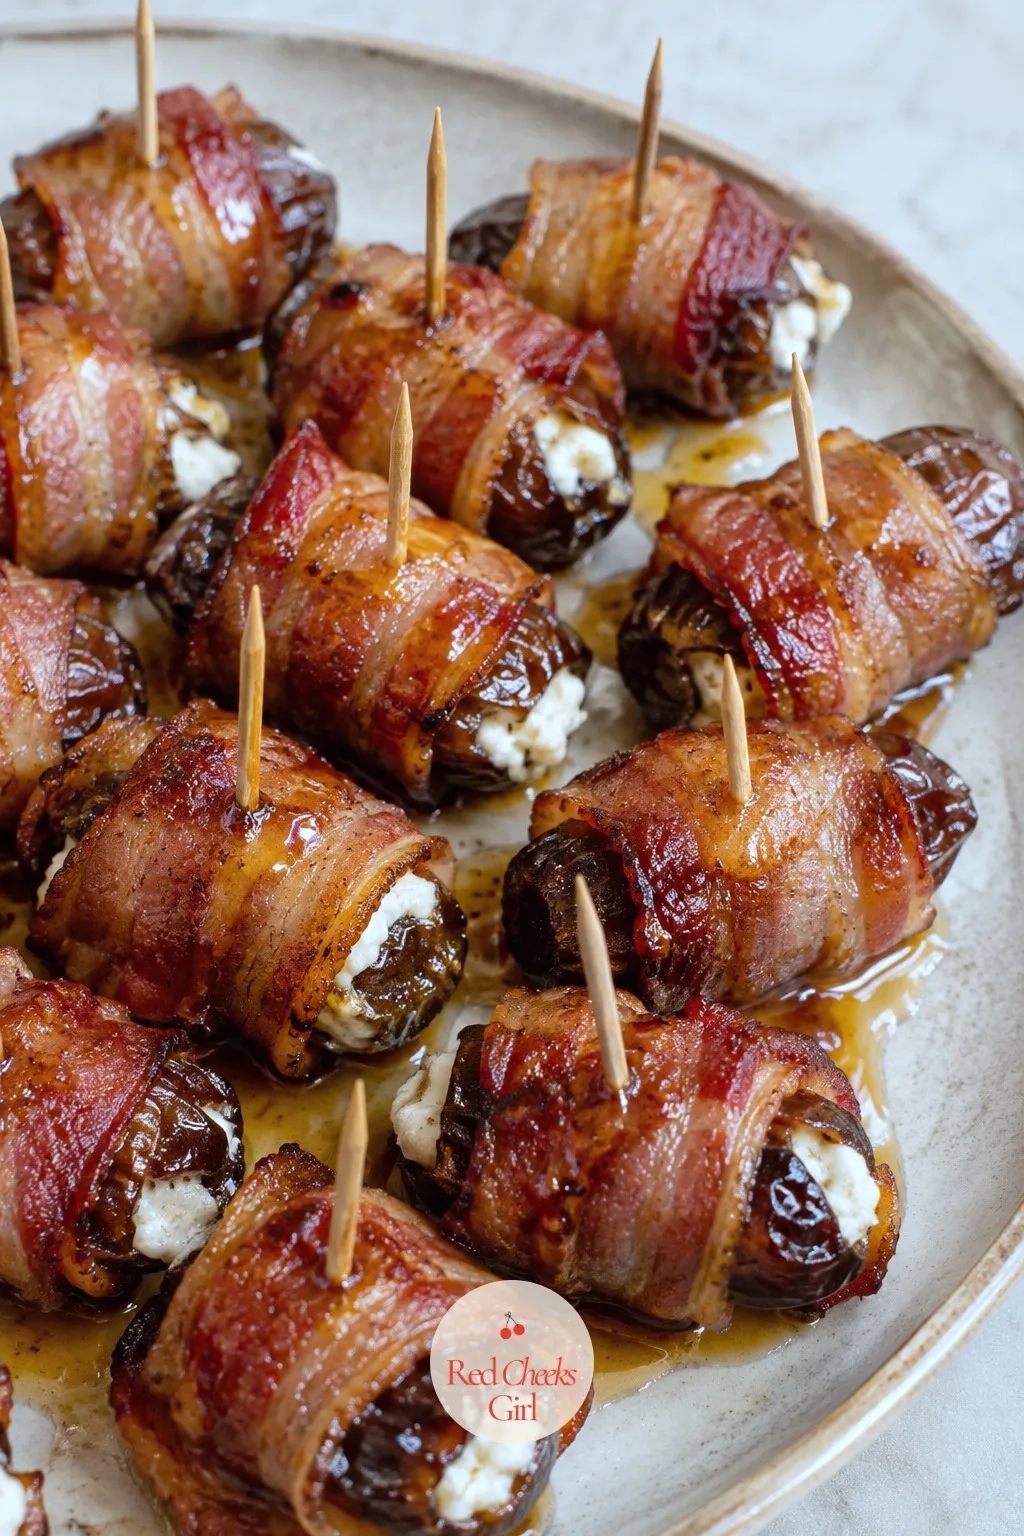
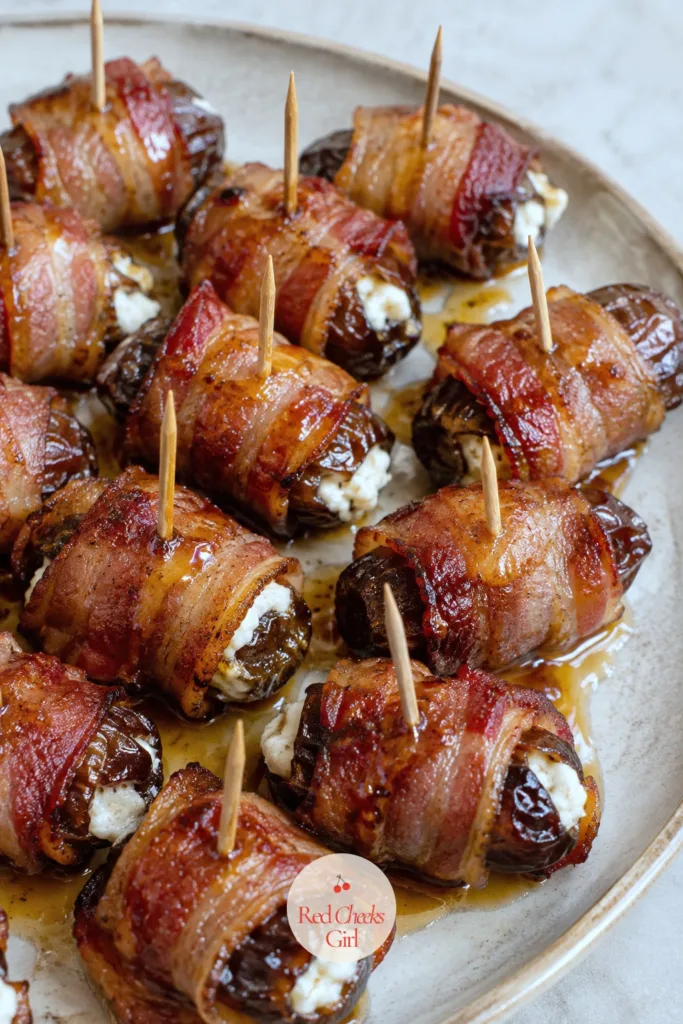
Bacon Wrapped Dates With Goat Cheese
Sweet, salty, and slightly tangy in one bite, these disappear faster than almost anything else on this list. The soft date against crisp bacon is the kind of contrast that makes people reach for a second before finishing the first.
Space is the only technical point here: crowd the pan and the bacon steams instead of crisping, which leaves you with a floppy wrap nobody wants.
Stuff and wrap them the night before, keep covered in the fridge, and bake only once the oven is free. That alone turns this into a five-minute job on the day.
Bacon Wrapped Dates With Goat Cheese
Ingredients
- 20 Medjool dates pitted
- 4 ounces goat cheese softened
- 10 slices bacon cut in half
- Toothpicks
- 2 tablespoons honey for drizzling
- Pinch of flaky salt
Instructions
- Preheat the oven to 400°F and set a wire rack over a foil-lined baking sheet.
- Slit each date lengthwise and remove the pit without cutting all the way through.
- Press about a teaspoon of goat cheese into each date, pinching the sides closed around the filling.
- Wrap a half slice of bacon around each stuffed date, overlapping the ends, and secure with a toothpick.
- Arrange the wrapped dates on the rack with space between them so the bacon crisps on all sides rather than steaming.
- Bake for 18 to 20 minutes, turning once halfway, until the bacon is deeply browned and crisp at the edges.
- Check doneness by looking at the fat: it should have rendered out and left the bacon visibly thinner and tight around the date.
- Drizzle with honey and a pinch of flaky salt, and serve warm within 15 minutes, while the cheese is still soft inside.
Good to Know
🛍 Shopping guide
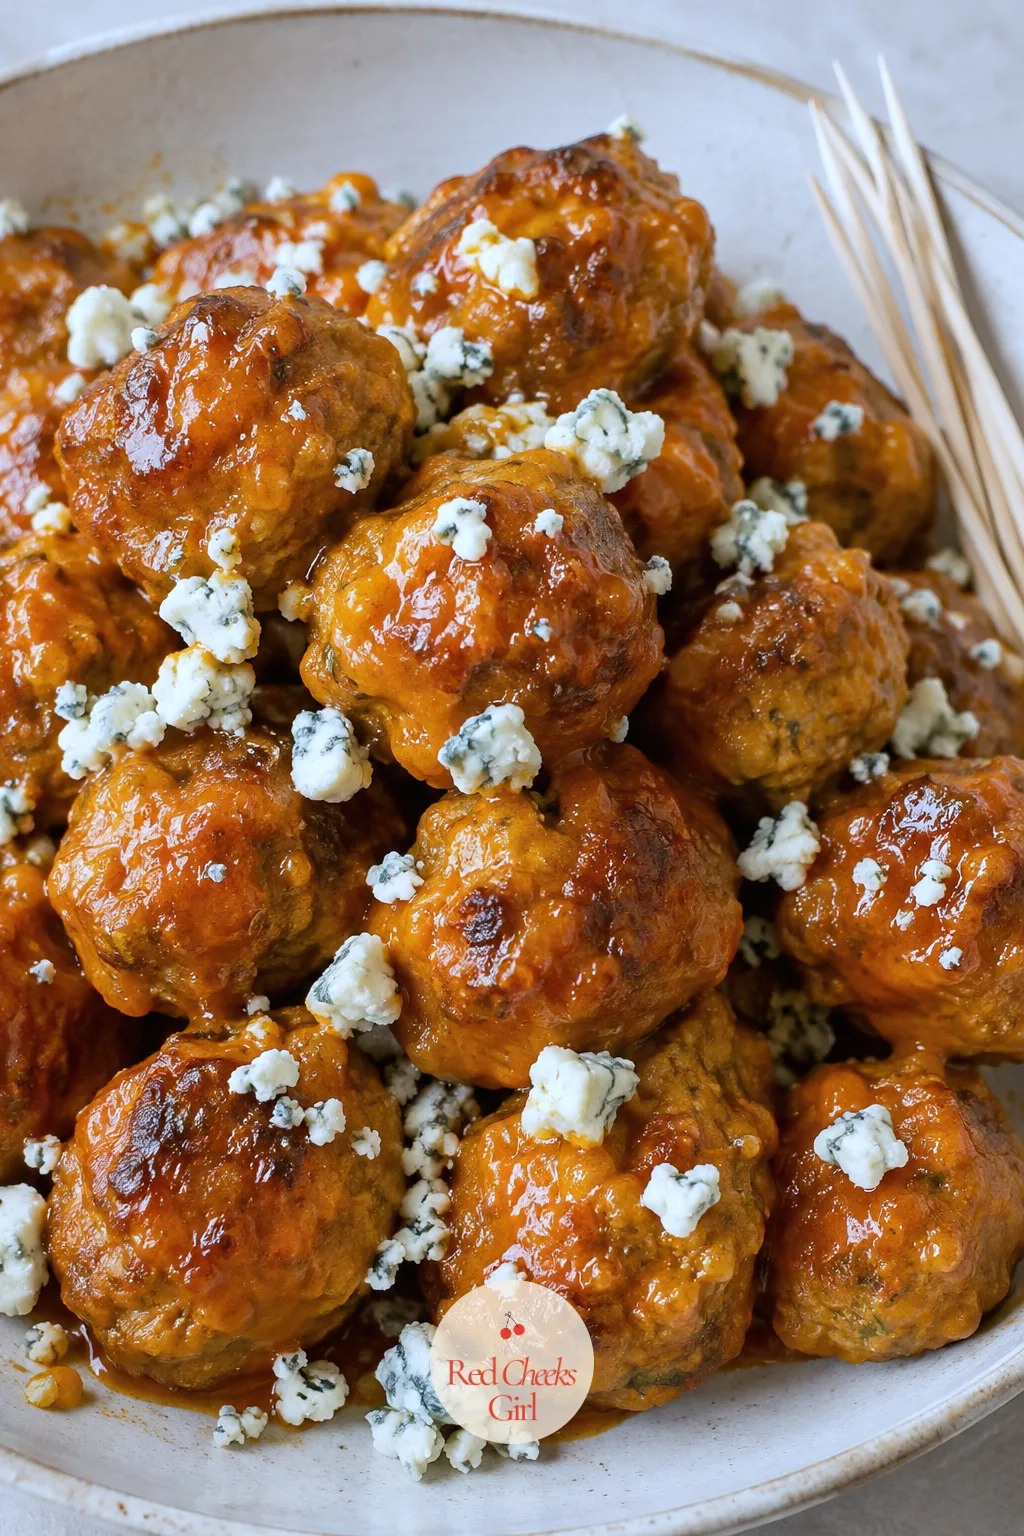
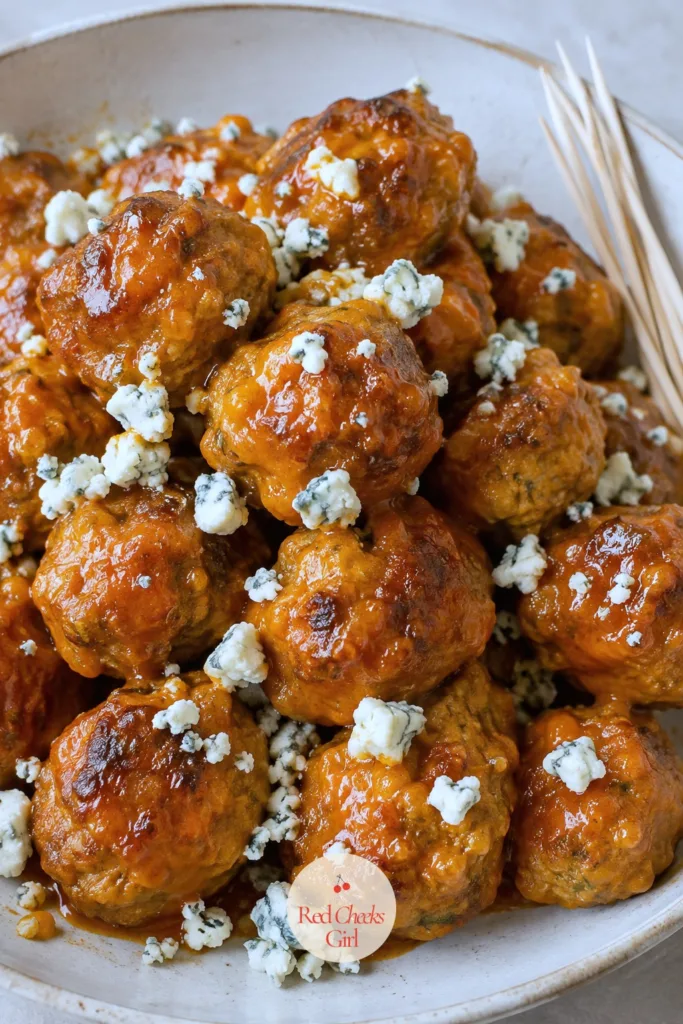
Buffalo Chicken Meatballs
If the usual chicken wing crowd is coming, these give them the same flavor without the bones and the pile of napkins afterward. Ground chicken keeps the meatball light instead of dense.
Toss them in the sauce after baking rather than before; a glaze added at the end clings and shines instead of burning onto the pan.
Roll the raw meatballs the night before and keep them on a tray in the fridge, sauce prepped separately, so baking and tossing is the only job left on party day.
Buffalo Chicken Meatballs
Ingredients
- 1 pound ground chicken
- 1/2 cup panko breadcrumbs
- 1 egg
- 2 tablespoons buffalo hot sauce plus 1/2 cup for glazing
- 1/4 cup finely diced celery
- 2 tablespoons melted butter
- 1/2 teaspoon garlic powder
- 1/2 teaspoon salt
- Crumbled blue cheese for serving
Instructions
- Preheat the oven to 400°F and line a baking sheet with parchment.
- Combine the ground chicken, panko, egg, 2 tablespoons hot sauce, celery, garlic powder, and salt in a bowl, mixing just until it holds together.
- Roll the mixture into 24 meatballs, about 1 tablespoon each, and space them an inch apart on the sheet.
- Bake for 16 to 18 minutes, until the meatballs are firm and register 165°F at the center.
- While the meatballs bake, whisk the remaining buffalo sauce with the melted butter in a bowl.
- Once out of the oven, toss the hot meatballs in the buffalo butter until every side glistens.
- Return the glazed meatballs to the oven for 3 minutes, until the sauce clings and starts to bubble at the edges.
- Scatter crumbled blue cheese over the top.
- Serve hot with toothpicks, straight from the pan.
Good to Know
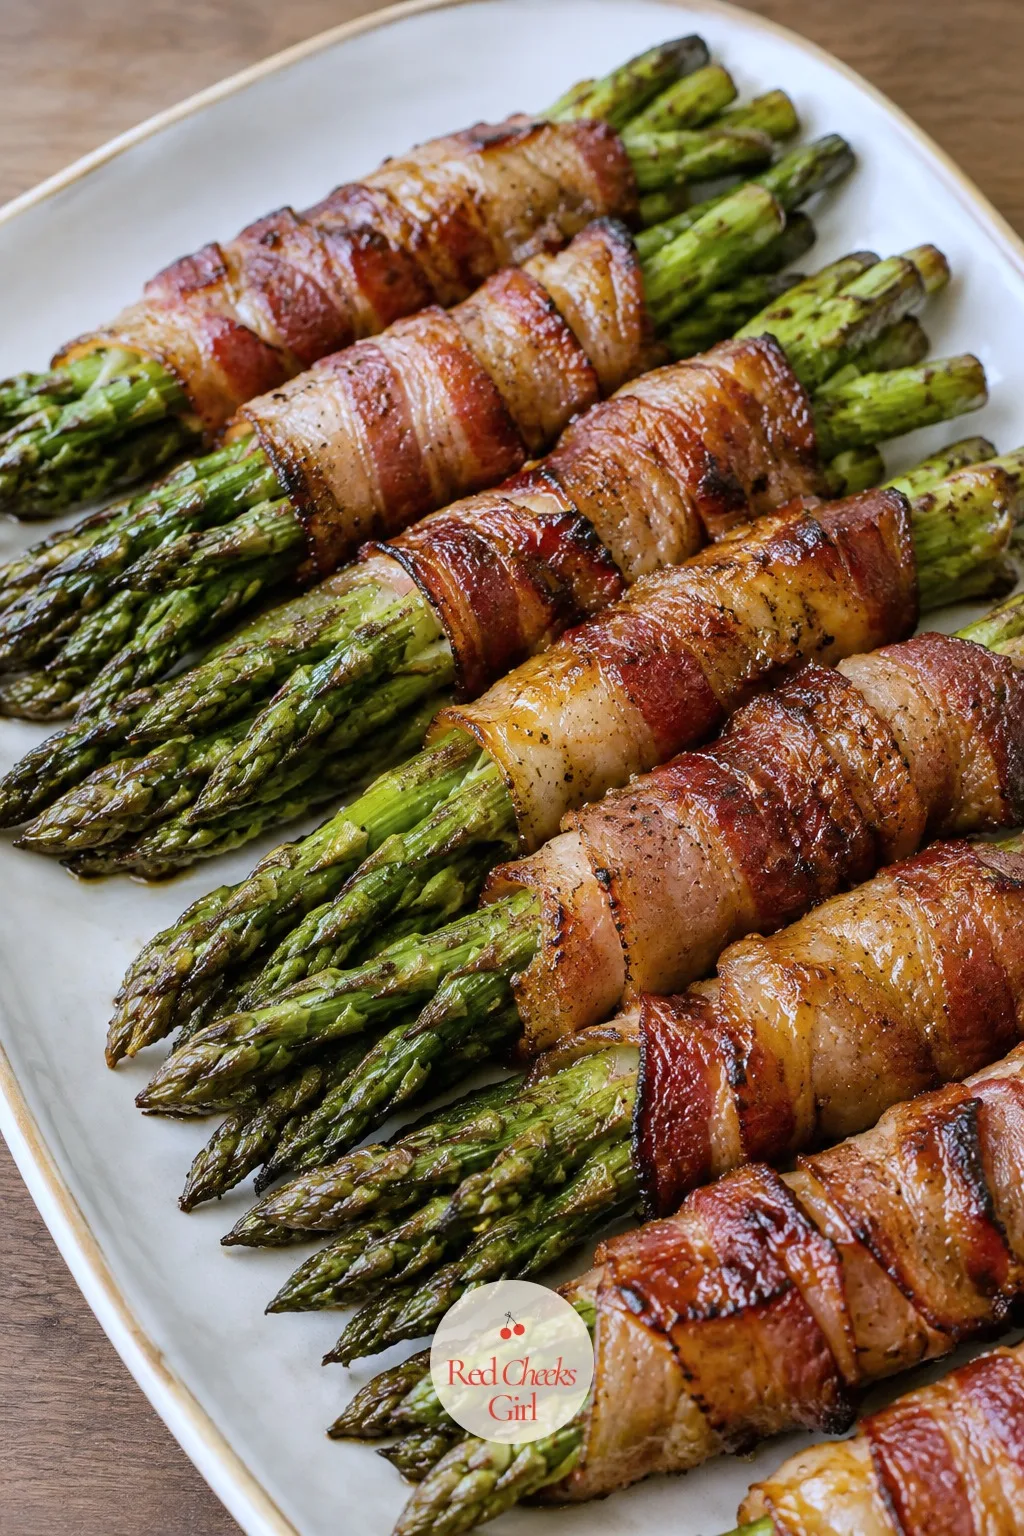
Bacon Wrapped Asparagus
This is the one that looks like it took effort and genuinely did not: trim, wrap, bake. The bacon crisps while the asparagus stays bright and just tender, so you get a real vegetable hiding under the thing everyone actually wants.
Bundle the spears in pairs rather than wrapping each one alone; it uses less bacon and holds together far better off the pan.
Cheap and quick if the night is already full: this needs no marinating and no sauce to make ahead.
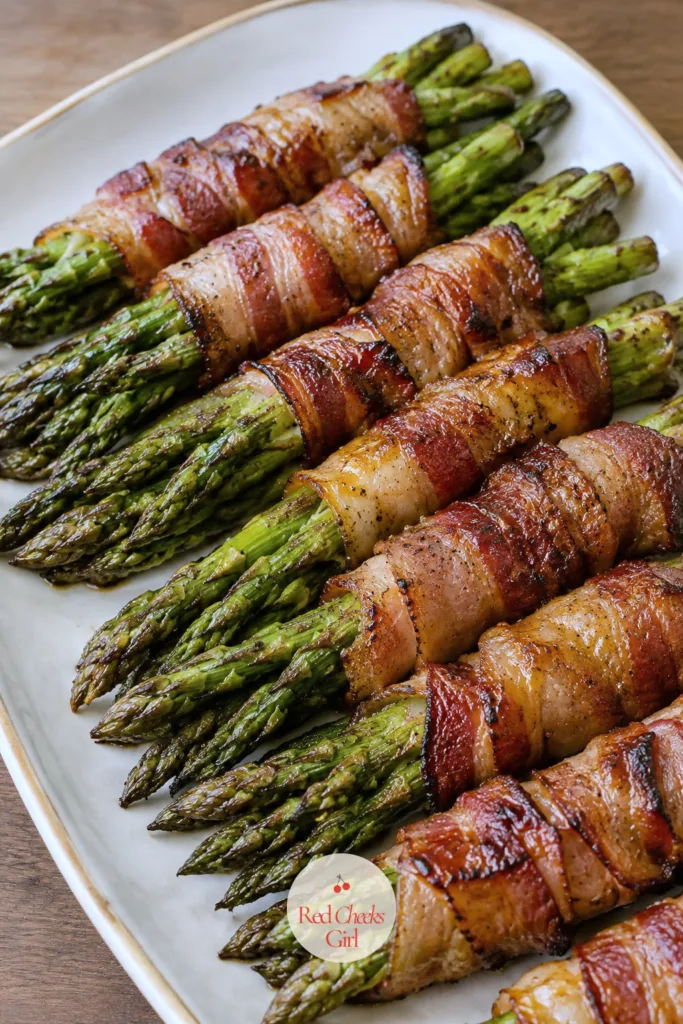
Bacon Wrapped Asparagus
Ingredients
- 32 asparagus spears trimmed
- 16 slices bacon cut in half lengthwise
- 2 tablespoons brown sugar
- 1/2 teaspoon black pepper
- 1 tablespoon olive oil
Instructions
- Preheat the oven to 400°F and set a wire rack over a foil-lined baking sheet.
- Snap the woody ends off the asparagus by bending each spear until it breaks naturally.
- Toss the trimmed spears with olive oil and black pepper.
- Group the spears into pairs and wrap a half slice of bacon around the middle of each pair in a spiral, tucking the end underneath.
- Sprinkle brown sugar over the wrapped bundles, pressing it gently so it sticks to the bacon.
- Arrange the bundles on the rack, leaving space between each one.
- Bake for 18 to 20 minutes, until the bacon is crisp and the asparagus tips are tender enough to pierce easily with a fork.
- Let rest for 3 minutes before serving; the sugar glaze firms up slightly as it cools and holds the wrap together.
Good to Know
🛍 Shopping guide
Stuffed Mushrooms With Garlic and Parmesan
Every party has someone who doesn’t eat meat, and this is the dish that quietly covers them without announcing itself as the vegetarian option. The filling is rich enough that nobody treats it as an afterthought.
Mushrooms release water as they bake, so expect a little liquid pooling in the pan; a quick blot with a paper towel before plating keeps the caps from sitting in a puddle.
Stuff them a day ahead and refrigerate, uncovered until chilled and then wrapped, so the caps bake rather than bake and condensate.
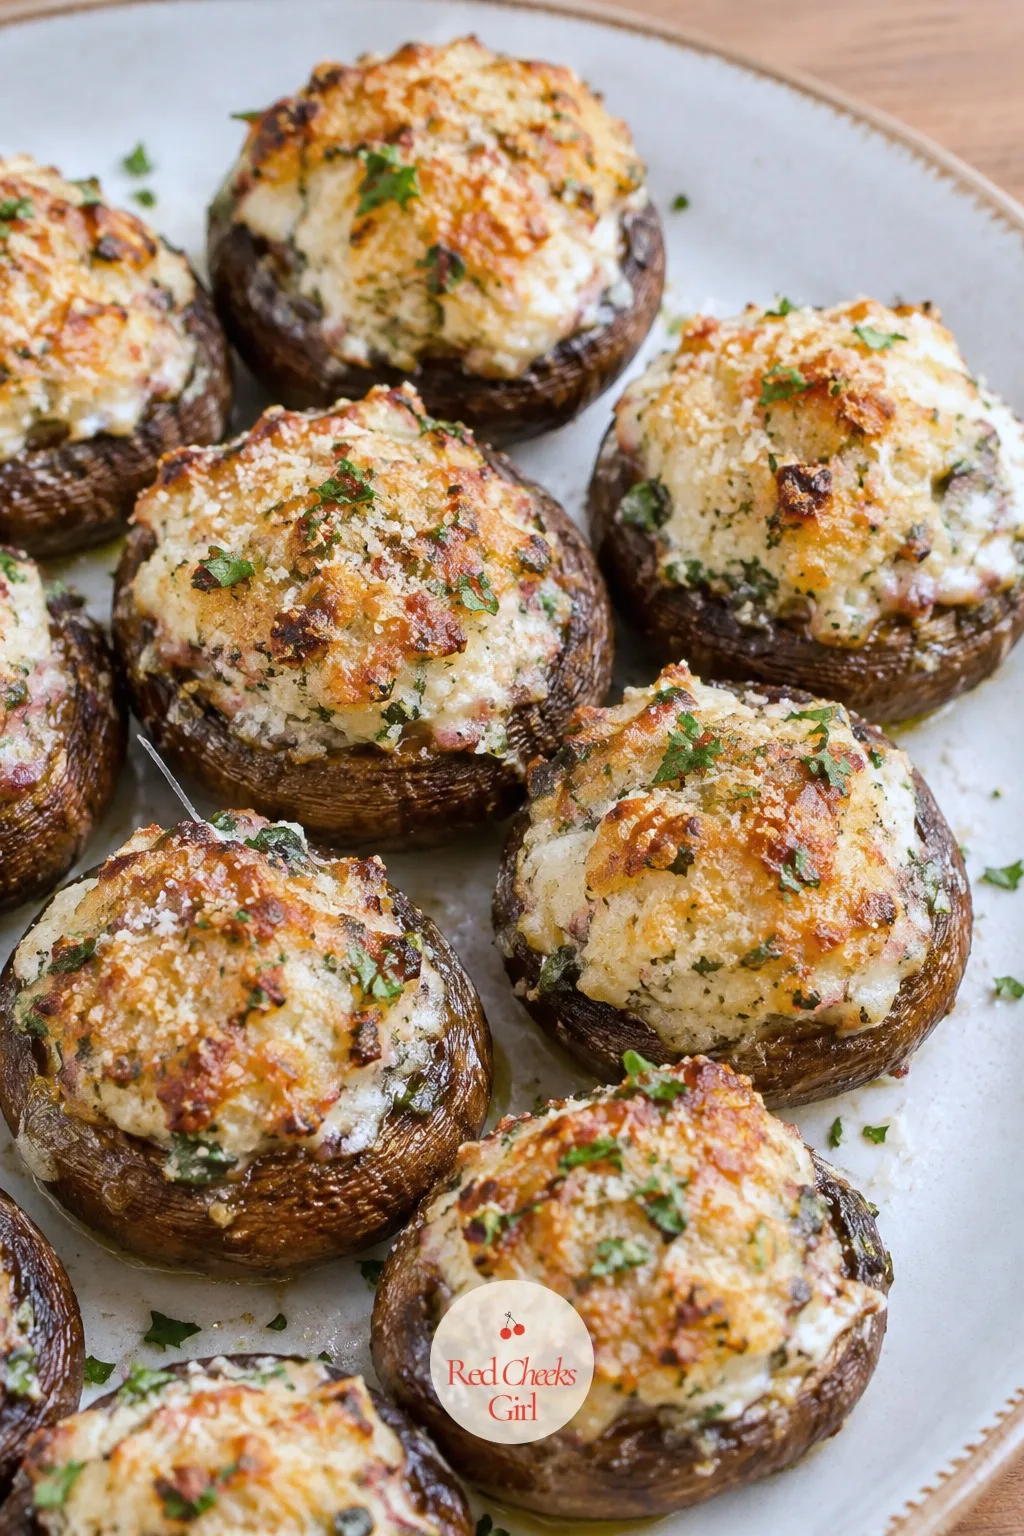
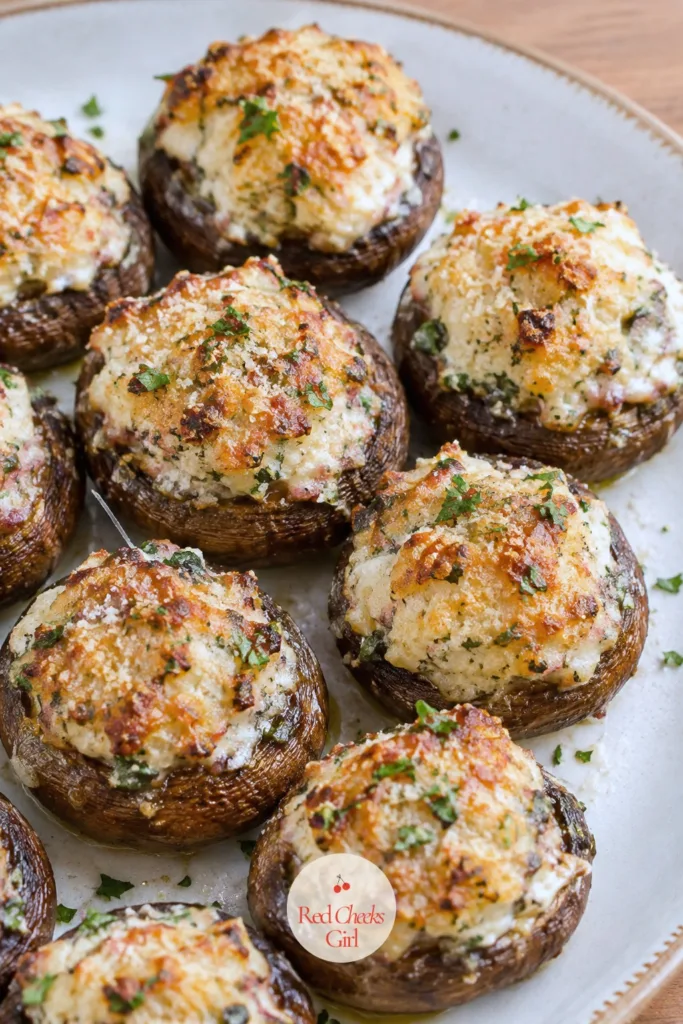
Stuffed Mushrooms With Garlic and Parmesan
Ingredients
- 20 cremini mushrooms stems removed and reserved
- 2 tablespoons olive oil
- 2 cloves garlic minced
- 4 ounces cream cheese softened
- 1/4 cup grated parmesan
- 1/4 cup panko breadcrumbs
- 2 tablespoons chopped parsley
- Salt and black pepper
Instructions
- Preheat the oven to 375°F and lightly oil a baking sheet.
- Finely chop the reserved mushroom stems.
- Heat the olive oil in a skillet over medium heat and cook the chopped stems and garlic for 4 minutes, until softened and the raw garlic smell fades.
- Remove from heat and stir in the cream cheese, parmesan, panko, parsley, salt, and pepper until combined.
- Arrange the mushroom caps hollow side up on the baking sheet.
- Spoon the filling into each cap, mounding it slightly above the rim.
- Bake for 18 to 20 minutes, until the mushrooms release their liquid and the tops turn golden brown.
- Tip the pan slightly and blot any pooled liquid with a paper towel before serving, so the caps don't sit in a puddle.
- Serve warm, directly from the baking sheet or transferred to a platter.
Good to Know
Loaded Potato Skins
These take the longest of anything here, mostly because the potato has to actually bake through, but almost none of that time needs your attention. Set them in the oven and walk away.
The second bake is what makes a potato skin instead of a baked potato: scooped, oiled, and crisped before the cheese ever goes on, so the shell holds its shape under the toppings instead of going limp.
Bake and hollow the shells a day ahead, then top and finish them for the last ten minutes before serving.
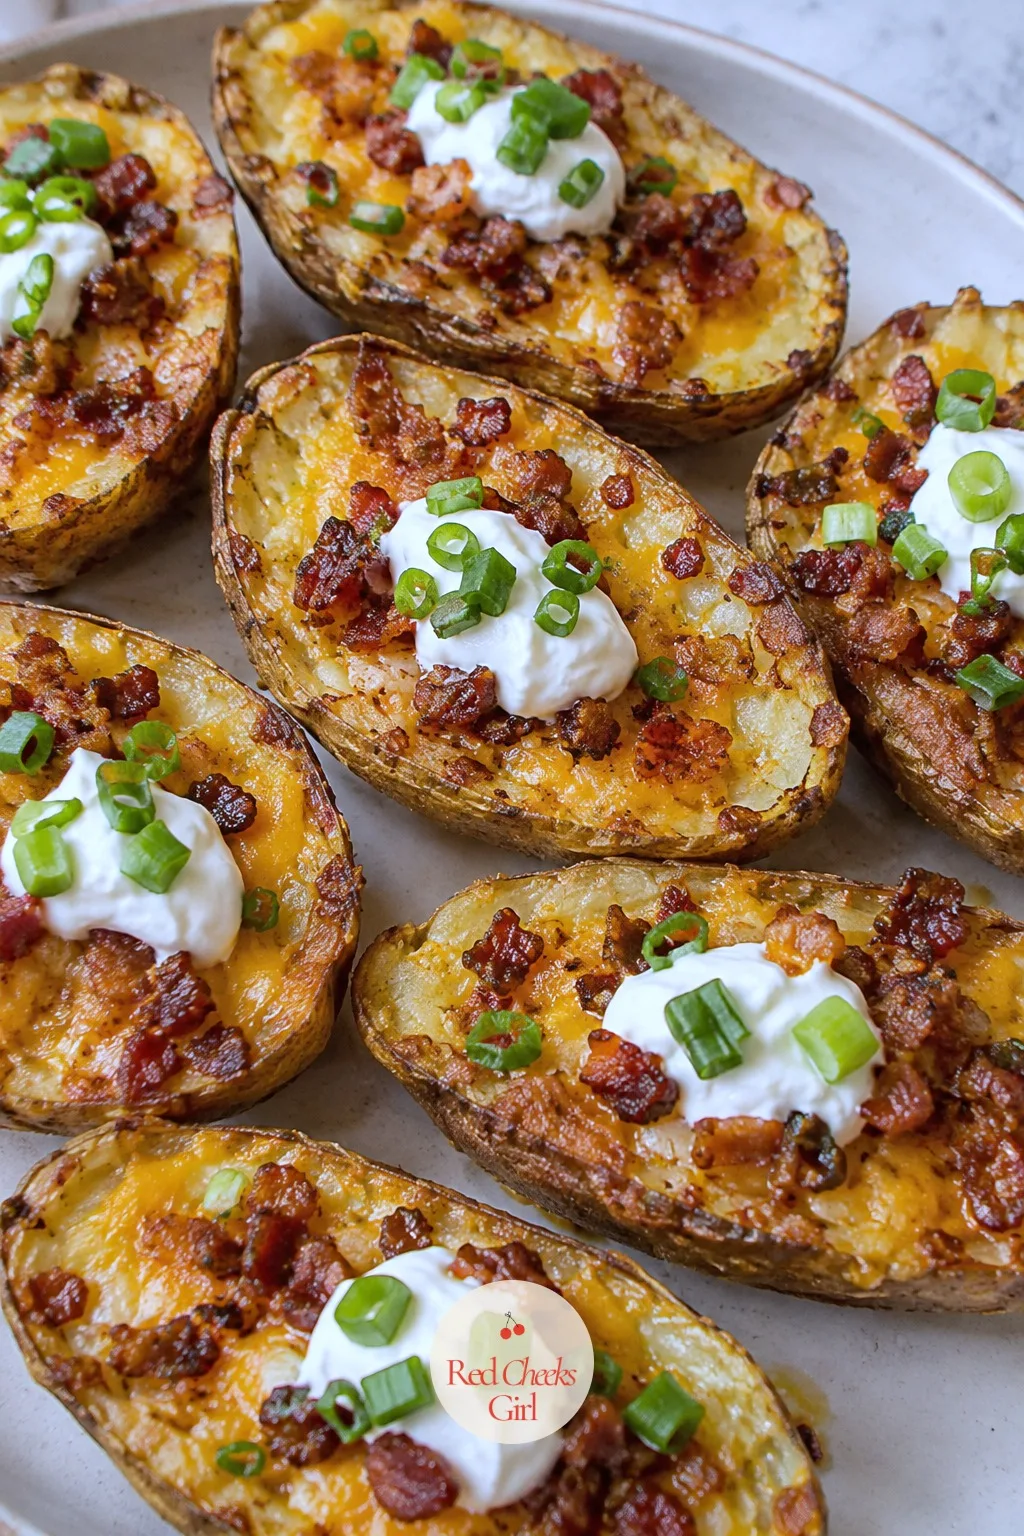
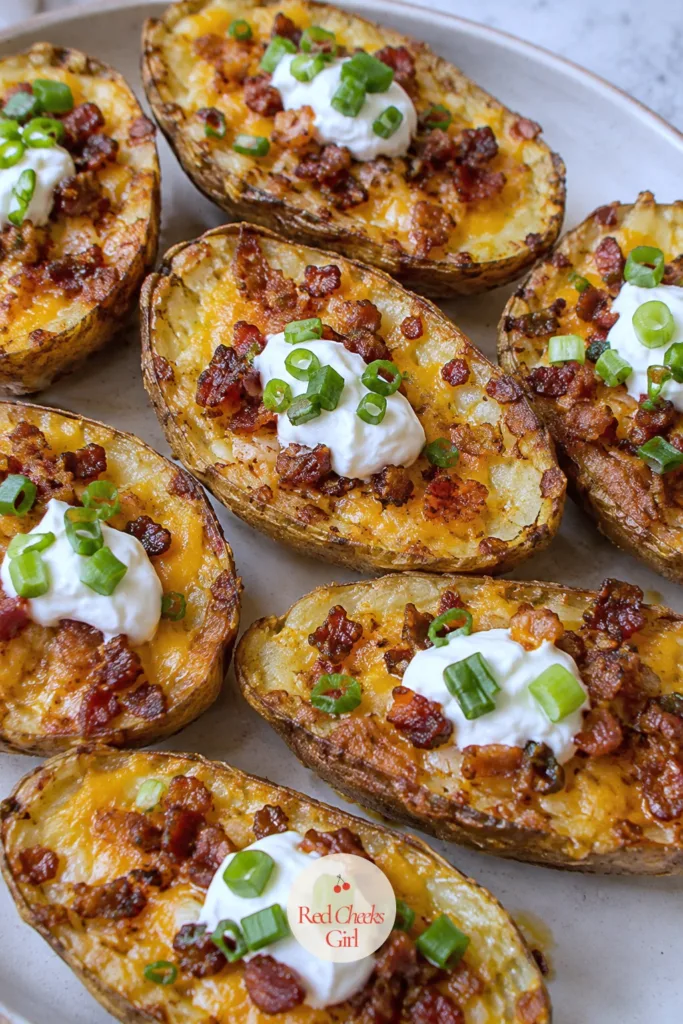
Loaded Potato Skins
Ingredients
- 8 small russet potatoes scrubbed
- 2 tablespoons olive oil
- 1/2 teaspoon salt
- 1 cup shredded cheddar
- 6 slices bacon cooked and crumbled
- 1/3 cup sour cream
- 2 green onions sliced
Instructions
- Preheat the oven to 400°F and prick each potato a few times with a fork.
- Rub the potatoes with olive oil and salt, then bake directly on the rack for 50 to 55 minutes, until a knife slides in with no resistance.
- Let the potatoes cool for 10 minutes, until they can be handled.
- Halve each potato lengthwise and scoop out most of the flesh, leaving a shell about 1/4 inch thick so the skin holds its shape.
- Brush the inside and outside of each skin with a little more olive oil.
- Raise the oven to 425°F and bake the empty skins for 10 minutes, until the edges crisp and curl slightly.
- Fill each skin with shredded cheddar and crumbled bacon.
- Return to the oven for 5 to 7 minutes, until the cheese melts completely and bubbles at the edges.
- Check doneness by looking for a few spots of light browning on the cheese.
- Top with a dollop of sour cream and sliced green onions, and serve immediately while the shells are still crisp.
Good to Know
Bacon Wrapped Water Chestnuts
This one has been on party tables for decades and still works precisely because it never changed: a crunchy, mild center under bacon gone dark and sticky. If nostalgia is part of the brief tonight, this is it.
The glaze needs the second half of the bake to catch and caramelize properly. Pulling the pan too early leaves it thin and sweet instead of glossy and clinging.
Assemble the bundles the day before and hold them unglazed in the fridge, then brush with glaze fresh right before they go in.
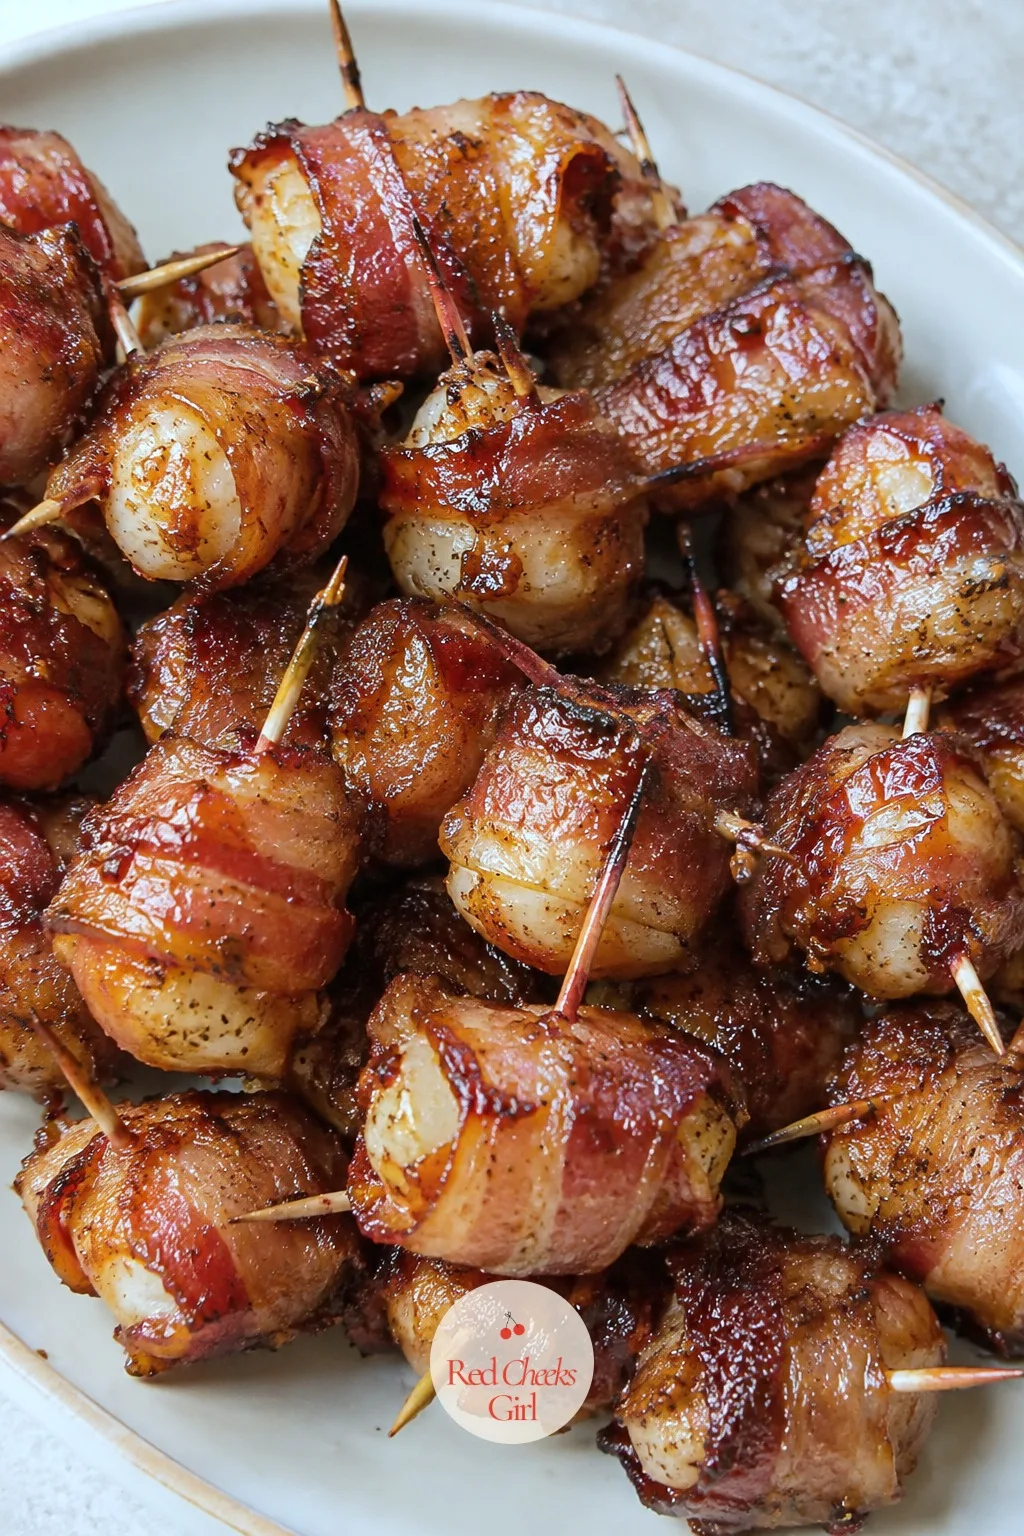
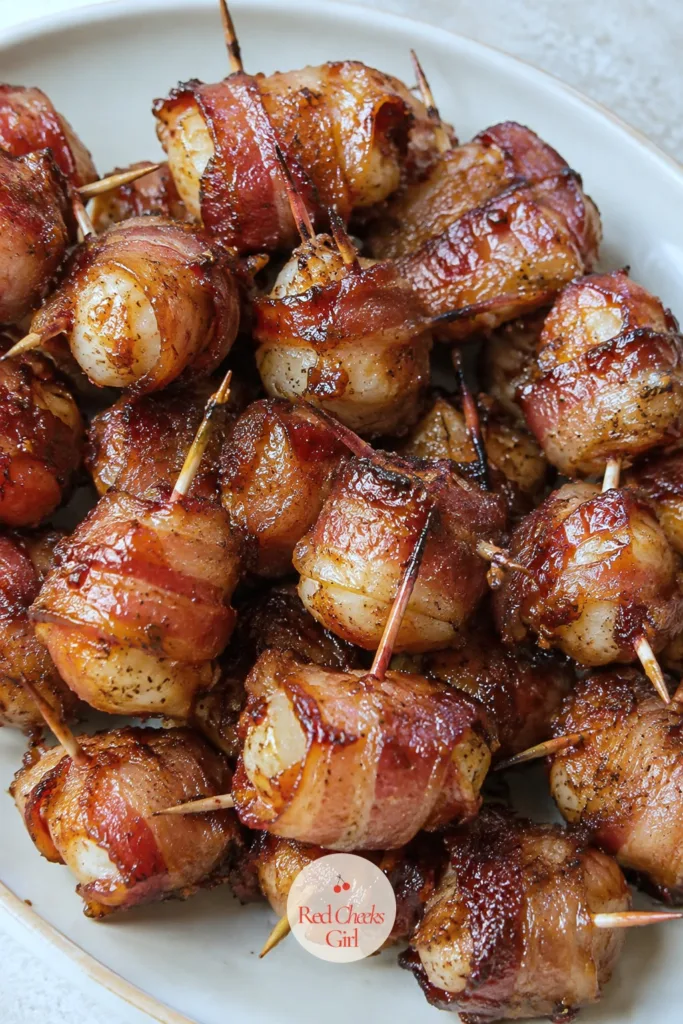
Bacon Wrapped Water Chestnuts
Ingredients
- 2 cans 8 ounces each whole water chestnuts, drained
- 12 slices bacon cut in half
- 1/2 cup brown sugar
- 1/4 cup ketchup
- 1 tablespoon soy sauce
- Toothpicks
Instructions
- Preheat the oven to 375°F and set a wire rack over a foil-lined baking sheet.
- Wrap each water chestnut in a half slice of bacon and secure with a toothpick.
- Arrange the wrapped chestnuts on the rack in a single layer.
- Bake for 15 minutes, until the bacon starts to render and firm up.
- Meanwhile, whisk together the brown sugar, ketchup, and soy sauce in a small bowl until smooth.
- Brush the glaze over each bundle and return to the oven for 8 to 10 minutes, until the bacon is deeply caramelized and sticky.
- Check that the glaze has darkened to a glossy mahogany and clings to the bacon rather than pooling.
- Let sit for 2 minutes before serving so the glaze sets slightly and doesn't drip.
Good to Know
🛍 Shopping guide
Mini Pigs in a Blanket With Honey Mustard
If one tray has to please every guest, including the pickiest eater in the room, this is it. Nobody turns down a cocktail sausage in crisp pastry, and it takes less effort than almost anything else on this list.
Thin strips of dough wrap more evenly than whole triangles; cut each crescent triangle lengthwise and the dough stretches around the sausage without bunching at the ends.
Quick and cheap if the budget for the evening is tight: one can of dough and a bag of cocktail sausages covers a full tray.
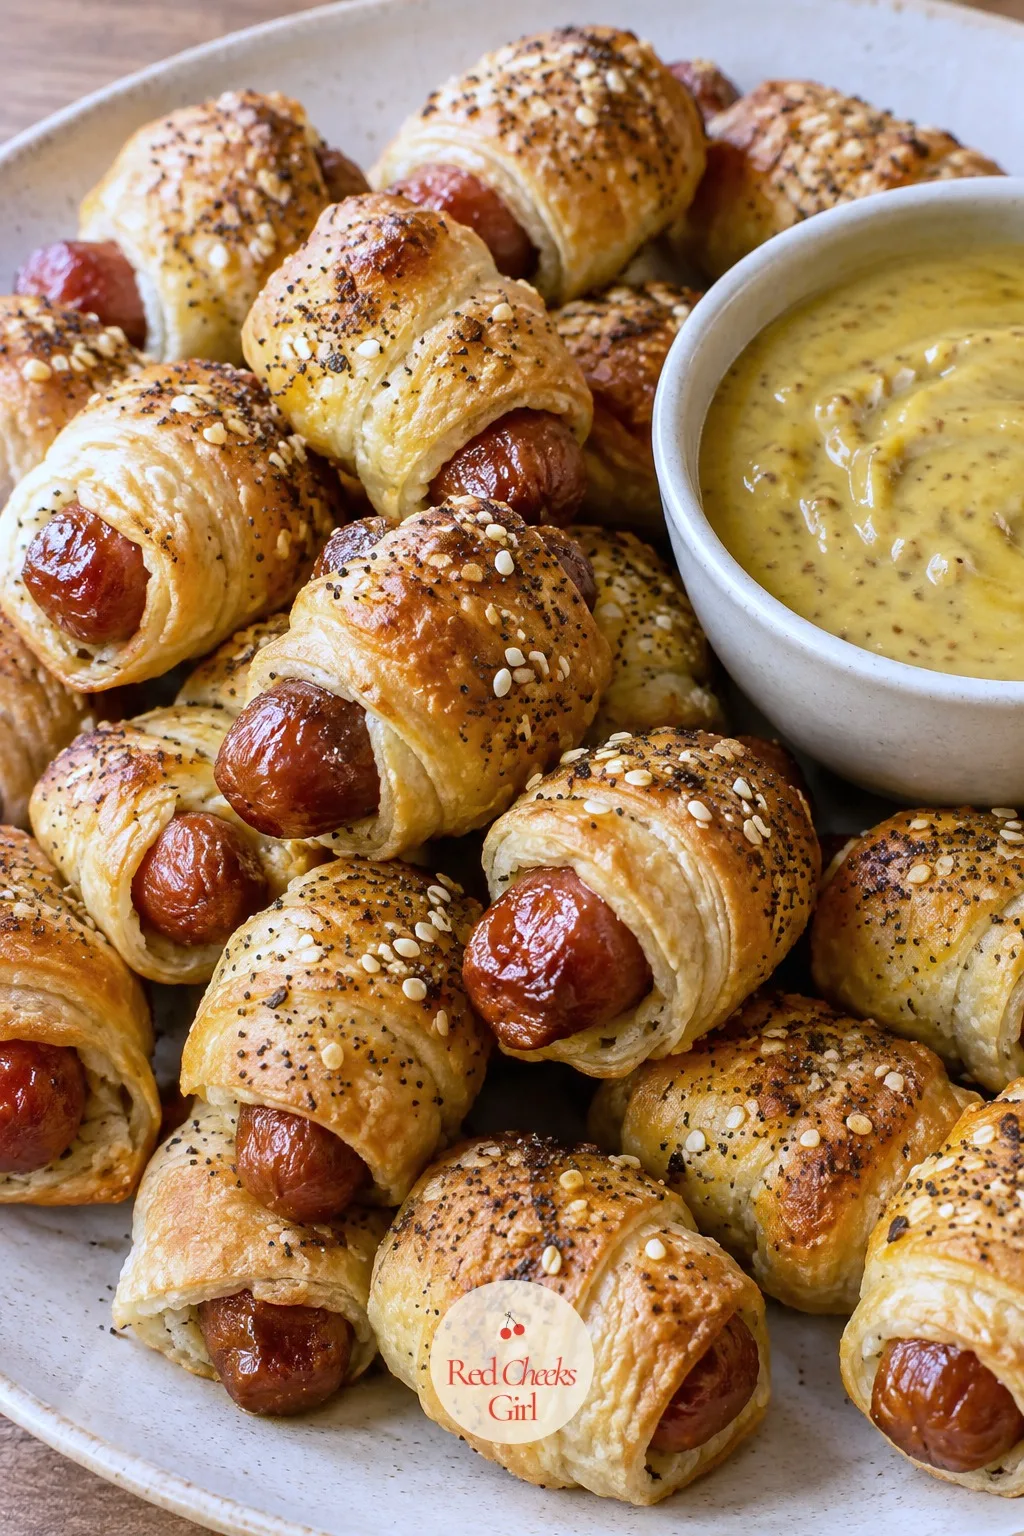
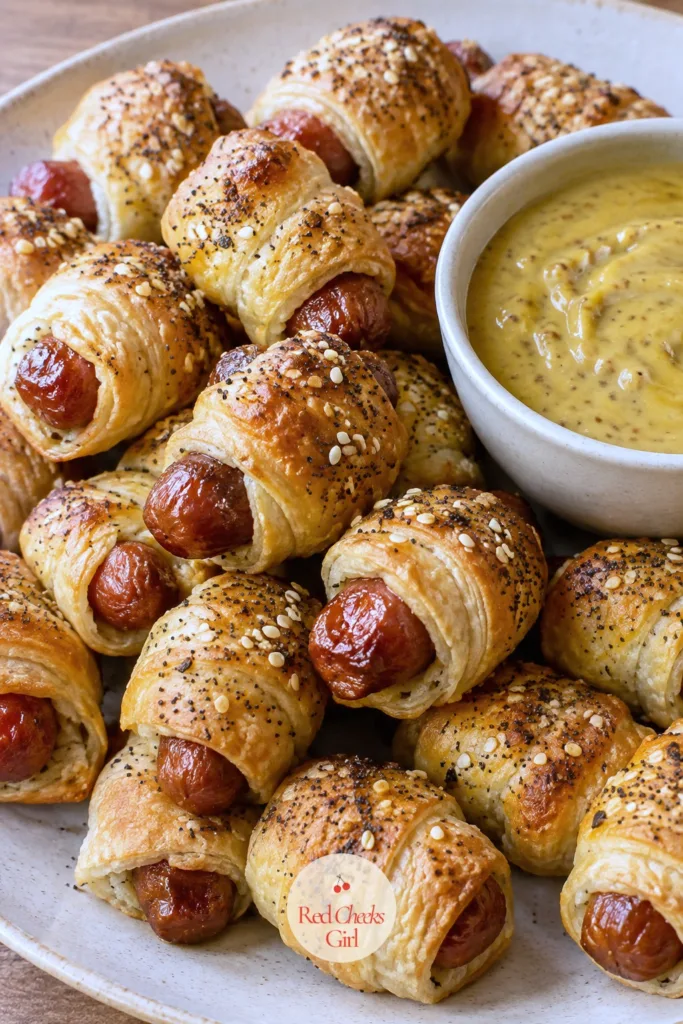
Mini Pigs in a Blanket With Honey Mustard
Ingredients
- 32 cocktail smoked sausages
- 1 can 8 ounces refrigerated crescent roll dough
- 1 egg beaten with 1 tablespoon water
- 1 teaspoon everything bagel seasoning or sesame seeds
- 1/4 cup Dijon mustard
- 2 tablespoons honey
Instructions
- Preheat the oven to 375°F and line a baking sheet with parchment.
- Unroll the crescent dough and separate it along the seams, then cut each triangle lengthwise into 3 thin strips.
- Roll a strip of dough around each cocktail sausage, leaving the ends of the sausage peeking out.
- Arrange the wrapped sausages seam side down on the baking sheet.
- Brush each one with the egg wash and sprinkle with seasoning or sesame seeds.
- Bake for 12 to 15 minutes, until the dough puffs and turns golden brown all over.
- Whisk the Dijon mustard and honey together in a small bowl while the sausages bake.
- Serve warm with the honey mustard alongside for dipping.
Good to Know
Cocktail Sausages in a Sweet and Spicy Glaze
This is the one dish guaranteed to sit by the drinks table and never get cold, because it goes into the oven in its own glaze and comes out still coated. Set it near the toothpicks and walk away.
The sugar in the glaze wants real time to thicken; a quick stir halfway through keeps it from scorching on the pan edges while the center stays loose.
Mix the glaze and sausages together raw up to two days ahead and keep it covered in the fridge; the flavor only deepens.
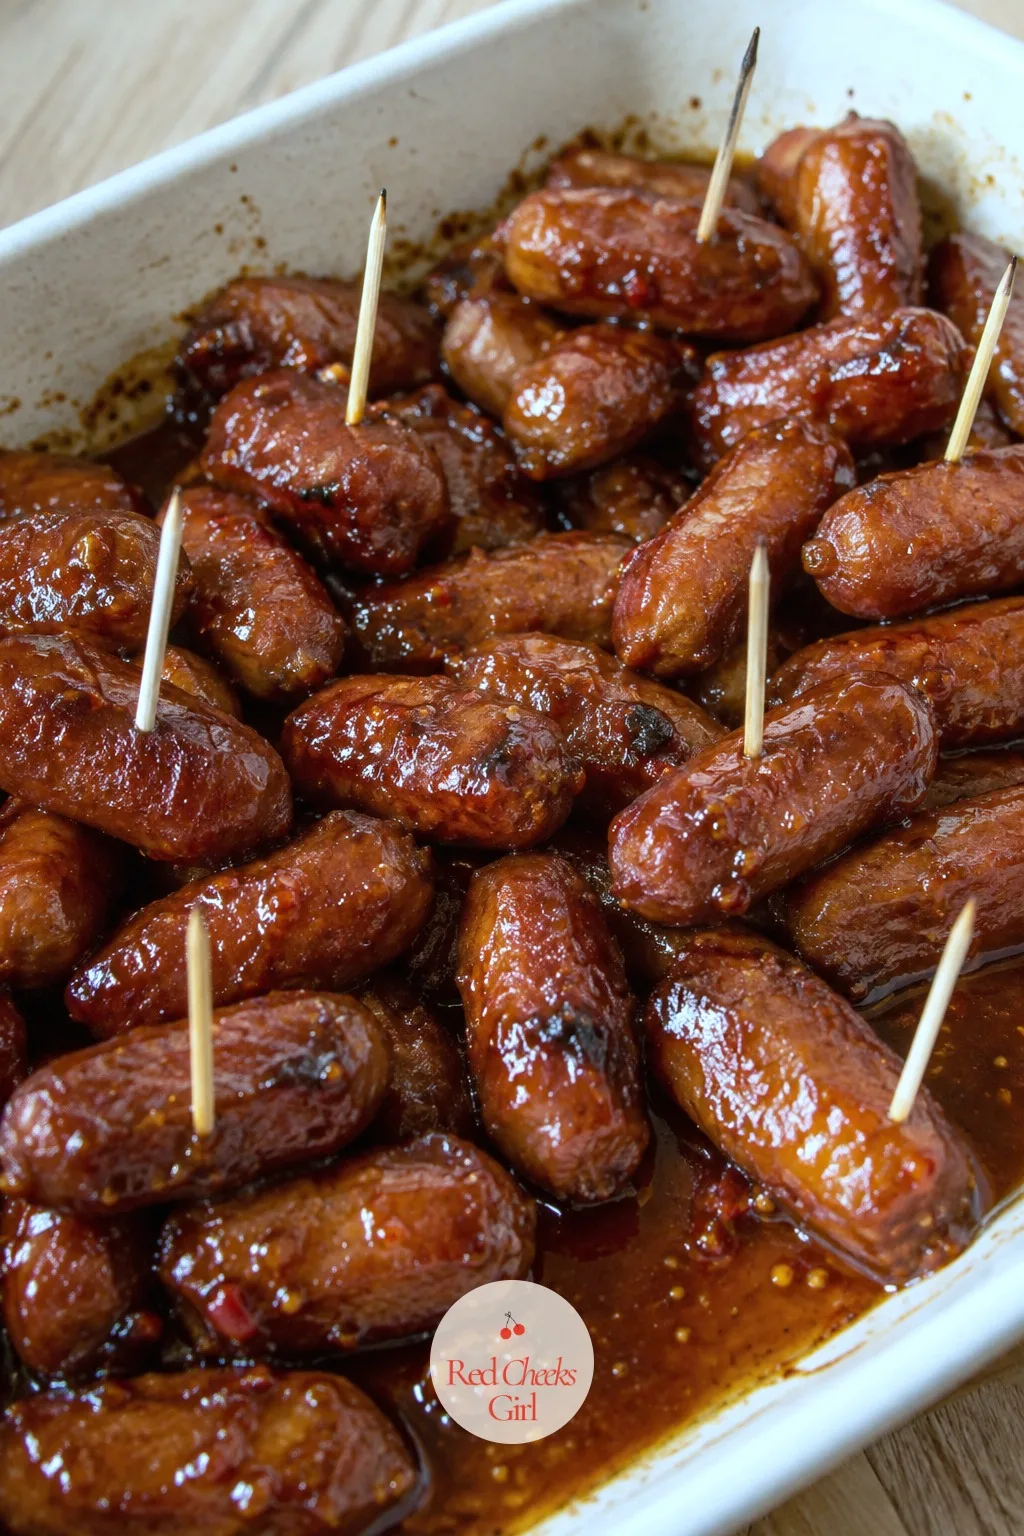
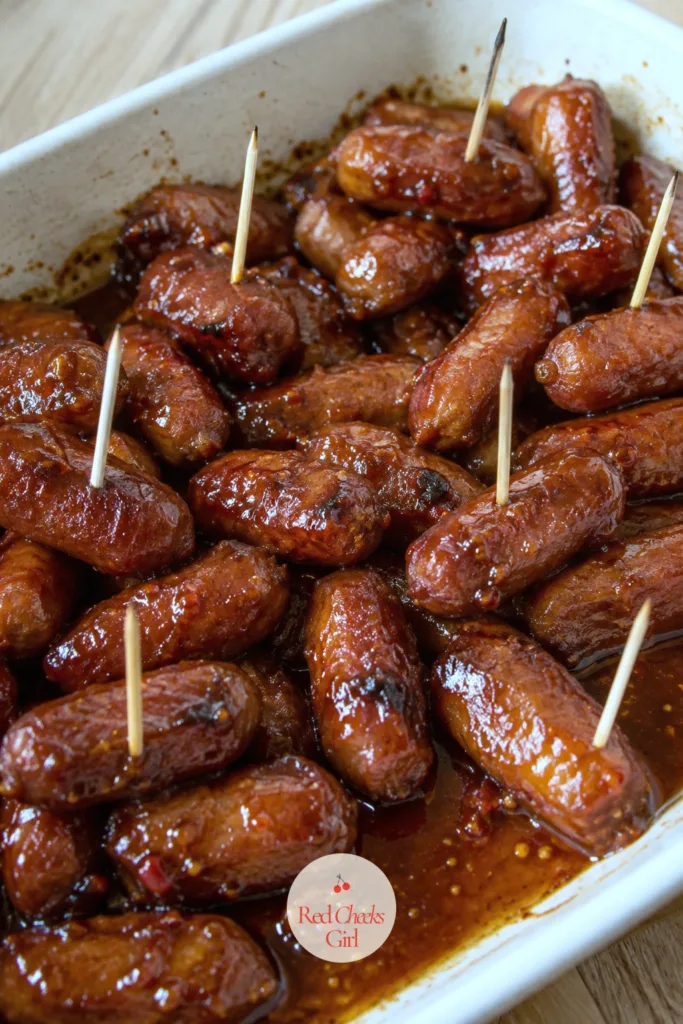
Cocktail Sausages in a Sweet and Spicy Glaze
Ingredients
- 2 pounds smoked cocktail sausages or sliced kielbasa
- 1 cup brown sugar
- 1/2 cup ketchup or chili sauce
- 2 tablespoons apple cider vinegar
- 1 tablespoon hot sauce
- 1/2 teaspoon cayenne
- 1/2 teaspoon smoked paprika
Instructions
- Preheat the oven to 375°F and spread the sausages in a single layer on a rimmed baking sheet.
- Whisk the brown sugar, ketchup, vinegar, hot sauce, cayenne, and smoked paprika together in a saucepan.
- Warm the glaze over medium heat for 3 to 4 minutes, stirring, until the sugar dissolves and the mixture coats the back of a spoon.
- Pour the warm glaze over the sausages and toss to coat every piece.
- Bake for 25 to 30 minutes, stirring once halfway through, until the glaze thickens into a sticky coating and clings rather than pools.
- Check that the sausages have taken on a deep mahogany color at the edges where the glaze has caramelized.
- Spoon any glaze left in the pan back over the sausages before serving.
- Serve directly from the baking dish with toothpicks for spearing, while the glaze is still glossy.
Good to Know
Sausage Balls With Cheddar
Three ingredients, one bowl, no equipment beyond your hands. This is the recipe to default to when the week has gone sideways and the party is tomorrow regardless.
The mixture should hold its shape without crumbling when you press it; if it falls apart, work in water a tablespoon at a time rather than more baking mix, which only toughens the ball.
If the budget needs to stretch further, roll these a touch smaller and the batch easily covers a bigger crowd without anyone noticing the size.
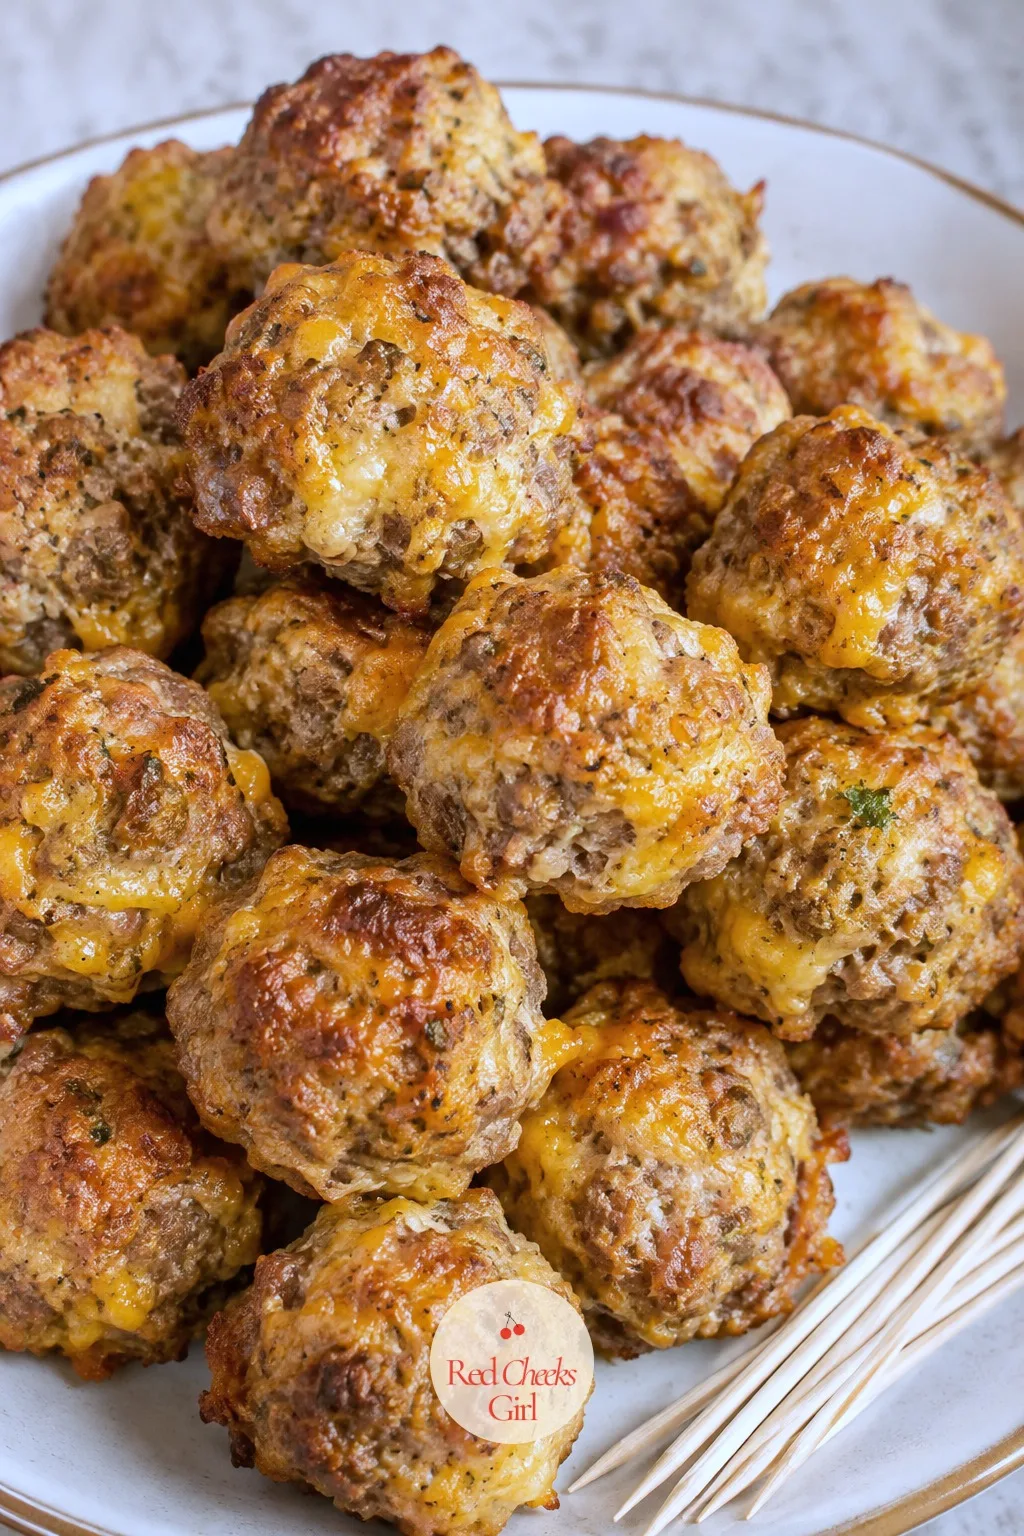
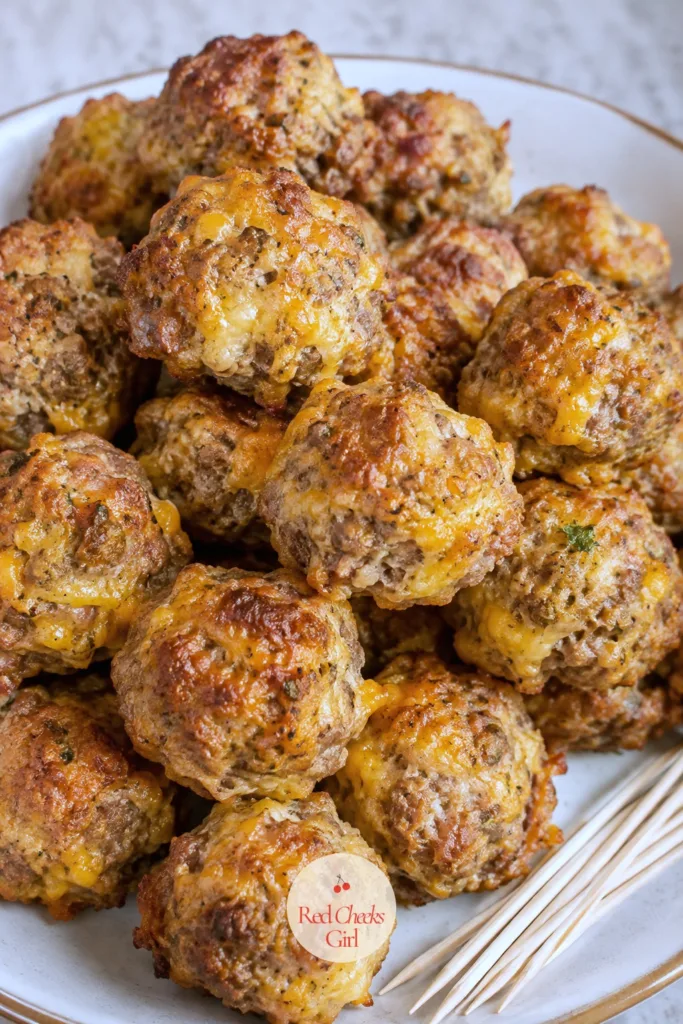
Sausage Balls With Cheddar
Ingredients
- 1 pound ground breakfast sausage
- 2 cups shredded sharp cheddar
- 1.5 cups baking mix such as Bisquick
- 2 tablespoons water if needed
- 1/2 teaspoon garlic powder
- 1/4 teaspoon black pepper
Instructions
- Preheat the oven to 375°F and line a baking sheet with parchment.
- Combine the raw sausage, shredded cheddar, baking mix, garlic powder, and pepper in a large bowl, working it with your hands until no dry flour remains.
- If the mixture feels crumbly and won't hold together when pressed, work in water a tablespoon at a time.
- Roll the mixture into 36 balls, about 1 inch each, and space them an inch apart on the sheet.
- Bake for 18 to 20 minutes, until the balls are firm, deeply golden, and no pink shows when one is cut in half.
- Check the internal temperature with a thermometer if unsure; it should read 160°F at the center.
- Let the balls rest on the pan for 2 minutes; they firm up slightly as they cool, which keeps them from falling apart on a toothpick.
- Serve warm, straight from the pan or on a platter with toothpicks.
Good to Know
🛍 Shopping guide
Frequently Asked Questions
What are the different types of hot appetizers?
Hot appetizers generally fall into wrapped bites (bacon-wrapped dates or asparagus), baked dips and spreads, stuffed finger foods like mushrooms or potato skins, and skewered or glazed meats served warm from the oven.
How far in advance can you make hot appetizers for a party?
Most of these assemble one to two days ahead and bake just before serving; items wrapped in bacon or pastry hold especially well covered and chilled until oven time.
Which hot appetizers can I freeze before baking?
Anything wrapped, rolled, or shaped, such as spanakopita triangles, sausage balls, and pigs in a blanket, freezes raw on a sheet pan and bakes straight from frozen with a few extra minutes.
How do I keep hot appetizers warm once they come out of the oven?
A low oven set to 200°F holds most baked bites for up to 30 minutes without drying them out; stagger the baking so trays come out in waves instead of all at once.
Can I reheat hot appetizers the next day without drying them out?
Reheat in a 350°F oven rather than a microwave; the dry heat crisps the outside back up in 8 to 10 minutes instead of turning everything rubbery.
How many appetizers do I need per person for a party?
Plan on 4 to 6 pieces per guest if the appetizers are the main food, or 2 to 3 pieces per guest if a full meal follows later in the evening.
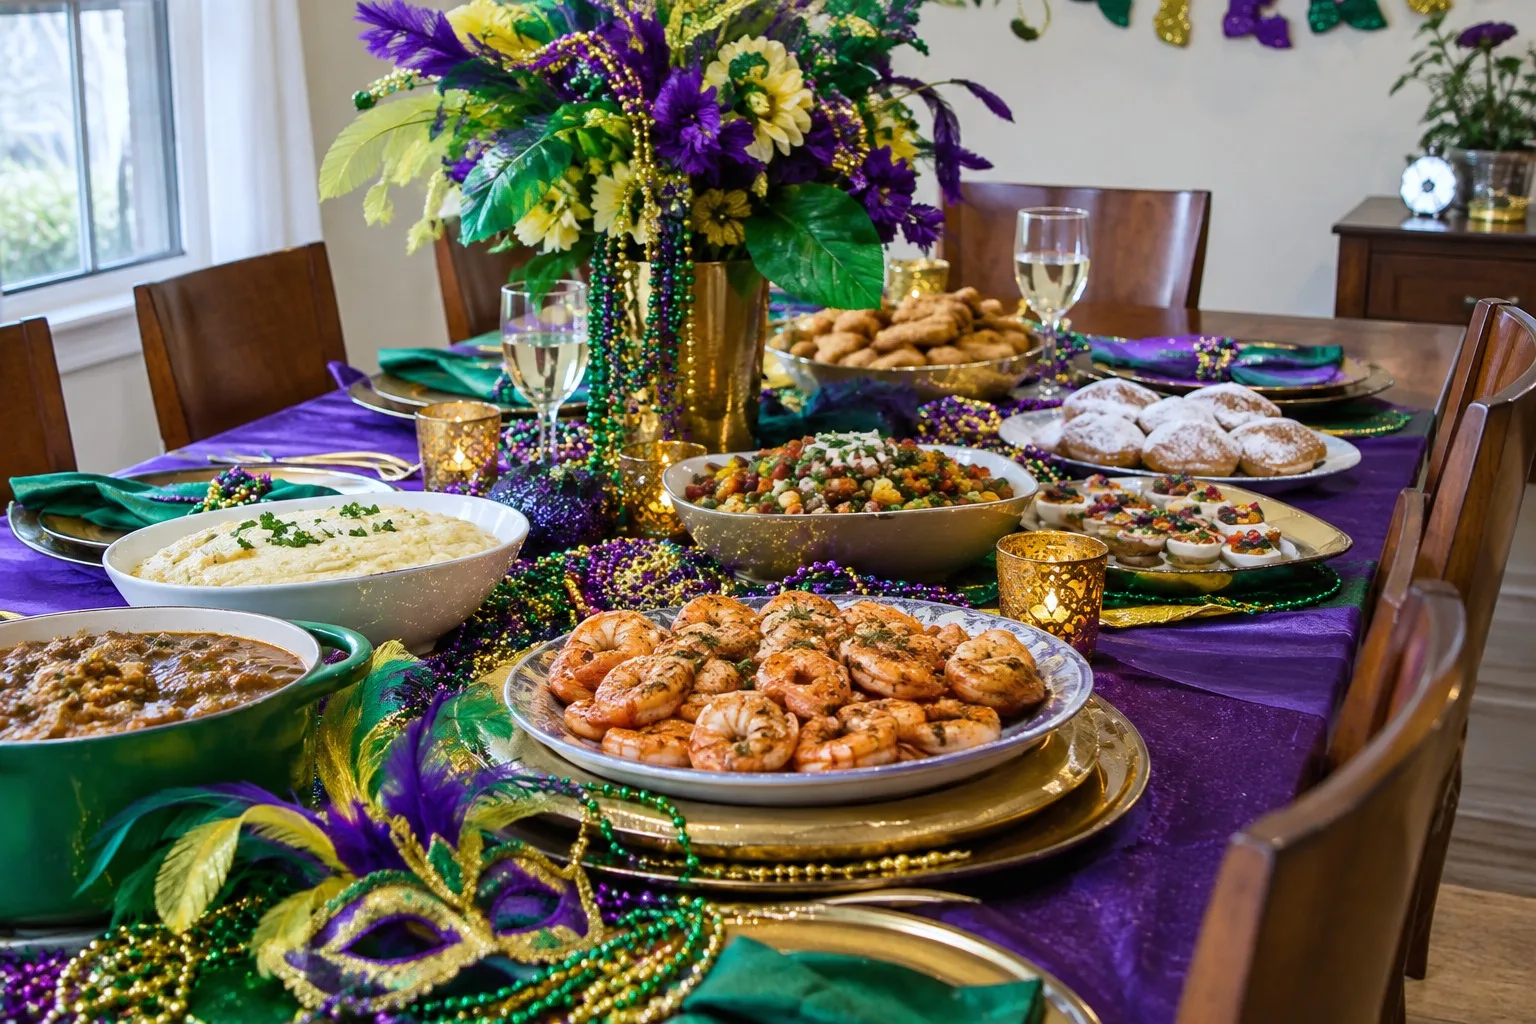
18 Mardi Gras food ideas for a home party: jambalaya, gumbo, po boy sliders, beignets and pralines,
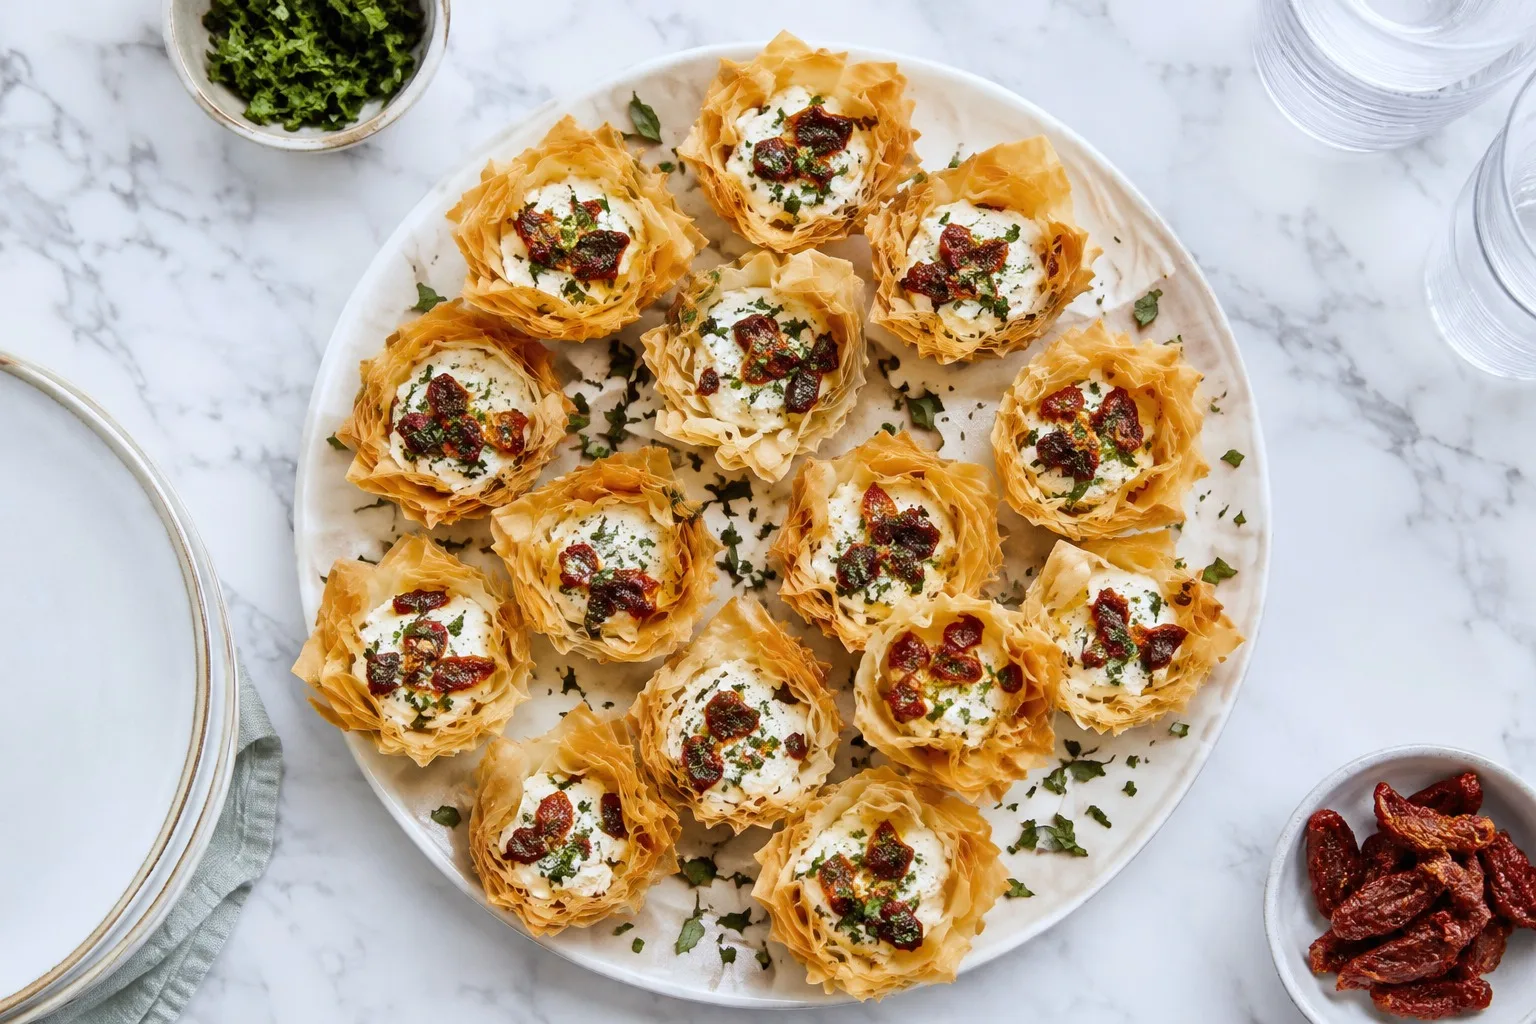
16 phyllo dough recipes for appetizers in store-bought mini shells, from brie and fig to buffalo chi
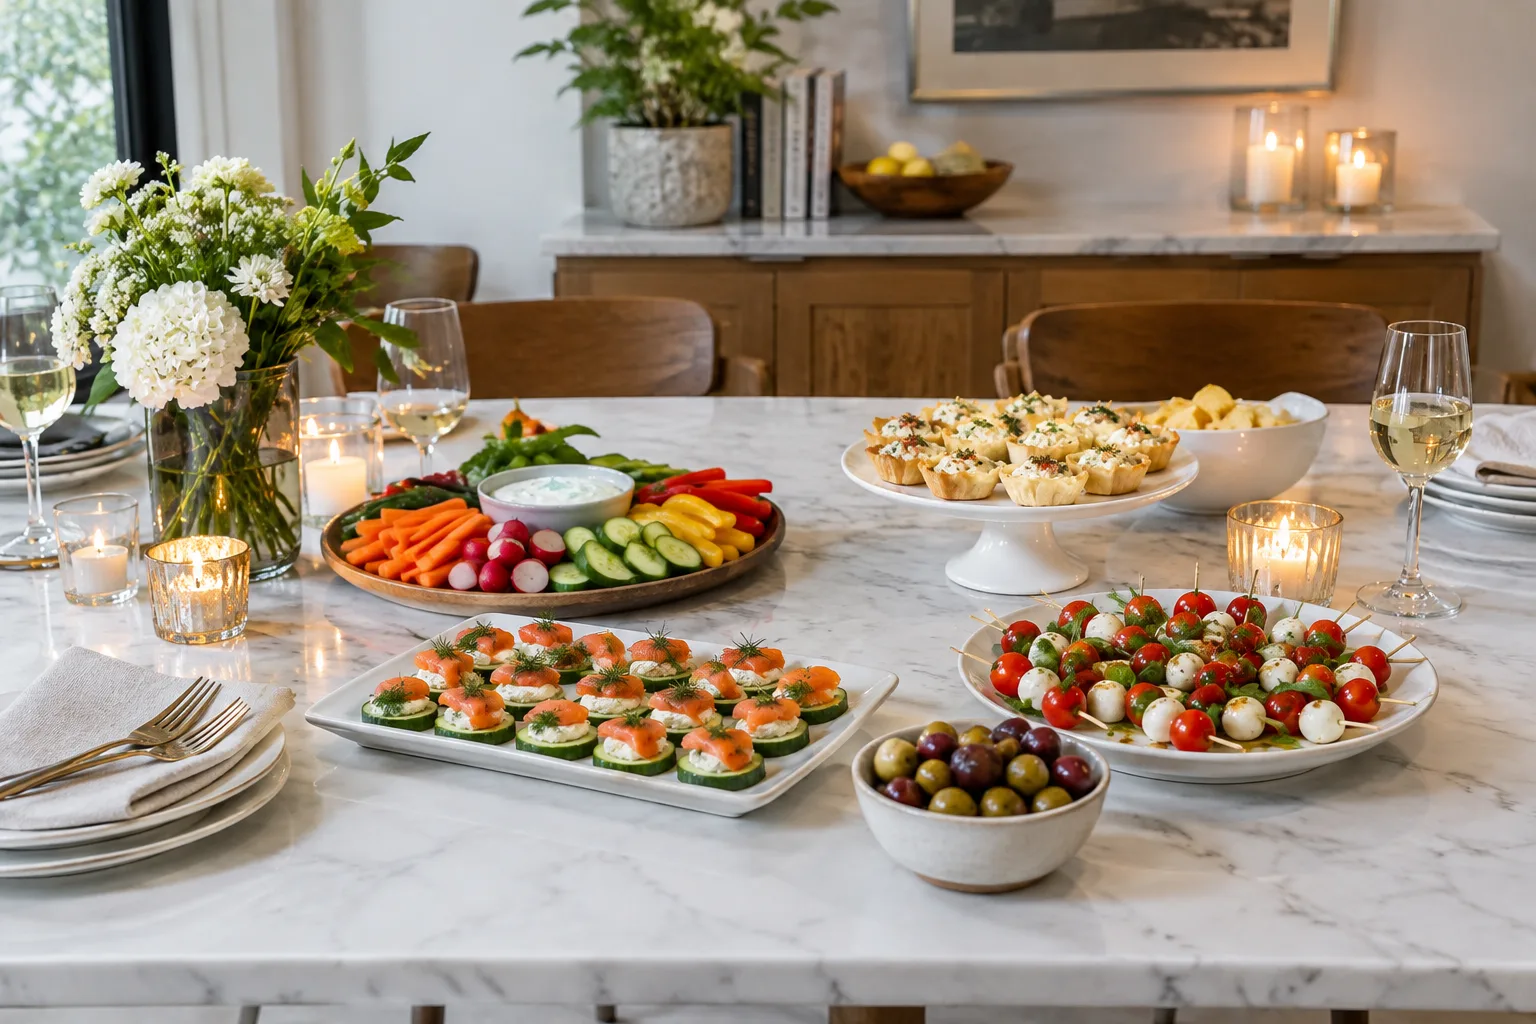
16 cold appetizers for a party, made ahead the night before: skewers, cowboy caviar, pinwheels, devi
Leave a Reply