

22 Slime Birthday Party Ideas for Kids That Keep Every Guest Happily Busy
A slime party has one job: it has to look loud and feel safe to ruin. Everything here is built to survive glue on the tablecloth and glitter on the floor, because that mess is the whole point of the day.
The palette does the heavy lifting. Keep it to neon green, hot pink, electric purple and a dash of aqua, let it drip and splatter rather than sit neatly, and the room reads as a slime lab without a single plastic toy glued to the cake.
Work from the biggest pieces down to the smallest, the way a stylist would walk into the room: backdrop first, then the tables, then what goes home in a bag. If slime is only one theme on your shortlist, the 20 Kids Birthday Party Ideas for Every Age, Space, and Budget has more starting points worth a look.
This post contains affiliate links. If you buy through them, I may earn a small commission at no extra cost to you.
Table of Contents
Backdrops and Photo Corners
Start with whatever fills the eye the second a guest walks in. One good backdrop carries the whole theme, so this is where the budget and the afternoon go first.
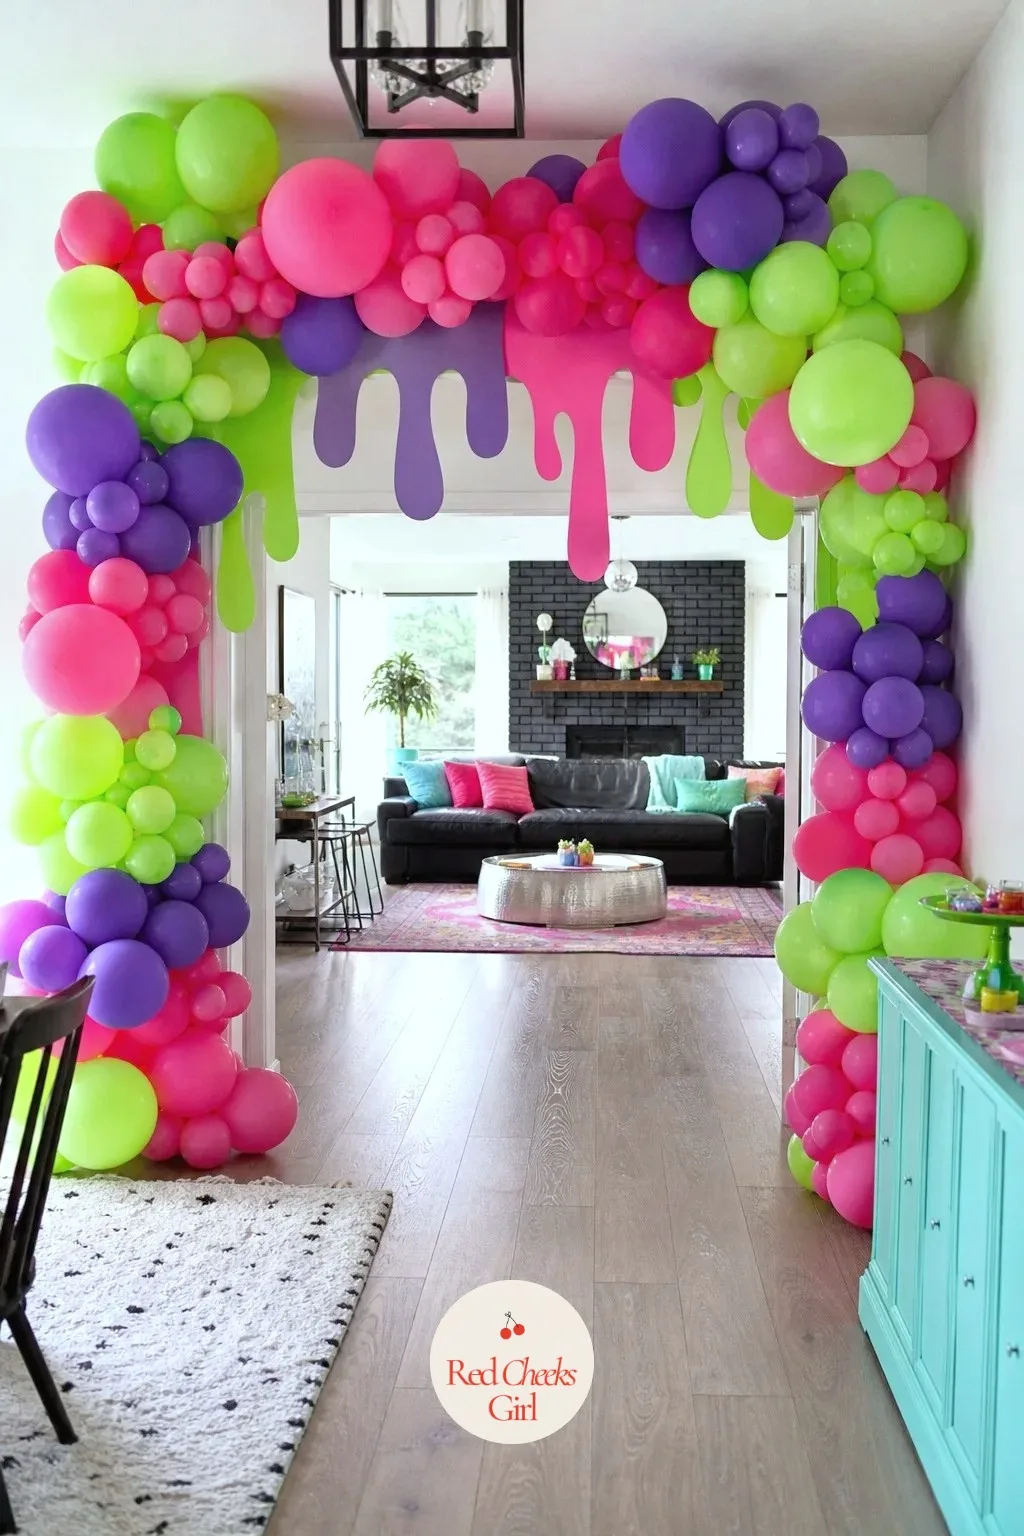
Hang a Dripping Neon Balloon Arch Over the Doorway
Nothing says the party has started quite like walking under one of these. An organic balloon arch in neon green, hot pink and purple, air filled rather than helium, holds its shape all day without a single top-up.
Build it from the bottom up: a balloon arch stand or fishing line strung across the doorway, balloons in two or three sizes clipped on in clusters, and three or four fabric drip shapes hot glued along the bottom edge so the arch looks like it is melting. It takes an afternoon and costs less than most florals.
No doorway to work with, a freestanding stand in the backyard does the same job. For more shapes to borrow before you commit to this one, the 13 Balloon Arch Ideas for Every Party, Palette and Season guide is worth a scroll.
🛍 Shopping guide
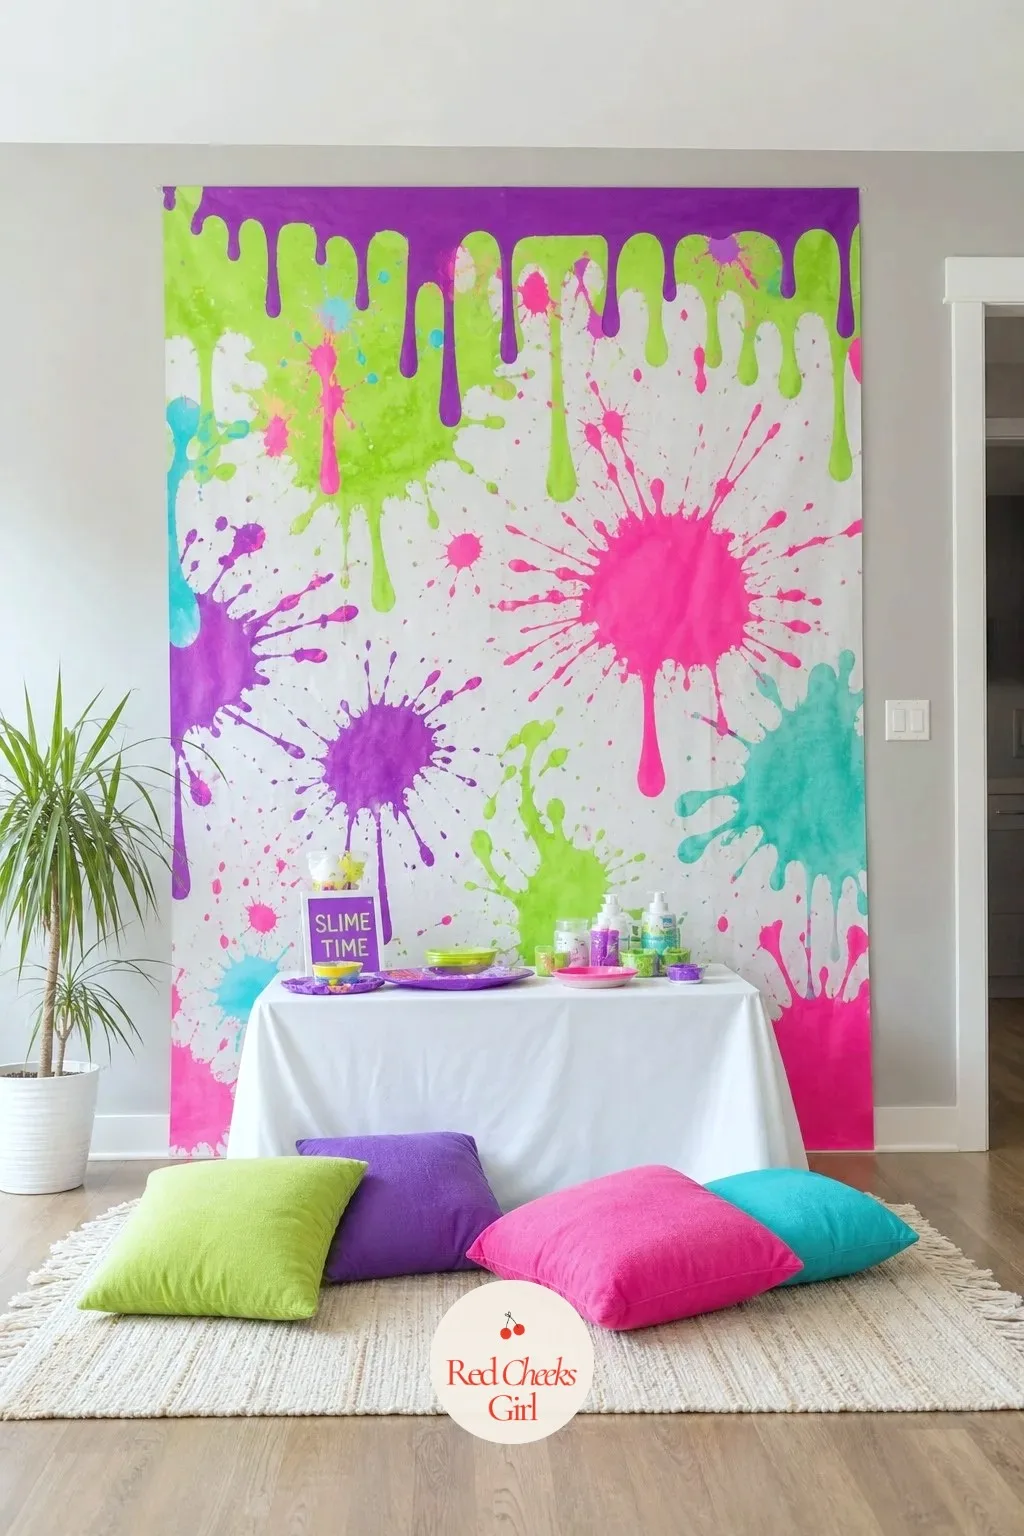
Splatter a Paint Photo Wall in Neon Colors
A plain wall says nothing about the party. Cover it instead with a roll of white craft paper spattered in neon green, hot pink and purple paint, flicked on with a wide brush so it reads as drips and splats rather than stripes.
Tape the paper up first, then splatter it the day before so it has time to dry flat. The whole thing costs the price of a paint set and a paper roll.
If real paint on a real wall feels risky, pin the same splatter pattern onto a plastic tablecloth instead and hang that.
🛍 Shopping guide
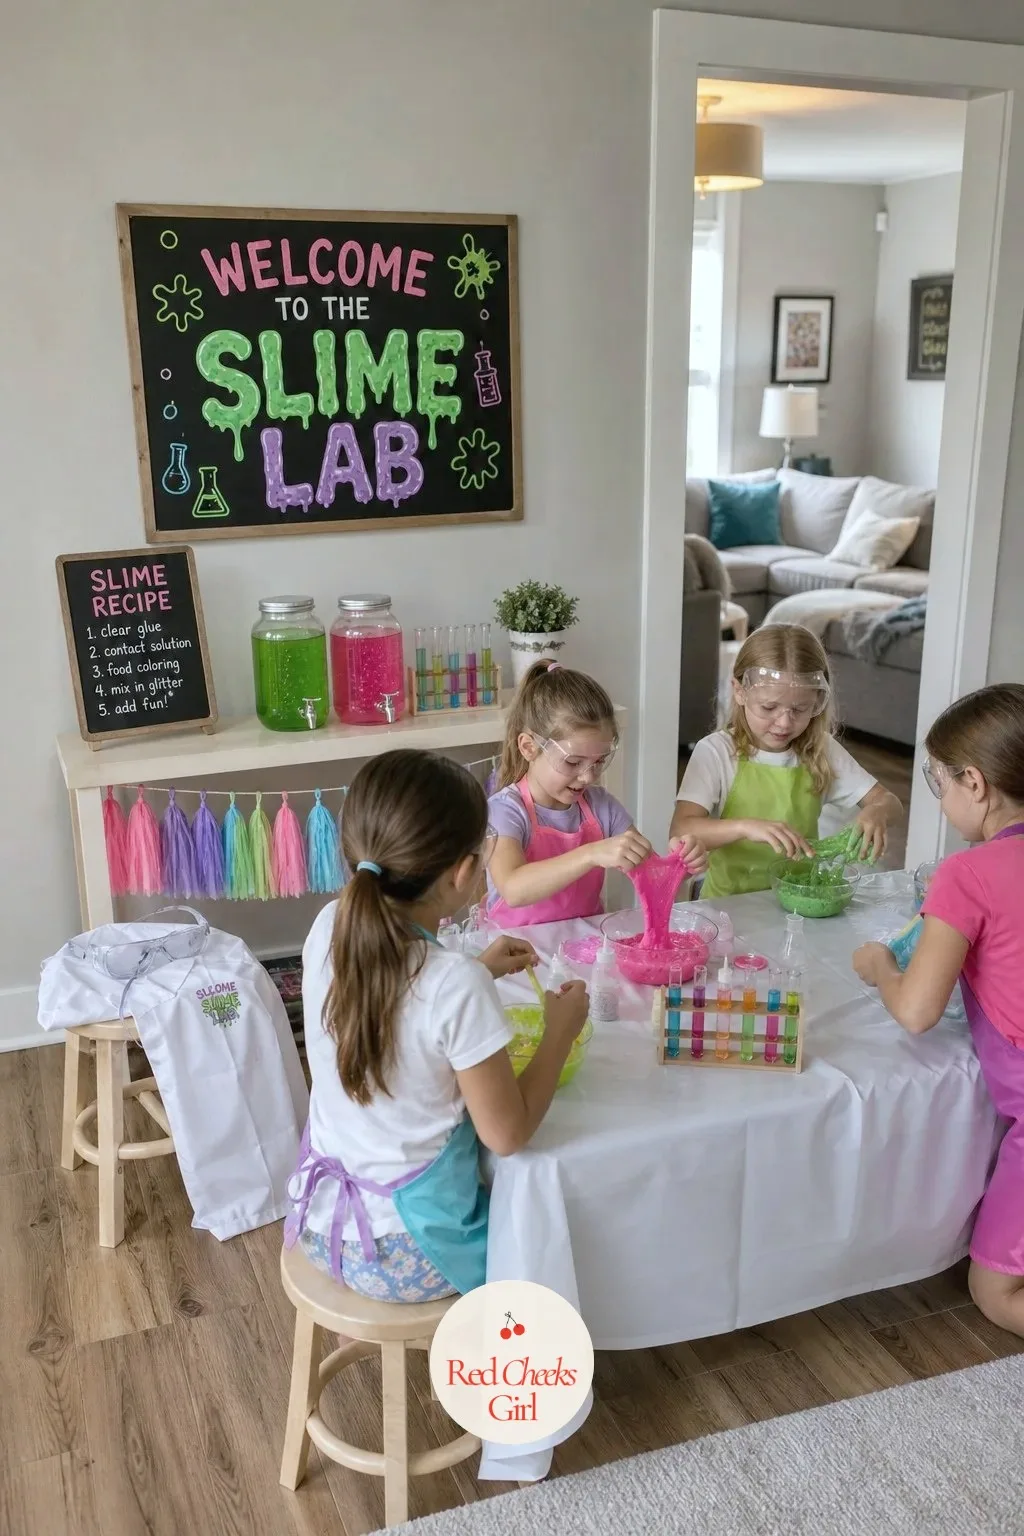
Set Up a Mad Science Lab Corner
Every slime party needs one corner that looks like the real work happens there. Drape a kid size lab coat over a stool, hang a pair of clear safety goggles on the back, and line up a few mason jars filled with colored water next to a small test tube rack.
Stand it in any spare corner of the living room or garage, it needs no more than a square foot of floor. If goggles are hard to find in time, swimming goggles from the dollar aisle do the job just as well.
🛍 Shopping guide
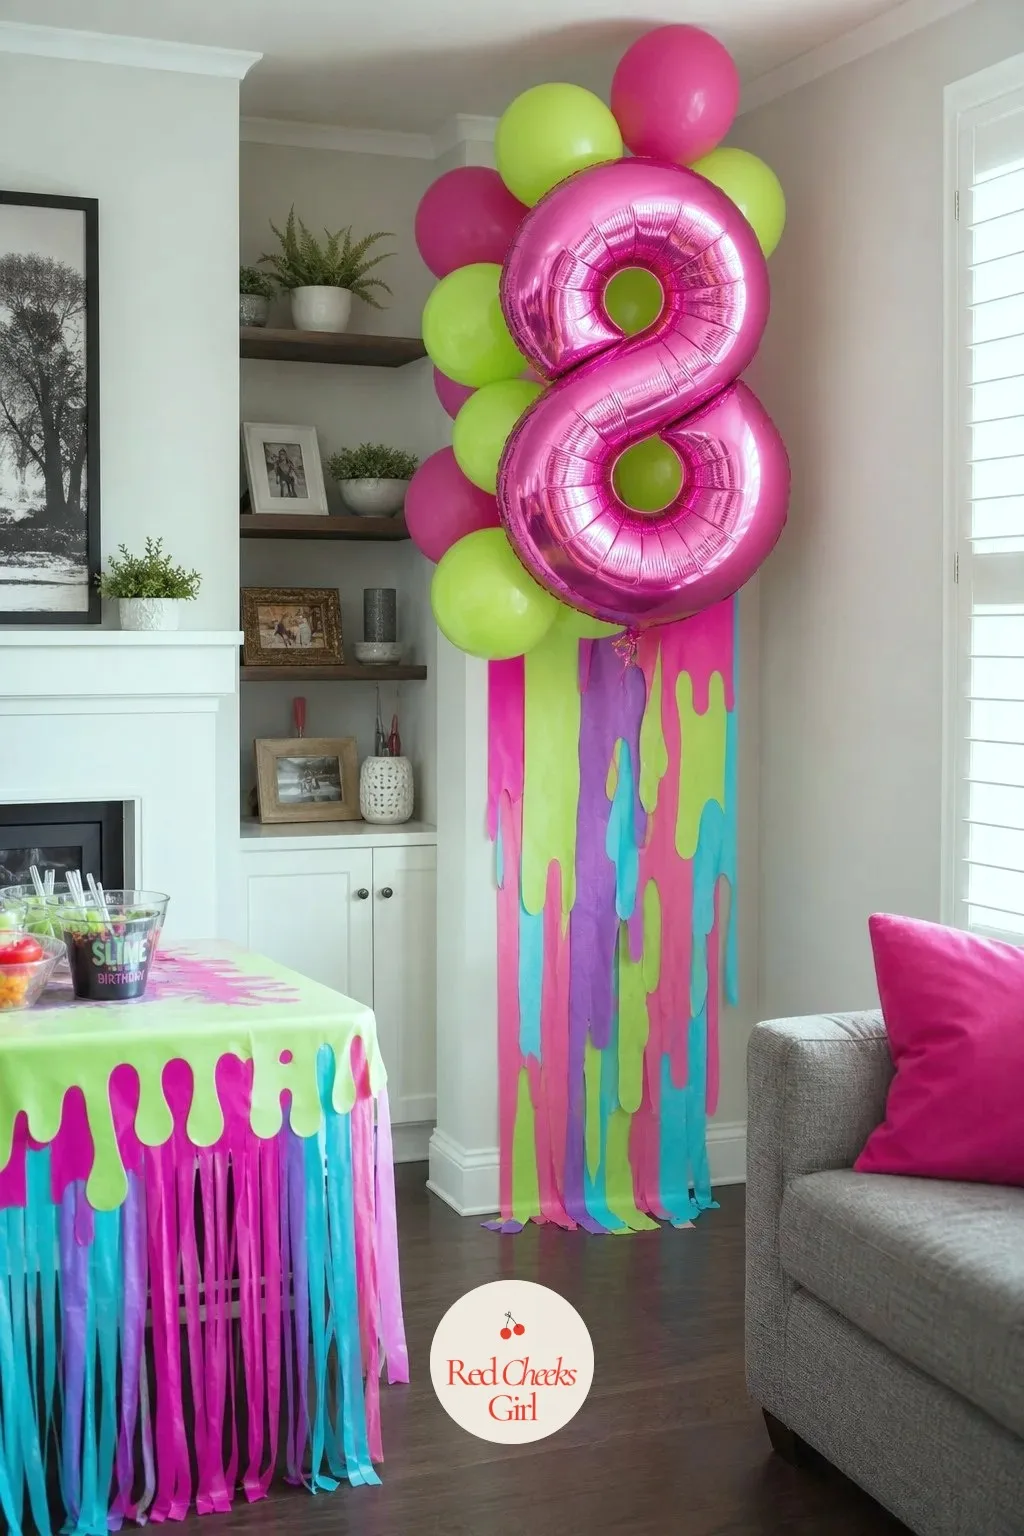
Prop a Giant Drip Number Balloon Against the Wall
A birthday number this size does not need much else around it to work. Prop a giant foil number balloon against a cluster of round balloons in neon green, pink and purple, then tape a few long strips of crepe paper underneath so it looks like the number is oozing color onto the floor.
It stands on its own in a corner or beside the cake table, and the whole thing goes together on a stack of boxes or a cheap balloon stand. Short on budget, cut the number from poster board and cover it in glitter instead, the same drip streamers still work underneath it.
The Slime Station Table
This is the table everyone remembers, covered, loaded and ready before the first doorbell rings.
Cover the Slime Mixing Table in Glue and Activator Tubs
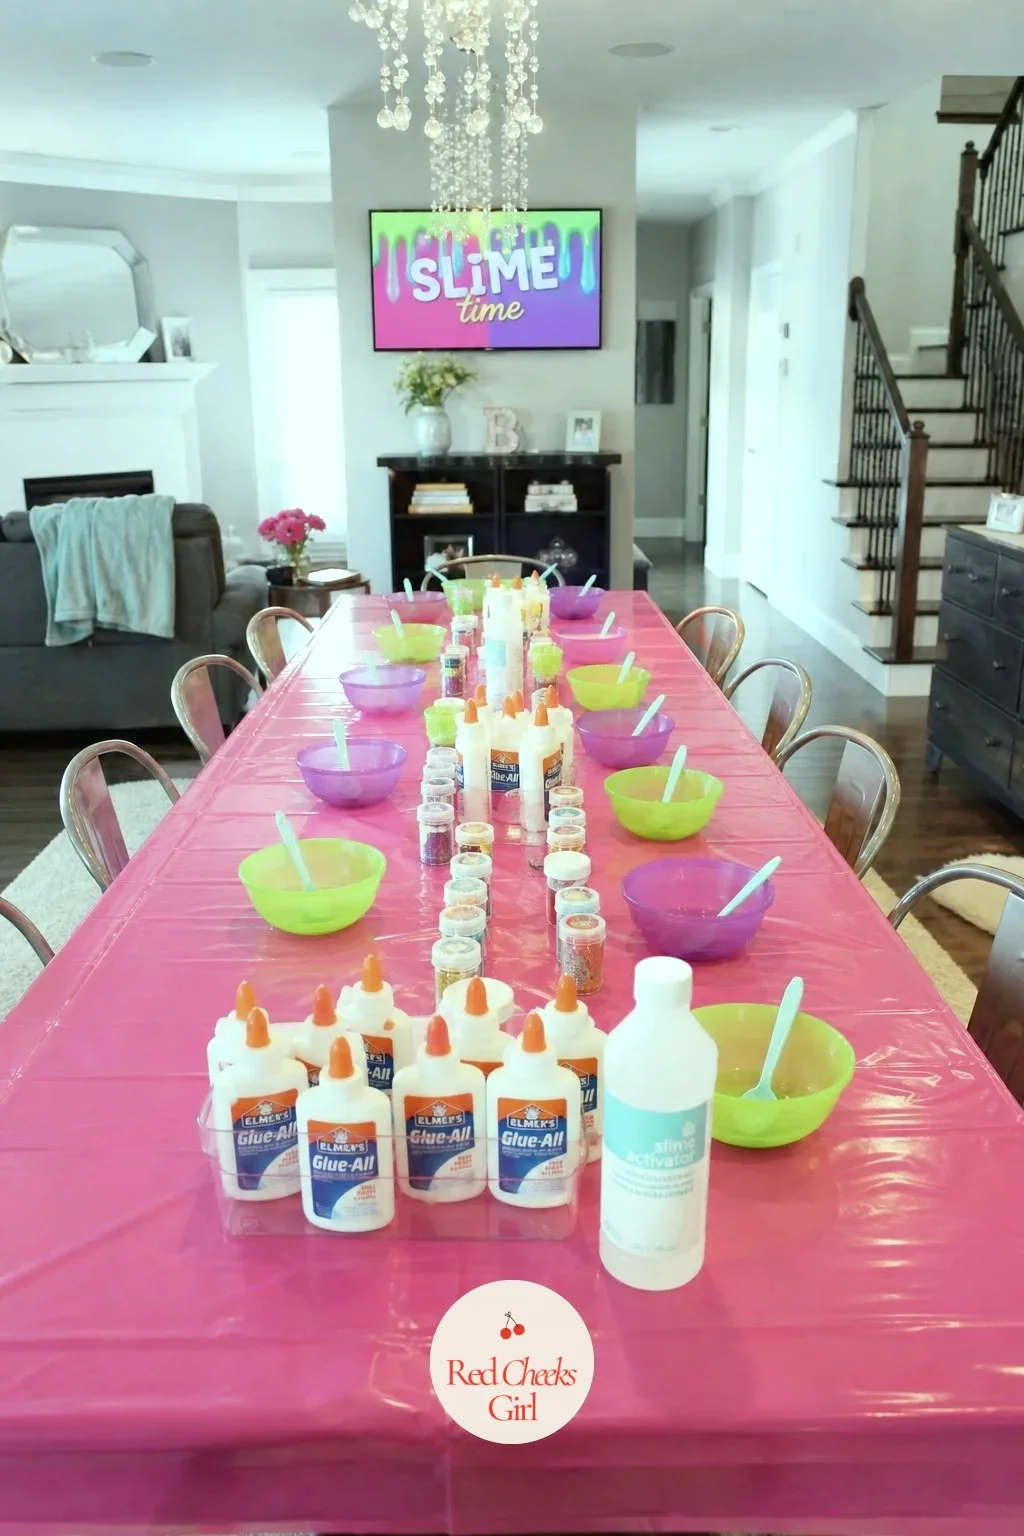
This is the table guests head to first, so it has to look ready before anyone arrives. A plastic tablecloth in bright colors goes down first, then rows of small tubs: clear and white glue, slime activator, mixing bowls at each seat and a bundle of wooden craft sticks for stirring.
Arrange the tubs assembly line style down the center so bowls pass along the table rather than everyone reaching for the same jar. It takes about half an hour to lay out the morning of the party.
No proper table available, a trestle table in the garage covered with a shower curtain works just the same.
🛍 Shopping guide
Build a Charm and Glitter Add-In Bar
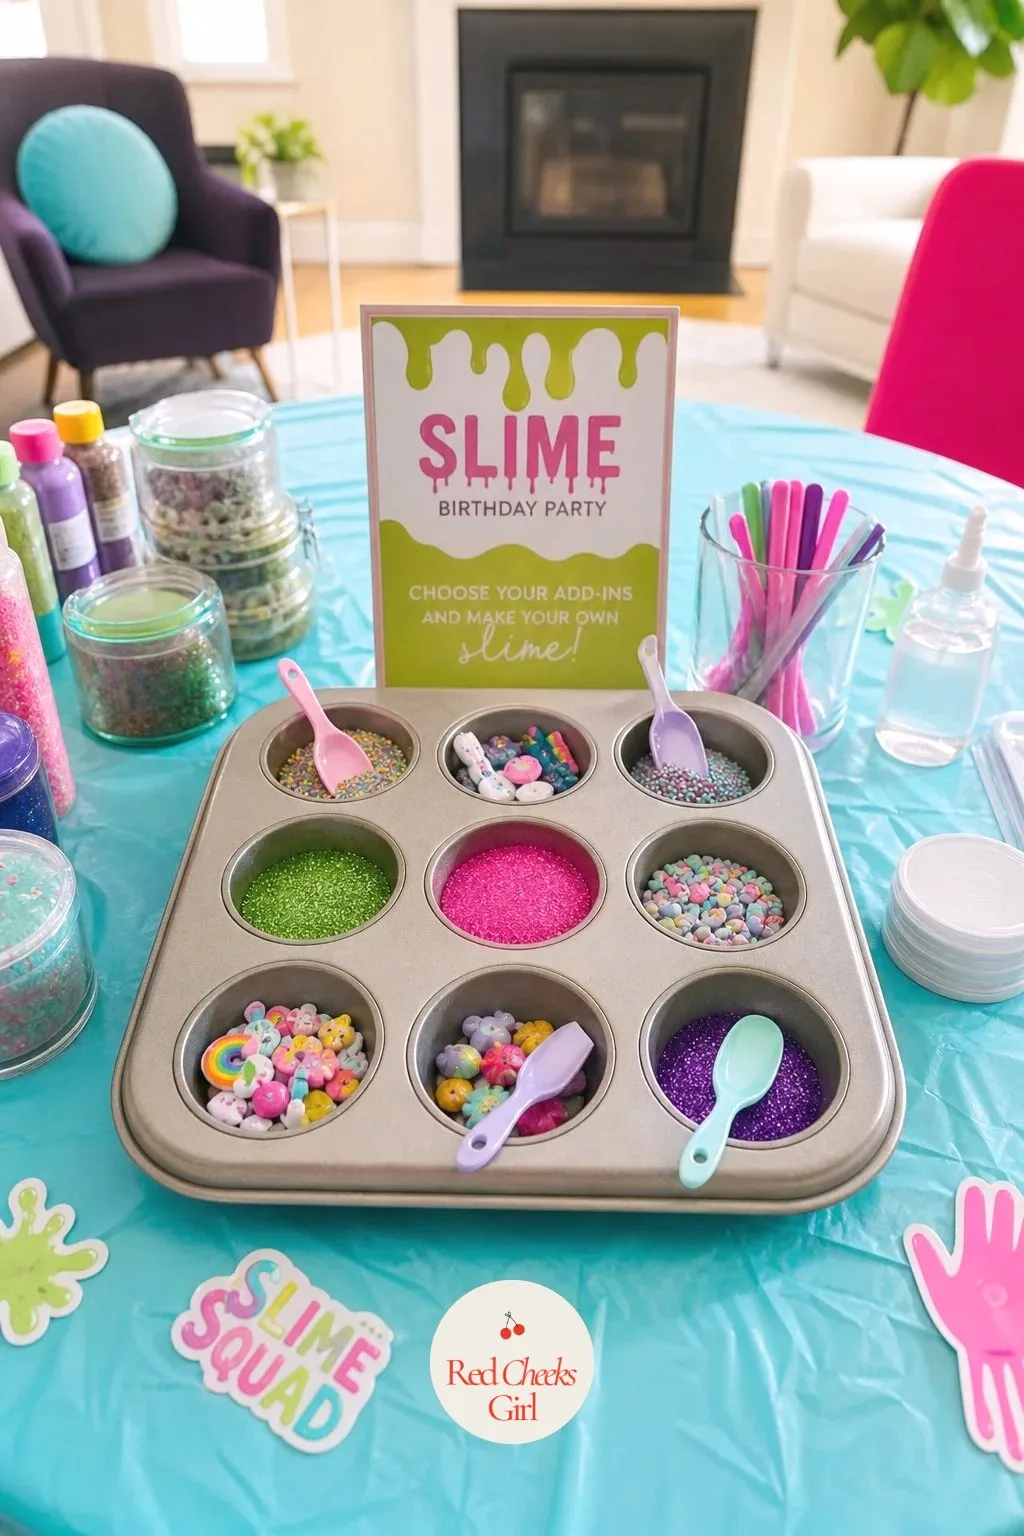
Once the base slime is mixed, this is where it gets personal. A muffin tin holds small bowls of fine glitter in green, pink and purple, plastic charms, and tiny scoops so no two jars of slime leave the table looking alike.
Set it just past the mixing table so kids visit it after their base is ready, not before. Charms hard to track down in time, sequins or pom poms fill the same bowls and still catch the light.
Set Out a Foam Bead Scoop Station
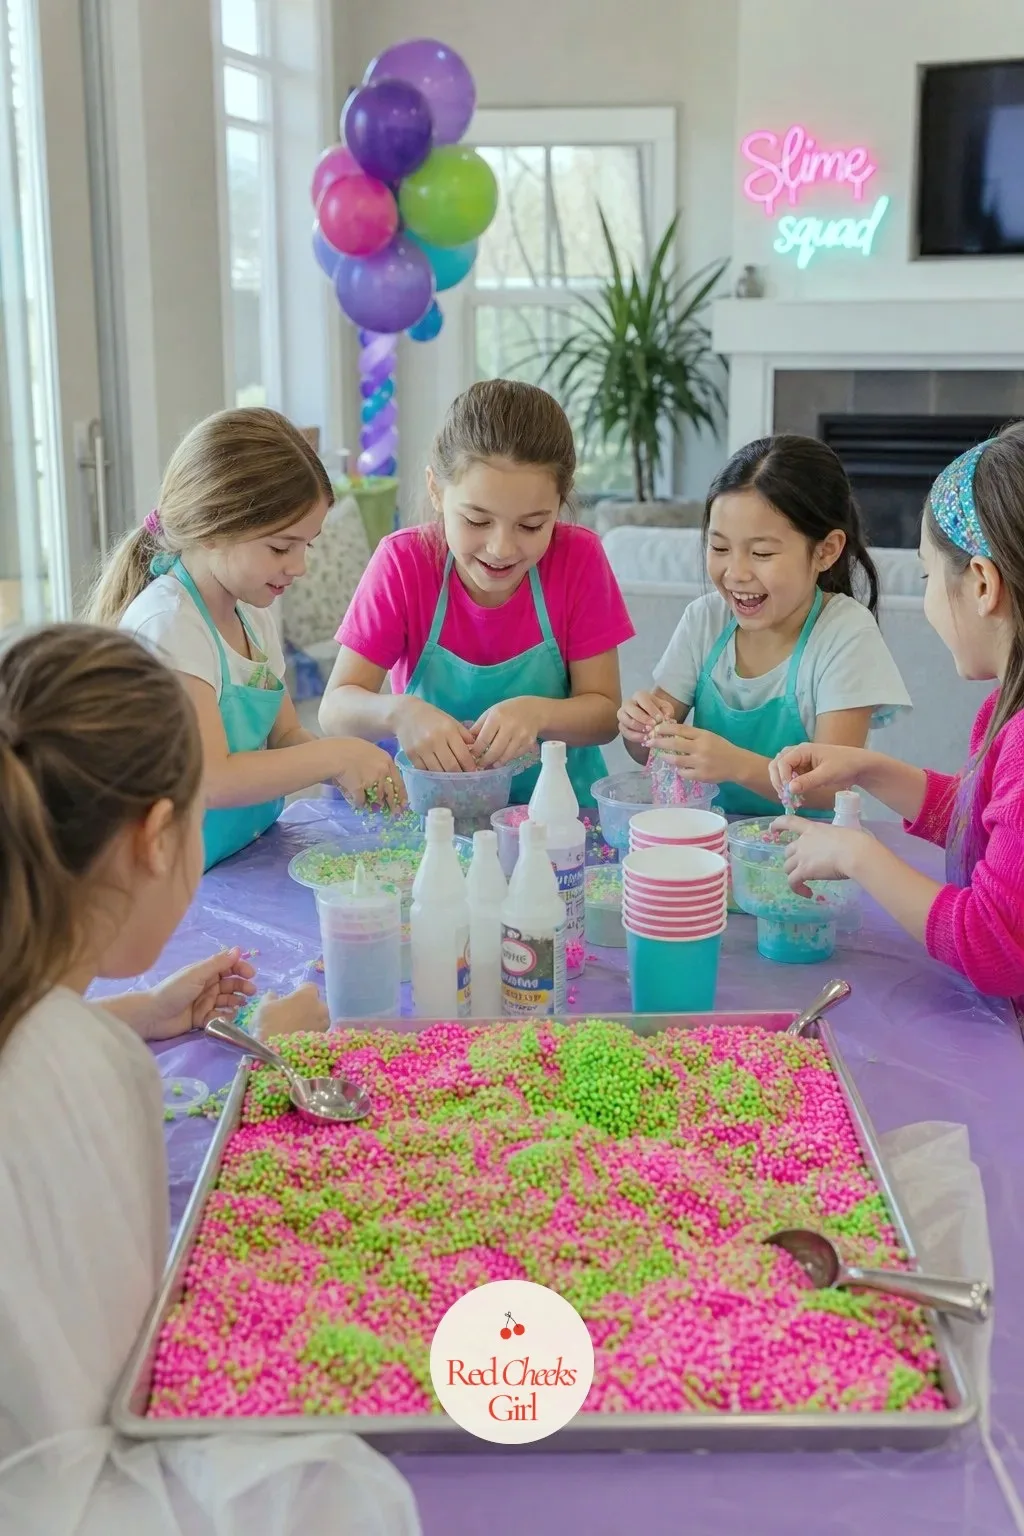
Texture is half the fun of slime, and this is where it comes from. A shallow bin heaped with foam beads in the party colors sits beside a stack of small scoops and empty paper cups, so kids can fold beads into their own jar for that squeaky floam feel.
Put it at the end of the station table, last stop before the finished jar goes to the charm bar. A cheap tray from the kitchen cupboard works just as well as a proper craft bin.
🛍 Shopping guide
The Slime Drip Cake and Cupcakes
Neon buttercream, a thick drip, nothing plastic stuck on top. This is dessert that photographs like the theme rather than borrowing from it.
Pipe a Neon Drip Slime Cake
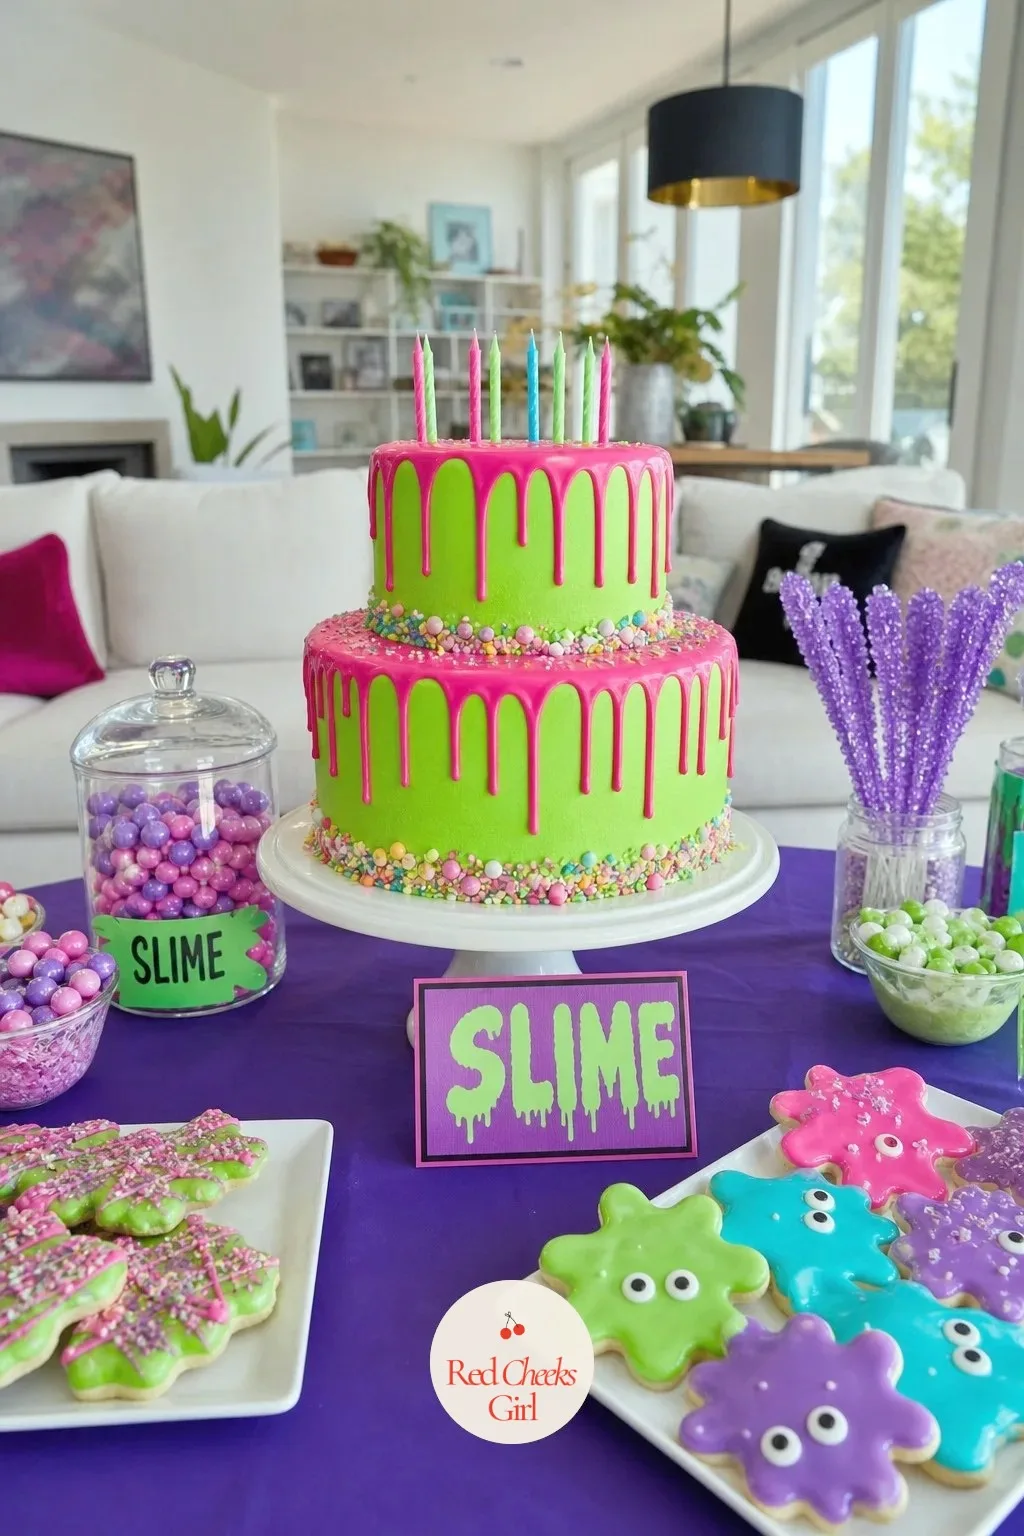
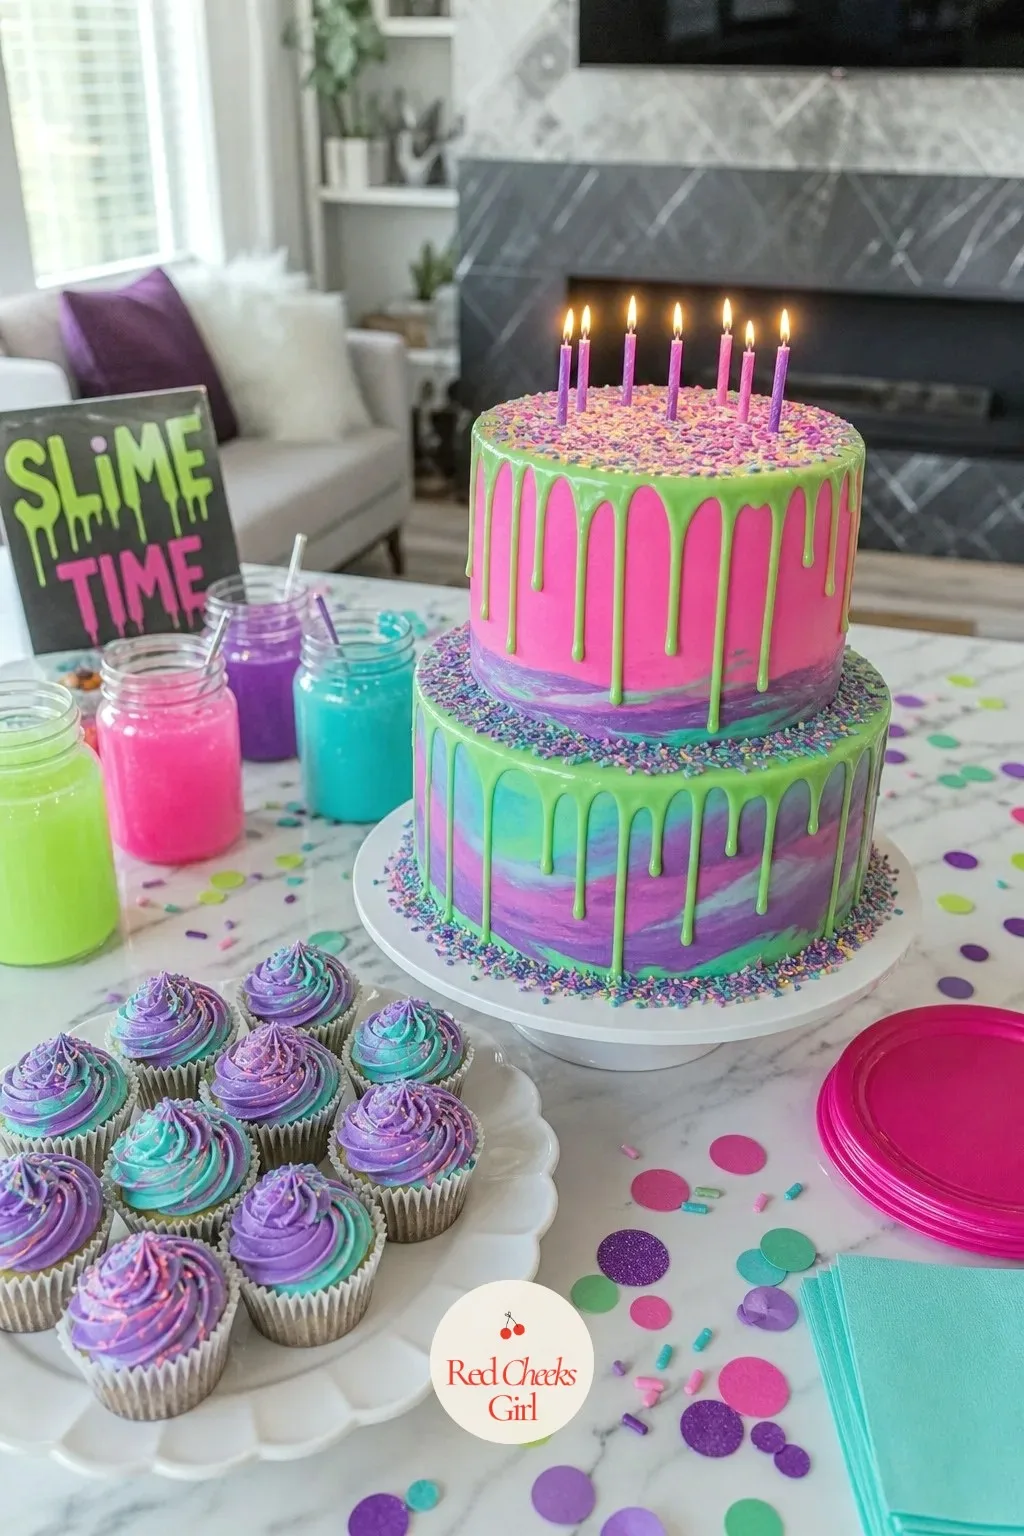
The cake carries the whole theme in one object, so it earns the extra care. Frost it in electric green buttercream, then pour a thick hot pink drip around the top edge so it runs unevenly down the sides, the way real ooze would.
Build it from the base up: cake board, frosted tiers, the drip poured and left to set, then a swirled buttercream top finished with edible glitter and a scattering of clear sugar bubbles for shine. All of it is fondant, sugar or buttercream, nothing plastic goes near it.
Not confident piping a drip at home, most grocery store bakeries will match this exact look from a reference photo.
🛍 Shopping guide
Marble Slime Swirl Cupcakes in Two Neon Shades
Cupcakes next to a showpiece cake can look like an afterthought, these do not. Pipe purple and aqua buttercream side by side in the same bag so each swirl comes out marbled like slime, then finish with a thin glaze drizzled down one side.
Set them on a tiered stand or simply grouped on a platter beside the cake. Piping bags feel fussy, a butter knife swirled through two colors of frosting reads just as well as slime marbling.
The Dessert Table
Smaller sweets around the cake, each one doing its own version of ooze, drip or glitter.
Layer Slime Jelly Cups in Clear Glasses
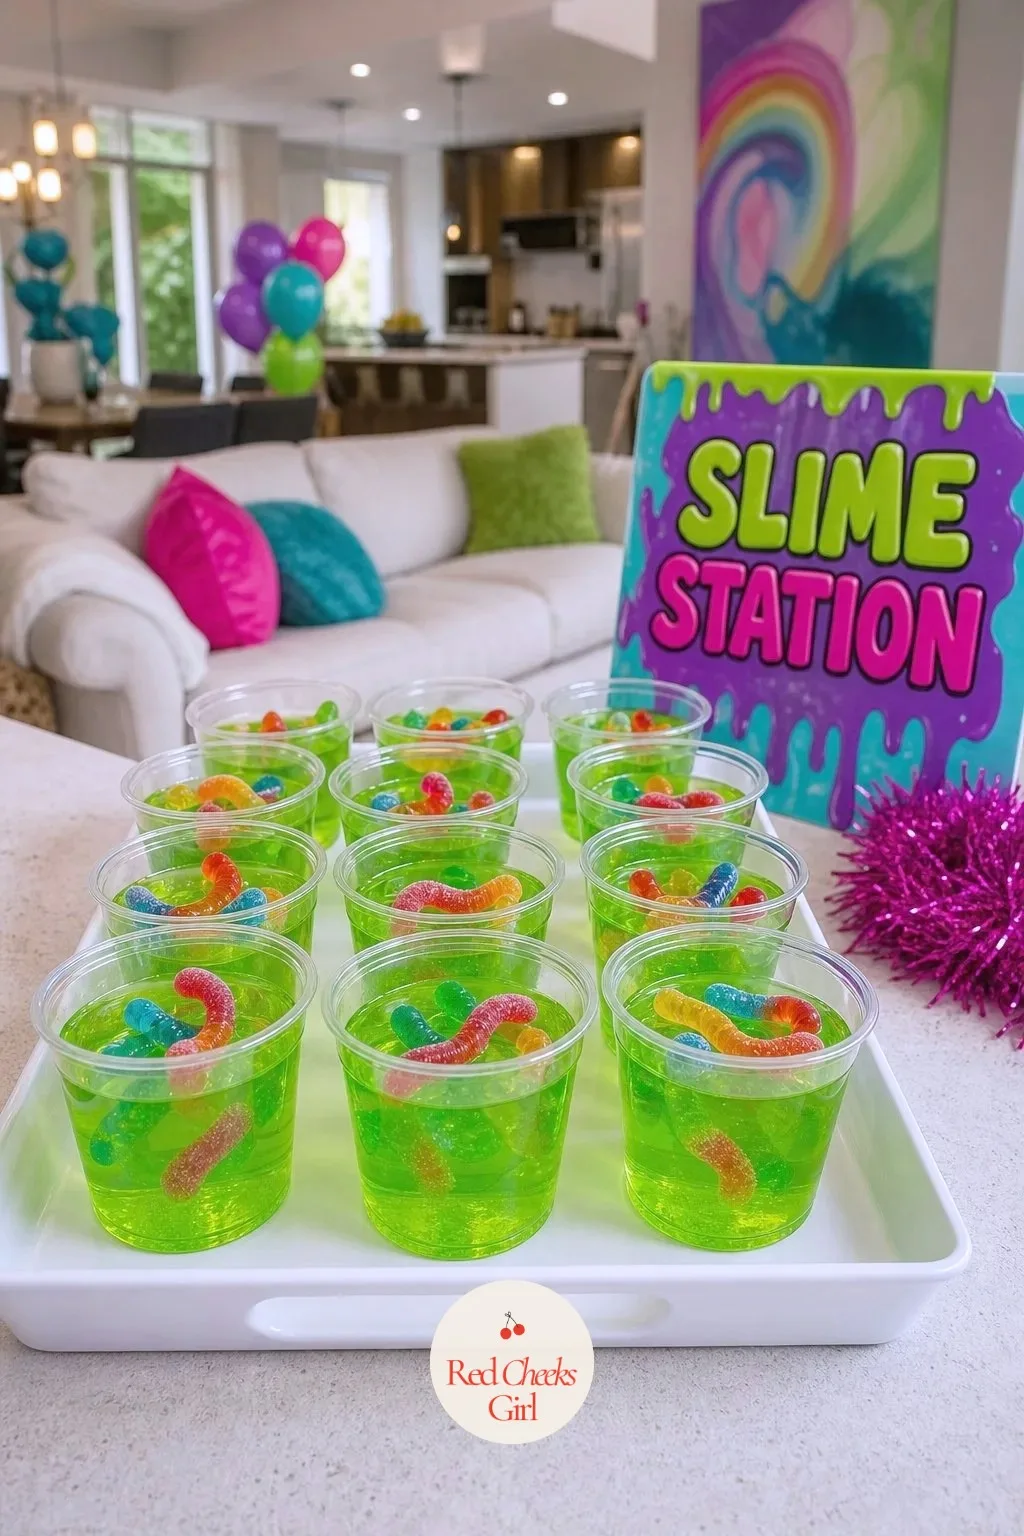
These look exactly like jars of slime and taste like nothing more alarming than lime jello. Pour green jello into clear plastic cups, tuck a gummy worm halfway in before it sets, and finish with a thin drizzle of corn syrup on top for shine.
Make them the night before so the jello has time to set, one less thing to think about on the day. Grouped on a tray they do more theme work than almost anything else on the dessert table.
🛍 Shopping guide
Fill Jars With Sour Gummy Worms in Party Colors
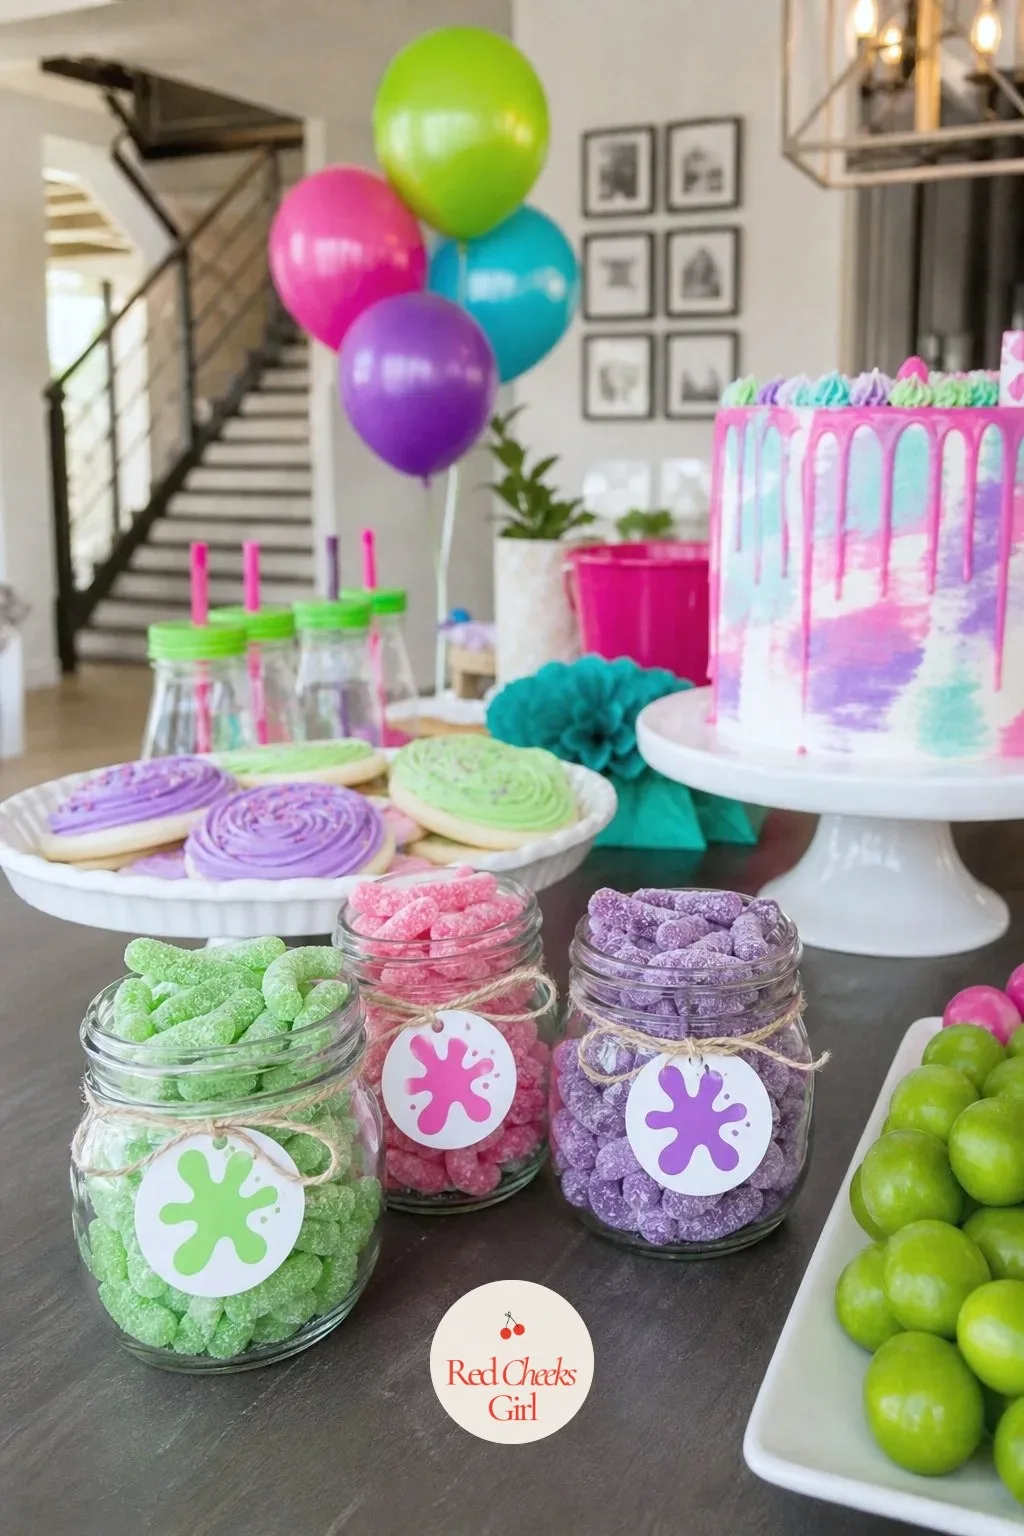
Sour candy belongs on this table as much as anything baked. Fill small glass jars with sour gummy worms and sour belts in green, pink and purple, then tie a small paper tag around each neck.
It takes minutes, just candy and jars, no cooking at all. Budget is tight, clear cellophane bags tied with ribbon do the same job for a fraction of the cost.
Drizzle Neon Icing Over Sugar Cookies
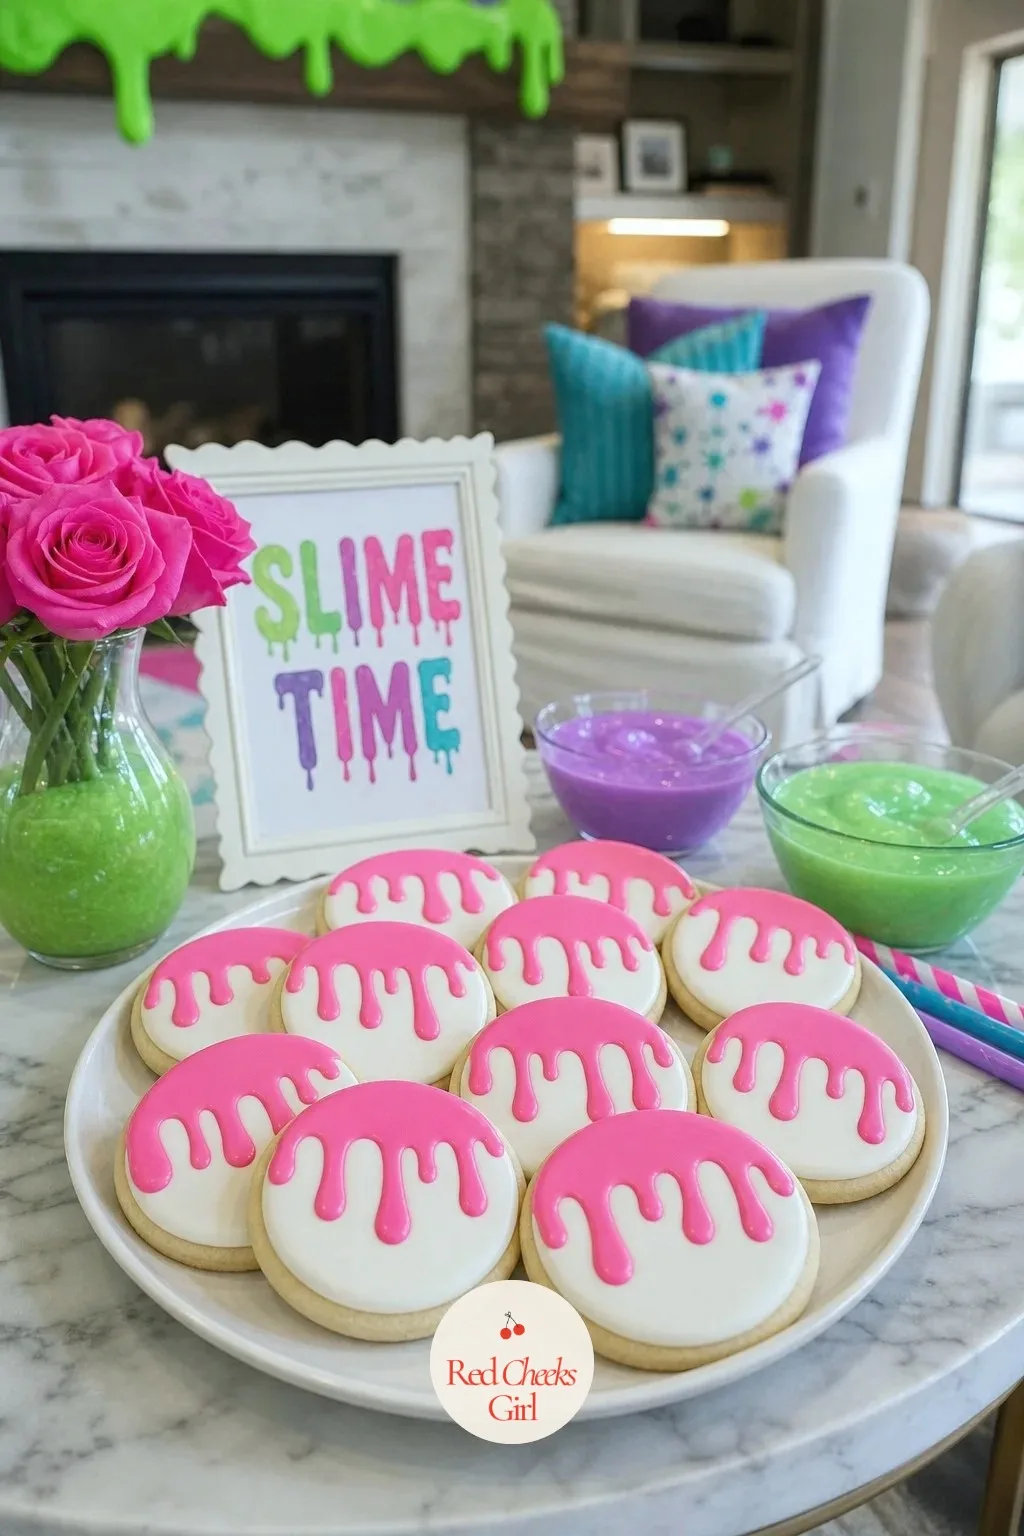
A plain round cookie becomes part of the theme with one pass of a spoon. Flood the base in white royal icing, let it dry, then drizzle a thinned neon green or hot pink icing over the edge so it runs down like a drip caught mid fall.
Finish with a scatter of coarse sugar while the drizzle is still wet. Baking from scratch feels like too much, store bought sugar cookies redecorated at home skip that step entirely.
🛍 Shopping guide
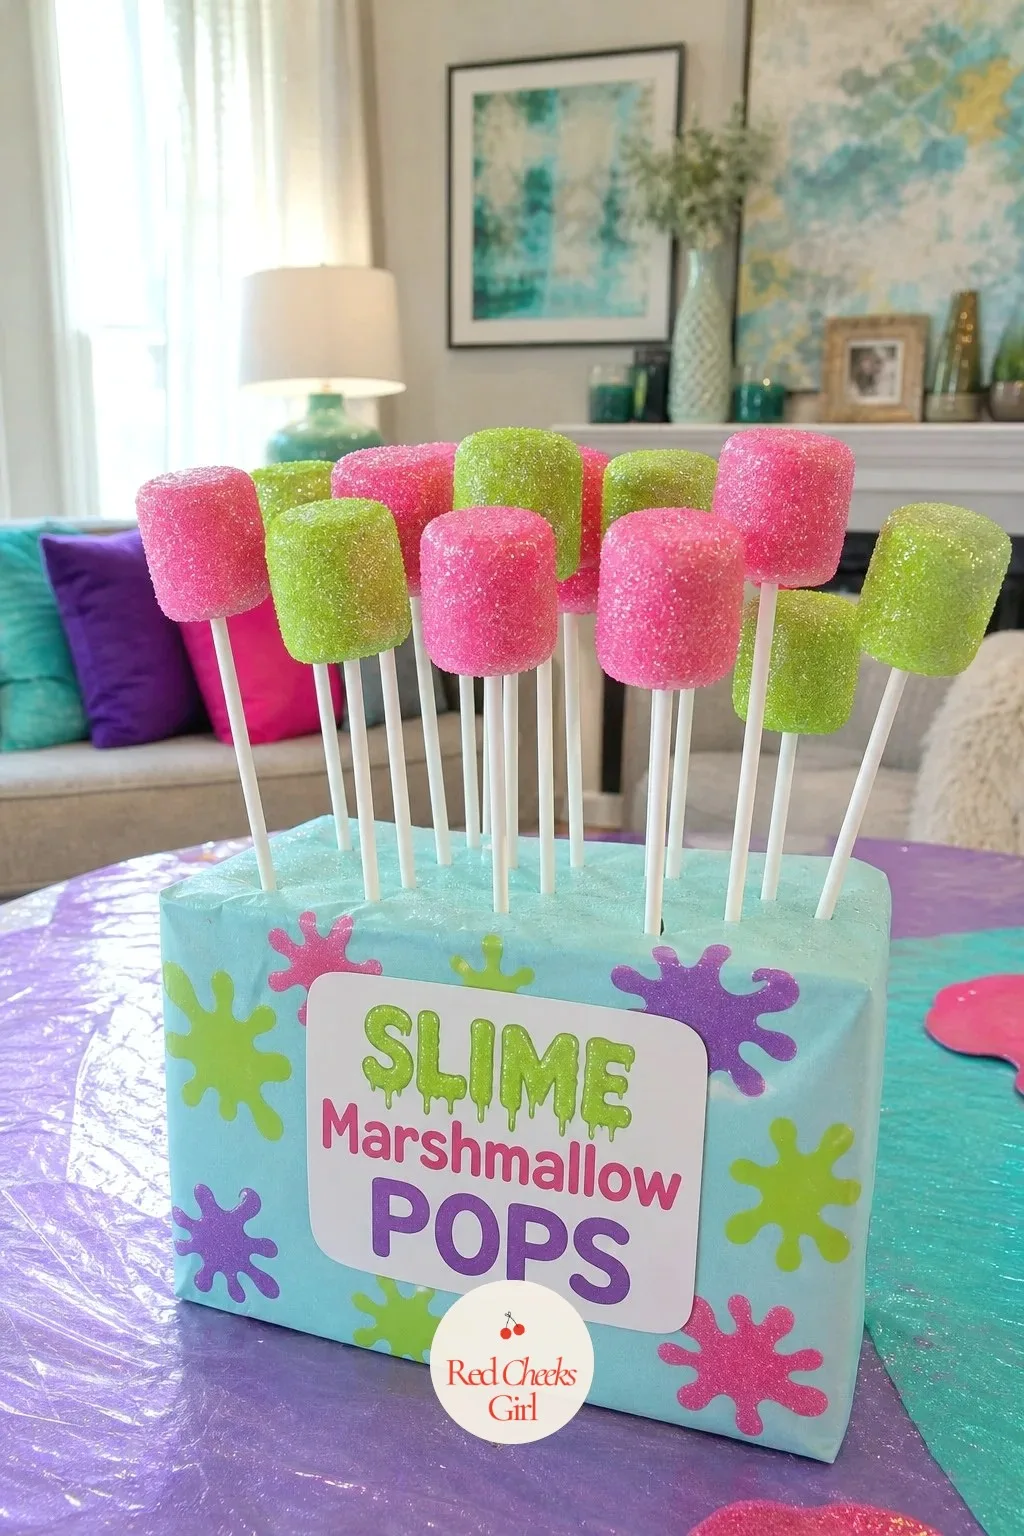
Dip Marshmallow Pops in Glitter for a Slime Finish
These need no oven and no real skill, just a steady hand. Dip marshmallows on sticks into melted neon candy melts, roll them in edible glitter while still wet, and let a thin drip hang from the base before it sets.
Stand them upright in a foam block wrapped in paper, tucked beside the jelly cups. A good last minute project to hand to a willing helper the night before.
🛍 Shopping guide
Easy Party Food
Real food, kept deliberately simple, because nobody wants to cook while also mopping up glue.
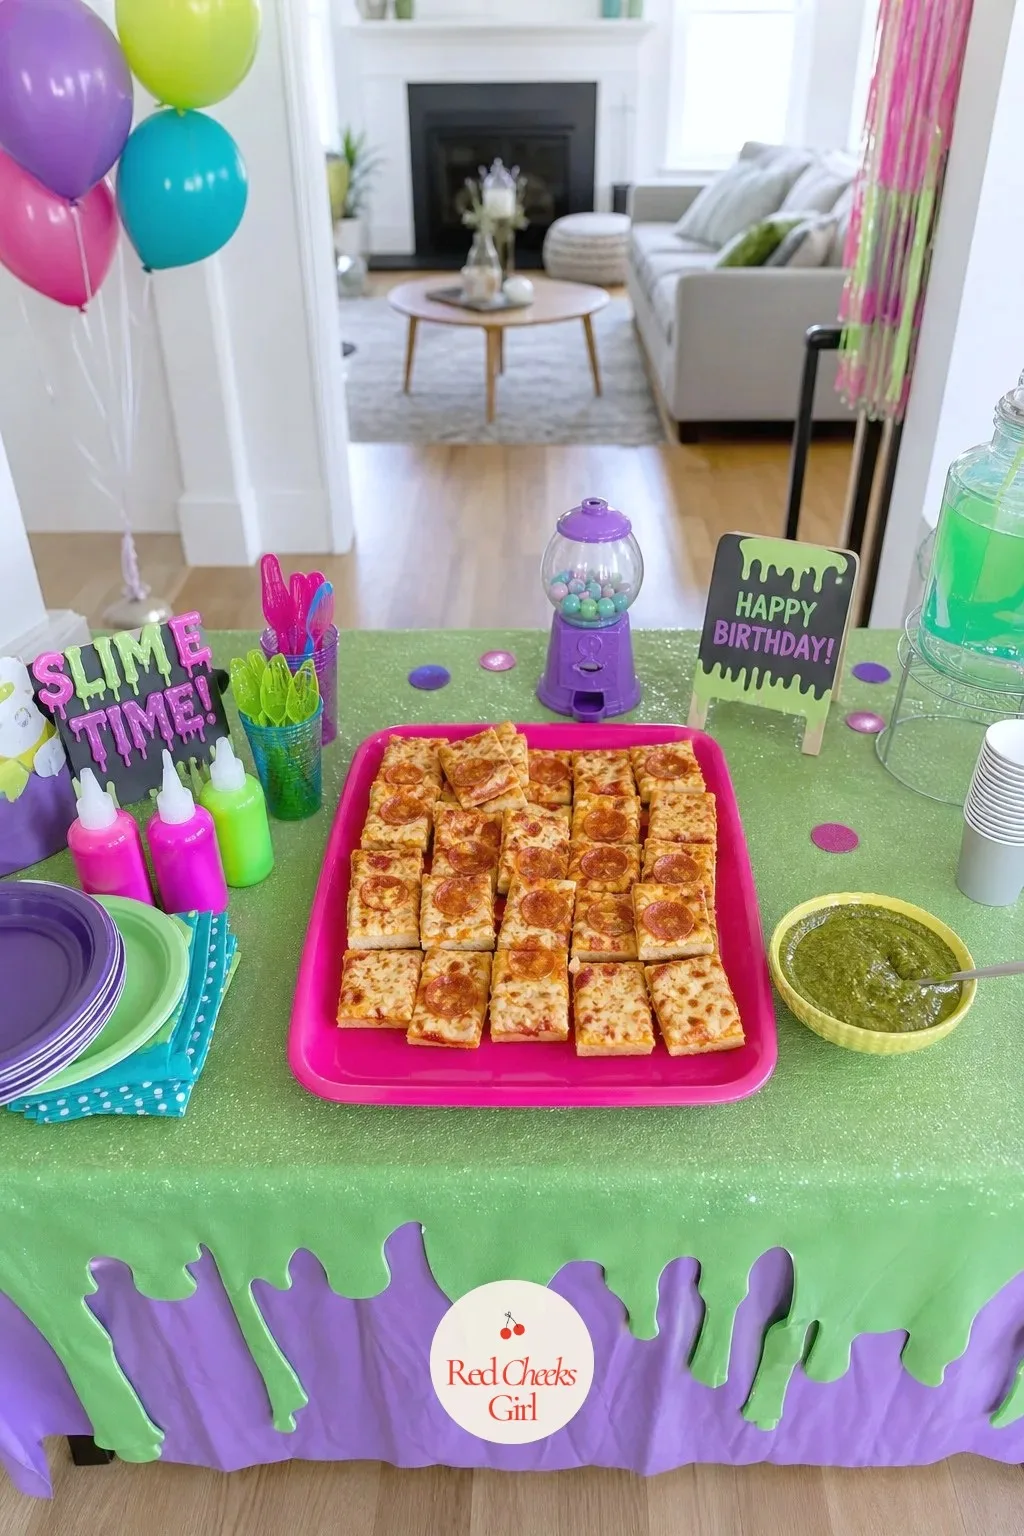
Set Out Pizza on Bright Platters
Nobody expects pizza to carry a theme, and it does not have to, the servingware does that work for it. Cheese and pepperoni pizza, cut small for little hands, arranged on neon green and hot pink platters with a bowl of pesto on the side for anyone who wants a green slice.
Order ahead and there is no prep at all on the day. For more food this easy, the 12 Easy Kids Birthday Party Food Ideas, All Made the Night Before has a full list worth keeping.
🛍 Shopping guide
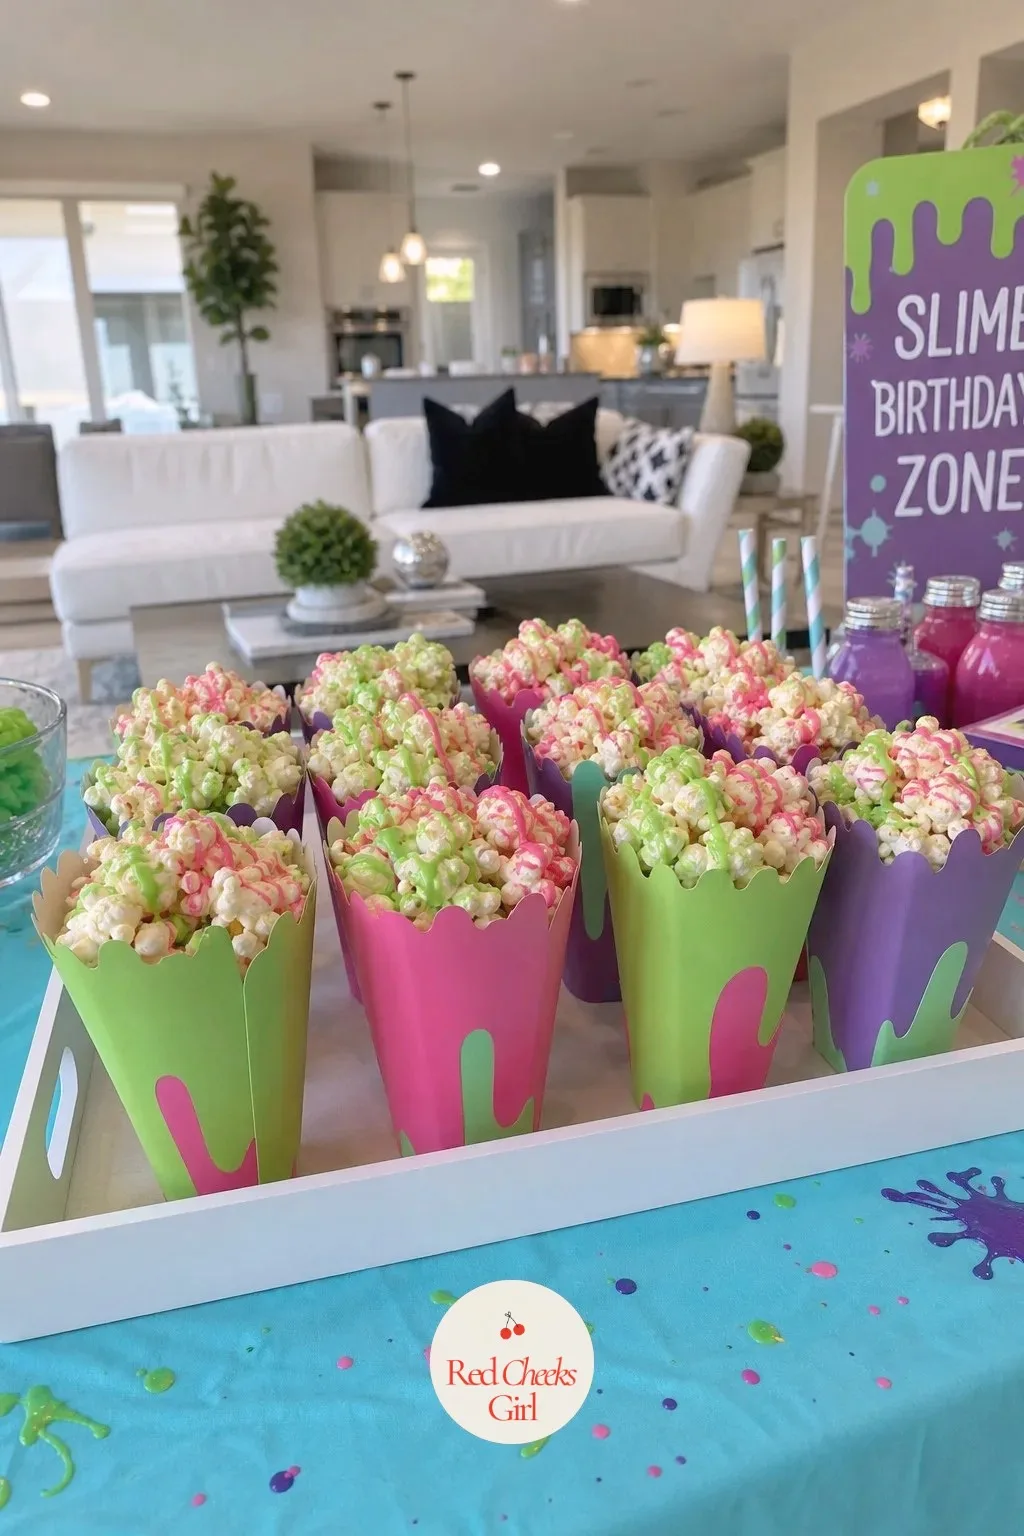
Drizzle Rainbow Popcorn in Neon Cones
Plain popcorn looks out of place at this party, a quick drizzle fixes that. Melt neon green and hot pink candy coating, toss it through popped popcorn, let it dry on parchment, then scoop into small paper cones for guests to carry around.
A bowl of plain popcorn sits beside it for pickier eaters. It keeps well a day ahead in an airtight container, one less thing for party morning.
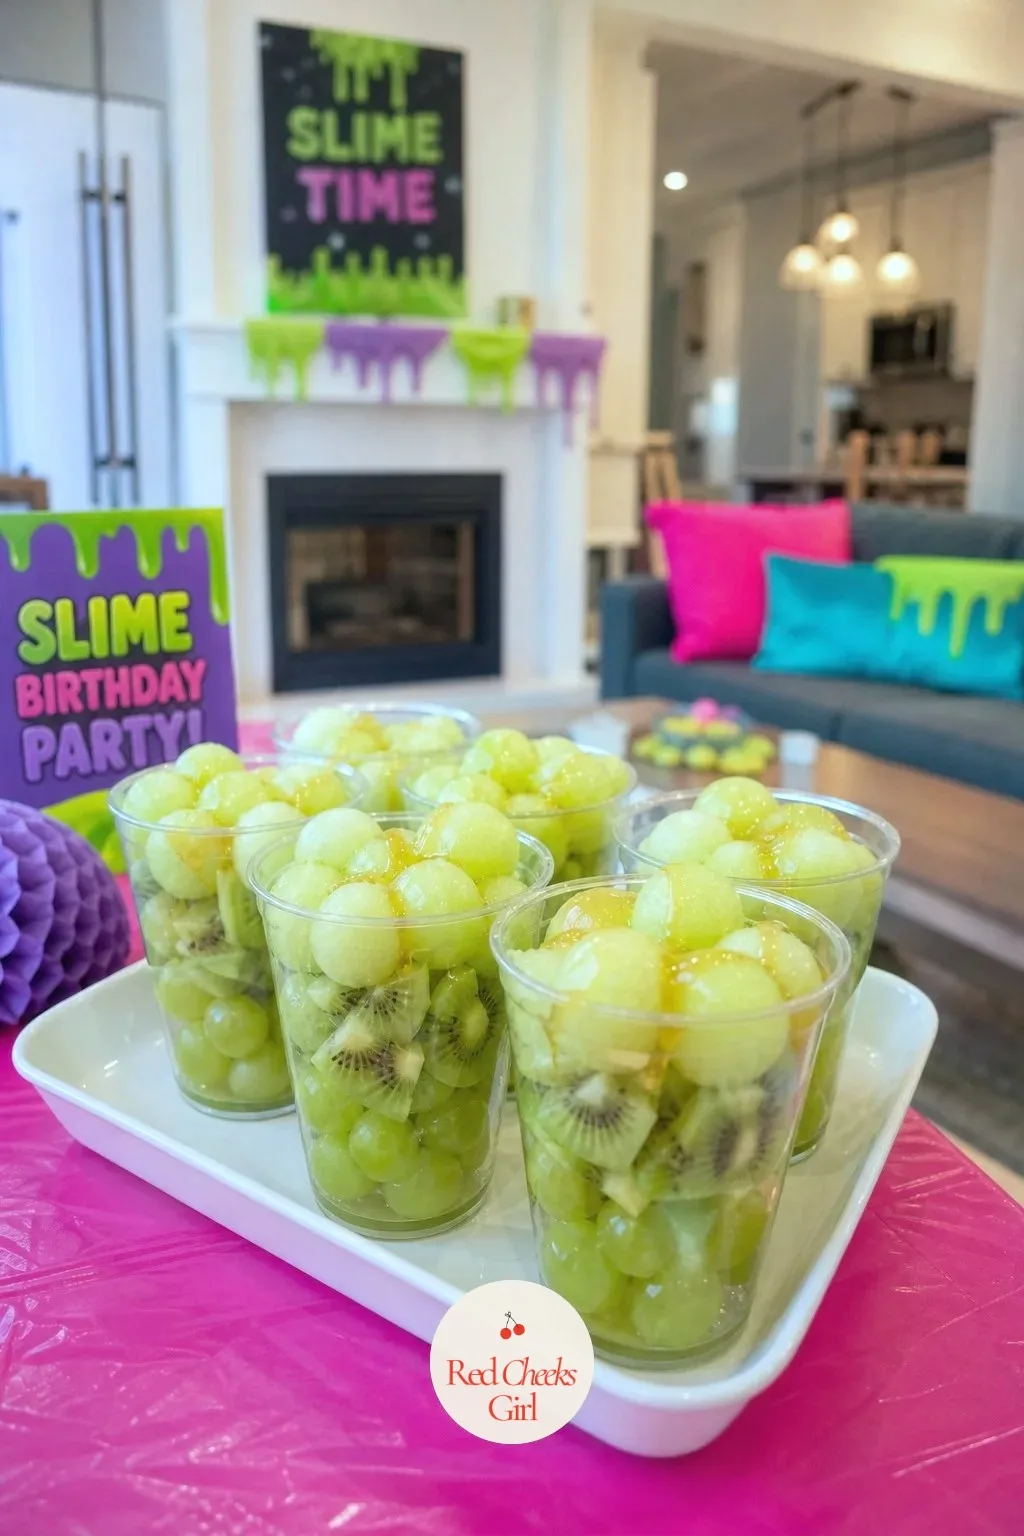
Layer Fruit Ooze Cups for the Healthy Table
Every sugar table needs one thing that is not sugar, and this one still looks like it belongs. Layer green grapes, kiwi and melon balls in clear cups, then drizzle honey or lime yogurt over the top right before serving so it catches the light like a glaze.
It is genuinely the fastest thing on the whole table, just washing, cutting and layering. Good for the parents hovering near the food table as much as the kids.
🛍 Shopping guide
Activities and Games
The slime station gives guests something to make; these give them something to play once their hands are already sticky.
Run a Make-and-Take Slime Bar in Small Groups
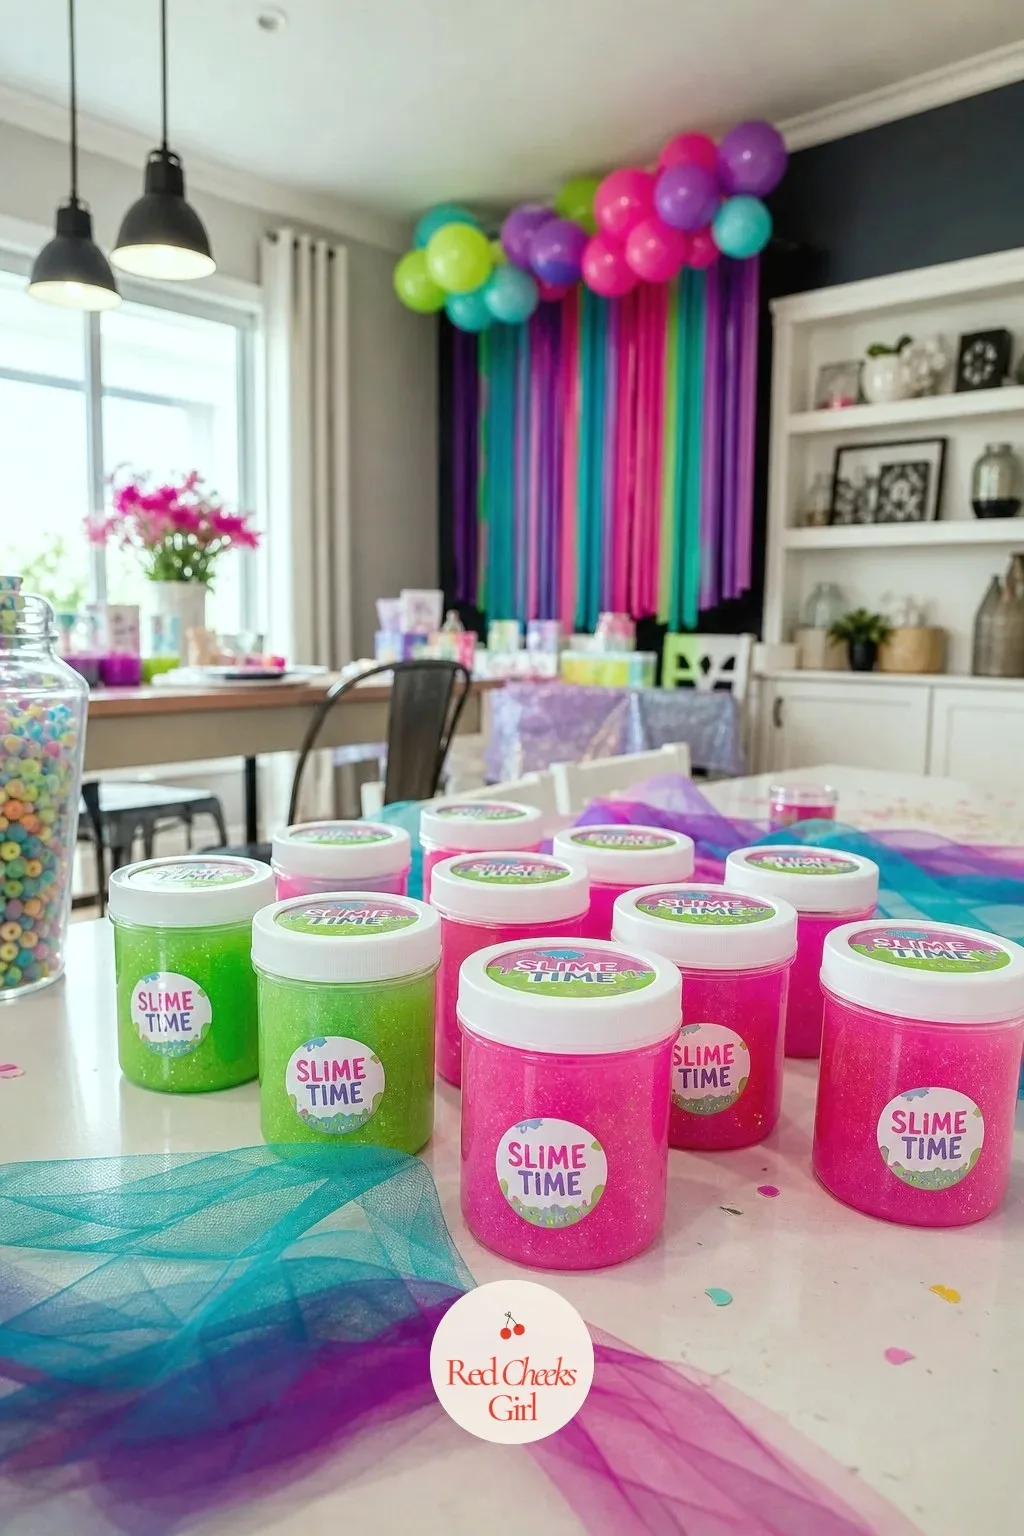
The station table only works if someone keeps it moving. Split guests into groups of four, give each group ten minutes at the table to mix their base, pick a color and stir in one charm, then rotate the next group in while the first heads to the glitter bar.
Every guest leaves with a filled jar of their own slime, no winners or losers here, just a steady line that never backs up at the glue tubs.
🛍 Shopping guide
Hold a Slime Stretch Contest on the Table
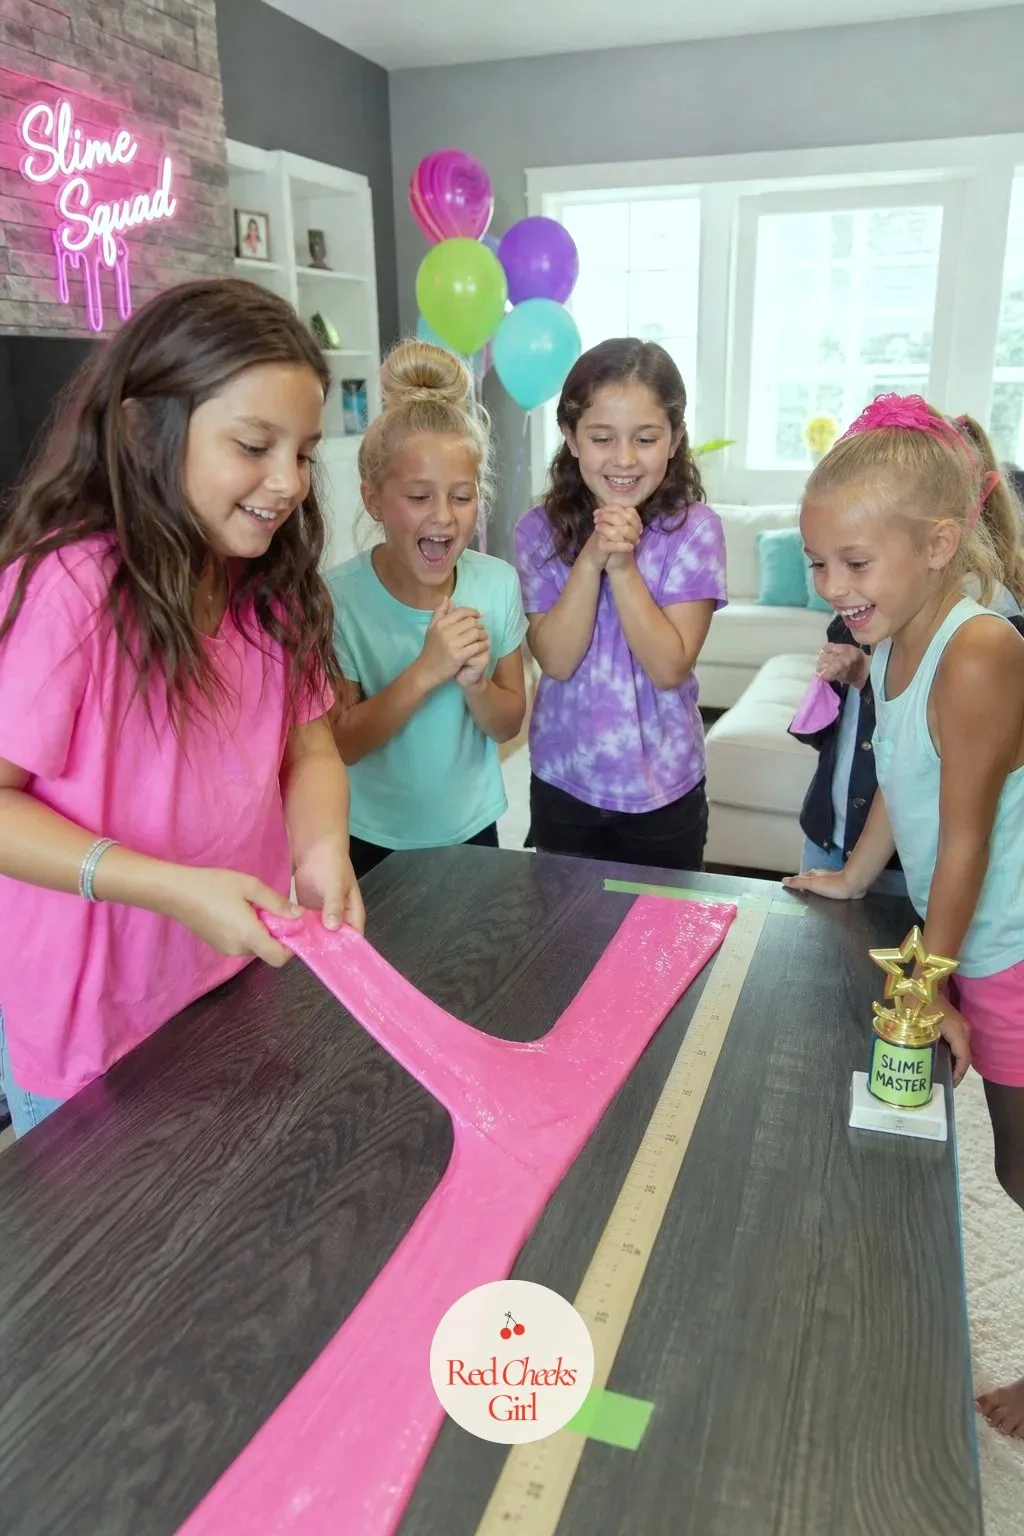
Give each guest an identical measured scoop of the same batch of slime, so nobody can claim theirs was stretchier to start. On the word go, each kid pulls their slime between two hands over a yardstick taped flat to the table, and whoever stretches the longest without it snapping wins a small prize.
The round ends once everyone has had their turn, ties get a rematch. Make it harder with a ten second time limit, easier by handing out a bigger scoop to start with. For more games this physical, the 20 Neon Glow Party Games for a Blacklight Night list pairs well with this palette.
Play the Mystery Mix-In Guessing Game
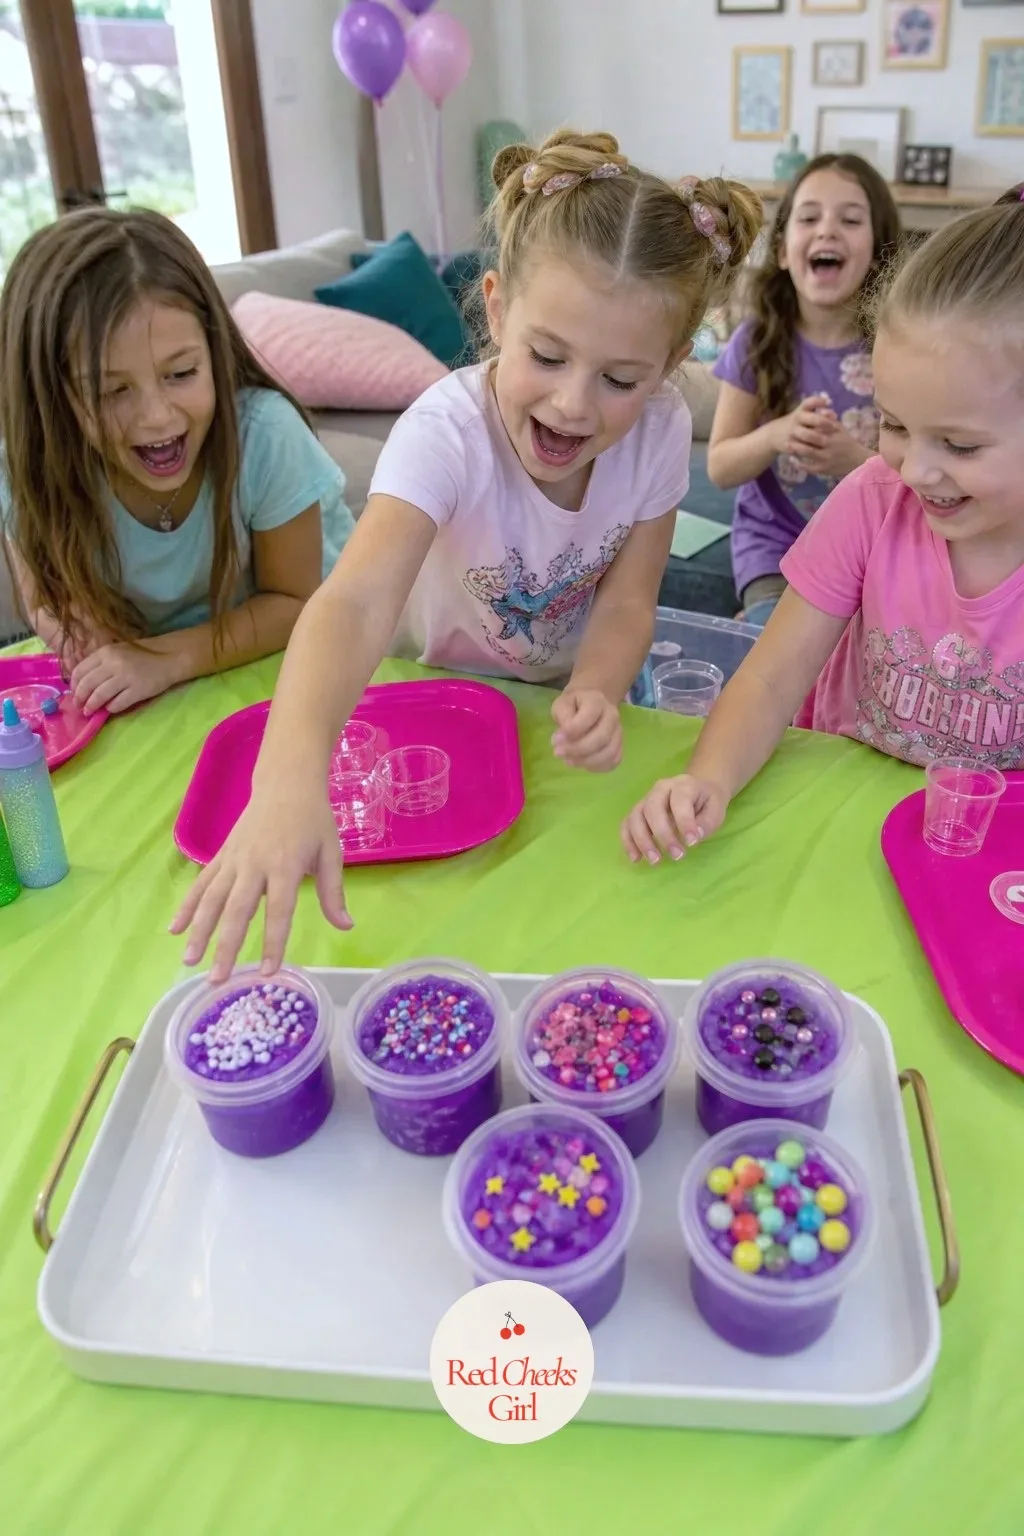
Hide a small item, a few foam beads, a pinch of glitter, a tiny charm, inside each of six cups of plain slime, then seal the lids. Guests take turns squishing one cup without looking and calling out what they think is hidden inside.
Correct guesses earn a point, the game ends once everyone has felt every cup, and the highest score takes home the biggest favour jar. Peeking quickly first makes it easier for younger guests, adding more cups makes it harder for older ones. Browse the 25 Birthday Party Games for Kids That Burn Off the Sugar list for more between-activity filler.
Slime Favour Jars to Take Home
What leaves with the guests, styled as its own small moment rather than an afterthought bag by the door.
Fill Favour Jars With Each Guest’s Own Slime
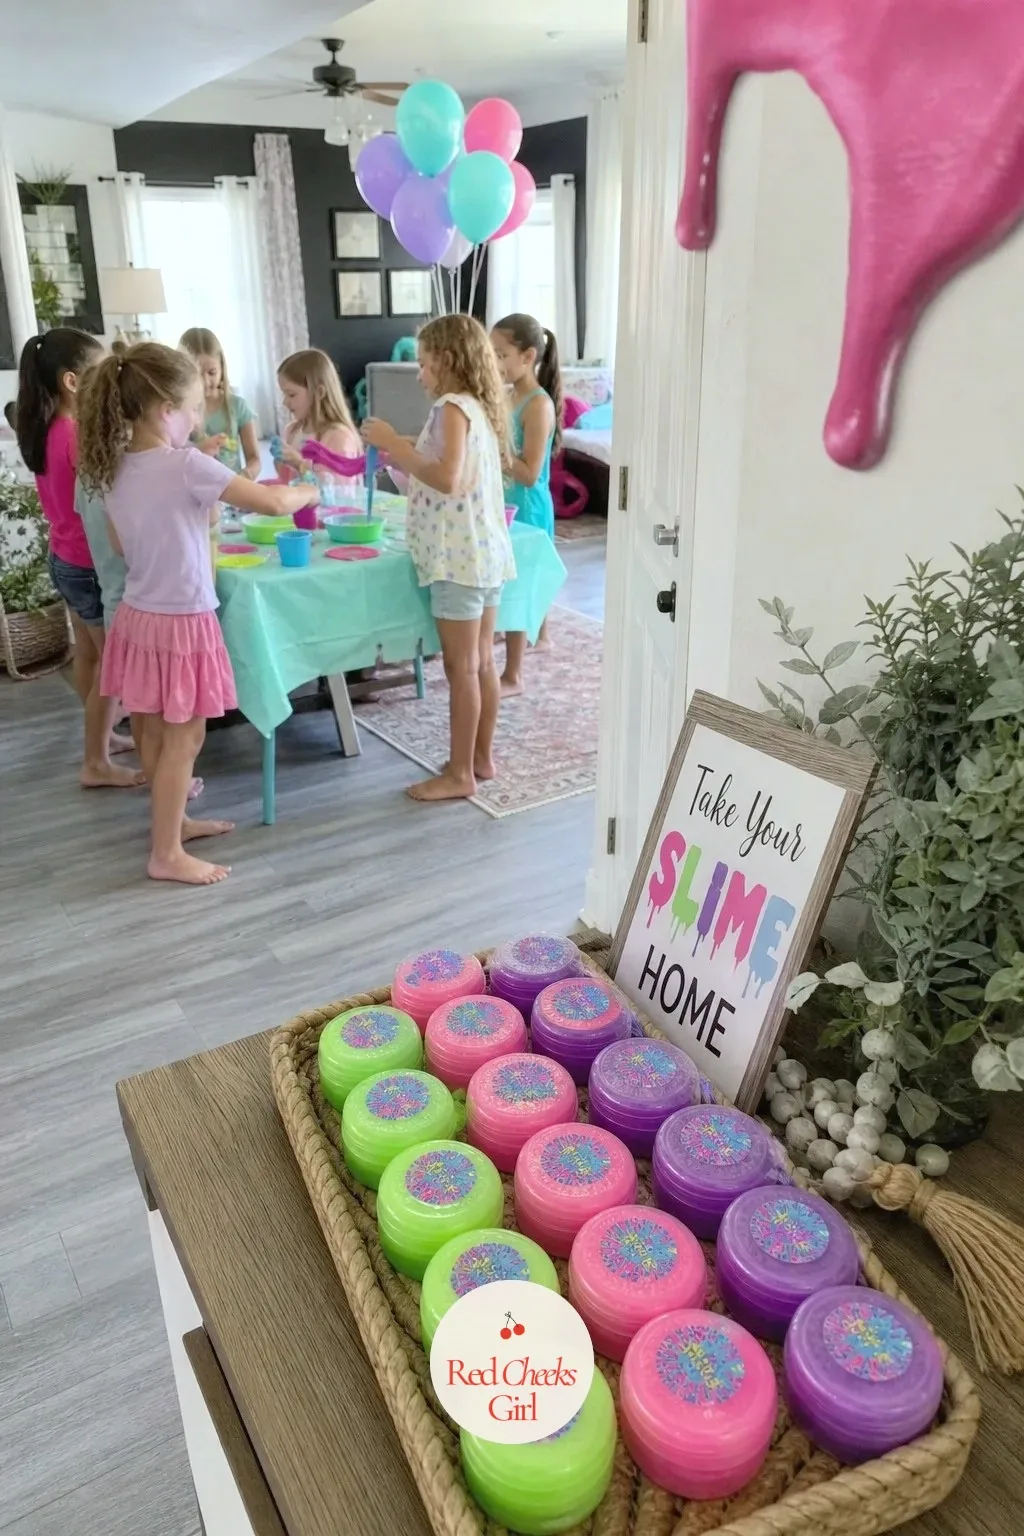
The best favour here is the one each guest already made. Scoop their finished slime into a small labelled jar, finish the lid with a round sticker in the party colors, and line them up on a tray by the door.
Every guest leaves with something they built themselves, not a bag of filler toys. If jars are hard to source in time, small resealable bags tied with ribbon work just as well.
Bag Mini Lab Goggles as a Second Favour
One favour is nice, two feels generous without costing much more. Pair each slime jar with a pair of clear kid size safety goggles in a cellophane bag, tied with curling ribbon in the party colors.
It carries the lab corner all the way out the door and gives guests something to actually wear at their next messy craft project. Keep a small basket of them by the jars so nobody leaves without both.
🛍 Shopping guide
The Invitation
Last, because it is the one piece that goes out before the party exists at all.
Mail a Neon Drip Invitation
This goes out before anything else gets bought, so it earns a little extra care. A card with hand lettering in a dripping neon font, green and pink paint drips running down the edges, tucked into a bright envelope with a matching address label.
Order printable templates online and fill in the details at home, or have a local print shop run a small batch. Either way it sets the palette before a single balloon goes up.
Frequently Asked Questions
How much slime should each child make at the party?
Plan for roughly three ounces of finished slime per child, since an average child’s hand comfortably holds about 80g (approx. 2.8 oz) of slime at a time for play.
How long should a slime birthday party run?
Most hosted slime parties run 90 minutes, fully hosted from start to finish, with the first half for making and the rest for games, dessert and favours.
How much glue do I need for a group of kids?
For a party of twenty children, 1 Gallon of glue is theoretically enough for 20 children, so one gallon jug comfortably covers a group that size.
What age is slime making best for?
Hands-on slime making suits most kids from about six up, while toddlers around ages 1 and 2 who aren’t ready for hands-on slime making do better with a gentler sensory play table instead.
How do I stop a slime party from wrecking the house?
Confine all mixing to one taped-off, covered table, keep a lidded bin for used tools, and send each guest home with their slime sealed in a jar rather than loose.
21 gifts for mom sorted by budget and personality, from sentimental keepsakes to kitchen upgrades sh

21 small, genuinely useful stocking stuffers for men, grouped by what he actually does, with prices
22 quiet luxury gifts for the friend who already has everything: timeless leather, gold tone jewelry
Leave a Reply