

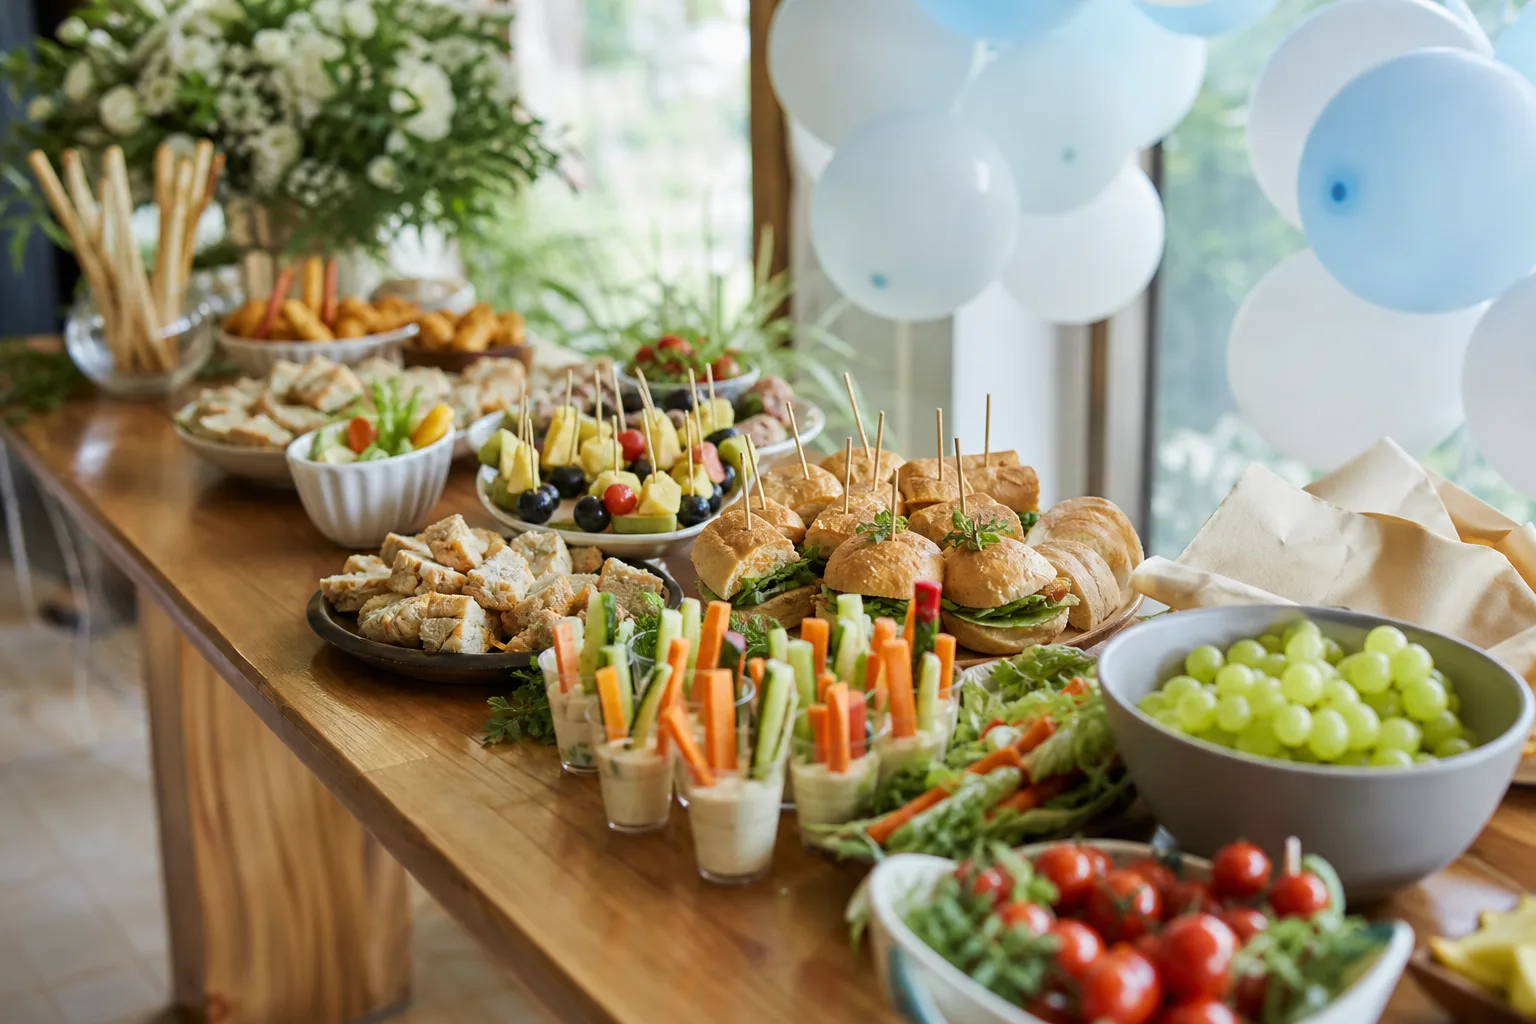
Nobody wants to balance a fork, a glass and a gift bag at the same time. The whole point of a baby shower spread is food a guest can hold in one hand while the other is busy clapping for the diaper raffle, so almost everything here gets built ahead and barely touches the oven.
This list leans on assembly: cups you layer, sandwiches you stack, skewers you thread. A handful do need a short bake, bacon-wrapped dates, baked brie bites, cake pops and mini donuts among them, but none of them tie you to the kitchen once guests arrive. If the table itself still needs work, 18 Simple Baby Shower Decorations for a Host Who Has One Afternoon, Not One Weekend covers that end without eating into your food prep time.
Expect dairy, egg, gluten, shellfish and tree nuts across this spread, so glance at the ingredient lists before you set anything near a guest with allergies. Nothing here involves alcohol, but shrimp and mayonnaise-based fillings should stay chilled and get eaten within a couple of hours once they are out on the table.
This post contains affiliate links. If you buy through them, I may earn a small commission at no extra cost to you.
- Mini Charcuterie Cups
- Caprese Charcuterie Cups
- Ham and Swiss Party Sliders
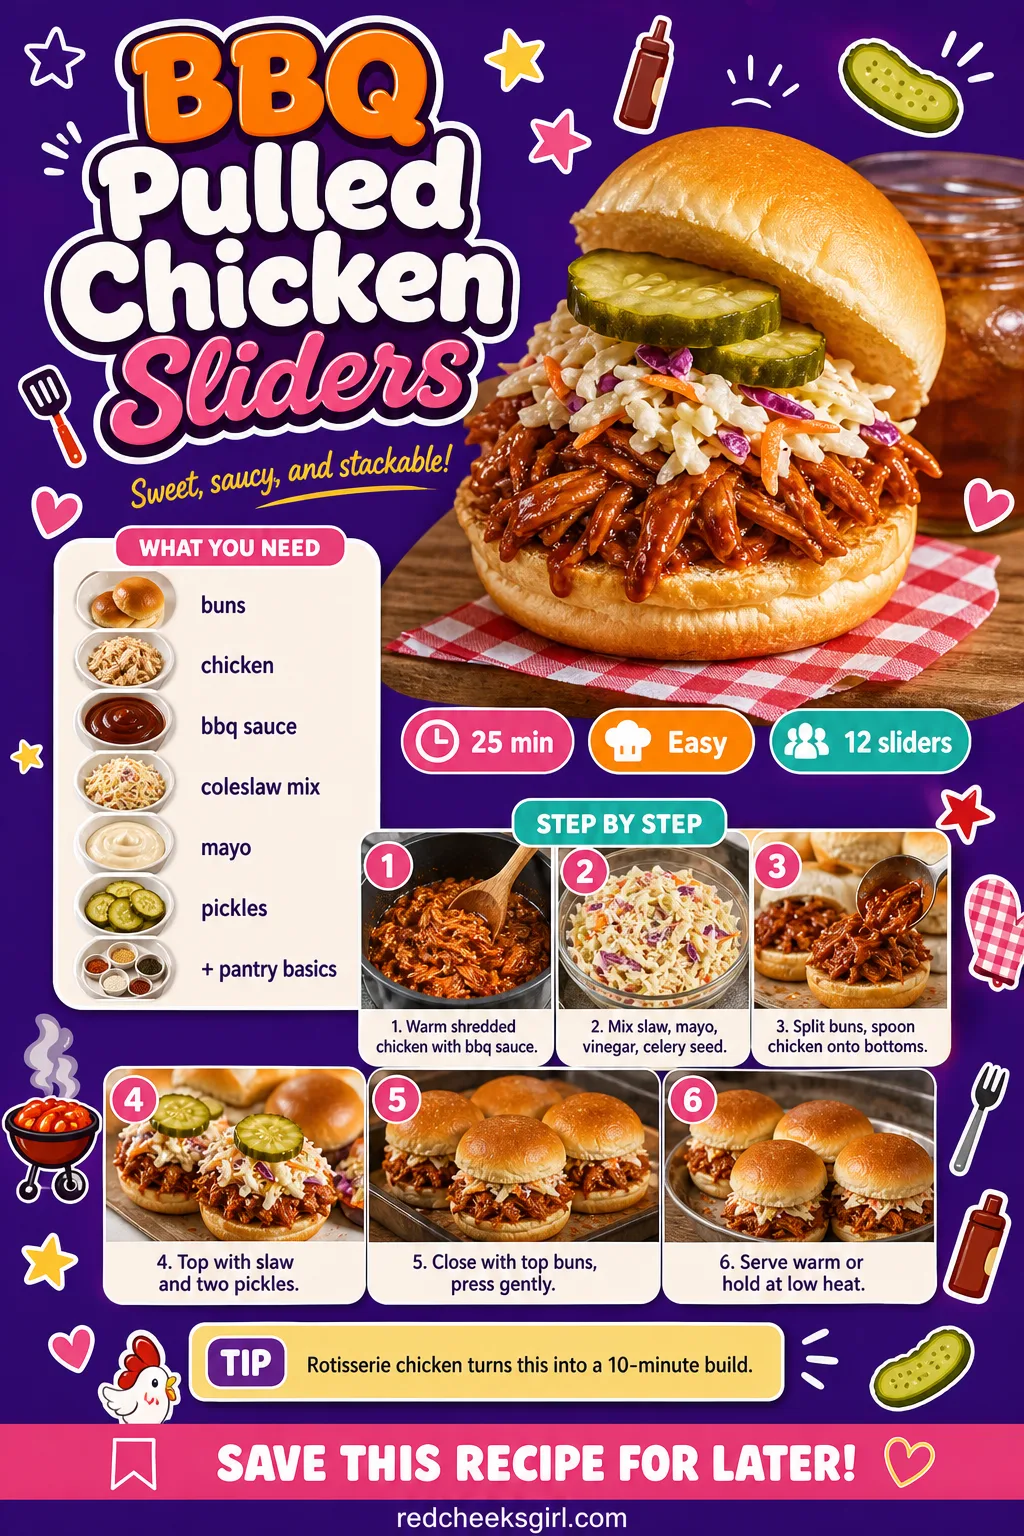
- BBQ Pulled Chicken Sliders
- Turkey and Brie Croissant Sandwiches
- Chicken Salad Croissant Sandwiches
- Bacon-Wrapped Dates with Goat Cheese
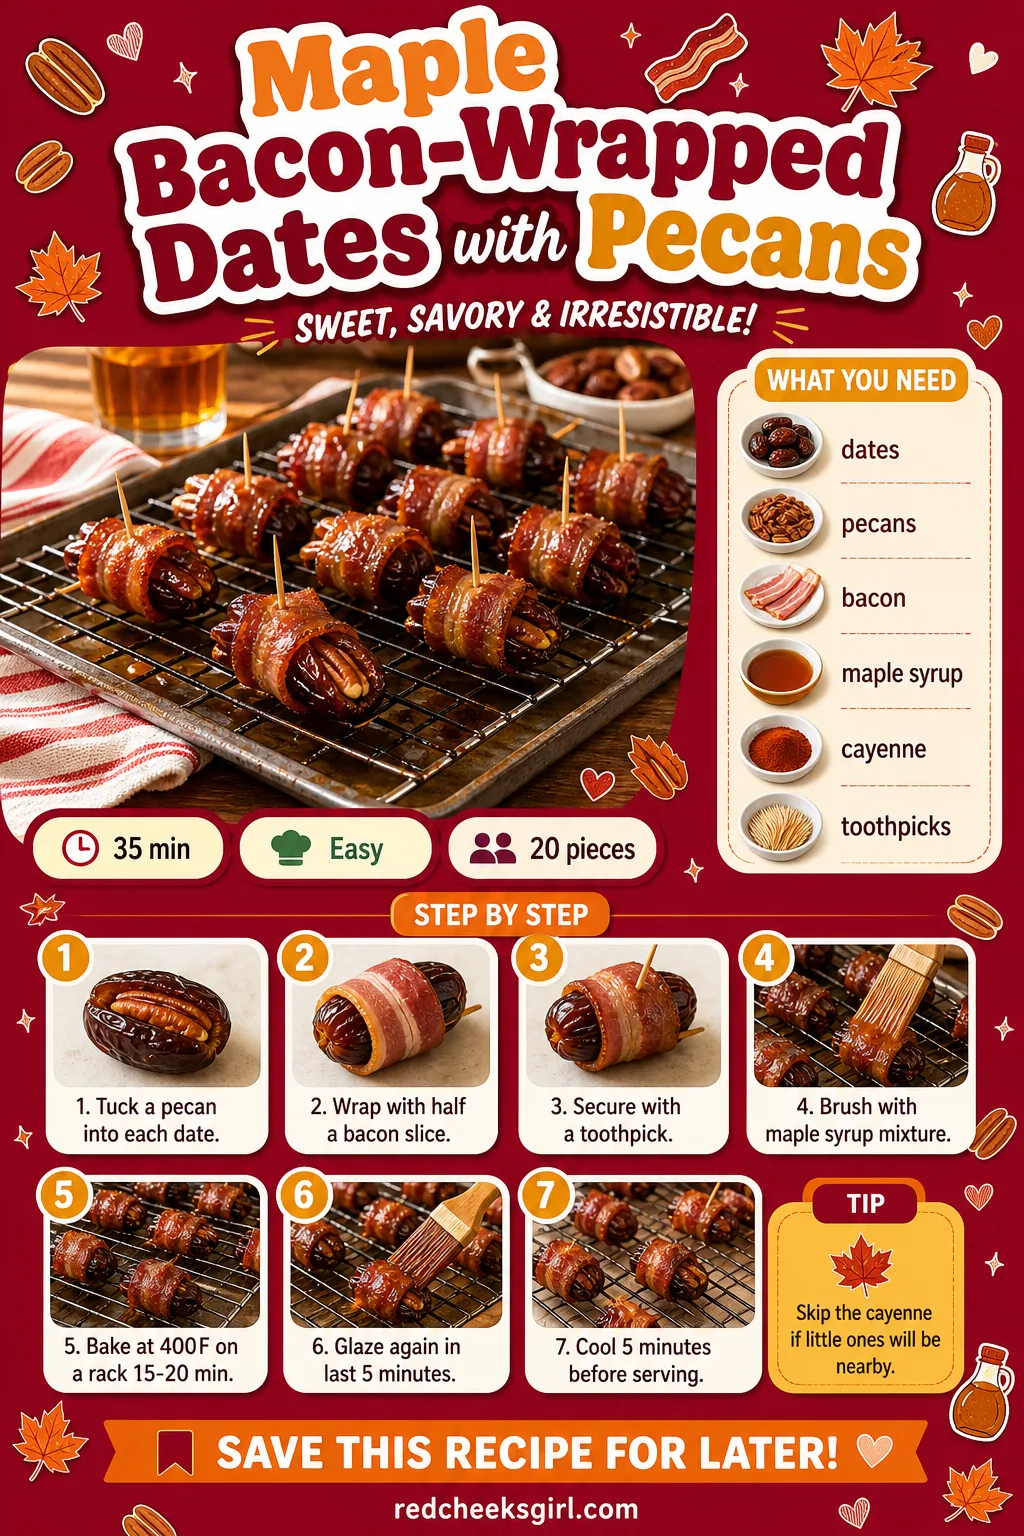
- Maple Bacon-Wrapped Dates with Pecans
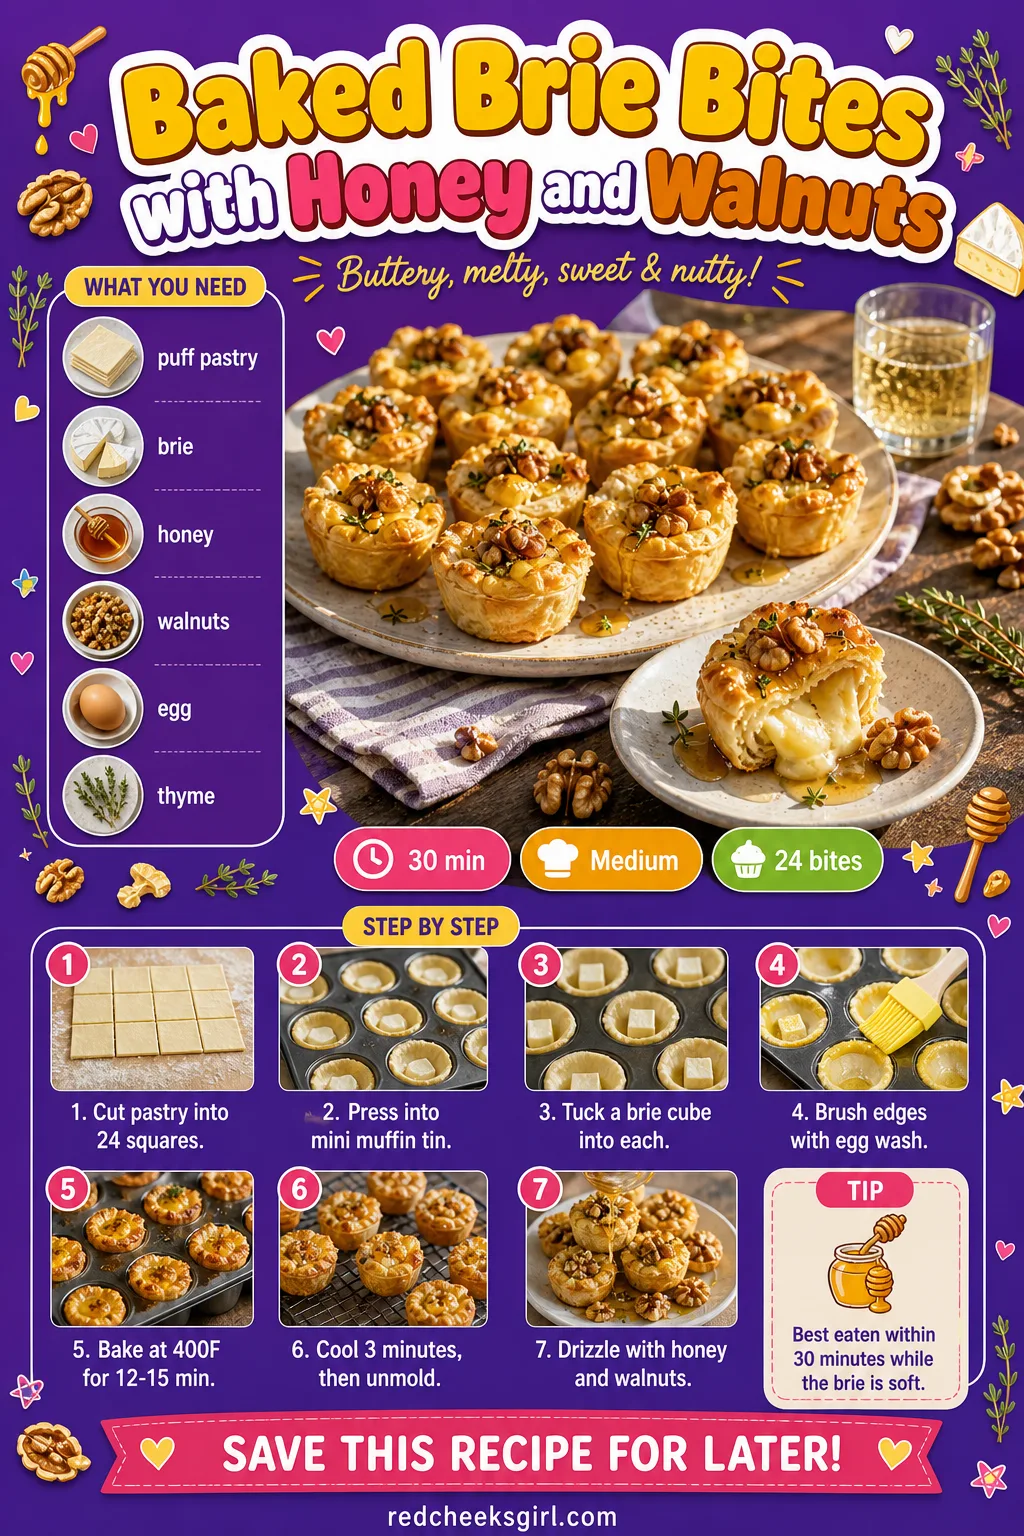
- Baked Brie Bites with Honey and Walnuts
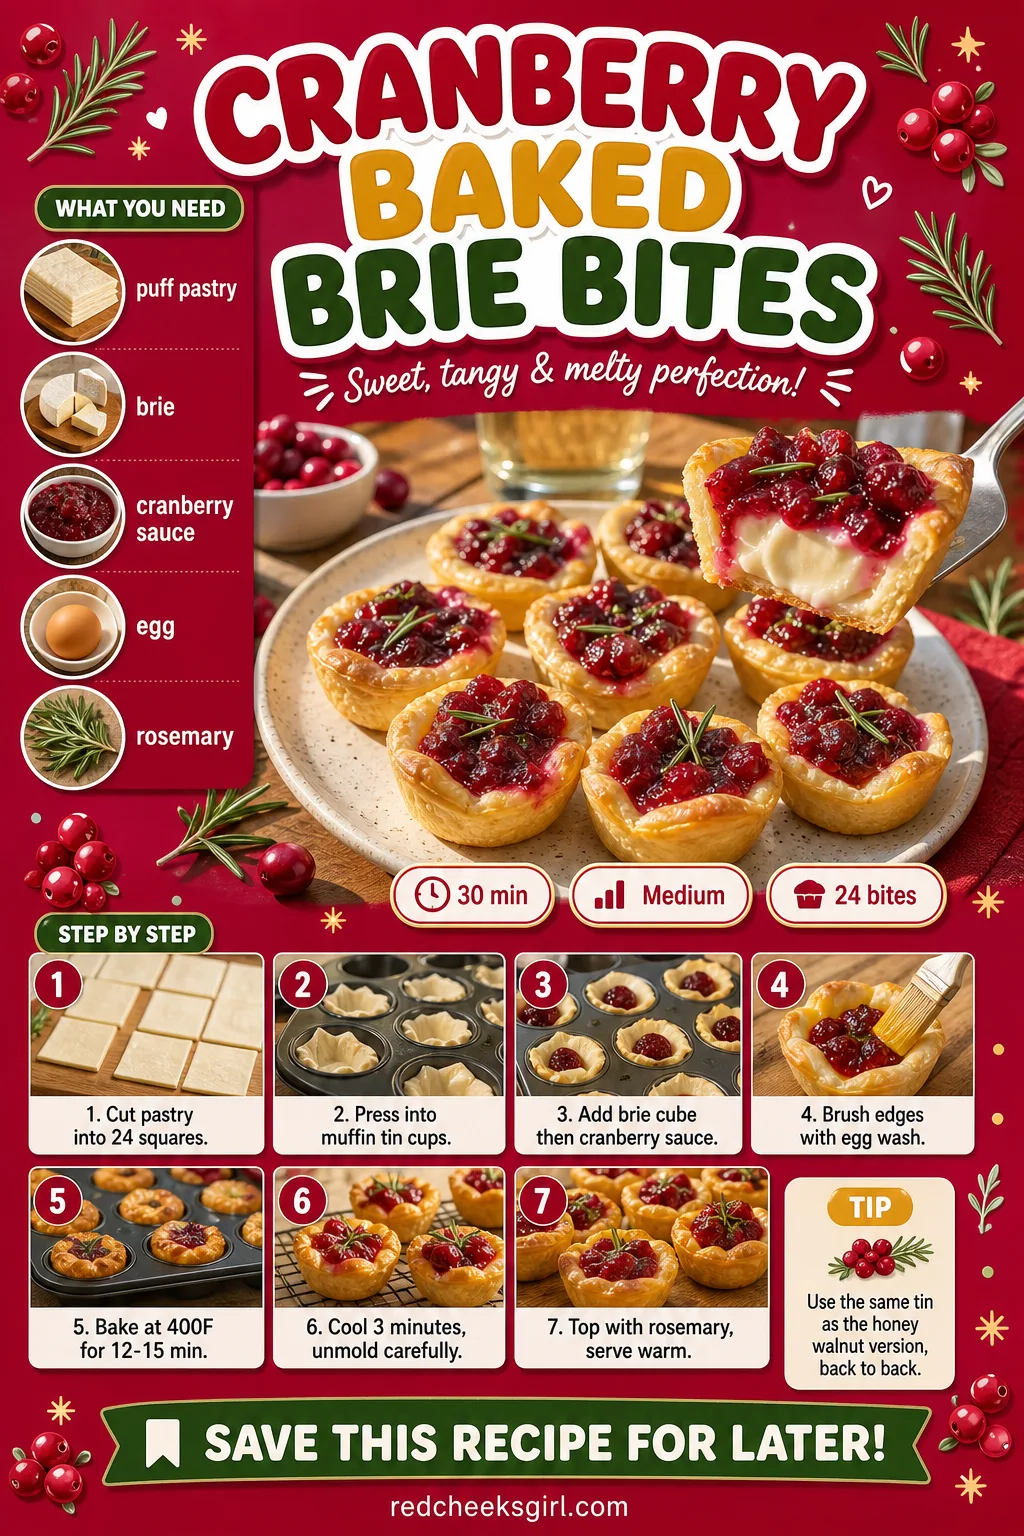
- Cranberry Baked Brie Bites
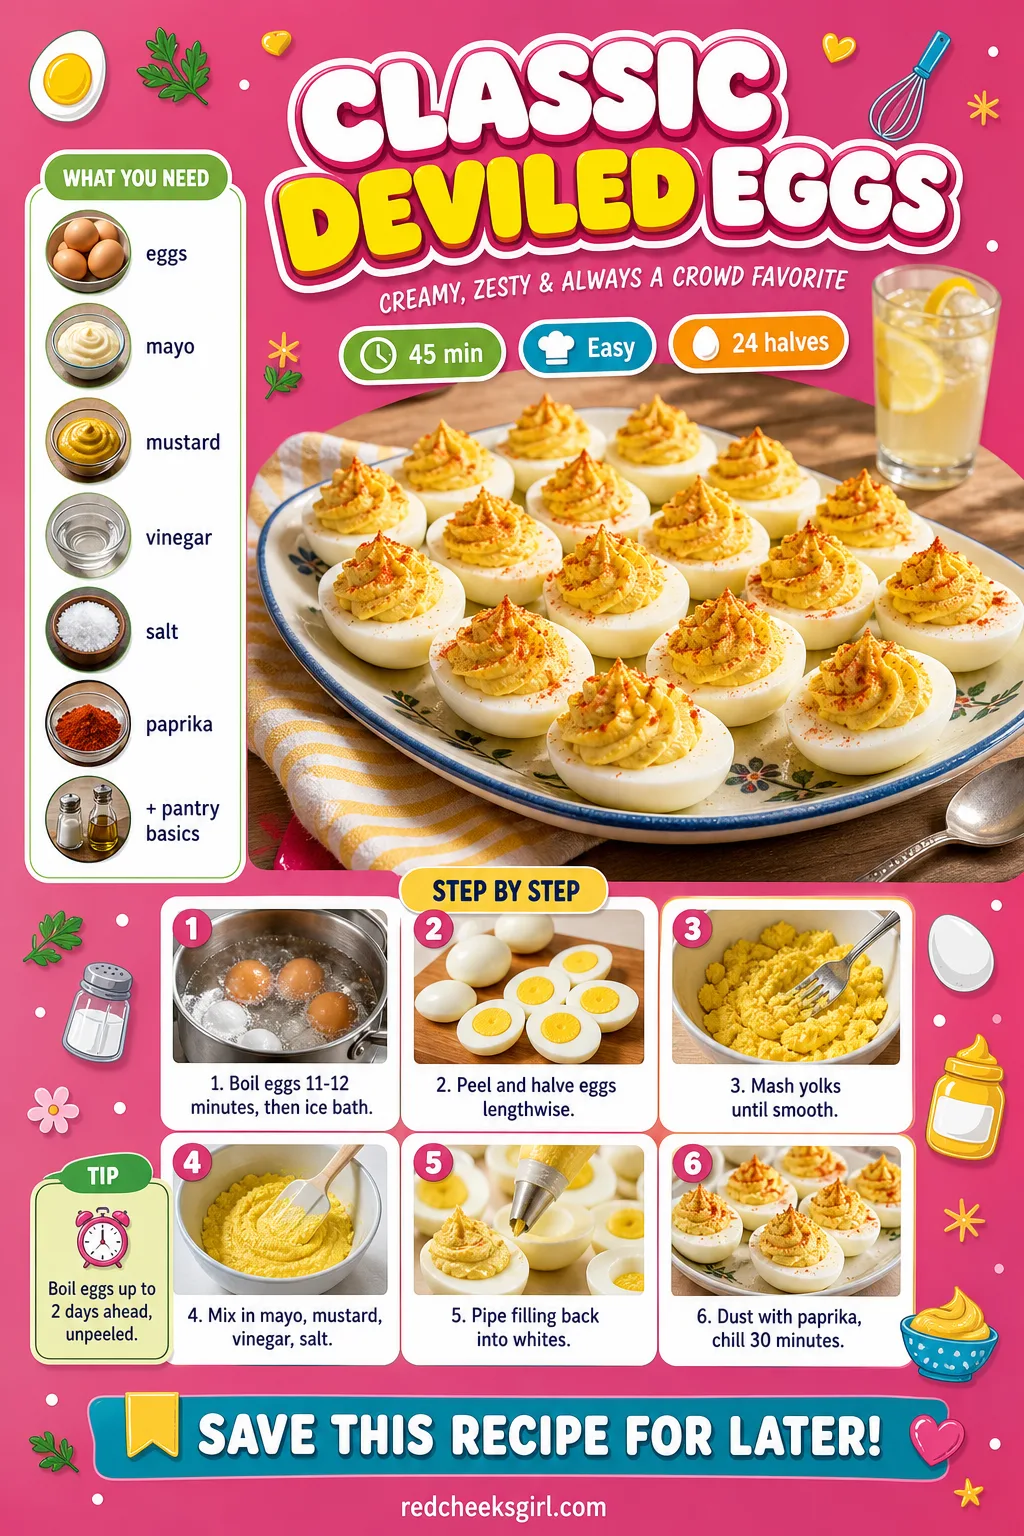
- Classic Deviled Eggs
- Bacon Ranch Deviled Eggs
- Shrimp Cocktail Cups
- Avocado Shrimp Cocktail Cups
- Sweet and Salty Popcorn Bar
- Fruit Skewers with Honey Yogurt Dip
- Rainbow Fruit Skewers
- Vanilla Cake Pops
- Gender-Reveal Surprise Cake Pops
- Classic Glazed Mini Donuts
- Powdered Sugar Mini Donut Holes
- Frequently Asked Questions
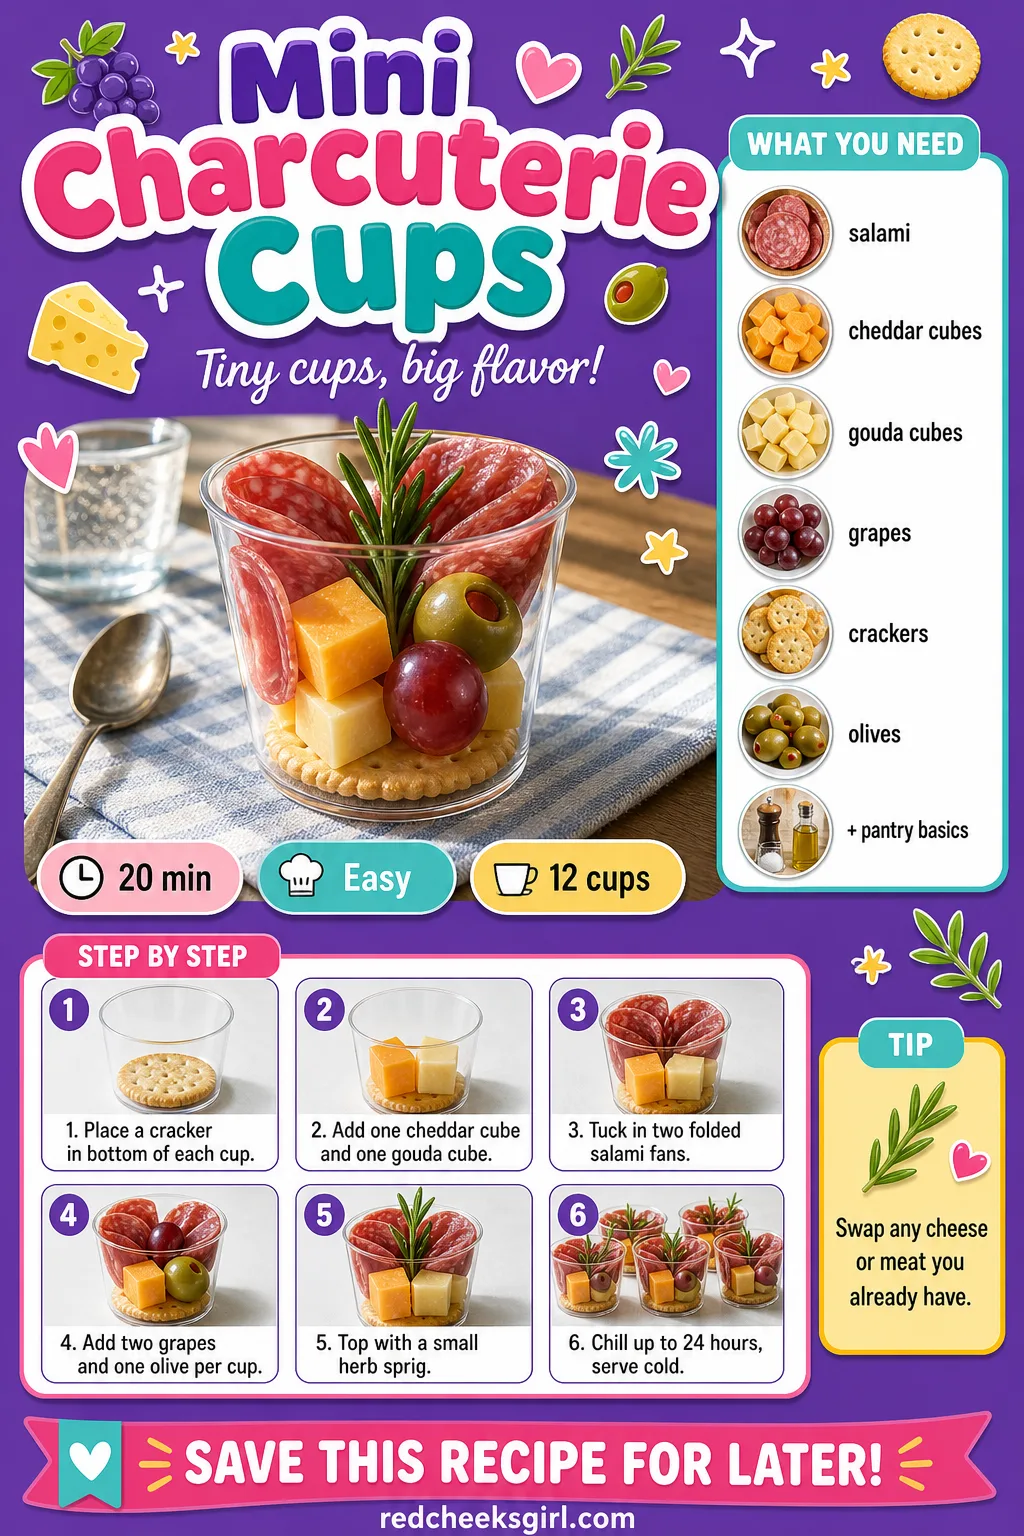
Mini Charcuterie Cups
A cheese board looks lovely until twelve people try to reach it at once with a plate in hand. Build it into cups instead and everyone gets their own, no elbowing required, and the whole tray can sit in the fridge overnight before anyone arrives.
Ingredients
- 2 oz sliced salami, folded into 24 small fans
- 6 oz cheddar cheese, cut into 24 half-inch cubes
- 6 oz gouda cheese, cut into 24 half-inch cubes
- 24 seedless red grapes
- 12 whole grain crackers
- 12 pitted kalamata olives
- 12 small clear cups (2 oz each)
Instructions
- Set out 12 small cups, such as 2 oz shot glasses or clear plastic cups, on a serving tray.
- Fold each salami slice in half, then in half again, into a small fan shape and set them aside.
- Cut the cheddar and gouda into half-inch cubes so they hold their shape and show through the glass.
- Drop one cracker flat into the bottom of each cup to act as a base the other pieces lean against.
- Add one cheddar cube and one gouda cube to each cup, pressing them against the side of the glass.
- Tuck two folded salami fans into each cup next to the cheese, points facing up and out.
- Add two grapes and one olive to each cup, filling the gaps so nothing slides to the bottom.
- Tuck a small herb sprig or toothpick upright in the centre of each cup for height.
- Cover the tray loosely with plastic wrap and refrigerate for up to 24 hours before the party.
- Pull the cups out 15 minutes before guests arrive so the cheese loses its fridge chill.
🛍 Shopping guide
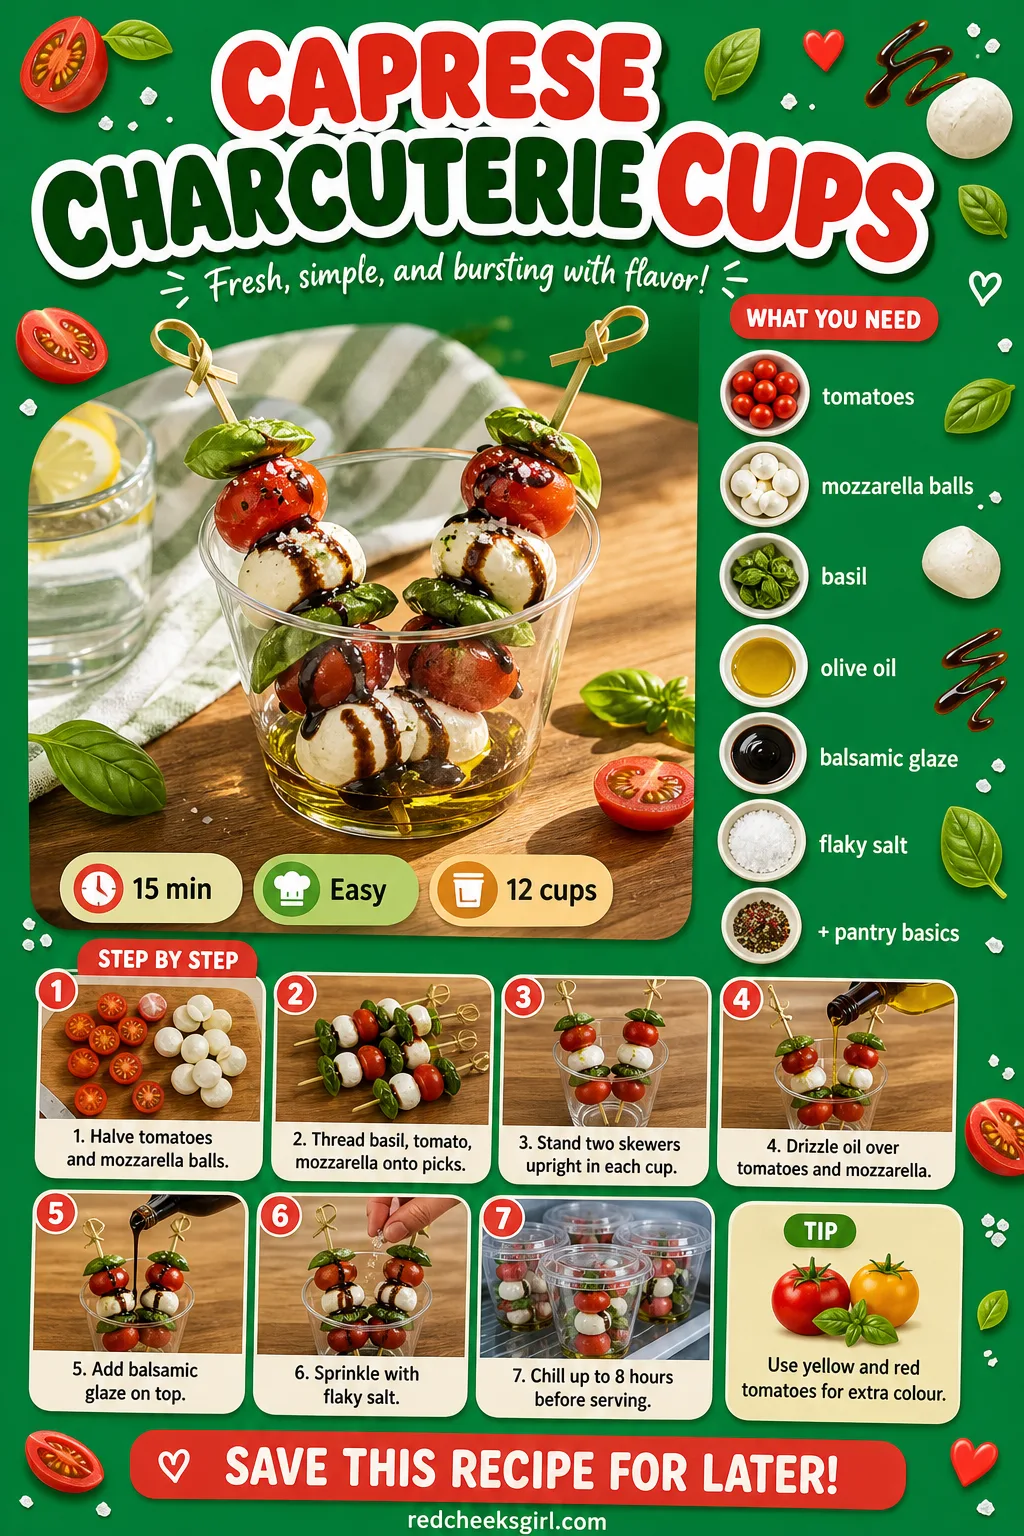
Caprese Charcuterie Cups
This is the cup for the guest who says she doesn’t eat much. Tomato, basil and mozzarella look fresh rather than heavy, and the balsamic drizzle on top does all the work a sauce would do without anyone needing a spoon.
Ingredients
- 24 cherry tomatoes, halved
- 12 mini mozzarella balls (bocconcini), halved
- 24 fresh basil leaves
- 2 tbsp olive oil
- 2 tbsp balsamic glaze
- 1/4 tsp flaky salt
- 12 small clear cups
Instructions
- Halve the cherry tomatoes and bocconcini so the cut sides face up and show their colour through the glass.
- Stack two basil leaves, one tomato half and one mozzarella half onto a toothpick, mozzarella on top.
- Repeat to make two skewers per cup, 24 total, so each cup gets a matching pair.
- Drizzle the tomatoes and mozzarella lightly with the olive oil before skewering so the basil doesn’t wilt.
- Stand both skewers upright in each cup, leaning them against opposite sides so they don’t tip.
- Drizzle a thin ribbon of balsamic glaze over the tops of all 12 cups.
- Finish each cup with a small pinch of flaky salt.
- Cover and refrigerate for up to 8 hours; the balsamic keeps the basil from browning.
- Bring the cups to room temperature for 10 minutes before serving so the oil doesn’t look cloudy.
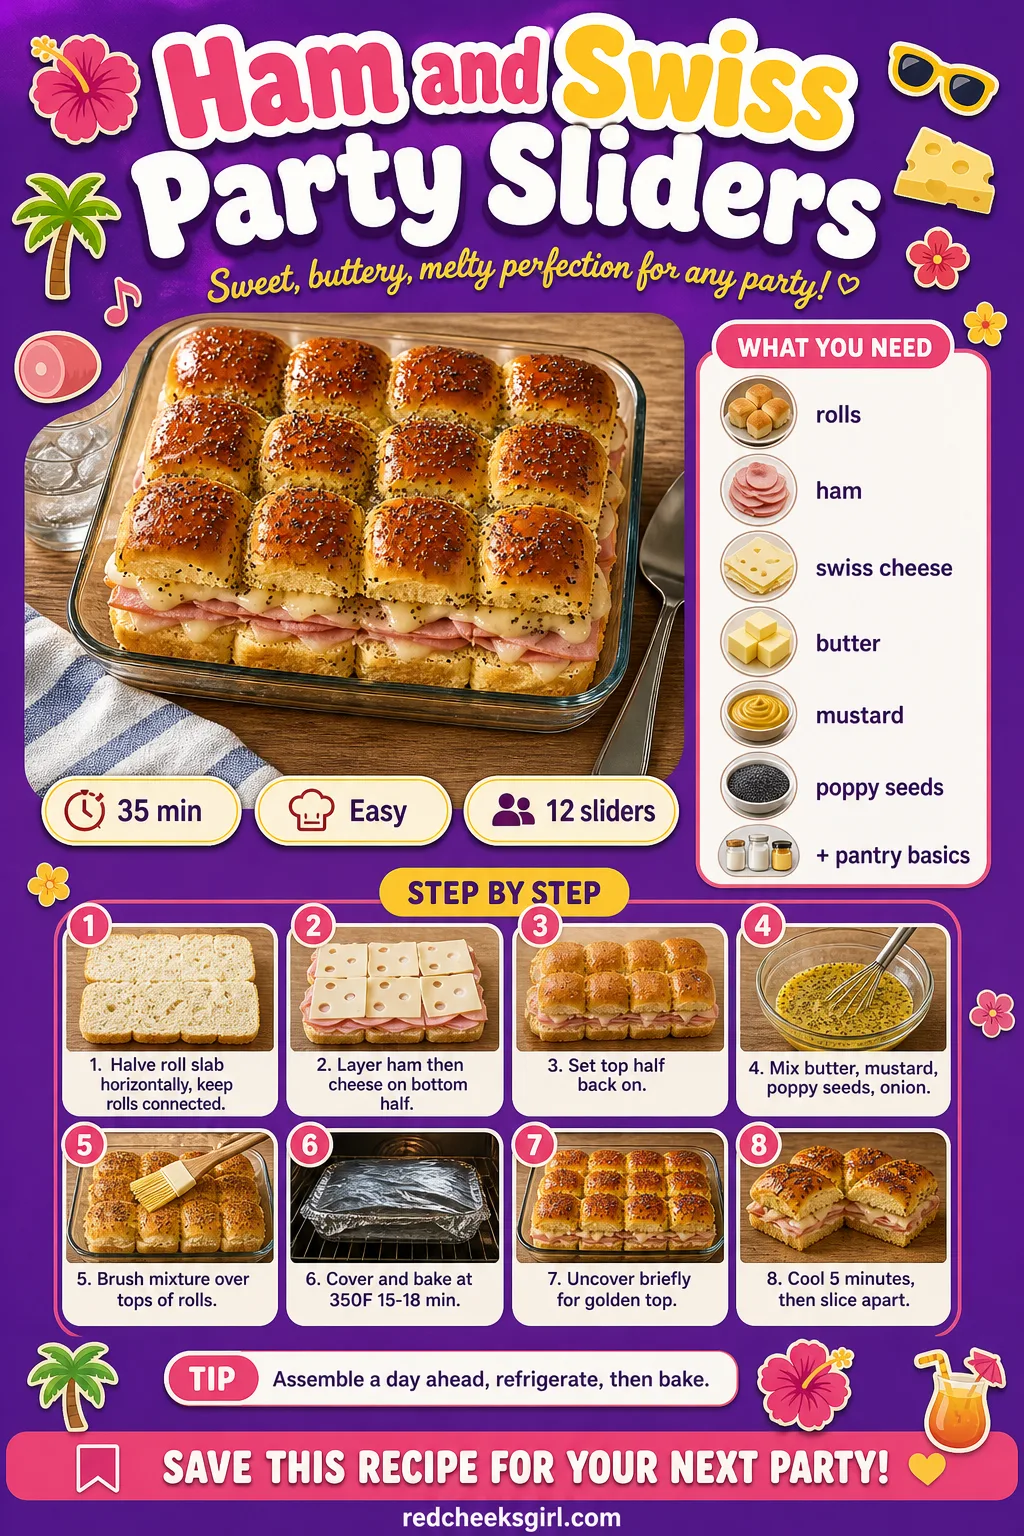
Ham and Swiss Party Sliders
These are the tray that disappears first, the one people circle back to twice without admitting it. Hawaiian rolls baked whole and sliced apart afterward mean no fiddly individual assembly, just one pan in and twelve sliders out.
Ingredients
- 12 Hawaiian sweet rolls (one 12-count package), left connected
- 1 lb deli ham, sliced
- 8 slices Swiss cheese
- 4 tbsp unsalted butter, melted
- 1 tbsp dijon mustard
- 1 tbsp poppy seeds
- 1 tsp dried minced onion
- 1/2 tsp Worcestershire sauce
Instructions
- Preheat the oven to 350F and line a 9×13 inch baking dish with foil, leaving an overhang on two sides.
- Without separating the rolls, slice the whole slab in half horizontally with a long serrated knife.
- Set the bottom half, cut side up, into the prepared dish.
- Layer the ham evenly over the rolls, then the Swiss cheese, edge to edge so every slider gets both.
- Set the top half of the rolls back on, cut side down, to close the sandwich.
- Whisk the melted butter, dijon, poppy seeds, dried onion and Worcestershire together until evenly combined.
- Brush the mixture generously over the tops of the rolls, letting it pool slightly in the seams.
- Cover the dish tightly with foil and bake for 15 to 18 minutes, until the cheese has fully melted.
- Uncover for the final 2 minutes if you want a deeper golden top, watching closely so the rolls don’t dry out.
- Let the sliders rest for 5 minutes before lifting the whole slab out by the foil overhang.
- Cut along the seams between rolls into 12 individual sliders using a sharp knife or pizza cutter.
BBQ Pulled Chicken Sliders
Rotisserie chicken does the heavy lifting here, so there is no actual cooking, just warming and stacking. The slaw on top keeps a sauce-heavy filling from sliding out the side the moment someone bites in.
Ingredients
- 12 slider buns
- 3 cups cooked shredded chicken
- 1 cup barbecue sauce
- 1 cup coleslaw mix (shredded cabbage and carrot)
- 2 tbsp mayonnaise
- 1 tbsp apple cider vinegar
- 1/2 tsp celery seed
- 1/4 cup dill pickle chips
Instructions
- Toss the shredded chicken with the barbecue sauce in a saucepan over low heat for 5 minutes, just until warmed through and glossy.
- While the chicken warms, stir the coleslaw mix, mayonnaise, vinegar and celery seed together until every strand is coated.
- Taste the slaw and add a pinch more vinegar if it needs brightness.
- Split the slider buns in half, keeping the connected bottom slab intact if yours come that way.
- Spoon a heaping tablespoon of the warm bbq chicken onto the bottom half of each bun.
- Top each with a spoonful of slaw, pressing down gently so it stays put when picked up.
- Add two pickle chips to each slider for crunch and tang.
- Set the top bun on and press down lightly so the slider holds together as one piece.
- Serve warm, or hold covered in a low 200F oven for up to 30 minutes if the party runs long.
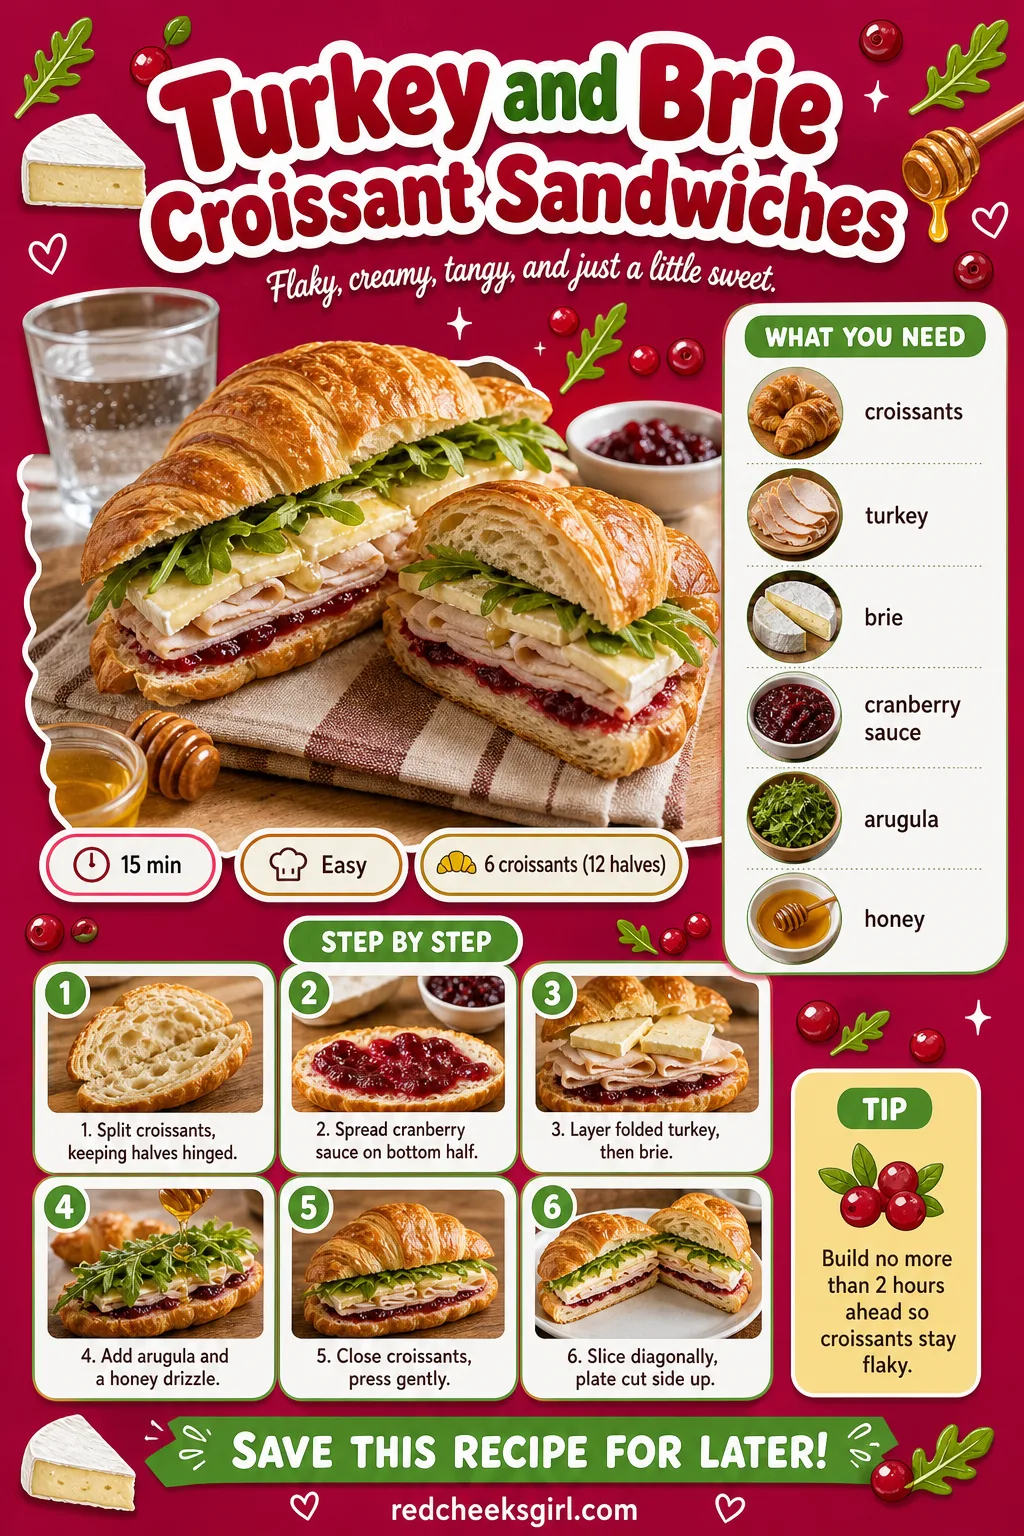
Turkey and Brie Croissant Sandwiches
Croissants make any sandwich look dressed up without any extra effort on your part, and the cranberry and brie combination tastes like a smaller, tidier version of a holiday plate. Build these no more than two hours ahead; the pastry goes soft if it sits any longer.
Ingredients
- 6 mini croissants, sliced horizontally
- 8 oz sliced turkey breast
- 4 oz brie, sliced thin, rind on
- 1/4 cup cranberry sauce
- 1 cup baby arugula
- 1 tbsp honey
Instructions
- Slice each croissant horizontally, keeping the two halves attached by a thin hinge at the back if possible.
- Spread about 2 teaspoons of cranberry sauce on the bottom half of each croissant.
- Lay a few slices of turkey, folded rather than flat, onto the cranberry so the sandwich has height, not just coverage.
- Add a slice or two of brie on top of the turkey while it’s still cool, so the cheese doesn’t need to melt to taste right.
- Tuck a small handful of arugula on top of the brie, letting a few leaves peek out the sides.
- Drizzle a few drops of honey over the arugula on each sandwich.
- Close the croissant and press down very gently, just enough to settle the layers without crushing the pastry.
- Slice each croissant in half on the diagonal and arrange cut side up so the layers show.
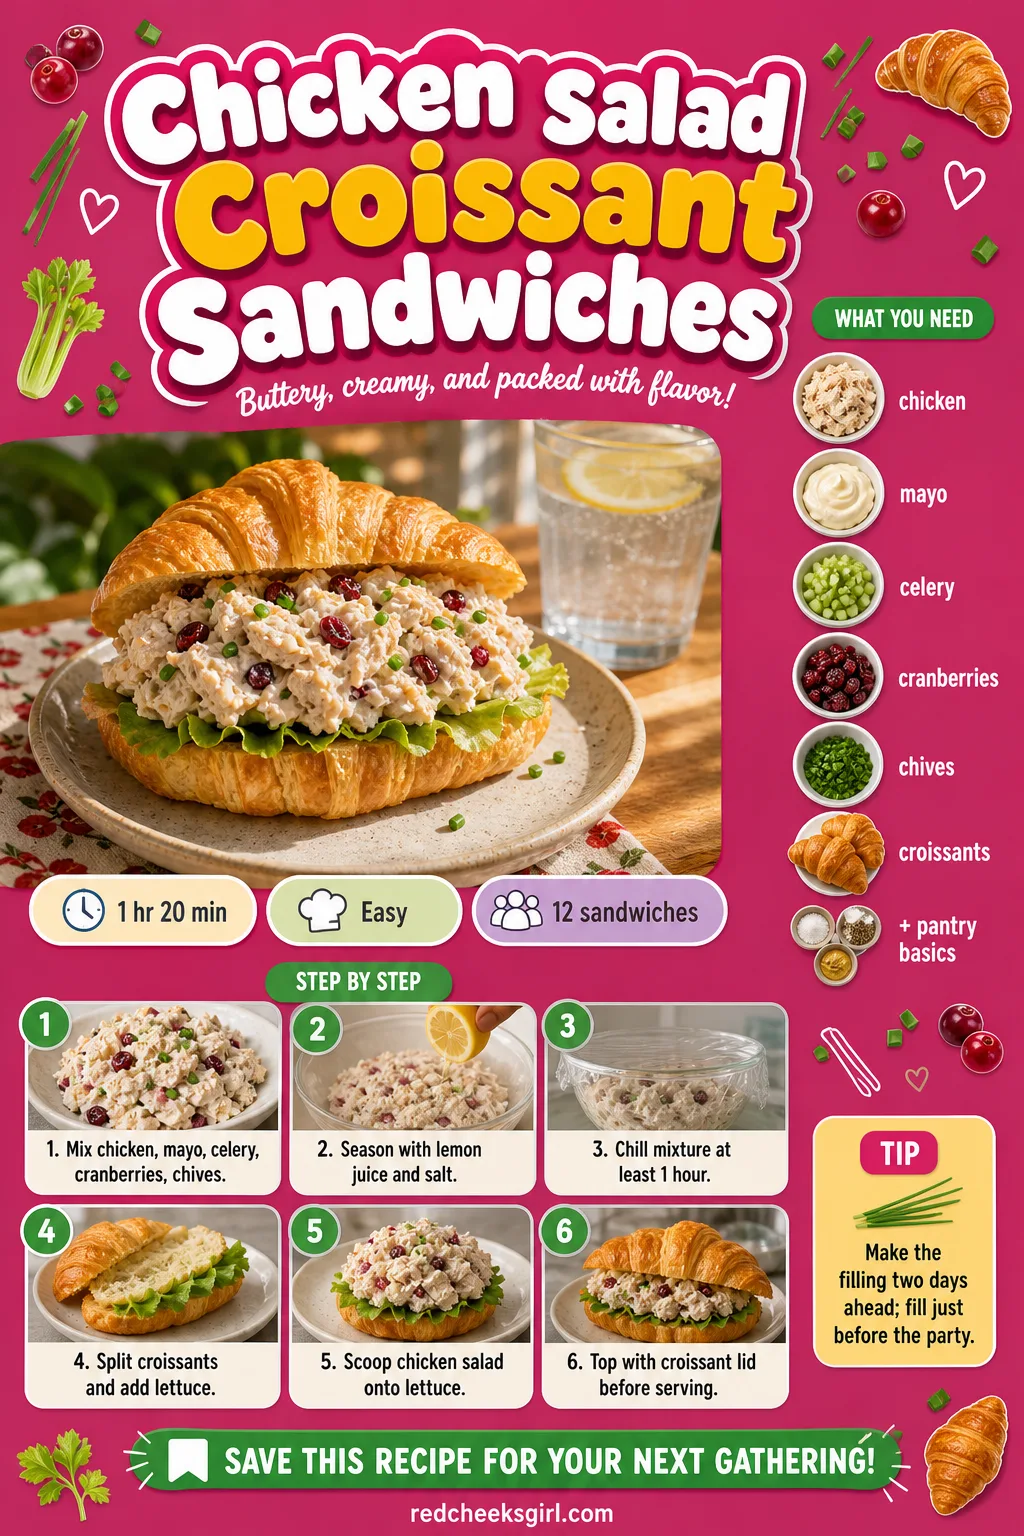
Chicken Salad Croissant Sandwiches
This is the sandwich for the guest who doesn’t love anything too rich; a little tang from the lemon and some crunch from celery keep it from tasting heavy. Make the filling two days out and the whole thing takes fifteen minutes on the day itself.
Ingredients
- 2 cups cooked chicken, diced small
- 1/3 cup mayonnaise
- 1 celery stalk, finely diced
- 2 tbsp dried cranberries, chopped
- 1 tbsp chopped fresh chives
- 1 tsp lemon juice
- 1/4 tsp salt
- 12 mini croissants, sliced
- 12 butter lettuce leaves
Instructions
- Stir the diced chicken, mayonnaise, celery, cranberries, chives, lemon juice and salt together until evenly coated and no dry pockets remain.
- Taste and add a touch more lemon juice if the mixture feels heavy; it should taste bright, not just creamy.
- Cover and chill the chicken salad for at least 1 hour, which lets the flavours settle and firms it for easier scooping.
- Slice the croissants horizontally, keeping the top and bottom halves separate for even filling.
- Lay one lettuce leaf on the bottom half of each croissant to act as a moisture barrier.
- Scoop about 3 tablespoons of chilled chicken salad onto the lettuce on each croissant.
- Set the top half of the croissant on at an angle so a bit of filling shows at the opening.
- Fill no more than 2 hours before serving and keep the tray refrigerated until guests arrive.
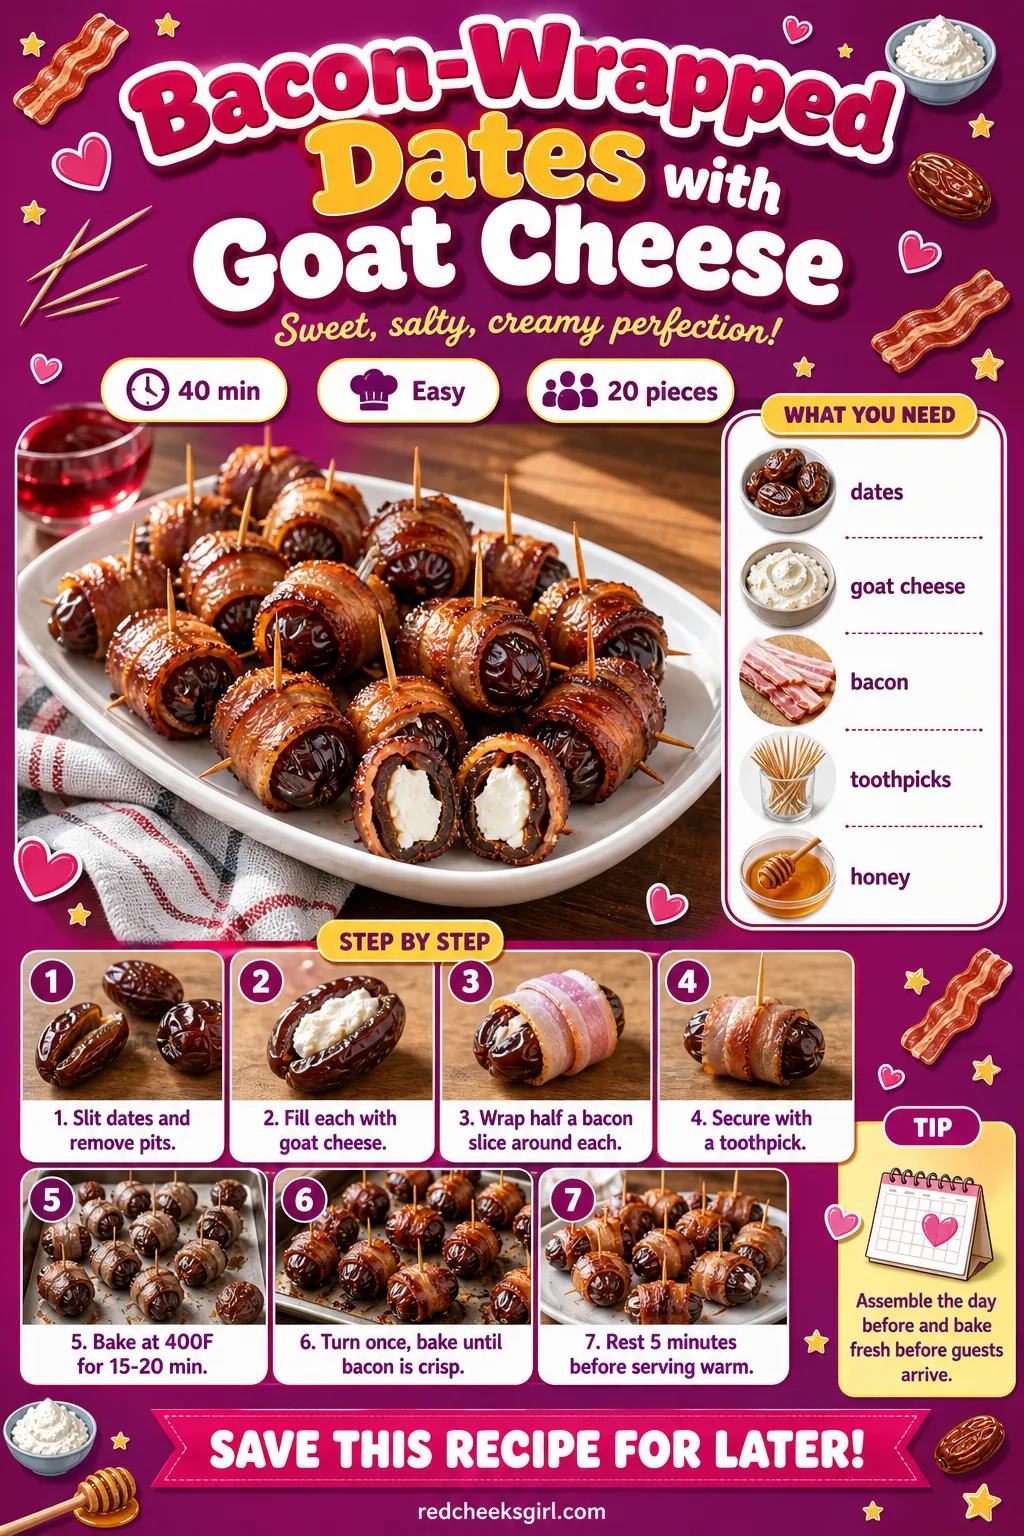
Bacon-Wrapped Dates with Goat Cheese
Sweet, salty, warm from the oven, these go first every single time. The toothpick does double duty: it holds the bacon shut and gives guests something to grab that isn’t the hot date itself.
Ingredients
- 20 Medjool dates, pitted
- 3 oz goat cheese, softened
- 10 slices bacon, cut in half
- 20 toothpicks
- 1 tbsp honey, for drizzling
Instructions
- Preheat the oven to 400F and line a baking sheet with parchment paper or foil.
- Slice each date lengthwise on one side only, enough to open it like a book without cutting all the way through.
- Remove the pit if it’s still in and press about 1/2 teaspoon of goat cheese into the opening of each date.
- Press the date closed around the cheese so none of it shows at the seam.
- Wrap half a slice of bacon snugly around each stuffed date, overlapping the ends.
- Secure the bacon with a toothpick through the centre so it doesn’t unravel in the oven.
- Arrange the dates seam side down on the baking sheet, leaving space between each so the bacon crisps on all sides.
- Bake for 15 to 20 minutes, turning once halfway, until the bacon is deeply browned and crisp at the edges.
- Check doneness by lifting one with tongs: the bacon should hold its shape and feel firm, not floppy.
- Let the dates rest on the tray for 5 minutes, since the filling is extremely hot right after baking, then drizzle with honey.
Maple Bacon-Wrapped Dates with Pecans
A pecan inside instead of cheese gives this one a different crunch, and the maple glaze pushes it closer to dessert than appetizer. If little ones will be in the room, leave out the cayenne and nobody will miss it.
Ingredients
- 20 Medjool dates, pitted
- 20 pecan halves
- 10 slices bacon, cut in half
- 2 tbsp maple syrup
- 1/4 tsp cayenne pepper (optional)
- 20 toothpicks
Instructions
- Preheat the oven to 400F and set a wire rack inside a rimmed baking sheet so the fat drips away and the bacon crisps evenly.
- Press one pecan half into each pitted date, tucking it in so it sits flush with the opening.
- Wrap half a slice of bacon around each stuffed date, pulling it snug but not tight enough to tear.
- Secure each with a toothpick through the centre.
- Whisk the maple syrup and cayenne together, if using, and brush it lightly over each wrapped date.
- Arrange the dates on the rack, leaving space between them so hot air can circulate.
- Bake for 15 to 20 minutes, until the bacon is browned and crisp and the pecan smells toasted.
- Brush with the remaining maple syrup in the last 5 minutes for a shinier glaze, watching closely so it doesn’t burn.
- Let the dates cool on the rack for 5 minutes before piling onto a platter; the glaze stays hot longer than you expect.
Baked Brie Bites with Honey and Walnuts
A whole wheel of baked brie looks grand but turns into a scooping scrum within minutes. Portioning it into pastry cups solves that, and the walnuts on top give it a little bite against all that soft cheese; skip them for nut-allergy guests and nobody will notice the difference.
Ingredients
- 1 sheet puff pastry, thawed
- 8 oz brie, cut into 24 small cubes, rind on
- 1/4 cup honey
- 1/4 cup chopped walnuts
- 1 egg, beaten
- 1 tsp fresh thyme leaves
Instructions
- Preheat the oven to 400F and lightly grease a 24-cup mini muffin tin.
- Roll the thawed puff pastry out slightly, just enough to smooth the seams, then cut into 24 roughly 2-inch squares.
- Press each square into a muffin cup, pushing it up the sides so the corners stand up like petals.
- Tuck one cube of brie into each pastry cup.
- Brush the exposed pastry edges with the beaten egg so they turn deep gold rather than pale.
- Bake for 12 to 15 minutes, until the pastry is puffed and golden and the brie has softened and slumped slightly.
- Watch the last few minutes closely: pastry that’s pale needs more time, pastry that’s dark at the tips is done.
- Remove from the oven and let the bites sit in the tin for 3 minutes; the brie is molten and will firm up just enough to lift cleanly.
- Run a thin knife around each cup and lift the bites onto a platter.
- Drizzle the warm bites with honey and scatter the walnuts and thyme over the top.
- Serve within 30 minutes of baking, while the brie is still soft in the centre.
Cranberry Baked Brie Bites
Use the same muffin tin as the honey version and bake both trays back to back; the only real change is swapping the topping, so there is no extra effort for a second flavour on the table. The tart cranberry cuts through the richness in a way the honey version doesn’t.
Ingredients
- 1 sheet puff pastry, thawed
- 8 oz brie, cut into 24 small cubes
- 1/3 cup whole berry cranberry sauce
- 1 egg, beaten
- 1 tbsp chopped fresh rosemary (optional)
Instructions
- Preheat the oven to 400F and grease a 24-cup mini muffin tin.
- Cut the puff pastry into 24 small squares, about 2 inches across.
- Press each square into a muffin cup so the corners stand up above the rim.
- Place a brie cube into each cup, then top with about 1/2 teaspoon of cranberry sauce.
- Brush the pastry edges with egg wash so they bake to an even golden colour.
- Bake for 12 to 15 minutes, until the pastry is puffed and deeply golden and the cranberry sauce is bubbling slightly.
- Check that the centre pastry isn’t raw by peeking underneath one bite; it should look dry and flaky, not wet.
- Cool in the tin for 3 minutes before lifting out with a thin knife or small offset spatula.
- Scatter chopped rosemary over the top if using.
- Serve warm; the filling re-sets as it cools, so these taste best within the first hour.
Classic Deviled Eggs
Every shower has at least one guest who will eat four of these and nothing else, and honestly, fair enough. Boil the eggs up to two days ahead and leave them unpeeled; the filling comes together in minutes once that part is done.
Ingredients
- 12 large eggs
- 1/3 cup mayonnaise
- 1 tbsp yellow mustard
- 1 tsp white vinegar
- 1/4 tsp salt
- 1/8 tsp black pepper
- 1/2 tsp paprika, for garnish
Instructions
- Place the eggs in a single layer in a saucepan and cover with cold water by 1 inch.
- Bring to a boil over high heat, then cover, remove from the heat and let sit for 11 to 12 minutes.
- Drain and transfer the eggs immediately to a bowl of ice water for 5 minutes to stop the cooking.
- Peel the eggs under cool running water, starting at the wider end where the air pocket sits.
- Slice each egg in half lengthwise and gently pop the yolks into a bowl, setting the whites cut side up.
- Mash the yolks with a fork until no lumps remain, then mix in the mayonnaise, mustard, vinegar, salt and pepper.
- Check the texture: the filling should hold a soft peak on the fork; add a touch more mayonnaise if it looks dry.
- Spoon or pipe the yolk mixture back into the egg white halves, mounding it slightly above the rim.
- Dust the tops with paprika and refrigerate for at least 30 minutes before serving.
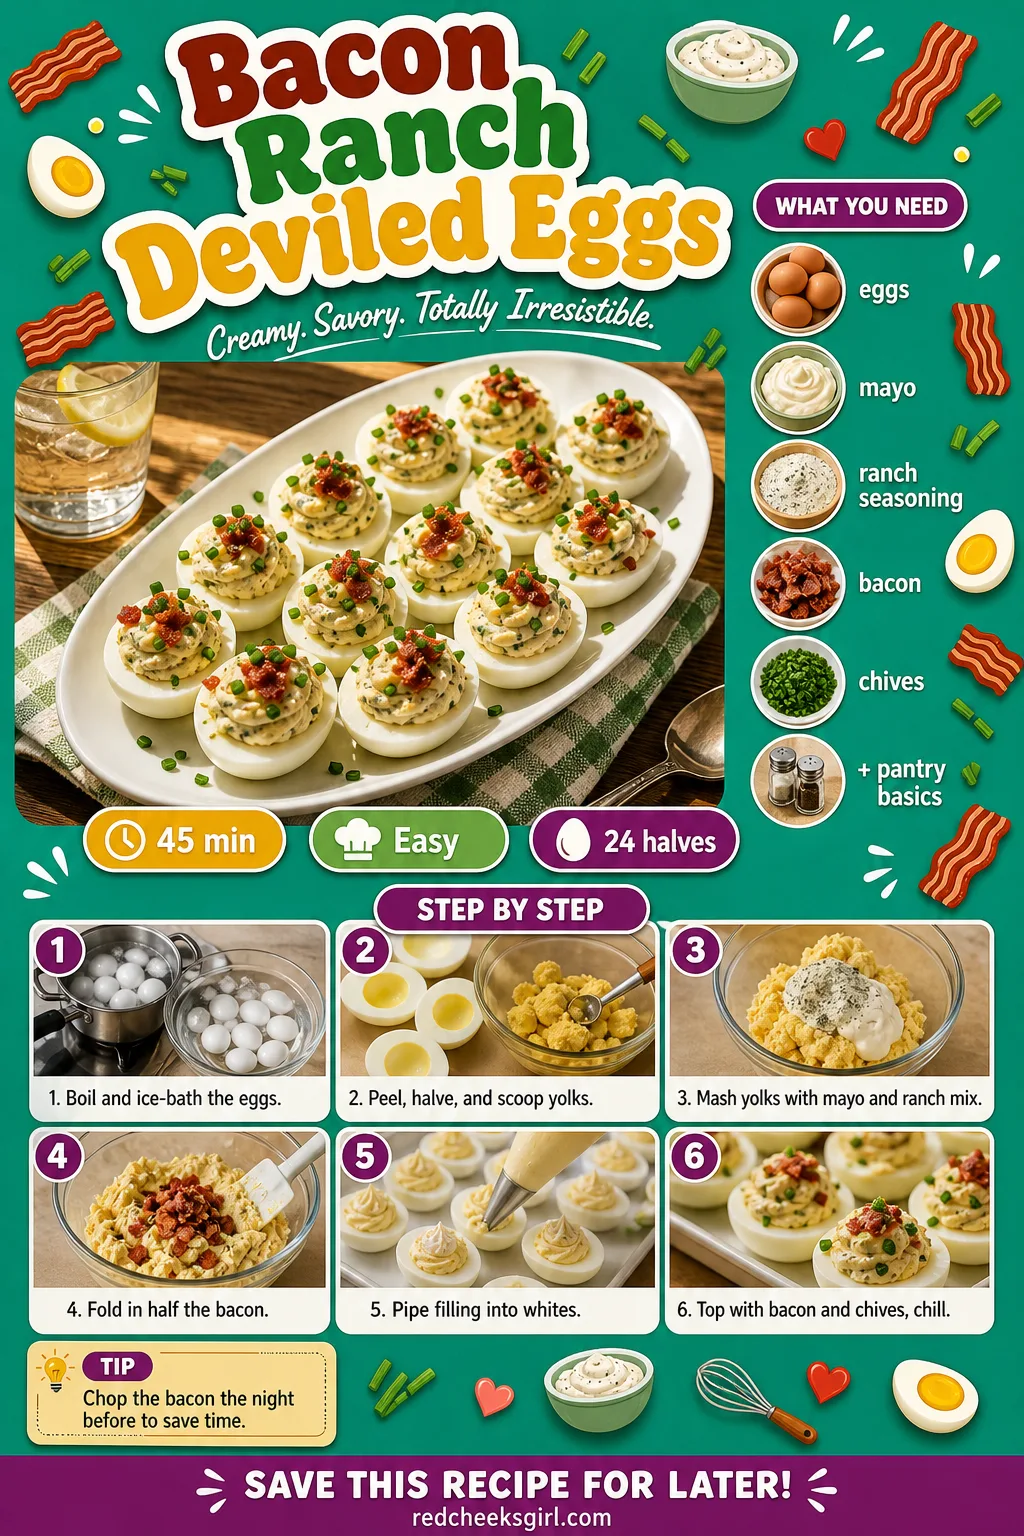
Bacon Ranch Deviled Eggs
If the classic version feels a bit plain for your table, this is the louder cousin: ranch seasoning instead of plain mustard tang, bacon bits scattered on top for crunch. Chop the bacon the night before and this is a ten-minute job on the day.
Ingredients
- 12 large eggs
- 1/3 cup mayonnaise
- 1 tbsp ranch seasoning mix
- 1 tsp white vinegar
- 1/4 cup cooked bacon, finely chopped
- 1 tbsp chopped fresh chives
Instructions
- Place eggs in a saucepan, cover with cold water by 1 inch and bring to a boil.
- Cover, remove from heat and let stand 11 to 12 minutes before draining.
- Transfer to ice water for 5 minutes, then peel under cool running water.
- Halve the eggs lengthwise and scoop the yolks into a bowl, keeping the whites intact.
- Mash the yolks smooth, then stir in the mayonnaise, ranch seasoning and vinegar until light and creamy.
- Fold in half of the chopped bacon, saving the rest for garnish.
- Taste the filling: it should taste tangy and savoury, not salty; add a pinch more ranch seasoning if it’s flat.
- Pipe the filling into the egg whites, mounding it generously.
- Top each with a pinch of the remaining bacon and a few chives, then chill for at least 30 minutes.
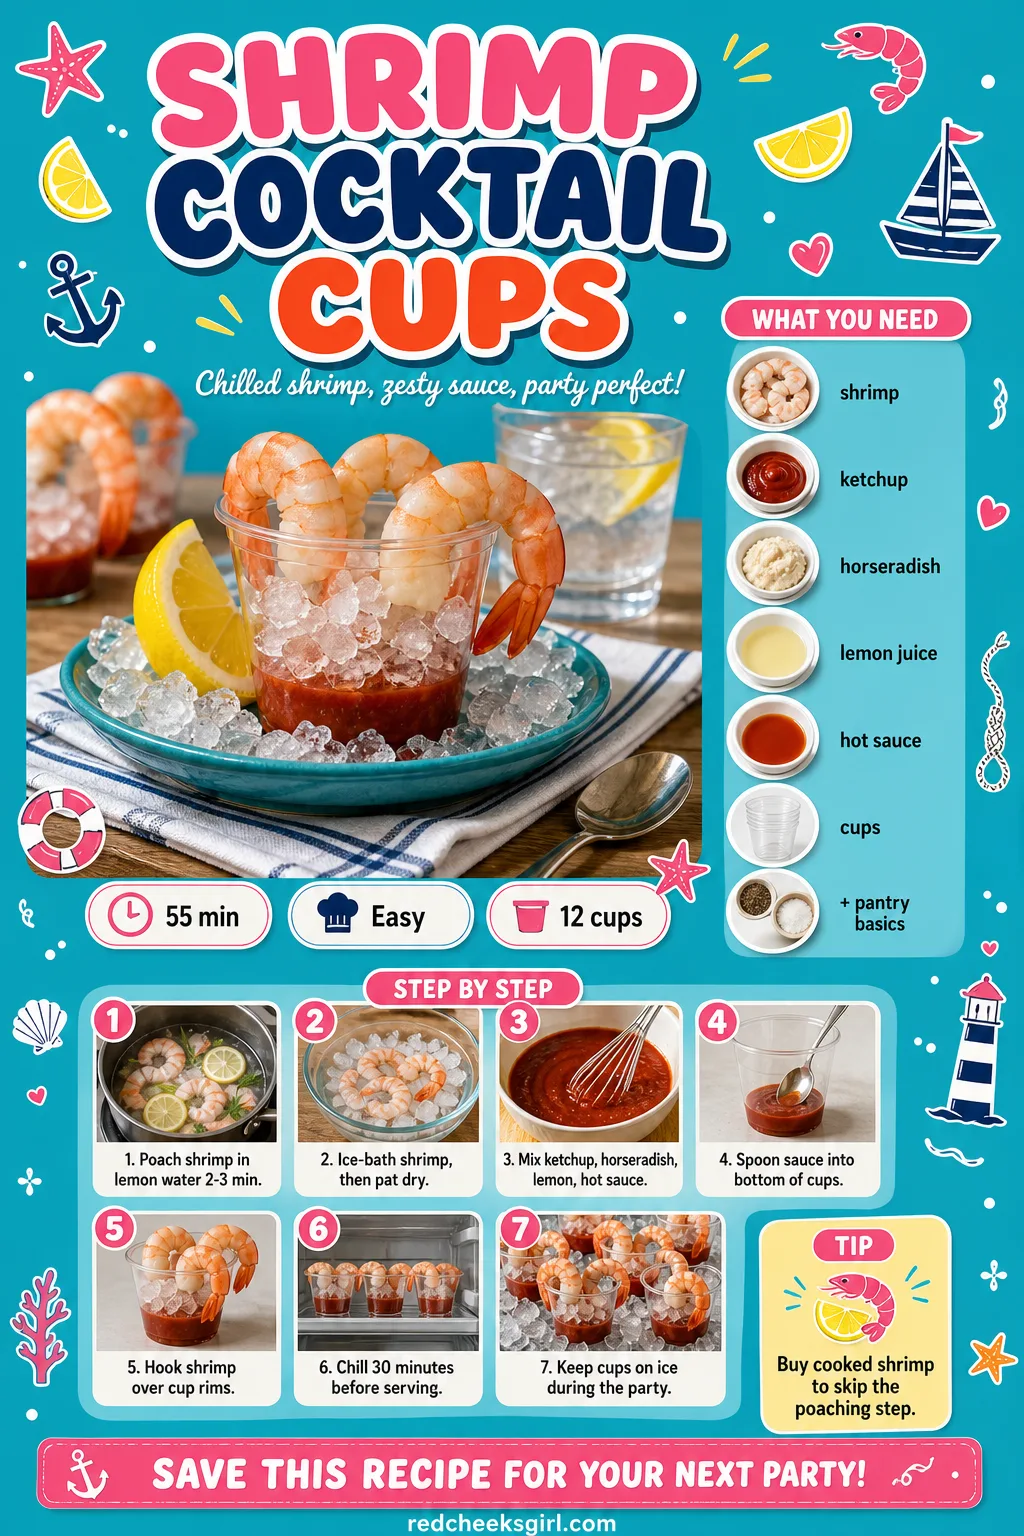
Shrimp Cocktail Cups
Shrimp cocktail stops being a shared bowl of awkward dipping and becomes something each guest can lift by the tail, no fork, no dribbling sauce down a wrist. Buy the shrimp already cooked if you want to skip the stovetop step entirely.
Ingredients
- 1 lb large shrimp (16-20 count), peeled, deveined, tails on
- 1 lemon, halved
- 2 bay leaves
- 3/4 cup ketchup
- 2 tbsp prepared horseradish
- 1 tbsp fresh lemon juice
- 1/2 tsp hot sauce
- 12 small clear cups
Instructions
- Bring a large pot of water to a boil with the lemon halves and bay leaves.
- Add the shrimp and cook for 2 to 3 minutes, just until they turn pink and curl into a loose C shape.
- Drain immediately and transfer the shrimp to a bowl of ice water to stop the cooking and keep them snappy.
- Drain again once cooled and pat the shrimp dry with paper towels.
- Stir the ketchup, horseradish, lemon juice and hot sauce together until smooth; taste and add more horseradish for heat.
- Spoon about 1 tablespoon of cocktail sauce into the bottom of each of the 12 cups.
- Hook 3 to 4 shrimp over the rim of each cup, tails pointing outward, so guests can lift them without touching the sauce.
- Chill the cups for at least 30 minutes, covered, so the shrimp firms up and the flavours meld.
- Garnish with a small lemon wedge tucked into each cup just before serving.
- Serve within 2 hours of assembling and keep the tray nestled in ice, since shrimp spoils quickly at room temperature.
🛍 Shopping guide
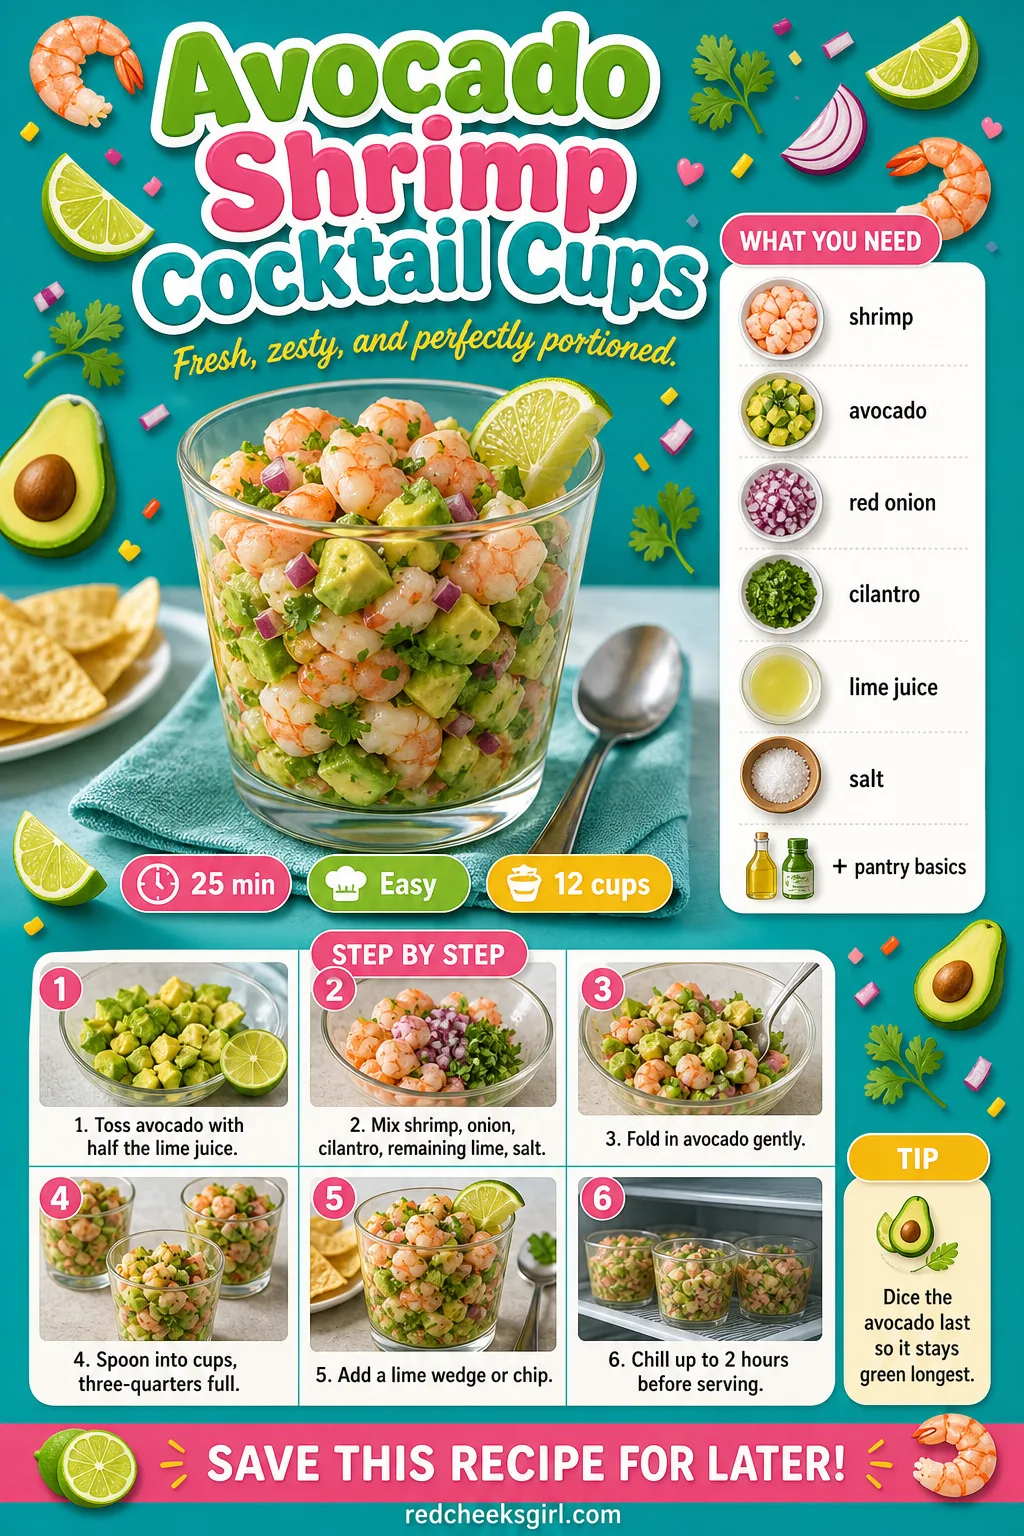
Avocado Shrimp Cocktail Cups
A chunkier, greener take on the classic, closer to a ceviche than a cocktail. Dice the avocado last and toss it with lime right away so it doesn’t brown before you’ve even finished filling the cups.
Ingredients
- 1 lb cooked small shrimp, chopped
- 2 ripe avocados, diced
- 1/4 cup finely diced red onion
- 2 tbsp chopped cilantro
- 2 tbsp lime juice
- 1/2 tsp salt
- 12 small cups
- lime wedges or tortilla chips, for garnish
Instructions
- Toss the diced avocado with half the lime juice right away so the flesh stays green while you prep everything else.
- Chop the cooked shrimp into bite-sized pieces if they aren’t already small.
- Combine the shrimp, red onion, cilantro, remaining lime juice and salt in a bowl, stirring gently.
- Fold in the avocado last, just until combined; overmixing turns the whole thing into guacamole.
- Taste and adjust the salt and lime; the mixture should taste bright, since the cups will sit out and mellow.
- Spoon the mixture evenly into 12 small cups, filling each about three-quarters full.
- Tuck a lime wedge or a small tortilla chip into the side of each cup.
- Cover and chill for up to 2 hours; any longer and the avocado softens too much.
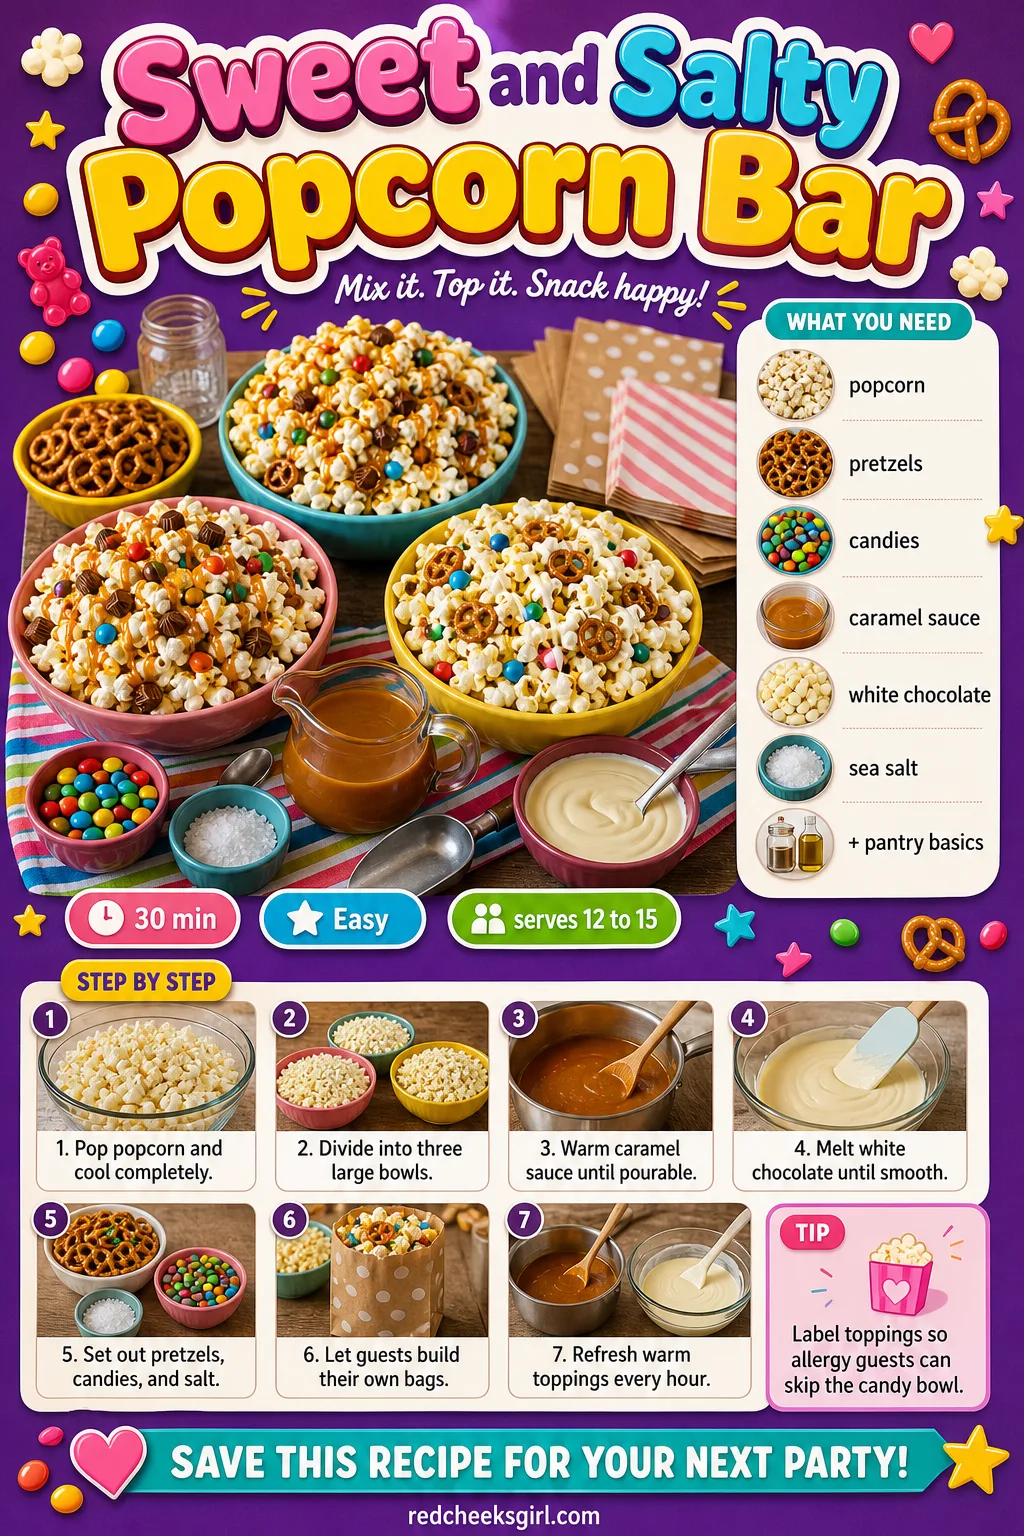
Sweet and Salty Popcorn Bar
This one is less a recipe than a setup, which is exactly its appeal: pop the popcorn, set out bowls, let guests build their own bag instead of waiting for you to fill a plate. Label the candy bowl clearly, since it usually hides the peanuts someone needs to avoid.
Ingredients
- 12 cups popped popcorn (about 1/2 cup kernels)
- 1 cup mini pretzels
- 1 cup M&M’s or chocolate candies
- 1/2 cup caramel sauce, warmed
- 1/2 cup white chocolate, melted
- 1/4 cup flaky sea salt
- small paper bags or cups, for serving
Instructions
- Pop the popcorn and spread it on a large sheet pan to cool completely; warm popcorn makes toppings slide off instead of sticking.
- Divide the cooled popcorn between three large bowls so guests can mix and match rather than queue at one station.
- Warm the caramel sauce in the microwave in 15-second bursts, stirring between each, until it pours easily from a spoon.
- Melt the white chocolate the same way, stopping as soon as it’s smooth, since overheating turns it grainy.
- Set out small bowls of pretzels, candies and flaky sea salt next to the popcorn bowls.
- Place the warm caramel and melted white chocolate in squeeze bottles or small pitchers so guests can drizzle rather than dip.
- Stack paper bags or cups beside the station along with scoops, so people build their own mix one-handed.
- Label each bowl with a small card so guests with allergies can see what’s in each topping.
- Refresh the caramel and chocolate every hour if they start to firm up, since both set as they cool.
🛍 Shopping guide
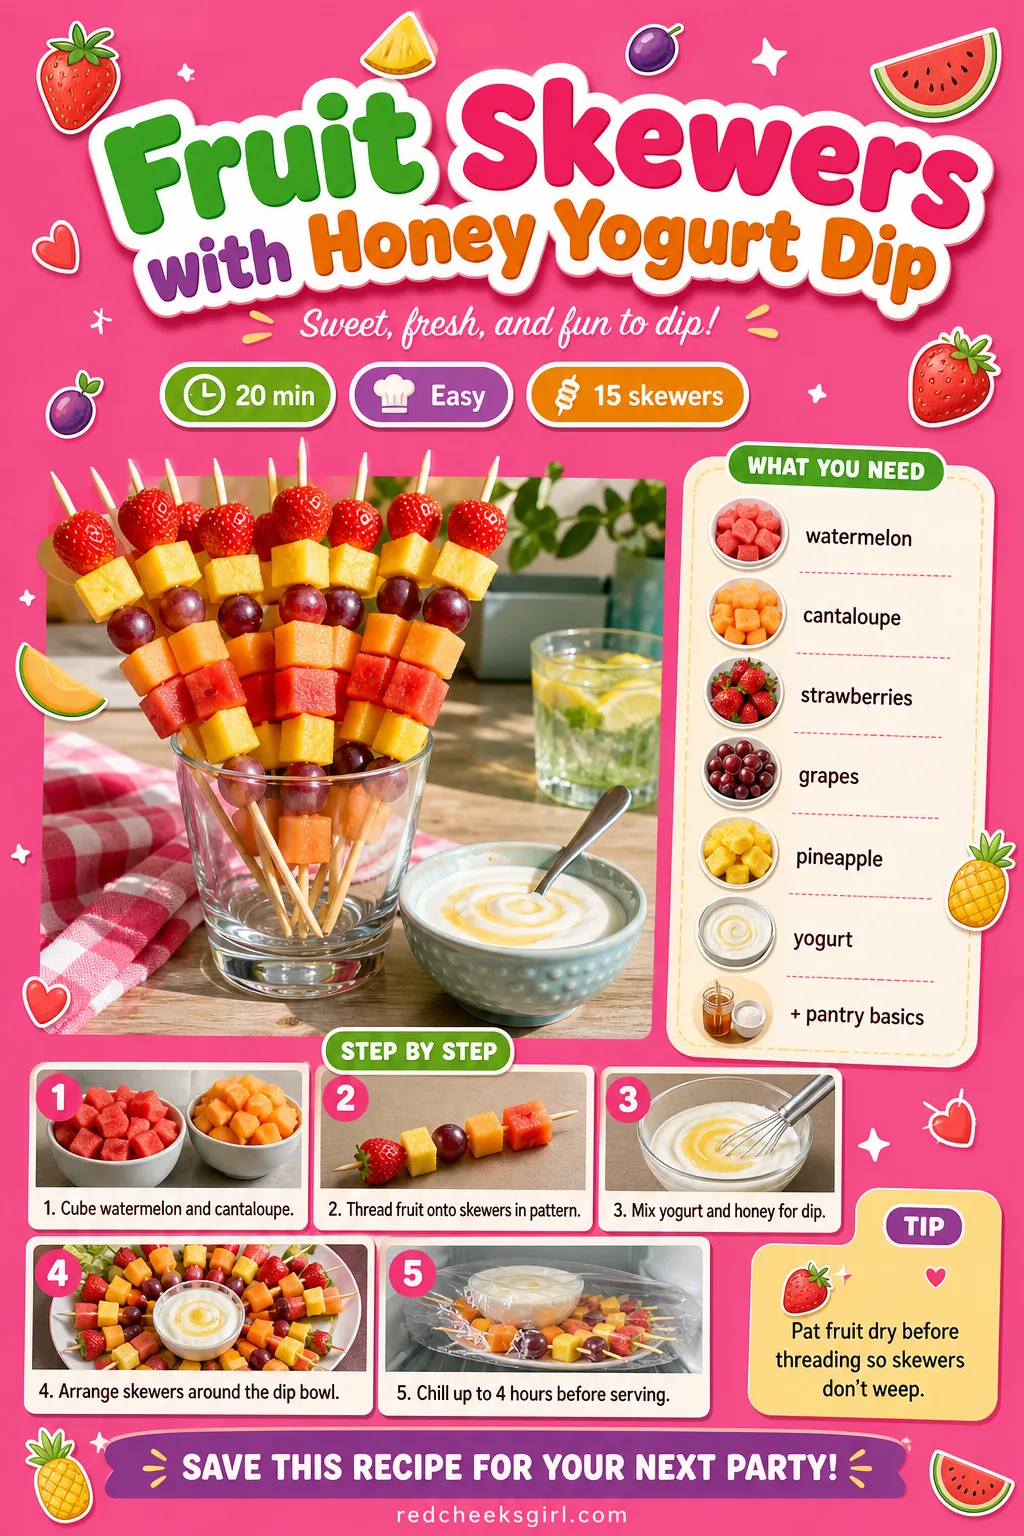
Fruit Skewers with Honey Yogurt Dip
Something has to counterbalance all that bacon and brie, and this is it: cool, sweet, nothing to chew through but fruit. Pat the pieces dry before threading, or the skewers weep juice onto the tray before anyone’s even picked one up.
Ingredients
- 2 cups watermelon, cut into 1-inch cubes
- 2 cups cantaloupe, cut into 1-inch cubes
- 2 cups strawberries, hulled
- 1 cup green grapes
- 1 cup pineapple chunks
- 1 cup plain Greek yogurt
- 2 tbsp honey
- 15 wooden skewers (6-inch)
Instructions
- Cut the watermelon and cantaloupe into roughly 1-inch cubes so each piece threads easily and sits flush against the next.
- Hull the strawberries and leave the grapes and pineapple as they are.
- Thread the fruit onto the skewers in a repeating pattern of strawberry, pineapple, grape and melon, leaving an inch bare at the handle end.
- Lay the finished skewers on a tray lined with paper towel to catch any drips of juice.
- Stir the Greek yogurt and honey together in a small bowl until smooth and lump-free.
- Taste the dip and add a touch more honey if the yogurt is very tart.
- Arrange the skewers around the bowl of dip, standing some upright in a glass if you want height.
- Cover and chill for up to 4 hours; fruit that sits much longer starts to weep and the skewers go soft.
Rainbow Fruit Skewers
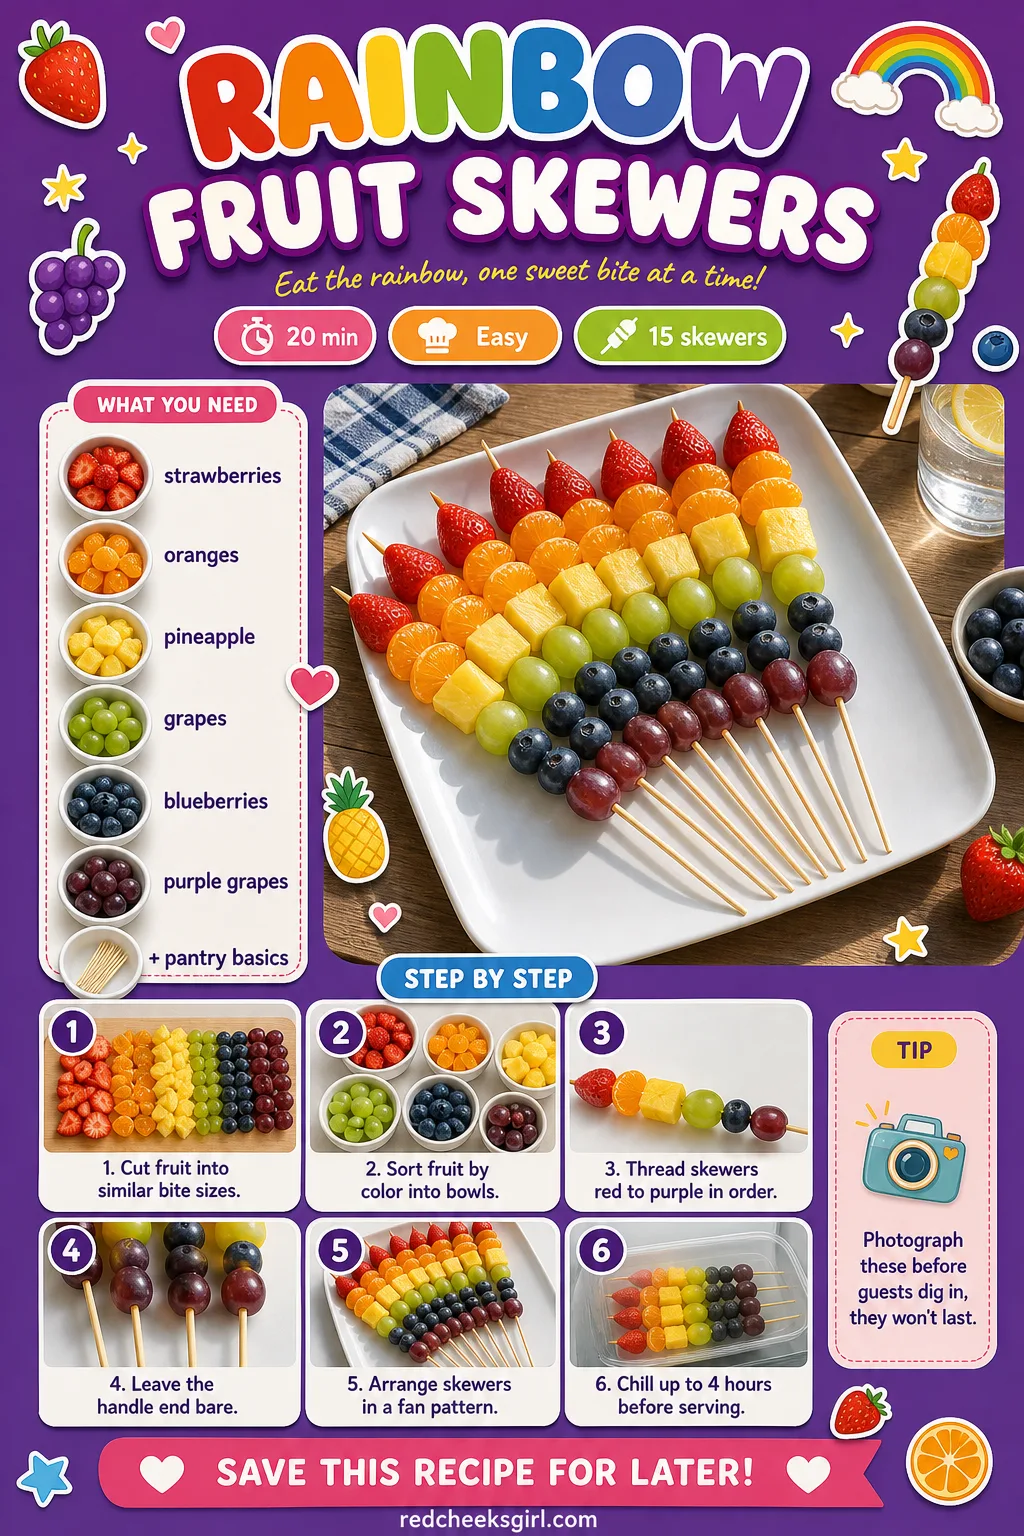
This is the tray people photograph before they eat, which makes it worth the extra sorting time. Keep a separate bowl per colour so you aren’t hunting through a mixed pile for the one purple grape you need; it also fits right alongside the 16 Viral Baby Shower Food Ideas People Will Film Before They Eat if the table needs one more showpiece.
Ingredients
- 1 cup strawberries, hulled and halved
- 1 cup orange segments or cantaloupe cubes
- 1 cup pineapple chunks
- 1 cup green grapes
- 1 cup blueberries
- 1 cup red or purple grapes
- 15 wooden skewers
Instructions
- Cut all fruit into similar bite-sized pieces, roughly the size of a grape, so the colour blocks read evenly down the skewer.
- Lay out six small bowls and sort the fruit by hue: red, orange, yellow, green, blue, purple.
- Thread each skewer starting with the red fruit closest to the point, then work through the colours in order toward the handle.
- Leave the last inch of each skewer bare so it’s easy to hold without touching the fruit.
- Wipe the skewer between colours if juice starts transferring, since one smear of berry juice dulls the next colour.
- Lay the finished skewers on a tray in a fan pattern so the full rainbow shows from above.
- Cover loosely with plastic wrap and chill for up to 4 hours.
- Pull the tray out 10 minutes before serving so the fruit isn’t ice-cold and tasteless.
🛍 Shopping guide
Vanilla Cake Pops
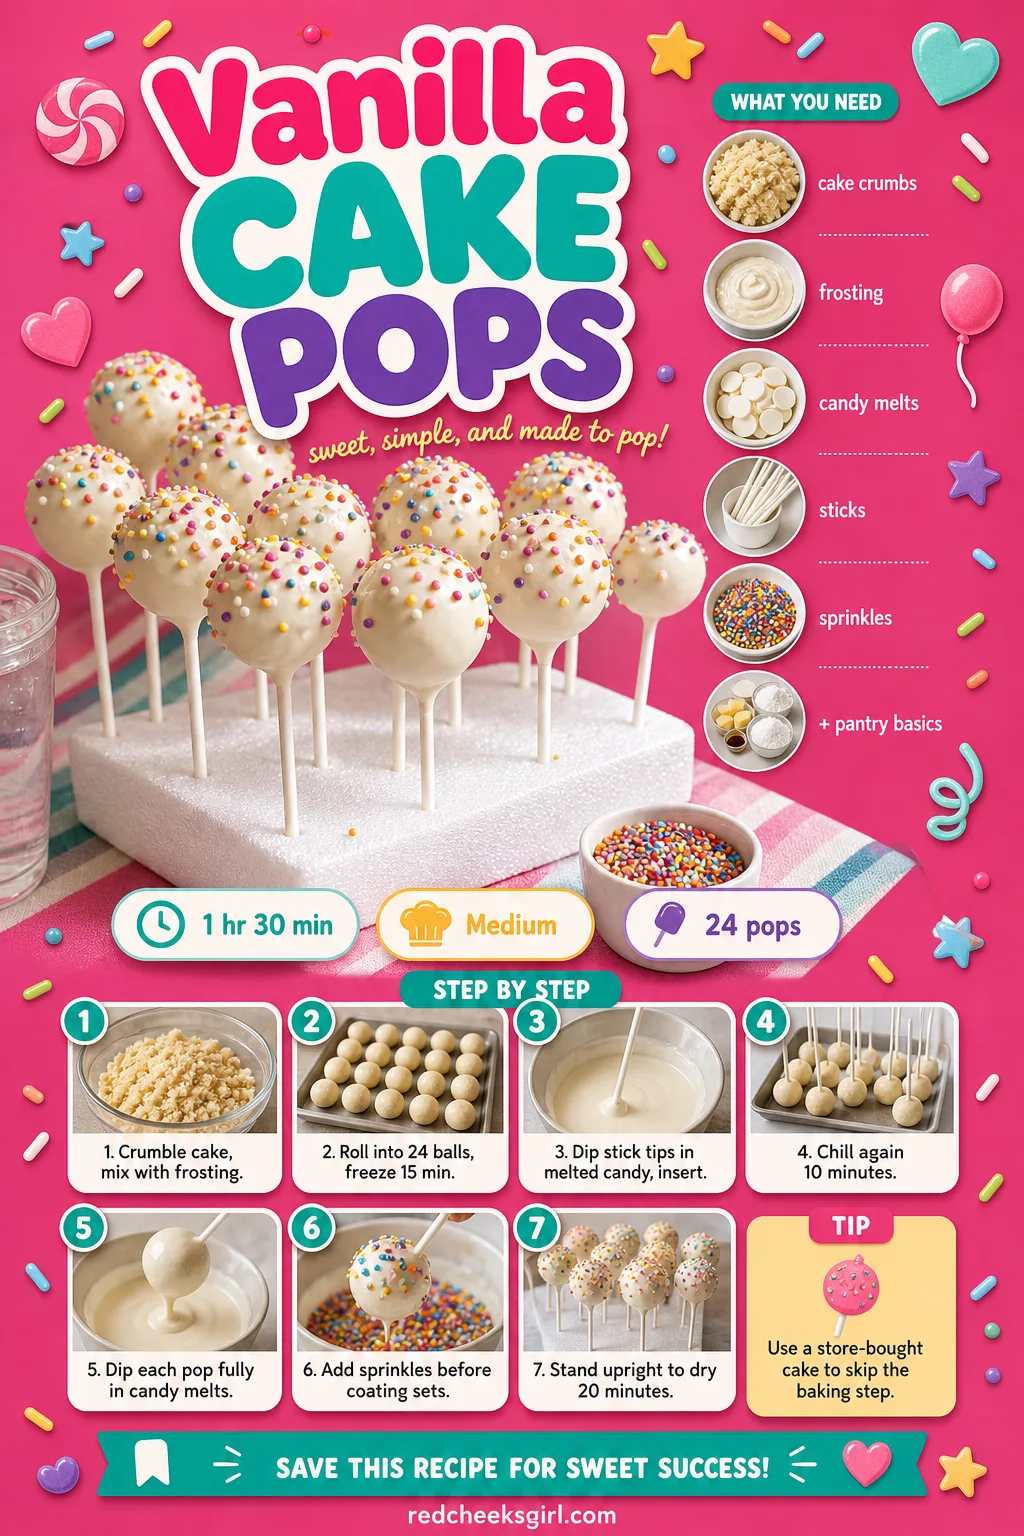
These are the dessert that travels well, stands upright on a stand rather than lying flat on a plate, and takes the place of slicing and plating a whole cake. Use a store-bought cake if baking your own feels like one task too many; nobody will know.
Ingredients
- 3 cups crumbled vanilla cake, baked and cooled
- 1/3 cup vanilla frosting
- 12 oz white candy melts
- 24 lollipop sticks
- 2 tbsp sprinkles
- 1 styrofoam block or cake pop stand
Instructions
- If baking your own cake, bake a standard 9-inch round vanilla cake and let it cool completely; a warm cake turns the crumb mixture gluey.
- Crumble the cooled cake into fine crumbs in a large bowl, breaking up any large chunks with your fingers.
- Add the frosting a little at a time, mixing with a fork, until the mixture holds together when pressed but isn’t wet or shiny.
- Roll the mixture into 24 balls, about 1 tablespoon each, and set them on a parchment-lined tray.
- Freeze the balls for 15 minutes, which firms them up enough to hold a stick without cracking.
- Melt about 2 tablespoons of candy melts, dip the tip of each stick in it, and push it halfway into a ball to glue it in place.
- Chill the sticked pops for another 10 minutes while you melt the remaining candy melts in a deep, narrow mug in 20-second bursts.
- Dip each pop straight down into the melted candy, submerging it fully, then lift it out and let the excess drip back for a few seconds.
- Turn the pop slowly as it drips so the coating sets evenly instead of pooling into a heavy foot.
- Scatter sprinkles over the wet coating immediately, before it sets, since nothing sticks once the shell hardens.
- Stand each finished pop upright in a styrofoam block or cake pop stand to dry for at least 20 minutes.
- Trim or smooth the base with a warm knife if any set into a lopsided foot.
🛍 Shopping guide
Gender-Reveal Surprise Cake Pops
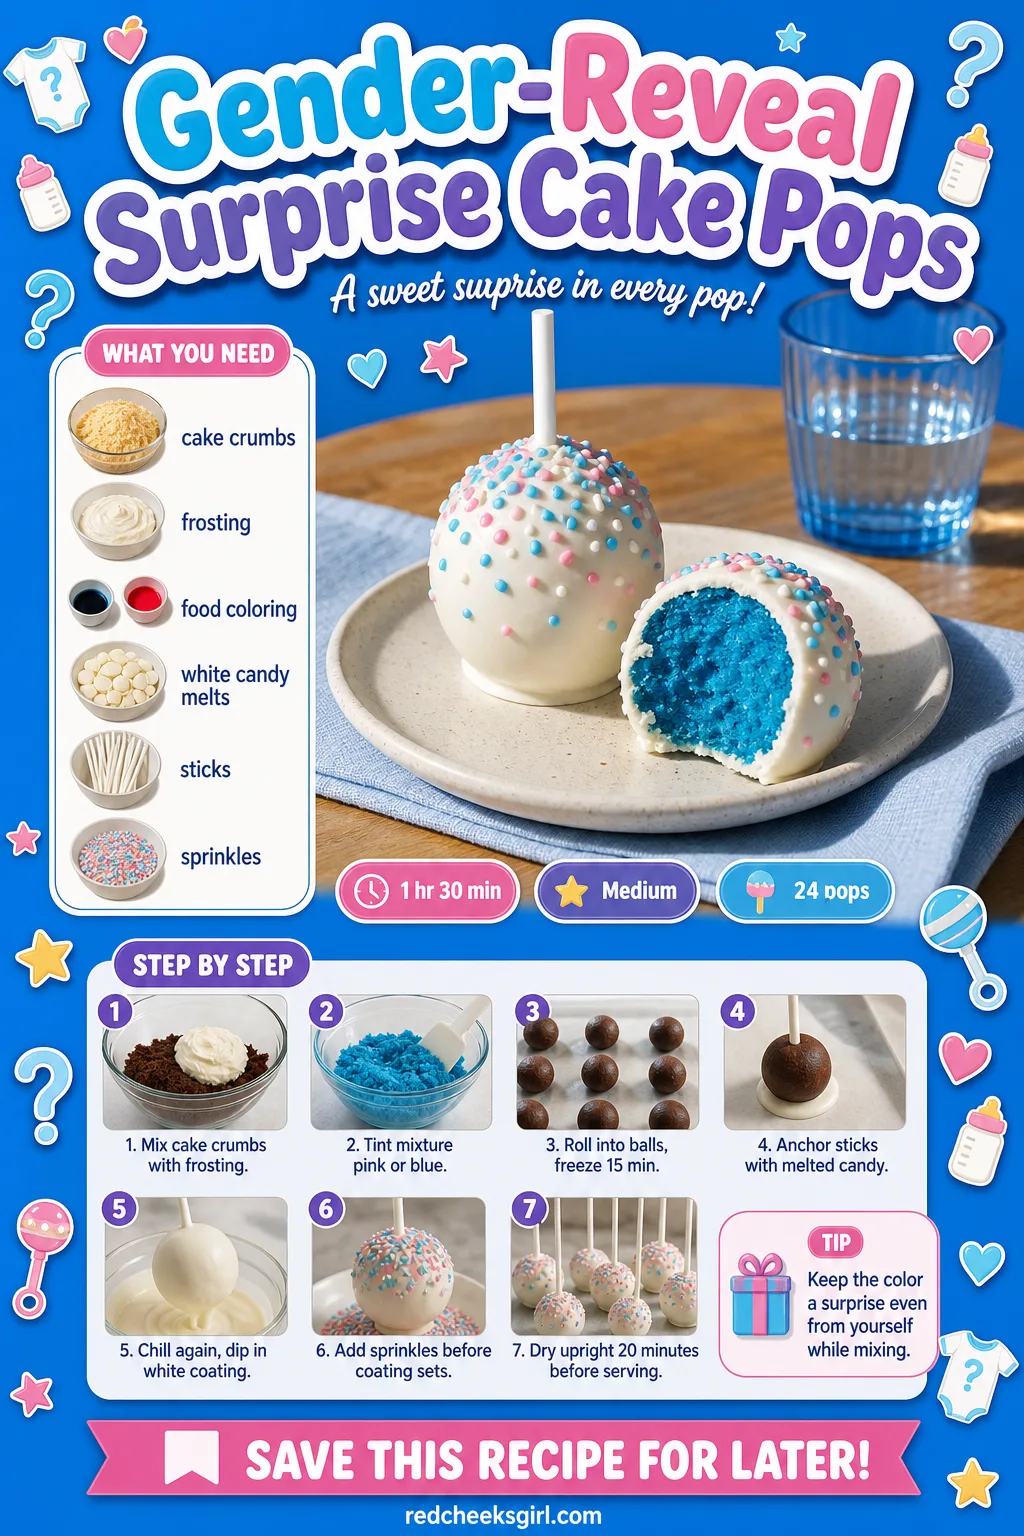
Same method as the vanilla version, but the whole point is the first bite, when a white shell cracks open to pink or blue inside. If the shower doubles as the actual reveal, keep the colour a surprise even from yourself while you’re mixing; pair this tray with 12 Baby Shower Cakes, One for Every Theme You Might Be Doing if you want a centrepiece cake to match.
Ingredients
- 3 cups crumbled vanilla cake, cooled
- 1/3 cup vanilla frosting
- 1/4 tsp pink or blue gel food coloring
- 12 oz white candy melts
- 24 lollipop sticks
- 2 tbsp white or pastel sprinkles
Instructions
- Crumble the cooled cake into a large bowl, breaking up any dense chunks with your fingers.
- Mix in the frosting a little at a time until the mixture clumps together when pressed but doesn’t feel wet.
- Mix in the gel colour, pink or blue, until the mixture is evenly tinted throughout with no streaks.
- Roll the tinted mixture into 24 balls, about 1 tablespoon each, and place them on a parchment-lined tray.
- Freeze for 15 minutes so the balls firm up enough to hold a stick.
- Dip each stick tip into a little melted candy melt and insert it halfway into a ball to anchor it.
- Chill the sticked pops for 10 more minutes.
- Melt the white candy melts in a deep mug in 20-second bursts, stirring until completely smooth.
- Dip each pop straight down into the white coating, covering the tinted cake completely so the colour stays hidden.
- Let the excess drip off, turning the pop gently, then decorate with sprinkles before the shell sets.
- Stand upright in a styrofoam block to dry for at least 20 minutes before serving, so the first bite reveals a clean centre.
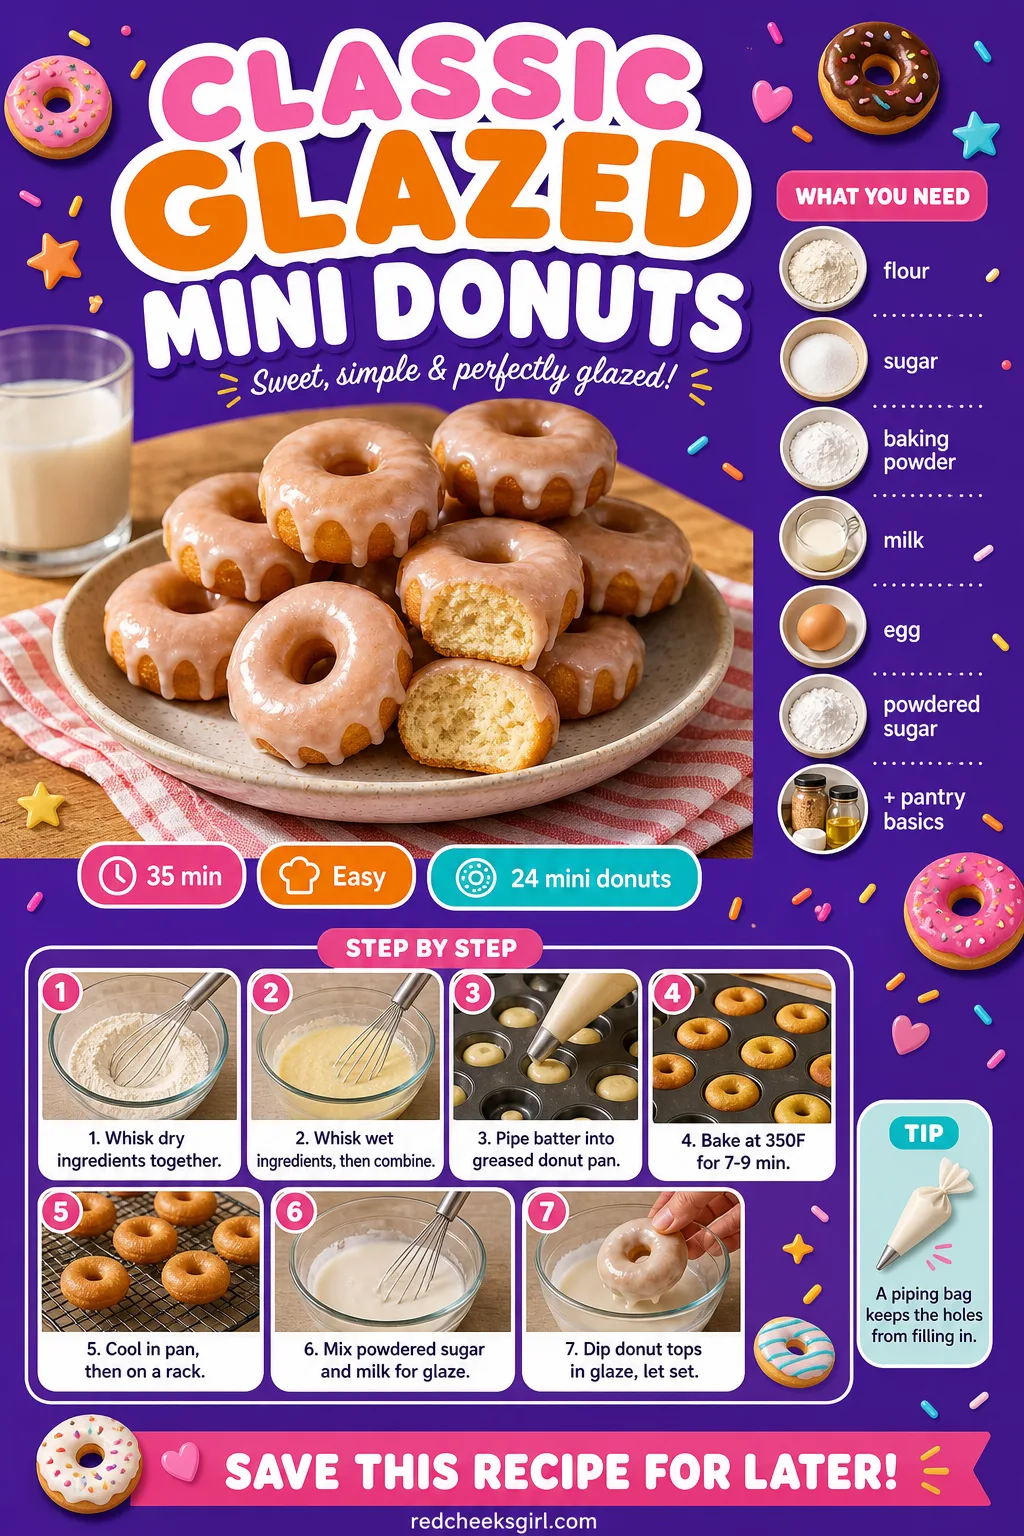
Classic Glazed Mini Donuts
Baked, not fried, so there’s no pot of hot oil anywhere near the party, just a mini donut pan and nine minutes in the oven. The glaze sets to a matte finish if you let it sit, so resist piling them up too soon.
Ingredients
- 1 1/2 cups all-purpose flour
- 1/2 cup granulated sugar
- 1 1/2 tsp baking powder
- 1/2 tsp salt
- 1/2 tsp ground nutmeg
- 1/2 cup milk
- 1 large egg
- 2 tbsp melted butter
- 1 tsp vanilla extract
- 1 cup powdered sugar
- 2-3 tbsp milk, for glaze
Instructions
- Preheat the oven to 350F and grease a mini donut pan well, including the centre posts, so the donuts release cleanly.
- Whisk the flour, sugar, baking powder, salt and nutmeg together until no streaks of baking powder remain.
- In a separate bowl, whisk the milk, egg, melted butter and vanilla together until smooth.
- Pour the wet ingredients into the dry and stir just until combined; the batter should look thick but pourable.
- Spoon the batter into a piping bag or a zip-top bag with the corner snipped off.
- Pipe the batter into the donut cavities, filling each about two-thirds full so they have room to rise.
- Bake for 7 to 9 minutes, until the donuts spring back when pressed lightly and the edges just start to turn golden.
- Let the donuts cool in the pan for 3 minutes, then turn them out onto a wire rack to cool completely.
- Whisk the powdered sugar and milk together until the glaze coats the back of a spoon.
- Dip the top of each cooled donut into the glaze, twist slightly, and lift straight up so the excess drips back.
- Set the glazed donuts back on the rack, glaze side up, and let them sit for 10 minutes so the glaze sets to a matte finish.
🛍 Shopping guide
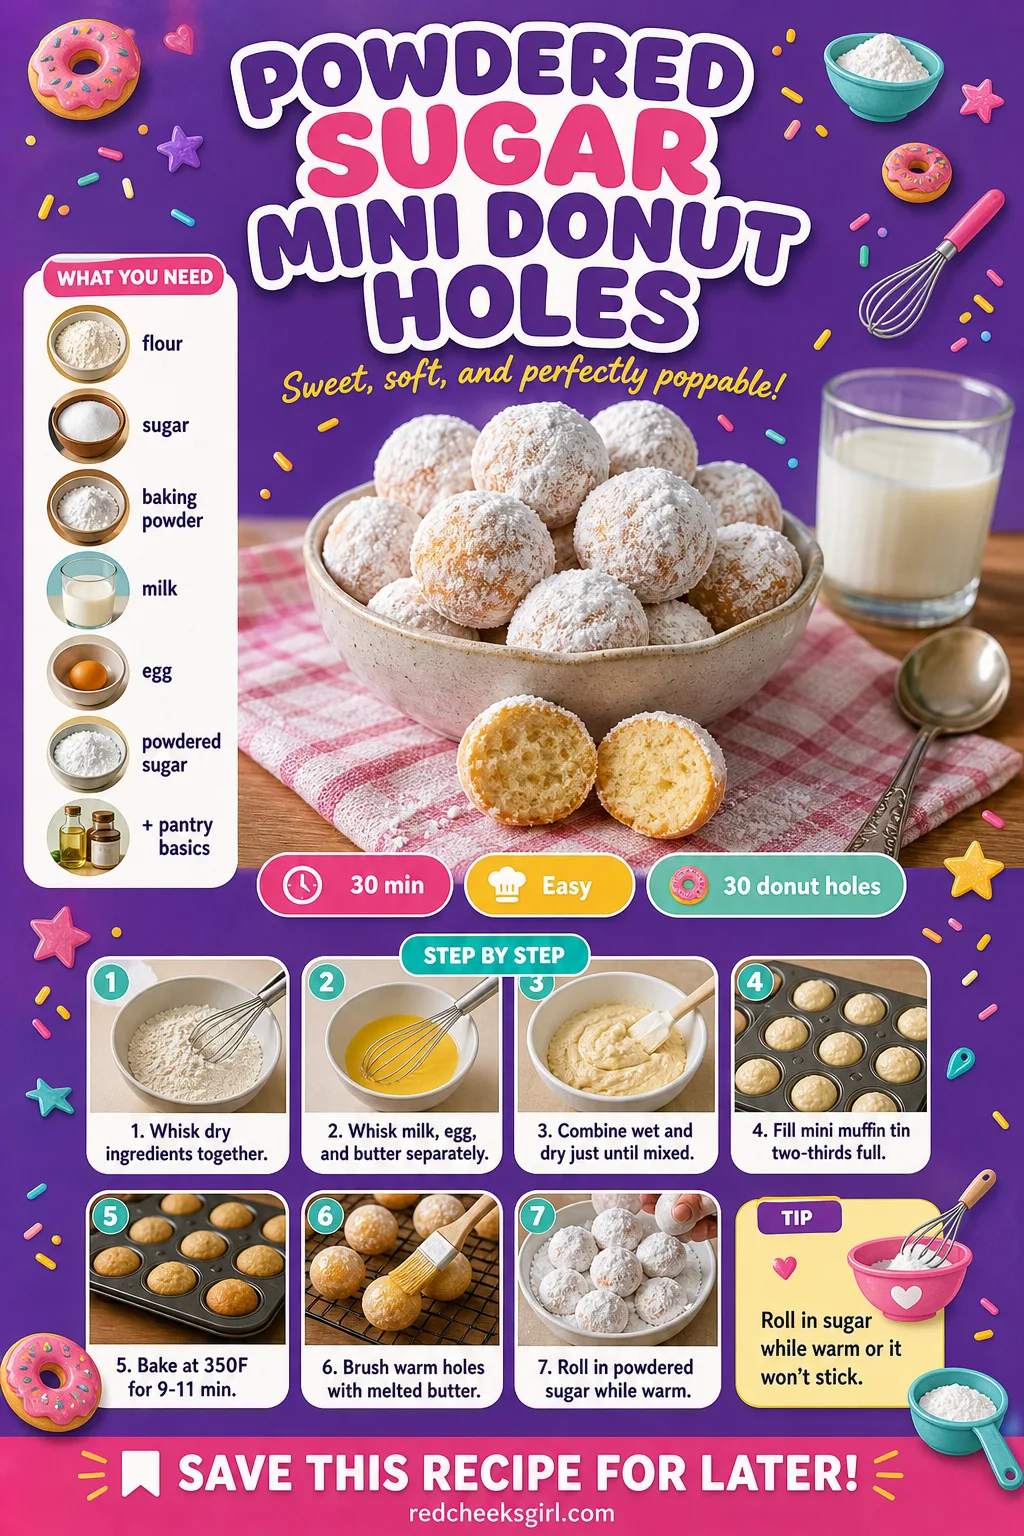
Powdered Sugar Mini Donut Holes
No pan with a hole shape required, just a mini muffin tin and a bowl of powdered sugar. Roll these while they’re still warm, since the butter needs heat to make the sugar stick; cooled donuts just shed it everywhere.
Ingredients
- 1 1/2 cups all-purpose flour
- 1/3 cup granulated sugar
- 1 1/2 tsp baking powder
- 1/4 tsp ground cinnamon
- 1/4 tsp salt
- 1/2 cup milk
- 1 large egg
- 3 tbsp melted butter, divided
- 1 cup powdered sugar, for coating
Instructions
- Preheat the oven to 350F and grease a mini muffin tin well.
- Whisk the flour, sugar, baking powder, cinnamon and salt together in a bowl.
- In another bowl, whisk the milk, egg and 2 tablespoons of the melted butter together until smooth.
- Fold the wet ingredients into the dry just until no dry flour streaks remain; stop as soon as it comes together, since overmixing makes the holes tough.
- Fill each mini muffin cup about two-thirds full using a small cookie scoop, so every hole bakes to the same size.
- Bake for 9 to 11 minutes, until a toothpick inserted in the centre comes out clean and the tops spring back when touched.
- Let the donut holes cool in the tin for 2 minutes, just until cool enough to handle without burning your fingers.
- Brush each warm donut hole with the remaining tablespoon of melted butter while they’re still warm, since butter won’t stick to a cooled surface.
- Roll the buttered holes in powdered sugar while still warm, turning to coat completely, then let sit for 5 minutes before piling into a bowl.
Frequently Asked Questions
How much food should I make for a baby shower?
Plan for 5 to 7 bites per guest if the shower falls between meals, and 8 to 10 if it overlaps lunch or dinner. Mixing savory and sweet keeps anyone from filling up on one tray alone.
How many different food options should I offer at a baby shower?
Offer around 5 to 7 different items for 10 to 15 guests, and closer to 8 to 10 options once the guest list passes 20. A wider spread means everyone finds two or three things they genuinely want.
What finger foods are best for a baby shower?
Sliders, deviled eggs, croissant sandwiches, fruit skewers and cheese cups top most lists because guests can eat them one-handed while mingling. Anything that doesn’t drip or need a fork works best for a standing crowd.
Can baby shower food be made ahead of time?
Yes, most finger foods hold well a day or two ahead if you build the base early and add anything crisp or leafy right before serving. Sandwich fillings keep covered in the fridge, while croissants go together no more than two hours before guests arrive.
What foods should you avoid serving at a baby shower?
Skip anything messy to eat standing up, since hosts are often advised to think twice before serving wings or ribs at this kind of party. Keep sauces on the side rather than drenching food nobody can hold in one hand.
What time should food be served at a baby shower?
Match the menu to the hour: breakfast or brunch foods for a morning shower, savory bites for a midday luncheon, and heavier food for an evening gathering. Guests expect more substantial food the closer the shower sits to a normal mealtime.
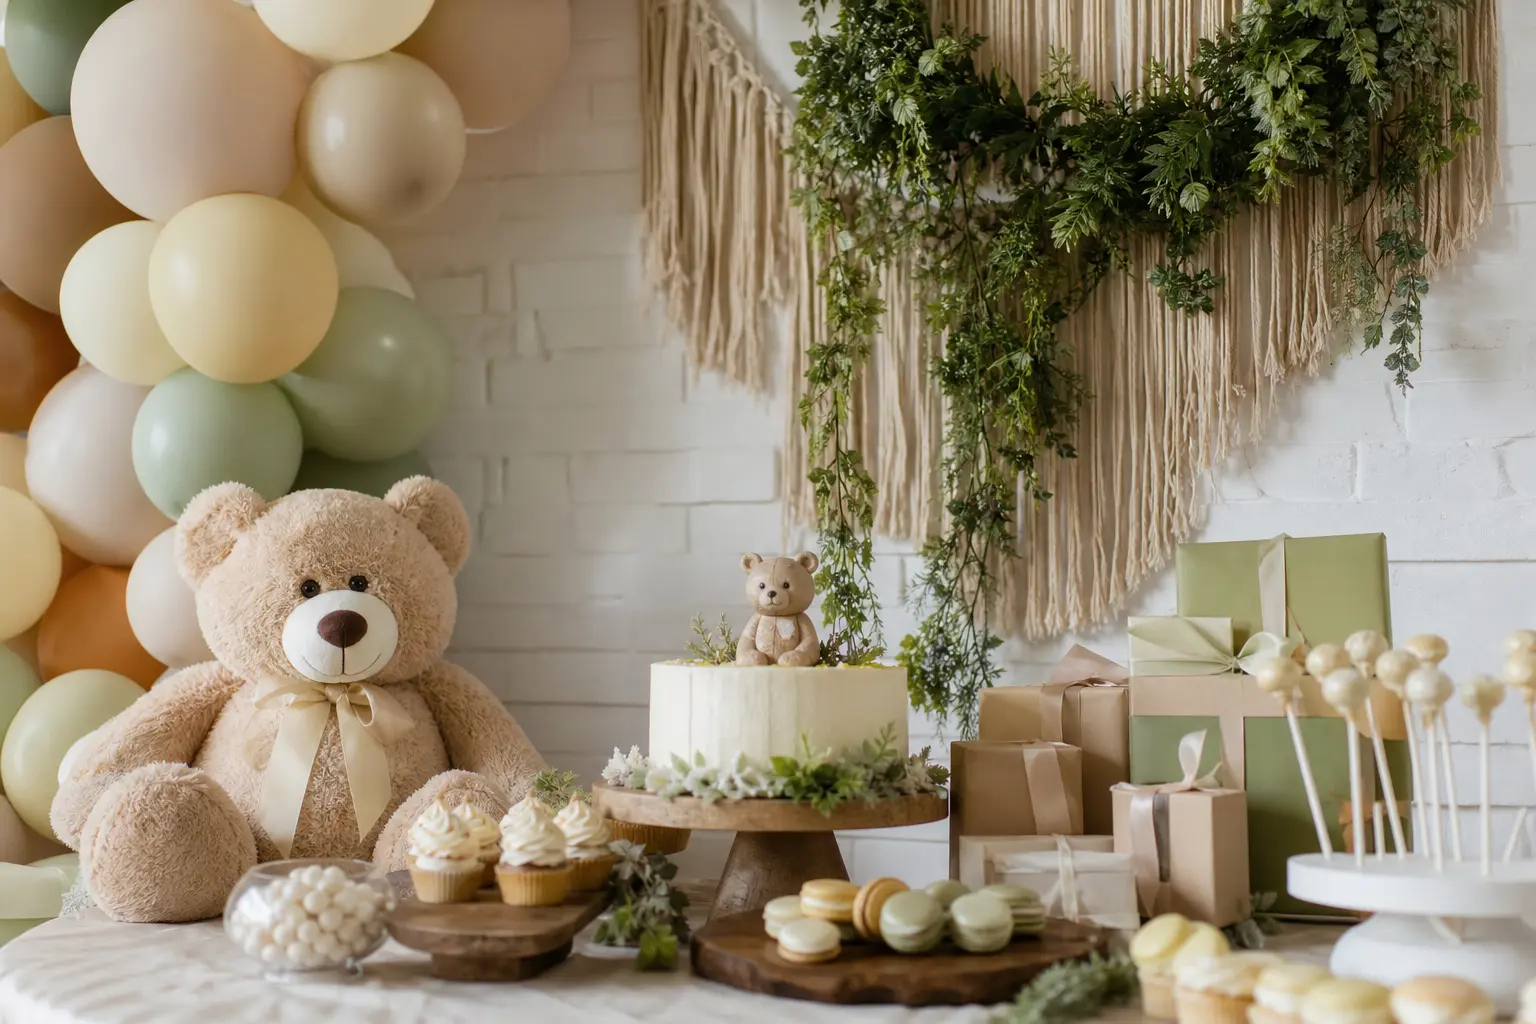
Browse 25 baby shower themes with real photos and shopping picks, so you can match the mood, budget,
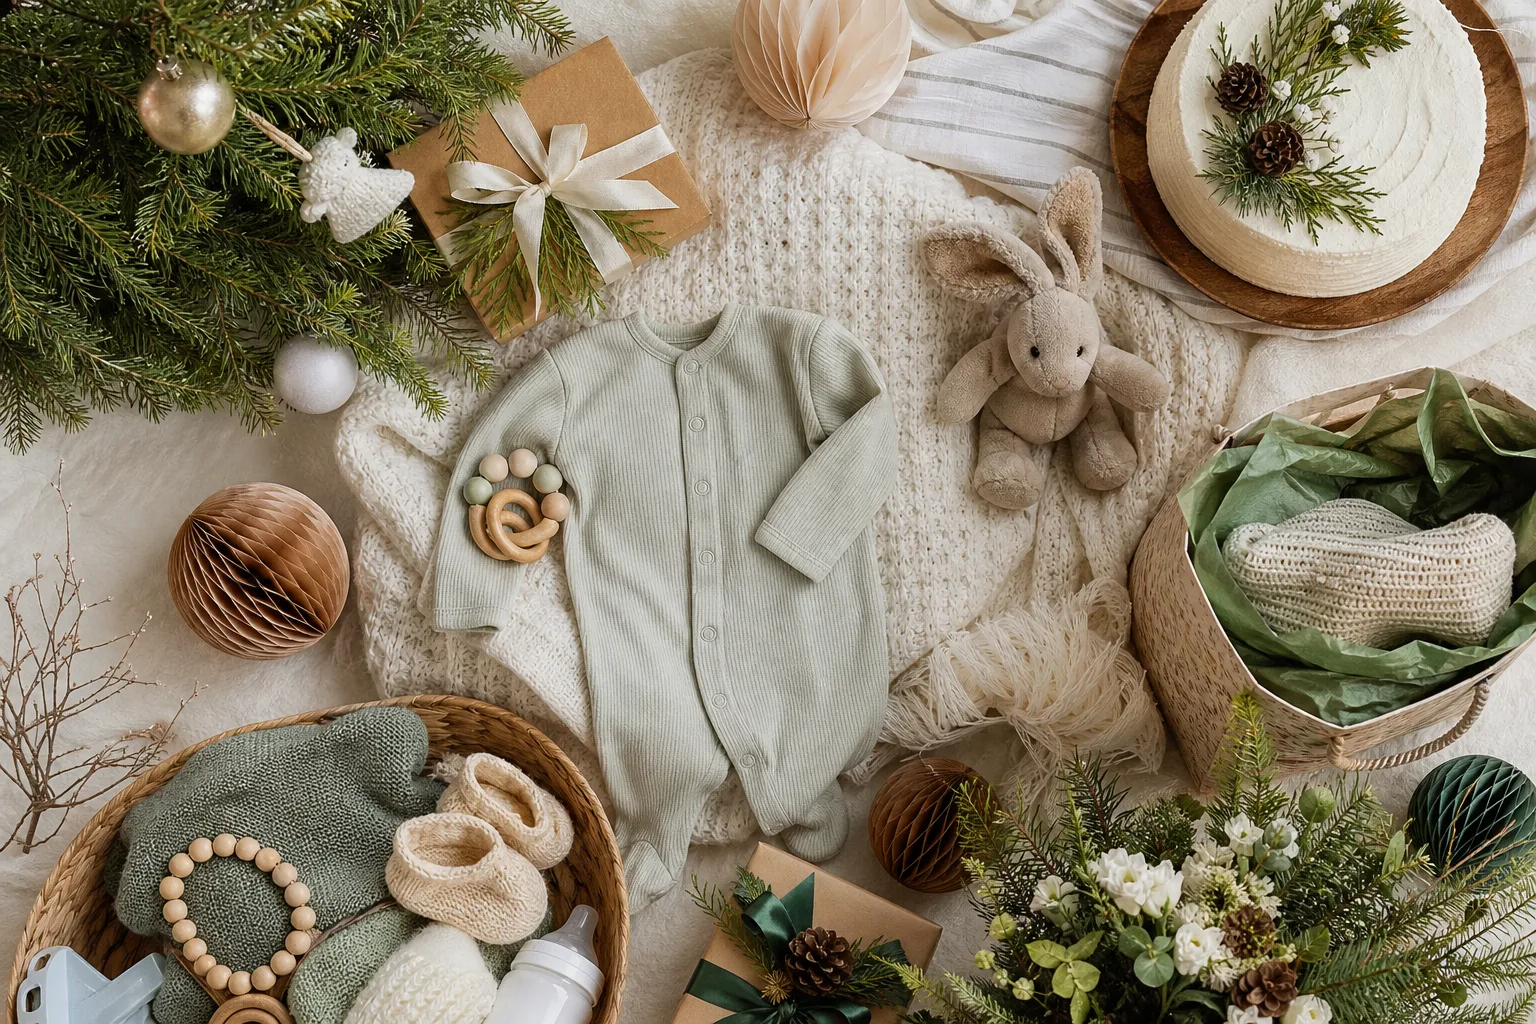
40 December baby shower ideas that use the tree, the lights and the garland already up, from full th
Choose a stylish we can bearly wait baby shower theme with 12 playful, vintage, cosy cabin and soft
Leave a Reply