

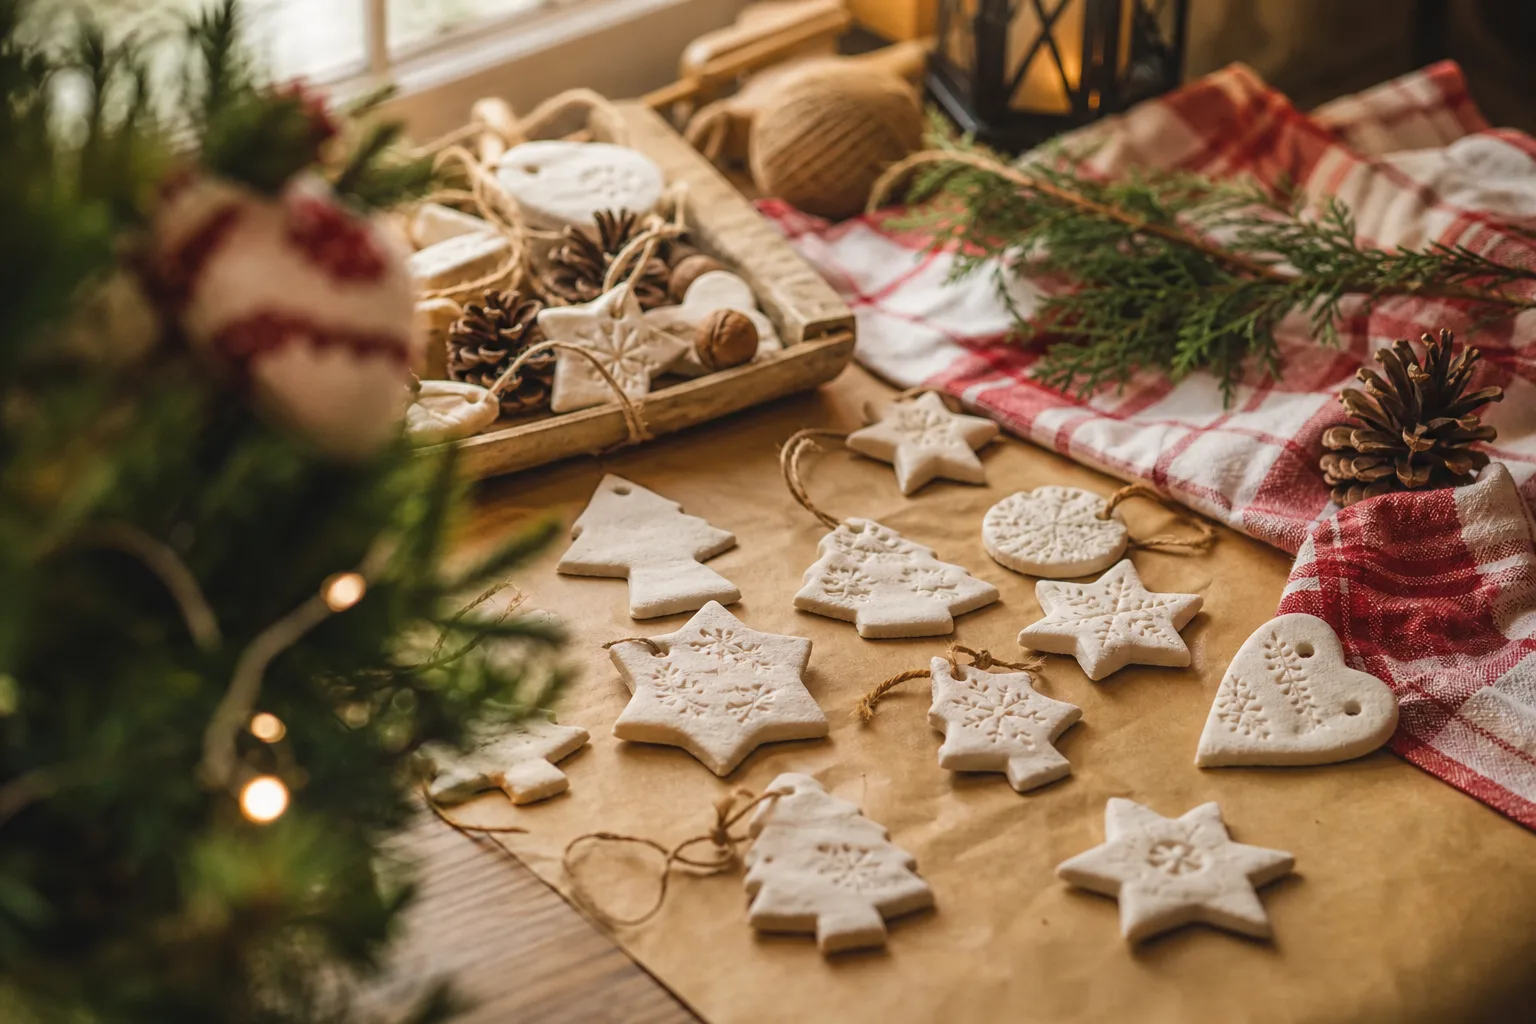
The tree already holds a decade of mall-bought glass balls, so why add something made from flour and table salt. Because in twenty years nobody reaches for the glass ball first. They reach for the lopsided star with a four-year-old’s thumbprint pressed into it, the one that costs about a dollar to make and cannot be bought back once the hands that made it have grown.
Salt dough asks for almost nothing: flour, salt, water, an oven you already own. No glue gun, no trip to a craft store, no nerves spent on Pinterest-perfect symmetry, because the charm here is the opposite of perfect.
Below are eighteen ways to turn that dough into something worth keeping, grouped from the ones you mark with a date through the ones built purely to give away. Pick three or four rather than all eighteen in one afternoon: the dough dries slowly, and so should the decision.
This post contains affiliate links. If you buy through them, I may earn a small commission at no extra cost to you.
Ornaments That Mark This Exact Year
These are the ones that do the real work: not decoration so much as a dated record of a hand or a paw that will not stay this size for long. Keep the palette plain so the print stays the point, and write the year somewhere small on the back before you forget which batch was whose.
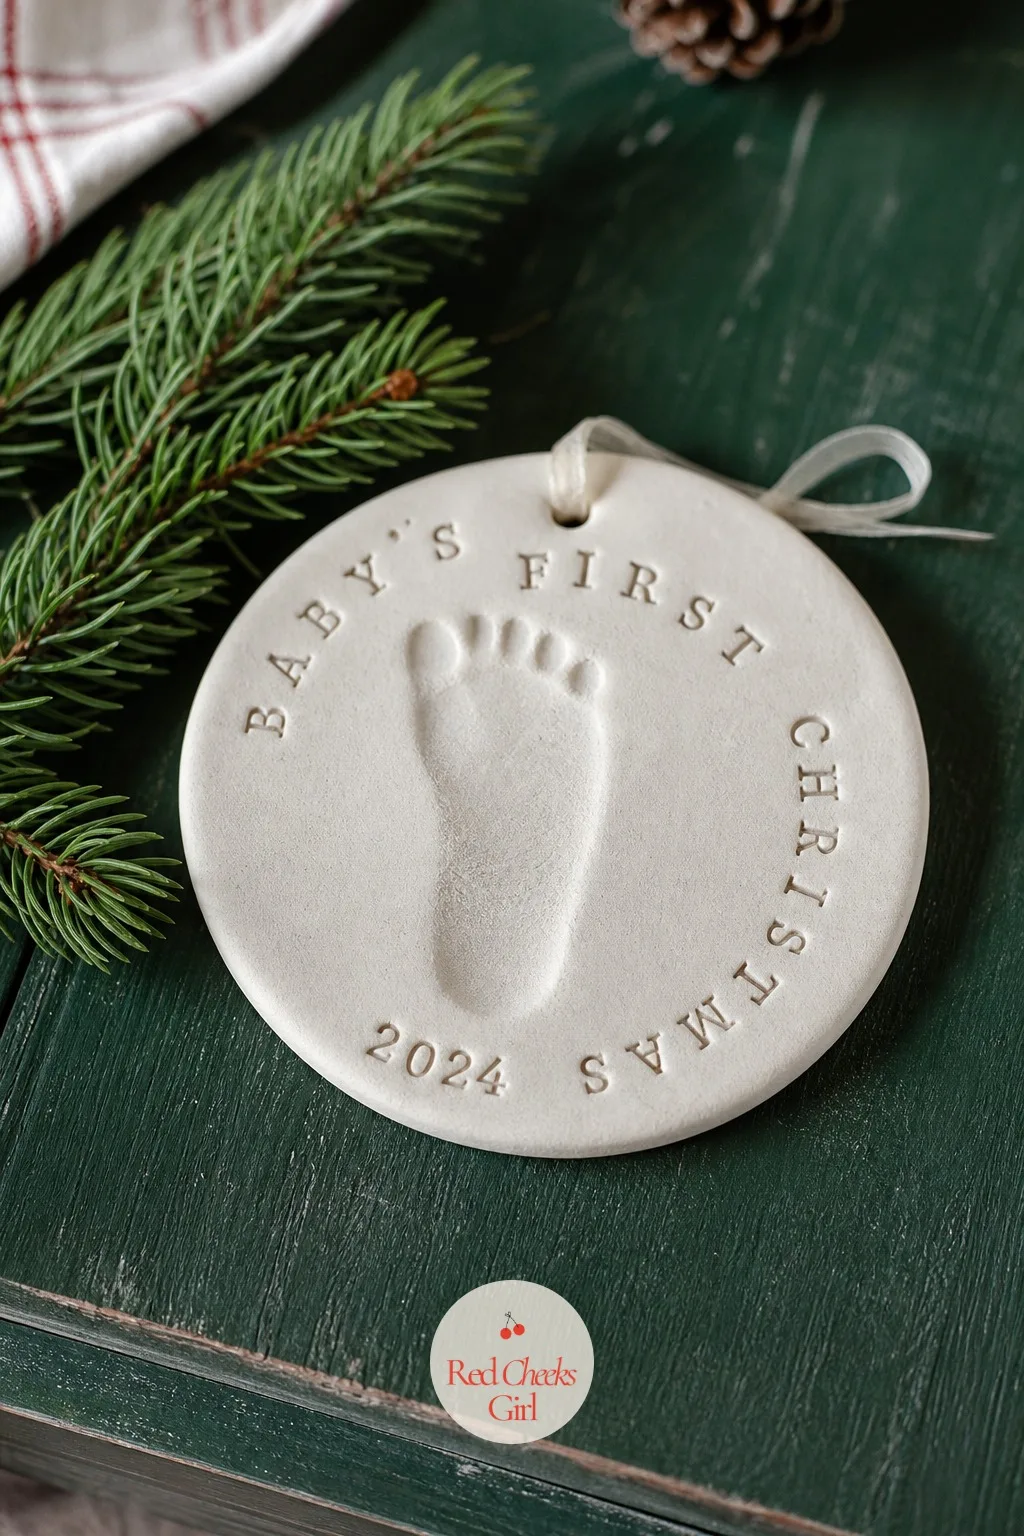
Baby’s First Christmas Footprint Disc
A plain ivory disc feels like nothing until you press a tiny foot into the soft dough and watch it become the one ornament everyone asks about first. Keep the disc thick enough that the print does not spread flat during baking, about the width of two stacked coins.
Paint the outline in a soft blush once it has cooled, nothing more, and write the date on the back in pencil before you seal it. If a baby is not currently available in your house, a borrowed niece or nephew works just as well.
🛍 Shopping guide
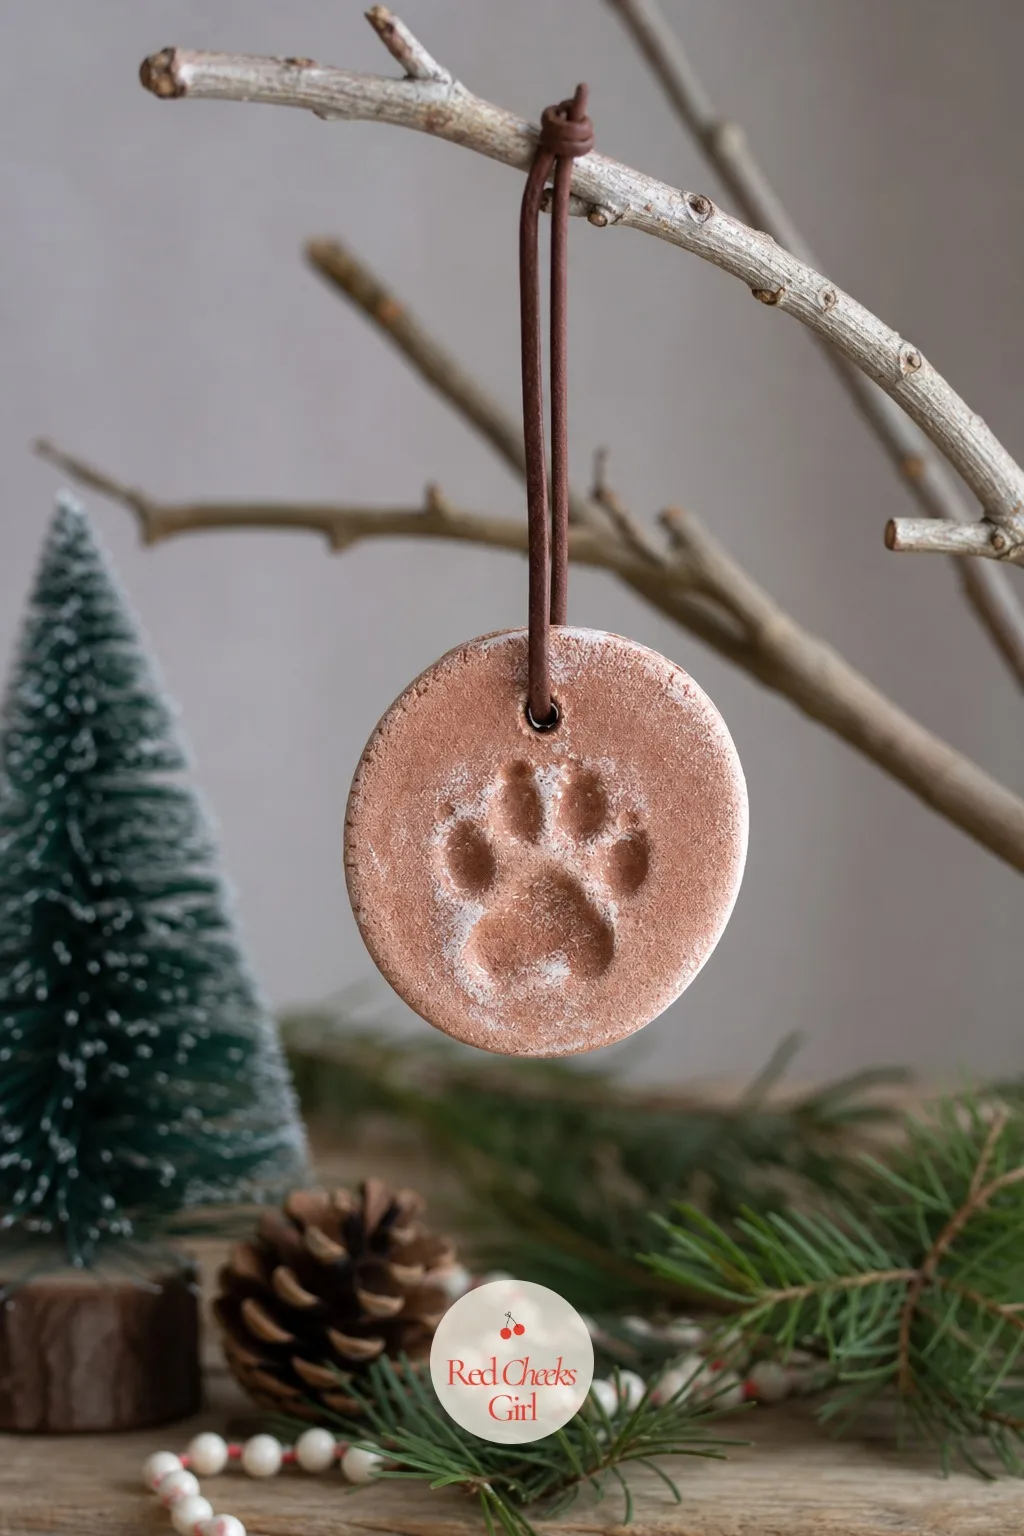
Pet’s Paw Print Medallion
The dog will not sit still for a photo shoot, but he will tolerate thirty seconds of a paw pressed into soft dough if there is a treat waiting after. The medallion comes out rougher than the baby version, and that roughness is exactly right.
Finish it in a warm terracotta wash so it reads as deliberately rustic rather than accidentally smudged, then hang it from a leather cord instead of ribbon. If the pet in question has already passed, this becomes the gentlest kind of keepsake rather than a craft.
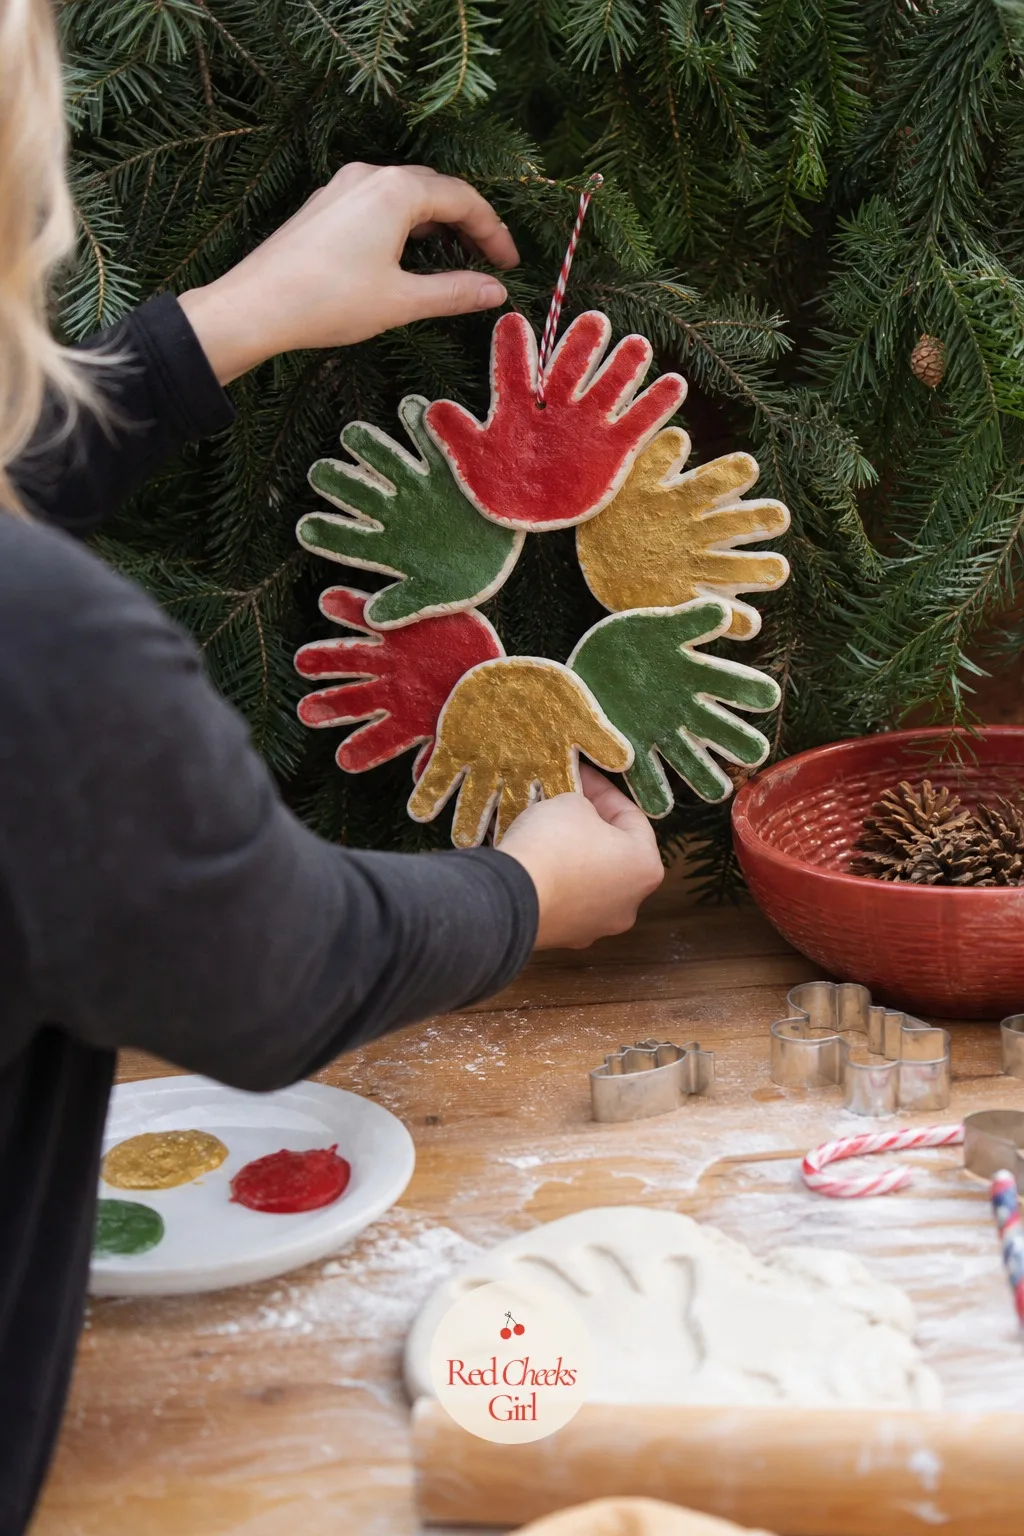
Family Handprint Wreath
One handprint is sweet, five arranged in a ring is something you will actually hang front and center. Press each family member’s hand into its own small round, then arrange the dried pieces into a wreath shape and glue them to a disc backing once everything has cured.
Paint each hand a different color so the wreath reads as a crowd rather than a repeat. For more ways to turn small hands into wreath shapes, 15 Christmas Wreath Crafts for Kids has a dozen more that skip the paper plate entirely.
🛍 Shopping guide
Thumbprint Growth Tree
Instead of one print, this one stacks a thumbprint from every person in the house into the rough shape of a triangle, so the ornament itself becomes a small portrait of who was home this particular Christmas. Each row gets a slightly different shade of green, lightest at the top.
Write a tiny name under each thumbprint with a gold paint pen once it has fully dried. It takes about ten minutes to press and an evening to paint, which makes it one of the more patient entries on this list.
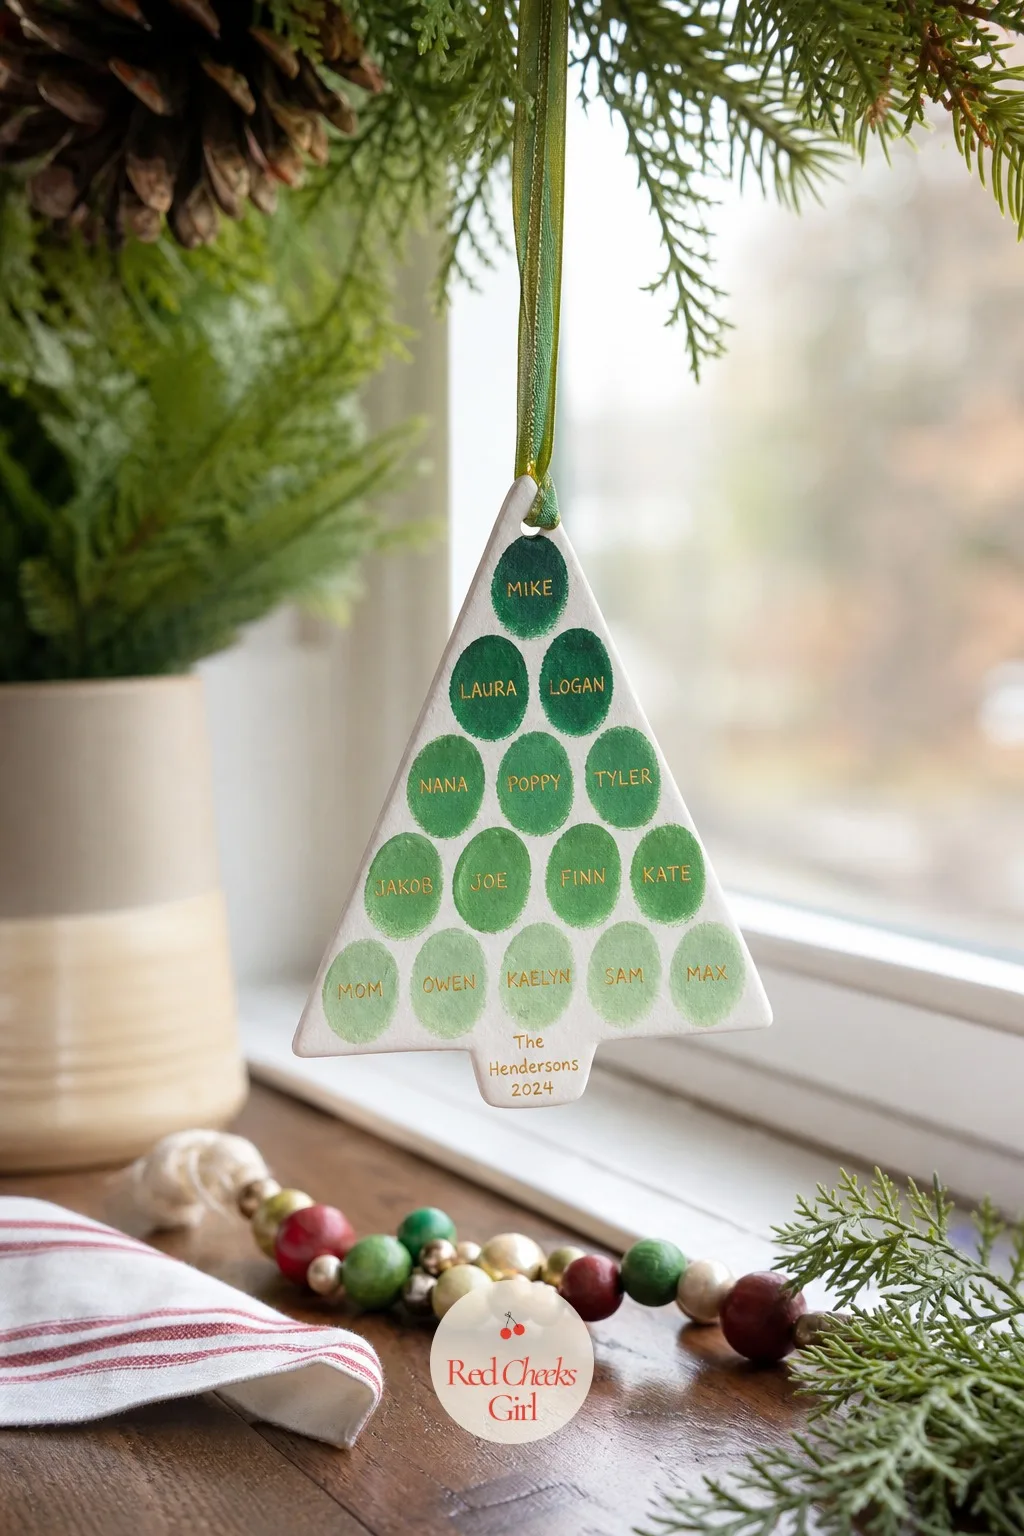
🛍 Shopping guide
Shapes Already Hiding In Your Kitchen Drawer
No cutter drawer required here, just the things already in it: a star cutter from the biscuit tin, a paper doily left over from a baby shower, a bottle cap. These are the quickest of the eighteen and the cheapest, which matters when little hands want to make forty of them in one sitting.
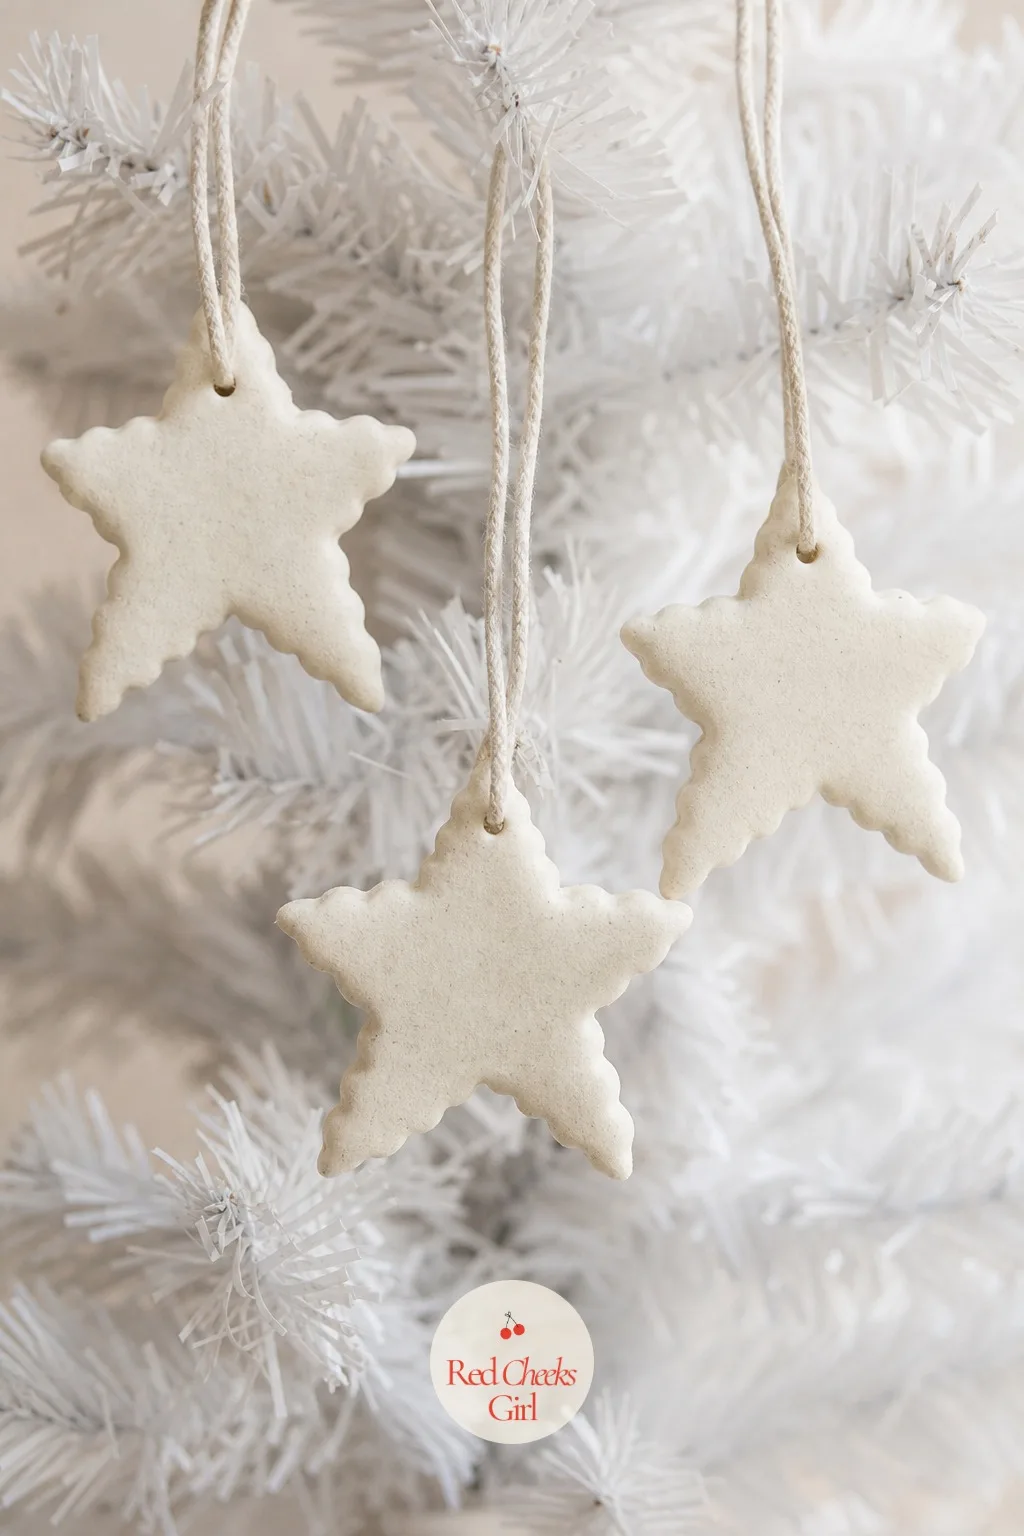
Scalloped Star Ornaments
No paint required if you do not want it: a scalloped star cutter alone, finished with a single coat of matte varnish, looks deliberate rather than unfinished hanging against a white tree. This is the cheapest and fastest entry on the list, start to tree in under two days once drying is done.
If your tree already runs pink this season, leave these plain and let the pink Christmas tree do the color work instead.
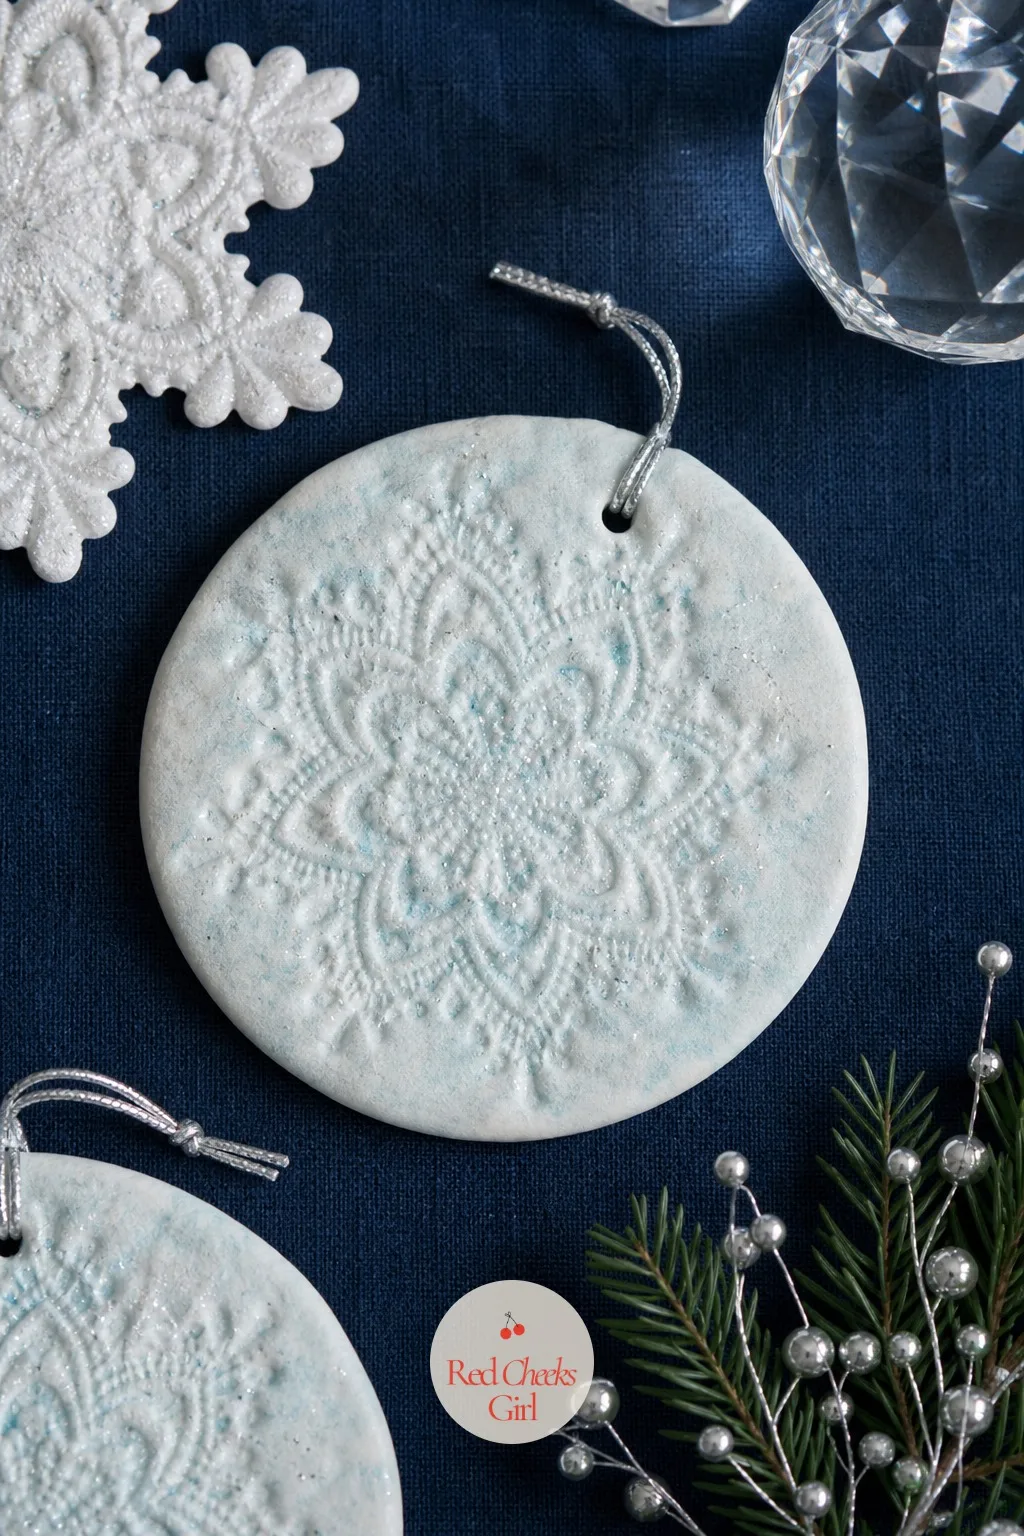
Doily-Pressed Snowflake Discs
A paper doily pressed firmly into soft dough and peeled away leaves a lace pattern no cutter could manage, and you probably already own one from a baby shower or a tea party that never got thrown. Roll the dough a little thicker here so the pattern holds through baking.
Dust the finished disc with the faintest sweep of silver mica powder once dry. Skip the glitter if you would rather not be finding it on the floor through February.
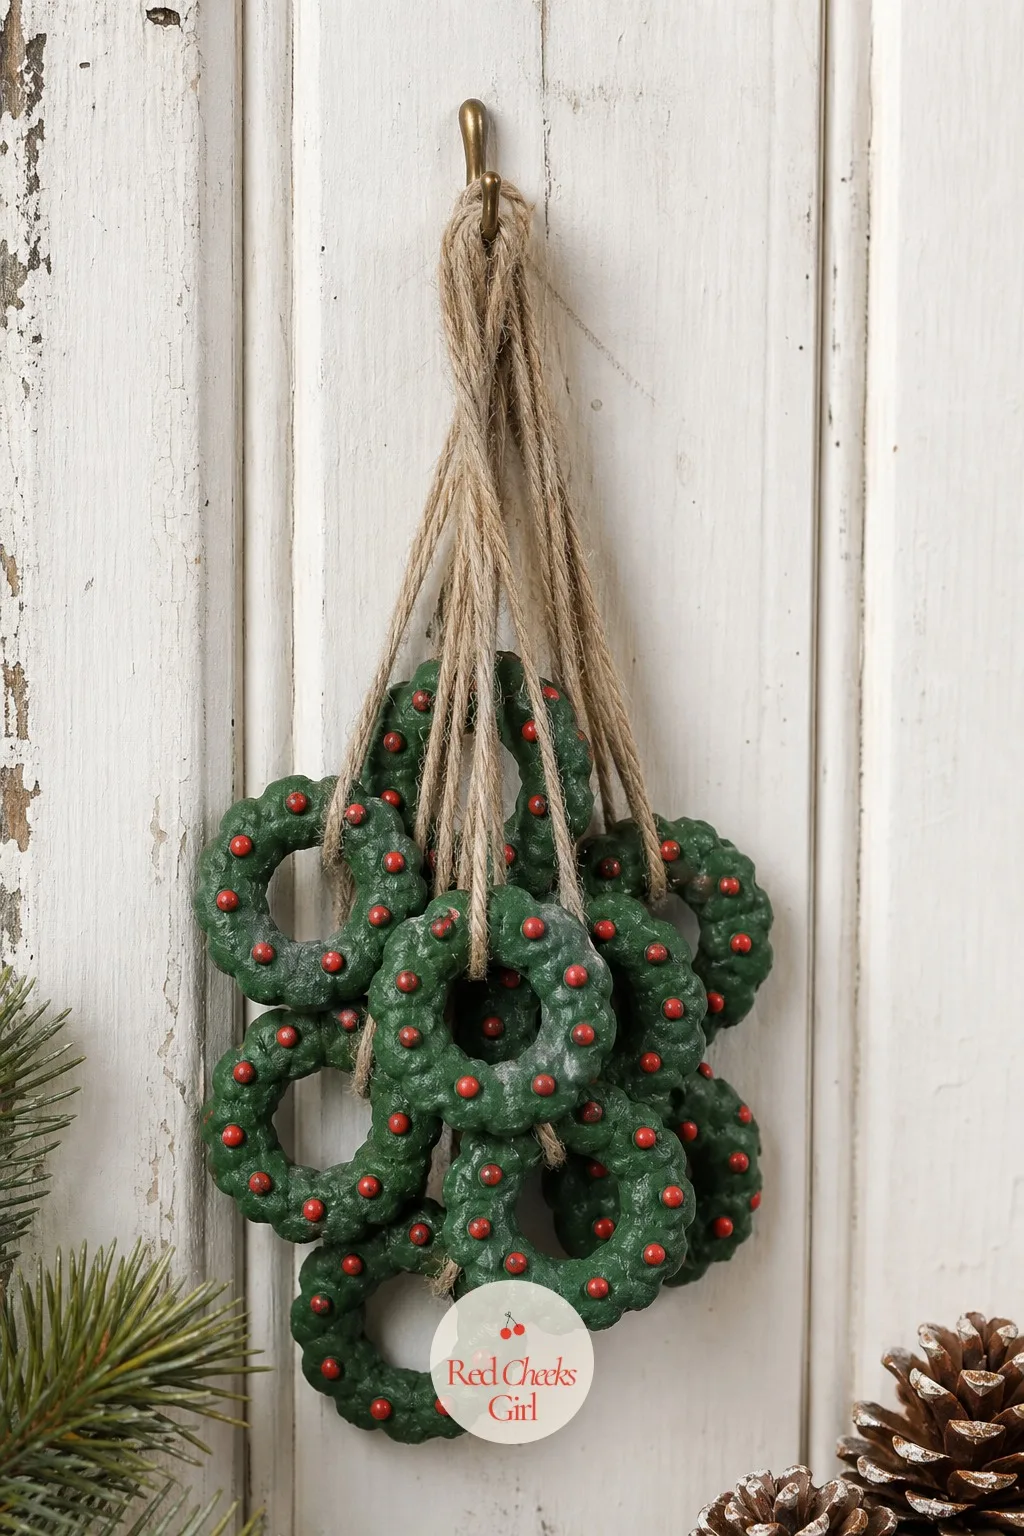
Bottle-Cap Mini Wreath Rings
Cut a circle with a bottle cap, then cut a smaller circle out of its center with a second cap, and you have a tiny wreath shape without owning a single ring cutter. Paint it deep green with three or four red dots standing in for berries.
These are small enough to cluster five or six together on one bough rather than spacing them out, which is where they actually look intentional rather than scattered.
Finishes That Read Handmade, Not Homemade
Once the shapes are dry, the paint and the swirl do the talking. None of these need a steady hand, just patience while coats dry, and each one leans on a different trick so the tree does not end up with eighteen identical discs.
Watercolor Wash Ornaments
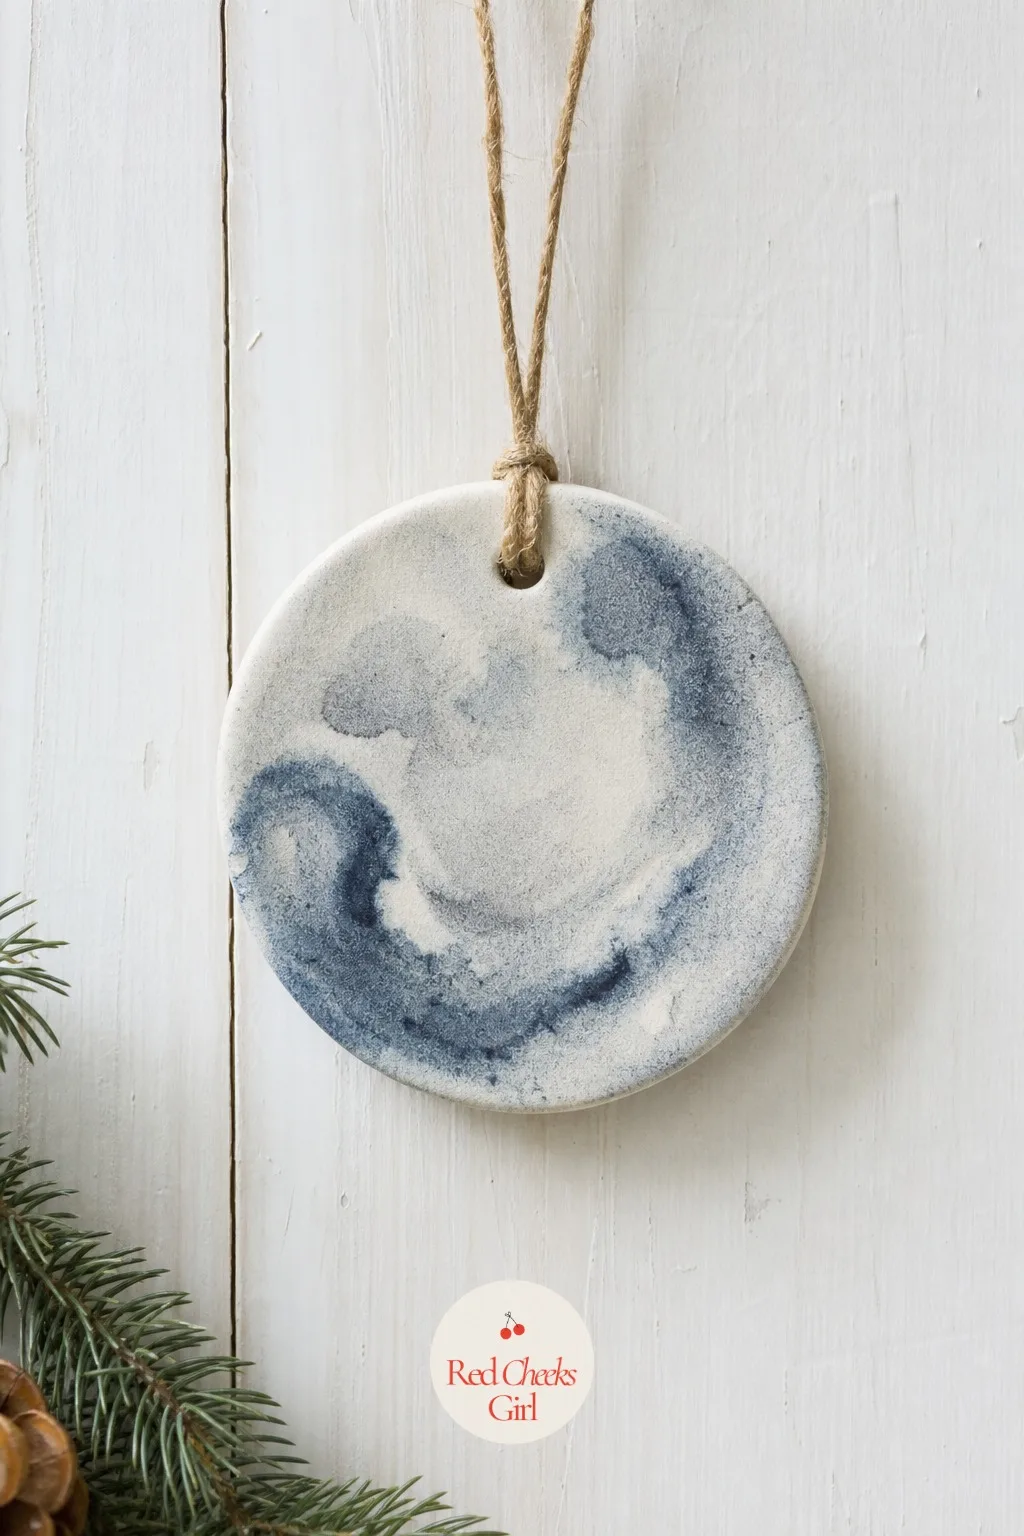
Thin acrylic paint down with water until it behaves like ink, then let it bleed across a plain dough disc instead of controlling it. The dough drinks the color unevenly, which is the entire appeal, no two discs land the same.
Blue and grey together read as frost rather than mess. Let each wash dry flat before adding a second so the colors stay separate instead of turning to mud.
🛍 Shopping guide
Gold-Leafed Edge Ornaments
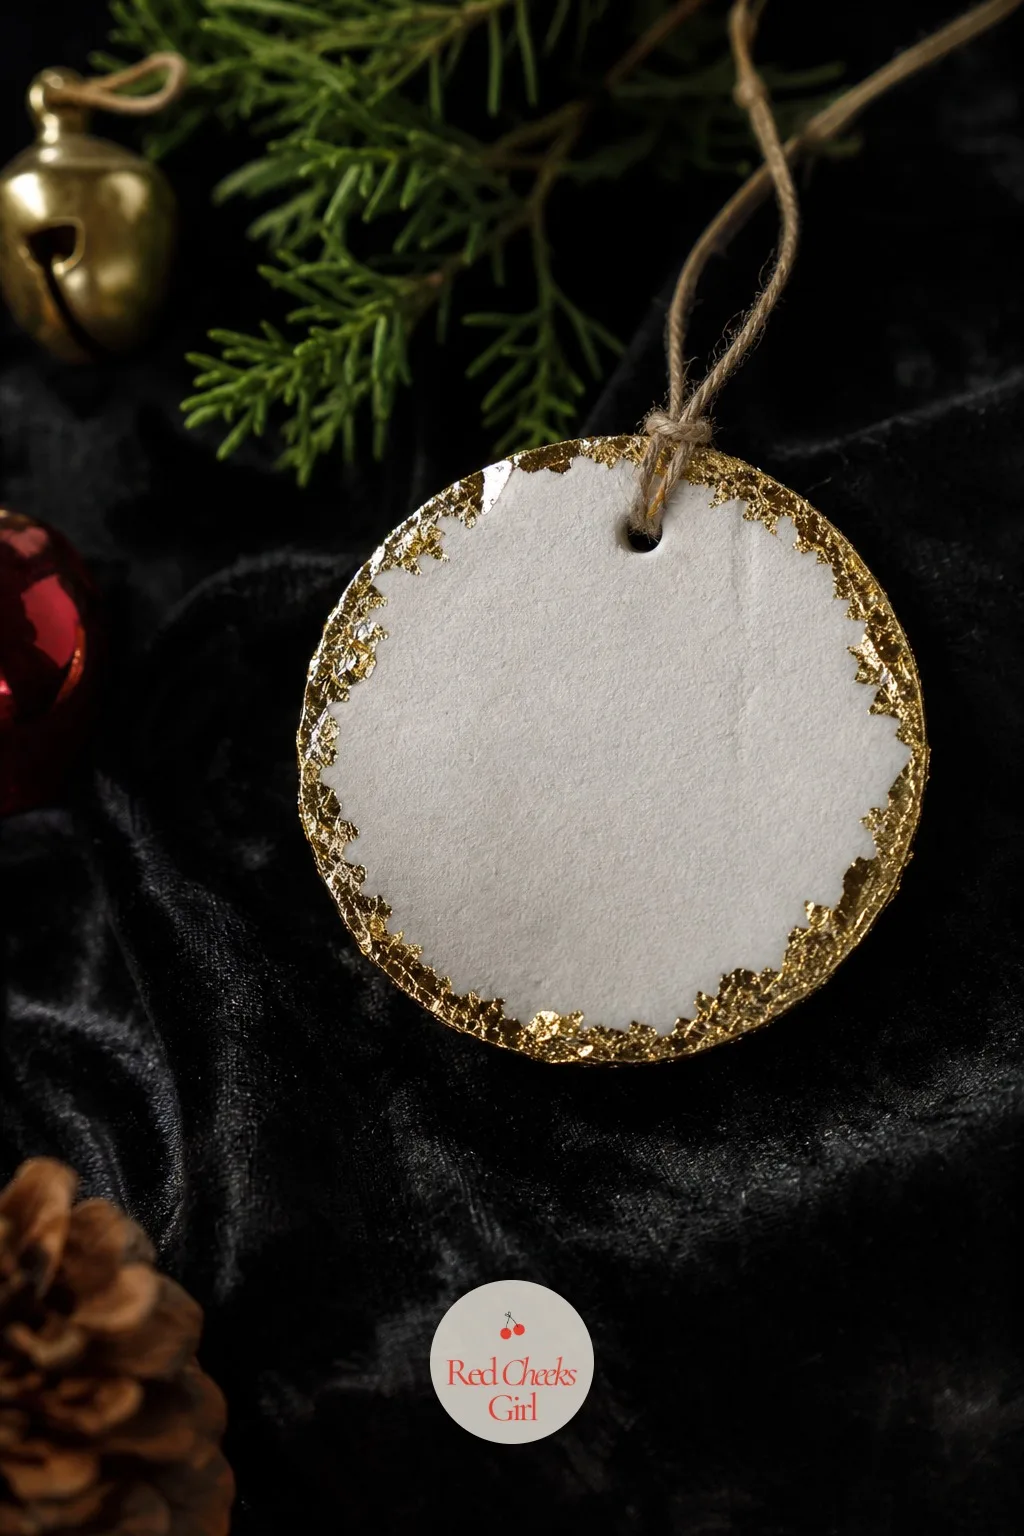
Paint the whole disc matte white, then run craft glue only around the outer rim and press on gold leaf once tacky. The center stays quiet, the edge catches every bit of tree light, and it photographs like something from a shop window.
Gold leaf flakes everywhere the first few minutes, so work over a tray you can shake out later rather than the dining table.
Marbled Dough Ornaments
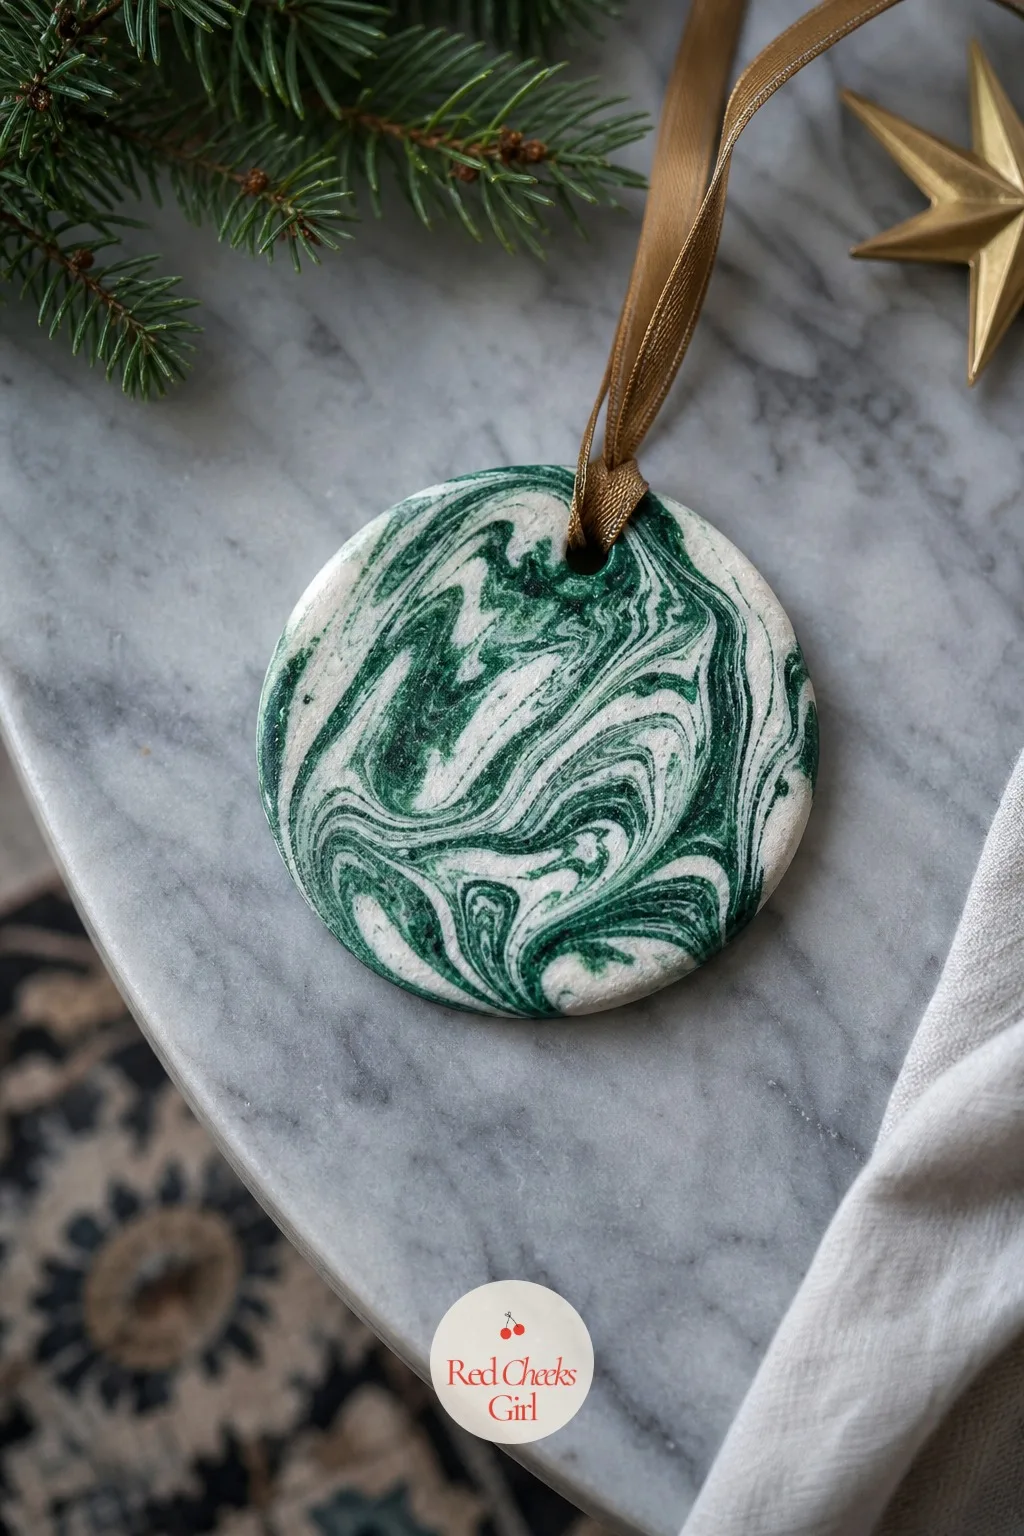
Knead a few drops of green gel food coloring only partway into the dough before rolling, so streaks of emerald and white swirl through rather than mixing to a flat color. Every shape you cut from that one batch comes out marbled differently.
Seal with a glossy finish rather than matte here, the shine is what sells the marble effect once it is hanging.
Botanical Pressed Ornaments
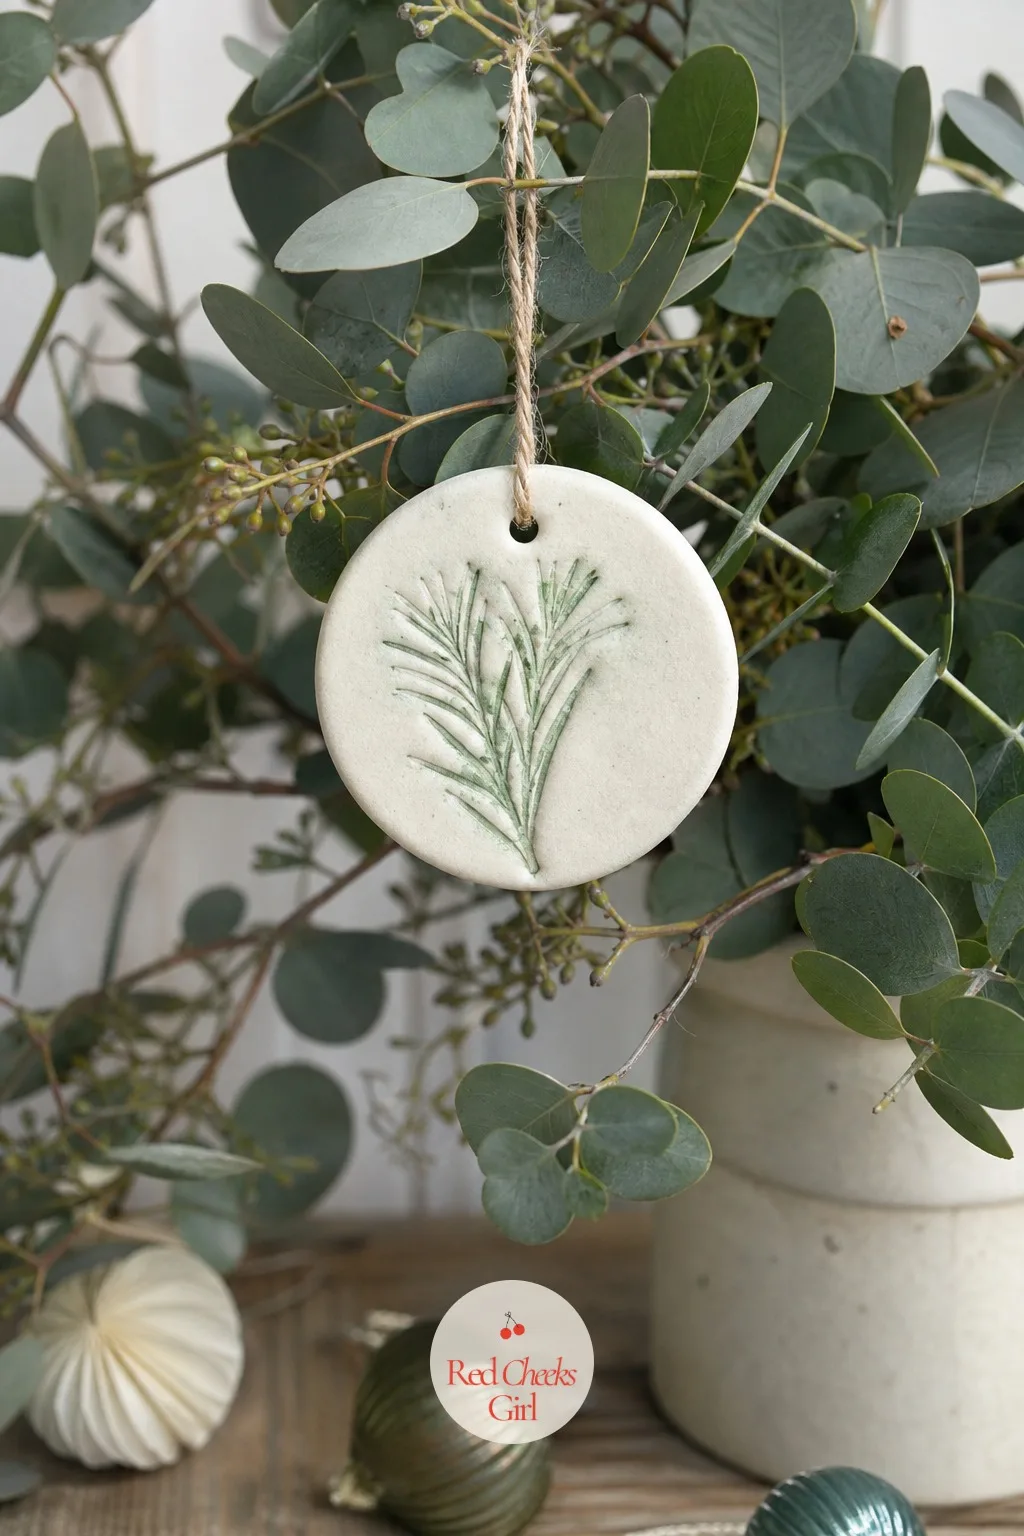
Press a small sprig of fresh rosemary or a sprig of thyme into soft dough, bake it carefully at a low temperature, then lift it away to leave behind a fine botanical imprint. The real herb never makes it into the oven whole, it only leaves its shadow.
A wash of sage green in the pressed lines makes the pattern easier to see once hung. For more painted finishes once the shapes are dry, Painted Salt Dough Ornaments covers a dozen more looks worth trying.
Ornaments Built To Be Given Away
Every one of these doubles as a gift tag, a hostess present, or a stocking filler for the neighbor whose dog you borrowed all October. Make a double batch while the oven is already on; the dough itself costs next to nothing.
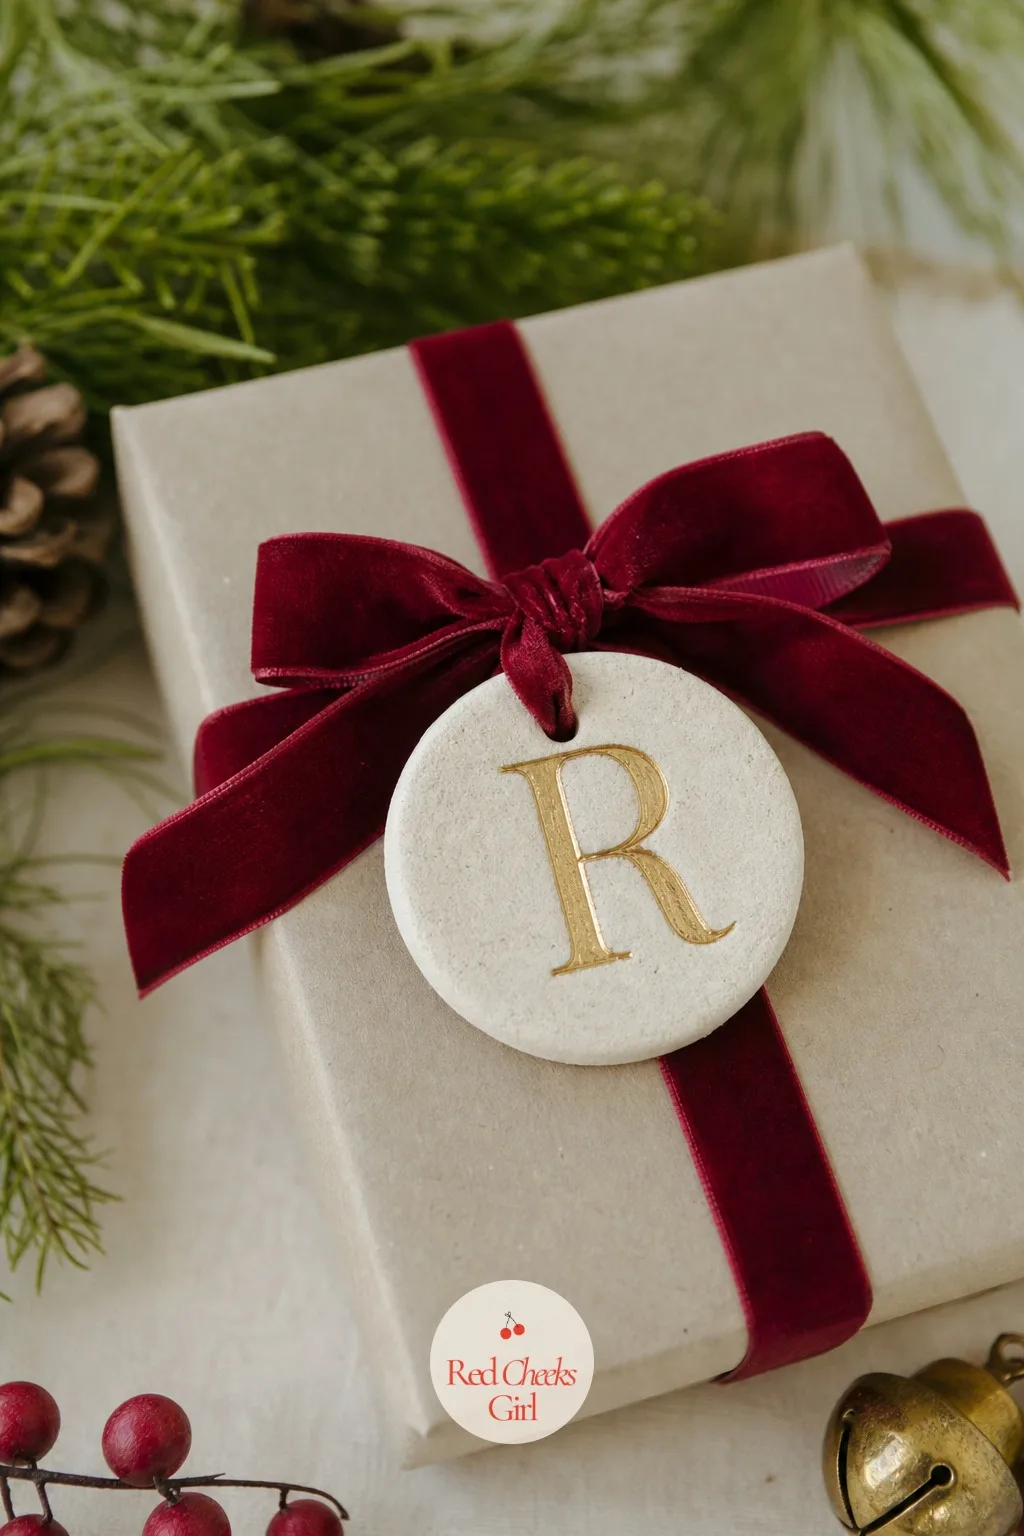
Monogram Initial Discs
One letter, painted in gold in the center of a plain cream disc, reads as a finished gift even when it took four minutes to decorate. Tie it to a wrapped box with a length of burgundy ribbon instead of hanging it on your own tree.
This is the one to make in bulk the week before a gift exchange, since every recipient only needs their own initial.
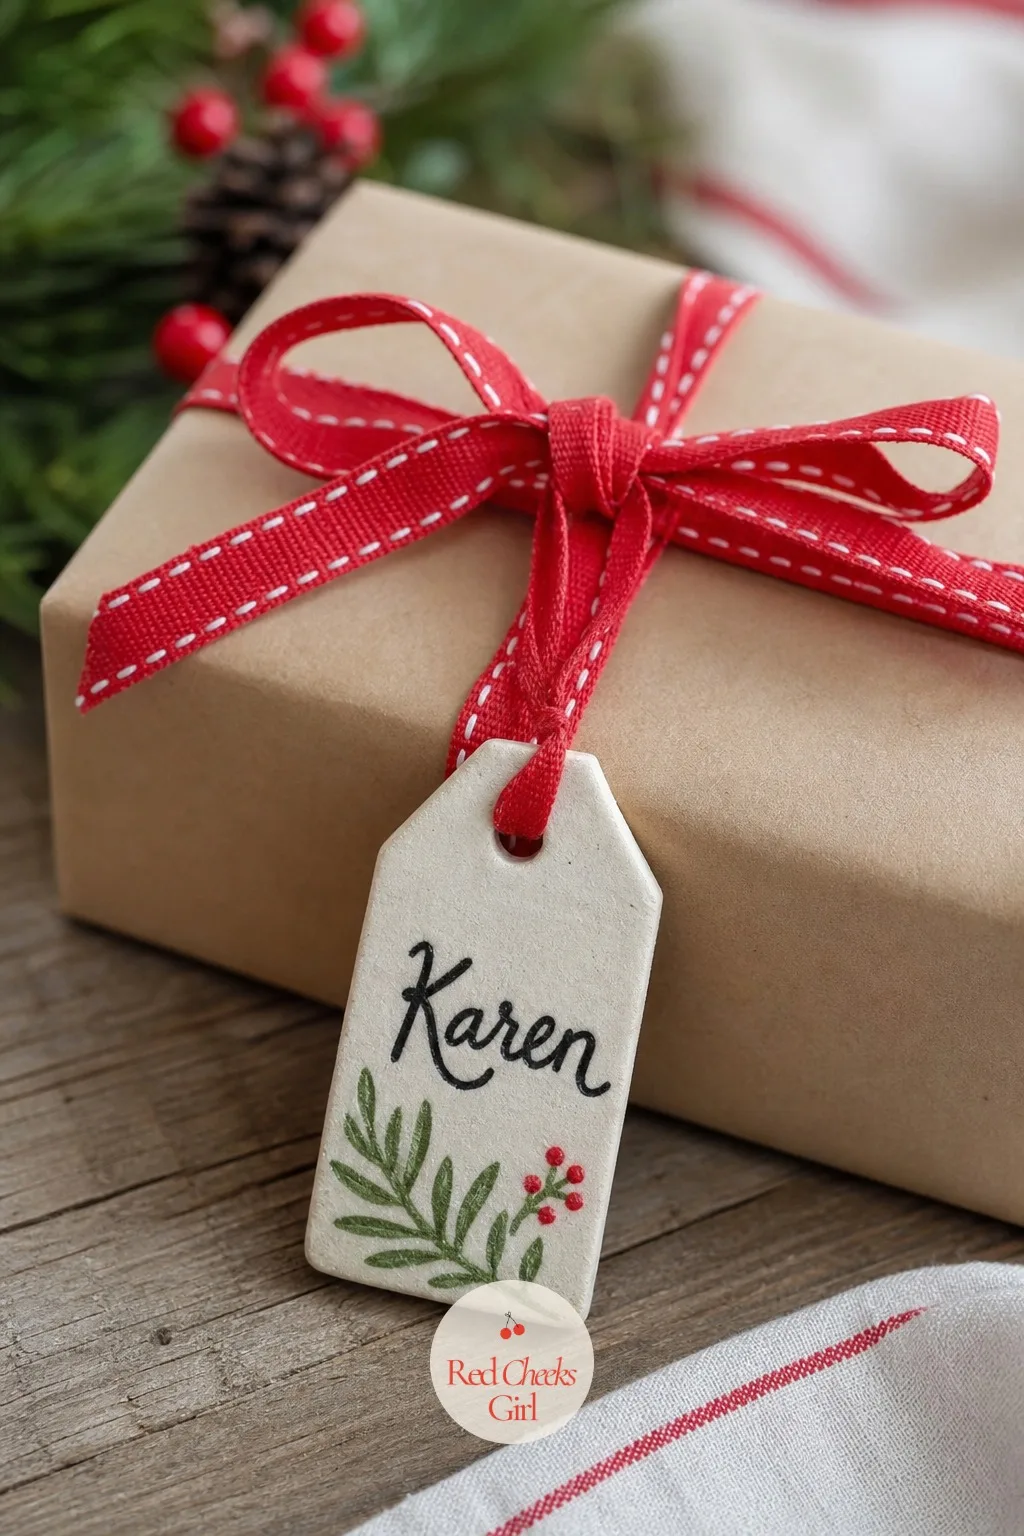
Name-Tag Gift Ornaments
Cut a simple tag shape with a hole punched at the top, paint a guest’s name in black script across the front, and it works as a place card at dinner before it ever gets hung on a tree at home. One batch covers the whole table.
They are sturdier than paper tags and survive a glass of wine spilled nearby, which paper never does.
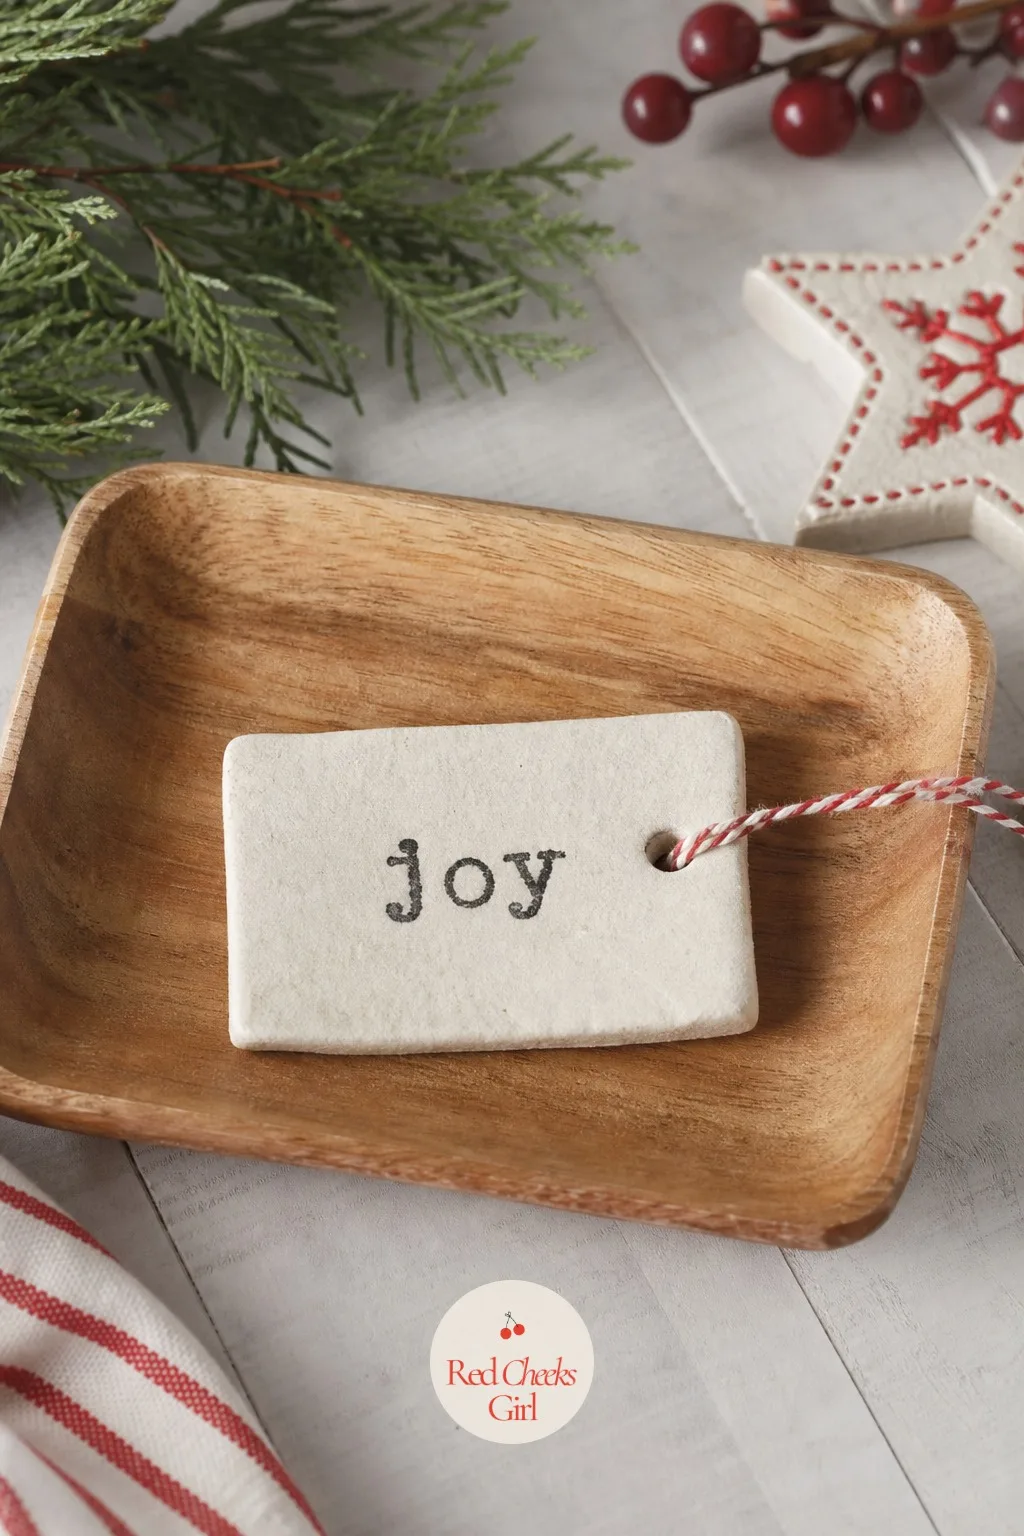
Stamped Word Ornaments
Alphabet stamps meant for polymer clay press just as cleanly into salt dough while it is still soft, spelling out a single word like joy or noel across a small rectangular tablet. No painting needed if you rub a little charcoal ink into the stamped letters before baking.
Keep the word short, three to four letters fits a tablet you can still hang on a tree without it looking like a sign.
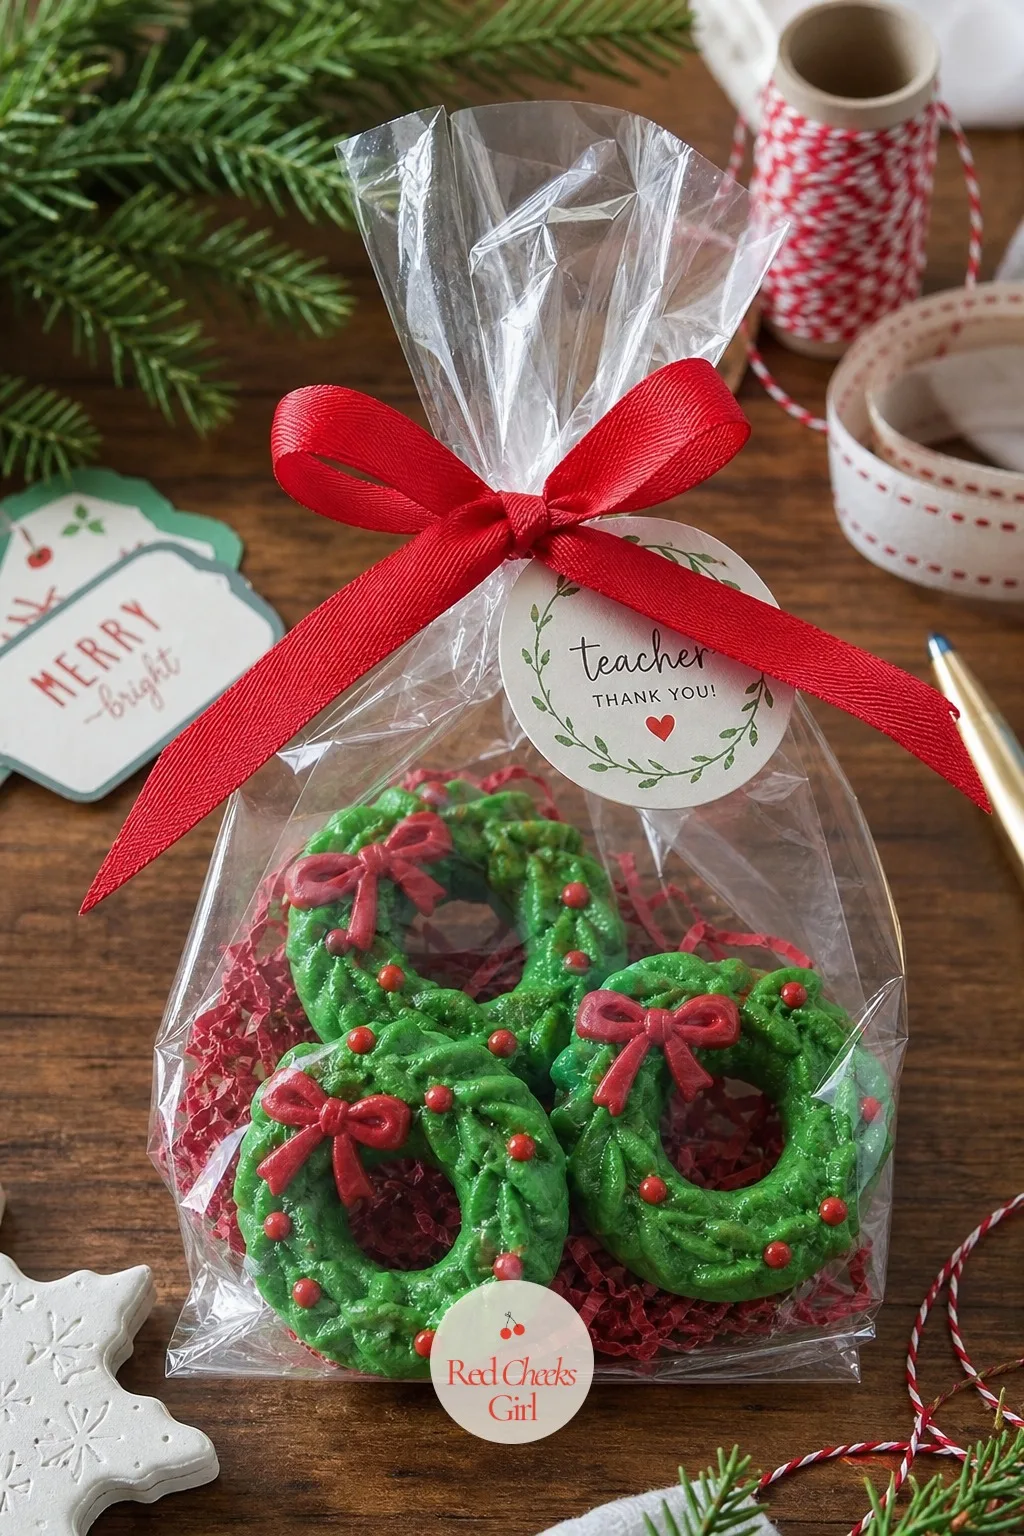
Mini Wreath Teacher Gift Set
Three small wreath-shaped ornaments, painted and bagged together with a ribbon, cost less than a candle and mean more to a teacher who gets a dozen candles every December anyway. Make the batch large enough to cover every teacher, coach, and neighbor on the list at once.
A cellophane bag and a strip of ribbon is the entire packaging, nothing fancier needed.
Ones For The Littlest Hands
Thinner dough, blunter edges, and projects that survive a four-year-old’s attention span of roughly eleven minutes. These sit lower on the tree, where small hands can actually find them again next year.
Fingerprint Reindeer Ornaments
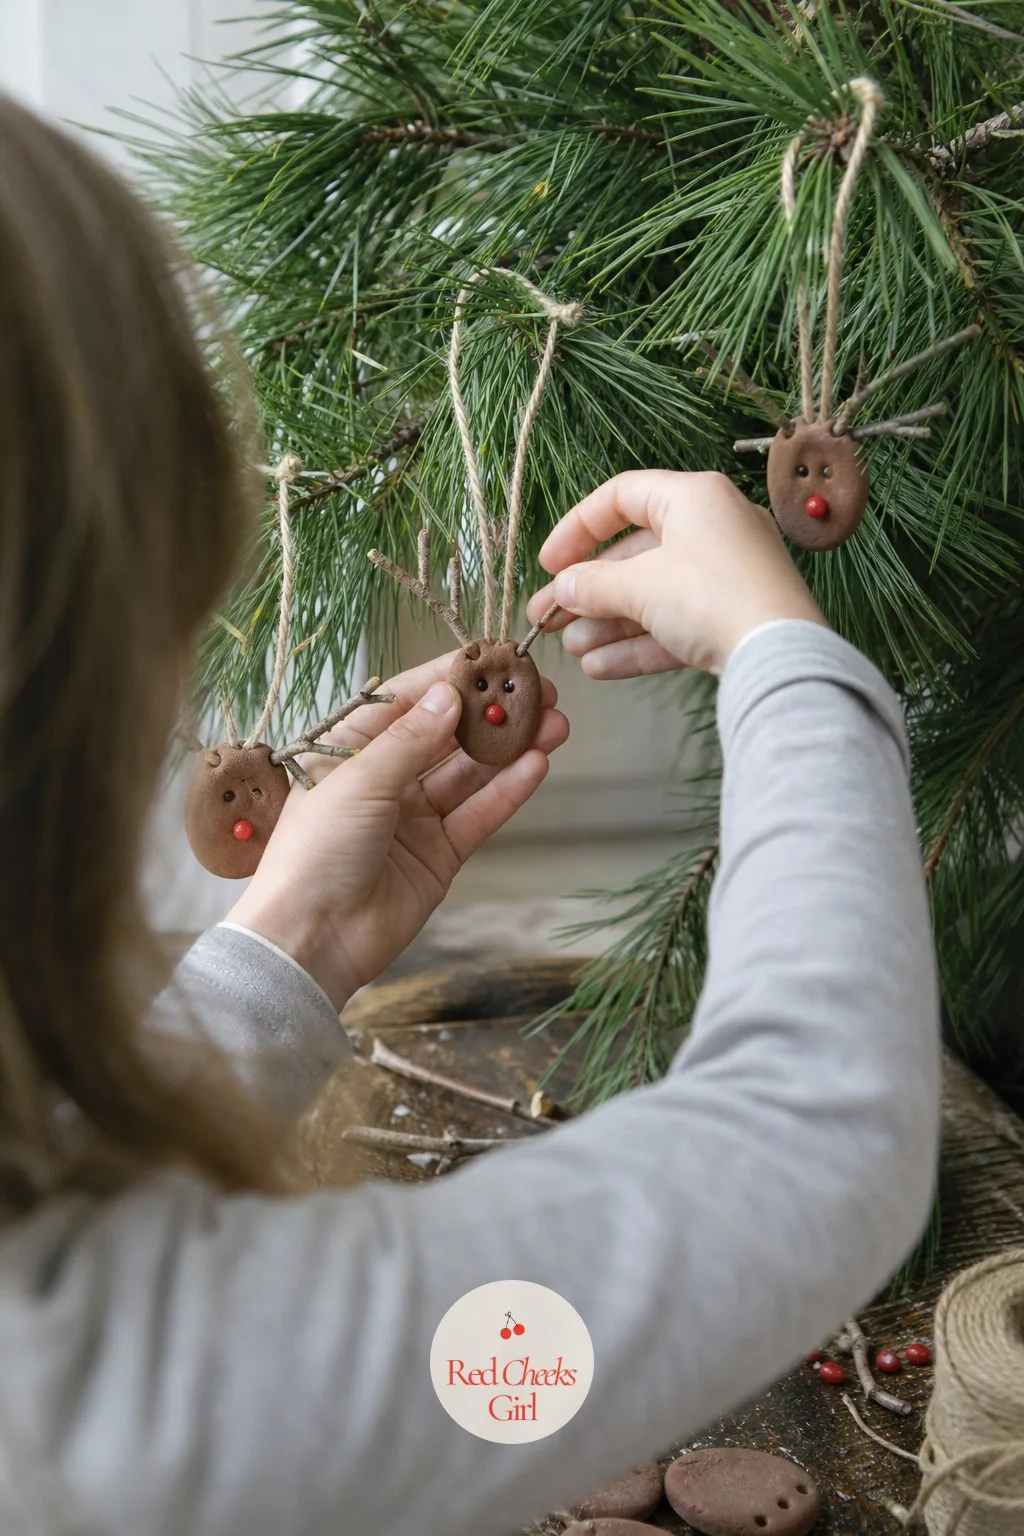
A brown thumbprint for the body, two thin dough sticks pressed in for antlers before baking, a single red dot for the nose. It takes a four-year-old about ninety seconds to make one and they will want to make six more immediately.
Hang these on the lower branches where small hands planted them, not reshuffled to the top where the adults think they look better.
Button-Eye Animal Shapes
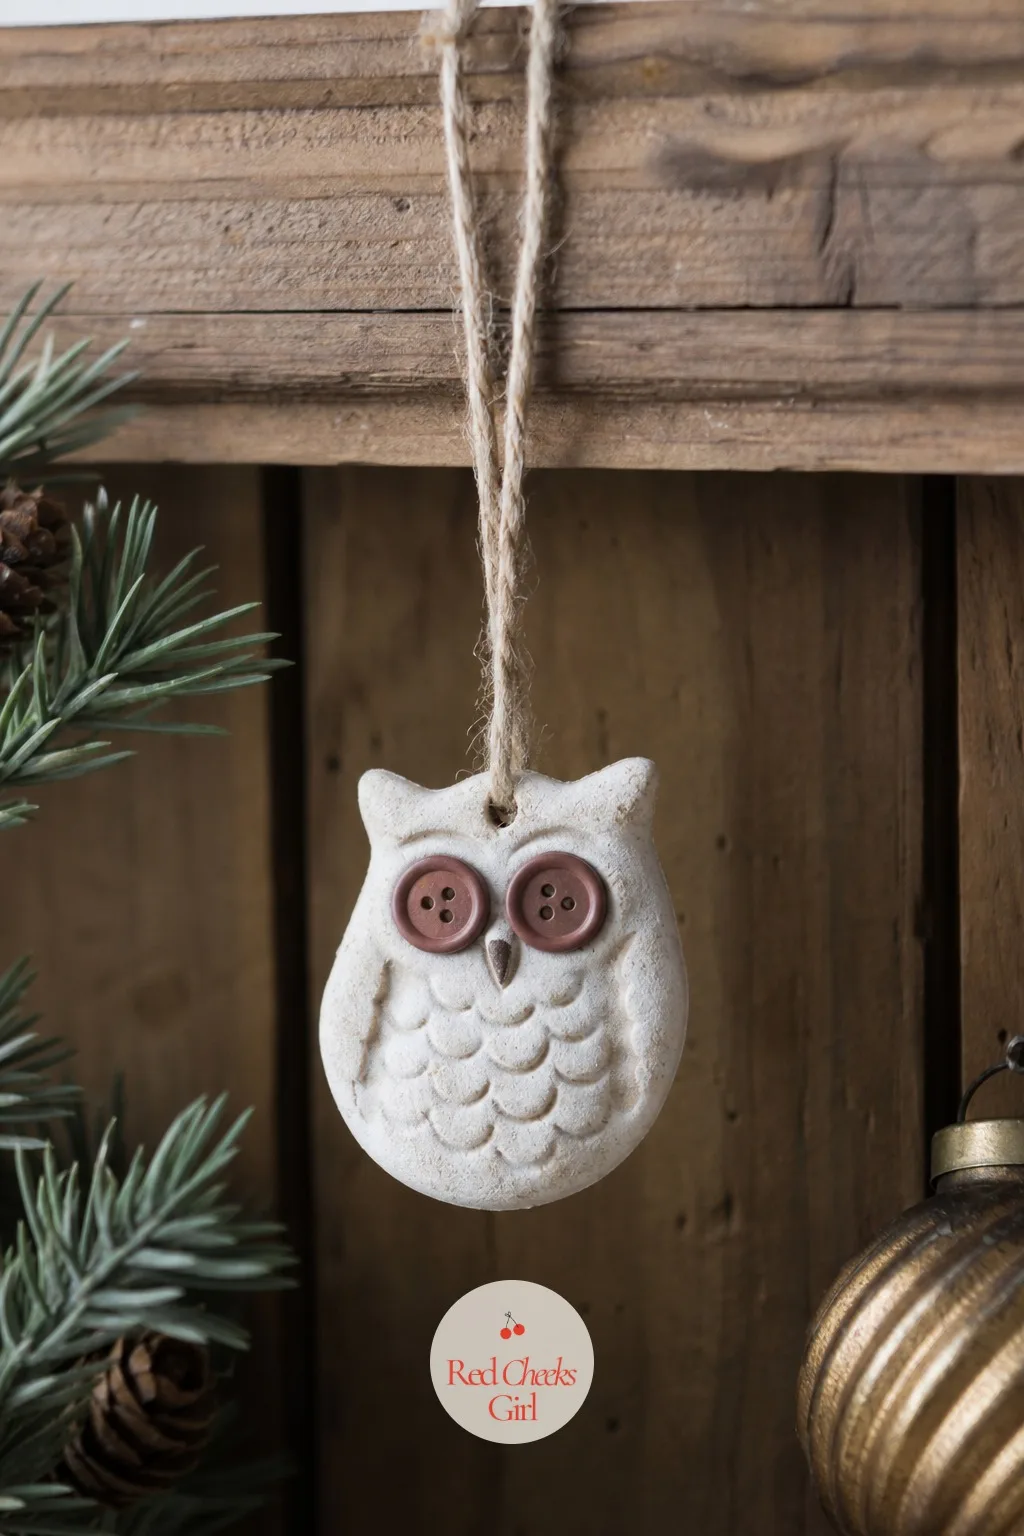
Press a small flat button into the dough for each eye before it goes in the oven, so the eyes bake in permanently rather than getting glued on crooked later. An owl or a bear shape works best since the button placement is forgiving.
Paint the rest in muted earth tones once cooled, browns and soft rust rather than primary colors, so the buttons stay the focal point.
🛍 Shopping guide
Puzzle-Piece Family Ornament
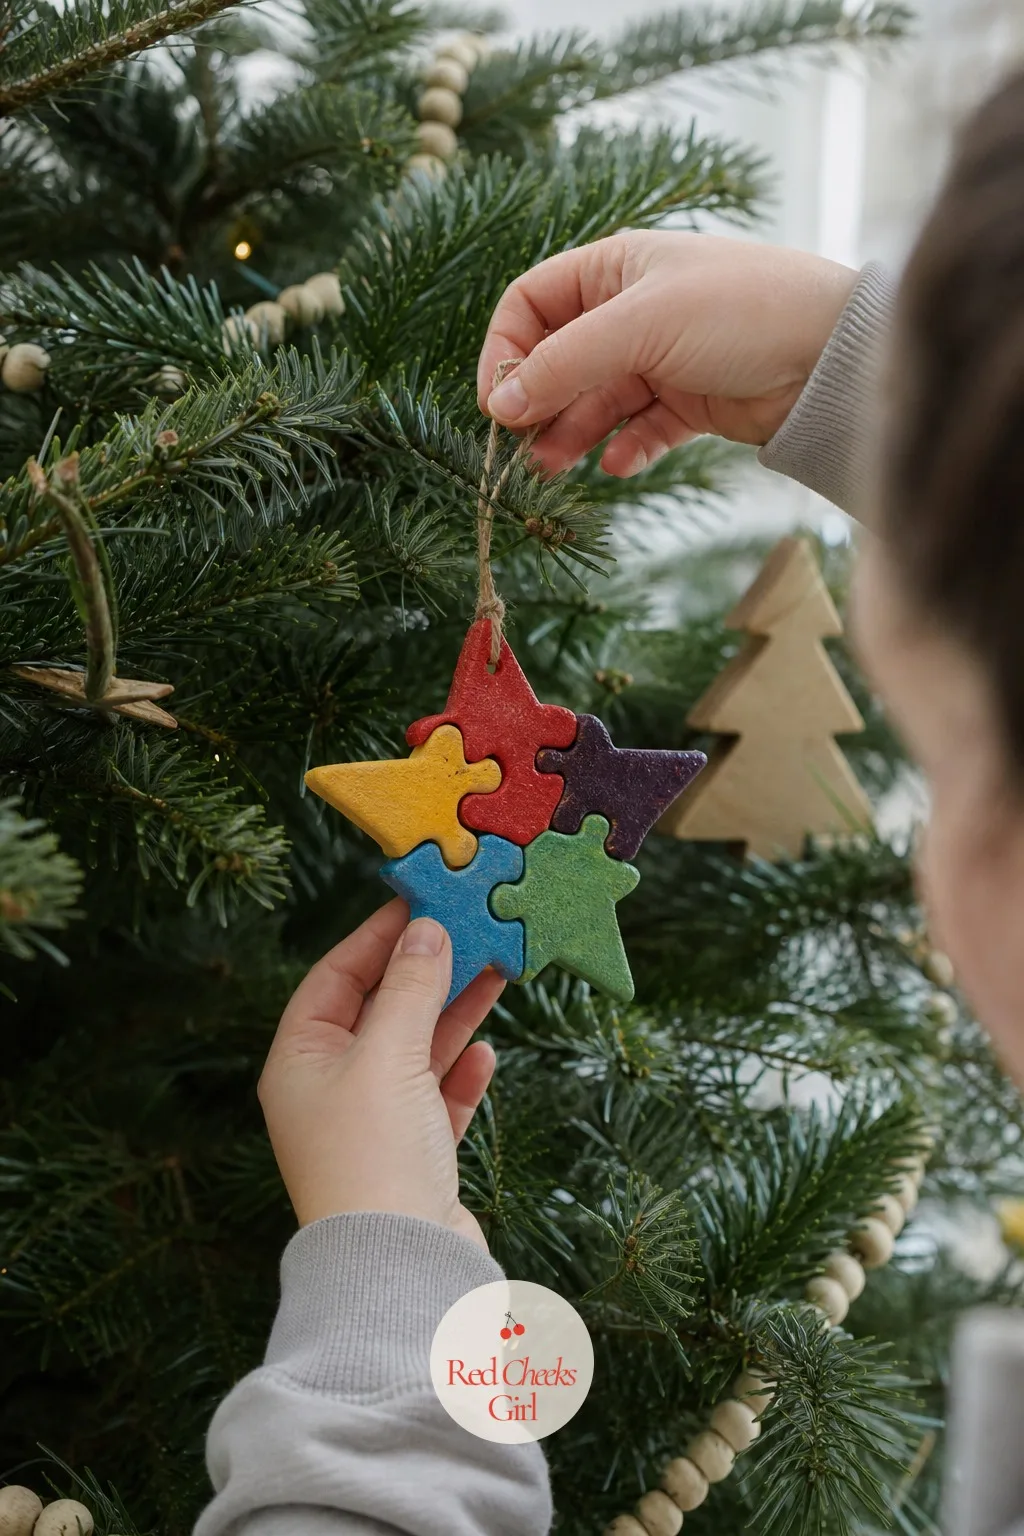
Cut one large star or heart shape, then cut it again into as many pieces as there are people in the house, so each person paints their own piece in whatever colors they want. Hung together on one branch, the pieces interlock back into the original shape.
It solves the fight over whose ornament gets the best spot on the tree, since the whole thing only works displayed as one piece.
🛍 Shopping guide
Frequently Asked Questions
How long do salt dough ornaments actually last?
Properly dried, sealed and stored out of humidity, salt dough ornaments can hold up for decades rather than seasons. The salt itself works as a natural preservative, which is why people still have childhood pieces coming out of storage boxes forty years later.
Do you have to seal salt dough ornaments?
No, an unsealed ornament will still survive several years of normal handling, especially if it only comes out of a box one month a year. Sealing front and back with a thin coat of Mod Podge or a matte spray simply pushes that lifespan toward decades and protects any paint underneath.
Why do my salt dough ornaments keep cracking?
Cracking almost always comes down to heat or thickness: an oven running too hot, or dough rolled thinner in some spots than others. Kneading thoroughly and rolling to an even depth before cutting heads off most cracks before they start, and baking low and slow finishes the job.
Should I bake the ornaments or let them air dry?
Baking at a low temperature finishes ornaments in a few hours and gives a more even result, while air drying takes several days to a full week and needs the pieces flipped regularly so they do not curl at the edges. Either works, air drying just asks for more patience and a spare countertop.
Can you make the dough ahead of time?
Yes, salt dough keeps well wrapped tightly in plastic and refrigerated in an airtight container for several days before you roll and cut it. This makes it realistic to mix a batch one evening and hand it to the kids the next afternoon without losing a weeknight to the whole process.
Are salt dough ornaments safe to have around pets?
The ornaments are harmless to touch, but the high salt content makes them something to keep out of reach of a dog that chews on tree decorations. A paw print ornament is perfectly fine to make with a cooperative pet, the finished piece is simply not meant to be eaten.
36 white elephant gift ideas that actually get fought over, sorted by office party, cozy night in, f

Barbie Christmas decor done properly: 24 hot pink dreamhouse ideas, room by room, with the exact pie
12 free printable Christmas garlands built around a pink christmas garland palette plus red, white,
Leave a Reply