

18 Printable Paper Christmas Garlands Starring Nutcrackers, Gingerbread Men and Vintage Santas
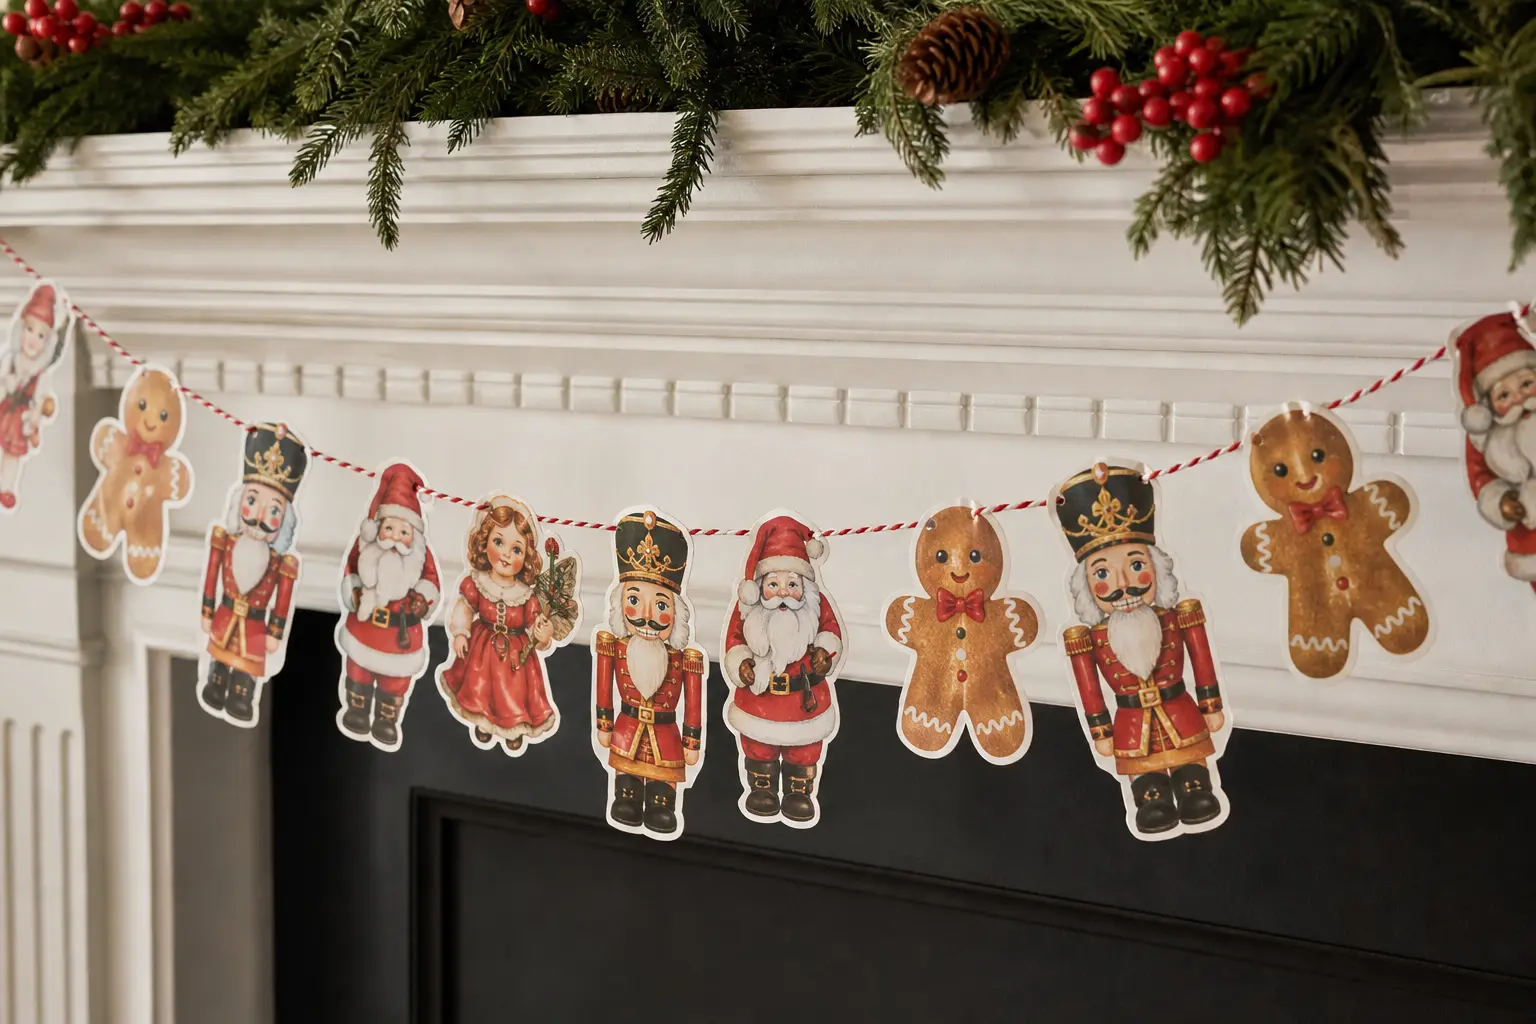
Eighteen garlands live here, and no two share a color story or a motif, so you can print exactly the ones that suit your mantel and skip the rest without the set looking thin. Nine are paper chains, patterned strips glued into interlocking rings. Nine are cut shapes threaded on string, big enough to read from across the room because they lie on their side on the page instead of standing upright and wasting half the paper.
Every printable is one portrait sheet, printed flat with no shadow and no scissors lying on it, just the artwork and its cut lines. A chain sheet takes about half an hour start to finish once it is printed: cut the strips, glue each into a ring through the last. A shape garland goes faster, maybe twenty minutes, since there is no gluing at all, just a hole punch and a length of string. Between the two you can dress a whole room without a single trip to the craft aisle beyond paper, glue and string.
They are grouped below by look rather than by how they are made, so a vintage sideboard and a kids’ playroom each get their own run. If you are hosting properly this year rather than just decorating, the full party ideas and games list covers the rest of the evening.
This post contains affiliate links. If you buy through them, I may earn a small commission at no extra cost to you.
Vintage Santas and Old-World Ornaments
Warm, nostalgic, a little faded on purpose: this trio suits a mantel that already leans vintage, the kind covered in the vintage mantle decor pieces already in the loft. Ivory, gold and cranberry run through all three so they hang together on the same shelf without competing.
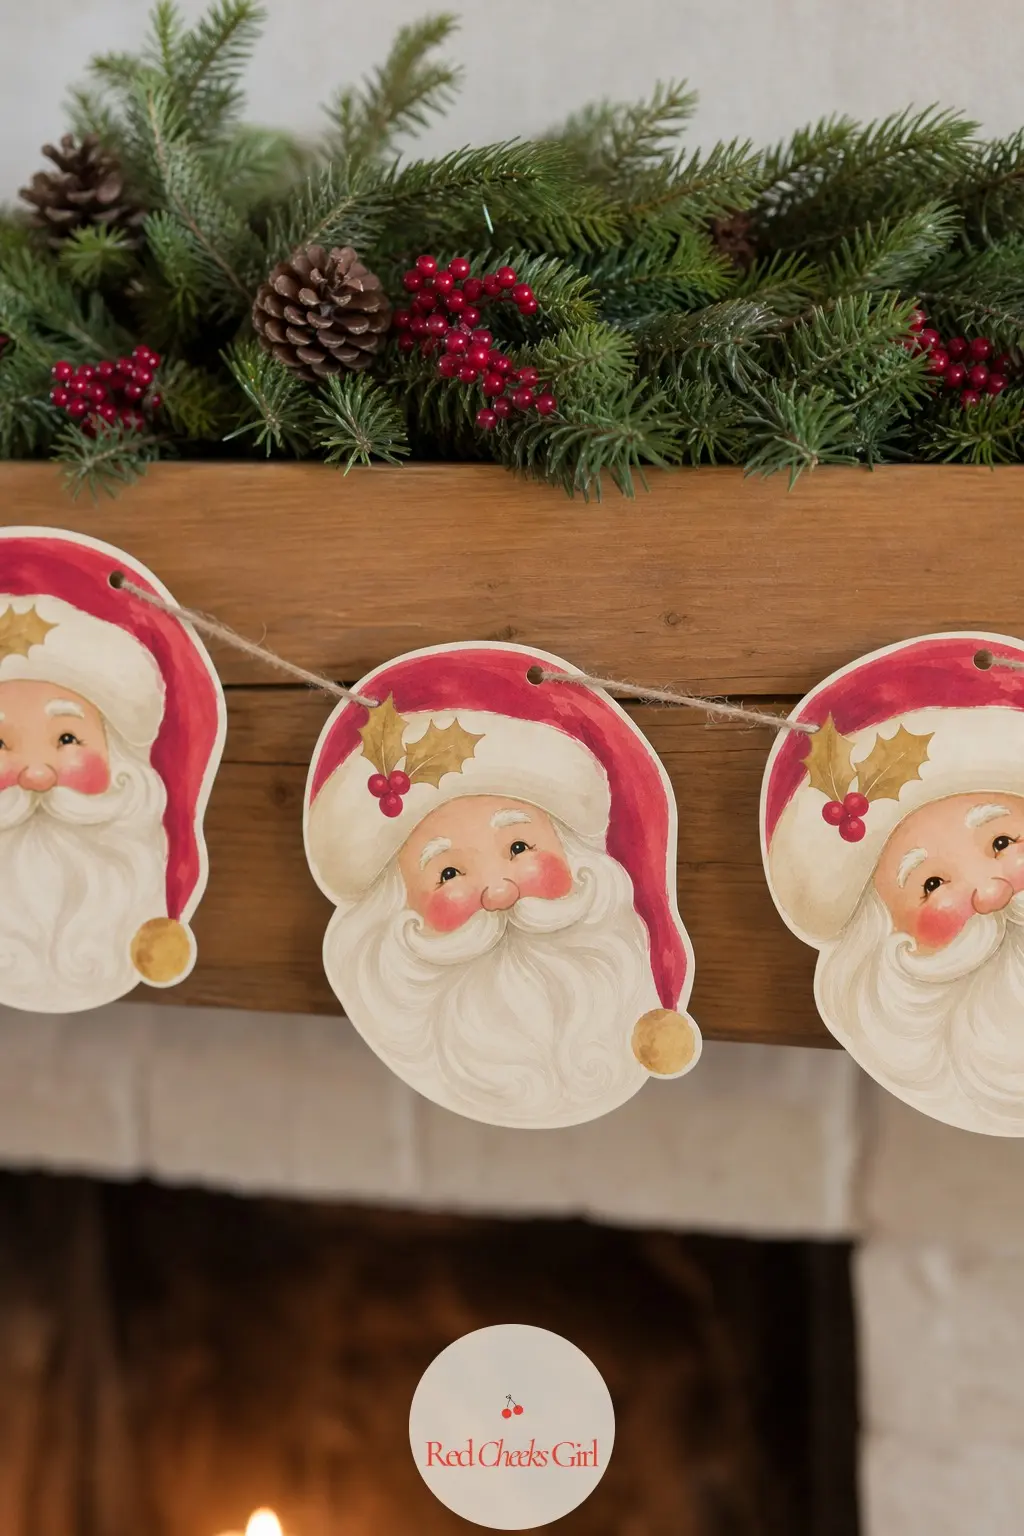
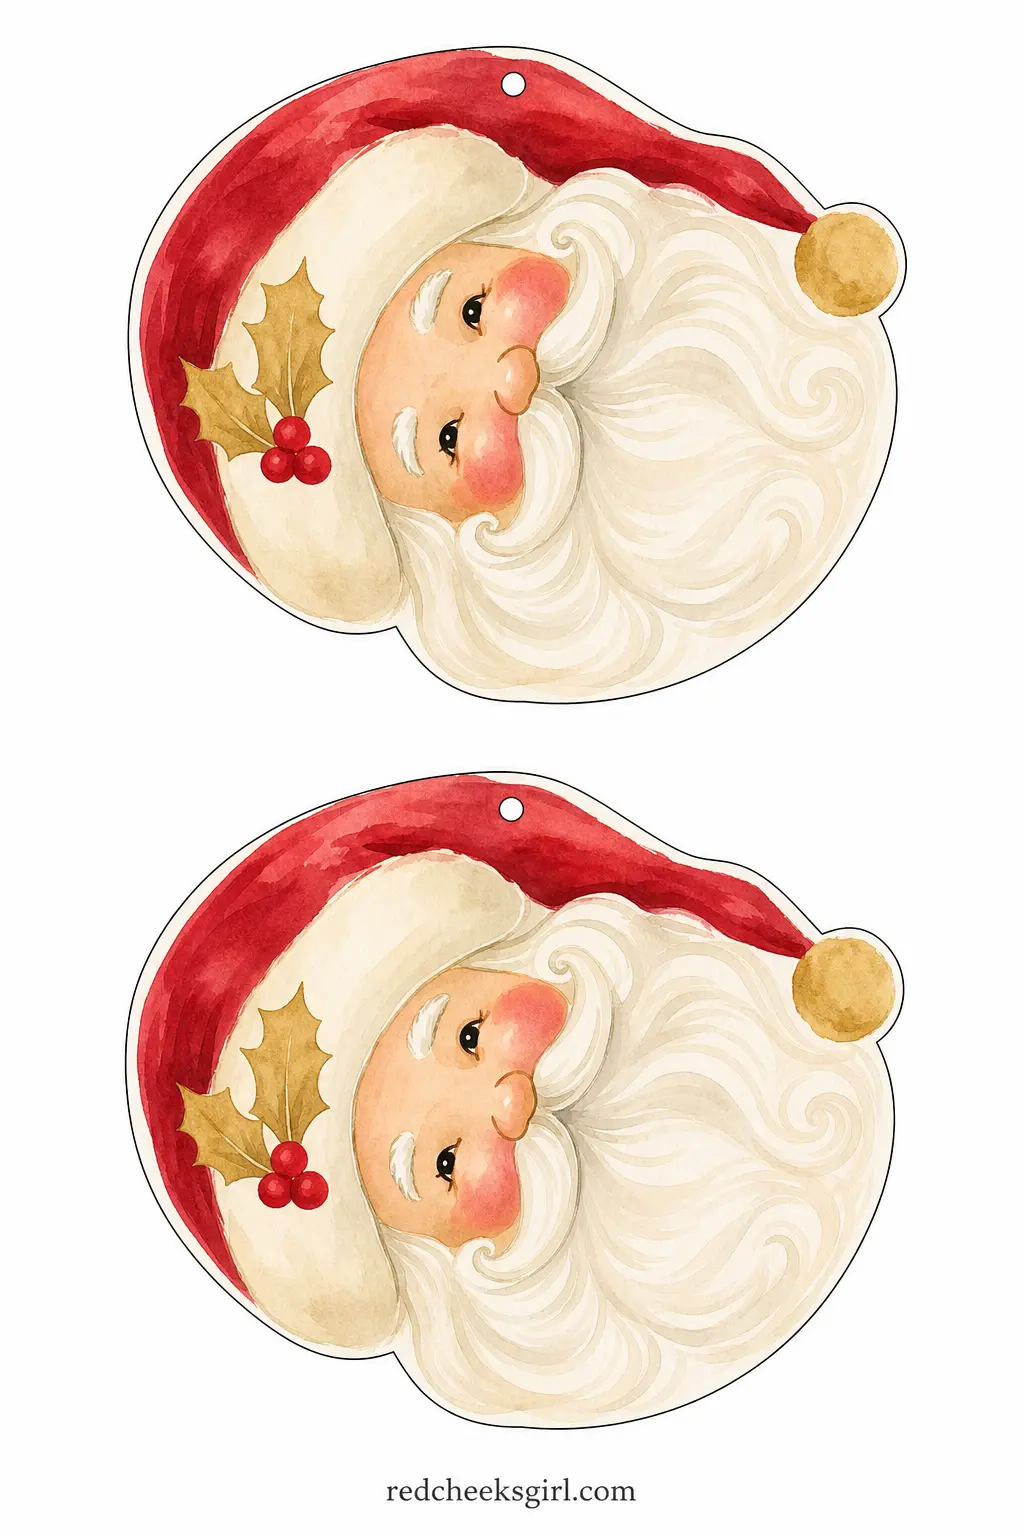
Vintage Santa Face Bunting
A row of round, rosy-cheeked Santa faces in ivory and cranberry, drawn with the soft, slightly worn linework of an old holiday card rather than a cartoon. It suits a sideboard or a staircase newel post where guests pass close enough to notice the detail on each face.
Print the sheet, cut around each face on the solid line, punch the small circle near the top of each one, and thread them onto baker’s twine with a knot between faces so they hang evenly spaced. A yard of twine comfortably holds both faces from one sheet with room either side to tie off.
The only real risk is cutting the punch hole too close to the edge, which tears through the first time it takes any weight, so leave the full quarter inch the sheet shows before punching.
✂️ What you need to print it
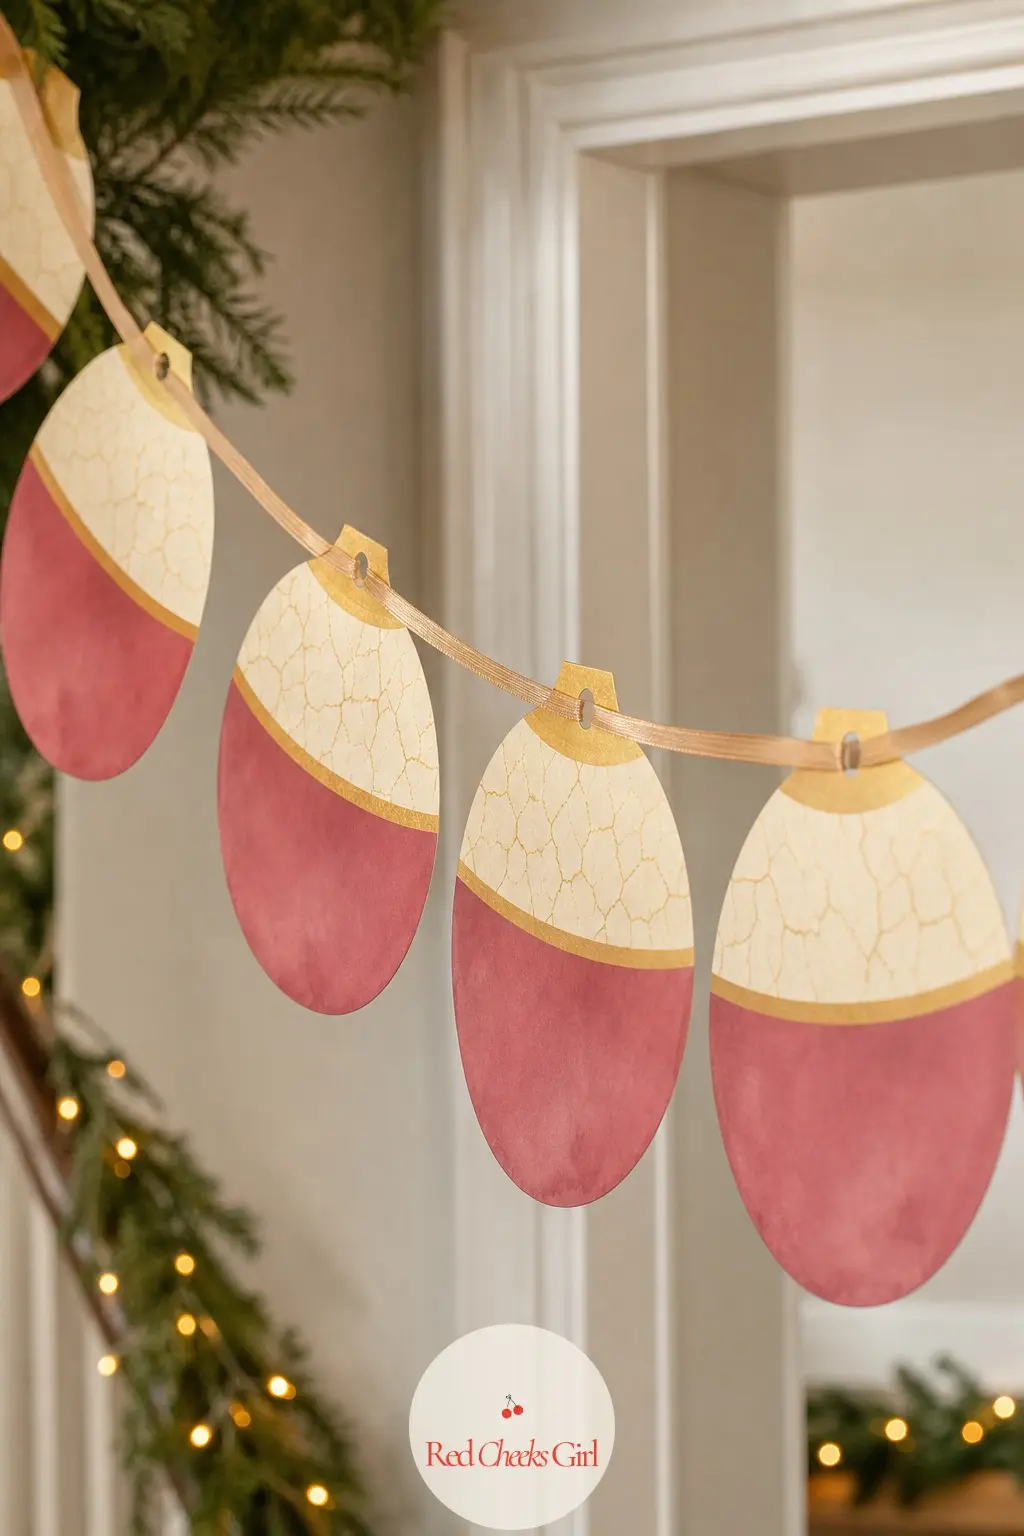
Vintage Glass Ornament Bunting
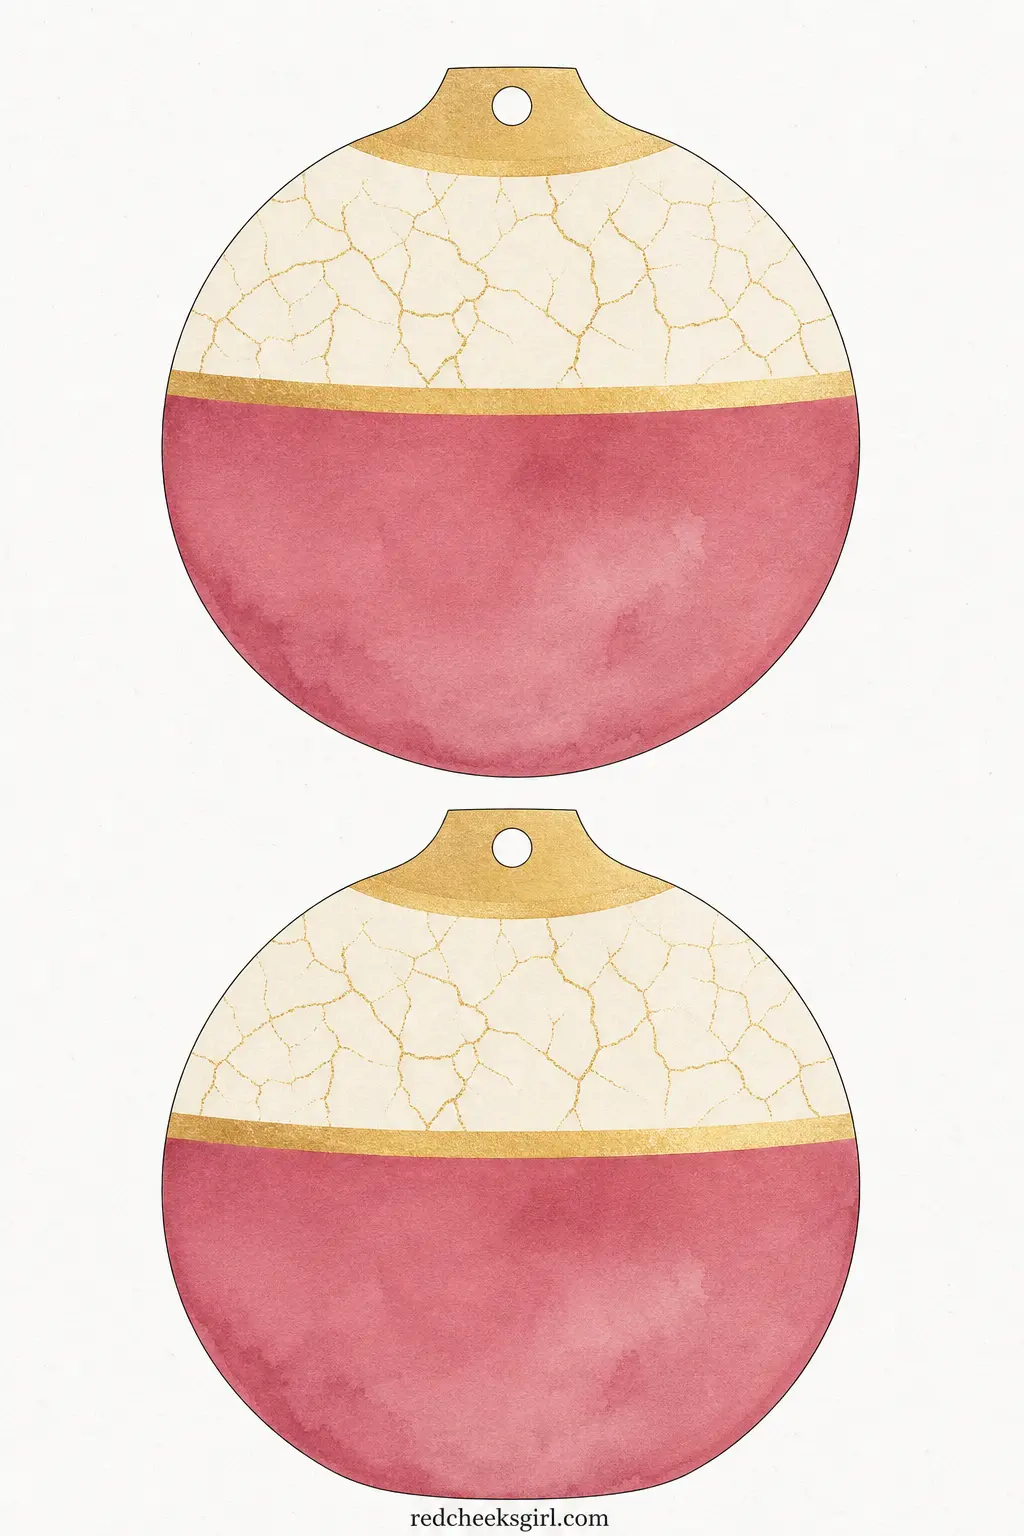
Fat, round bauble shapes in dusty rose and champagne gold, drawn with a thin crackle line across the top the way old glass ornaments actually look under a lamp. It reads as jewelry for a plain green garland or a bare window, not a children’s craft.
Cut both baubles free of the sheet, punch the hole at the narrow top where a real ornament cap would sit, and string them a hand’s width apart along ribbon rather than twine, since the shape wants something with a bit of sheen to match.
One sheet only gives two baubles, so this is the entry to print in multiples if you want a full run rather than an accent.
✂️ What you need to print it
Vintage Sheet Music Angel Bunting
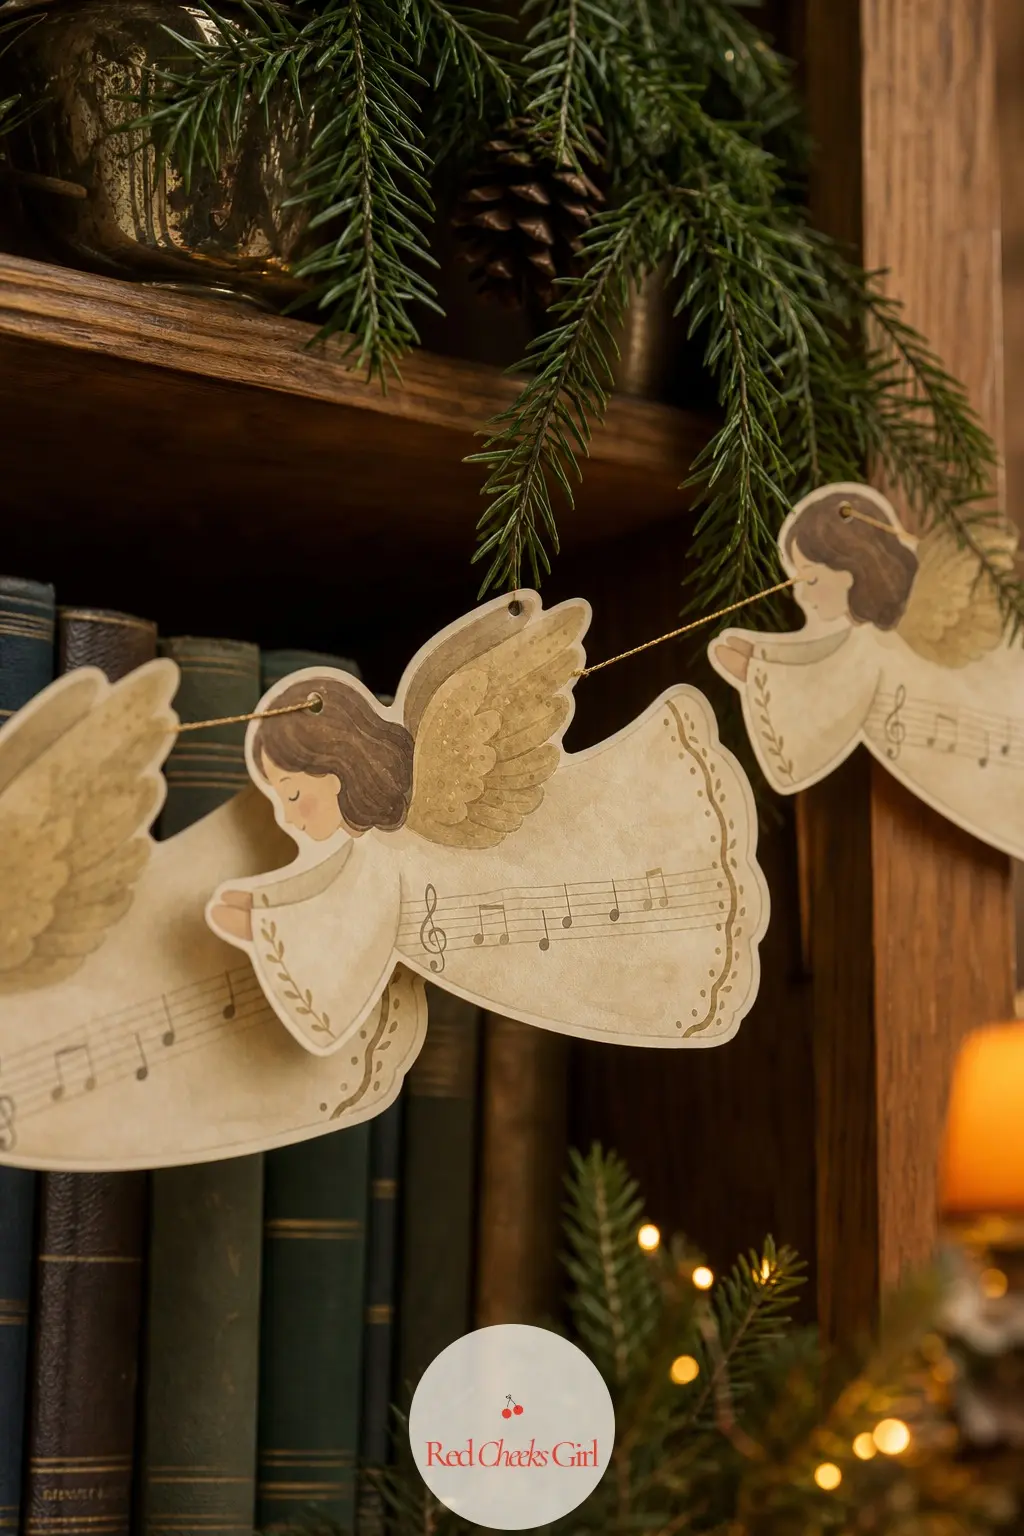
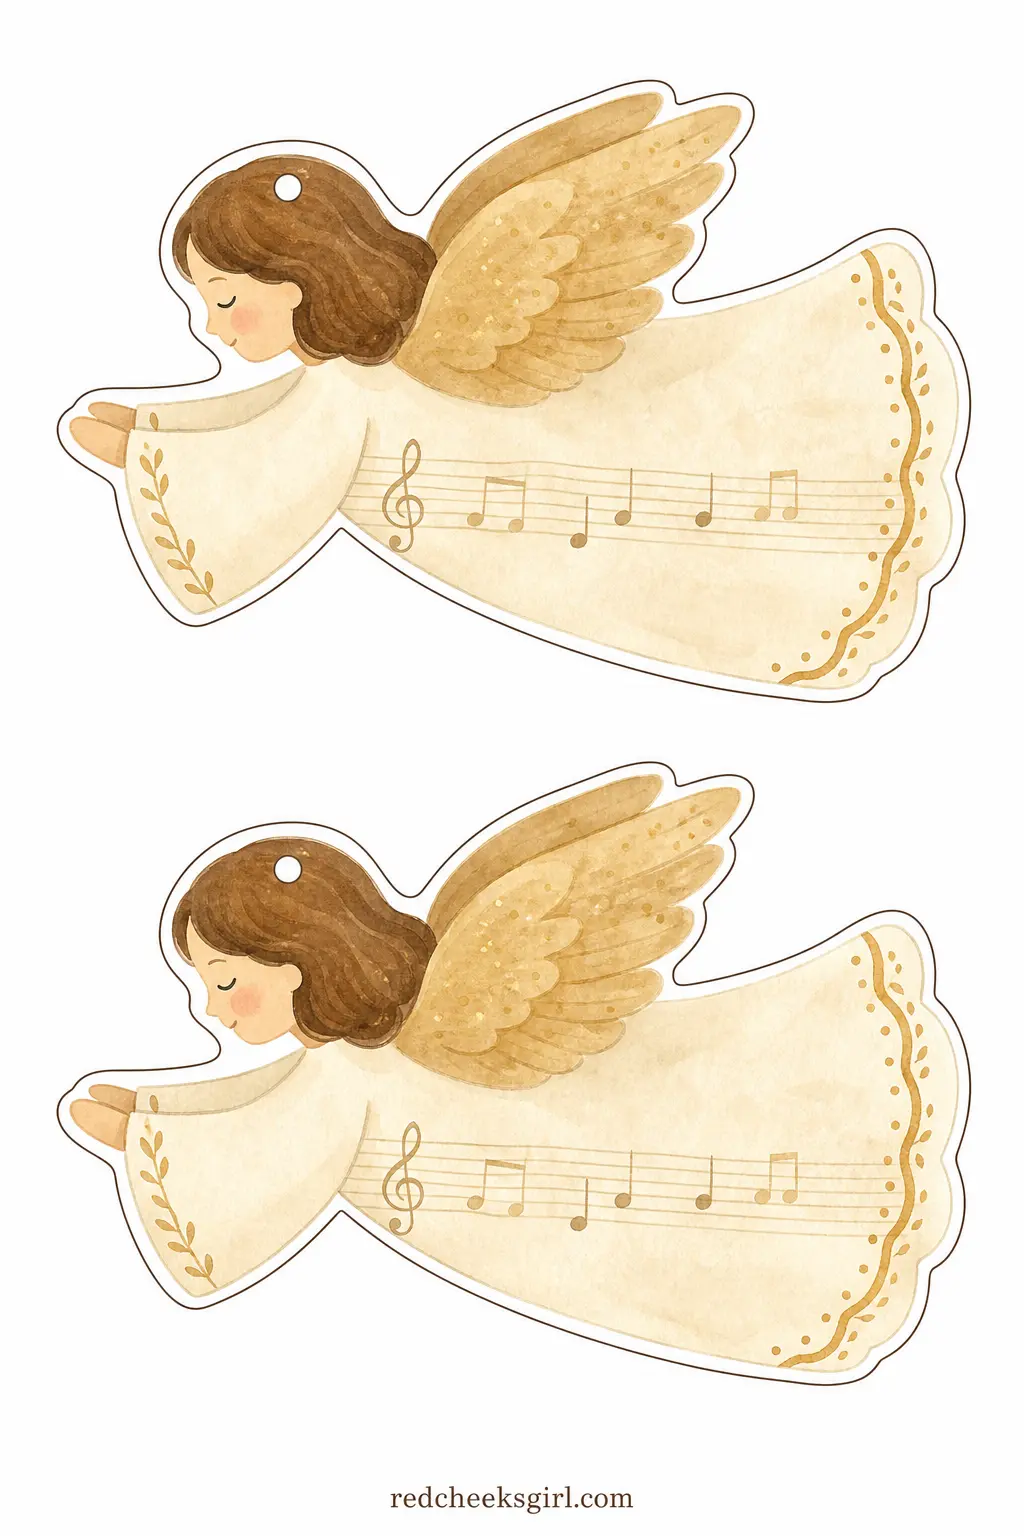
Angels drawn in sepia line over a faint musical staff pattern, dusty gold wings, the whole thing looking like it came out of a hymnal rather than a printer. It belongs somewhere quiet, a bookshelf or a piano if the house has one.
Cut around the wing tips carefully since they are the narrowest part of the shape, punch the hole above the head, and thread onto fine gold thread rather than thick twine so the delicate line work stays the focus.
Detailed line art like this photographs better under warm bulbs than daylight, so hang it somewhere lamp lit if you can.
✂️ What you need to print it
Gingerbread and Candy Shop
Sweet-shop colors for a dessert table or a kitchen doorway: gingerbread brown, peppermint red and soft pink, nothing that fights with a plate of cookies underneath it.
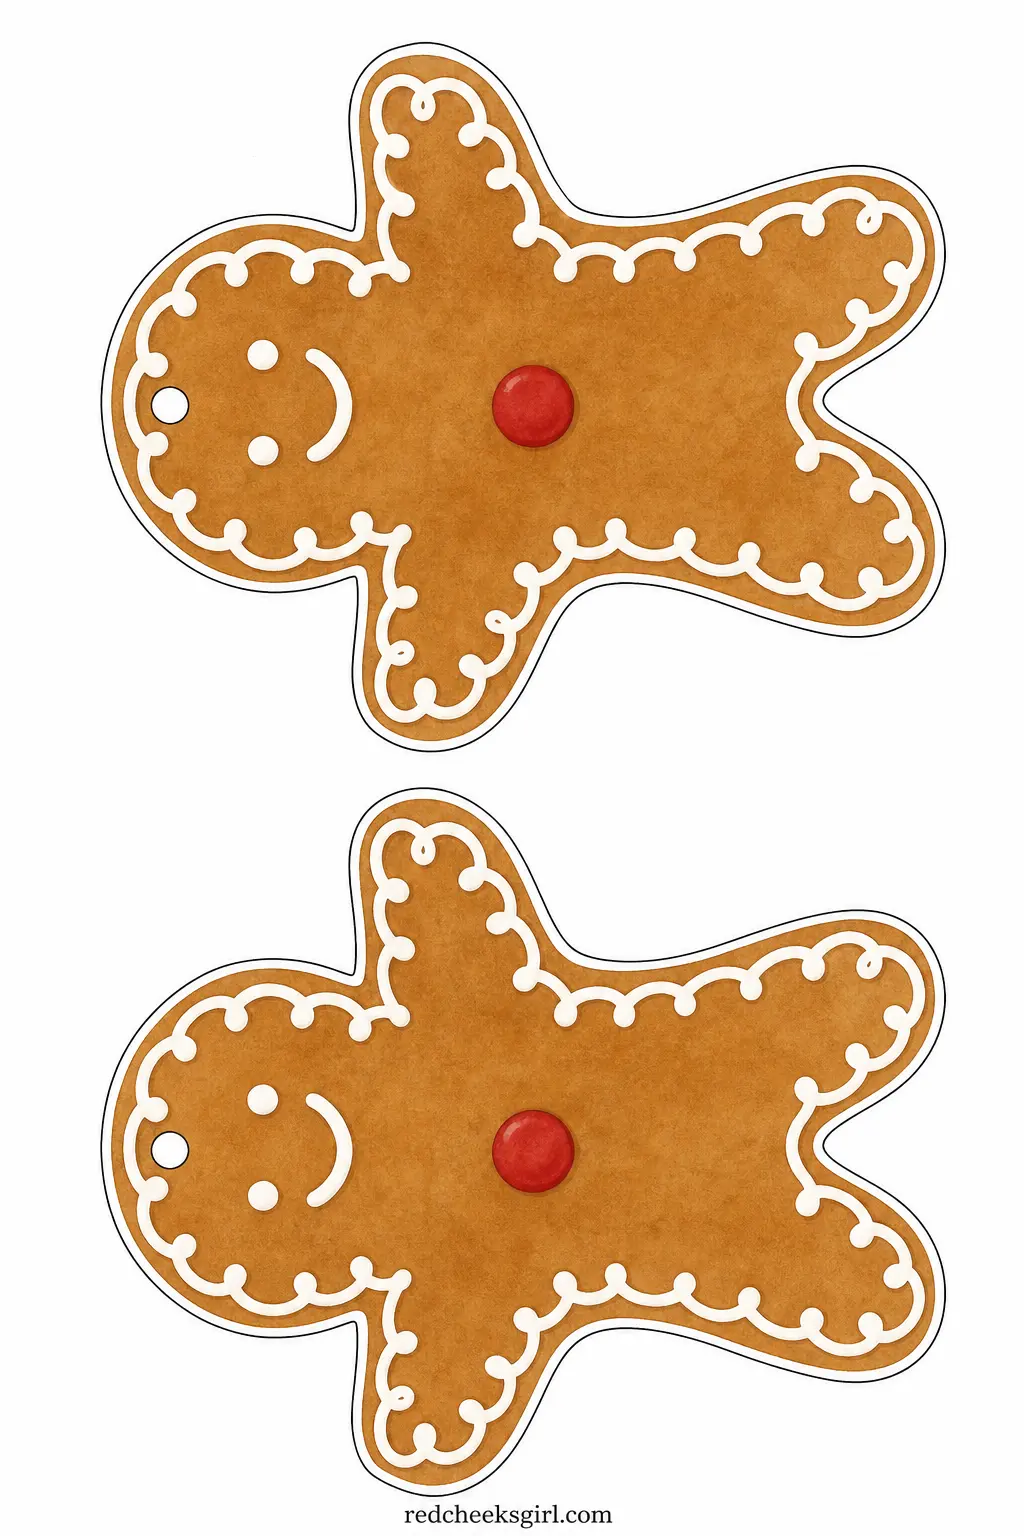
Gingerbread Men Bunting
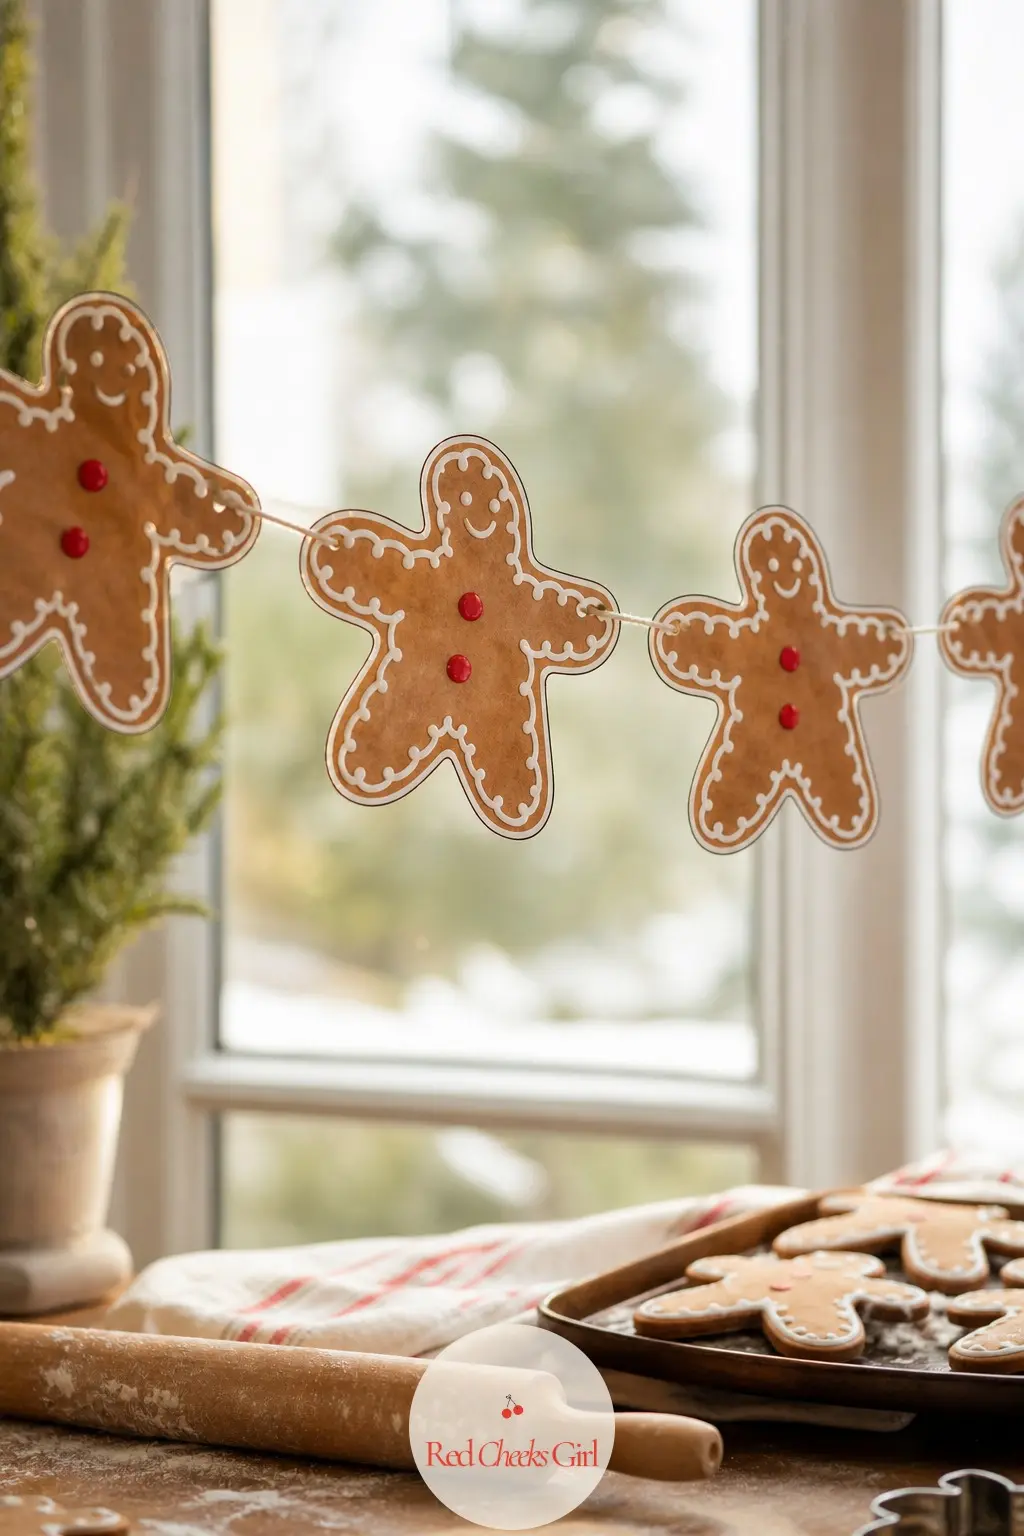
Classic gingerbread men in warm brown with white icing piping and a single cherry red button, big enough here to actually see the icing detail from across the kitchen rather than squinting at a tiny ornament.
Cut around the icing edge rather than straight lines, since the outline follows the frosting swirl, then punch the hole between the head and one raised arm and thread onto plain kitchen string.
The icing lines are the fussiest cutting in this whole set, so skip it if your scissors are dull or your patience is short that day.
✂️ What you need to print it
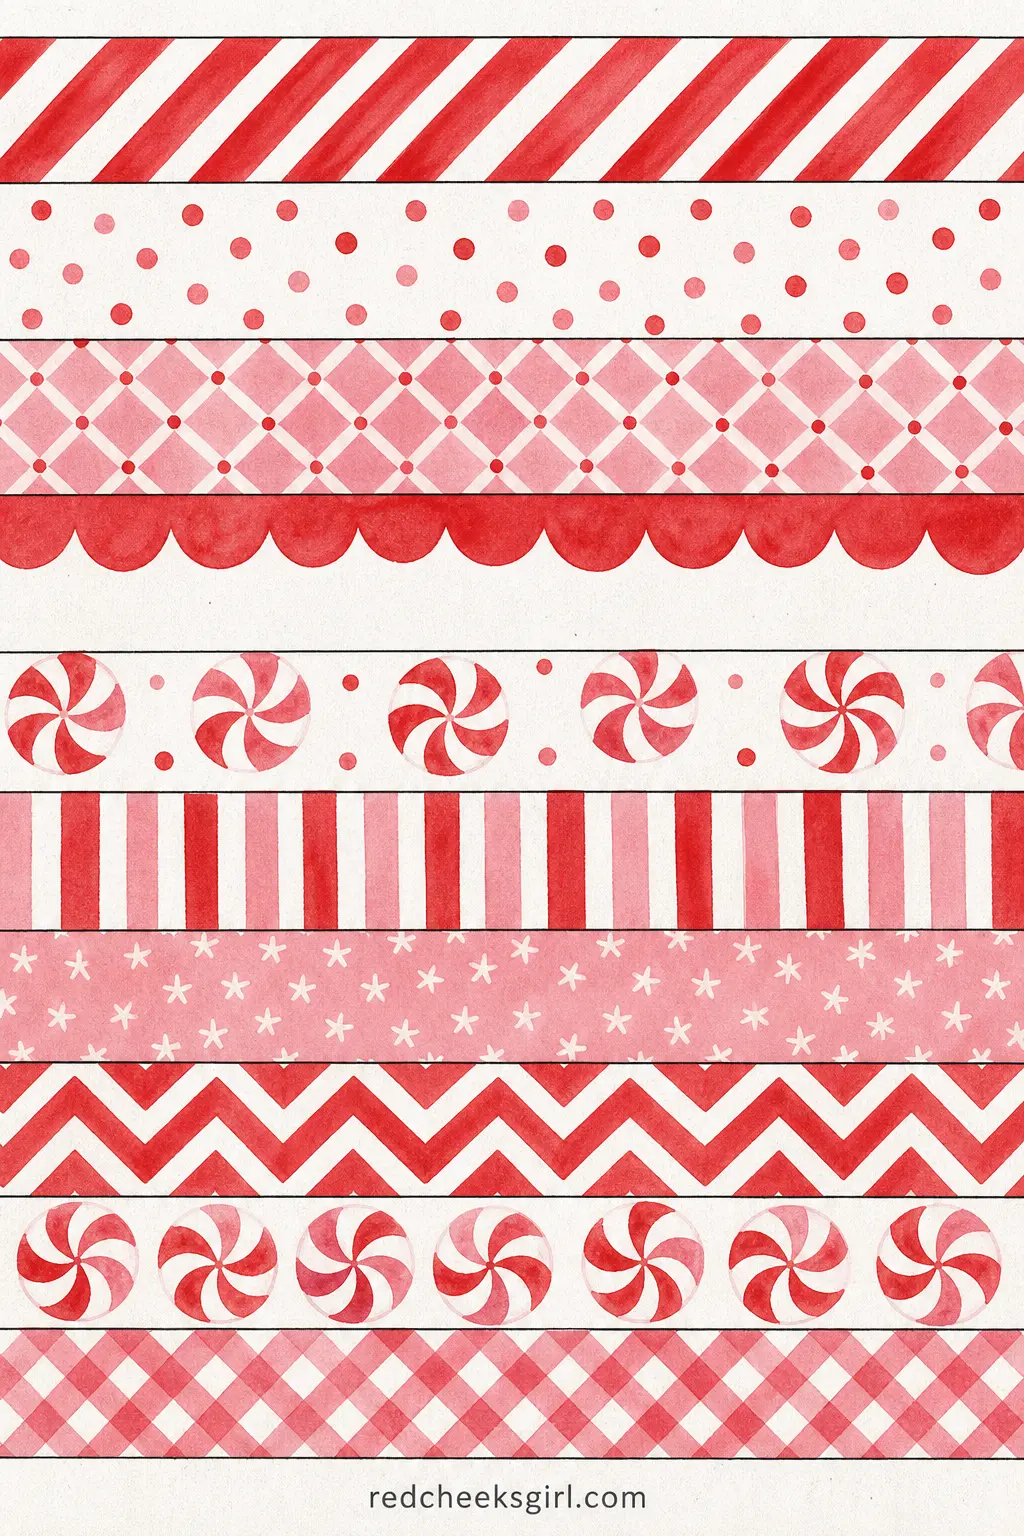
Candy Cane Stripe Paper Chain
A paper chain built entirely from peppermint patterns: diagonal candy stripes, tiny polka dots, a soft pink lattice, each strip a different sweet-shop print in the same red, white and pink palette so the finished ring of loops reads as one coordinated garland rather than a grab bag.
Cut the ten strips apart on the guide lines, curl the first into a ring and glue the overlap, then thread the next strip through before closing it into its own ring, repeating down the sheet.
Glue holds better than tape here because the strips are cardstock, not thin paper, so give each ring a few seconds of pressure before moving to the next or the chain sags at the seams.

✂️ What you need to print it
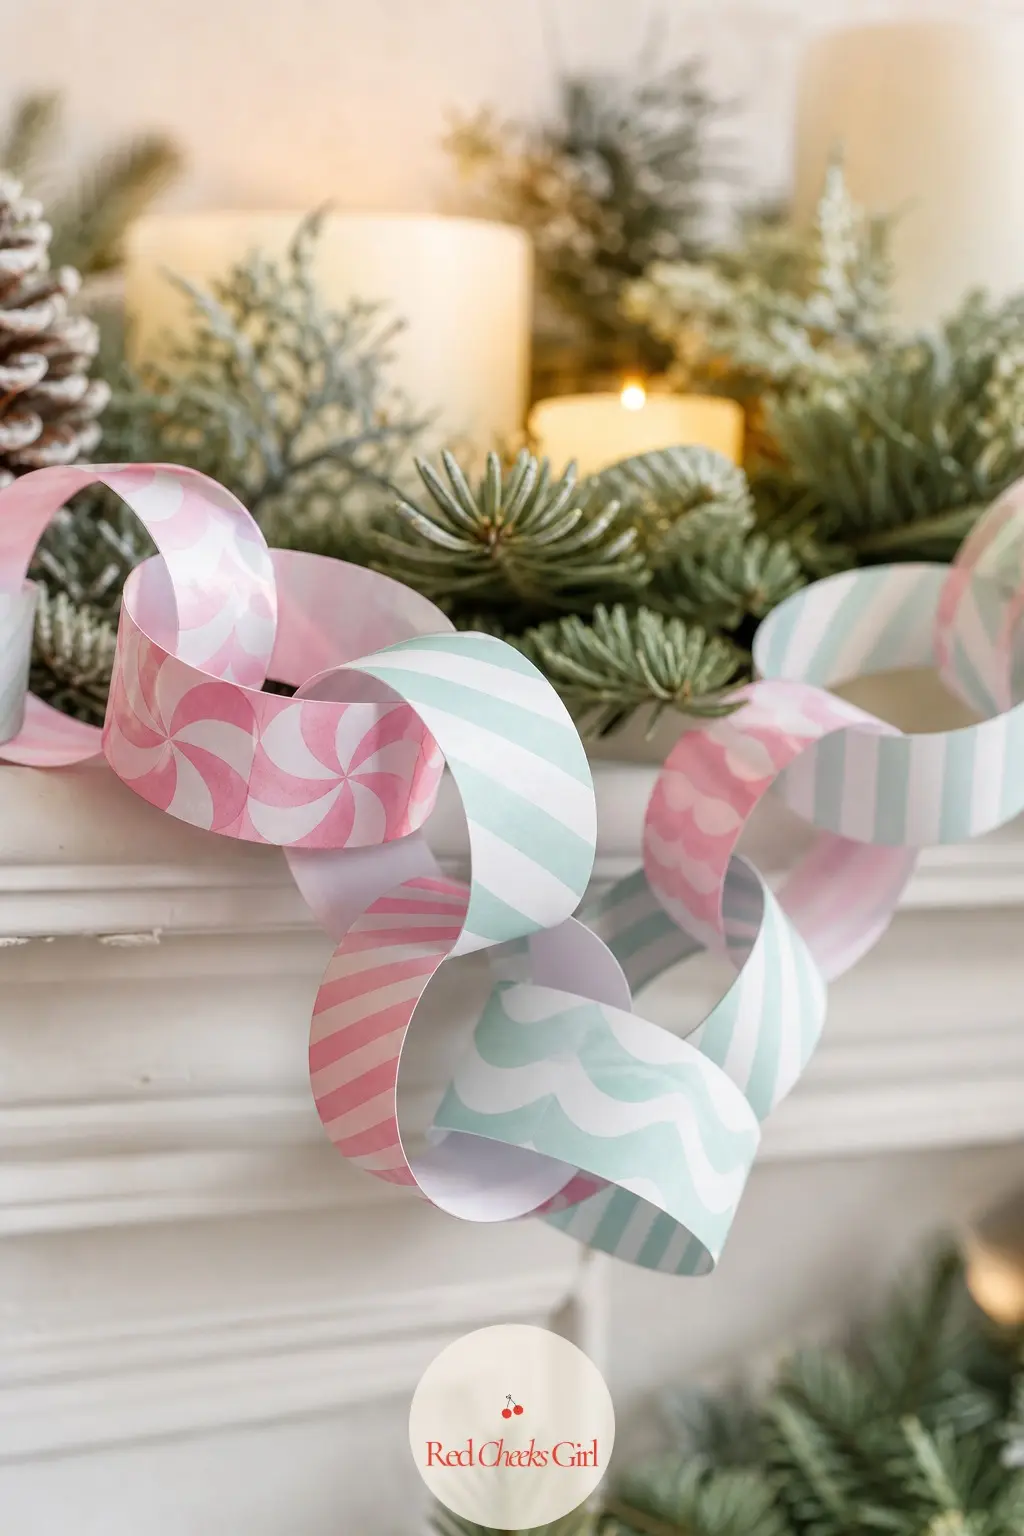
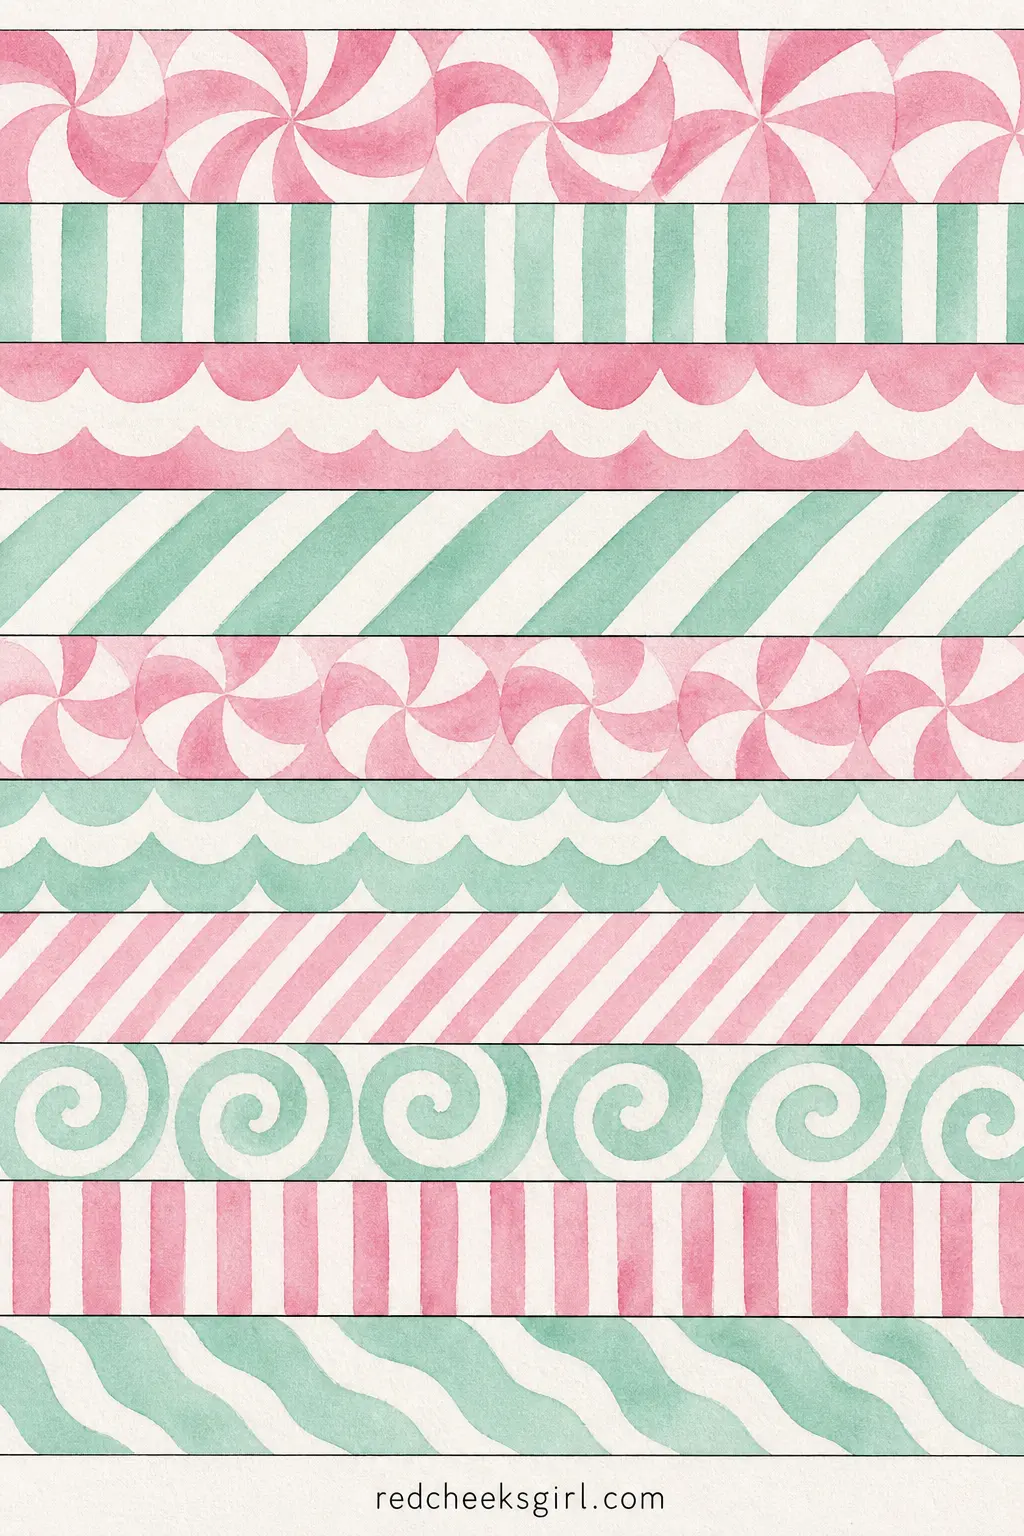
Retro Ribbon Candy Paper Chain
Pastel pink, mint and white strips patterned after old-fashioned ribbon candy, softer and less obviously Christmas red than most chains, which makes it the one to reach for if the rest of the room already leans pastel.
Assembly is the standard loop and thread: ring the first strip, feed the next through before sealing it, and keep going down all ten strips until the chain reaches the length you need.
Because the palette is so light, any fingerprints or smudged glue show more than they would on a red and green chain, so keep a damp cloth nearby while you work.
✂️ What you need to print it
Nutcracker Parade
Toy-soldier grandeur in navy, gold and black, built for an entryway or either side of the tree where something with a bit of formal swagger earns its spot.
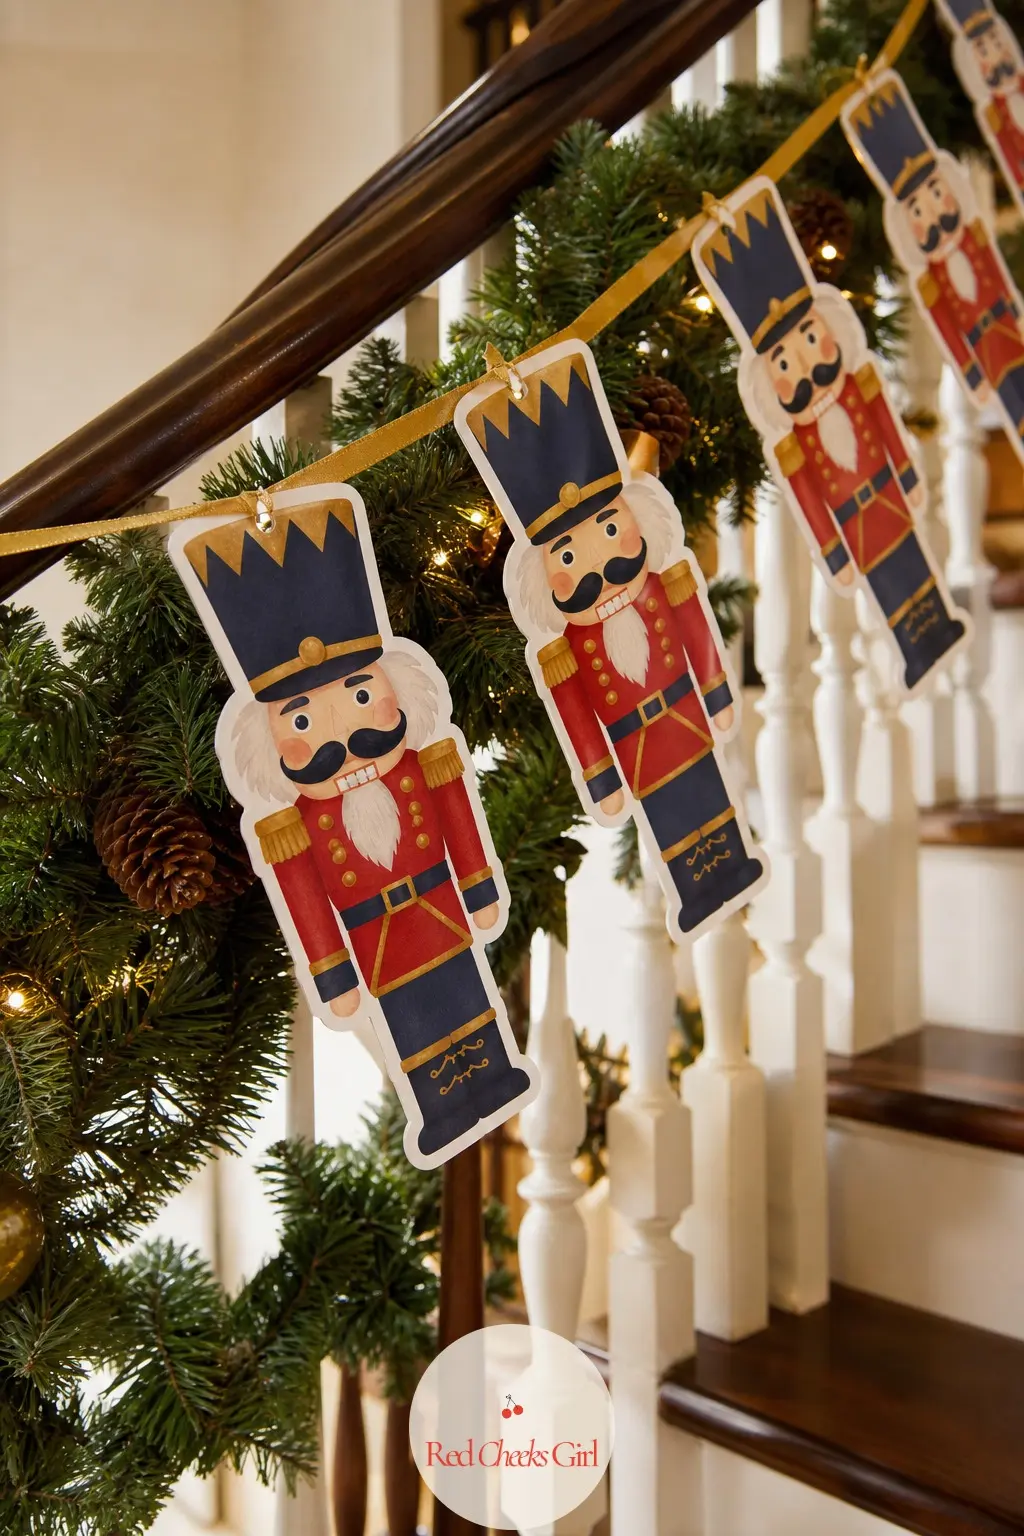
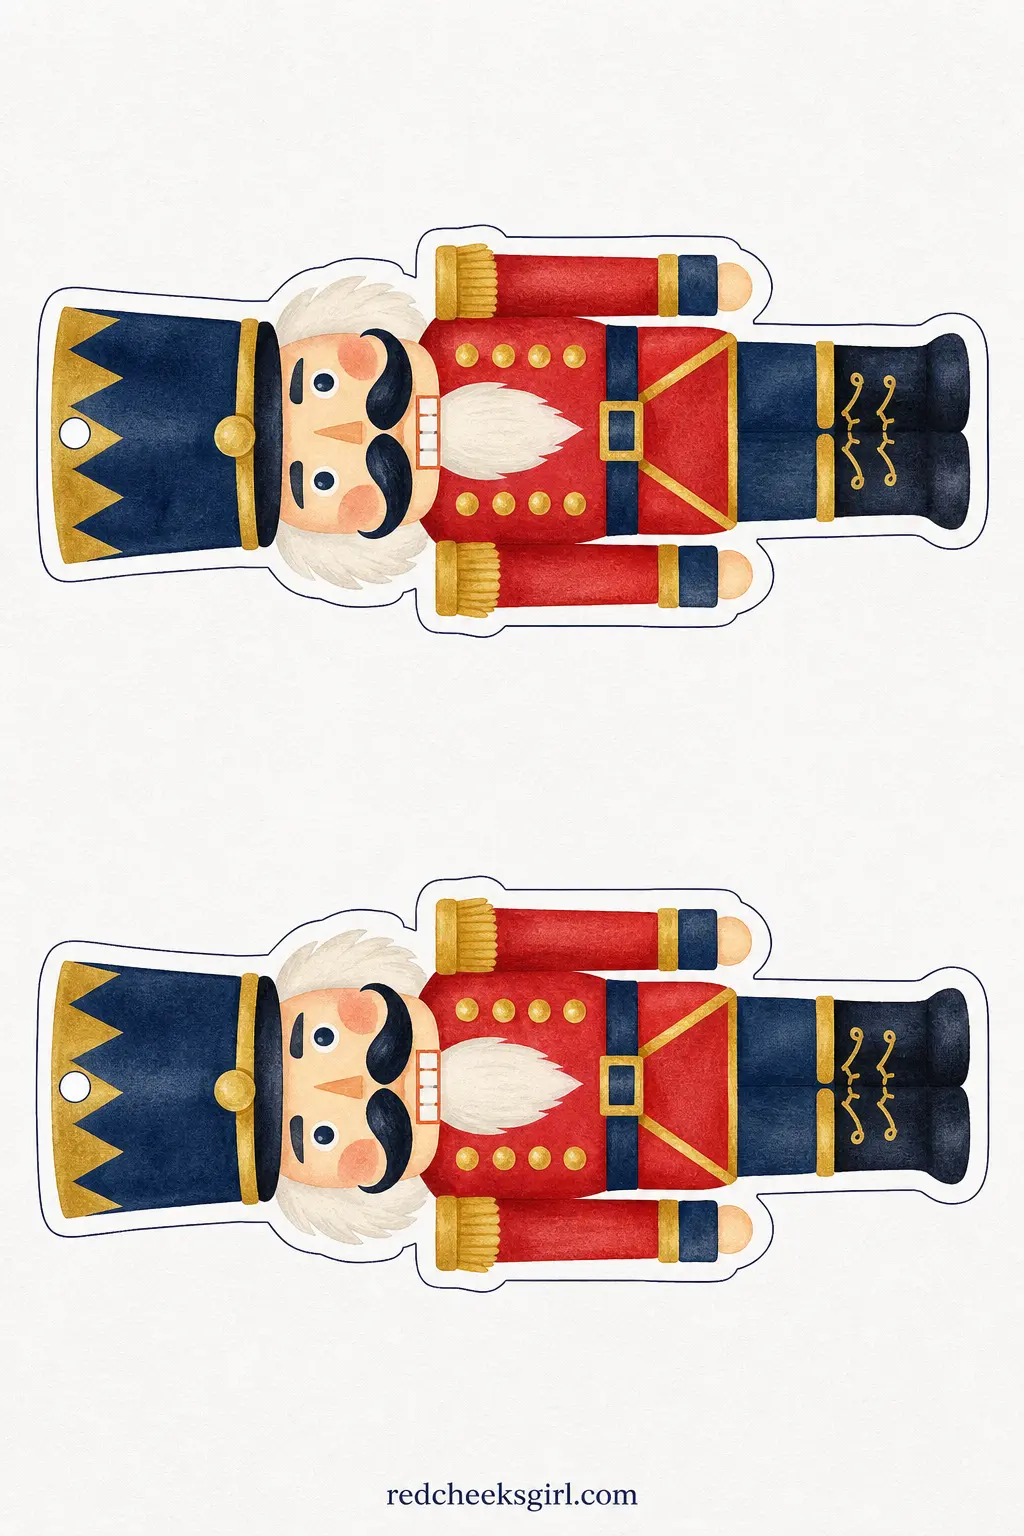
Nutcracker Toy Soldier Bunting
A tall toy soldier nutcracker in navy and gold with a full mustache and a tall black hat, drawn with the stiff formal pose of the real thing rather than softened into something cute. It wants height, so hang it somewhere it can be seen from a distance, a stairwell or a tall entry window.
Cut carefully around the hat, which is the tallest and narrowest part of the shape, punch the hole just below the hat brim, and string onto ribbon in a matching gold.
The hat tip is thin enough to bend if the paper is too light, so cardstock rather than regular printer paper matters more on this one than most.
✂️ What you need to print it
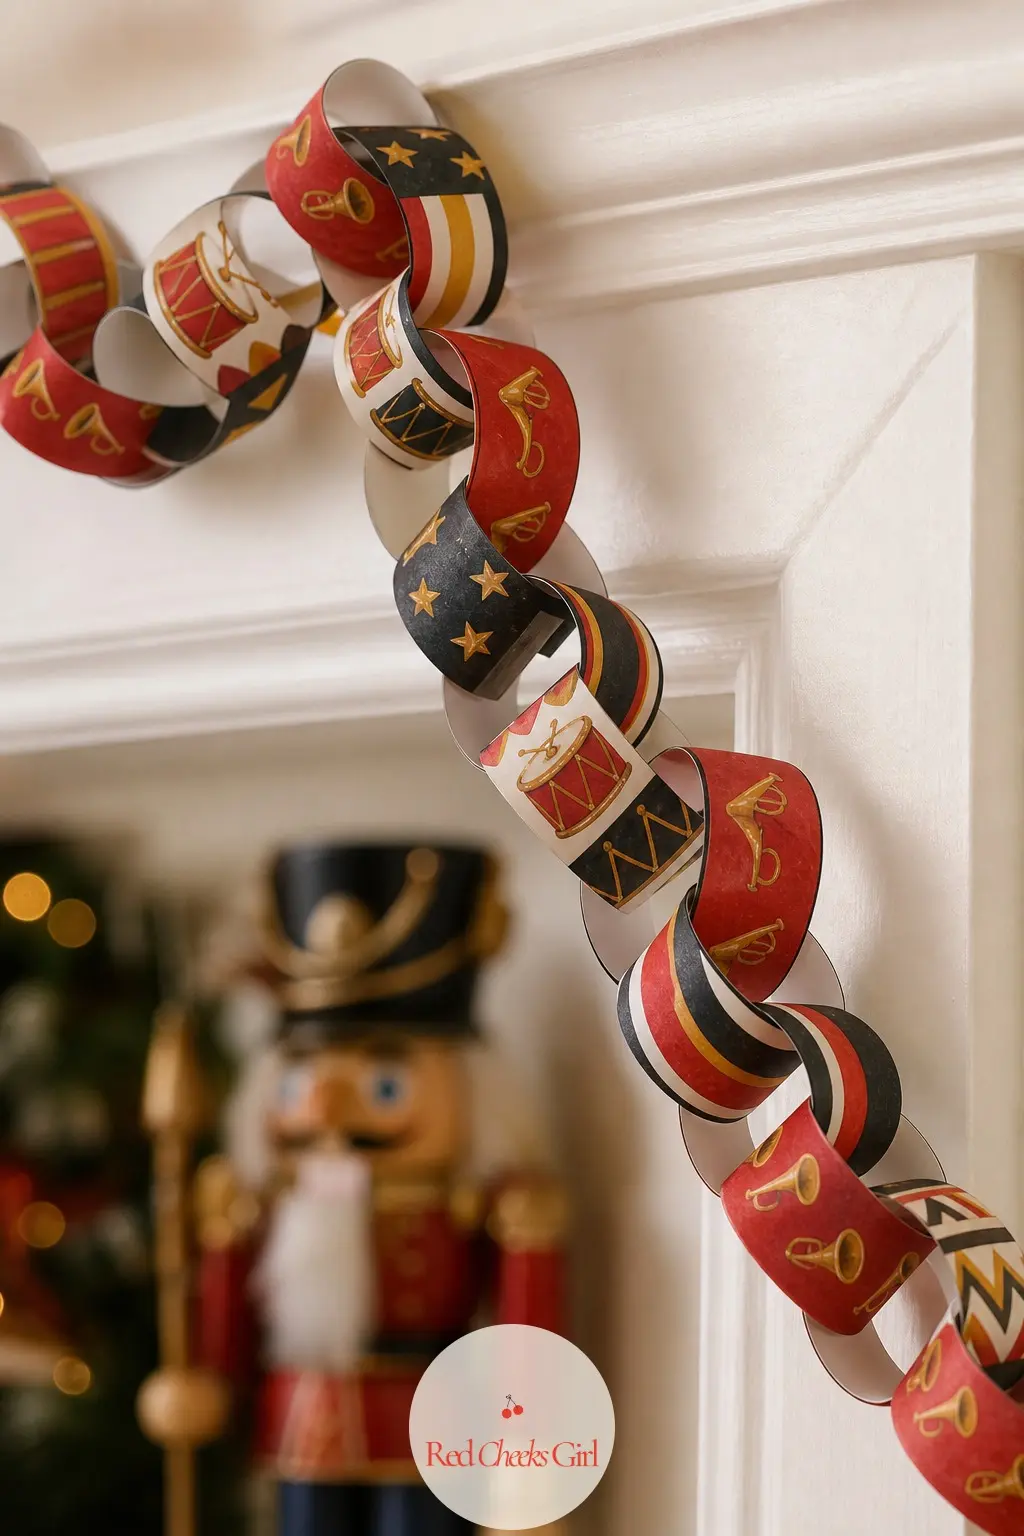
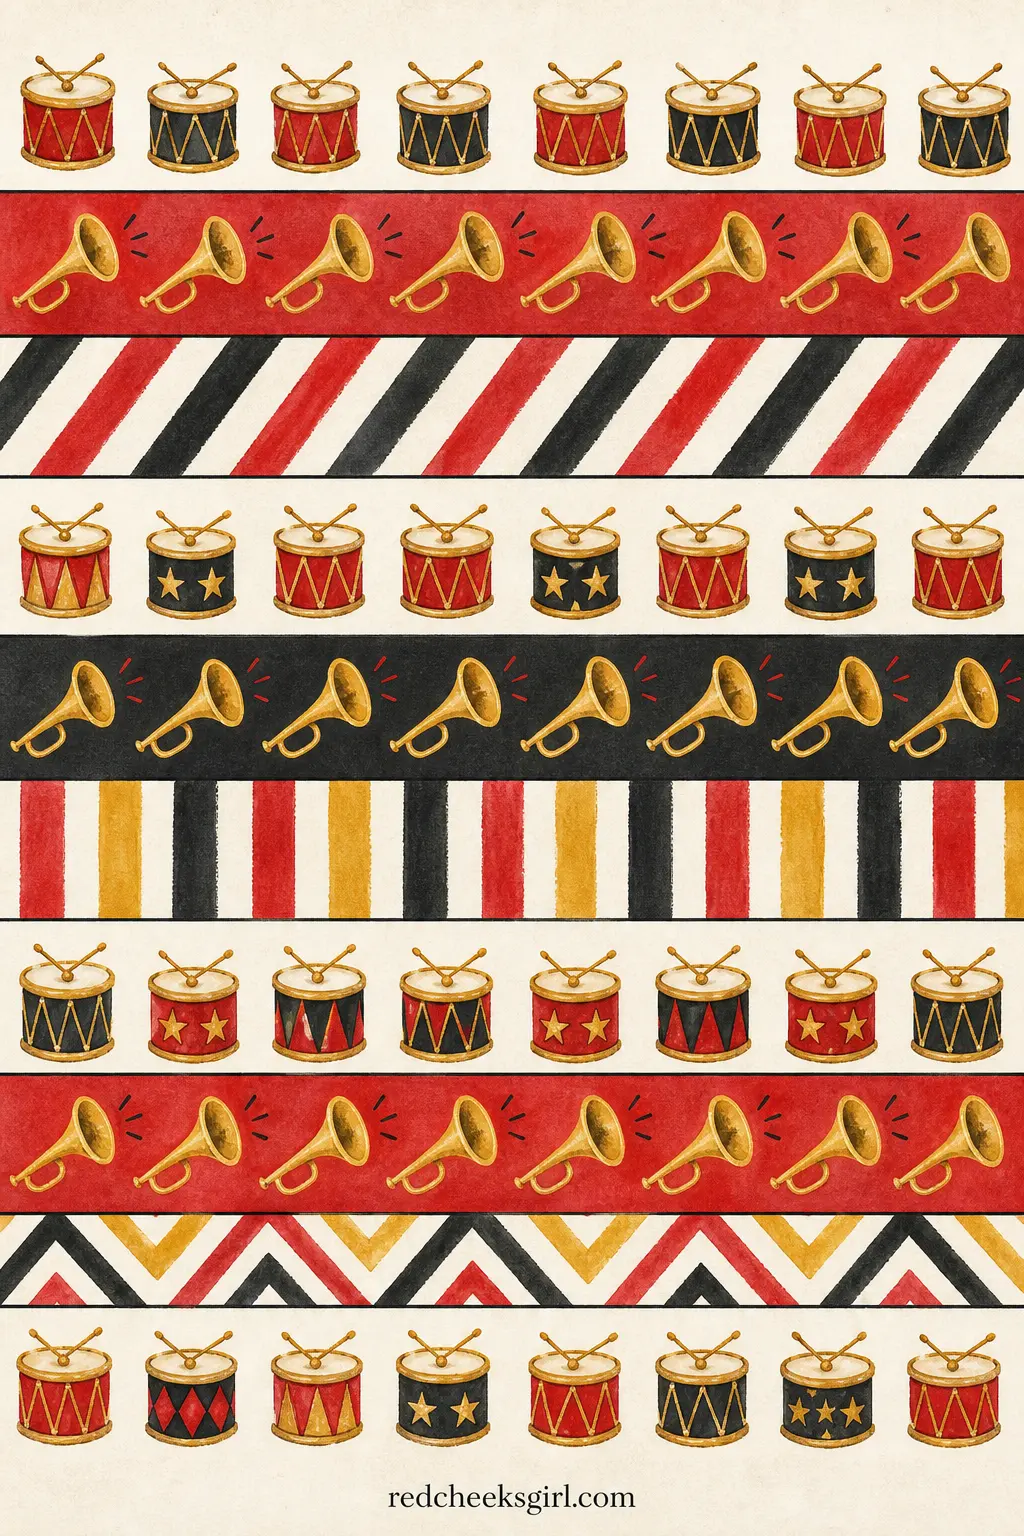
Toy Drum and Trumpet Paper Chain
A parade-ground palette of black, cardinal red and gold, the strips patterned with tiny toy drums, trumpet bells and marching stripes rather than anything softly festive. It pairs naturally with the nutcracker bunting above if you want the whole corner to read as one theme.
Loop and link the ten strips as usual, keeping the drum-print strips and the plain stripe strips alternating rather than clumped, which is what makes the finished chain look patterned instead of random.
This one eats a full sheet fast if you want any real length, so print two copies before you start rather than running out halfway down a banister.
✂️ What you need to print it
Woodland and Winter Greens
Earthy and a little rustic: forest green, rust, cocoa and kraft brown run through this group, at home on a staircase rail or a real fir tree rather than a smooth artificial one.
Holly and Berry Paper Chain
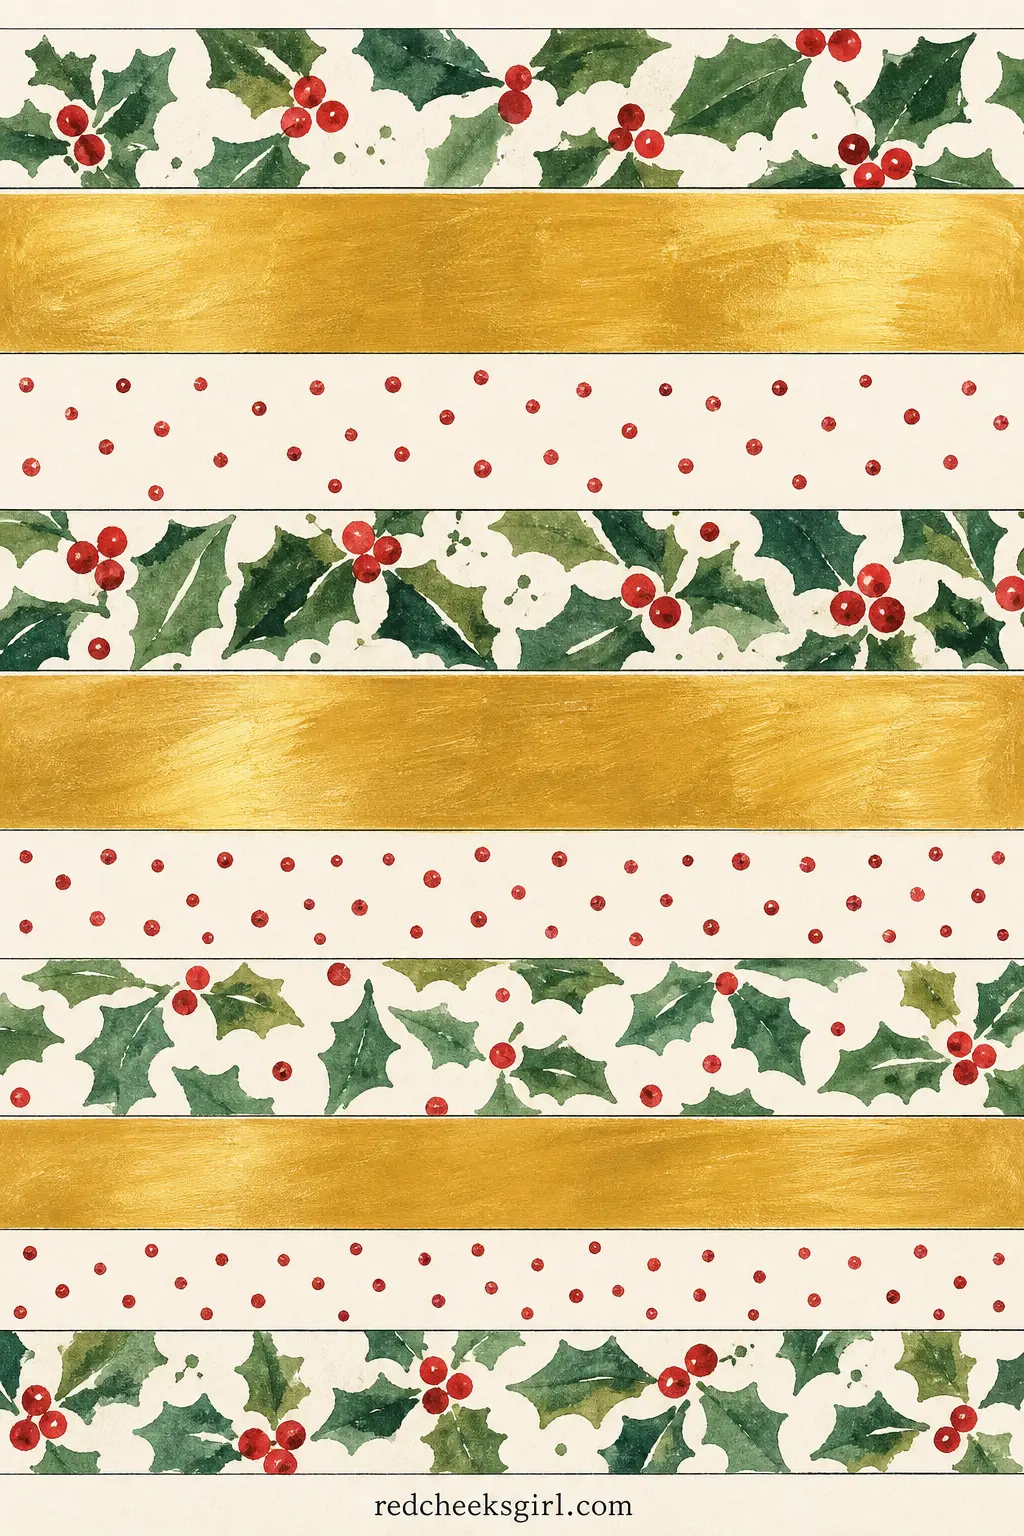
Forest green holly leaves and small berry clusters printed on a cream ground, closer to a botanical print than a cartoon leaf, which is what lets it sit next to real greenery without looking like plastic.
Build it the standard way, ring the first strip and feed each new one through before sealing, alternating the leaf print strips with a plain brass-colored strip so the pattern has room to breathe rather than crowding.
Real holly is glossy and this print is matte, so if you are hanging it right beside actual holly cuttings, expect the paper to read a shade flatter, which most people barely notice once it is up.
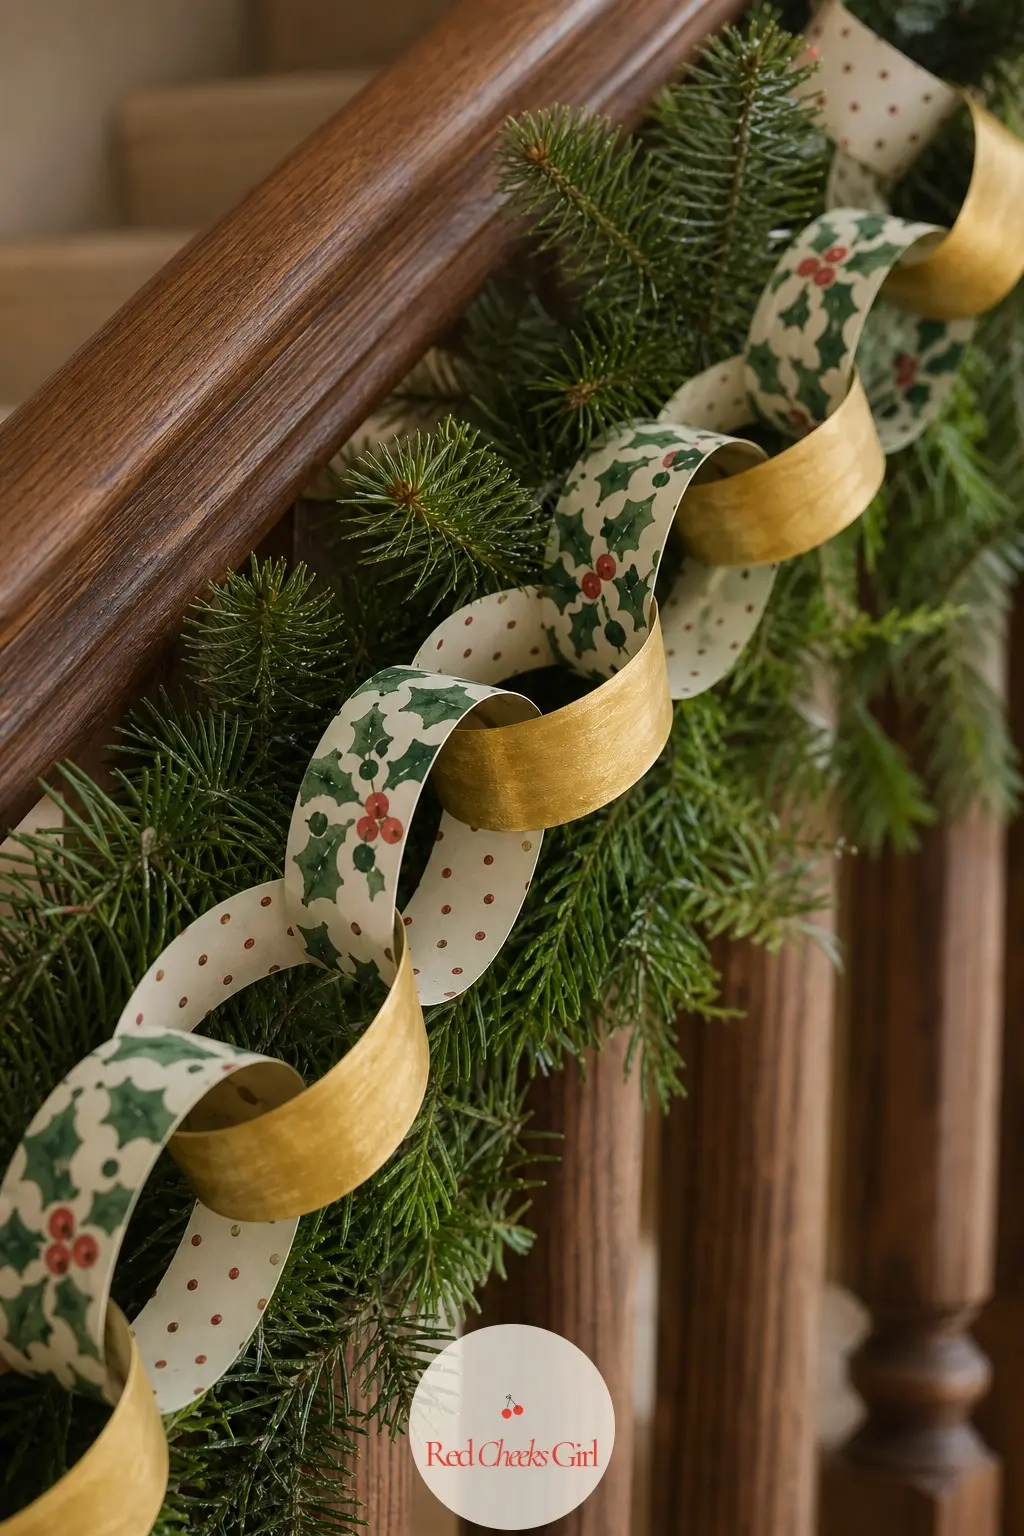
✂️ What you need to print it
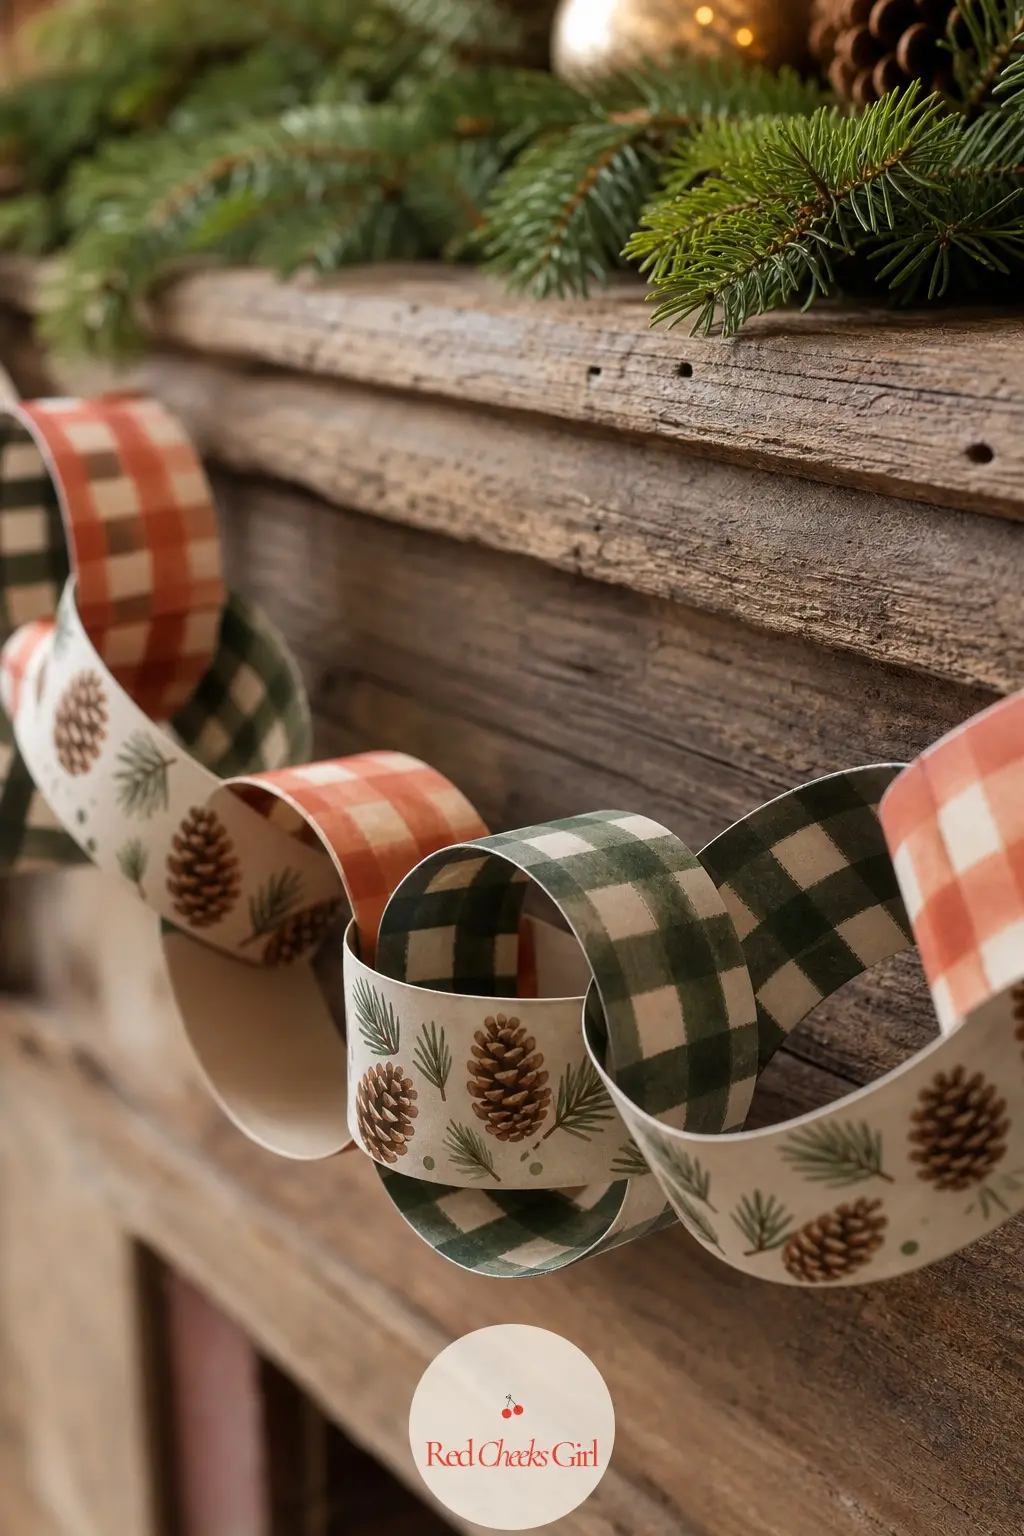
Pinecone Plaid Paper Chain
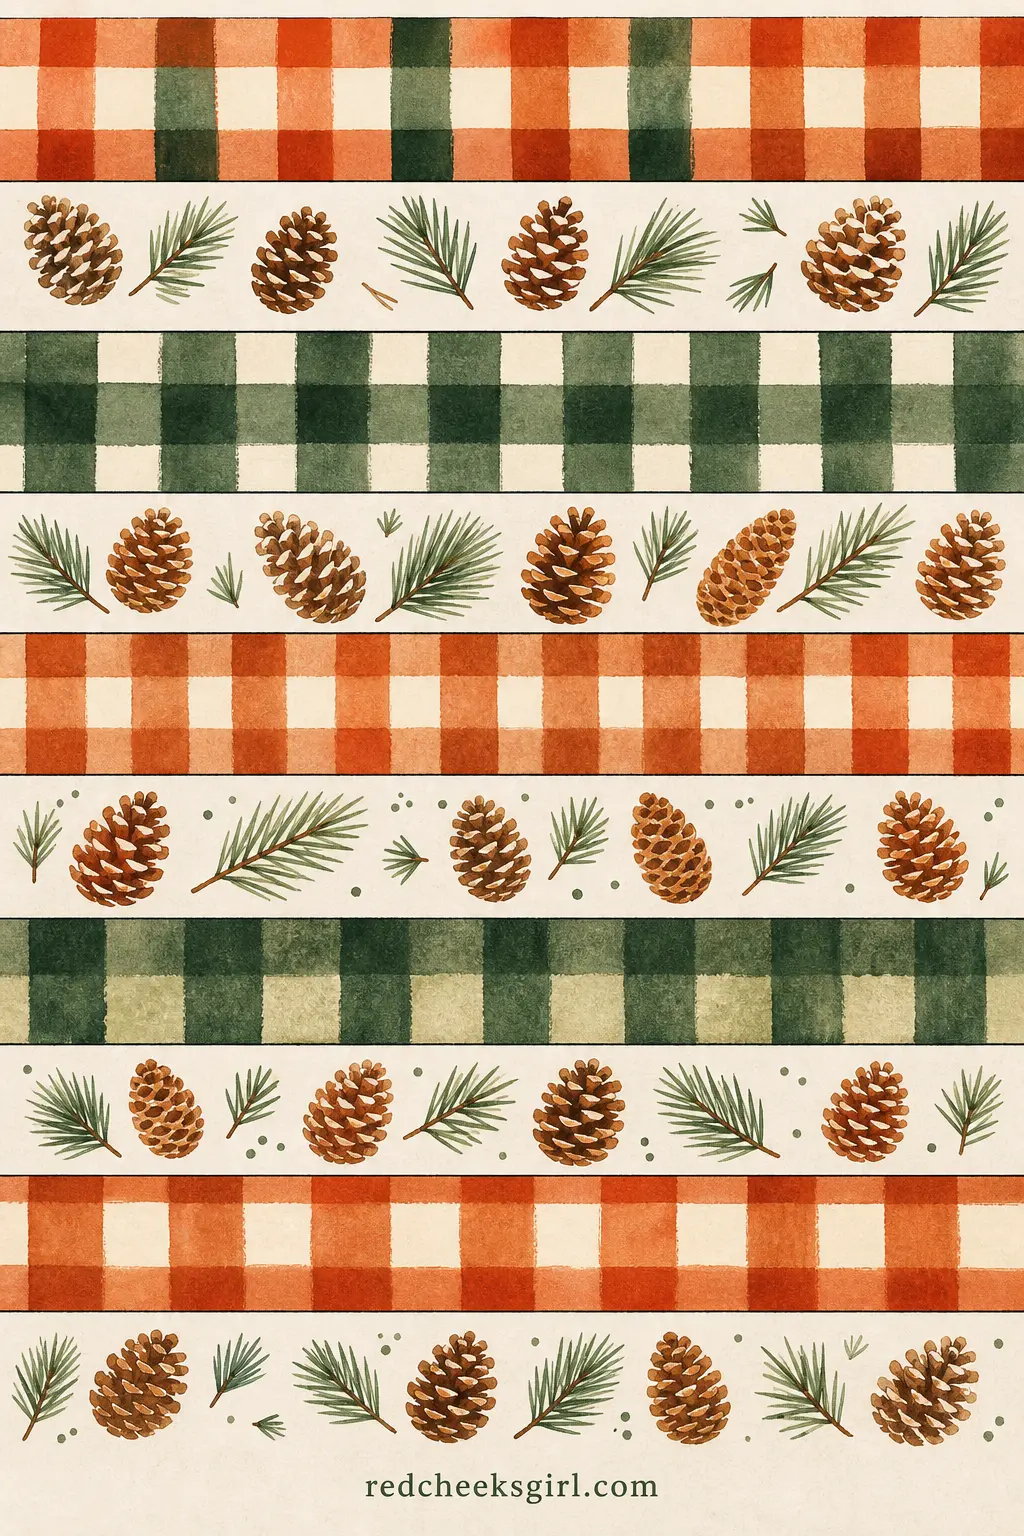
Buffalo plaid strips in rust and forest green alternate with a small hand-drawn pinecone print, the whole thing looking like it belongs on a cabin mantel rather than a city apartment, in the best way.
Cut the strips, ring and link them in order down the sheet so the plaid and pinecone prints alternate rather than bunch together, which is what keeps the pattern from reading as muddy once it is hung.
Buffalo plaid at this small a scale can blur into a solid gray from a distance, so this chain rewards a spot where people walk close by rather than one seen only from across a large room.
✂️ What you need to print it
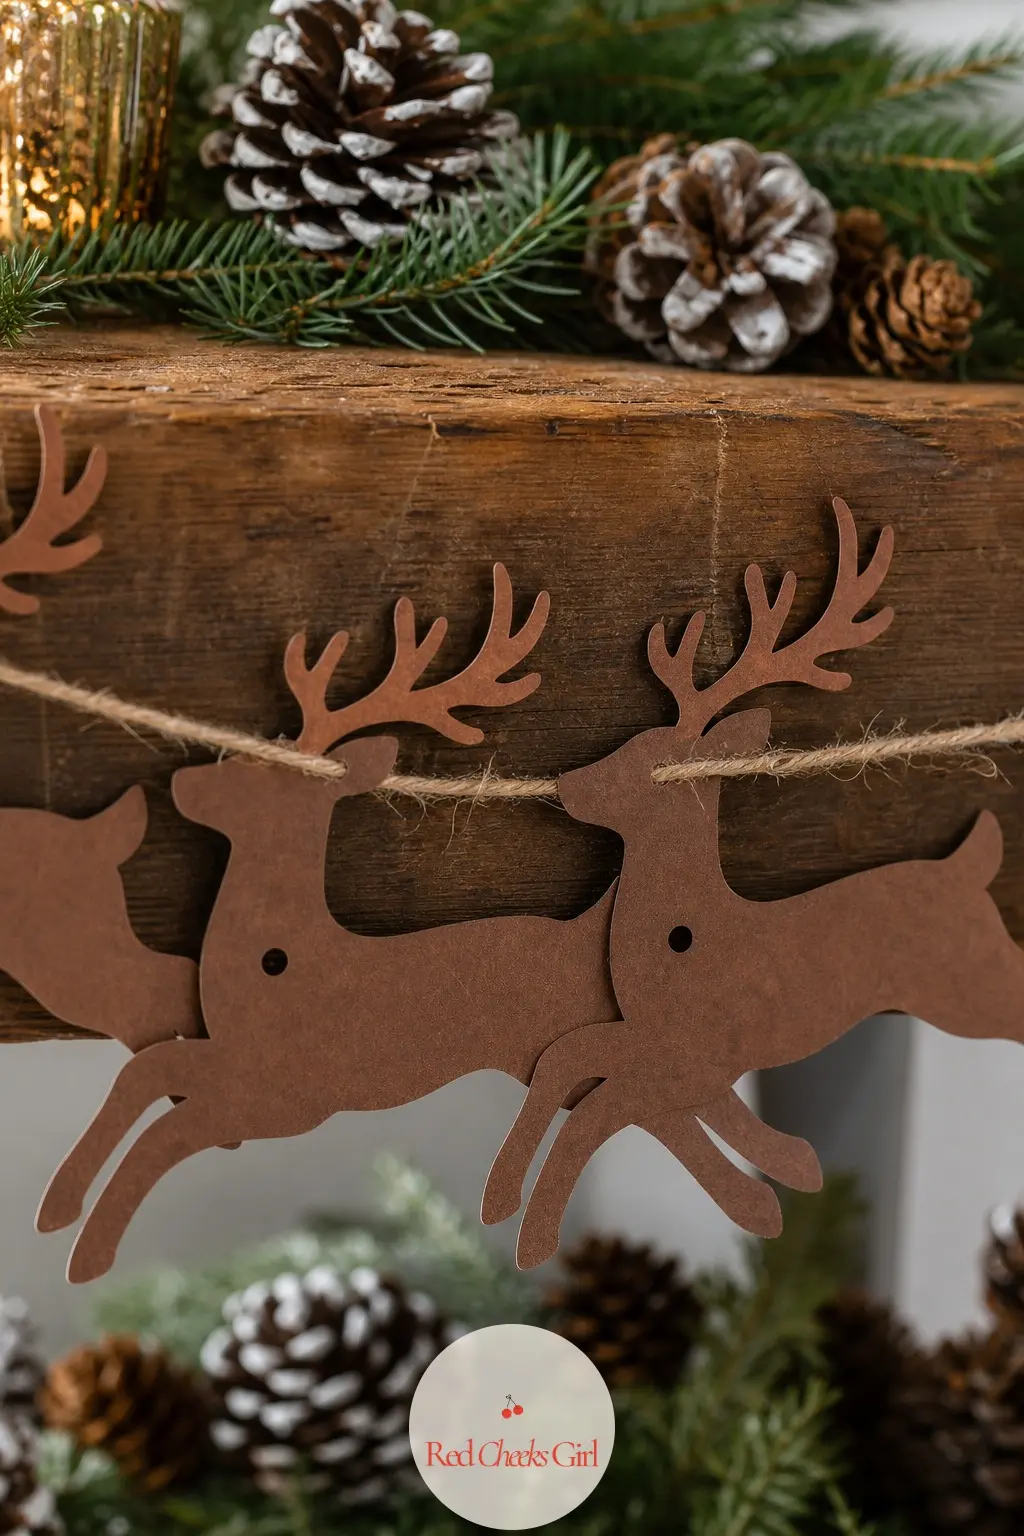
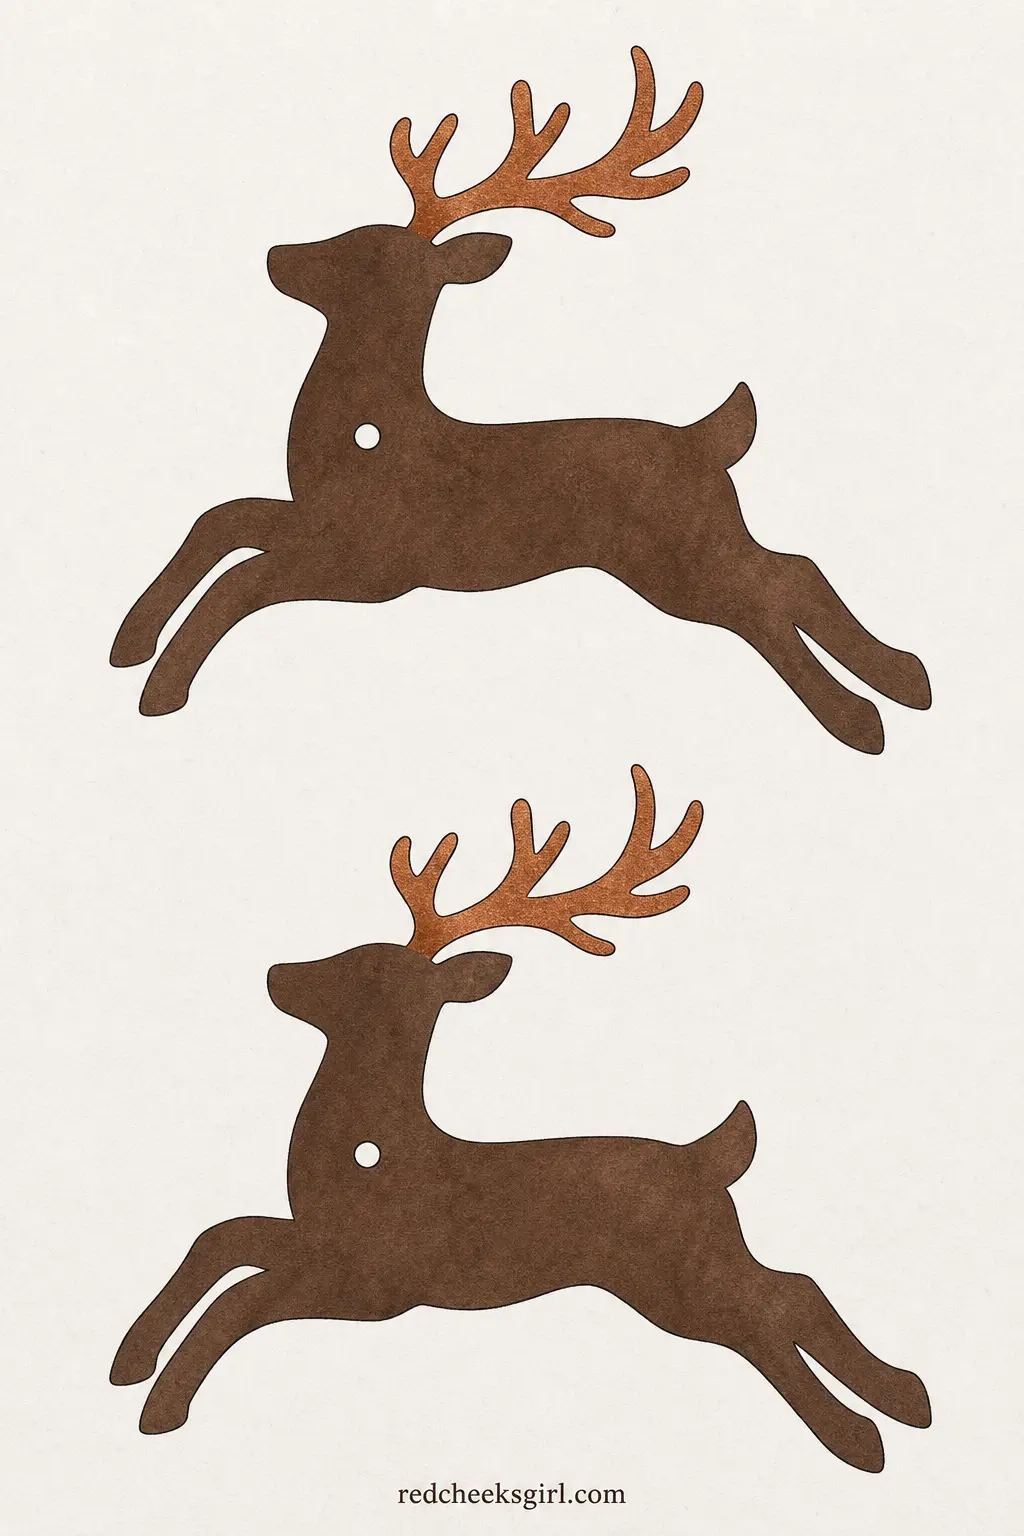
Woodland Reindeer Bunting
A running reindeer silhouette in solid cocoa brown against oatmeal, no antler detail fussed over, just a clean confident shape that reads well even from across a room, which is rare for a cut-out this simple.
Cut around the antlers first since they are the narrowest points and the easiest place to lose a tip, punch the hole along the back near the shoulder, and thread onto plain jute twine to keep the earthy feel going.
Silhouette shapes like this are the fastest cut in the whole set, no icing lines or crackle detail to follow, so it is the one to hand a reluctant helper.
✂️ What you need to print it
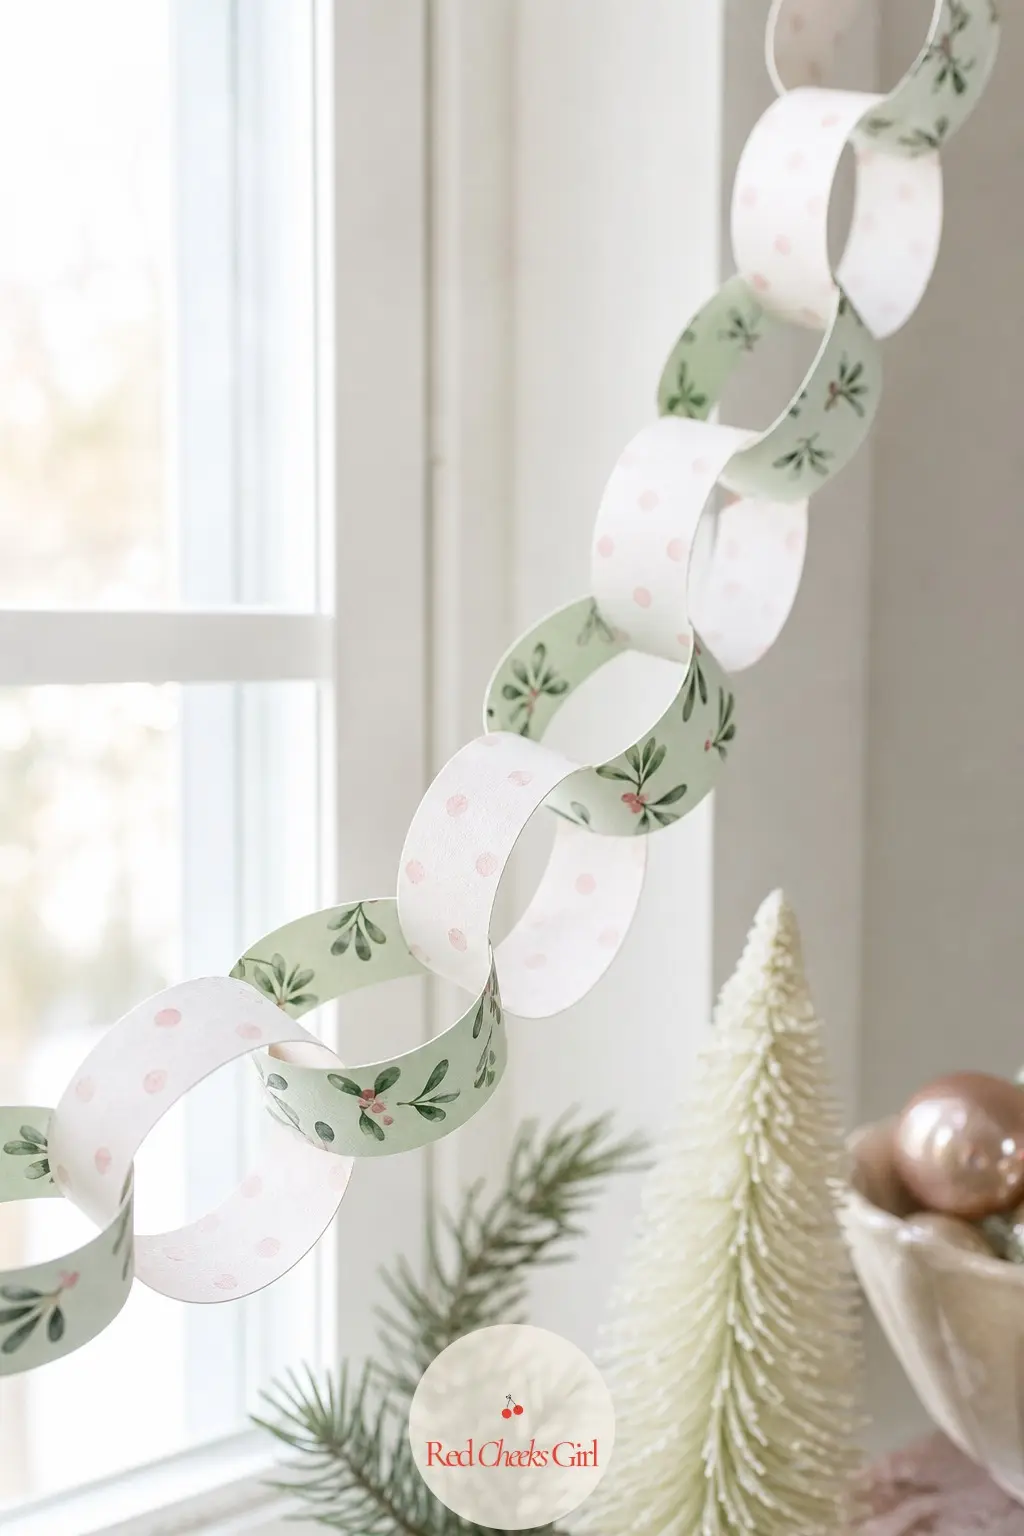
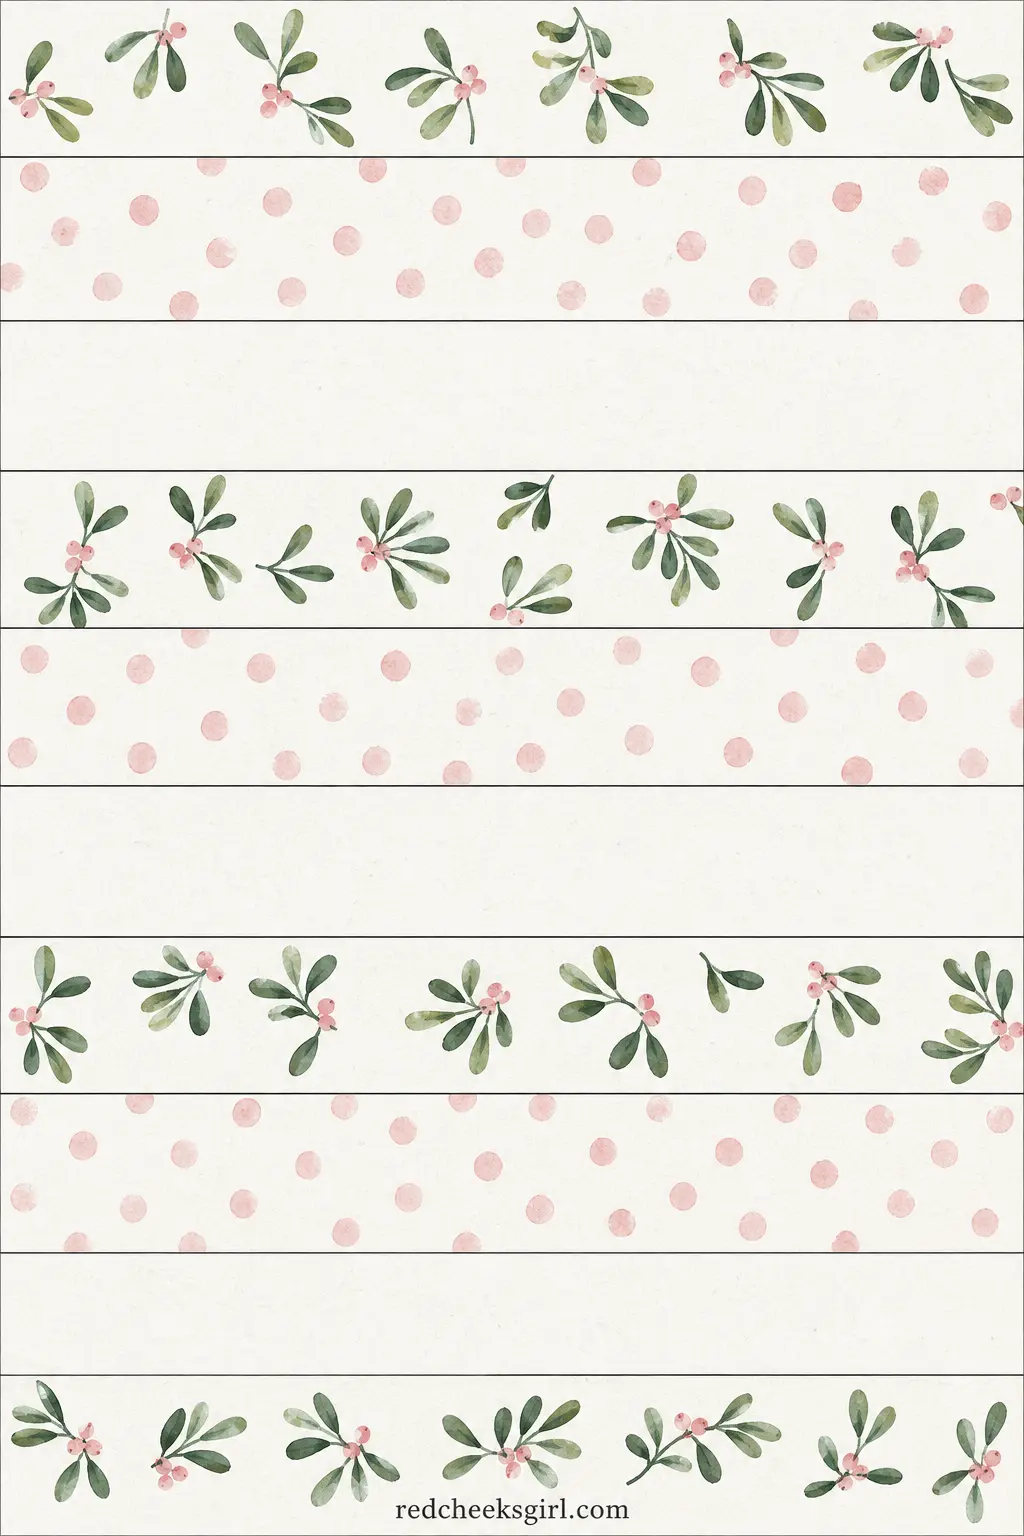
Mistletoe Dot Paper Chain
Small sage green mistletoe sprigs and soft blush dots run down a mostly white sheet, the lightest and quietest chain in the whole set, suited to a nursery or a room that wants Christmas without shouting it.
Ring and link the strips in the usual order, keeping the sprig print strips spaced apart from each other with a plain white strip between so the pattern does not crowd into a green blur.
Because so much of the sheet is white, any glue that seeps past the overlap shows as a shine, so use a light hand and press rather than squeeze.
✂️ What you need to print it
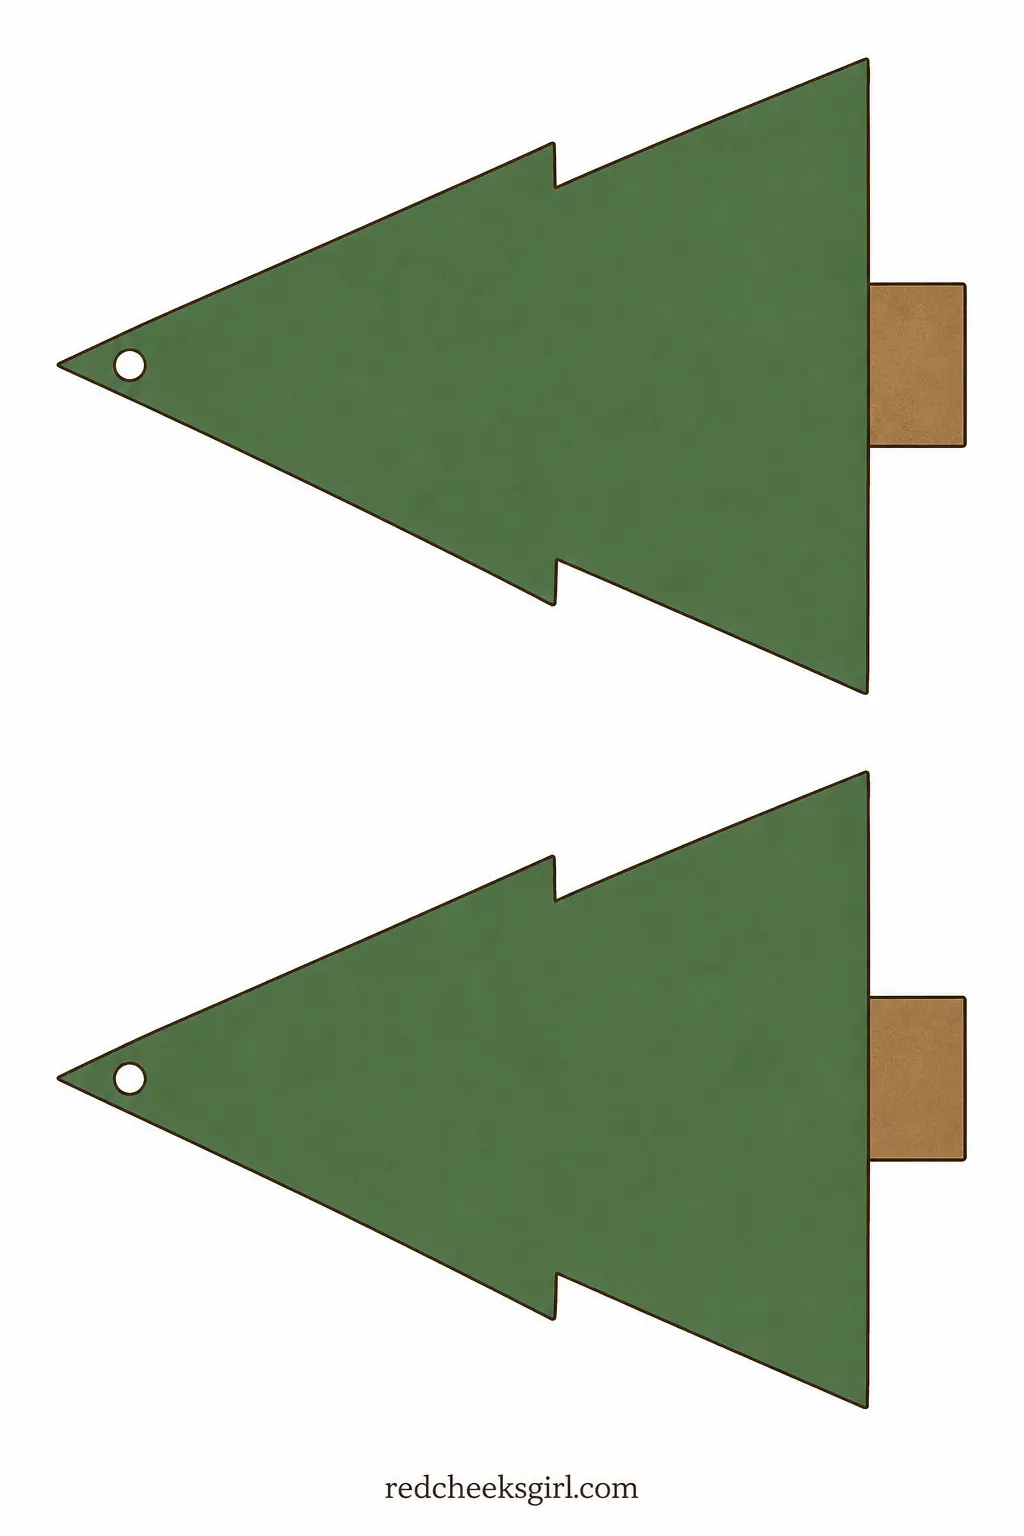
Kraft Christmas Tree Bunting
A plain triangular tree shape in solid kraft brown line work with a pine green fill, the simplest silhouette in this whole collection and, because of that, the one that suits a very modern or very plain room best.
Cut around the tree’s straight edges, which is the easiest cutting job here, punch the hole at the very top point, and thread onto plain string in a single continuous run.
One sheet gives two trees, which is thin for a full garland, so plan on three or four sheets if you want anything longer than an accent over a doorway.
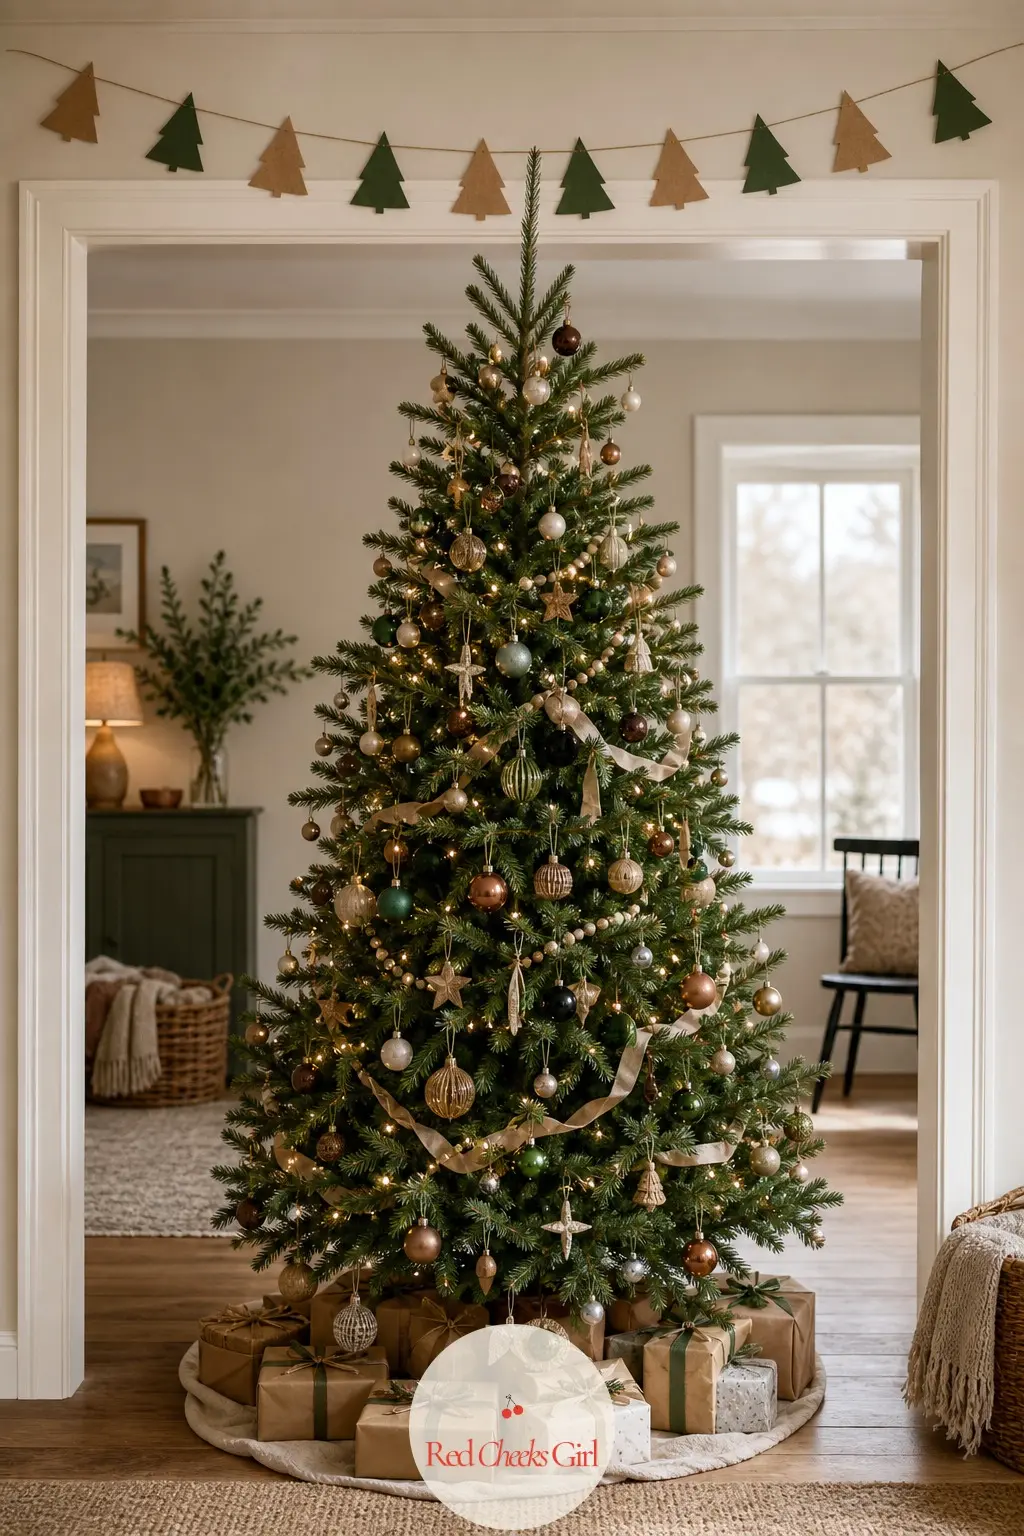
✂️ What you need to print it
Frosty and Silver
Icy blue, white and silver, quiet enough for a window or a bay that already gets plenty of afternoon light. These three photograph well against dark glass after dusk.
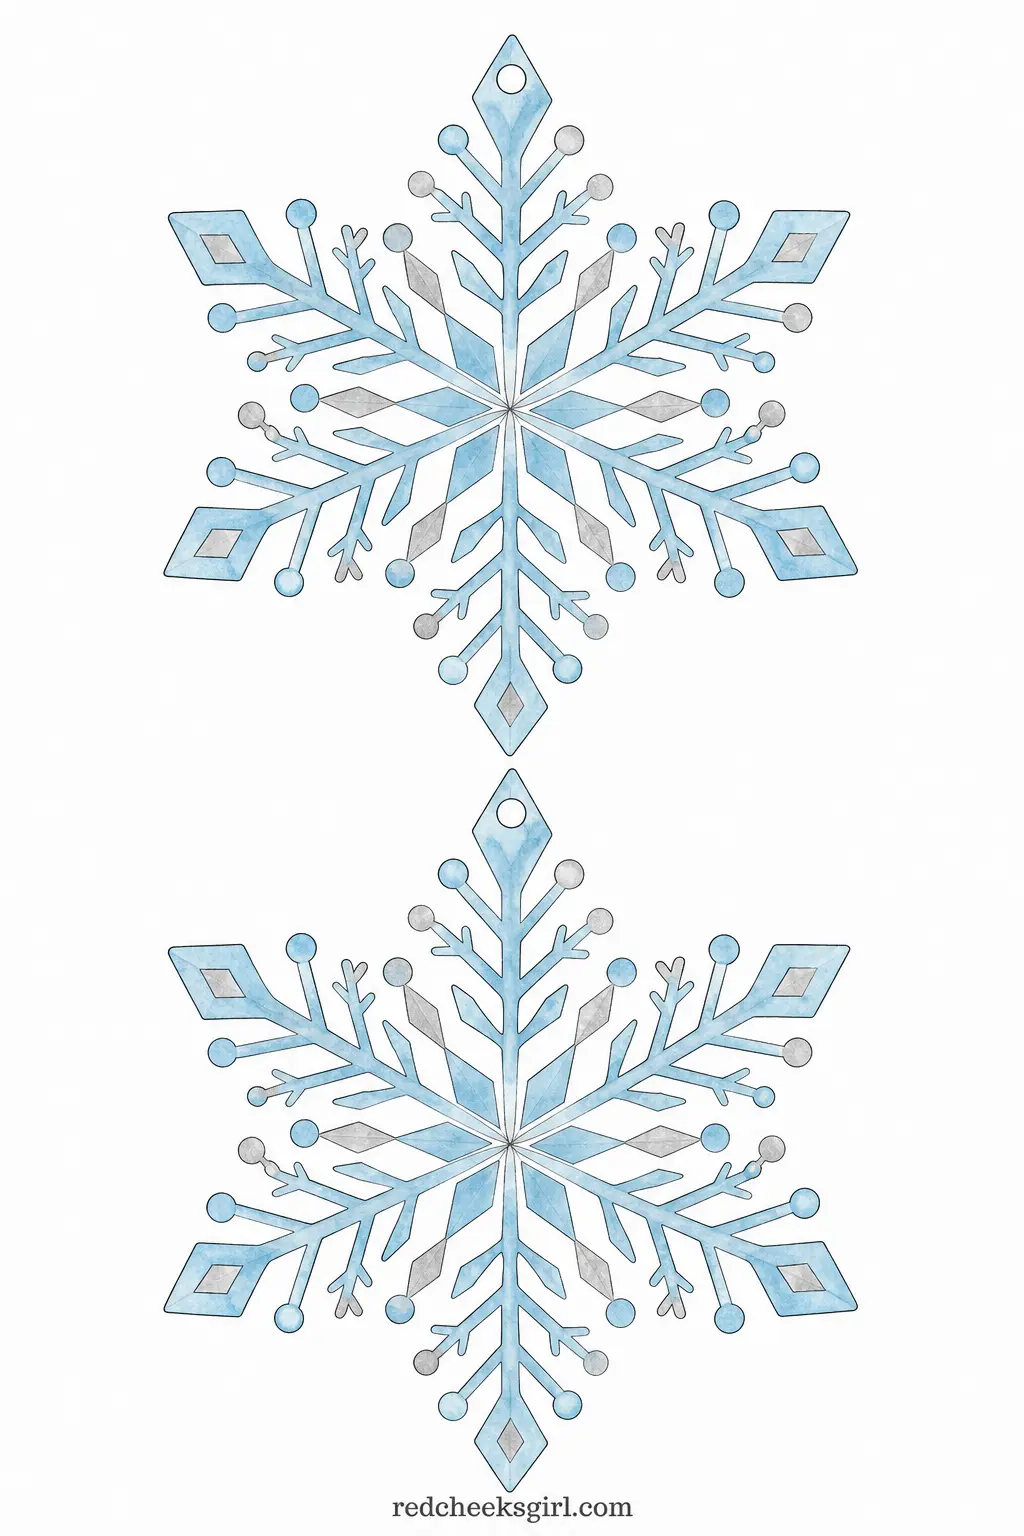
Icy Snowflake Bunting
A detailed six-point snowflake in ice blue and silver on white, drawn with fine branching lines rather than a simple blob, which is what makes it worth the extra minute of cutting compared to a plainer shape.
The branching points are the fussiest cutting in the whole set, so go slowly around the tips, punch the hole in the flake’s center point at the top, and thread onto silver thread or thin ribbon.
Skip this one if your scissors are not sharp, since dull blades crush the thin points rather than cutting them cleanly.

✂️ What you need to print it
Star and Snow Dash Paper Chain
Soft blue stars scattered on ivory alternate with a broken snow-dash stripe, gentle enough to hang in a nursery or a bedroom rather than only the main living space, which is where most chains end up by default.
Ring the first strip and link each new one through before sealing, keeping the star print and the dash print strips alternating rather than grouped, which keeps the sky-like feel of the pattern going down the whole length.
The gold strip in the middle of the sheet is metallic foil print and glues slightly differently than the matte strips, so hold it a beat longer before letting go.

✂️ What you need to print it

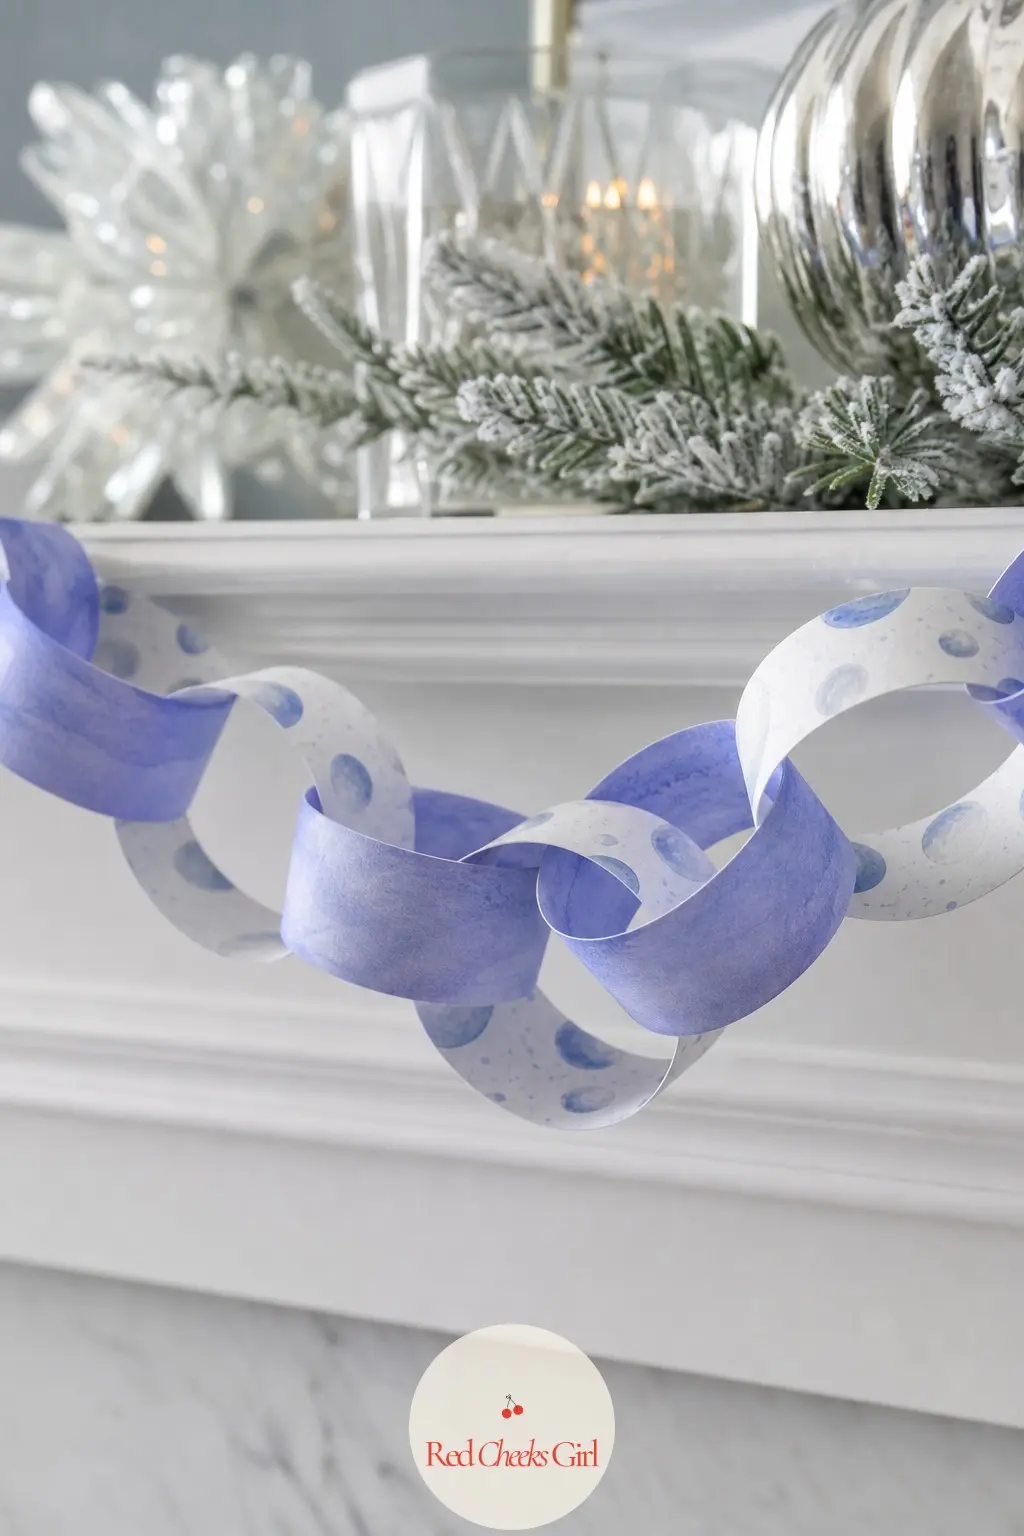
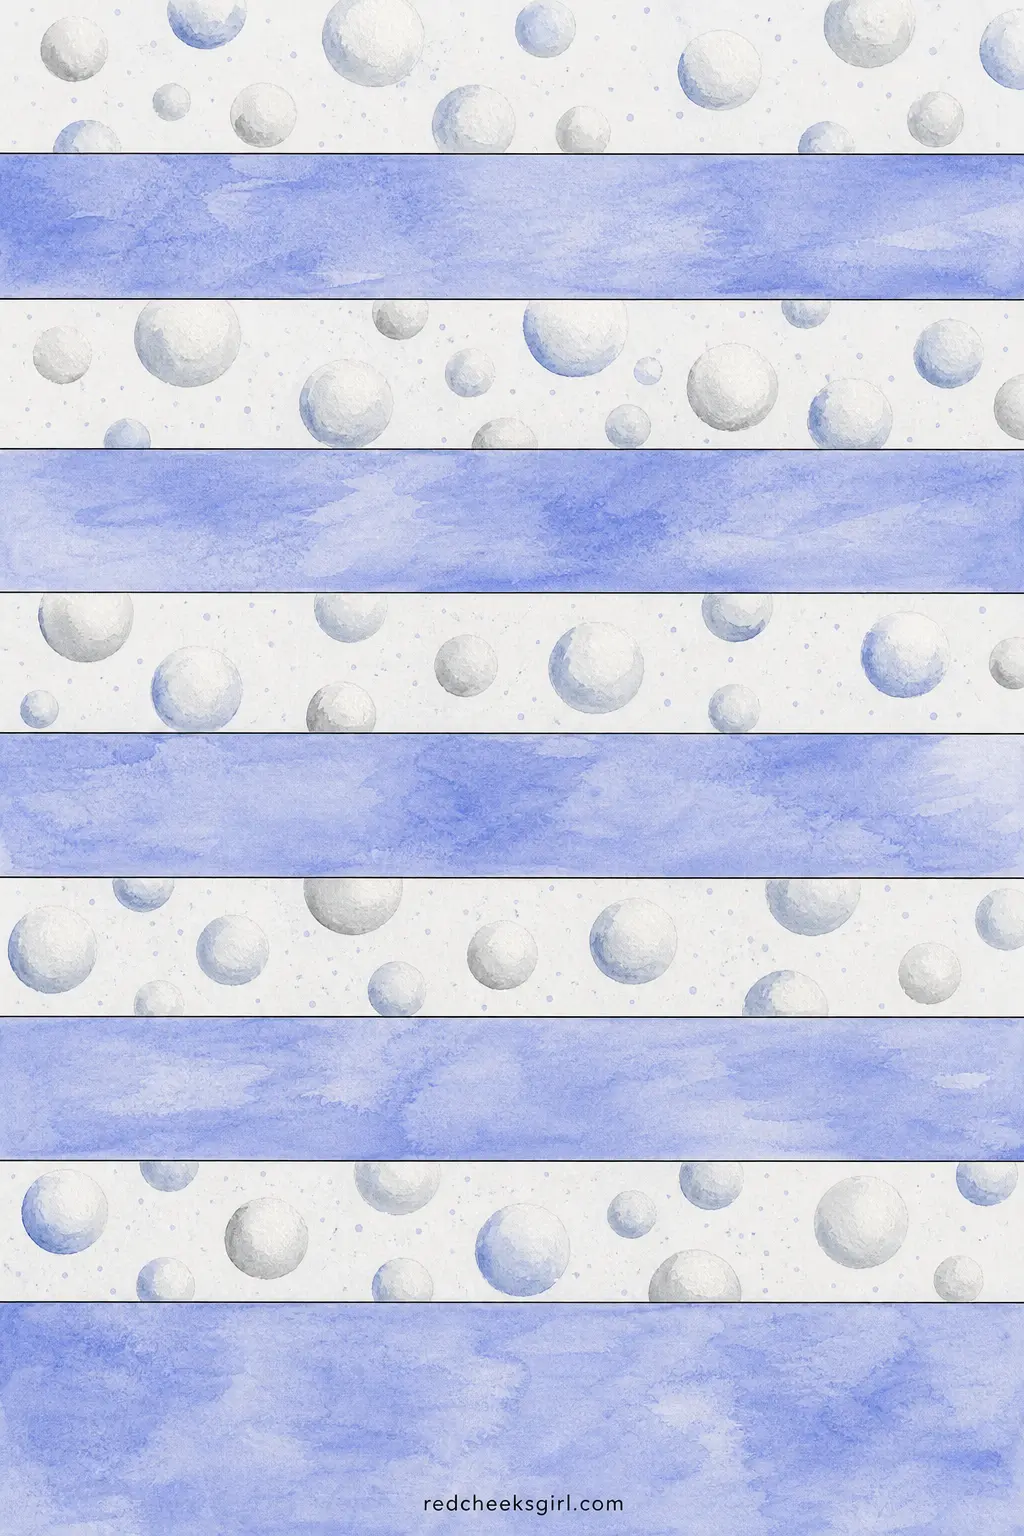
Snowball Pom Paper Chain
Round white pom-like snowball shapes printed in a scattered pattern against icy periwinkle, textured with tiny shading lines so each circle reads as soft rather than flat, an easy pairing with the snowflake bunting above.
Standard assembly, ring the first strip and feed the rest through in order, but keep the periwinkle strips and the snowball strips evenly spaced rather than clustered, which keeps the chain from looking heavy on one end.
This one uses more white than most, so any pencil marks left from measuring show clearly, wipe the sheet down before you start cutting if you marked it up first.
✂️ What you need to print it
Plaid and Gingham Classics
Two takes on the checked fabric look everyone already owns in scarves and stockings, translated onto paper so it costs nothing to hang three rooms’ worth.
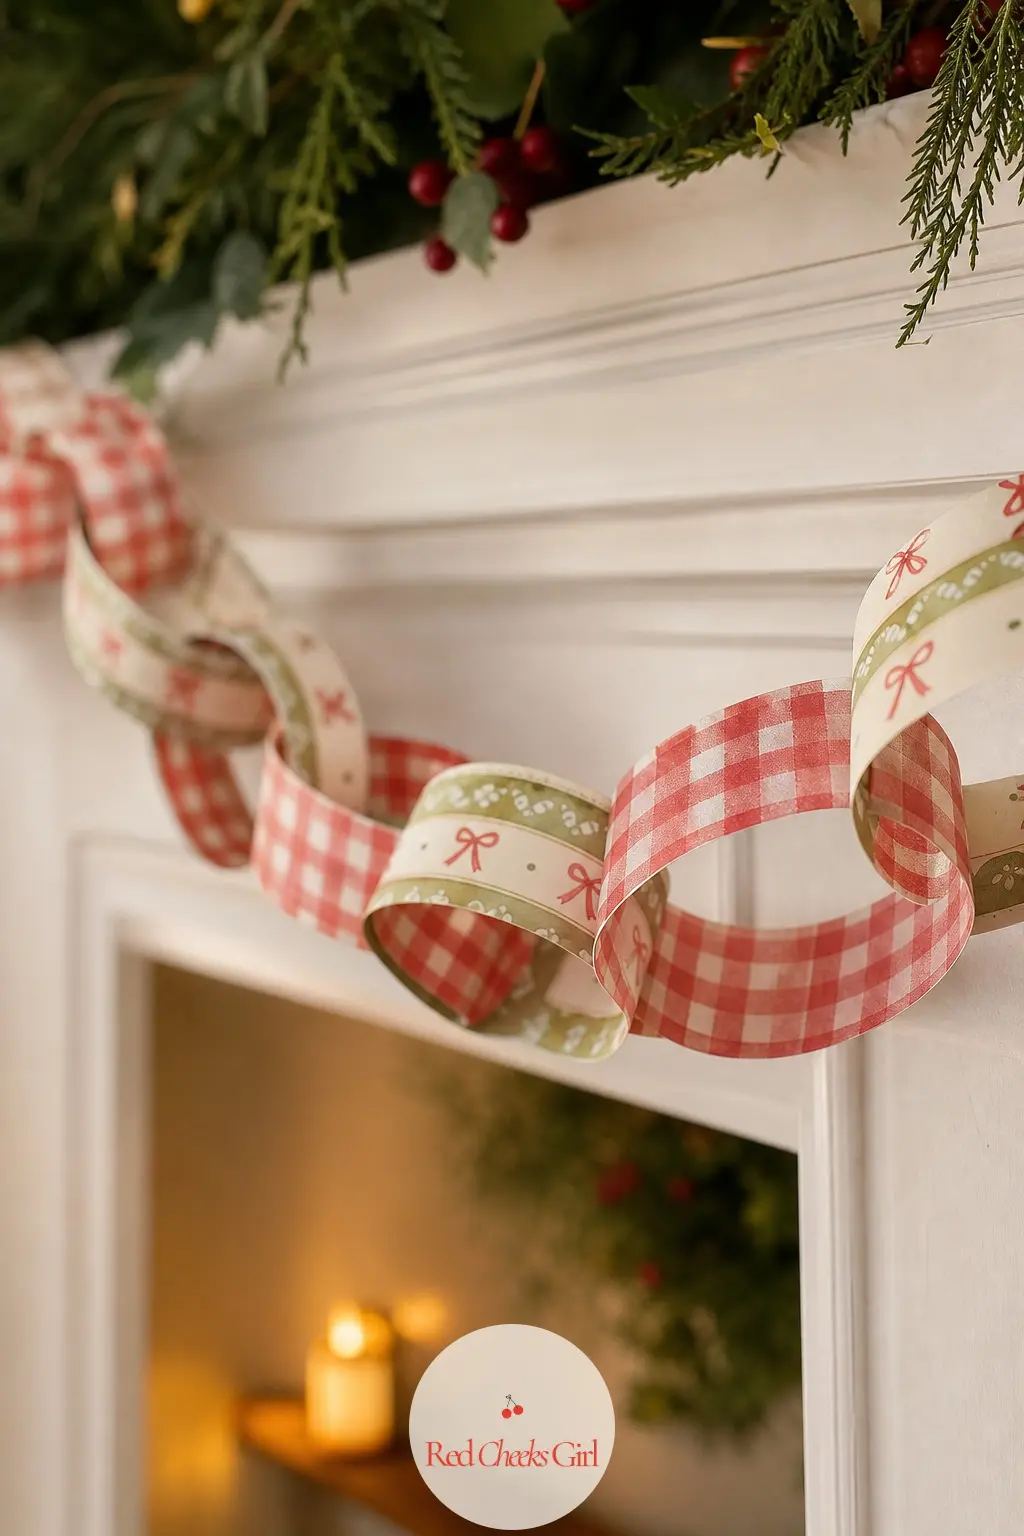
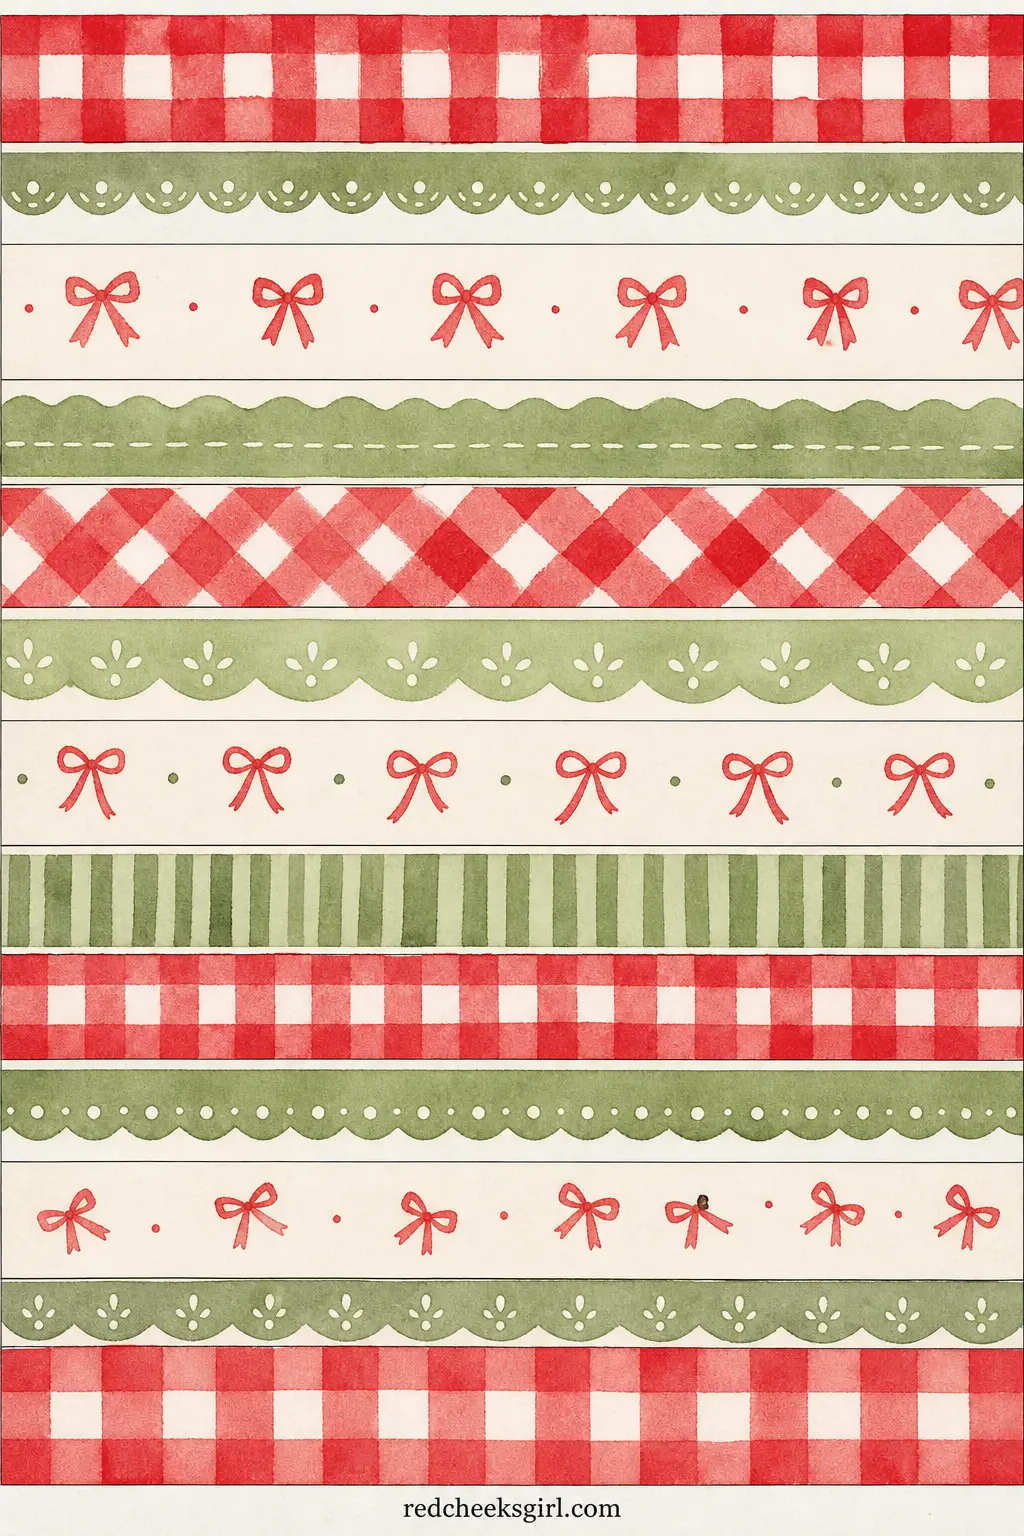
Gingham Bow Paper Chain
Cherry red gingham strips alternate with a small printed bow motif on cream, the closest thing in this set to a classic country Christmas ribbon without actually needing any real ribbon.
Ring and link the strips in order, alternating the gingham print with the bow print so the pattern has rhythm rather than repeating the same square check the whole way down.
Gingham at this scale can look busy in large quantities, so this chain suits shorter runs, over a single doorway or window, better than one long stretch across a whole wall.
✂️ What you need to print it
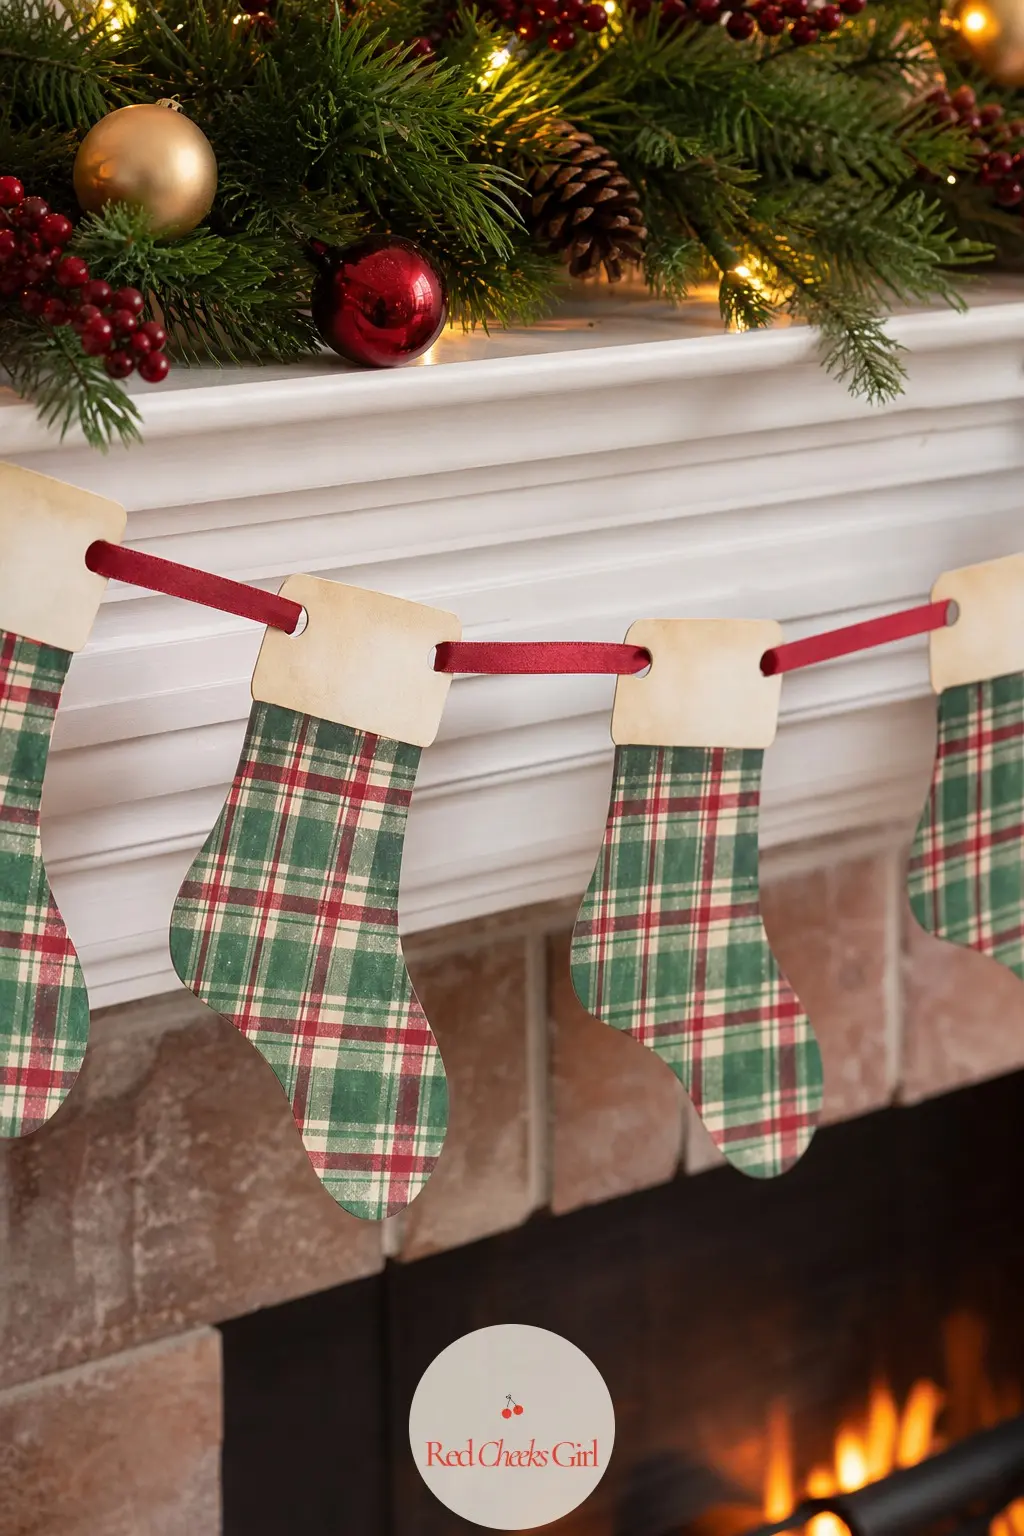
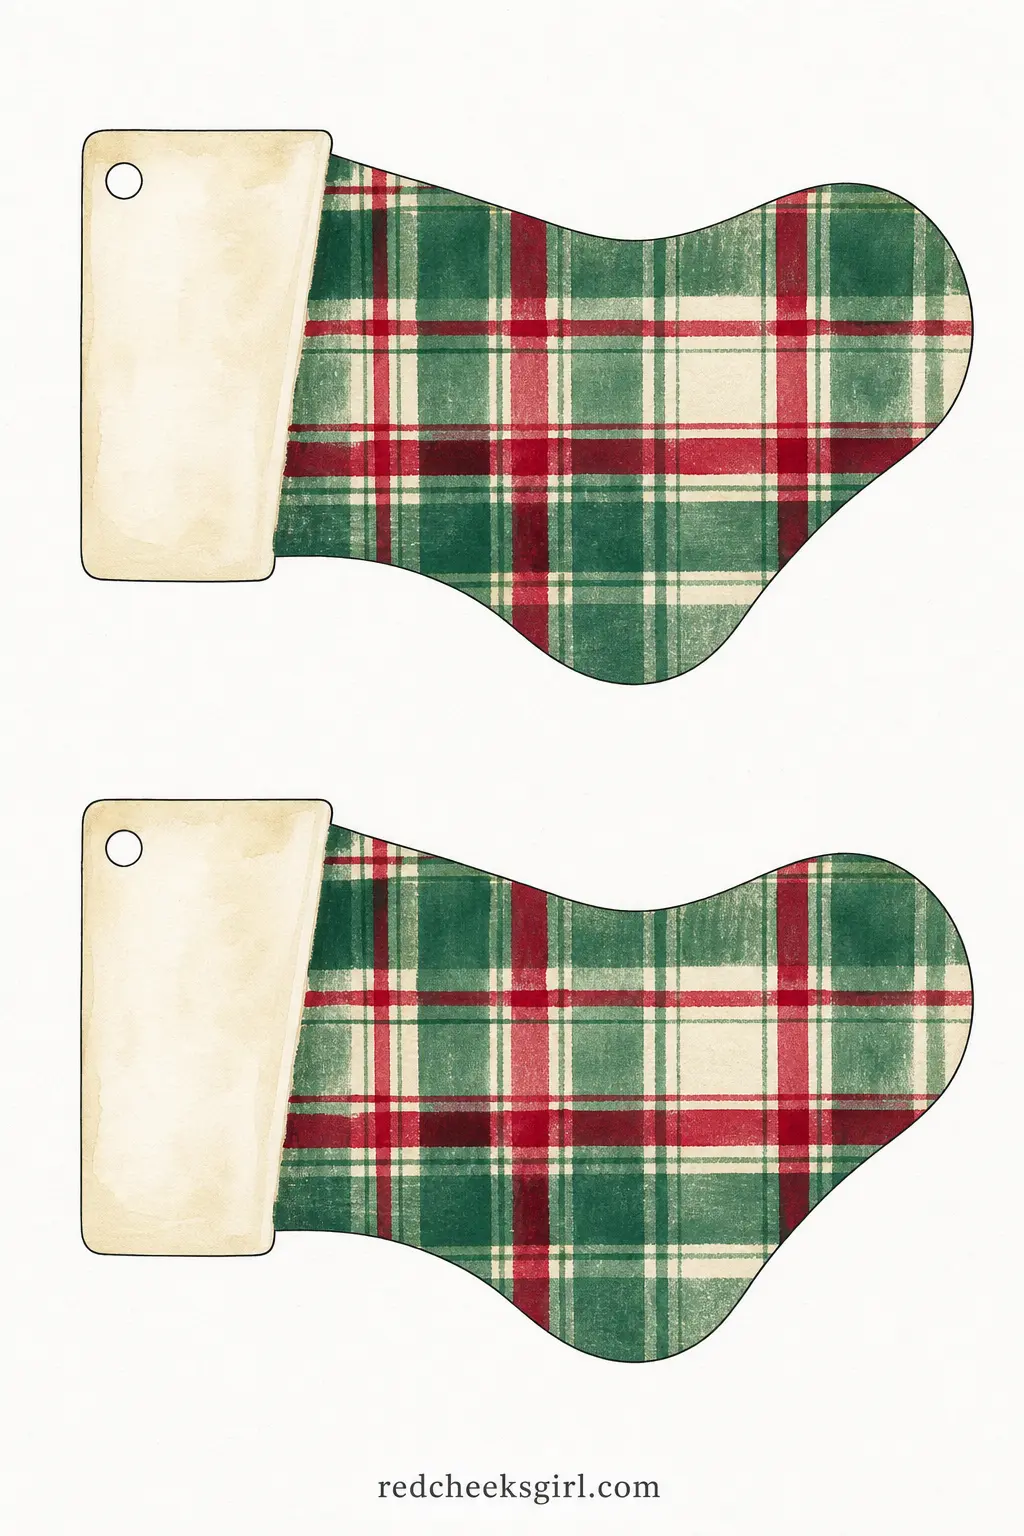
Tartan Stocking Bunting
A full stocking shape in emerald and cranberry tartan with a cream cuff, drawn with the crossed lines of real tartan rather than a simplified check, which gives it more weight than most cut-out shapes on this list.
Cut carefully around the heel and toe curve, the only tricky part, punch the hole through the cuff near the top edge, and thread onto ribbon or twine depending on how formal the room feels.
The tartan lines are fine enough that they can blur together if printed on a lower-quality setting, so use the best print quality your printer offers for this one specifically.
✂️ What you need to print it
Frequently Asked Questions
How much paper do you need for a paper chain garland?
Figure roughly ten strips per printed sheet and about a foot and a half of finished chain per sheet once the rings are glued and slightly overlapped. A mantel run of six to eight feet, which is the usual length people reach for, takes four to six sheets, so print in that batch rather than one at a time.
What is the best paper to use for a printable garland?
Matte cardstock around 65 to 80 pound weight holds a crisp fold and cut edge without going limp on a paper chain, and it takes a glue stick better than glossy photo paper does. For shape garlands with a punched hole, the same cardstock stops the hole from tearing the way thin printer paper does within a day or two of hanging.
How do you make a paper chain garland without it falling apart?
Glue holds cardstock better than tape over time, since tape lifts as the paper flexes, but either works if you give each ring a few seconds of firm pressure at the seam before moving on. Staples are faster for a long chain and are hidden once the next ring closes over them, so they are worth it for anything over head height where nobody looks closely.
How do you hang a paper garland without damaging the wall?
Small removable hooks or a strip of painter’s tape at each end carry the weight of paper garlands fine, since they are far lighter than fresh greenery. Drape rather than pull taut, since a little slack looks intentional and takes strain off whichever ring or shape is doing the holding at each end.
Can shape garlands hang without glued tabs?
Can shape garlands hang without glued tabs?
Yes, and it actually hangs straighter that way. A small punched hole near the top of each shape, threaded straight onto string, lets the shape swing level, where a folded paper tab tends to twist the shape sideways within a day.
How long does it take to make a paper garland?
A six to eight foot paper chain takes around thirty minutes once the sheets are printed and cut, most of it spent gluing rings in sequence. A shape garland with punched holes goes faster, closer to fifteen or twenty minutes for the same length, since there is no drying time to wait through.
13 preschool christmas party games that last two minutes, need no rules and wipe clean. Free printab

Planning a christmas gender reveal party when your due date lands near the holidays? These 12 ideas

17 christmas holiday drinks alcohol batched in a jug, pot or bottle so guests pour their own. Make-a
Leave a Reply