

15 Christmas Wreath Crafts for Kids Built From Something Other Than a Paper Plate
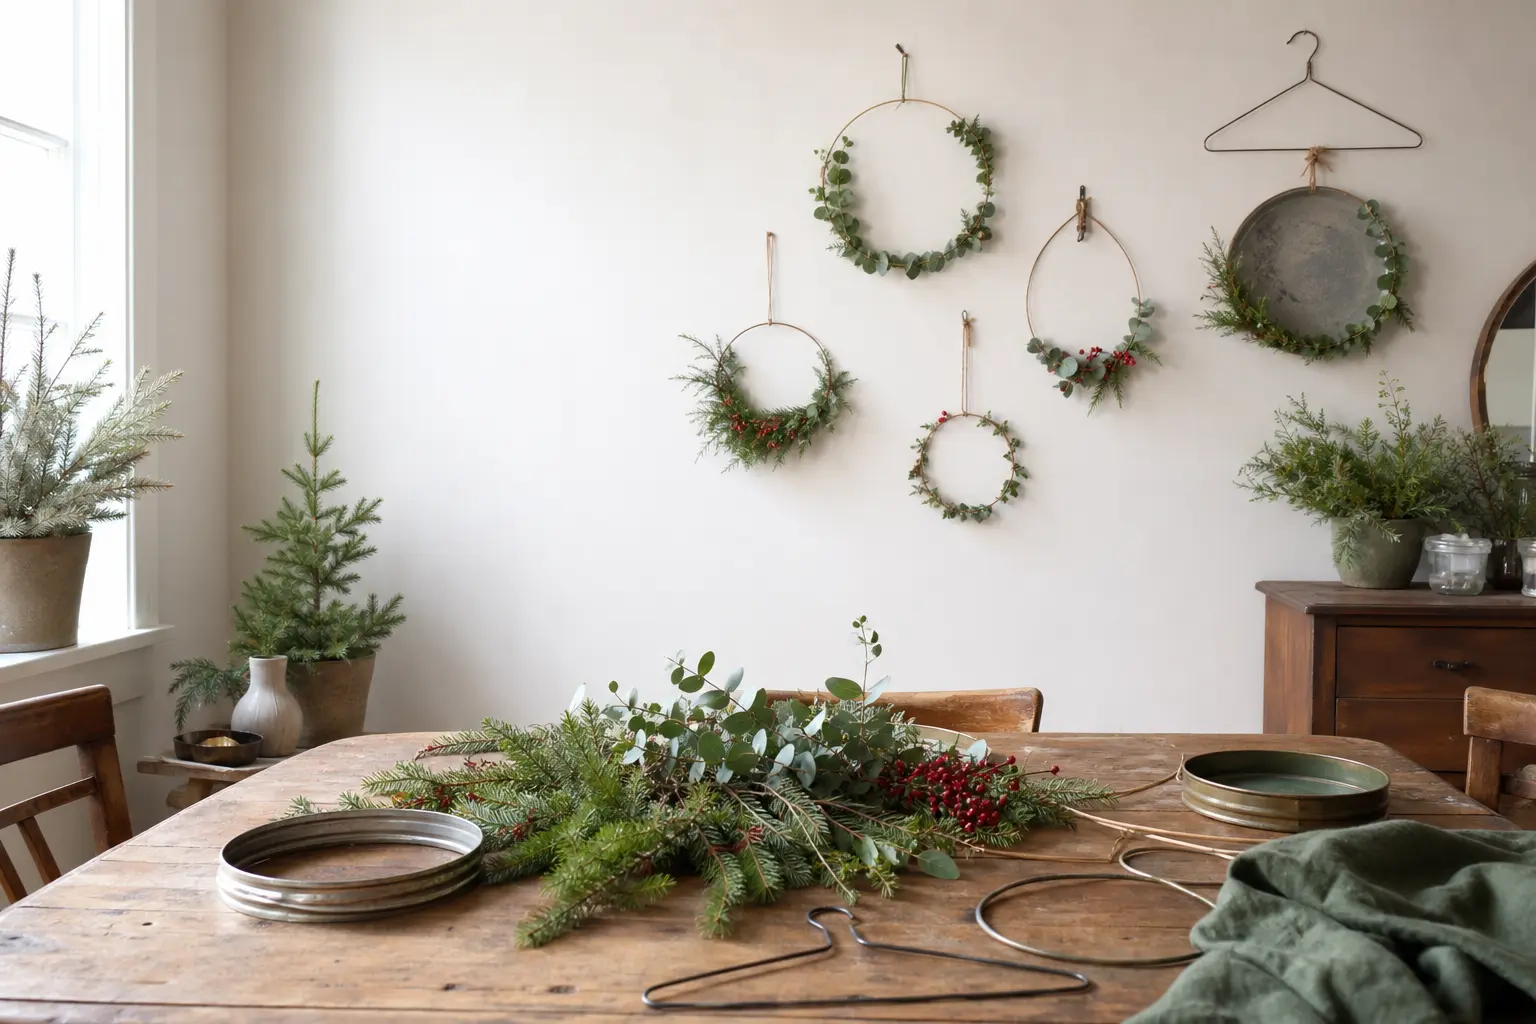
These christmas wreath crafts for kids ditch the paper plate entirely. Well, almost entirely: two of the fifteen do use a plate, but they use it in ways you have never seen it used before.
Every other wreath here starts from something that will make the child double-take before they pick up a brush: a bent wire hanger, a pool noodle, a cake tin lid, a hula hoop made from pipe cleaners.
The base is the first surprise, and the covering is the second.
Nothing here needs a hot-glue gun, a craft knife or fresh greenery that turns to confetti on the carpet by Boxing Day. Most crafts suit ages 4 and up with light supervision; a few have one cutting step an adult handles in under a minute.
Each one earns its place on a door, a wall or a classroom display, and each one stores flat or rolls into a bag for the journey home.
If you are planning a full festive session, the hub at christmas crafts for kids has every category covered. For the youngest makers, the round-up at christmas crafts preschool is the right starting point.
And if the group needs something to hang on the tree once the wreath is done, easy kids christmas ornaments pairs perfectly with this list.
Pick one, lay out the materials, and let the making begin.
This post contains affiliate links. If you buy through them, I may earn a small commission at no extra cost to you.
- Pom Pom Wire Hanger Wreath
- Yarn-Wound Embroidery Hoop Wreath
- Tissue Paper Nest Wreath
- Bottle Cap Wreath
- Pool Noodle Ribbon Wreath
- Spiral Paper Plate Hanging Wreath
- Pasta Bead Embroidery Hoop Wreath
- Pressed Leaf Rubbings Cake Tin Lid Wreath
- Interlocking Paper Strip Ring Wreath
- Pipe Cleaner Mini Hula Hoop Wreath
- Photograph Collage Paper Plate Wreath
- Cotton Ball Snowy Wire Ring Wreath
- Handprint Embroidery Hoop Fabric Wreath
- Recycled Holiday Card Cardboard Wreath
- Christmas Countdown Clock Face Wreath
- Frequently Asked Questions
Pom Pom Wire Hanger Wreath
A wire coat hanger bent into a circle becomes the sturdiest wreath base in this whole list. Cover every centimetre of it in craft pom poms and the result is a wreath so fluffy and dense it looks shop-bought from three feet away. It hangs from its own hook, which is a practical bonus nobody ever mentions.
The fiddly part is keeping the pom poms tight against each other so no wire shows. Thread them in groups of five before sliding them along the hanger, and they pack together naturally. An adult should bend and close the hanger before the session starts.
What You Need
- 1 wire coat hanger
- Approximately 120 craft pom poms, 2 cm diameter, mixed greens and reds
- Strong craft glue or PVA
- A ribbon bow, approximately 15 cm wide
- Pliers (adult use, to close the hanger end)
How to Make It
- An adult uses pliers to straighten the hanger hook, bend the whole frame into a circle roughly 30 cm across, and then curl the hook end back into a small loop for hanging.
- Open a pom pom bag and sort the colours loosely into piles so the child can plan their pattern before committing.
- Apply a small dot of craft glue to each pom pom and push it firmly onto the wire. Start at the hook loop and work around in one direction.
- Pack the pom poms tightly as you go: each new one should press against its neighbour with no gap. If a gap appears, work a smaller pom pom into it.
- Continue until the entire wire circle is covered and no metal shows from any angle.
- Tie a ribbon bow around the hook loop and hang immediately. The wreath is ready; there is no drying time to wait for.

Yarn-Wound Embroidery Hoop Wreath
An embroidery hoop already looks like a wreath frame straight out of the packet. Wind it entirely in chunky yarn until the wood disappears, add three small felt shapes, and the finished piece is clean, graphic and genuinely lovely on a front door. It also survives being stuffed in a school bag, which paper plate versions emphatically do not.
The winding is meditative for older children and perfectly manageable for age 6 and up. Younger children may need an adult to start the yarn off and secure the first knot. The felt shapes are cut by an adult beforehand and glued on cold.
What You Need
- 1 wooden embroidery hoop, 20 cm diameter
- 1 ball chunky green yarn, approximately 50 g
- Red, cream and green felt sheets, A4, 1 mm thick
- PVA glue
- Scissors (adult use for felt)
- A small ribbon, 20 cm, for hanging
How to Make It
- Open the embroidery hoop and set the inner ring aside. You will wind only the outer ring.
- Tie the yarn tightly around the ring with a double knot, leaving a short tail tucked inward.
- Wind the yarn around the hoop in tight, overlapping diagonal passes, keeping each layer snug against the last. The wood should vanish within the first two or three rounds.
- Continue winding until the entire hoop is covered with no bare wood visible. Tie off the end with a double knot and tuck the tail under the layers.
- An adult cuts three felt shapes from the felt sheets: a star from cream felt (approximately 6 cm), a simple holly leaf pair from green felt (approximately 5 cm each), and three small berries from red felt (approximately 1 cm circles).
- Arrange the shapes on the yarn-covered hoop, then glue each one down with a generous dot of PVA. Press firmly for 30 seconds. Leave flat to dry for 10 minutes before hanging.
- Thread the small ribbon through the metal clasp at the top of the hoop and tie a loop for hanging.

Tissue Paper Nest Wreath
Flip a paper plate ring upside down, and the raised rim becomes a shallow trough that holds torn tissue paper like a bird’s nest holds eggs.
Stuff it with curled strips of green and add a few red tissue paper balls, and the result is unexpectedly three-dimensional and tactile. This is the one the youngest children can do almost entirely on their own.
The only adult step is cutting the centre out of the plate at the start. After that, tearing tissue is the point, and children who are three years old can manage it beautifully.
What You Need
- 1 paper plate, 23 cm diameter
- Green tissue paper, 2 sheets, approximately 50 x 70 cm each
- Red tissue paper, 1 sheet, approximately 50 x 70 cm
- PVA glue, diluted slightly with water in a small bowl
- A paintbrush for applying glue, 2 cm wide
- Scissors (adult use only)
- A hole punch and 20 cm of string for hanging
How to Make It
- An adult cuts the centre from the paper plate, leaving a ring at least 4 cm wide. Turn the plate upside down so the rim faces upward, creating a trough.
- Tear the green tissue paper into rough strips about 3 cm wide and 10 cm long. Exact size does not matter; uneven edges look better than straight ones.
- Brush a generous layer of diluted PVA into the trough of the upturned rim.
- Press torn tissue strips into the glue, scrunching and overlapping them so they form a textured nest. Work all the way around the rim.
- Tear small squares of red tissue paper and scrunch each one into a rough ball about 2 cm across. Press six to eight of these into the green nest while the glue is still wet.
- Brush a final coat of diluted PVA over everything to seal and add a slight sheen. Leave flat to dry for at least 10 minutes.
- An adult punches a hole at the top of the ring and threads string through for hanging.

🛍 Shopping guide
Bottle Cap Wreath
This one takes about three weeks to collect the caps and three minutes to fall in love with the finished thing. A cardboard ring covered edge to edge in bottle caps, all painted the same colour, looks like something from a design shop.
The secret is the single colour: gold, matte red or forest green all work beautifully. Mixed colours work less well, which is worth knowing before you start.
Collecting caps is a project in itself and a good reason to involve children in the preparation before the session. Save the painting step for the session day.
What You Need
- 1 cardboard ring cut from a cereal box, approximately 25 cm outer diameter, 4 cm wide (an adult cuts this)
- Approximately 40 metal bottle caps, collected and rinsed
- Acrylic paint in one colour, small pot
- PVA glue
- A sponge brush, 2 cm wide
- String or twine, 30 cm, for hanging
How to Make It
- An adult draws and cuts the cardboard ring from flattened cereal boxes, making it sturdy by cutting two identical rings and gluing them together. Leave to dry for 10 minutes under a heavy book.
- Paint all the bottle caps on their flat tops and sides in one colour. A foam sponge brush gets into the ridged edges best. Leave to dry completely, at least 2 hours or overnight.
- Lay the caps face up on the ring to plan the arrangement before any glue goes down. Caps look best when they fit tightly side by side all the way around.
- Apply a generous blob of PVA to the inside of each cap and press it firmly onto the ring, holding for 10 seconds. Start at one point and work around the ring in one direction.
- Fill the outer edge of the ring with a second row of caps if the ring width allows, tilting them slightly outward for depth.
- Leave flat overnight. The PVA dries transparent and very strong. Attach string through the cardboard ring for hanging.

🛍 Shopping guide
Pool Noodle Ribbon Wreath
A pool noodle bent into a circle and wrapped entirely in ribbon produces a wreath so plump and sturdy it stands up on a table rather than needing a wall. Children are always slightly amazed when the wobbly foam tube transforms into something this solid-looking.
This is the wreath for a front door that sees actual weather, because it wipes clean in seconds.
The only tricky moment is joining the ends of the noodle. A short length of wooden dowel pushed into both cut ends holds it perfectly; this is the one adult step.
What You Need
- 1 pool noodle, standard 150 cm length, any colour
- Approximately 10 m of ribbon, 4 cm wide, in red or green
- 1 wooden dowel, 1 cm diameter, 10 cm long (or a strong tape alternative)
- Adhesive tape to start and finish the ribbon
- A large decorative bow or a length of contrasting ribbon for the top
- Scissors (adult use to cut noodle)
How to Make It
- An adult cuts the pool noodle to approximately 100 cm and makes a straight cut at each end. Push the wooden dowel halfway into one end and curve the noodle into a circle, pushing the other end onto the exposed dowel. The join should be snug.
- Secure the join with a tight wrap of adhesive tape if it feels loose.
- Fasten the ribbon end to the back of the noodle with a strip of tape. This starting point will be hidden later.
- Wrap the ribbon around the noodle in a continuous diagonal spiral, keeping each pass tight against the previous one so no foam shows. Pull firmly with each wrap; the foam compresses slightly and grips the ribbon.
- Continue all the way around the circle until you reach the starting point. Secure the end with tape at the back.
- Tie a large bow from contrasting ribbon and fasten it over the join point at the top. Use a length of ribbon looped through the noodle circle as the hanging loop.

🛍 Shopping guide
Spiral Paper Plate Hanging Wreath
Cut a paper plate in a continuous spiral and pull the two ends apart: you get a loose, slinky coil that hangs in mid-air like a hanging mobile rather than lying flat like a wreath.
This is the one that will make a child shout for a parent to come and look. It decorates a window or a ceiling rather than a door, and it takes up almost no storage space when you lay it flat again.
The cutting is the whole trick, and an adult should do it. The painting and decorating is entirely the child’s domain.
What You Need
- 1 paper plate, 23 cm diameter
- Green and red acrylic or poster paint
- A paintbrush, 1 cm wide
- Adhesive star stickers or self-adhesive gems, approximately 12
- Scissors (adult use)
- String, 40 cm, for hanging from the centre
- A hole punch (adult use)
How to Make It
- An adult draws a continuous spiral on the plate starting from the outer edge and working inward to a small circle at the centre, leaving each pass of the spiral approximately 2.5 cm wide. Cut along this line in one continuous cut.
- Before pulling the spiral open, paint the entire surface green. Use dabbing strokes to cover the ridges on the raised rim. Leave to dry for 10 minutes.
- Add red dots or holly berry clusters using the tip of the paintbrush handle dipped in red paint. Space them evenly around the spiral so every coil shows at least two.
- Press star stickers or gems onto the dried surface, spacing them around the spiral.
- Hold the plate by the outer edge and gently pull downward on the centre circle. The spiral opens into a hanging coil. Pull gradually to avoid tearing.
- An adult punches a hole through the small centre circle and threads string through for hanging. The outer edge hangs at the bottom and the centre point is at the top.

Pasta Bead Embroidery Hoop Wreath
Paint penne pasta in holiday colours, thread it onto lengths of twine, and hang those strands across an embroidery hoop like a bead curtain in miniature. The light catches the painted pasta beads and the whole thing glows from across the room.
This is one for classrooms because every child ends up with an identical frame but a completely personal pattern.
Allow the painted pasta to dry overnight before threading. Rushing this step means paint transfers to fingers and the twine, which looks less lovely than it sounds.
What You Need
- 1 embroidery hoop, 20 cm diameter
- Approximately 60 penne pasta tubes
- Acrylic paint in red, gold and green
- Natural twine, approximately 2 m
- Scissors
- A small hanging bow or ribbon, 15 cm
- Newspaper to dry pasta on
How to Make It
- Paint the pasta tubes in batches of 20. Roll each tube in paint on a sheet of newspaper, then stand them upright in a ball of modelling clay or a piece of foam to dry fully. Leave overnight.
- Separate the embroidery hoop and stretch no fabric across it. You are using it as a frame only.
- Cut five lengths of twine, each approximately 25 cm. Tie one end of each length firmly to the inner ring of the hoop, spacing them evenly around the top half.
- Thread 10 to 12 pasta beads onto each length, alternating colours to create a pattern. Tie the loose end of each length to the bottom of the hoop directly opposite its starting point, pulling the twine taut.
- Trim any excess twine close to the knots.
- Tie the hoop halves back together, sandwiching the twine ends to keep everything secure. Attach a ribbon loop at the top of the hoop clasp for hanging.

Pressed Leaf Rubbings Cake Tin Lid Wreath
A round cake tin lid is already a ring if you ignore the flat centre, but here you use the whole thing as a canvas.
Lay leaves face-down under a sheet of white paper placed over the lid, rub with the flat side of unwrapped wax crayons, and a wreath of leaf shapes emerges like a brass rubbing. The raised rim of the lid creates a natural circular border.
Hang it by its own hanging tab if the tin has one, or glue a ribbon loop to the back.
This is genuinely the quietest craft on this list. Children tend to slow down and concentrate, which is occasionally welcome.
What You Need
- 1 round cake tin lid, approximately 25 cm diameter
- White paper or cartridge paper, one sheet cut to fit inside the lid
- Autumn leaves in several sizes, freshly collected and pressed flat for 1 hour under books
- Green, red, brown and gold wax crayons, unwrapped
- Adhesive tape to hold paper in place
- PVA glue and a ribbon loop for hanging (if the lid has no hook)
How to Make It
- Place leaves vein-side up in an overlapping circle on a flat surface, arranged as a wreath shape.
- Lay the paper over the leaves and press down firmly to feel their outline. Tape the edges of the paper to the table lightly so it does not shift.
- Using the flat side of each crayon, rub firmly across the paper in one direction over the leaf area. The leaf veins and edges lift through the paper clearly. Press hard enough to capture the texture but not so hard that the paper tears.
- Build up colour in layers, using green for the leaf bodies, brown for stems and gold or red for highlights. The finished rubbing should show a clear wreath ring of overlapping leaves.
- Lift the paper carefully and trim it to fit inside the cake tin lid. Tape or PVA-glue it flat inside the lid.
- If the lid has no hanging hook, glue a looped ribbon to the back with a generous amount of PVA and leave to dry under pressure for 15 minutes.

Interlocking Paper Strip Ring Wreath
This one uses no glue at the joins at all, which seems impossible until you make the first link and feel it lock into place.
Strips of card interlock through slits in each other to form a rigid ring, and the finished wreath has a sculptural, geometric quality that looks nothing like a children’s craft and everything like something from a design stall.
Use red and green alternating strips and it reads as festive immediately.
The slitting is adult territory. The interlocking is deeply satisfying for children aged 6 and up, and even age 5 can manage it once shown the first link.
What You Need
- Red and green card, A4, 160 gsm, 4 sheets of each colour
- A ruler
- A pencil
- Scissors (adult use for cutting strips and slits)
- A craft knife and cutting mat (adult use for slits)
How to Make It
- An adult cuts each sheet of card into strips 3 cm wide and 21 cm long along the short edge. Cut enough to make approximately 24 strips total, 12 of each colour.
- An adult cuts a slit in the centre of each strip: 2 cm long, perfectly centred along the length of the strip. The slit should be just wide enough for another strip to slide through (approximately 3 mm).
- To join two strips: slide the slit of one strip into the slit of the other at right angles, so they interlock like a flat cross. Pull them until both slits meet exactly at the centre. They will not pull apart.
- Build the ring by adding one strip at a time. Each new strip slots through the exposed end of the previous one. The ring naturally curves as you add more strips; guide it into a circle as you go.
- Join the last strip to the first to close the ring. This final join may need a very small piece of tape at the back to hold the curve.
- Hang using a loop of twine tied through one of the interlocked joins at the top.

Pipe Cleaner Mini Hula Hoop Wreath
Twist green pipe cleaners end to end to form a circle the size of a salad plate, cover it entirely in cotton wool pulled into wisps, and you have a snowy wreath so light it hangs from a window latch on a single thread.
Children love the cotton wool step because it is basically encouraged pulling-things-apart, and the result looks like frost caught mid-fall.
This one genuinely suits age 4 and up because every step is soft, manageable and forgiving. If a cotton wool wisp falls off, just press it back.
What You Need
- 10 green pipe cleaners, 30 cm each
- 1 bag cotton wool balls, approximately 20 balls
- PVA glue
- Small red pom poms, approximately 12, for berries
- Clear thread or thin white string, 30 cm, for hanging
How to Make It
- Twist two pipe cleaners together end to end to double their length. Repeat with the remaining eight, creating five doubled lengths.
- Join these lengths end to end until you have one very long pipe cleaner strand. Twist the final ends together to form a circle approximately 20 cm across. Adjust the shape so it is as round as possible.
- Pull each cotton wool ball into three or four thin wisps rather than using them whole. Thinner wisps cover the pipe cleaner more evenly.
- Apply PVA glue to a section of the pipe cleaner ring and press cotton wool wisps firmly onto it, wrapping them slightly around the frame. Move around the ring section by section.
- Continue until the entire ring is covered in a thick, fluffy layer of white. Press any loose ends back into the glue.
- Press small red pom poms into the cotton wool at intervals to suggest holly berries. They will hold in the still-tacky glue.
- Leave flat to set for 10 minutes. Tie clear thread to the top of the ring for hanging.

Photograph Collage Paper Plate Wreath
Cut the centre from a paper plate and cover the ring in printed photographs of the child’s year: a birthday, a beach, a grandparent, a pet.
The ring becomes a frame and a memory object at the same time, and it is the one wreath that no other child in the class will have. Parents reliably tear up a little when this one comes home.
Give parents two weeks’ notice to print photos in 7 x 5 cm or smaller.
The cutting is adult work. The arranging and sticking is completely the child’s.
What You Need
- 1 paper plate, 23 cm diameter
- 10 to 15 printed photographs, each approximately 7 x 5 cm or smaller, matte finish
- PVA glue or a glue stick
- Scissors for trimming photos (child-safe)
- A ribbon or string, 25 cm, for hanging
- Optional: gold or silver gel pen for writing names or a date on the ring border
How to Make It
- An adult cuts the centre from the paper plate, leaving a ring at least 4 cm wide. Leave the rim intact.
- Lay all the photographs face-up on the table and arrange them in a rough ring shape, overlapping edges, before any glue touches the plate. This is the planning step and it matters.
- Trim any photo that is too large to fit the ring width using child-safe scissors. Curves are fine; rough cuts read as collage.
- Apply glue to the back of each photo and press it onto the ring, overlapping the edges of neighbouring photos. Work around the ring until every centimetre of card is covered.
- Apply a thin coat of diluted PVA over all the photos to seal and unify the surface. Leave to dry for 10 minutes; the PVA dries transparent.
- An adult punches a hole at the top of the ring and threads ribbon through for hanging. If using a gel pen, add a name or year to the plate border before hanging.

Cotton Ball Snowy Wire Ring Wreath
This one sits between the pipe cleaner version and something more structured.
A wire ring from a craft shop (not bent or made by the child) is the base here, and cotton balls are painted white and silver before being glued on for a slightly more polished finish.
The result looks like a wreath dusted in fresh snow. It is simple and quietly beautiful.
An adult handles the wire ring and the small parts aspect: cotton balls that are half the size of a golf ball are a small-parts risk for under-threes. From age 4, this is straightforward.
What You Need
- 1 wire wreath ring, 20 cm diameter (available in craft shops or floral supply)
- Approximately 30 cotton wool balls
- White acrylic paint
- Silver glitter glue
- PVA glue
- A paintbrush, 2 cm wide
- A small ribbon bow and hanging string, 25 cm
How to Make It
- Paint all 30 cotton balls with white acrylic paint. Use a foam brush and roll each ball to coat it completely. Place on a sheet of baking parchment to dry for at least 1 hour; they need to be fully dry before gluing.
- While the cotton balls dry, tie the hanging string to the top of the wire ring.
- Apply PVA generously to a section of the wire ring and press three or four dried, painted cotton balls firmly onto it. Hold each one for 10 seconds.
- Work around the ring, overlapping balls slightly so no wire shows. Pack them tightly; gaps look unfinished.
- Once the ring is fully covered, use a fine brush or the nozzle of a silver glitter glue bottle to add a light scattering of silver glitter glue over the tops of the cotton balls. Do not overdo it; one dot per ball is plenty.
- Leave flat for 20 minutes. Tie the ribbon bow at the top of the ring over the hanging string and hang.

Handprint Embroidery Hoop Fabric Wreath
Stretch a piece of cream fabric over an embroidery hoop, paint a ring of overlapping handprints in green around it, and add painted red fingertip dots for berries.
The hoop frames it perfectly and it doubles as a keepsake that looks nothing like a craft project and everything like folk art. Hang it on the wall or lean it on a shelf.
The fabric must be pulled taut in the hoop before painting begins or the handprints smear and spread. That tension step is adult work. The printing itself is entirely for the child, and it is genuinely joyful.
What You Need
- 1 wooden embroidery hoop, 25 cm diameter
- Cream or white calico fabric, approximately 35 x 35 cm
- Green fabric paint or acrylic paint, small pot
- Red fabric paint or acrylic paint, small pot
- A shallow dish or plate for paint
- Wet wipes for immediate clean-up
- Gold or brown paint for a small bow detail (optional)
How to Make It
- An adult stretches the calico fabric over the inner hoop, then presses the outer ring over it, pulling the fabric taut on all sides before tightening the screw. The fabric should feel like a drum skin: no wrinkles, no slack.
- Pour green paint into a shallow dish. The child presses their palm flat into the paint, coating the whole hand to the fingertips.
- Press the hand firmly onto the fabric at the outer edge of the hoop space, angling the fingers toward the centre to create a leaf-like fan shape. Lift straight up, no smearing.
- Repeat all the way around the hoop, overlapping the edge of each handprint with the next. The fingers from each print should point inward and the palms should form the outer ring. Expect 8 to 12 prints depending on hand size.
- Wash hands thoroughly. Dip a single fingertip in red paint and press dots in clusters of three between each handprint pair to suggest holly berries. Leave to dry for 30 minutes.
- Once dry, the acrylic paint sets on fabric and the piece is permanent. Attach a ribbon loop to the hoop clasp for hanging.

Recycled Holiday Card Cardboard Wreath
Save the Christmas cards from last year, cut them into squares, and tile them onto a cardboard ring. The result is a mosaic of colour and pattern that every child on the planet finds slightly addictive to build.
The cards provide all the colour and imagery needed; no paint, no extra decoration. This is also a good way to explain to a child that beautiful things can come from things you were about to throw away.
Card-cutting suits ages 5 and up with child-safe scissors. An adult cuts the cardboard ring at the start.
What You Need
- 1 cardboard ring, approximately 25 cm outer diameter, 5 cm wide, cut from corrugated cardboard or doubled cereal box card
- Approximately 20 Christmas cards, last year’s
- PVA glue
- Child-safe scissors
- A coat of diluted PVA for sealing (optional)
- String, 30 cm, for hanging
How to Make It
- An adult cuts the cardboard ring. If using cereal boxes, cut two identical rings and glue them together for stiffness, weighting them under a book for 10 minutes.
- The child cuts Christmas cards into rough squares and rectangles, approximately 3 to 5 cm. Variation in size is good; a mix of image and text areas looks intentional.
- Arrange a selection of cut pieces on the ring without glue first, choosing which images to place where. Move them around until the arrangement looks balanced.
- Glue each piece down with PVA, pressing firmly for 5 seconds. Overlap edges and work all the way around the front and edges of the ring.
- Fold some pieces over the outer and inner edges of the ring to cover the cardboard completely when viewed from the side.
- Leave flat for 10 minutes. Apply a thin layer of diluted PVA over everything for a sealed, slightly glossy finish. Dry for a further 10 minutes. Thread string through the ring for hanging.

Christmas Countdown Clock Face Wreath
A paper plate ring becomes a clock face counting down to Christmas: numbers 1 to 12 placed around the ring, a pair of arrow hands at the centre pointing to the current day, and a small window in the middle where a date or a drawing lives.
It is a decoration and a daily ritual, and children will want to move the hands each morning. That daily interaction is the point.
If you are looking for more activities to keep December moving, Christmas activities for kids has a full month covered, and Christmas games for kids pairs perfectly with the countdown.
The number writing is the child’s job. The arrow hands are cut by an adult from card and attached with a brass fastener through the centre so they rotate freely.
What You Need
- 1 paper plate, 23 cm diameter
- Red and green poster paint
- A paintbrush, 1 cm wide
- A marker pen, black
- Red and green card scraps for the arrow hands, approximately 10 x 3 cm each
- 1 brass paper fastener
- Scissors (adult use for hands)
- A hole punch (adult use)
- String, 25 cm, for hanging
How to Make It
- An adult cuts the centre from the paper plate leaving a ring at least 4 cm wide, then punches a small hole at the very top for hanging and a centred hole in the middle of the cut-out disc. Save the disc; it becomes the clock centre.
- Paint the ring green and the saved centre disc red. Leave to dry for 10 minutes.
- Using the marker pen, write numbers 1 to 12 around the ring in clock positions: 12 at the top, 6 at the bottom, 3 at the right and 9 at the left, filling in the others evenly. Add small holly drawings between numbers if space allows.
- An adult cuts two arrow shapes from contrasting card: one longer minute hand and one shorter hour hand, each pointed at one end and rounded at the other with a small hole punched at the rounded end.
- Reattach the painted red disc to the centre of the ring by pushing the brass fastener through the disc centre, then through the centre of the ring, then through the holes of both arrow hands, and open the fastener at the back. The hands should rotate freely over the disc.
- Thread string through the hole at the top of the ring and hang. Move the hands each morning to point at the number of days remaining.

Frequently Asked Questions
What Christmas wreath crafts for kids need no hot glue?
Every wreath on this list uses only PVA glue, a glue stick or no adhesive at all. The interlocking paper strip ring uses no glue whatsoever at the joins. PVA is safe for children from age 3 and dries completely clear and strong on card, fabric and felt.
What can I use as a wreath base for kids?
The best bases for child-made wreaths are things with a ring shape that already exists: a wire coat hanger bent into a circle, an embroidery hoop outer ring, a cake tin lid, a pool noodle loop or a paper plate with the centre removed. Each provides a ready-made frame that holds its shape without extra construction.
How long do Christmas wreath crafts for kids take?
Active making time runs from 20 minutes for the simplest tissue paper nest wreath to 45 minutes for the pool noodle ribbon wreath. Most take 30 to 35 minutes of hands-on time. Add drying time for crafts that use paint or PVA: the bottle cap wreath and painted pasta wreath both need an overnight dry before the main session.
Can toddlers do Christmas wreath crafts for kids?
Yes, with an adult preparing the base and handling any cutting. The tissue paper nest wreath suits age 3 and up because tearing tissue is the main skill needed.
The handprint embroidery hoop wreath also works beautifully from age 3 once an adult has stretched the fabric. The pipe cleaner cotton wool wreath suits age 4 and up. Avoid the pasta bead and bottle cap wreaths with under-threes due to small parts.

18 black Christmas tree looks, real and artificial, dressed in gold, jewel tones and velvet for ever

14 Christmas balloon arch ideas for doors, tables and corners you have not decorated yet, with palet

18 wood ornament painting ideas across rustic, folk-art and kid-friendly looks, with real paint colo
Leave a Reply