

This post contains affiliate links. If you buy something through these links, I may earn a small commission at no extra cost to you. I only recommend things I’d actually use.
I picked up a piece of driftwood on a beach in Oregon three years ago. Tossed it in the back of the car. It sat in my garage for six months before I did anything with it.
Now it holds every necklace I own and it’s the thing guests ask about first when they walk into my bedroom.
That’s the whole thing with driftwood — it looks like it’s already done. Like it arrived finished. All you’re really doing is giving it a new job.
These 13 driftwood craft ideas range from “I can do this tonight” to “okay I need a weekend and some twine,” but none of them require woodworking experience or a fancy studio. Just the piece, some basic supplies, and a willingness to let slightly imperfect things be beautiful.
1. The Hanging Jewelry Organizer (The One I Actually Made)
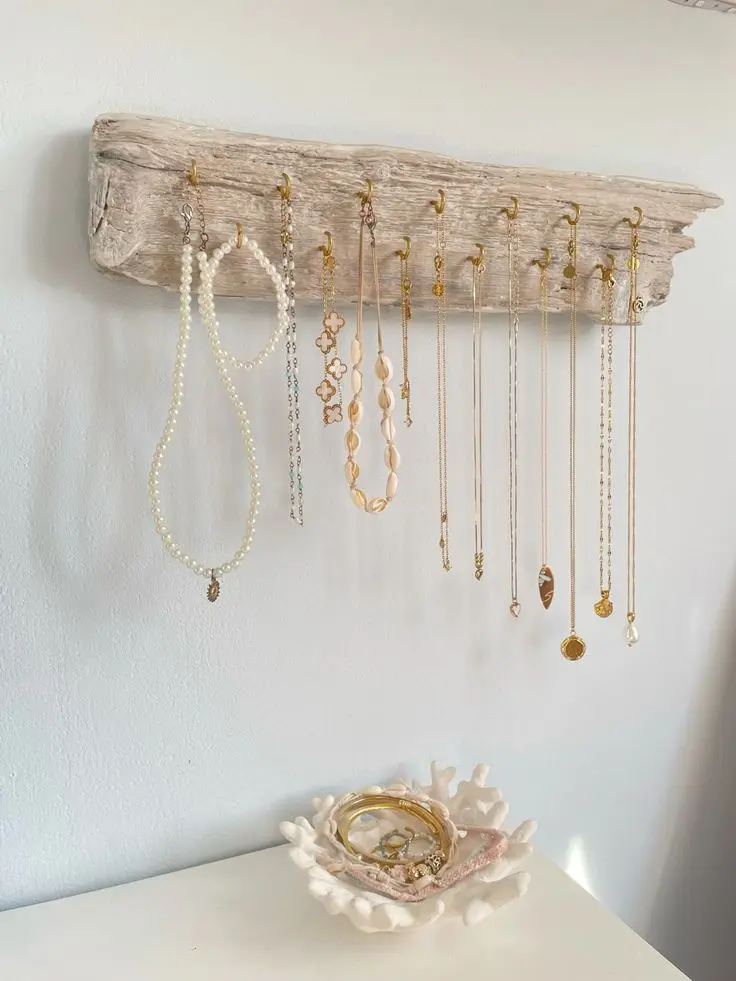
Find a piece that’s roughly 12–18 inches long with a few natural branches or knobs sticking off it. Tie a length of jute or leather cord to each end for hanging, then hot glue small cup hooks along the bottom edge — or just use the natural bumps as hooks if your piece has them.
Mine has 11 hooks. Holds rings, earrings, and every necklace I own without tangling, which is more than I can say for the velvet tray I paid $28 for.
The trick is to hang it low enough that you can actually reach it without standing on your toes. Sounds obvious. I hung mine too high the first time.
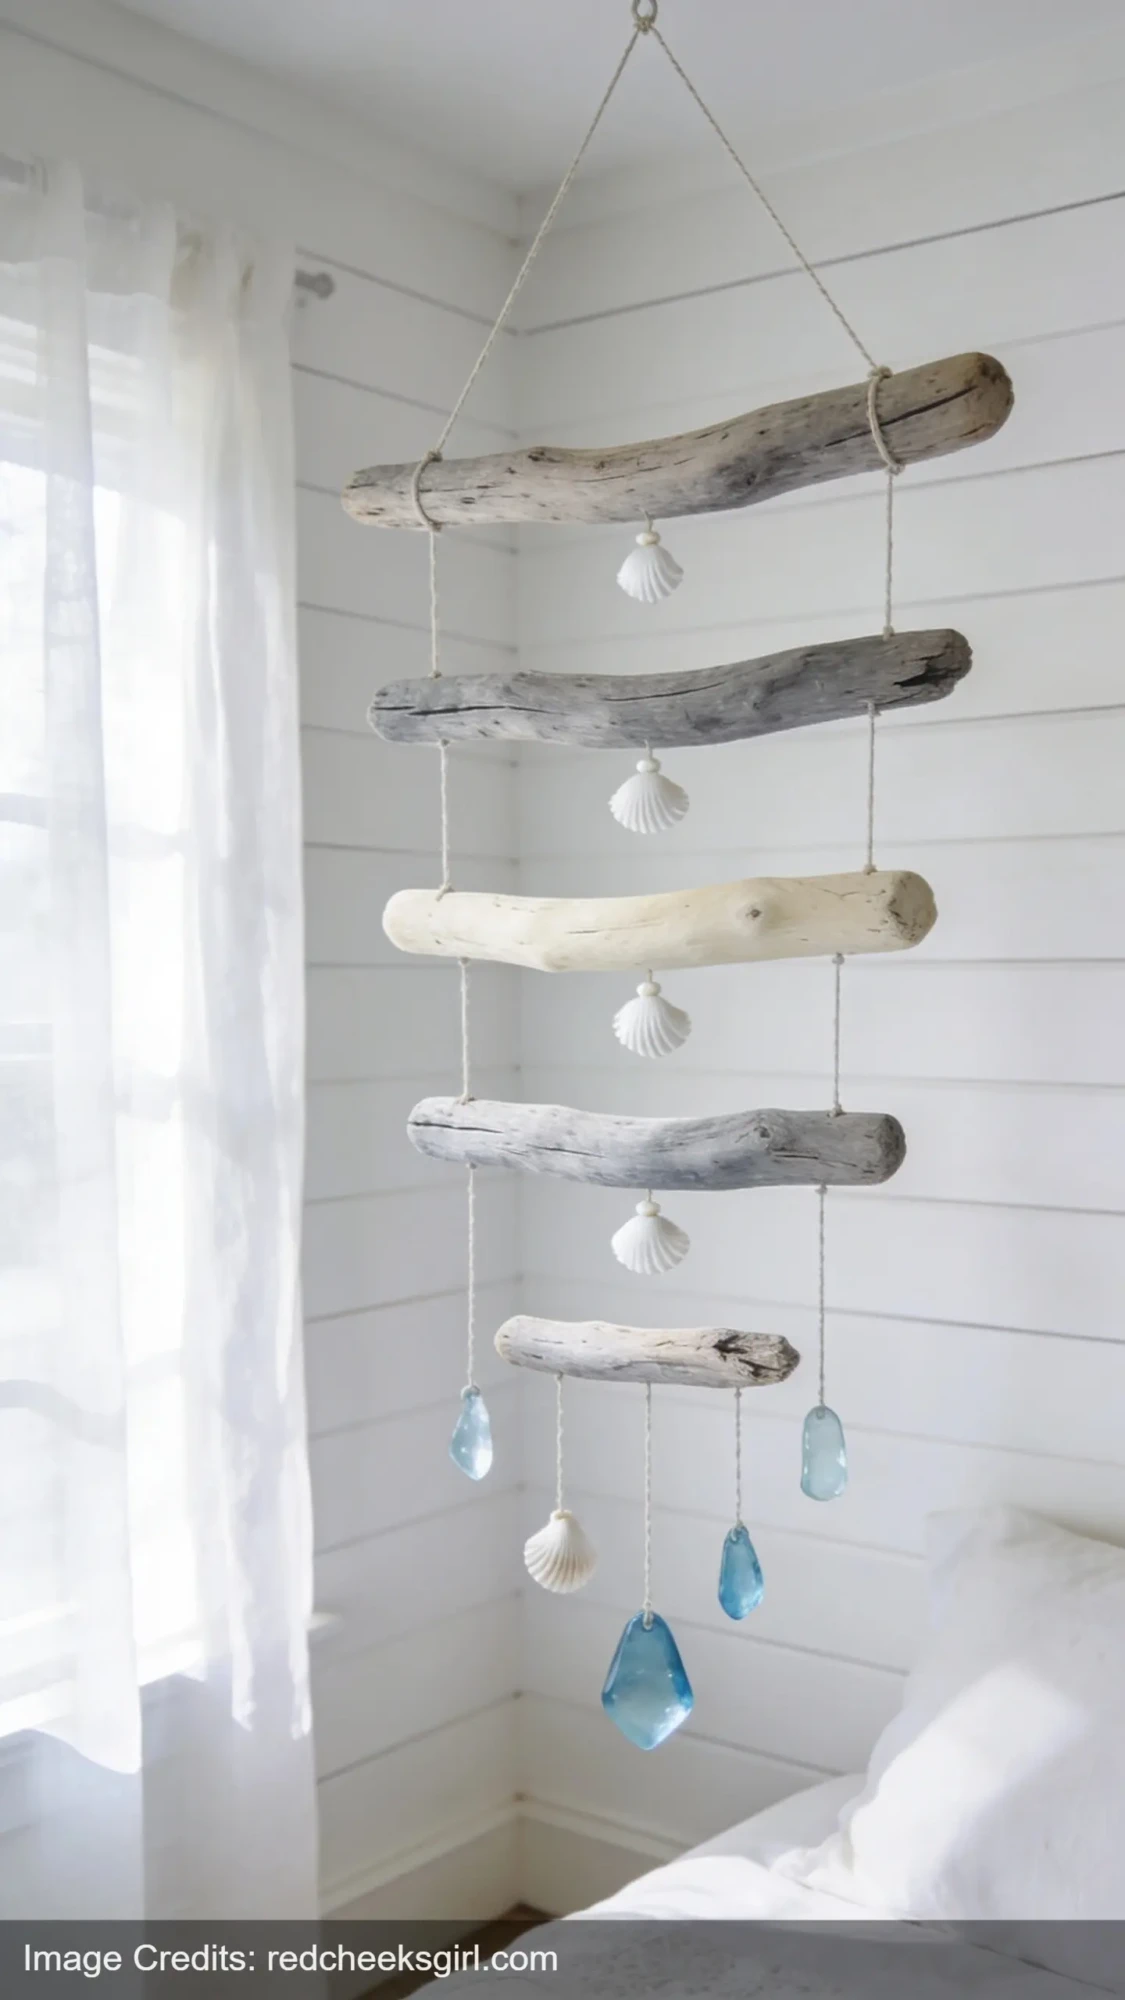
2. A Driftwood Mobile
This is the one that stops people mid-conversation. You want 3–5 pieces of driftwood in graduating sizes — longest on top, shortest on the bottom. Connect them with invisible thread or thin jute, letting each piece hang at a slightly different height.
You can hang it plain. Or add shells, sea glass, or small crystals tied at irregular lengths between the wood pieces. The irregular part matters. Even spacing looks like a craft store display. Uneven spacing looks intentional and handmade in a way that reads as art.
Takes maybe 45 minutes. Looks like something that costs $90 at a coastal boutique.
Grab some invisible hanging thread if you want the pieces to look like they’re just floating.
3. Wall Art — The Simple Version
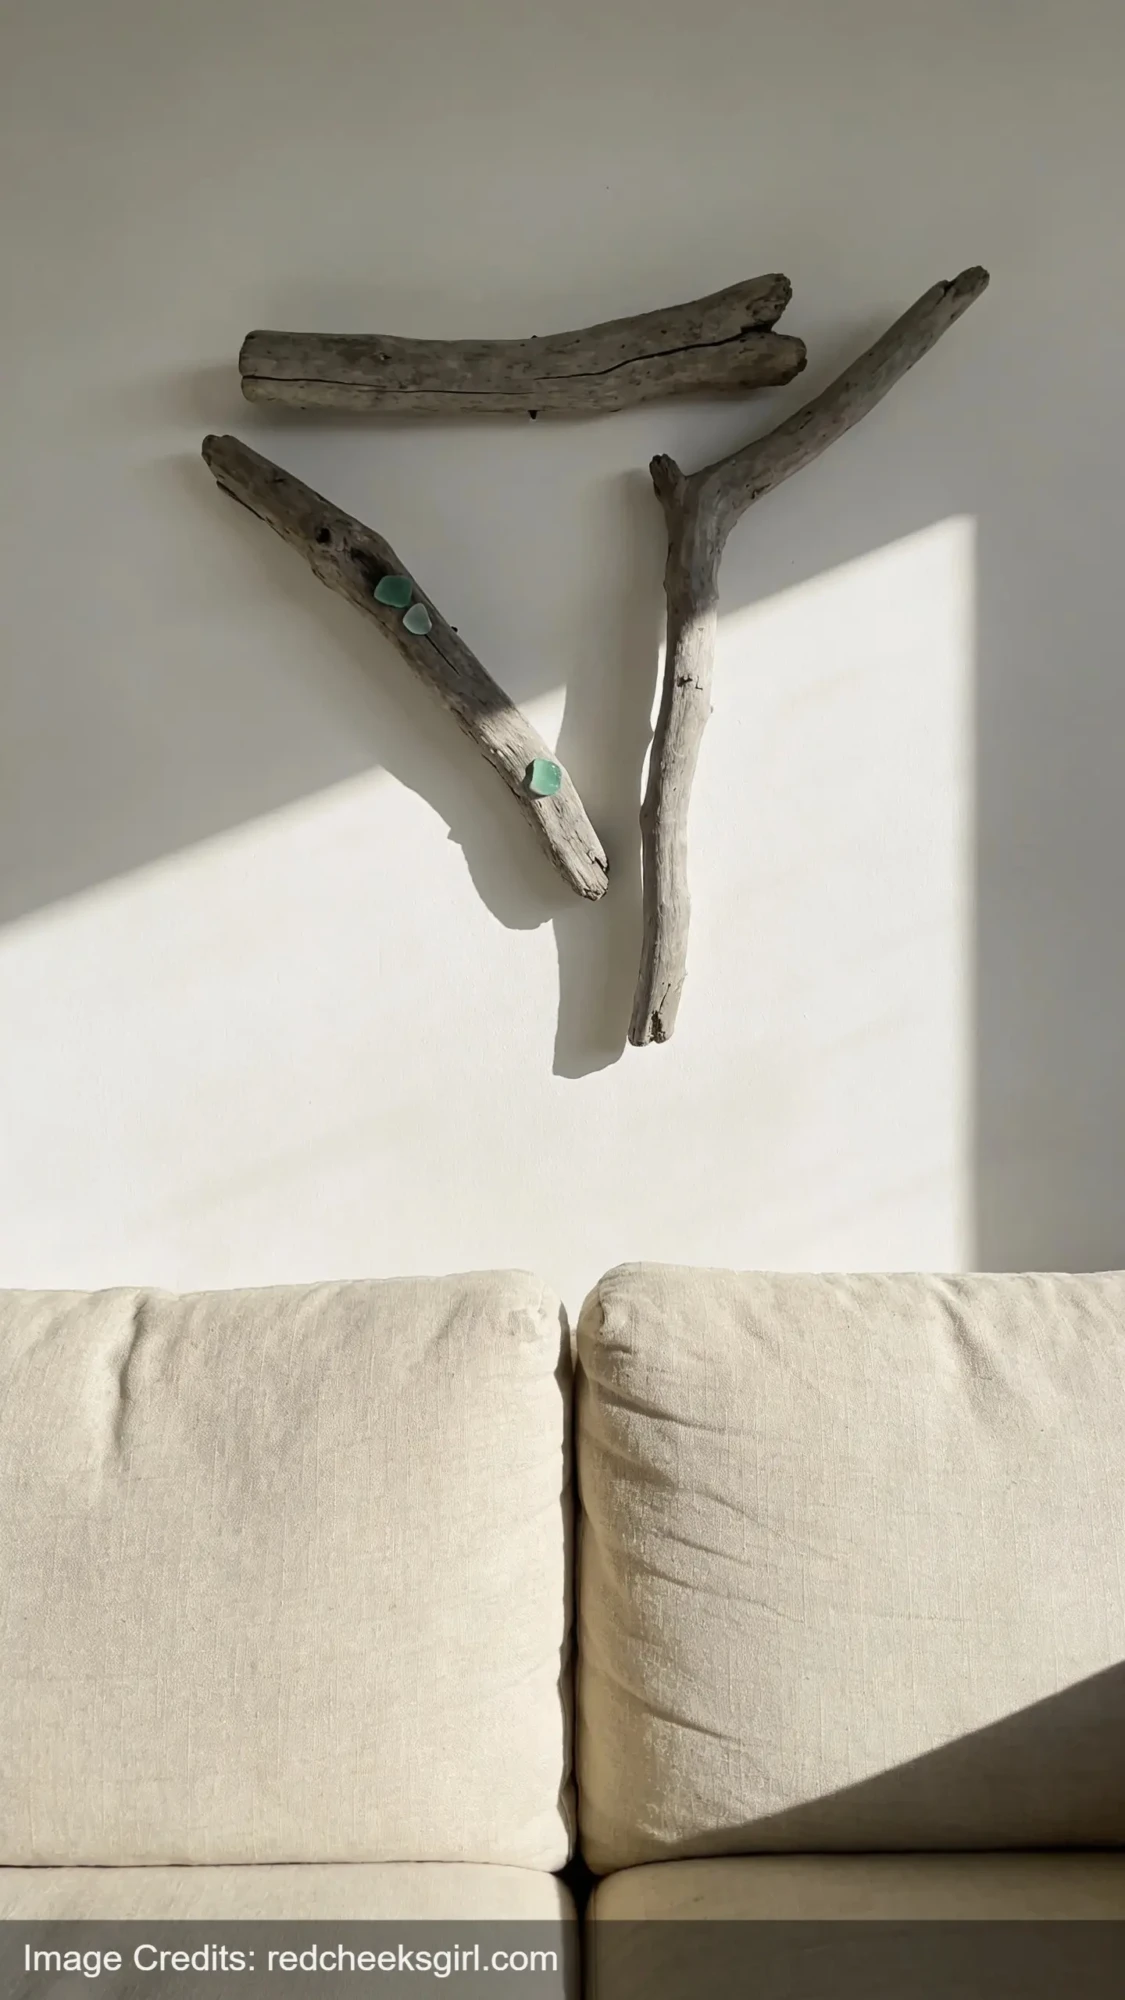
Take one flat-ish piece (or a few) and lean it against the wall or hang it directly. That’s it. Done.
The slightly more involved version: arrange 3–5 pieces in a loose cluster on the wall, mixing horizontal and diagonal angles, and frame the group with a piece of twine or macramé cord. The whole thing becomes a wall installation for the cost of a few command strips and some cord.
If you have sea glass or small shells, hot glue them sparingly onto one or two of the pieces. Sparingly. One perfect shell beats seven random ones every single time.
4. A Candle Holder Centerpiece
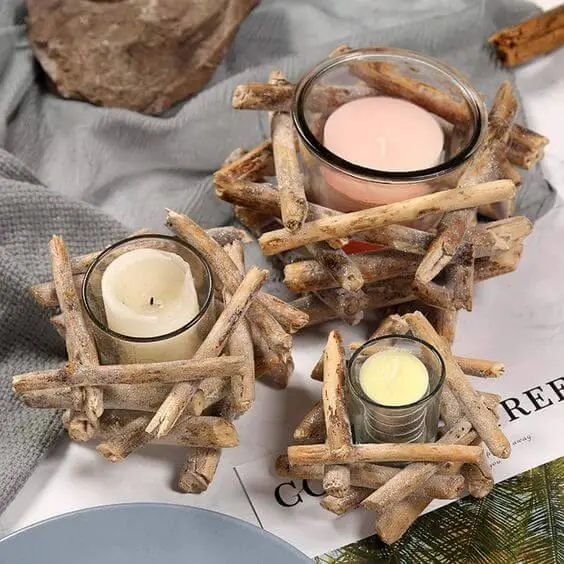
You need a wide, flat piece for this — something that lies stable without rocking. Sand it lightly on the bottom if needed so it doesn’t slide. Then hot glue 2–3 taper candle holders (the small metal spike kind) into small divots or flat sections across the wood. Add a few dried flowers, pebbles, or greenery around the base.
The result is a centerpiece that looks like something from a restaurant that describes its cuisine as “seasonal and foraged.”
Don’t skip the taper holders. I tried drilling holes directly into a piece of driftwood to hold candles and one of them leaned at a 30-degree angle the whole dinner.
5. A Photo Display
Clip small wooden clothespins along the bottom of a horizontal piece using hot glue, then hang photos, Polaroids, or small prints from them. Space the clothespins unevenly — some closer together, some with gaps.
This works really well with black-and-white prints. There’s something about the weathered grey wood against monochrome photos that makes a wall look incredibly curated, even if the photos themselves are just random snapshots from your phone.
The whole setup costs less than $10 if you already have the driftwood. If you want something similar to display in a kid’s room, the scrapbook ideas guide on this site has some overlapping approaches for photo displays that are worth looking through.
6. A Succulent or Air Plant Display
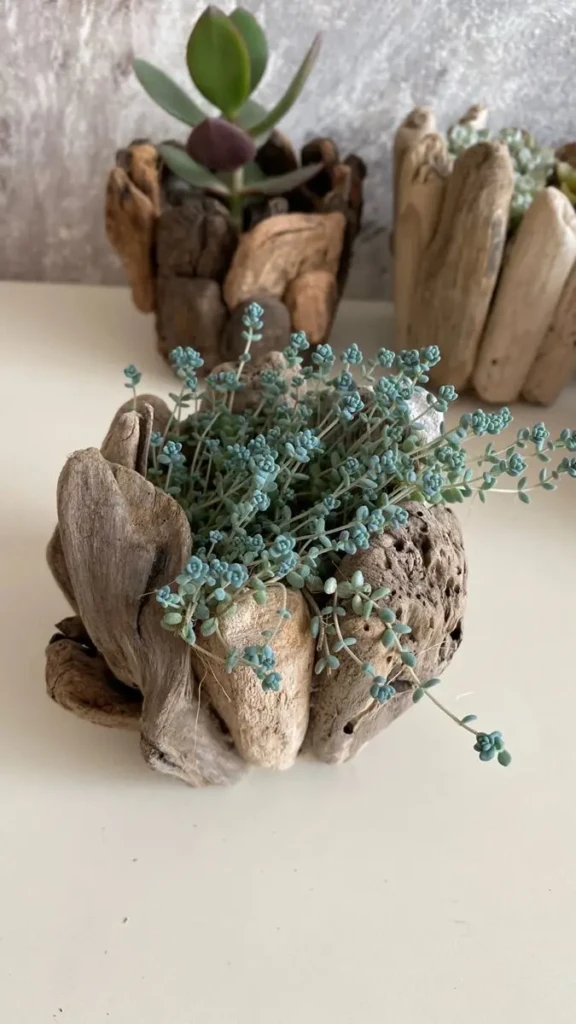
Driftwood and succulents were clearly designed for each other. Find a piece with natural divots or cavities — these make perfect planting pockets. Fill them with a tiny amount of succulent soil and tuck in small plants.
If your piece doesn’t have cavities, you can hot glue small air plants directly to the surface. Air plants genuinely don’t need soil. They’re just attached to the wood like they always lived there.
One important note: seal the wood first with a waterproof sealant if you’re going to water the succulents even occasionally. Untreated driftwood absorbs water unevenly and will start to smell like a damp basement within a month.
7. A Driftwood Frame
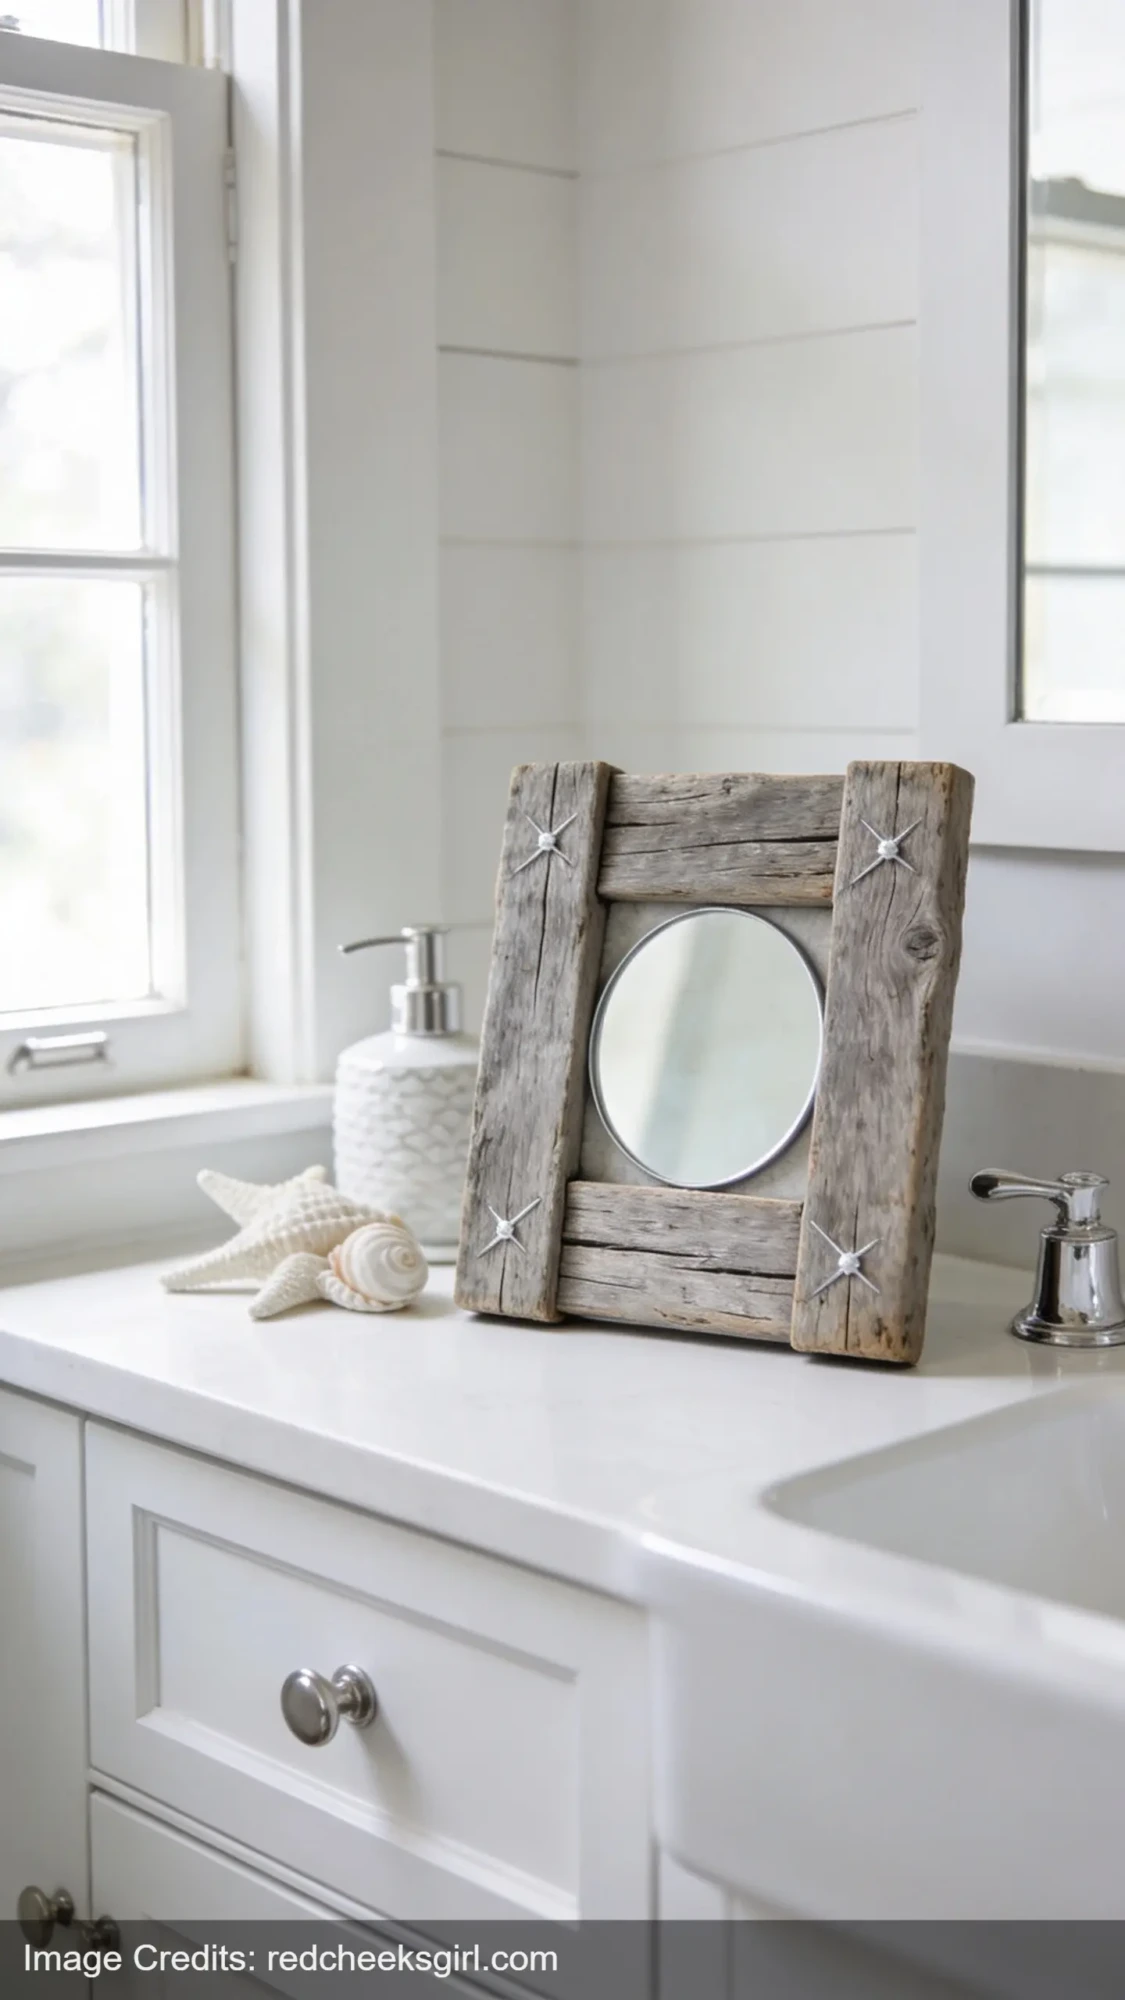
Take four pieces of similar diameter and hot glue them into a rectangle. Drop a mirror tile, a photo, or a piece of artwork inside. Hang it.
The pieces don’t need to be perfectly straight — that’s kind of the whole point. Slight bends and taper variations make it look handmade rather than like something from a craft supply kit.
If you want this in a bathroom, it pairs really well with the styling in this bathroom counter decor guide — the natural textures work with the same aesthetic.
8. A Towel or Blanket Rack
For this one you want a single long, sturdy piece — at least 24 inches and reasonably thick. Attach it to the wall with two bracket-style hooks that cradle the wood without drilling through it (some pieces are too irregular to drill cleanly). Roll your hand towels or drape a linen blanket over it.
This is genuinely functional and it looks better in a bathroom or bedroom than most things you’d pay actual money for. The natural grey-white color of most driftwood goes with literally everything.
9. A Wind Chime
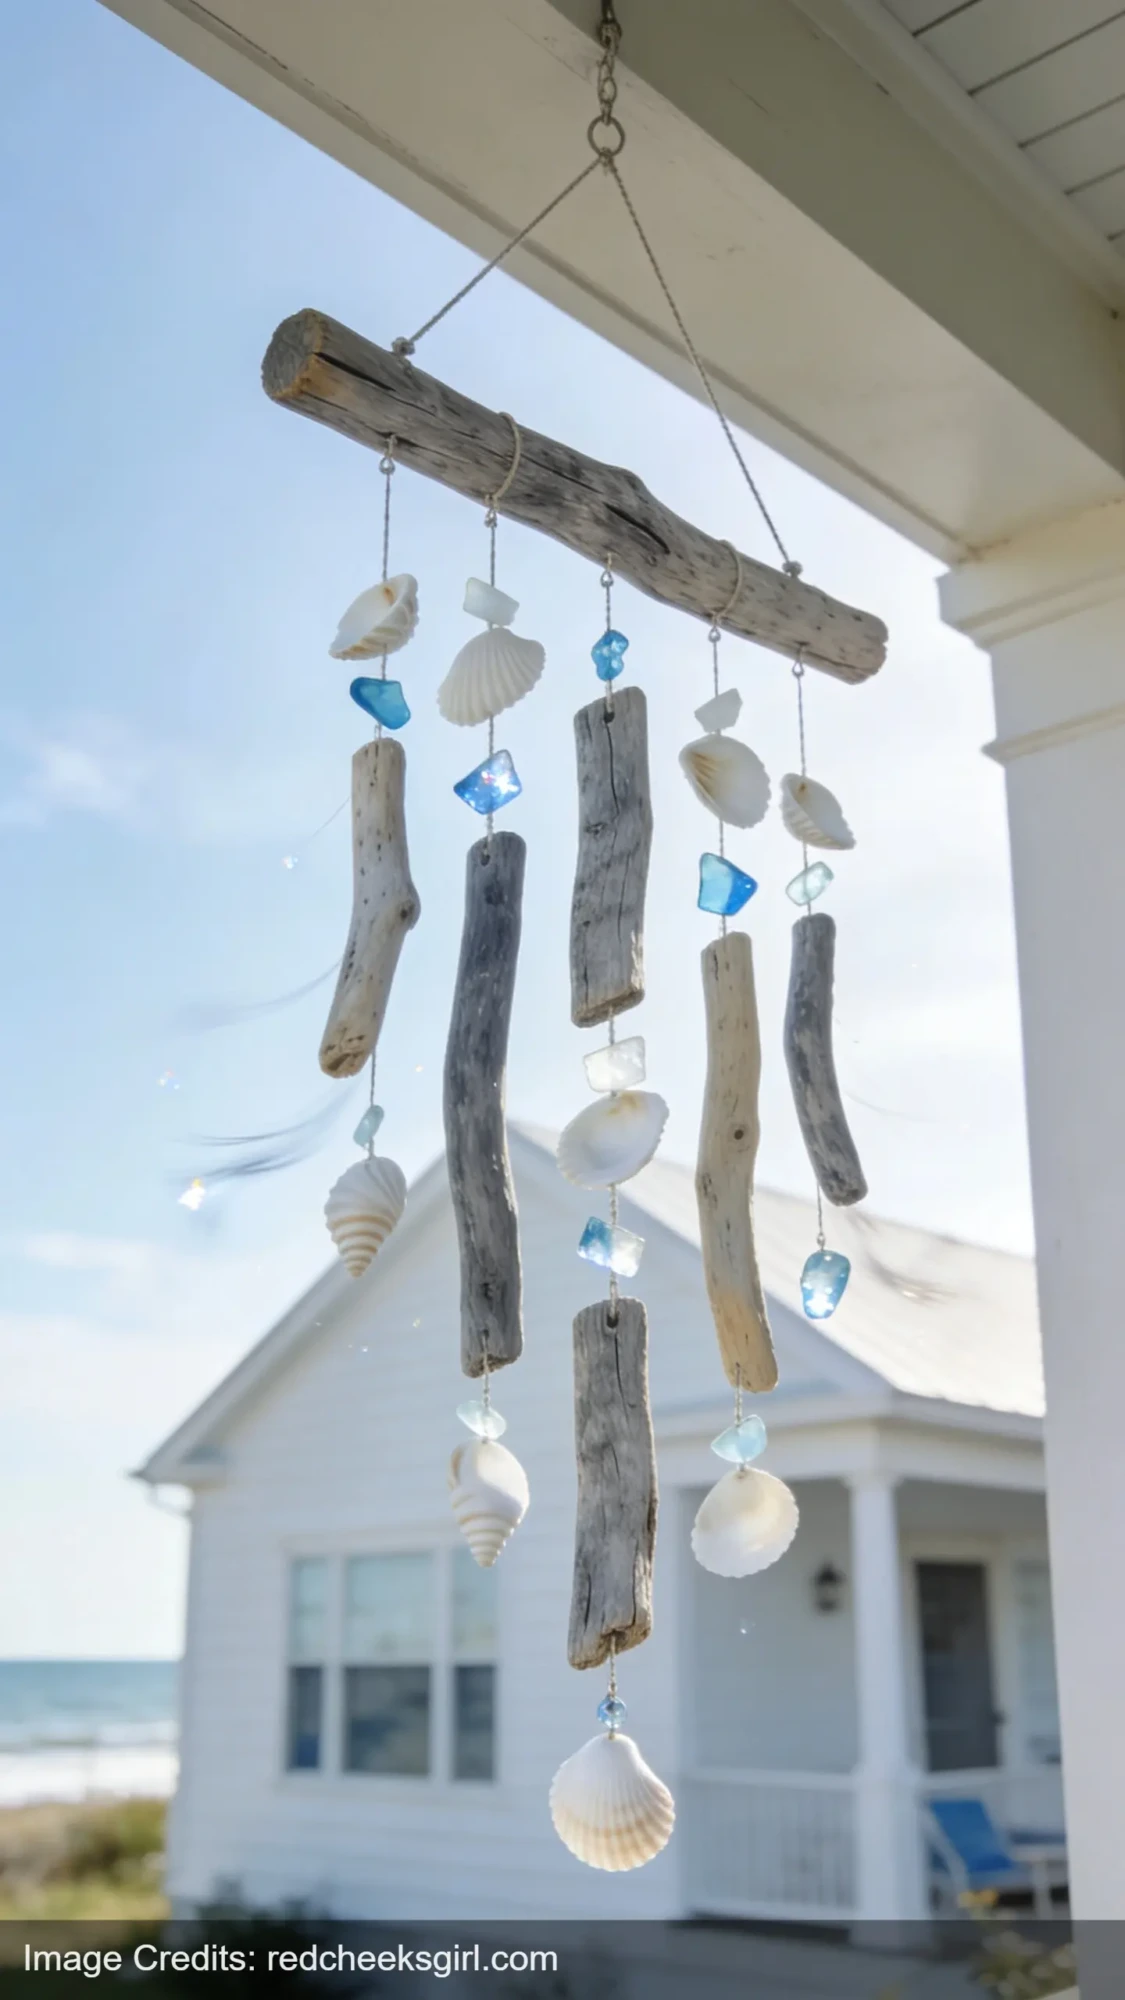
String several pieces of driftwood of different lengths from a longer top piece, interspersed with shells, sea glass bits, or small ceramic pieces. When there’s any airflow, the pieces knock together softly.
For sound, you actually want the pieces to touch — so hang them close enough to make contact. The sound of driftwood tapping against driftwood is quieter and softer than metal chimes, which makes it genuinely relaxing rather than something your neighbors will resent.
If you enjoy slow-hands projects like this, the article on creative things to do that wake up your artistic side has a lot of overlap in terms of the kind of mindset this work requires.
10. A Macramé + Driftwood Wall Hanging
This is probably the most popular driftwood craft idea on Pinterest right now — and for good reason. You don’t need to know macramé. The knot you need for a basic wall hanging is called a lark’s head knot, and once you know it, you can do the whole thing in an afternoon.
Find a long, fairly straight piece. Cut macramé cord into lengths of about 4 feet, fold each in half, and loop them onto the wood using that one knot. Then braid, knot, or leave them hanging — all three look good depending on the thickness of your cord and how long you want the fringe.
I did my first one with zero macramé experience and it took about two hours, including the 20 minutes I spent watching the same tutorial three times.
11. A Book or Letter Holder
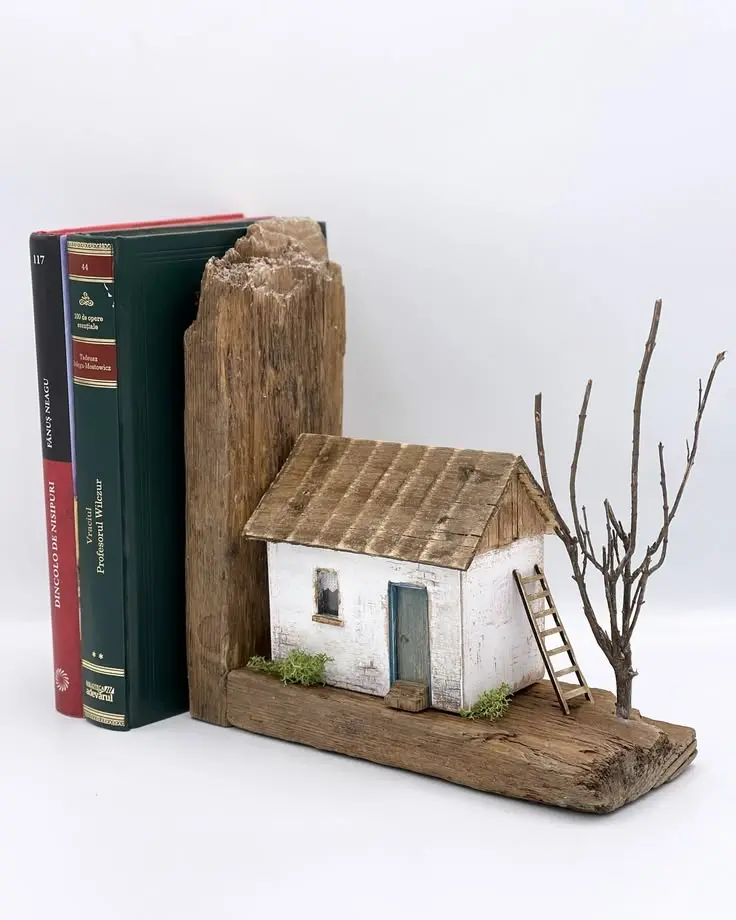
Two small pieces of driftwood, one on each side of a stack of books, held upright with small L-brackets screwed in from the bottom of a wooden base. Or more simply: one heavy piece standing upright as a single bookend with a flat base attachment.
It works. It’s heavier and more stable than most bookends. And it looks like something that belongs in a library in a house where someone definitely has interesting thoughts.
12. A Garden Marker Set
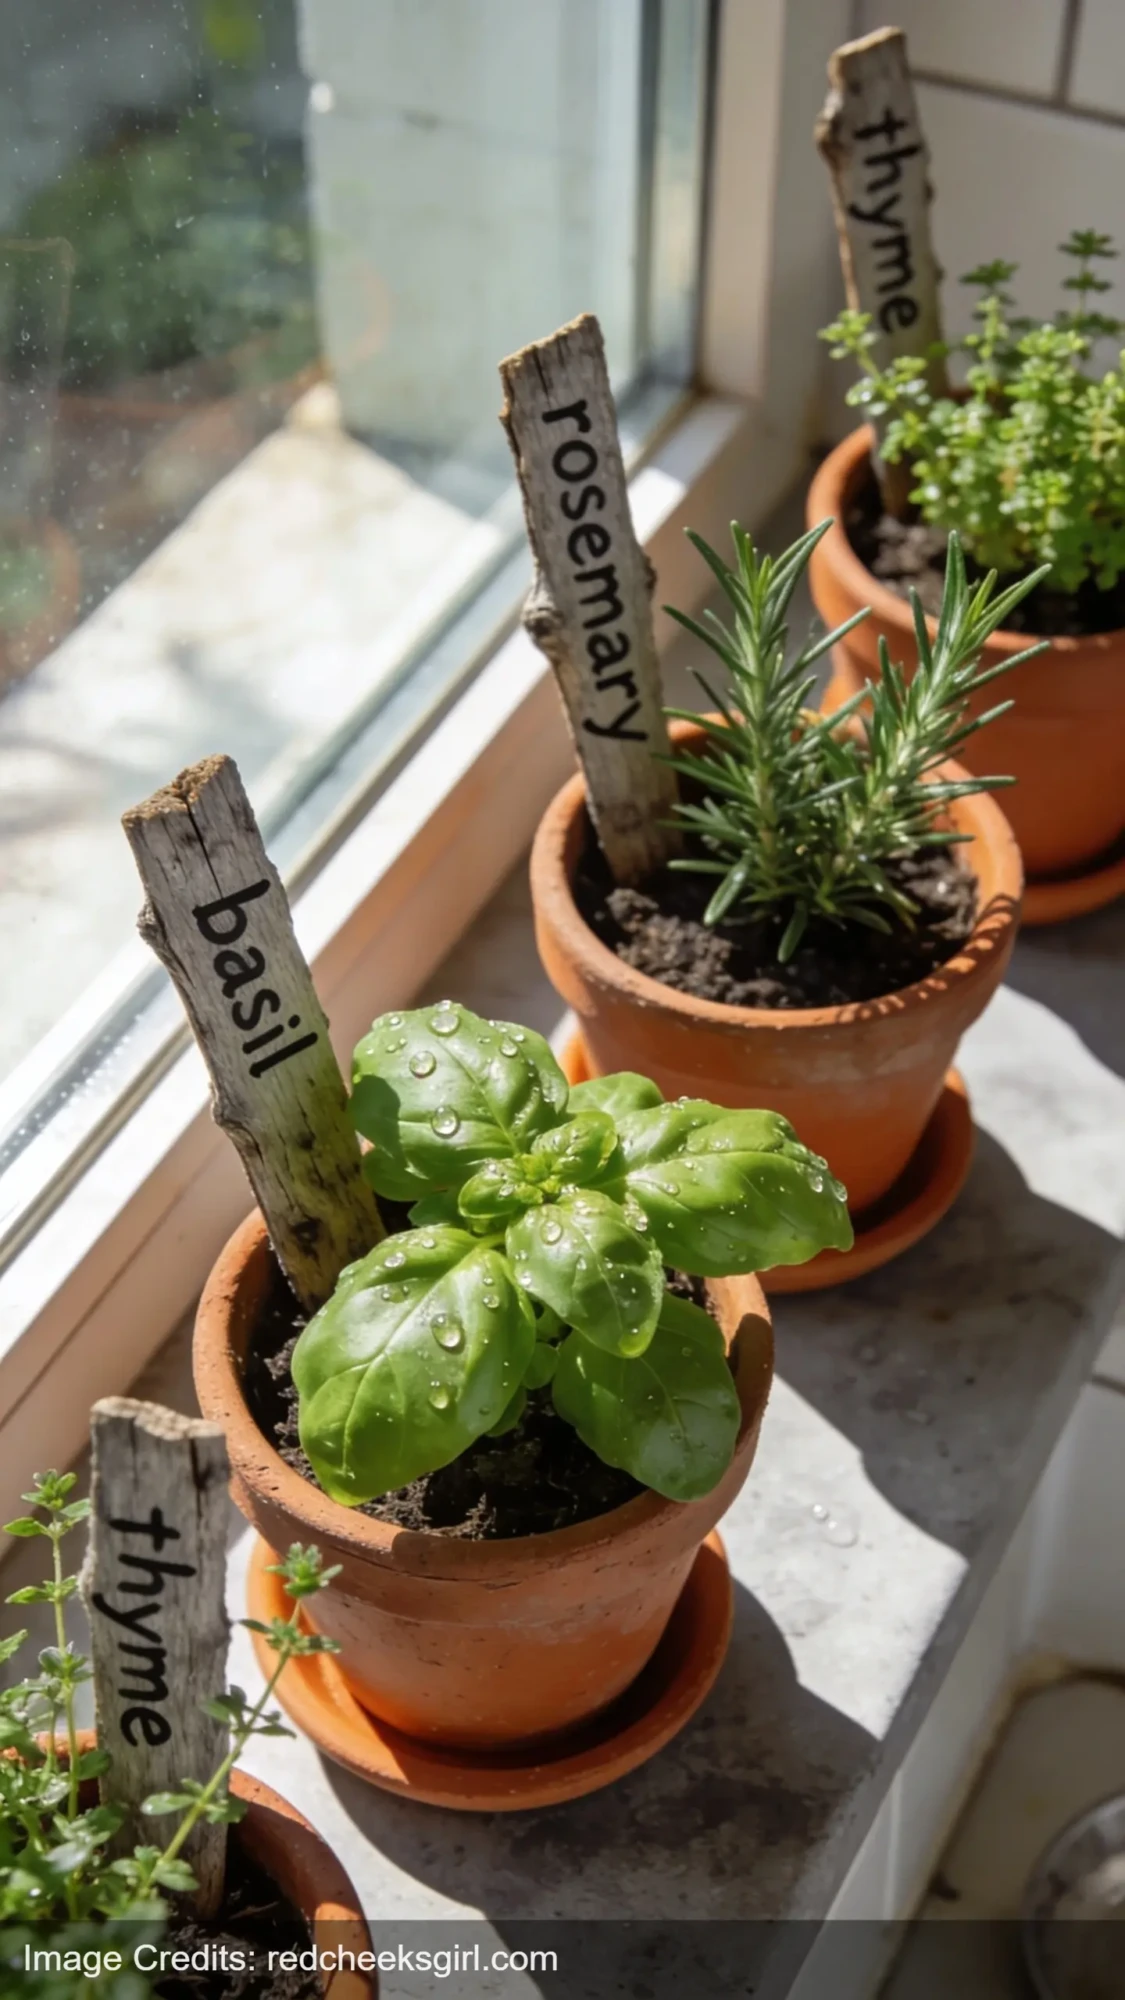
Smaller, thinner pieces of driftwood can be turned into garden markers. Write directly on the wood with a permanent outdoor marker or wood-burning pen, or paint the name of each herb in small block letters. Push them into the soil.
These look genuinely charming in a kitchen herb garden or any outdoor planter. And unlike the plastic store-bought versions, they’ll weather beautifully over time.
One caveat: the writing does fade outdoors after a season. Seal over it with a matte outdoor sealant if you want it to last longer.
13. A Bathroom or Vanity Tray Alternative
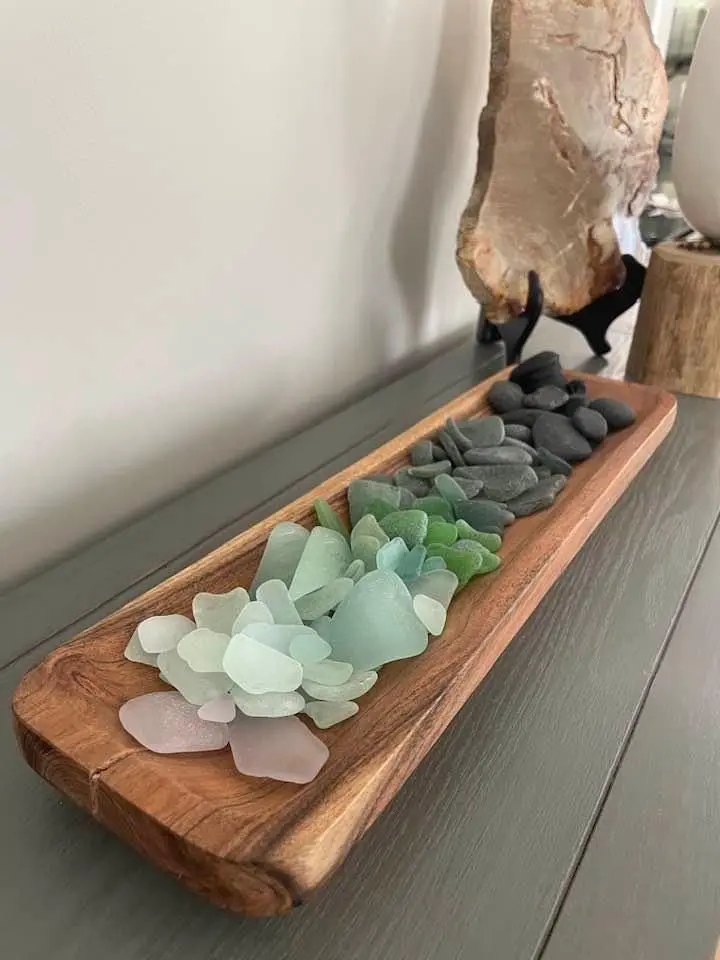
Take a flat, wide piece and use it as-is as a surface for your skincare products, candles, or jewelry. The natural shape — irregular edges, varying thickness — actually looks more intentional than a store-bought tray in this context.
If you like the idea of using natural materials in your daily routines and self-care space, the self-care activities guide is worth a read — there’s something satisfying about surrounding yourself with handmade things.
What to Actually Look For When Collecting Driftwood
Not all driftwood is equal. Here’s what actually matters:
Dry is non-negotiable. Fresh or damp driftwood will warp, crack, and smell as it dries — sometimes months after you’ve brought it home. Knock on it. It should sound hollow and feel light. If it feels dense and heavy for its size, it’s still wet inside.
Smooth texture matters more than shape. Heavily textured or splintery pieces look less refined in home décor and are harder to work with. The soft, sand-worn pieces are the ones that look like they were always meant to be decorative.
Bring more than you need. On a beach, proportions are deceiving. A piece that looks medium-sized lying on the sand will look tiny on your wall. Take a few extras.
And check local regulations before you start loading up your trunk — some protected beaches restrict removal of natural materials.
FAQ
Do I need to treat or seal driftwood before using it inside? For purely decorative pieces that won’t touch water or soil, no — you can use it as-is. If it’s going in a bathroom, near a planter, or will be handled a lot, a light coat of matte polyurethane or natural beeswax sealant protects it and doesn’t change the look.
How do I clean driftwood before bringing it inside? Brush off loose sand, then soak it in a diluted bleach solution (about 1 part bleach to 9 parts water) for a few hours to kill anything biological living in it. Rinse thoroughly and let it dry completely in the sun — that last part takes longer than you’d think.
Can I paint driftwood? Yes, though most of the appeal is the natural color. If you do paint, chalk paint in white or soft grey blends with the natural texture in a way that still looks organic. Full coverage with bright colors tends to just look like you painted a stick.
Where can I find driftwood if I don’t live near a beach? Riverbanks, lakeshores, and forest streams all produce driftwood after heavy rain or flooding. You can also buy it — search for natural driftwood for crafts on Amazon if you want to start a project before your next trip anywhere near water.
What’s the easiest project for a complete beginner? The photo display (number 5) or the jewelry organizer (number 1). Both require only hot glue and whatever hardware you choose to add. Neither requires measuring anything precisely or following steps in a specific order.
Easy Mother's Day craft ideas for kids ages 2-11. From fingerprint art to clay flower mirrors, these

There’s a very specific kind of person who glues rhinestones onto a Stanley cup at 11pm on a W
I bought my flower press at a craft fair three years ago and used it exactly once before it lived on
Leave a Reply