Picture this: It’s 2 PM on a Saturday, I’m rushing to my nail appointment (again), and I’m calculating how much I’ve spent on manicures this year. The number? A jaw-dropping $1,200. That’s when it hit me—I could learn to do my own nails and actually get BETTER results!
Fast forward to today: I haven’t been to a salon in over a year, my nails look amazing, and I’ve saved enough money for a vacation. Plus, I can do my nails while binge-watching Netflix in my pajamas. Win-win!
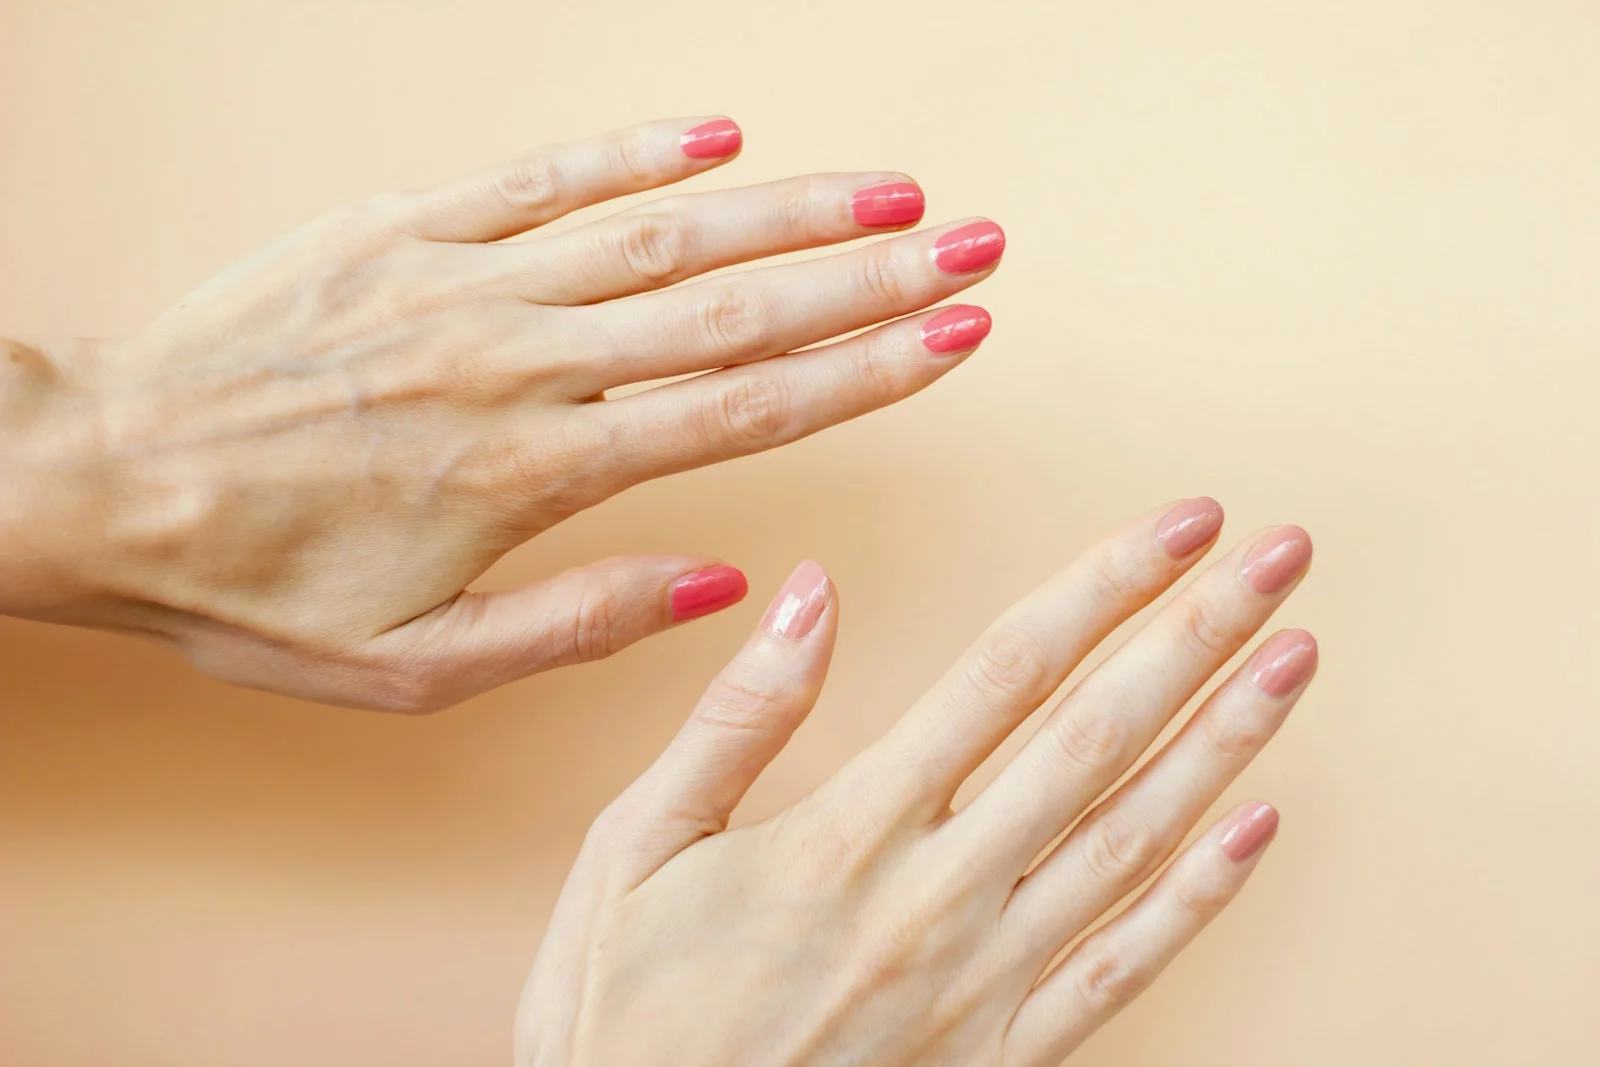
Ready to transform your nail game and save serious cash? Let me share everything I’ve learned about creating salon-quality manicures at home that actually last!
The Wake-Up Call: Why I Made the Switch 💰
Let’s do some real math here (prepare to be shocked):
- Average salon manicure: $35-50 every 2 weeks
- Annual cost: $910-1,300
- Time spent traveling + waiting: 3+ hours monthly
My breaking points:
- Chipped polish after just 3 days (seriously?!)
- Rushed appointments with zero personalization
- Exposure to harsh UV lights and questionable sanitation
- Never getting exactly the look I wanted
The final straw? When my usual salon tried to charge me extra for “difficult cuticles.” Girl, these are just regular human cuticles!
That’s when I decided to invest that money in learning to do my own nails. Best decision ever!
The Essential At-Home Manicure Kit
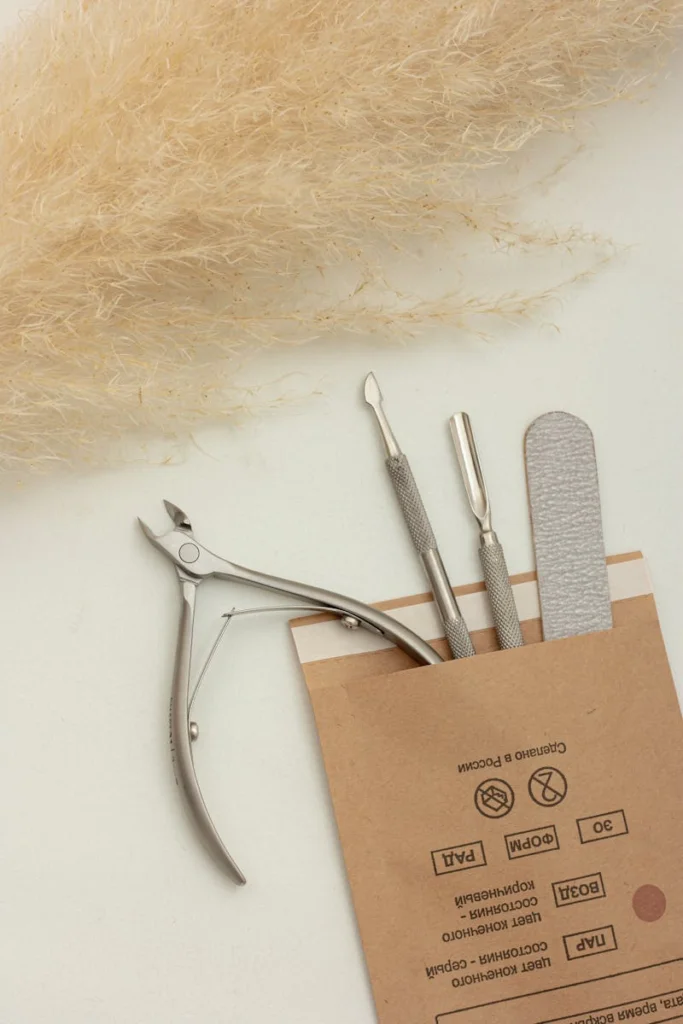
After tons of research and trial-and-error, here’s what actually works (no fancy gadgets required):
Must-Have Tools:
- Glass nail file – gentler than metal, prevents splitting
- Cuticle pusher – I love the dual-ended orange wood sticks
- Cuticle nippers – invest in good ones, they’ll last forever
- Base coat, color, top coat – the holy trinity of long-lasting polish
- Nail dehydrator or rubbing alcohol – removes oils for better adhesion
Game-Changing Products I Swear By:
- OPI Nail Envy – strengthens weak nails like magic
- Seche Vite Top Coat – dries fast and creates that glossy salon finish
- Sally Hansen Cuticle Remover – makes cuticle care effortless
- LED lamp (if you go gel) – 30-second cure time vs. 2-minute UV
Total investment: About $80-120 for everything. That’s less than 3 salon visits!
Pro Tip: Start with drugstore polishes to practice your technique, then upgrade to higher-end brands once you’ve mastered the basics.
My Foolproof 7-Step At-Home Manicure Process ✨
After countless experiments (and a few disasters), here’s the routine that gives me 10+ days of chip-free polish:
Step 1: Prep Like a Pro (5 minutes)
- Remove old polish completely
- File nails in one direction only (back-and-forth creates micro-tears)
- Push back cuticles gently with warm, soapy water
- Buff away ridges with a 4-way buffer
Personal disaster story: I used to skip the dehydrator step and wondered why my polish peeled off in sheets. Don’t be like early-me!
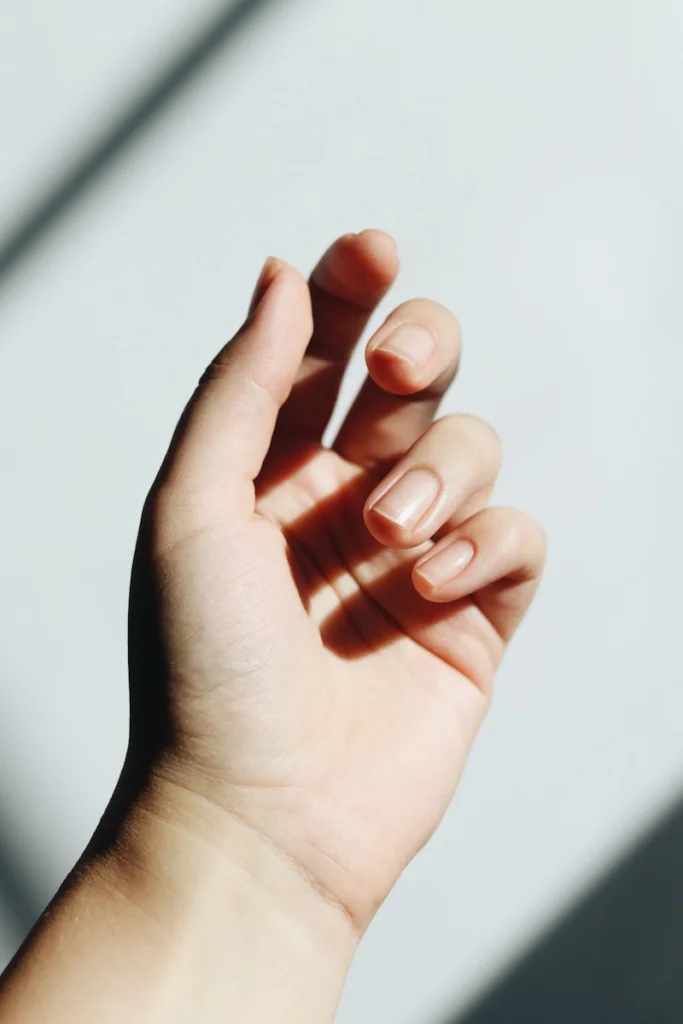
Step 2: Shape and Perfect (3 minutes)
- Choose your shape: oval for strength, square for trendy vibes
- File at a 45-degree angle under the nail
- Check both hands together—symmetry matters!
Step 3: Cuticle Care Magic (4 minutes)
- Apply cuticle remover and let it sit for 30 seconds
- Gently push back with an orange stick
- Trim ONLY loose, dead skin (never cut healthy cuticle!)
- Moisturize immediately after
Step 4: The Base Game (2 minutes)
- Clean nails with rubbing alcohol
- Apply thin base coat edge-to-edge
- Let dry completely (patience is KEY!)
Quick Win: A good base coat prevents staining and makes polish last longer. Never skip it!
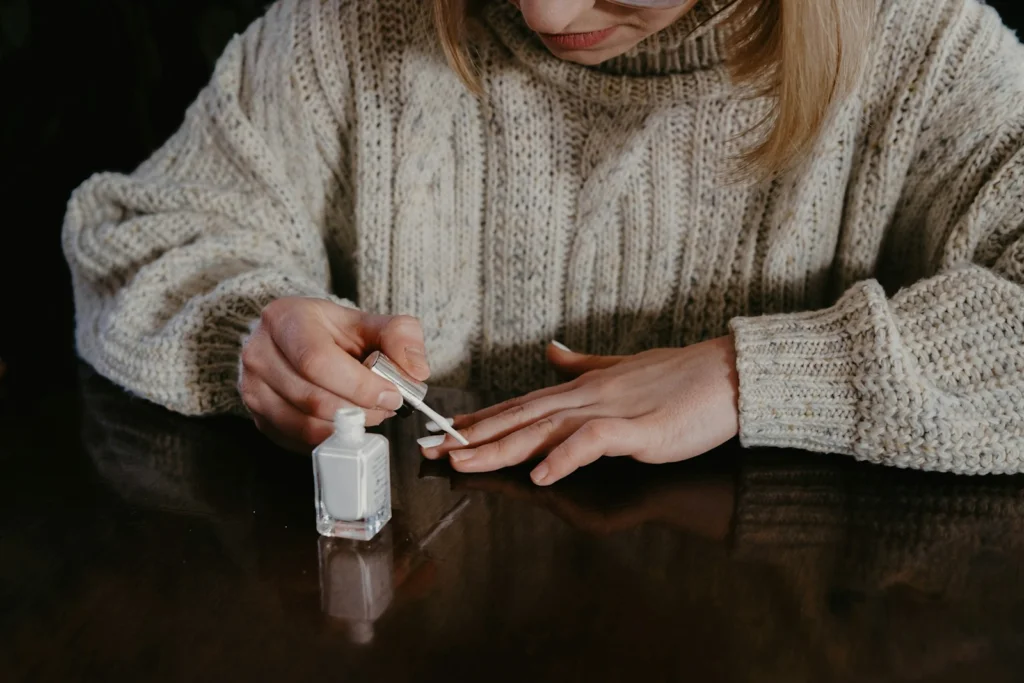
Step 5: Color Application Technique (8 minutes)
- Three thin coats beat two thick ones every time
- Start with a stripe down the center, then fill sides
- Cap the free edge (paint the tip) for extra durability
- Wait 2-3 minutes between coats
Game-changer tip: If you flood your cuticles, use a small brush dipped in acetone to clean up BEFORE the polish dries.
Step 6: Top Coat for Days (2 minutes)
- Apply top coat immediately after final color coat
- Wrap the tips again for maximum chip resistance
- Use quick-dry drops if you’re impatient like me
Step 7: The Waiting Game (15 minutes)
- Don’t touch ANYTHING for at least 15 minutes
- Test with your knuckle—if it dents, keep waiting
- Apply cuticle oil once fully dry
Total time: About 30 minutes vs. 2+ hours at the salon!
Troubleshooting Common At-Home Disasters
Trust me, I’ve made every mistake possible. Here’s how to fix the most common issues:
Bubbles in Polish
Cause: Shaking the bottle or thick application Fix: Roll bottle between palms, apply thinner coats
Chips After 2 Days
Cause: Skipped base coat or didn’t cap edges Fix: Always use base coat and paint nail tips
Streaky Color
Cause: Old polish or wrong brush technique Fix: Add a drop of polish thinner, practice smooth strokes
Cuticle Flooding
Cause: Too much polish on brush Fix: Wipe brush on bottle neck, use cleanup brush with acetone
Honest moment: My first DIY manicure looked like a toddler did it. Don’t get discouraged—it takes practice!
Advanced Techniques That Wow
Once you master the basics, try these techniques for salon-level results:
The French Manicure Hack
- Use reinforcement stickers as guides
- Apply base coat, let dry, place stickers
- Paint tips, remove stickers immediately
- Seal with top coat
Gradient Ombré Effect
- Apply base color
- Dab second color on makeup sponge
- Press sponge on nail tips, blend upward
- Seal with top coat
Long-Lasting Nail Art
- Use nail art pens for precision
- Seal each layer with thin top coat
- Try water decals for complex designs
Pro secret: Watch YouTube tutorials at 1.5x speed while you practice—you’ll learn faster!
Money-Saving Strategies That Add Up 💵
Here’s how I maximize my savings without compromising quality:
Smart Shopping Tips:
- Buy polish during holiday sales (I stock up at 50% off)
- Invest in quality base and top coats—cheap ones don’t perform
- Share specialty tools with friends (like that expensive LED lamp)
- Use cashback apps for beauty purchases
DIY Polish Alternatives:
- Nail strengthener: Mix clear polish with vitamin E oil
- Quick dry: Cold water bath after 10 minutes
- Cuticle oil: Mix olive oil with vitamin E capsule
When to Splurge vs. Save:
Splurge on: Base coat, top coat, nail file, cuticle nippers Save on: Cotton pads, acetone, practice polishes
Real talk: I’ve saved over $800 this year doing my own nails, and that money went toward a weekend getaway instead!
Creating Your Perfect At-Home Nail Station 🏠
Transform any space into your personal nail salon:
Essential Setup:
- Good lighting (natural light or LED desk lamp)
- Comfortable seating with back support
- All supplies within arm’s reach
- Towels to protect surfaces
My Game-Changing Additions:
- Small fan for faster drying
- Netflix queued up for entertainment
- Phone charger (manicures take time!)
- Snacks and water (you’ll be there a while)
Space-saving hack: Use a rolling cart that tucks away when not in use. Perfect for small apartments!
Maintaining Your At-Home Manicure 🔧
Keep your nails looking fresh between full manicures:
Daily Care:
- Apply cuticle oil every night
- Wear gloves for cleaning and gardening
- Use hand cream religiously
Weekly Touch-Ups:
- File any snags immediately
- Touch up chips with matching polish
- Push back cuticles gently
When to Start Fresh:
- Visible regrowth (usually 10-14 days)
- Multiple chips or wear
- Special events requiring perfection
Truth bomb: Your first few attempts might only last 5-7 days. That’s totally normal! Keep practicing.
The Confidence Boost You Didn’t Expect 💪
Beyond the money savings, doing my own nails gave me something unexpected: confidence in my ability to learn new skills.
What I gained:
- Patience and attention to detail
- Creative outlet and stress relief
- Pride in mastering something new
- More disposable income for other goals
The ripple effect: Learning to do my own nails made me realize I could probably learn other beauty skills too. Now I also do my own eyebrow waxing and hair treatments!
Your Action Plan: Start This Weekend! ✅
Ready to ditch the salon and start your at-home nail journey? Here’s your step-by-step getting-started guide:
This Week:
- Inventory what nail supplies you already have
- Research and order essential tools online
- Watch 3-5 YouTube tutorials for technique tips
- Practice removing your current manicure properly
Next Weekend:
- Set up your nail station
- Attempt your first full DIY manicure
- Take photos to track your progress
- Don’t expect perfection—focus on learning!
First Month:
- Try different polish brands to find favorites
- Experiment with nail shapes and colors
- Perfect your cuticle care routine
- Calculate how much you’re already saving!
Beginner-friendly challenge: Commit to doing your own nails for one month. I guarantee you’ll be amazed at your improvement!
Ready to Transform Your Nail Game? 🚀
Switching to at-home manicures was honestly one of my best beauty decisions ever. Yes, there’s a learning curve, but the savings, convenience, and satisfaction make it totally worth it.
Your nails don’t need to be Instagram-perfect from day one. They just need to be better than yesterday’s attempt. With practice, patience, and the right techniques, you’ll be creating gorgeous manicures that rival any salon.
The best part? You can do them anytime, anywhere, exactly how YOU want them. No more settling for “close enough” colors or rushed applications.
Your nail journey starts now—grab those supplies, put on your favorite show, and let’s create some magic! 💅
What’s your biggest at-home manicure challenge? Drop a comment below—I’d love to help you troubleshoot! And don’t forget to share your nail art creations—I’m always looking for inspiration! ✨

Great Christmas gifts for teenagers that actually matter—discover the 20 presents that won't gathe

Level up your Galentine's party with 22 creative ideas that ditch the tired wine-and-cheese routine

Ordinary winter days become extraordinary luxury experiences with these 18 indoor activities that ri
Leave a Reply